Brian,
Quoted Text
Looking really good. Is that a home made jig to hold the plane while you put the decals on?
Yes, it was originally made to help attach antenna wires (there's a pin through the base piece) but I have a better method. It is made of art board (I think it's called) but wood might be better. There are 3 slots in the base and I have 3 supports, used for different sized models. In other pics you will see tamiya paint jars. these are used to support the model in verious positions ie to prevent it from moving while the decals are applied.
If you do take a look at the online build remember to click the "sort" button, to get the pics in the correct order.
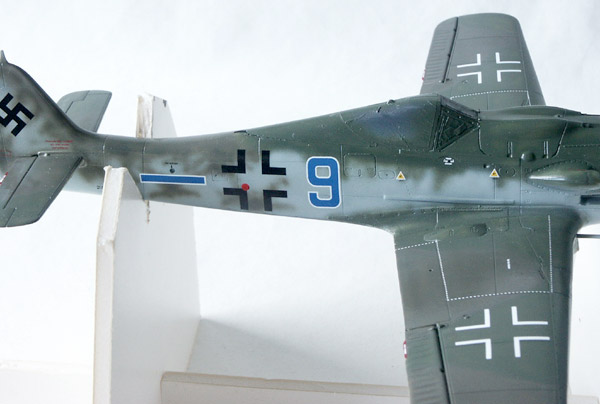
Philip,
Quoted Text
The mottling looks really good and (i think) really shows the diffrinces in the capabilities between single and doupbble action airbrushes.
It is possible to achieve this with a single action air brush but it is harder. It is mainly down to getting the paint to the right consistancey and using low air pressure. Also practice makes perfect and don't be afraid of giving it a go, it really isn't that difficult. I like to tackle the more complicated schemes, but some can only really be done with a double action airbrush. With a double action you can be over the model, when you put the air on, then gradually let in the paint. So schemes like Italian "smoke rings" can be done. You could do this with a single action but, because as press the trigger you have paint flow, you will likely get spatter. The camo on my Ju87 Trop was done by starting to spray off the model and moving onto it, or starting at a position that was relatively large, then moving from there. I used my Badger 200 single action.
Mal