_GOTOBOTTOM
General Aircraft
This forum is for general aircraft modelling discussions.
Flying Tiger Build Update
wingman
_VISITCOMMUNITY
Pennsylvania, United States
Joined: December 09, 2003
KitMaker: 880 posts
AeroScale: 654 posts
Posted: Wednesday, June 22, 2005 - 10:41 AM UTC
Hi guys. Here are a couple pics of Hasegawas P-40E build. When dryfitting part #A-13[intake cap] make sure you sand parts A-4&A-5[intakes] flush with the front of the fuselage. If you don't, the cap will sit too far out. 
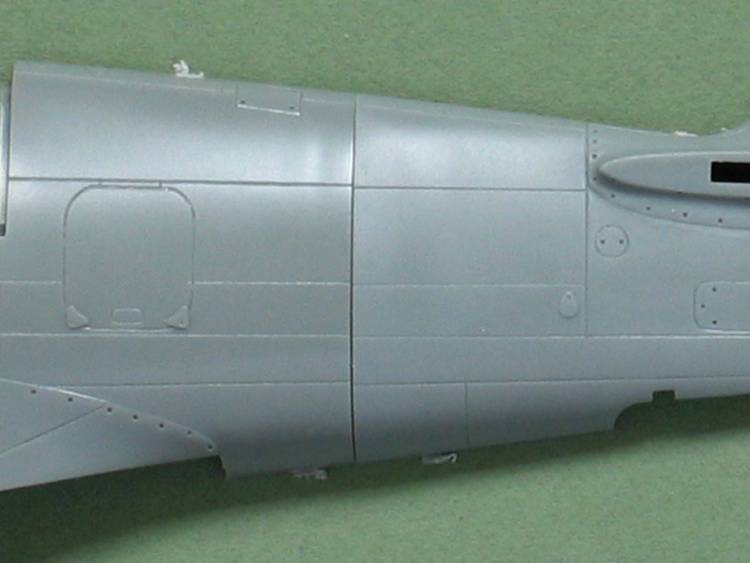
The forward fuselage with the seams sanded using FlexiFiles sanding sticks,Wingman out.
Holdfast
Staff MemberPresident
IPMS-UK KITMAKER BRANCH
#056
_VISITCOMMUNITY
England - South West, United Kingdom
Joined: September 30, 2002
KitMaker: 8,581 posts
AeroScale: 4,913 posts
Posted: Friday, June 24, 2005 - 06:07 AM UTC
Looking good, from what can be seen the cockpit looks particularly good. Keep 'em coming.
Mal
wingman
_VISITCOMMUNITY
Pennsylvania, United States
Joined: December 09, 2003
KitMaker: 880 posts
AeroScale: 654 posts
Posted: Friday, June 24, 2005 - 08:20 AM UTC
Hi Mal. Thanks. I attached the rear part of the fuselage to the rest of the plane and a big seam appeared. I have an idea of how to eliminate it. When I work on it tonight[Friday] I'll try to take some pics and post them, thanks for looking, Wingman out.
Merlin
Staff MemberSenior Editor
AEROSCALE
#017
_VISITCOMMUNITY
United Kingdom
Joined: June 11, 2003
KitMaker: 17,582 posts
AeroScale: 12,795 posts
Posted: Friday, June 24, 2005 - 08:50 AM UTC
Hi Michael

This reminds me - I will have to chat with you about how to get the review up and running. I must say a test fit of the parts highlighted far more problems than I'd predicted - the fit is really quite sloppy and the rear fuselage joint was a bit of a shock!

I've got the 'N too - so I should see how that compares...

All the best

Rowan
wingman
_VISITCOMMUNITY
Pennsylvania, United States
Joined: December 09, 2003
KitMaker: 880 posts
AeroScale: 654 posts
Posted: Friday, June 24, 2005 - 11:40 AM UTC
Hi again. I started to address the fuselage seam. I was able to fit some .005"[.013mm] sheet styrene into a portion of the seam. I then trimmed off the extra with a brand new "11 exacto blade. I took it out of the handle so I could lay the blade flat..I sanded the styrene with a FlexiFile fine stick. I think I will use gap filling super glue to fill the rest of the seam and maybe some on top of the styrene. I'll let you know how the rest of the build goes, thanks for looking, Wingman out.
Merlin
Staff MemberSenior Editor
AEROSCALE
#017
_VISITCOMMUNITY
United Kingdom
Joined: June 11, 2003
KitMaker: 17,582 posts
AeroScale: 12,795 posts
Posted: Friday, June 24, 2005 - 08:09 PM UTC
Hi Michael

Just as follow-up to my previous post... I've checked the fit on the long-tail 'N:


Not great either, as you can see. There's the same problem of the scribing not lining up - in fact, you've really got a choice to make; go far best fit of the parts or scribing.

All the best

Rowan
 _GOTOTOP