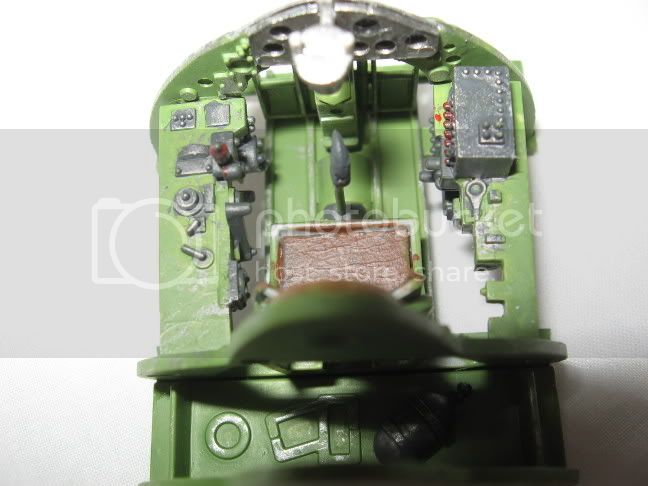
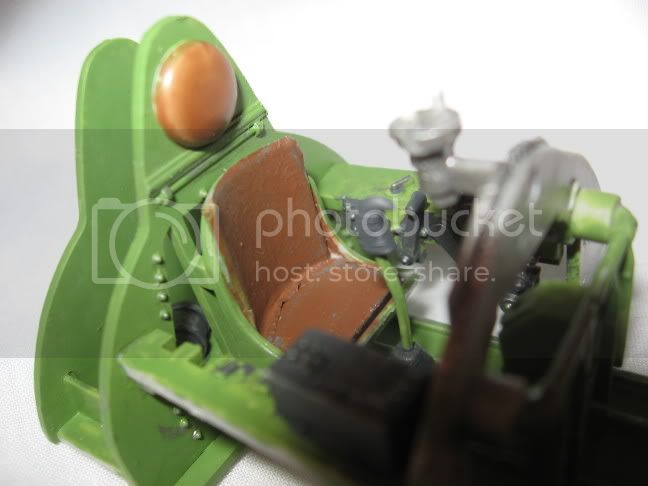
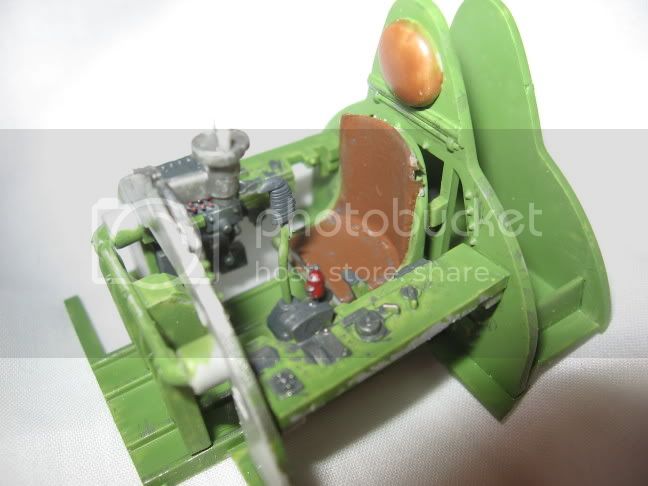
After my F-106 disaster it has motivated me to get a start on my 1/32 Trumpeter Wildcat. I'm building this with the markings for Marion E. Carl's plane. I'm going to use this thread for in progress pics and Questions. Also any and ALL comments/question are accepted don't hold back on criticism I can take it and that's how we get better.
So here are the finished Office pics (except for the clear gunsight)
Joe
Hosted by Rowan Baylis
1/32 Trump. F4F W.I.P (pics)
ygmodeler4
Virginia, United States
Joined: September 26, 2005
KitMaker: 57 posts
AeroScale: 24 posts
Joined: September 26, 2005
KitMaker: 57 posts
AeroScale: 24 posts
Posted: Wednesday, July 26, 2006 - 07:36 AM UTC
Posted: Wednesday, July 26, 2006 - 01:19 PM UTC
Hi Ygmodeller!
That cockpits looking pretty good! Theres some nice drybrushing there as well.
Just a couple of things come to mind to make it look even better.
You could try putting some Future/Klear into the instruments to give a glass effect when dry, and I would give the whole cockpit a wash of very watered down burnt umber to show the detail and bring the whole thing to life.
Keep up the good work and thanks for sharing the pics.Looking forward to seeing this build progress. Keep posting :-)
Nige
smithery
Ontario, Canada
Joined: March 30, 2004
KitMaker: 289 posts
AeroScale: 78 posts
Joined: March 30, 2004
KitMaker: 289 posts
AeroScale: 78 posts
Posted: Wednesday, July 26, 2006 - 05:51 PM UTC
Looking good Joe. I like what you did with the seat. Is that Milliput or similar, as IIRC, the kit seat was poorly shaped. I ended up using the Grand Phoenix cockpit set in my build, but you've shown that OOB looks perfectly fine too.
Be very careful when you are trying to install the framing around the landing gear. When Trumpeter reshaped the fuselage, I don't think they corrected the internals, as I found the alignment was quite poor. My only other deviation from the instructions was to install the LG prior to the assembly being installed in the fuselage, as opposed to the end of the build. More masking needed as a result, but I think it was worth it. Your call. Other than that, the kit went together quite nicely.
ygmodeler4
Virginia, United States
Joined: September 26, 2005
KitMaker: 57 posts
AeroScale: 24 posts
Joined: September 26, 2005
KitMaker: 57 posts
AeroScale: 24 posts
Posted: Thursday, July 27, 2006 - 07:52 AM UTC
Thanks guys.
Lampie- I've decided that I'm not going to give it a wash b/c I like what I got now and I've only done one wash before and I need to practice on a lesser model first.
Smithery- The seat is the kit seat with blue painting tape glued onthe plastic seat to give the leather some texture. I like it and think it looks better than I thought it would. I will do what you said about the landing gear.
UPDATE: Idid a few touchups around the seat where there was grey and gave the leather another coat to hide the dark grey.
Again thanks for the comments and suggestions guys.