Post your entries for the MOM for December here.
Please read the following.
1. Do not forget to add information about the model, voters will be encouraged to check this out before voting and it may influence their vote. New.......please put the info about your model in one place. I will only copy the first set of information to put in the gallery, so if you add a piece before each picture only the first part (above the first pic) will be copied.
2. Only post 3 pics, no composites and no pics of real aircraft (even for comparison)
3. Any model of an aircraft, from any era in any scale is eligible
4. Entry will be open until the 15th or 16th
5. NEW Your pics MUST be a maximum of 750 pixels wide. (if you aren't able to alter the size then send them to me and I can do it for you. Alternatively I may be able to copy the pic, size and replace it. Any pics over this size will have to be deleted (I do not want to have to do this)
6. Also, Please comply with this
Please rename your pics using a number followed by your CALLSIGN. By this I mean the file name, this is because:
a. When I copy the pics into a folder on my hard drive I have to copy them with the original filename (so I can't change them when I copy them)
b. So that they stay together in the gallery and so that I don't have to name each pic and so they appear in the order in which they were posted I have to re-name each pic with the member’s callsign. You may imagine what it's like trying to get the 3 pics from each member together (50-60 pics in total with all sorts of file names and some not matching their mates).
A further explanation: When you take the pic it will be given a file name, by the camera. When you open the pic on your PC, right click on it and choose "change name" change the name of the pic to a number (001) followed by your Callsign (Holdfast). the pic is now re-named 001Holdfast (or your number and callsign) .
So if you use a file name that begins with a number and has your Callsign you will save me about 2 hours work
For example my 3 pics could be 001Holdfast, 002Holdfast and 003Holdfast. I hope this is clear
Lets see if we can get an even better turn out this month and for next year.
Entry will close on the 15th or 16th and I will start the voting thread as soon as possible after that.
[b]There will be a prize to the winning entry of a "Harricature," a caricature of that entry drawn by Harri (Jetprovost), who also does comissions.
Mal
Hosted by Jim Starkweather
Model of the Month (MOM) December 2006
Posted: Saturday, December 02, 2006 - 04:19 PM UTC
Posted: Saturday, December 02, 2006 - 05:28 PM UTC
Tamiya Supermarine Spitfire Vb with Fusion models DB 605 engine conversion set .
Painted with Xtracrylixs, Yellow (RLM 04) underneath and control surfaces. The upper surfaces are Graugrun/ Grauviolett - RLM 74/75 and the sides of the fuselage are RLM 75 with RLM 74 mottling. Washes with W+N oils and the exhaust weathered with Alcad Jet Exhaust and Mig pigments. Build thread can be found on the IPMS British Bulldogs site
Andy
Posted: Saturday, December 02, 2006 - 05:28 PM UTC
1/48, Academy Messerschmitt BF-109 G6, which was forced to land at Thorney Island on the 19th May 1944.
Painted with Xtracrylix's, RAF med Sea Grey lowers, RAF Dark Green and RAF Ocean Grey uppers. Decals from the spares box.
Andy
Painted with Xtracrylix's, RAF med Sea Grey lowers, RAF Dark Green and RAF Ocean Grey uppers. Decals from the spares box.
Andy
Posted: Saturday, December 02, 2006 - 06:23 PM UTC
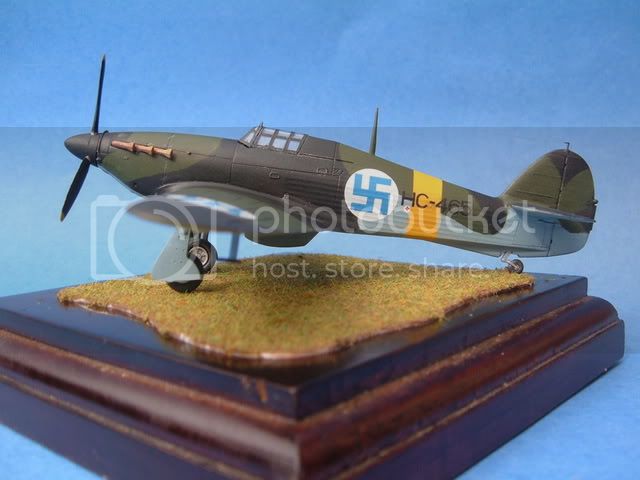
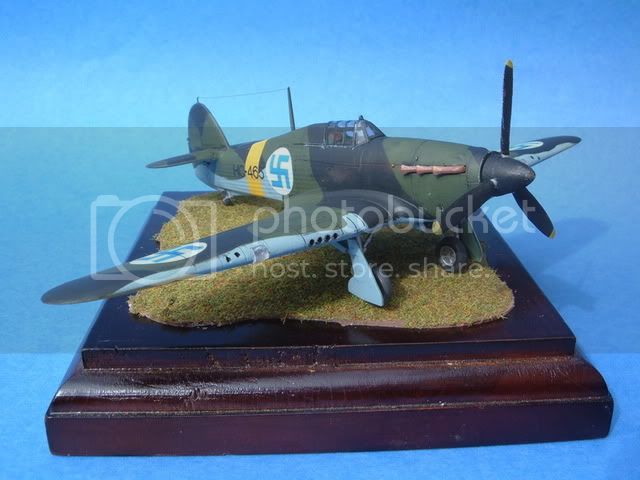
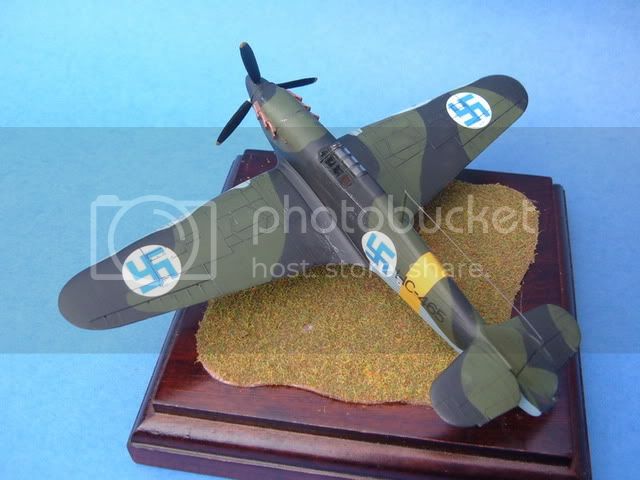
Heres my entry for December.My 1st anniversary of restarting modelling
Its the Revell Hurricane MKIIB in 1:72
99% oob.The only modification I made was filling and repositioning the 2 outer machine guns on each wing.The model was sprayed with a mixture of Xtra and Vallejio acrylics,with details painted in Humbrol and Xtra colour enamels. Washes are done with heavily thinned acrylics.
Ariel is smoke coloured invisible thread and weathering is pastel chalks and silver pencil.Finally the model was finished with a couple of coats of Humbrol matt varnish from a rattlecan.
This Hurricane was built for the FUMS Campaign and Id like to thank Emeritus for sending me a spare decal set for it,as the Revell kit isnt available with these markings in the UK.
Good luck everyone!
Nige
hkshooter
Indiana, United States
Joined: May 04, 2006
KitMaker: 78 posts
AeroScale: 72 posts
Joined: May 04, 2006
KitMaker: 78 posts
AeroScale: 72 posts
Posted: Sunday, December 03, 2006 - 04:00 AM UTC
This is Revell of Germany's B-26. I rescribed the kit and added rivets. Seat belts are scratch built. Paints are Model Master metalizers and enamels, Alclad II, and Tamiya acrylics. Wash is MIG oils and flat coat is Poly scale. I must appologize for the messy bench. My space is limited.
CPTKelley
Pennsylvania, United States
Joined: January 15, 2005
KitMaker: 206 posts
AeroScale: 115 posts
Joined: January 15, 2005
KitMaker: 206 posts
AeroScale: 115 posts
Posted: Sunday, December 03, 2006 - 08:48 AM UTC
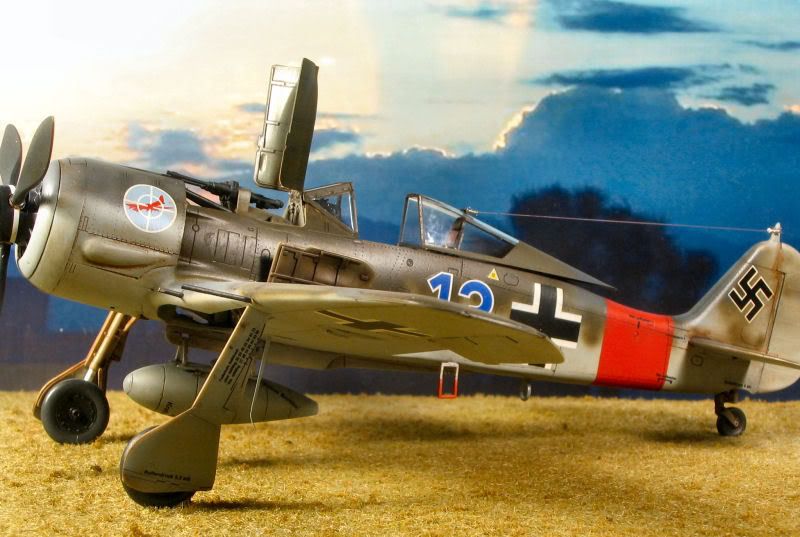
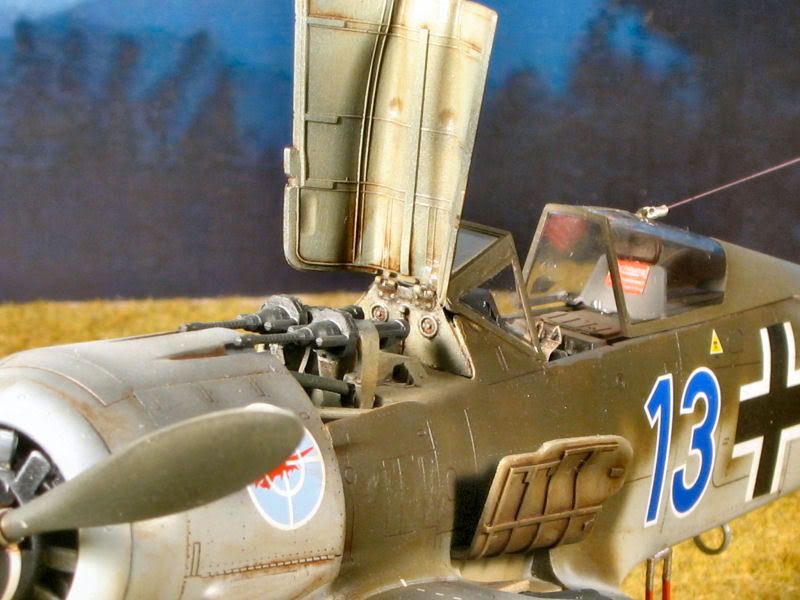
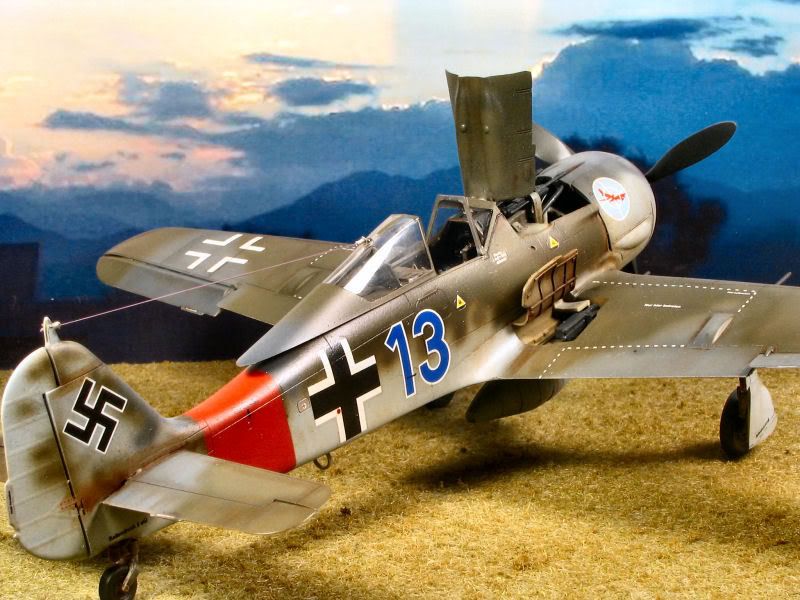
Presenting the Eduard Focke-Wulf FW 190A-8. Built mostly OOB, with the exception of brass tubing to replace the wing-mounted cannon. The pilot's boarding "ladder" is from a Tamiya "-F8", as I broke the kit-supplied one and it sailed off into the never. The aerial tensioners were fashioned from fine wire, and the aerial is E-Z line. Airbrushed with Tamiya acrylics, the model depicts "Blau Dreizen" (Blue 13)as flown by Walther Dahl, HQ/JG. 300, Juterbog AB, Dec 1944.
smithery
Ontario, Canada
Joined: March 30, 2004
KitMaker: 289 posts
AeroScale: 78 posts
Joined: March 30, 2004
KitMaker: 289 posts
AeroScale: 78 posts
Posted: Tuesday, December 05, 2006 - 09:49 PM UTC
Kit is the 1/24 Trumpeter Spitfire Mk. Vb, to which I added the following aftermarket items:
Cutting Edge Rotol prop and spinner, corrected seat and posable Sutton harness
Waldron cockpit placards
Warbird Productions corrected tailplanes, aerial mast
Painted with Gunze and Tamiya acrylics. Markings are for 302Sqn, and come from Techmod.
Cutting Edge Rotol prop and spinner, corrected seat and posable Sutton harness
Waldron cockpit placards
Warbird Productions corrected tailplanes, aerial mast
Painted with Gunze and Tamiya acrylics. Markings are for 302Sqn, and come from Techmod.
atoplu
Ontario, Canada
Joined: August 17, 2003
KitMaker: 753 posts
AeroScale: 174 posts
Joined: August 17, 2003
KitMaker: 753 posts
AeroScale: 174 posts
Posted: Tuesday, December 05, 2006 - 11:41 PM UTC
Here is my December entry for MOM.
This is Revell in 1/48 scale. Model mostly build OOB.
Thanks to all.
This is Revell in 1/48 scale. Model mostly build OOB.
Thanks to all.
csch
Buenos Aires, Argentina
Joined: December 27, 2002
KitMaker: 1,941 posts
AeroScale: 1,040 posts
Joined: December 27, 2002
KitMaker: 1,941 posts
AeroScale: 1,040 posts
Posted: Saturday, December 09, 2006 - 01:16 AM UTC
Hi all:
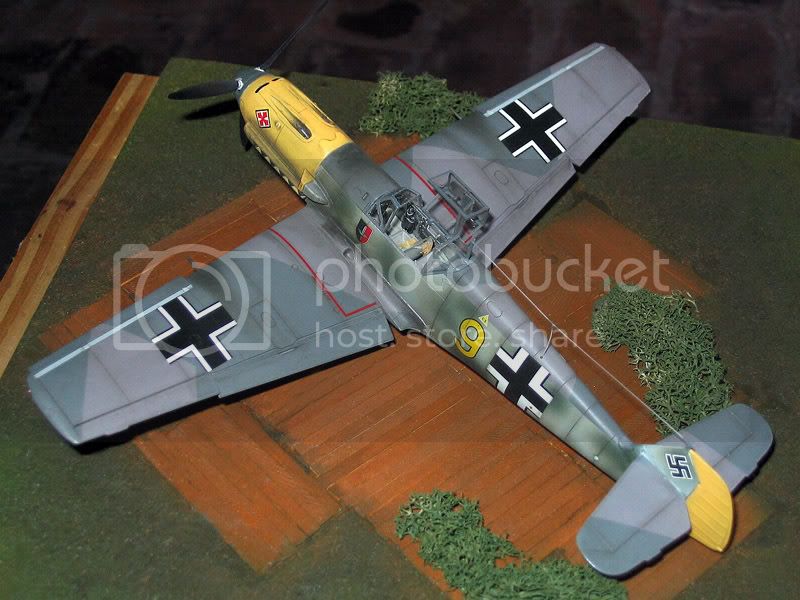
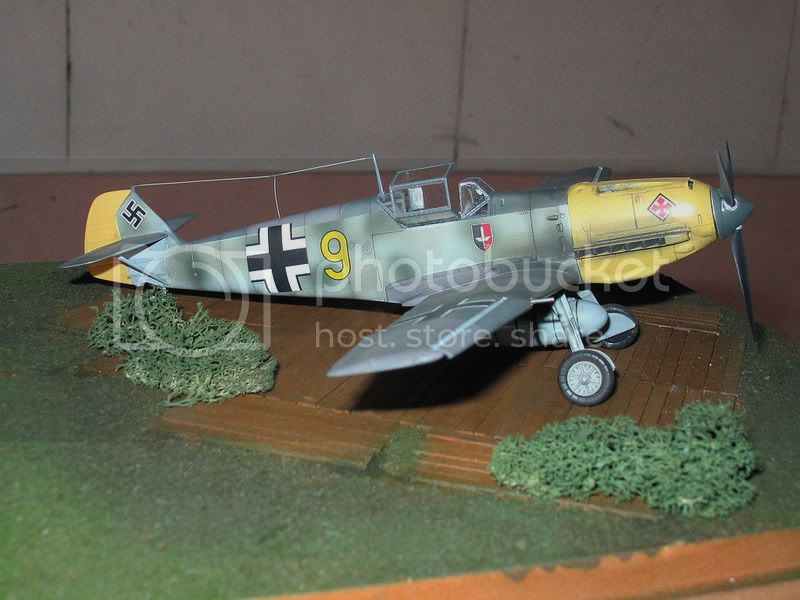
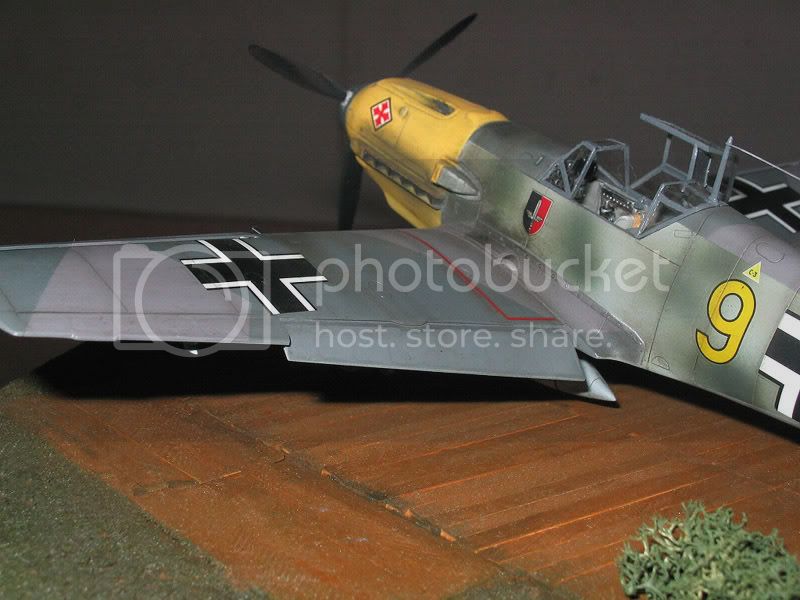
Here´s my entry for this month, a Bf 109 E7 - Tamiya in 1/48 - OOB
Paints: Model Master Enamels
Here´s my entry for this month, a Bf 109 E7 - Tamiya in 1/48 - OOB
Paints: Model Master Enamels
Posted: Wednesday, December 13, 2006 - 12:55 AM UTC
Here’s my entry for AOM
It’s the Minicraft Boeing 737 in Western Pacific "The Simpsons" Scheme. The kit was improved with the following:
1. Scratchbuilt the flight deck
2. Built new engine nacelles using the kit parts to make seamless intakes.
3. improved the wheel bays with pipe work etc (although you can't see it in the pics)
4. Painted the plane using Xtracolour Simpsons yellow, Thrifty Blue, Boeing Grey and Coroguard.
5. Used Daco's Skyline Western Pacific "The Simpsons" and Daco's 737 stencils decals
6. Used Daco's Boeing 737 etch detail sets for aerials, pitots etc
Choirboy
England - North East, United Kingdom
Joined: December 01, 2006
KitMaker: 77 posts
AeroScale: 18 posts
Joined: December 01, 2006
KitMaker: 77 posts
AeroScale: 18 posts
Posted: Wednesday, December 13, 2006 - 01:01 AM UTC
WOW! new respect Allen, new respect!
Posted: Wednesday, December 13, 2006 - 02:41 AM UTC
This is Airfix's 1/48 Tornado Gr1 converted to a GR4. The modifications made were:
• Airwaves GR4 conversion set was used
• Aeroclub’s Mk10 ejection seats was used.
• The kits Pitot tube was replaced with brass rod.
• I removed the over-sized pilot’s instrument panel combing and replaced it with one scratch-built from plasti-card.
• The flaps and leading edge slats were removed and I replaced them in the lowered position.
• The variable geometry wing inflatable bags were added using masking tape.
• The tail rudder was removed and offset it to one side.
• The rear wheels oleo struts were lowered to give the correct “sit” of the aircraft.
• Brake pipes were added to the main wheels and hydraulic pipes to the nose wheel.
• The FOD Covers for the intakes and exhaust jets were made from tissues and PVA glue.
• I painted the aircraft using Xtracolor paint to paint the main body colours.
• I used Xtradecals after market decals for the squadron markings and the kit supplied decals for the warning markings etc.
• I also added Verlinden's Remove Before Flight Tags on pylons, wheel pins, FOD guards and pitot tube.
Choirboy
England - North East, United Kingdom
Joined: December 01, 2006
KitMaker: 77 posts
AeroScale: 18 posts
Joined: December 01, 2006
KitMaker: 77 posts
AeroScale: 18 posts
Posted: Friday, December 15, 2006 - 01:38 AM UTC
Looking good sam!
Emeritus
Uusimaa, Finland
Joined: March 30, 2004
KitMaker: 2,845 posts
AeroScale: 1,564 posts
Joined: March 30, 2004
KitMaker: 2,845 posts
AeroScale: 1,564 posts
Posted: Saturday, December 16, 2006 - 03:46 AM UTC
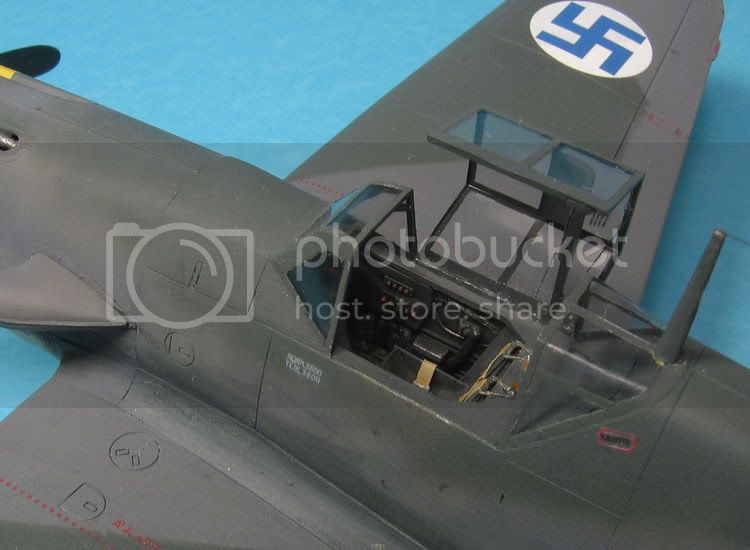
It's already a little late but here's my entry for this month's MOM, also an entry of mine for the FUMS campaign.
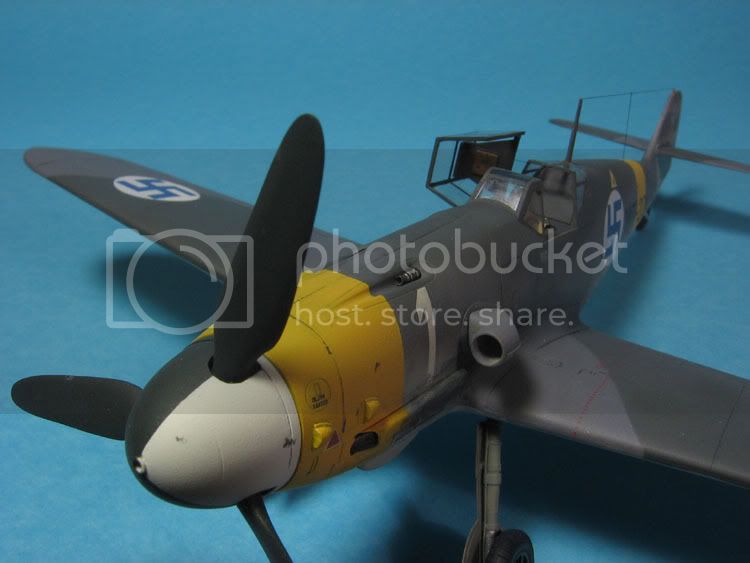
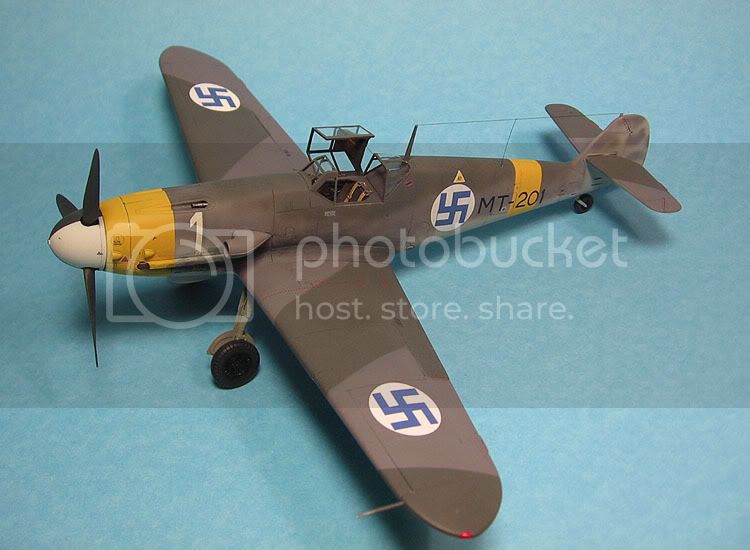
Hasegawa's 1:48 scale Bf-109 G2.
I detailed the model using a PE set by PART and some scratch-built stuff. Most of these additions went to the cockpit, including a new throttle-handle, wiring in the floor and walls, an oxygen hose made from guitar string, control cables running to the pedals etc. I also added diagonal hand-holds inside the front canopy section and replaced the gunsight glass with pieces cut from acetate sheet included in the PE set.
The model was painted in the standard luftwaffe day fighter scheme of RLM 76,75 and 74 using Xtracrylics. This was my first model with mottled camouflage painted free-hand with an airbrus.
The FAF markings included in the kit were for MT-201, "white 1", flown by Major Eino Luukkanen. After discovering the decals having gone bad with time, I replaced the markings with techmod decals. Stencils came from InScale's Bf-109 G6 sheet. They tended to silver too and I had to do some touching-up with a tiny brush. (The only kit-supplied decals were the number 1's, which I trimmed of extra carrier film to prevent silvering)
Weathering was kept to reasonable levels, to represent this plane being the first Bf-109 arriving to Finland. I applied some paint chipping and used pastels for the exhaust stains.
After a matt coat, the model was finished by attaching the antenna wire and glueing the canopy in open position.
Posted: Saturday, December 16, 2006 - 04:08 AM UTC
Nice one Eetu, just in before the deadline
OK Decembers MOM is now closed to entries, I will start the voting thread tomorrow.
Mal
OK Decembers MOM is now closed to entries, I will start the voting thread tomorrow.
Mal