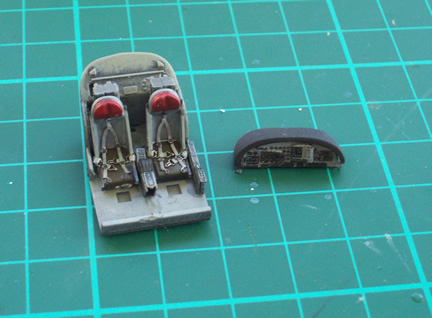
First photo of the Dragonfly. Commenced the PE implementation into a very small cockpit tub...
My impression of the kit so far:
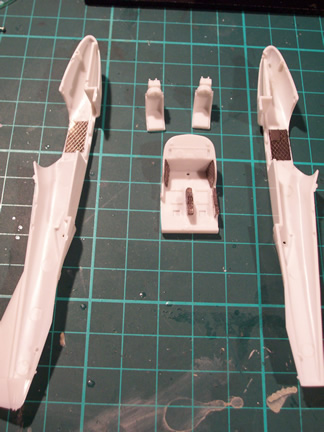
- Panel lines are way too shallow, I'll have to rescribe most of the plane if the panels are to be seen after the primer coat is applied.

- The 3-part seats are nice for the scale. Should look good with PE harnesses.
The panel line problem is interesting as the other academy kit of the A-37 (the actual Vietnam version) was molded in a grey plastic and, from memory, the panels were better scribed. This is the "Blackeagles" version and is in white plastic and the panel quality is very "fine".
Will get an image of the box art up tomorrow when I have better lighting.
Cheers
Wiz