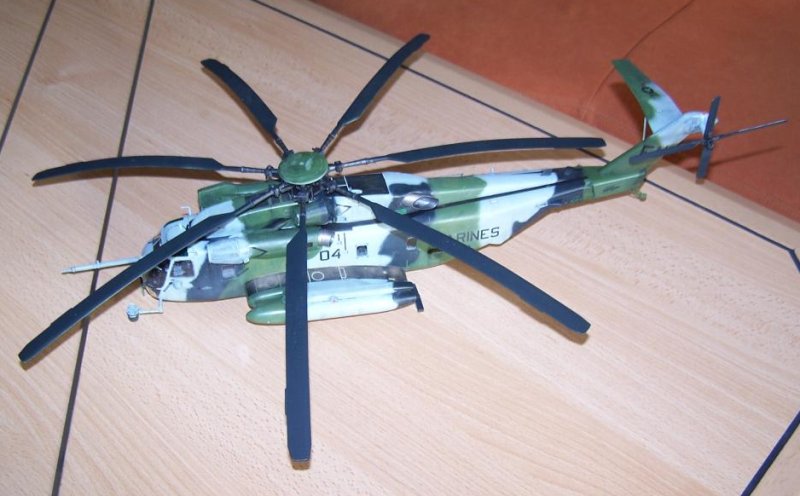
However, I was recently enticed across to The Dark Side of 1/48 aircraft by the release of Academy's Ch53-E Super Sea Stallion.
Nowadays I am very office-bound and 9 to 5, but in another life I was a foreign correspondent, and I covered a fair bit of Somalia in the air back in '93 riding in the bowels of these big bad birds with either troops or cargo.
I'll say right now that I intend this project to be a "no brainer" ... just a straight build with minimal enhancement.
Ever since Somalia I was wanted to build a Stallion, but I could only find 1/72 examples, and the Revell offerings (most of which were "Jolly Green Giants") looked a bit too much like hard work.
Now I haven't put a micrometer across the Academy kit, but I must say I am impressed with the common sense engineering and it captures the "look" of the Stallion well enough to evoke all sorts of fond memories.
I particularly like the one piece clear cockpit front, which allows the interior to be completely finished before it is "sealed up" behind the single part.
I've found that any effort expended on vehicle or aircraft interiors is largely wasted and I will only be adding some seat belts to the pilot seats and seeking out some finer .50 cal door guns.
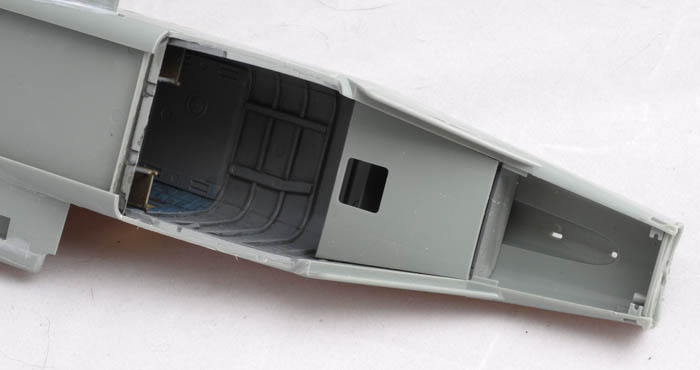
However, I do have to question why the cargo compartment roof and walls have pin ejector marks on the internal (ie those with the detail) surfaces when they could easily have been forever banished away sandwiched against the inner walls of the fuselage halves!
At the end of the day I didn't bother with them (I plan to firmly set the finished model down on a base) but filling them will be a tedious (and in my opinion, avoidable) job, especially around the ribbed section at the rear.
That said, Academy got it right on the cargo compartment floor, which has the ejector pin marks underneath, and hence they are ultimately invisible once it is in place.
I have deviated from the instructions (as most of us do) and joined the internal walls and ceiling for painting as well and gluing the floor in to place into the port side fuselage half.
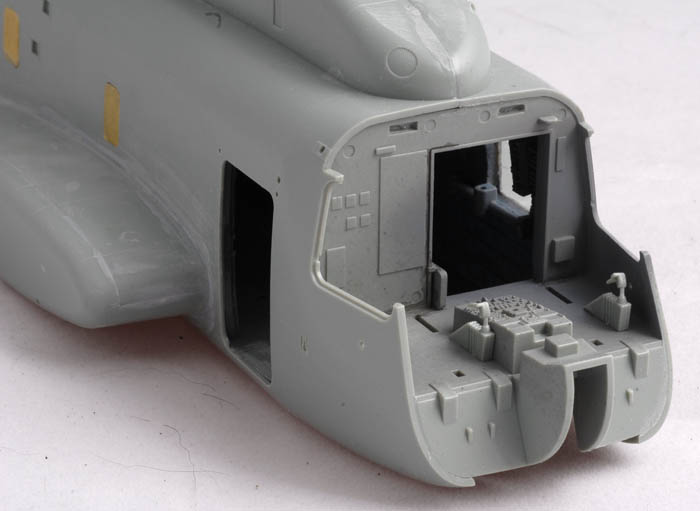
The cargo compartment has now been painted (gull grey with blue grey cladding) and given a light wash and scuffing.
I plan to have all doors open, which will make the task of firmly joining the cargo compartment walls to the outer fuselage halves - something which will need to be done progressively - easier.
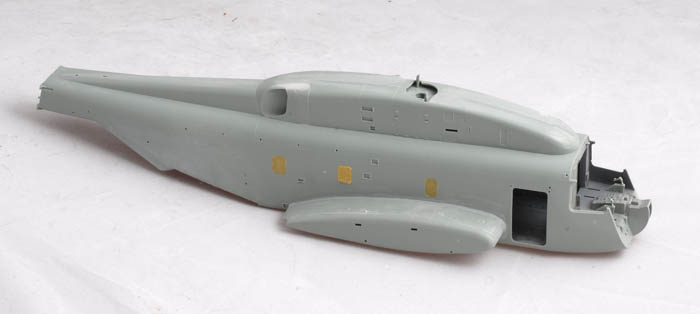
The inner walls go over the side windows, and I glued the clear inserts in to the outer shells after masking their outer surfaces.
Anyway, here's a couple of progress pictures in this, my first submission to a model aircraft forum!
The freshly painted cargo compartment:

Lightly weathered, windows installed and ready to go together:

I should have the fuselage in one piece in the next few days and will post an update.