_GOTOBOTTOM
Pre-Flight Check
Constructive critique of your finished or in-progress photos.
Academy 1/72 P-40E Warhawk
goldstandard
_VISITCOMMUNITY
California, United States
Joined: March 29, 2007
KitMaker: 208 posts
AeroScale: 186 posts
Posted: Thursday, April 05, 2007 - 10:09 AM UTC
Hi, I just recently started modeling again and this is my second try after doing a 1:48 P-38 that didn't quite turn out the way I wanted it to. This is the first model I have ever displayed on these forums. I am pretty satisfied as it was my first attempt at weathering with washes and drybrushing. For some reason the flat lacquer coat turned out glossier than I expected, and the wash wasn't as well done as I had hoped. I made the mistake of using too much which gives the plane an overly grimy look, which might look right on a tank but I doubt it for this. The drybrushing was very conservative, didn't want to go for any spectacular effects, but I think I overdid it a bit on the elevator's leading edge.


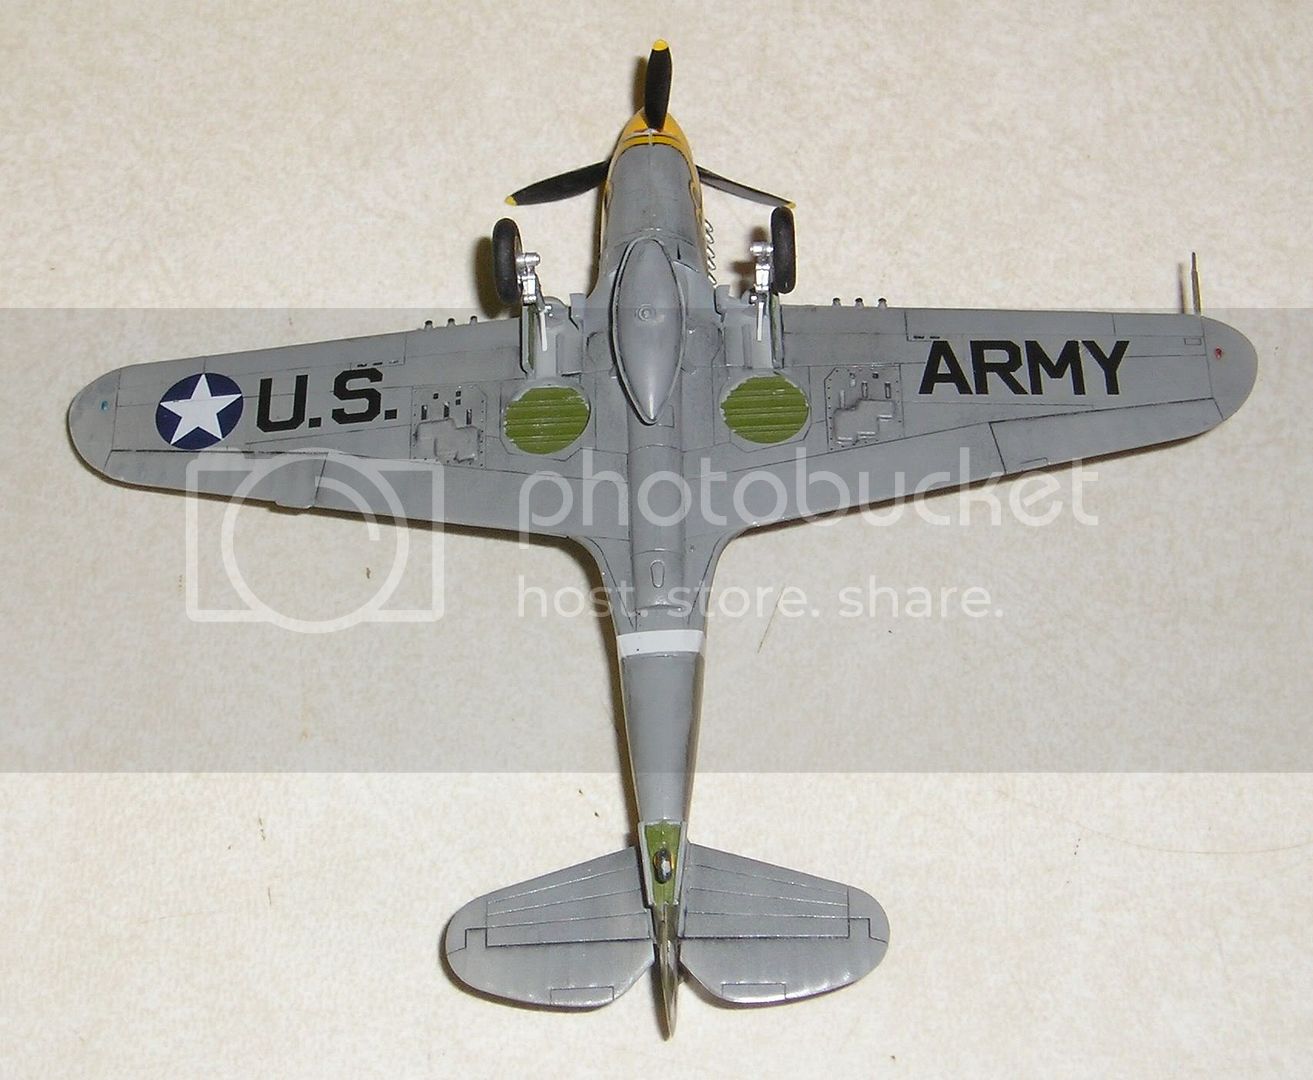
I am happy with the undercarriage and landing gear though, as the inner doors were a royal pain to put on, because of the tiny surface area for bonding. I eventually scribed a small line to stick it on more easily.


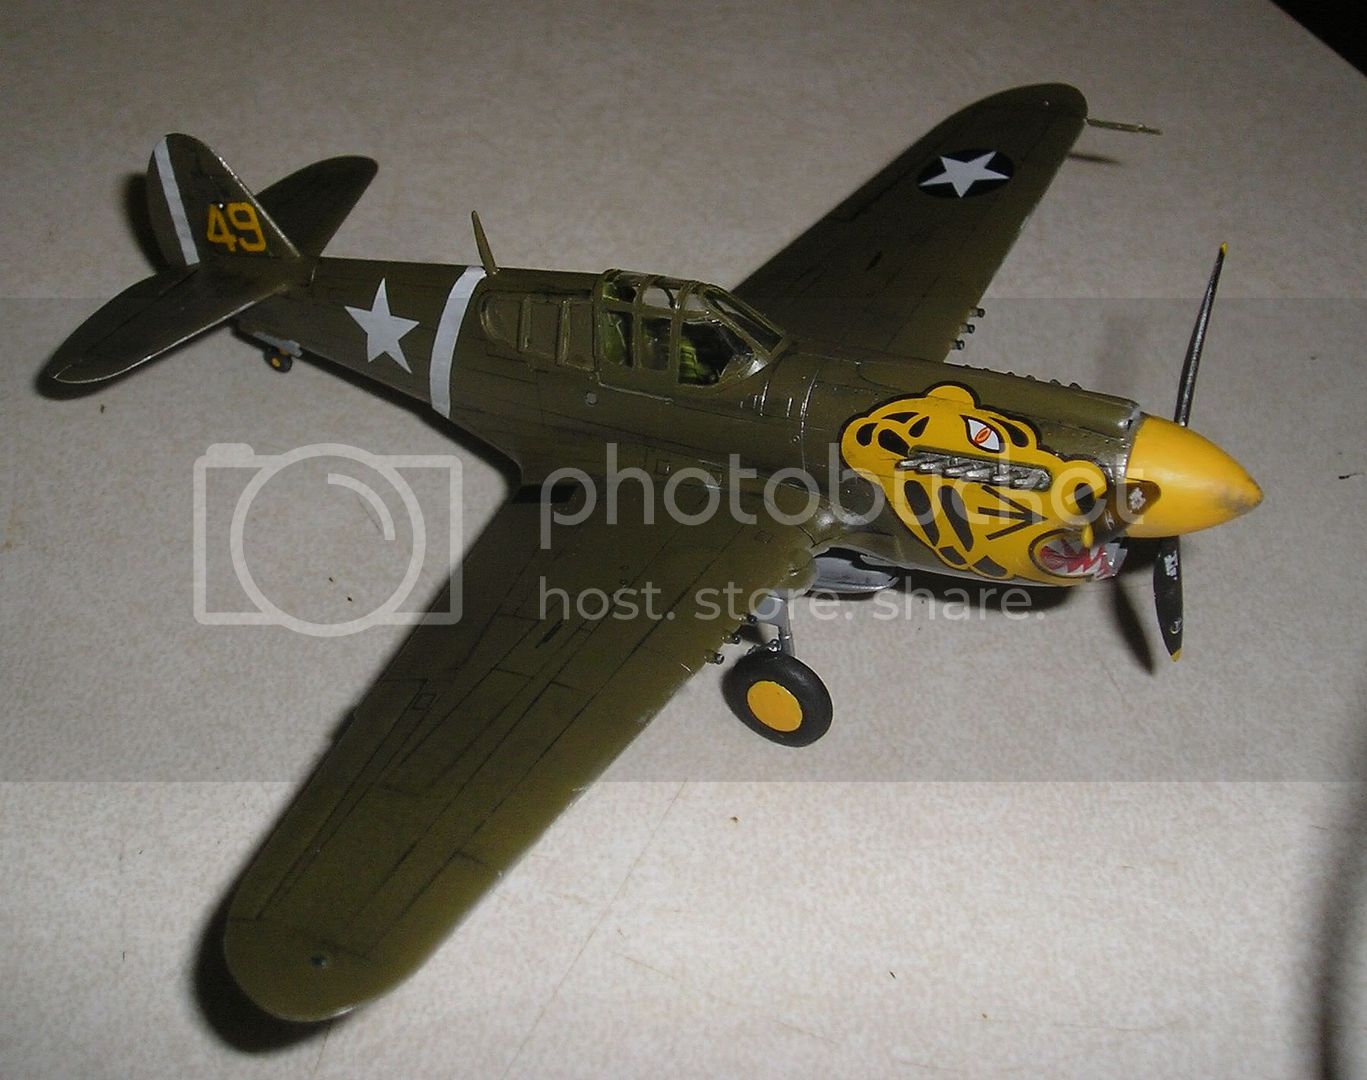
I used rubber cement to hold the middle cockpit in place temporarily while I didn the finishing. This allows me to remove it to better show the interior detail. One thing I don't like about the canopy is that it is so thick that even when the canopy is closed you can tell it is too thick by how far it bulges up above the rear fuselage.


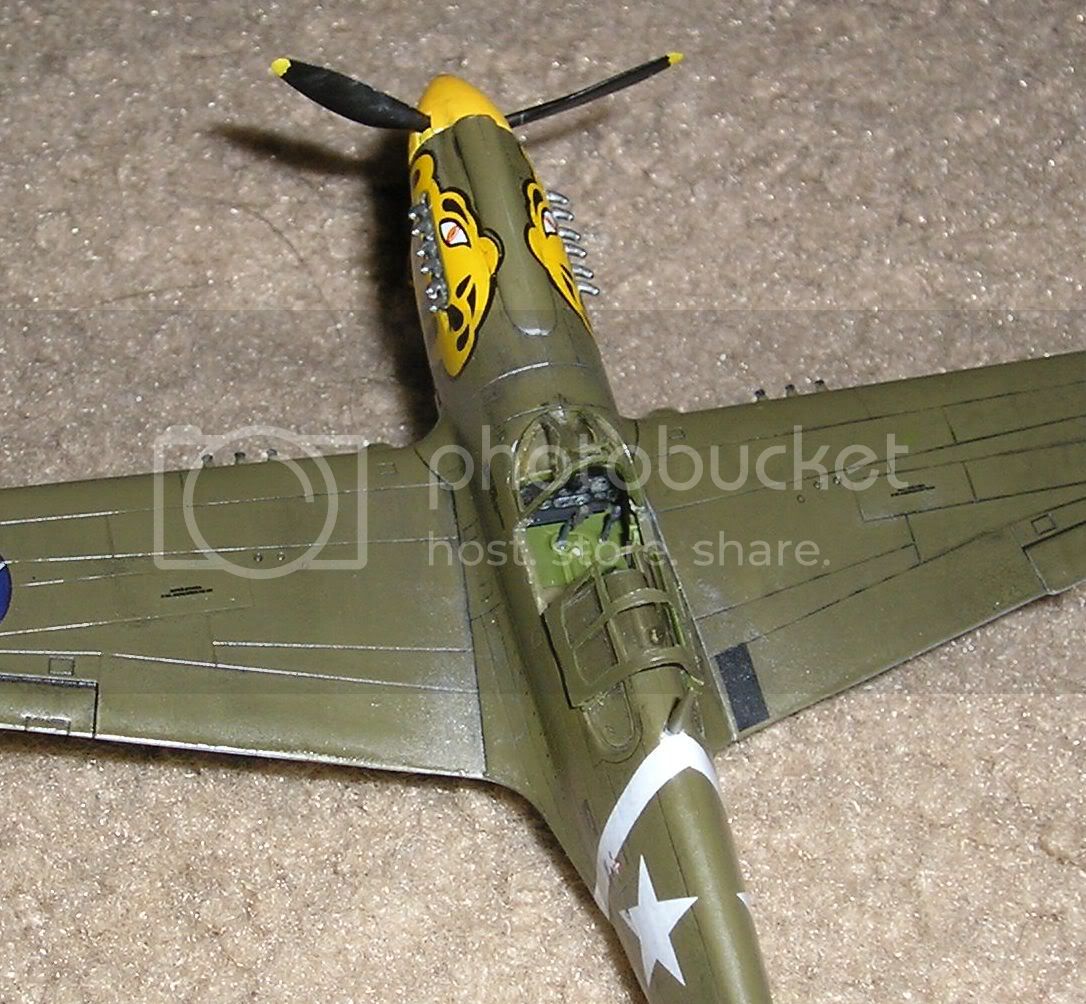
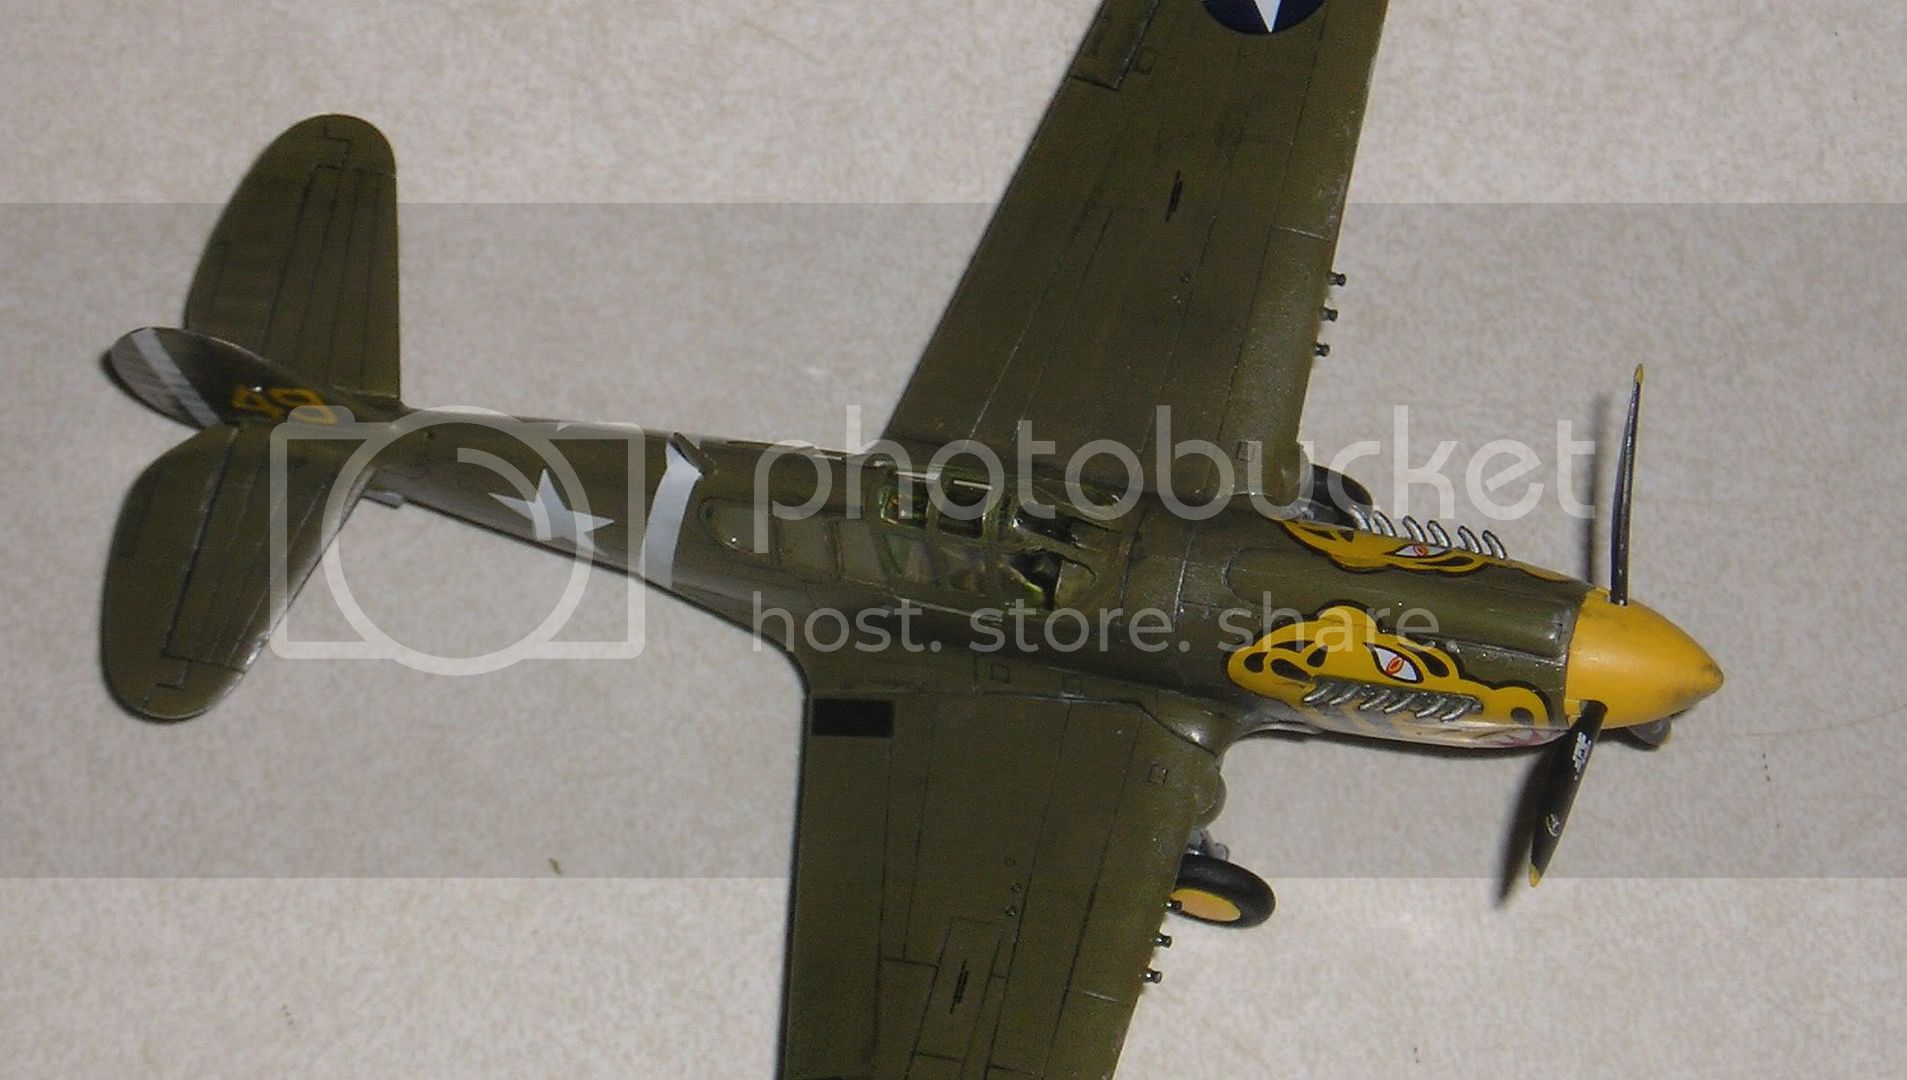
Last but not least, I really like the model from this angle.


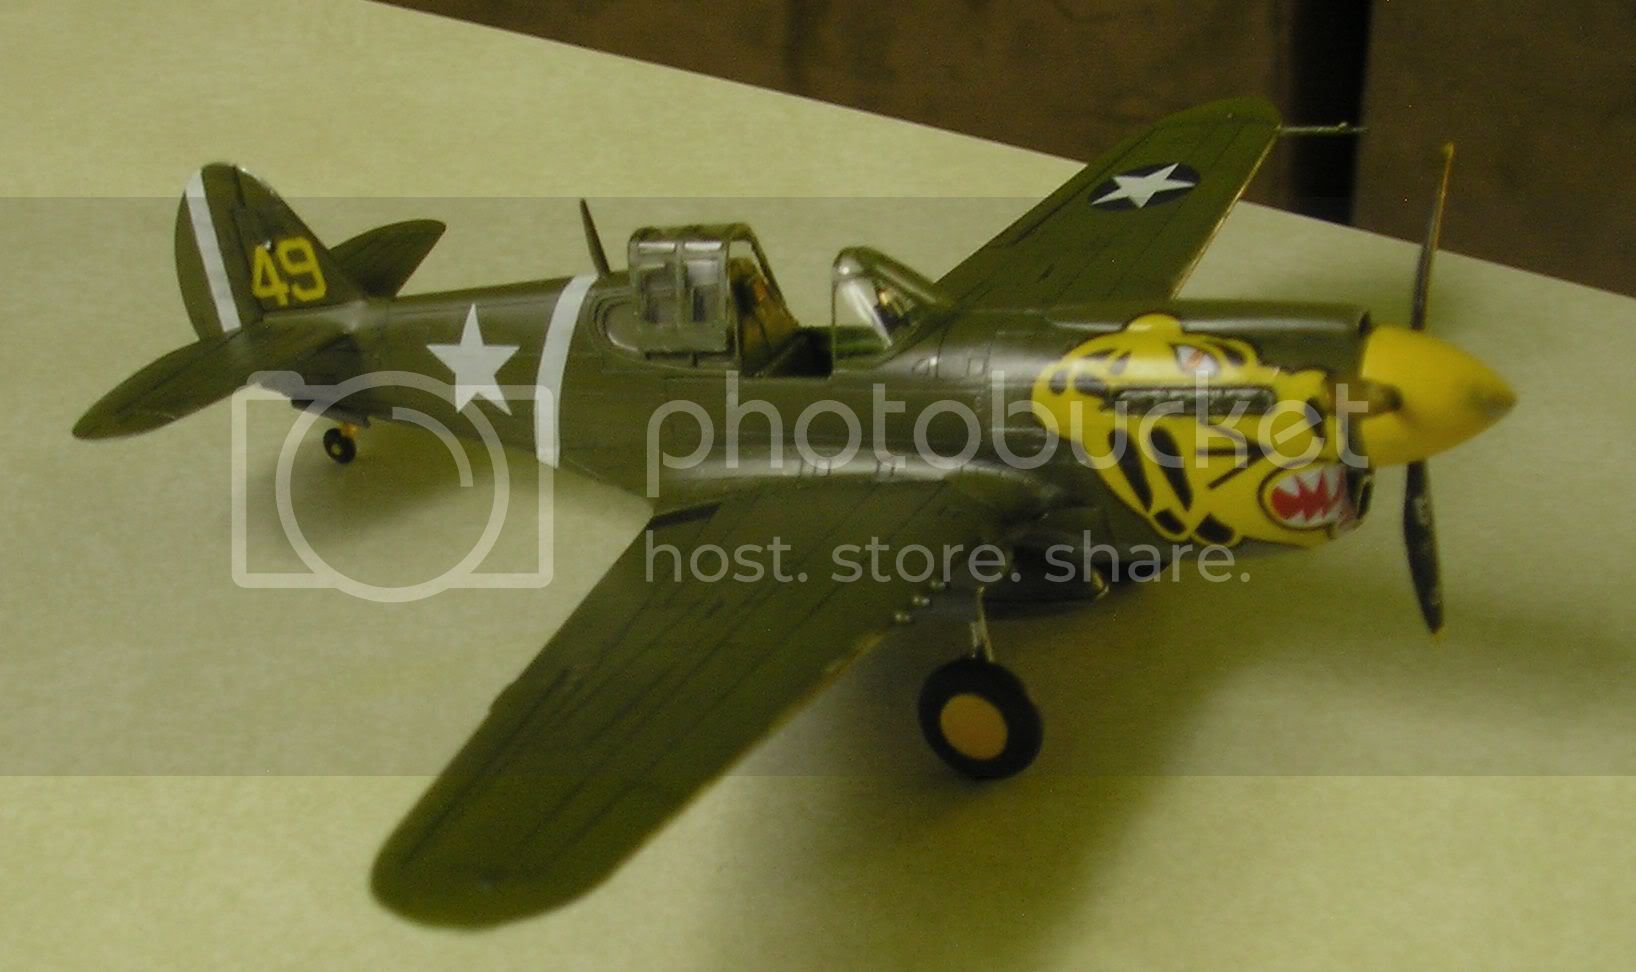
So, any suggestions for improvements? I made some obvious mistakes with the wash, and I got the placement of the white stripe decal on the fuselage a little wrong.
Siderius
_VISITCOMMUNITY
Tennessee, United States
Joined: September 20, 2005
KitMaker: 1,747 posts
AeroScale: 1,673 posts
Posted: Thursday, April 05, 2007 - 06:40 PM UTC
Looks good. I recently built this same kit. How do like Academy decals? They aren't the best in my experience. You have to apply a good gloss coat over the model before decaling to get them to adhere right.
As for weather, well, it got pretty muddy up in Alaska where this bird was based so you really might not of over weathered at all. A lot of grime and mud would splash around you know. Hope to see more from you. Take care. Russell
Removed by original poster on 04/06/07 - 20:42:12 (GMT).
Removed by original poster on 04/06/07 - 20:42:44 (GMT).
goldstandard
_VISITCOMMUNITY
California, United States
Joined: March 29, 2007
KitMaker: 208 posts
AeroScale: 186 posts
Posted: Friday, April 06, 2007 - 03:28 AM UTC
The academy decals were somewhat painful to work with, especially the nose art. It didn't want to stay where I wanted it and I had to fight with them to get them to sink into the recessed spaces. To add insult to injury when they dried the edges came up and I finally just stuck them down with several strokes of Future floor wax. For the wing decals I found that wetting a brush with water helped to drive out the air bubbles. What I did was apply the brush to the edge to allow water to seep under and force out the air though capillary action. As it dried the water left very little air under the decals.
 _GOTOTOP