_GOTOBOTTOM
Pre-Flight Check
Constructive critique of your finished or in-progress photos.
WIP: Toko 1-1/2 Strutter, Single Seat Bomber
goldstandard
_VISITCOMMUNITY
California, United States
Joined: March 29, 2007
KitMaker: 208 posts
AeroScale: 186 posts
Posted: Thursday, May 10, 2007 - 09:12 AM UTC
Hello there. After finishing my Sopwith Camel I have decided to start work on better quality WWI kits, starting with this Toko 1-1/2 Strutter.


To begin I will start with the engine and cockpit first. The engine appears to be a Clerget rotary, and from some reference pictures I decided to ignore the kit instructions to use gunmetal in favor of plain testors aluminum with a light wash of lamp black oil paint.


The cockpit is very simple and the kit lacks an instrument panel. I will have to scratch one before continuing. I intend to try and make a seat harness using some paper. I opted out of painting the rear of that piece since there will be no back seat anyways.


As always, comments and criticism are welcome.
goldstandard
_VISITCOMMUNITY
California, United States
Joined: March 29, 2007
KitMaker: 208 posts
AeroScale: 186 posts
Posted: Thursday, May 10, 2007 - 01:38 PM UTC
Ok, I am done for the night. when doing initial dry fitting I discovered that the fuselage looked a little pinched. I eventually fixed it by using a thick piece of plastic rod to push the halves out a little. I had to leave a small gap in the area just aft of the rear seat to ensure that it was wide enough for the top half.


I have read on the forums that the French painted the metal parts of their aircraft interiors a light blue, and I see it done on a restoration of a French Strutter, so I chose to paint the seat blue, with a leather bottom to reflect that reference as well. the instructions simply say to lay the cockpit assembly on the floor of the fuselage, but then the seat seems too far down for the pilot's head to stick out. References also seem to show the seat being higher up. So, I remedied this with some plastic rod acting as a spacer, with a new floor added to cover it up.


Finally, here are the rest of the pictures with the cockpit added on:


Tomorrow I plan on giving the interior a coat of doped fabric color, but I still need to figure out how to make a passable cockpit without diepunches.
JackFlash
_VISITCOMMUNITY
Colorado, United States
Joined: January 25, 2004
KitMaker: 11,669 posts
AeroScale: 11,011 posts
Posted: Thursday, May 10, 2007 - 02:37 PM UTC
Well begun is half done.
stm
_VISITCOMMUNITY
Florida, United States
Joined: March 07, 2004
KitMaker: 98 posts
AeroScale: 96 posts
Posted: Thursday, May 10, 2007 - 08:21 PM UTC
Just looking at those photos makes my eyes hurt! It's coming along nicely so far Michael!
goldstandard
_VISITCOMMUNITY
California, United States
Joined: March 29, 2007
KitMaker: 208 posts
AeroScale: 186 posts
Posted: Sunday, May 13, 2007 - 12:47 PM UTC
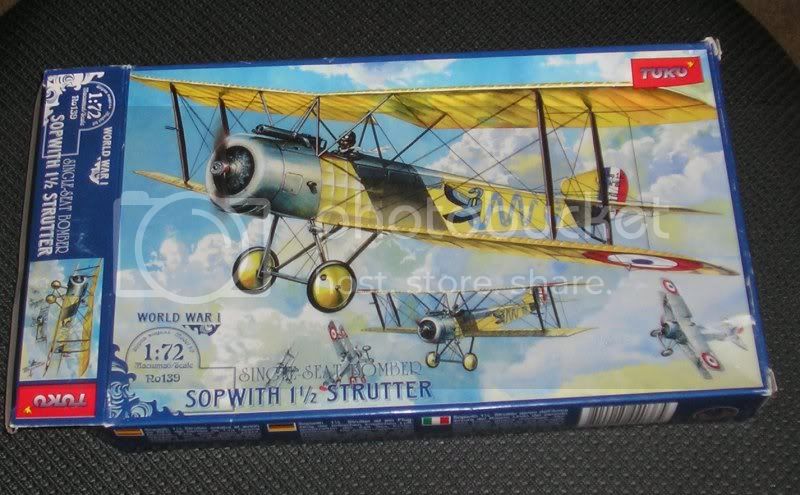
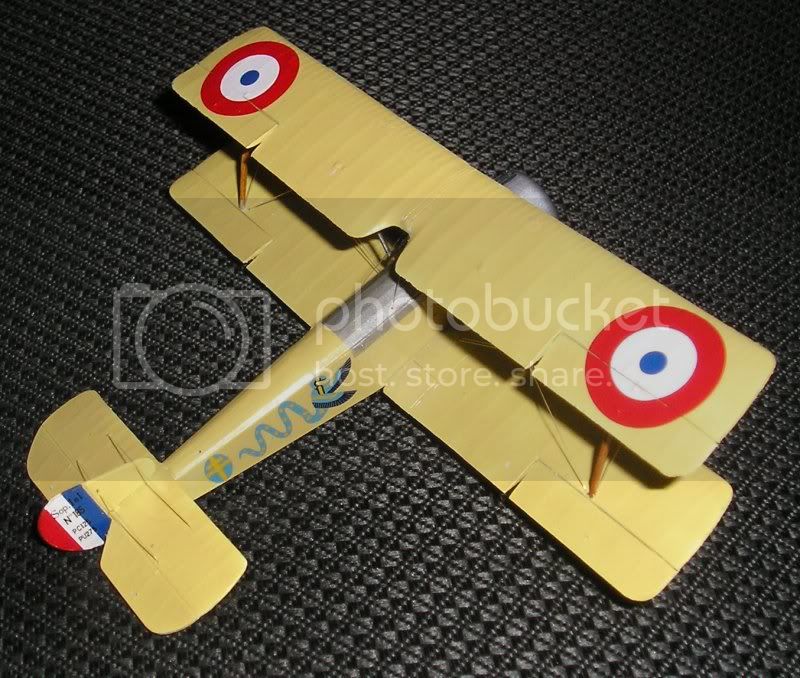
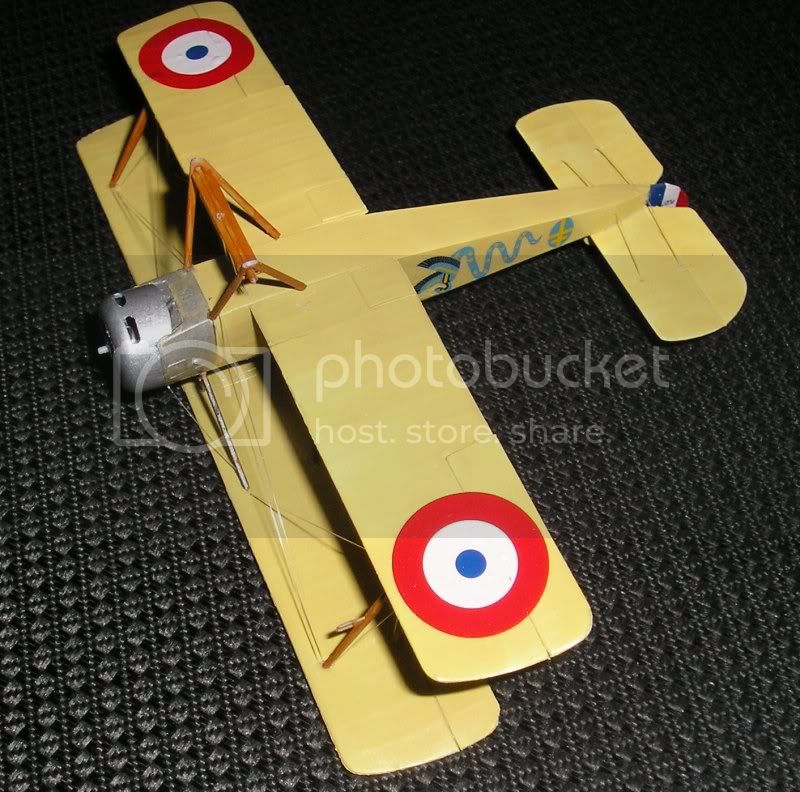
Well, my sister took the good 6 megapixel camera on vacation, so I am stuck with the crummy 10 megapixel one till at least tuesday. (Megapixels aren't everything)

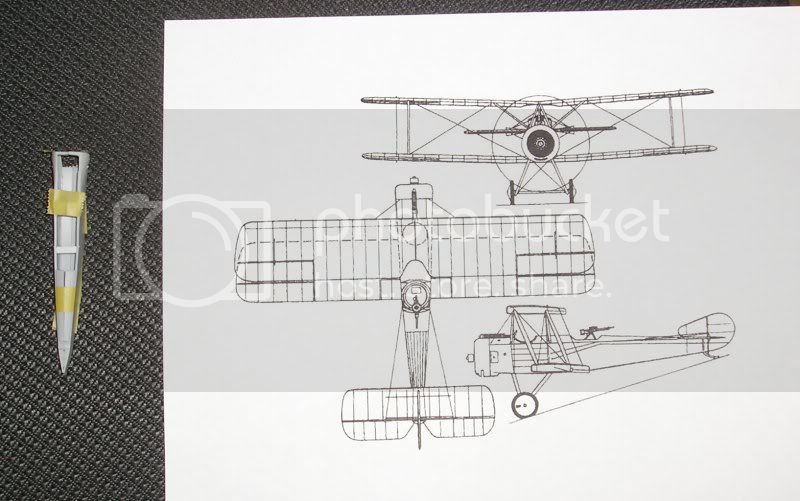
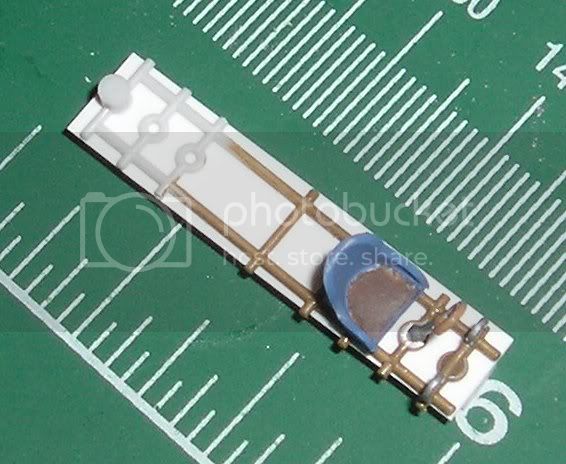
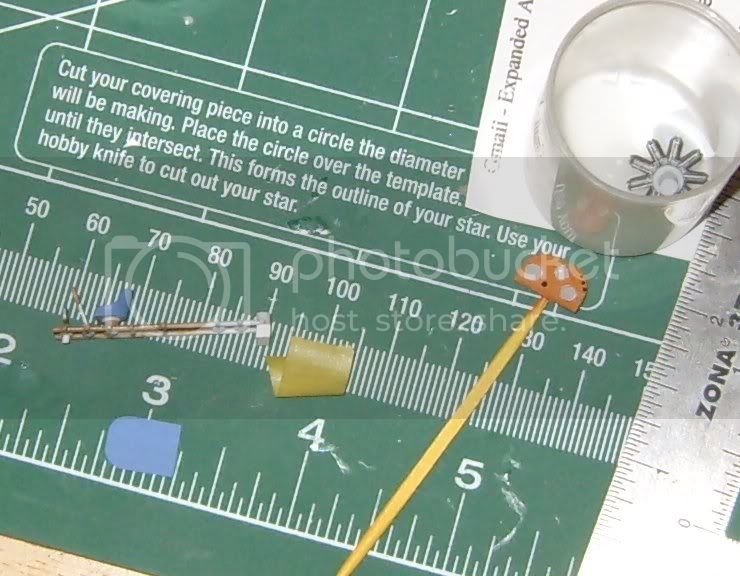
After much struggle, I managed to coax some fairly decent photos out of it, after getting a considerable amount of work done on the model. I scratched a crude instrument panel, which is flat with some circles painted on it to represent dials. It is very small and will be almost invisible to anyone but a member of the flashlight brigade anyways.

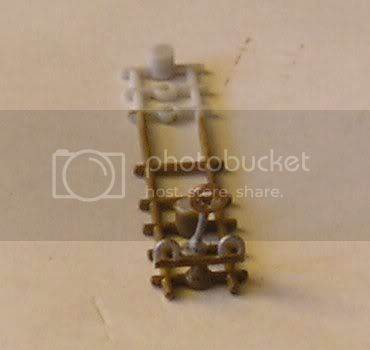
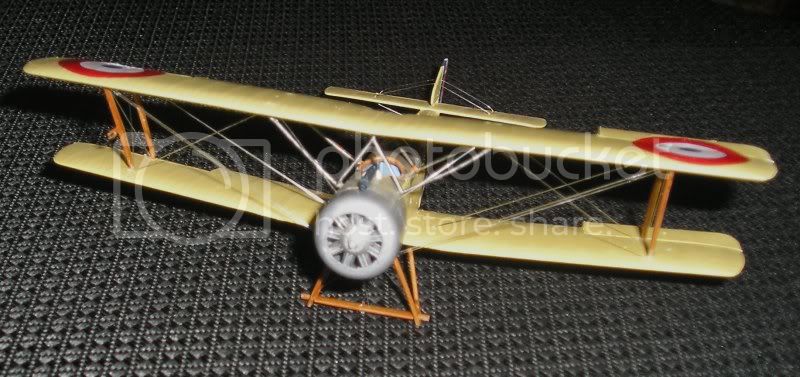
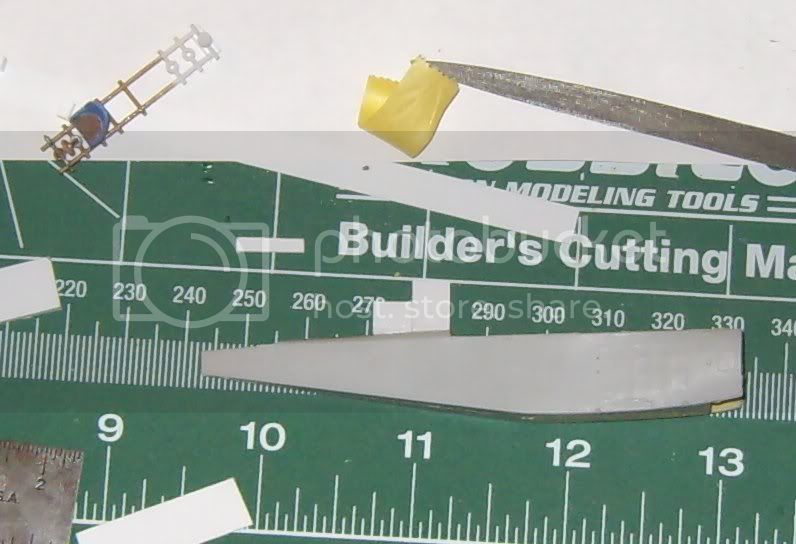
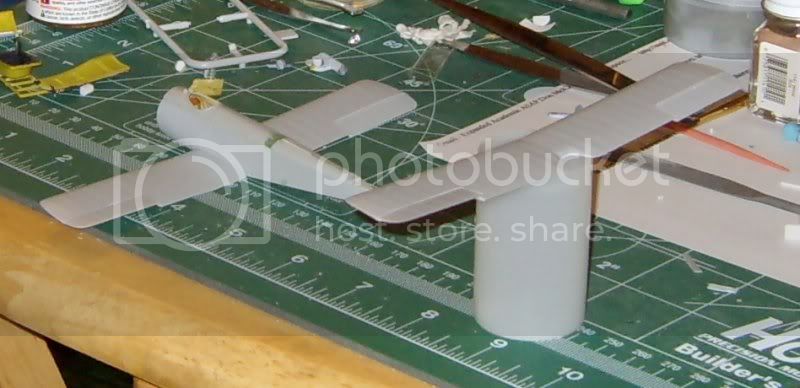
I changed my mind about using a false floor. Instead I placed two small pieces of plastic rod at each end, hidden from view, to elevate the seats a bit:


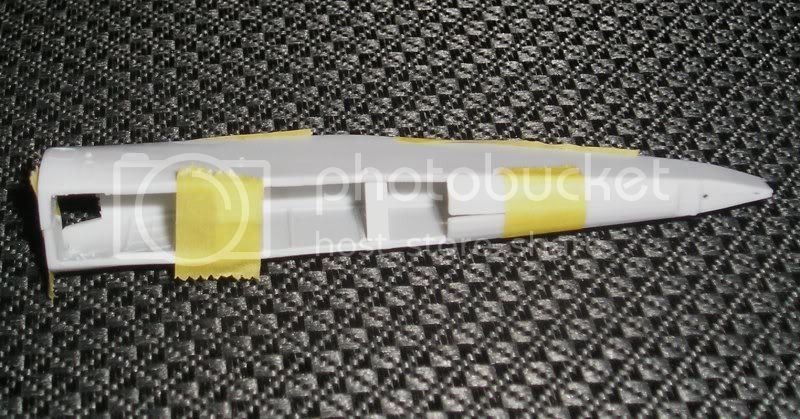
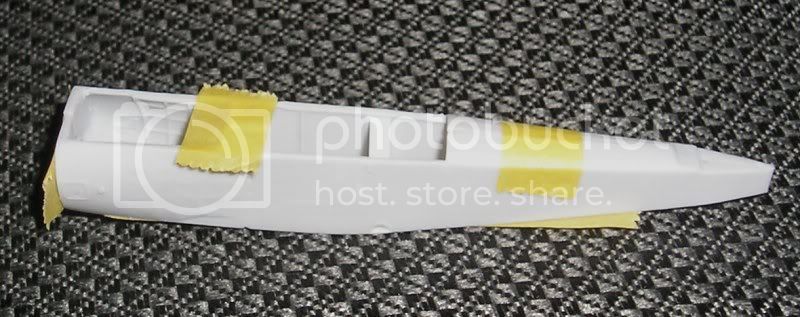
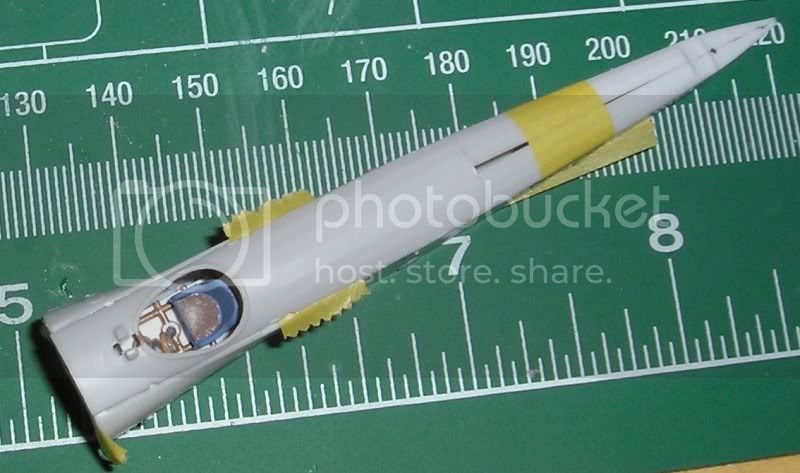
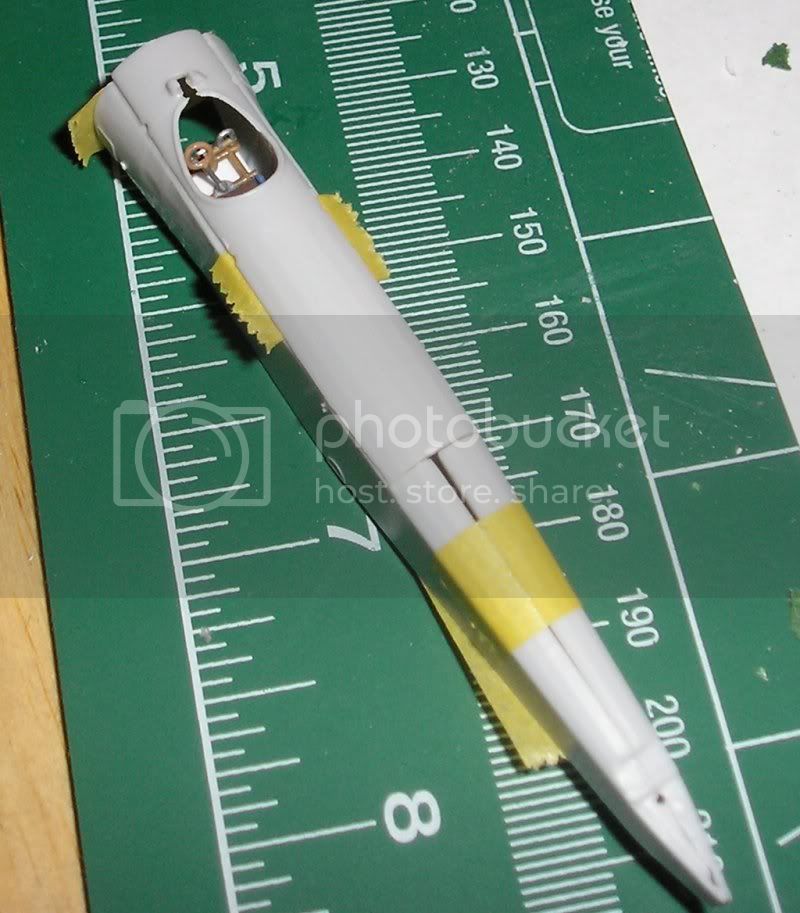
I went ahead and joined the fuselage halves together, placing some shims in the top seam aft of the cockpit. I left the top front unglued so I could install the scratchbuilt fuel tank facade once the cockpit was in. It was so skinny I just slid it inside and tacked it with superglue.


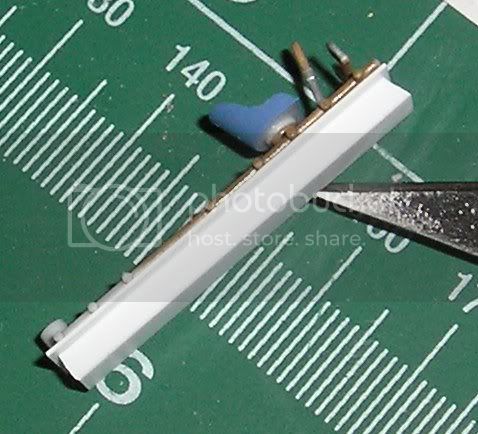
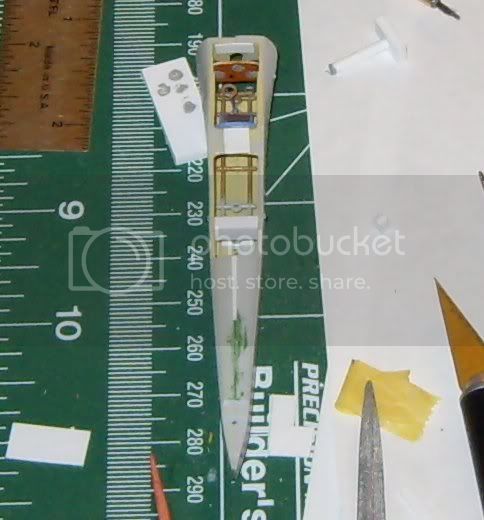
Here is the finished cockpit before sealing it up for good:


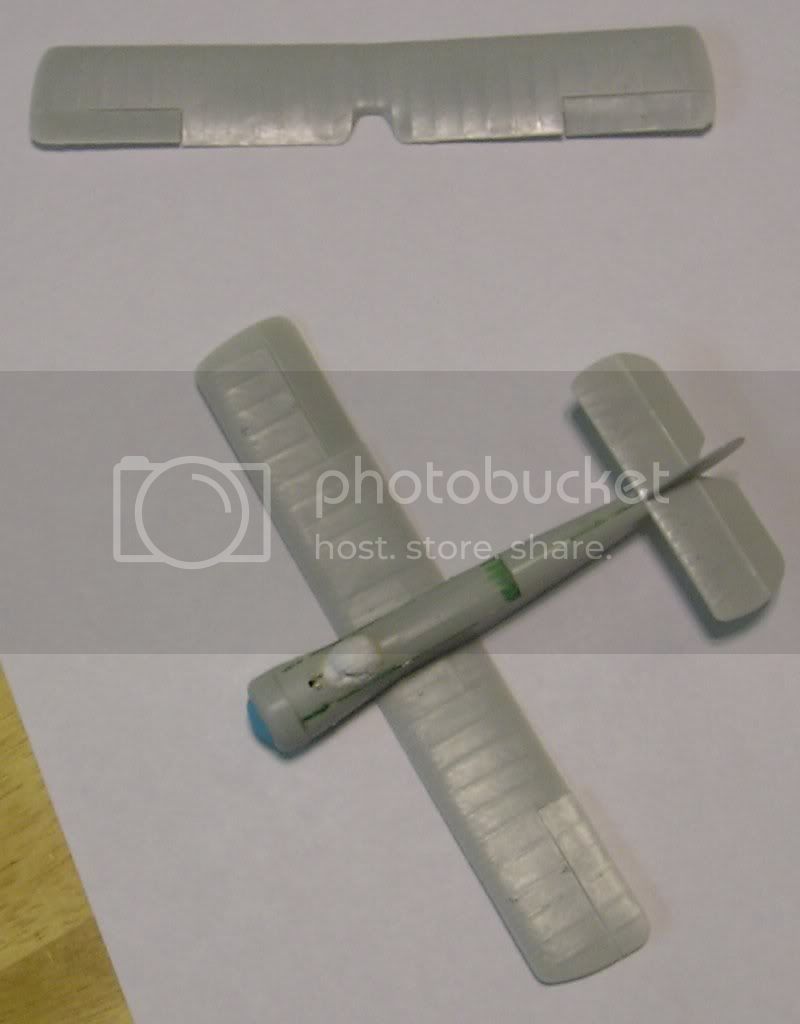
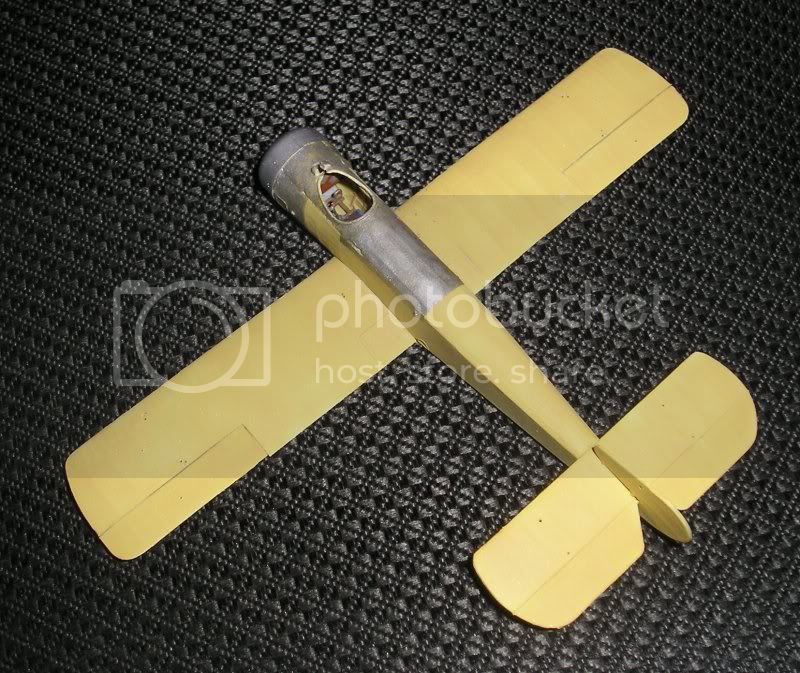
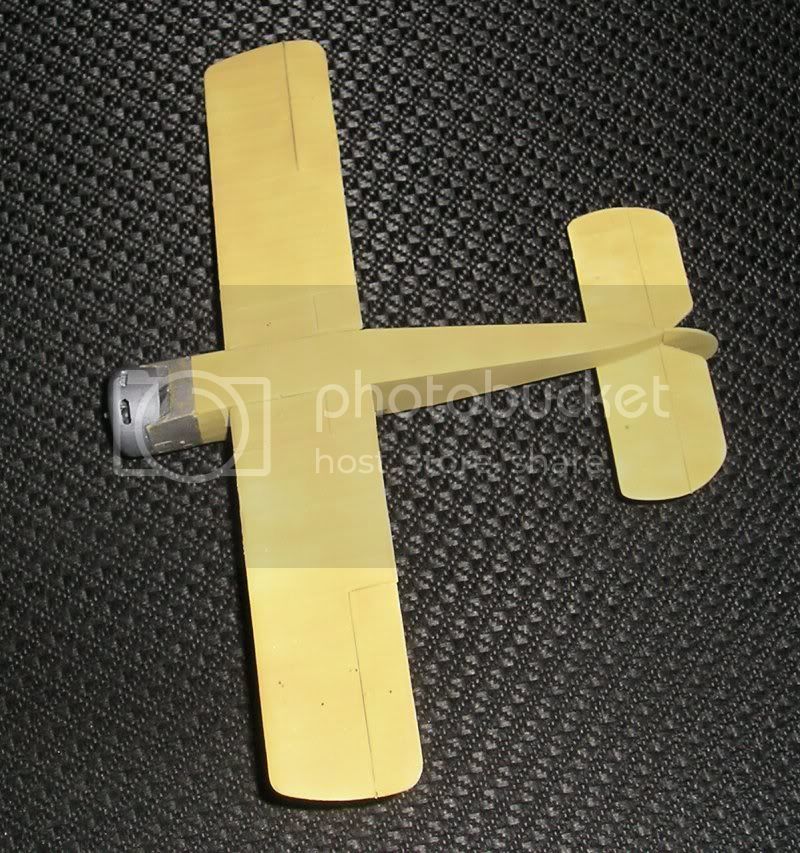
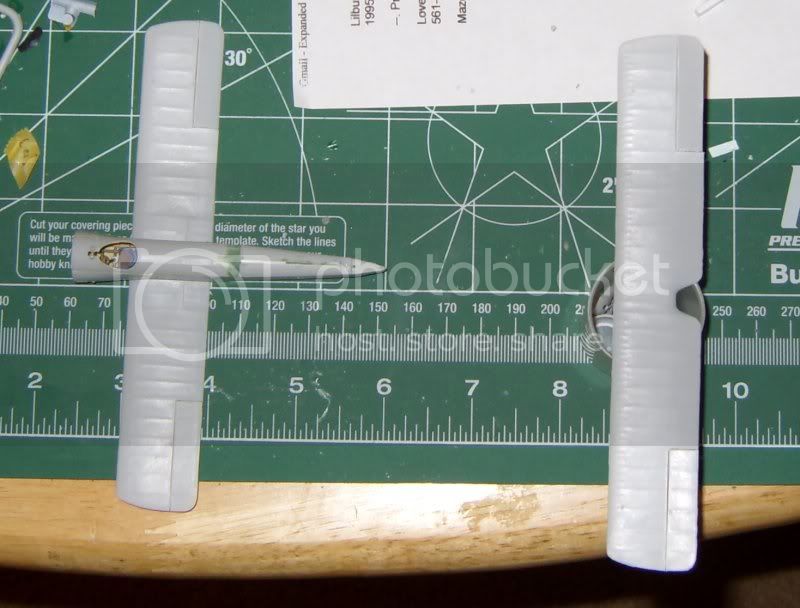
The wings werent so easy to do. The Toko kit has both bottom wings separate, and requires a difficult butt join. I was able to do this, and holding it up to my 3 way reference it seems acceptable. I also carefully cut off the ailerons and reglued them to match the control column leaning to the left. It leans forward too so the tail fin is gonna be made to match that too. But that is for later. I am tired...


As always, comments and criticism welcome.
Murdo
_VISITCOMMUNITY
Scotland, United Kingdom
Joined: May 25, 2005
KitMaker: 2,218 posts
AeroScale: 211 posts
Posted: Monday, May 14, 2007 - 01:49 AM UTC
That looks SO SMALL!
goldstandard
_VISITCOMMUNITY
California, United States
Joined: March 29, 2007
KitMaker: 208 posts
AeroScale: 186 posts
Posted: Tuesday, May 15, 2007 - 11:17 AM UTC
Well, it does manage to be larger than that Academy Sopwith Camel I recently finished. I have added on the engine, cowling, and tail feathers to this bird, and after a little seam filling and sanding this fellow I gave him several light coats of Tamiya white primer. I think I will go ahead and give it the bare linen base coat later tonight.


I have yet to get the flex-i-file I ordered from Rollmodels, so sanding was a bit more troublesome than it would have been otherwise. I think next time I will use the nailpolish remover technique with the putty because sanding caused a few details to be removed. I also cut off all the control horns on the ailerons and tail feathers because they werent well formed and looked like they would get in the way of decals. I will be replacing them after the painting is done and touch them up but I am not sure what material I should use. Any suggestions?
goldstandard
_VISITCOMMUNITY
California, United States
Joined: March 29, 2007
KitMaker: 208 posts
AeroScale: 186 posts
Posted: Tuesday, May 15, 2007 - 12:42 PM UTC
Ok, I laid down a base coat of matt linen color, though it seems a little more yellow than I wanted...


goldstandard
_VISITCOMMUNITY
California, United States
Joined: March 29, 2007
KitMaker: 208 posts
AeroScale: 186 posts
Posted: Tuesday, May 15, 2007 - 01:46 PM UTC
Well, I decided to pull an all nighter, and get some more of this done. I have tried to recreate the subtle tonal changes in wood at 1/72 with Tamiya Buff and a mixture of burnt sienna and yellow ochre oil paints. Now all that is left to paint are the machinegun, bombs, and wheels.

goldstandard
_VISITCOMMUNITY
California, United States
Joined: March 29, 2007
KitMaker: 208 posts
AeroScale: 186 posts
Posted: Tuesday, May 22, 2007 - 10:40 AM UTC
Well, the illness got the best of me for a while. That and final exams.

Anyways, I went ahead and finished up by doing the cowling and such, I masked and handpainted the nose with testors aluminum and did the rest with the airbrush in Testors Steel. I don't know if it was the paint or if it was my airbrush, but it just started spatering and made it really hard to lay down an even coat. I went ahead anyways, but there is some patchiness evident in the coat. I am soaking the airbrush parts in paint thinner overnight to see if it helps any.


Now I just have to get out the future and prep the plane for its decals.

As always, comments and suggestions welcome.
JackFlash
_VISITCOMMUNITY
Colorado, United States
Joined: January 25, 2004
KitMaker: 11,669 posts
AeroScale: 11,011 posts
Posted: Tuesday, May 22, 2007 - 08:36 PM UTC
Bob Ross the painter (landscapes) had a motto. "There are no mistakes in painting just happy accidents." The minor imperfections in the metal colours will tend to make it look more like metal "IF" kept in scale. Unless the finish is polished or chromed metal can be pretty mottled. Even machined metal (hammered) may have panels that differ slightly in color - one from another that is.

The upper cowling decks from the cockpit and behind were probably done in either plywood or metal. depending on if it was factory (plywood) or an in the field repair.

Looking good over all.
goldstandard
_VISITCOMMUNITY
California, United States
Joined: March 29, 2007
KitMaker: 208 posts
AeroScale: 186 posts
Posted: Wednesday, May 23, 2007 - 12:20 PM UTC
Well, I decided to spend the day applying decals and doing the final assembly. It seemed that everything that could have gone wrong did go wrong. The snake decals broke into little pieces and I had to nudge them together on the fuselage. Then I got to the fun part, attaching the upper wing...

It seems as if the center struts were made simply to make me miserable. I ended up having to trim them a little and that still didn't solve the problem completely. After the whole ordeal was over I looked around the web and found a build review that points out that the 4 outer holes for the center struts are too close together. So your options are basically to trim the struts or fill the holes and move them out a little.

The outer wing struts were just as bad. I had to press the wings closer together with one hand and position the strut with the other, and the other side kept popping loose.

Then when it was all done I realized the upper wing was very slightly twisted out of alignment. I think I might be able to fix it in the rigging stage though, but after spending 3 hours armwrestling with the thing, it's time for me to go to bed.

God help us if they ever release 1/144 scale strutters...


Any comments, suggestions or death threats welcome.

P.S. I realize the center struts are the wrong color. I will correct it tommorrow.
goldstandard
_VISITCOMMUNITY
California, United States
Joined: March 29, 2007
KitMaker: 208 posts
AeroScale: 186 posts
Posted: Sunday, May 27, 2007 - 12:58 PM UTC
Well, I ended up taking a little longer than I expected to get around to taking care of those center struts...

Today I spent several hours working on the rigging. I think I managed to finish everything except the control lines and horns, which will come last. I still want to do some more touch up on the upper wing, but that can wait till tomorrow. (I do all my work between shifts at work... )


No breaks for me this Memorial Day weekend...

P.S. I just realized that I may have positioned the upper wing a wee bit too far forward. Oops.
JackFlash
_VISITCOMMUNITY
Colorado, United States
Joined: January 25, 2004
KitMaker: 11,669 posts
AeroScale: 11,011 posts
Posted: Tuesday, May 29, 2007 - 03:18 AM UTC
Don't be so hard on yourself. Its a good effort. Overcoming the problems in kit of this quality is somehing to be proud of. Good job. Never give up never surrender!
Kriegshund
_VISITCOMMUNITY
Missouri, United States
Joined: December 12, 2006
KitMaker: 132 posts
AeroScale: 108 posts
Posted: Tuesday, May 29, 2007 - 09:08 AM UTC
Your persistence is really paying off. I am really enjoying this build as it progresses - someone like myself would have given up in frustration.

Can't wait to see it all finished up.
goldstandard
_VISITCOMMUNITY
California, United States
Joined: March 29, 2007
KitMaker: 208 posts
AeroScale: 186 posts
Posted: Tuesday, May 29, 2007 - 11:28 AM UTC
Thanks for the encouragement. Generally, if things get too frustrating I just remind myself what the end result will be. As hard as rigging this thing was, there was a silver lining. Rigging helped me to realign the upper wing a little bit more correctly. I think my main error was not doing enough test fitting on the upper wing and especially the central struts. It also helps to work on another kit when you get frustrated with the one you are working on. Thats what I am doing with the Albatros D.I I have.

Anyways, work is almost done, all I need to do now is glue on the wheels when the paint is dry, and attach the control lines. I touched up the central struts with some more paint and placed the control horns. I'll make sure to cut them to size before glueing them on next time.

 _GOTOTOP