_GOTOBOTTOM
Pre-Flight Check
Constructive critique of your finished or in-progress photos.
Sopwith 1-1/2 Strutter Finished!!!
goldstandard
_VISITCOMMUNITY
California, United States
Joined: March 29, 2007
KitMaker: 208 posts
AeroScale: 186 posts
Posted: Wednesday, May 30, 2007 - 10:10 AM UTC
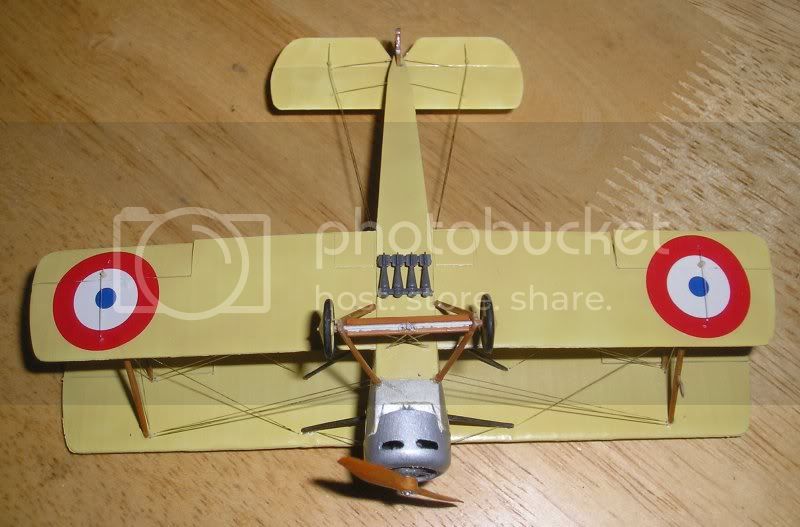
Well, this viscious little beast seemed to go horribly wrong at every turn. Still, I think it turned out better than my first biplane, that Academy Sopwith Camel. Just today when I thought the light was at the end of the tunnel it gave me one last headache:


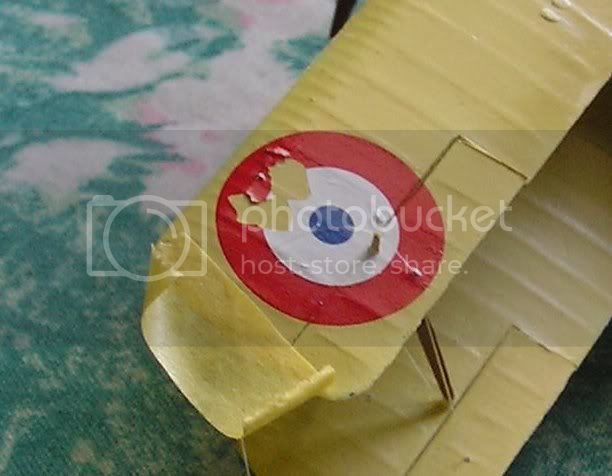
I was holding the rigging down with some masking tape while the connection with the control horn dried. When I pulled off the tape it pulled off a big chunk of the decal with it! I thought I had it sealed in with Future, guess not...

But anyways, since I was afraid of doing anymore damage I decided to just fill in the hole by hand with no masking. I think I did a pretty good job:
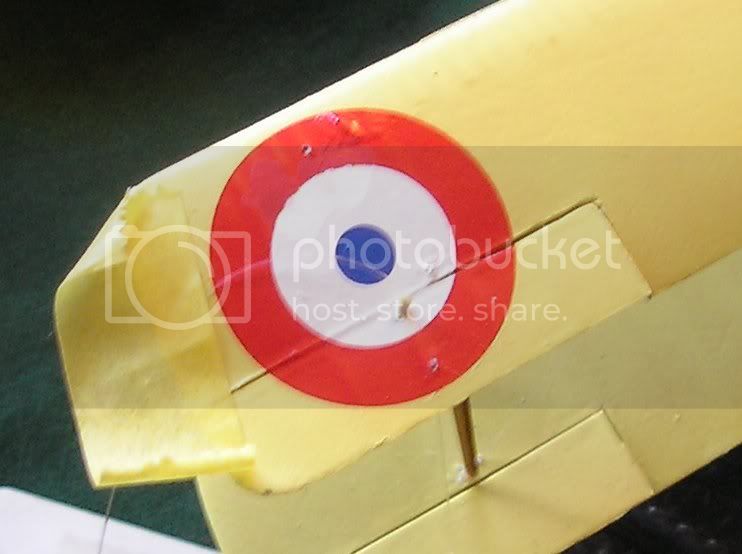


After that the rigging went mostly trouble free, except for when I had to hook the elevator control line to the anchor point on the fuselage. The thread kept getting stuck to my tweezers, and then my fingers.

My general opinion about this model is that while it does have good external detail, there are some fit issues that need to be addressed. One is that the fuselage halves need to be held about 1/2 a millimeter apart at the top behind the rear cockpit, or it will look pinched in the middle and the top fuselage half will hang over the sides of the lower pieces. The center struts are very poorly fitted, I would recommend trimming them just a bit and repositioning the four outlying holes further out. The tail feathers are also rather fiddly, even with my best efforts it ended up not being perfectly square. Don't worry about improving the details in the cockpit, they can't be seen after you put the top wing over it anyways.

I accidentally spilled too much PolySol decal softening solution on the plane while decaling, causing some crazing of the paint job, but nothing TOO noticable.

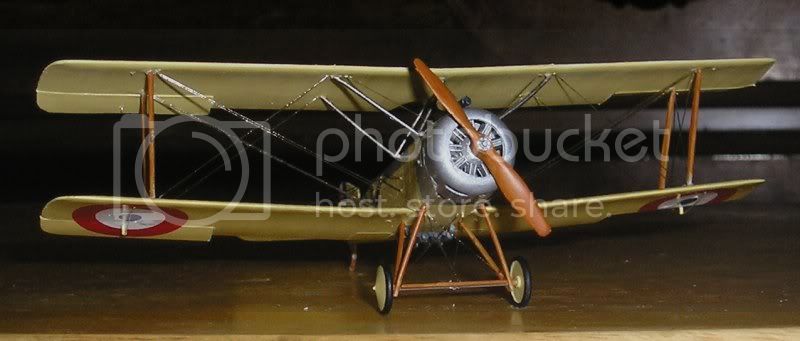
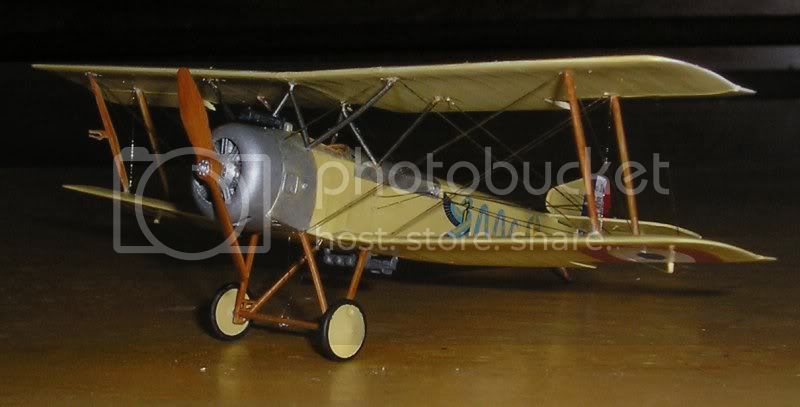
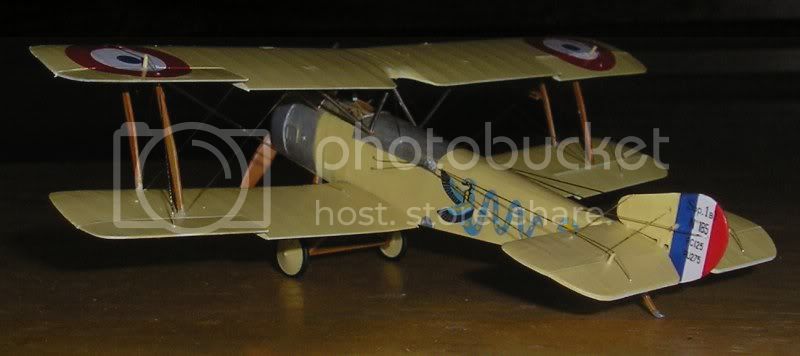
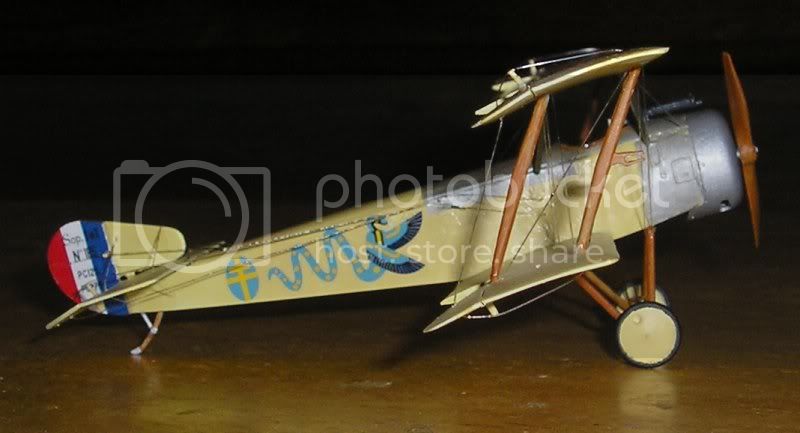
And now, the finished product:
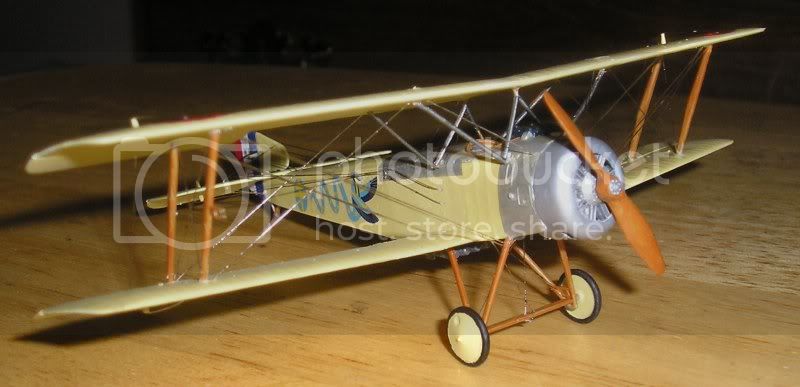


So, what do you think?

csch
_VISITCOMMUNITY
Buenos Aires, Argentina
Joined: December 27, 2002
KitMaker: 1,941 posts
AeroScale: 1,040 posts
Posted: Sunday, June 03, 2007 - 02:15 AM UTC
Hi Michael:

I love tese little WW1 aircrafts. Very nice model. Congratulations.
goldstandard
_VISITCOMMUNITY
California, United States
Joined: March 29, 2007
KitMaker: 208 posts
AeroScale: 186 posts
Posted: Sunday, June 03, 2007 - 03:54 PM UTC
Thanks. I am hoping that as I get more experienced I will have fewer headaches with this stuff in the future. I read somewhere about how to make cardboard jigs to help ensure proper alignment and aid in attaching the upper wing, which I am going to try on my next project to see if that makes things easier. My main issue with these tiny biplanes is that if the struts are anywhere near to the correct size then they are so brittle that even removing them from the sprue is a delicate job. I will definately pick up some brass rod next time I make a trip to the hobby shop, as well as some Strutz when I do my next round of online orders.
CaptainA
_VISITCOMMUNITY
Indiana, United States
Joined: May 14, 2007
KitMaker: 3,117 posts
AeroScale: 2,270 posts
Posted: Wednesday, June 27, 2007 - 10:02 AM UTC
I think it really looks good.
trahe
_VISITCOMMUNITY
Virginia, United States
Joined: April 03, 2006
KitMaker: 1,158 posts
AeroScale: 73 posts
Posted: Wednesday, June 27, 2007 - 12:34 PM UTC
Looks good. Nice recovery on the decal.
m_buchler
_VISITCOMMUNITY
California, United States
Joined: March 20, 2007
KitMaker: 137 posts
AeroScale: 103 posts
Posted: Wednesday, June 27, 2007 - 02:11 PM UTC
That came out great. I just did the rigging on my Goshawk, so I now know what a genuine pain it can be to rig a biplane. Looks great, nice fix on that decal.

-Mark
goldstandard
_VISITCOMMUNITY
California, United States
Joined: March 29, 2007
KitMaker: 208 posts
AeroScale: 186 posts
Posted: Wednesday, June 27, 2007 - 04:43 PM UTC
Yeah, rigging is the most difficult part of any biplane model, at least for me. Lately I have been considering experimentation with alternative methods for rigging. I have considered stretched sprue as an option, but I havent found the ideal technique yet. Either the sprue is too thick or so thin it breaks when you breathe on it. Another option would be steel wire, but I have yet to find a source of it that is thin enough. What would be cool to have is something that you can leave sort of loose but tighten up with heat, somewhat like shrink tubing but for thread.
SGTJKJ
#041
_VISITCOMMUNITY
Kobenhavn, Denmark
Joined: July 20, 2006
KitMaker: 10,069 posts
AeroScale: 3,788 posts
Posted: Thursday, June 28, 2007 - 01:35 AM UTC
Looks good. You did a good job on that one

Thanks for sharing
JackFlash
_VISITCOMMUNITY
Colorado, United States
Joined: January 25, 2004
KitMaker: 11,669 posts
AeroScale: 11,011 posts
Posted: Thursday, June 28, 2007 - 02:28 PM UTC

Quoted Text

Yeah, rigging is the most difficult part of any biplane model, at least for me. Lately I have been considering experimentation with alternative methods for rigging. I have considered stretched sprue as an option, but I havent found the ideal technique yet. Either the sprue is too thick or so thin it breaks when you breathe on it. Another option would be steel wire, but I have yet to find a source of it that is thin enough. What would be cool to have is something that you can leave sort of loose but tighten up with heat, somewhat like shrink tubing but for thread.


Invisible (smoke coloured) sewing thread.
goldstandard
_VISITCOMMUNITY
California, United States
Joined: March 29, 2007
KitMaker: 208 posts
AeroScale: 186 posts
Posted: Thursday, June 28, 2007 - 04:25 PM UTC
Thanks, I will look into that. I actually remember trying to find something like that at the crafts section of my local Walmart, but failed and got the fishing line I used instead.
 _GOTOTOP