Utah, United States
Joined: December 14, 2007
KitMaker: 3,389 posts
AeroScale: 375 posts
Posted: Sunday, March 22, 2015 - 10:33 PM UTC
Great nations do not fall because of external aggression; they first erode and decay inwardly, so that, like rotten fruit, they fall of themselves. The strength of a country is the sum total of the moral strength of the individuals in that country.
Ezr
JPTRR
 Managing Editor
#051
Tennessee, United States
Joined: December 21, 2002
KitMaker: 7,772 posts
AeroScale: 3,175 posts
Posted: Sunday, March 22, 2015 - 10:43 PM UTC
Russ,
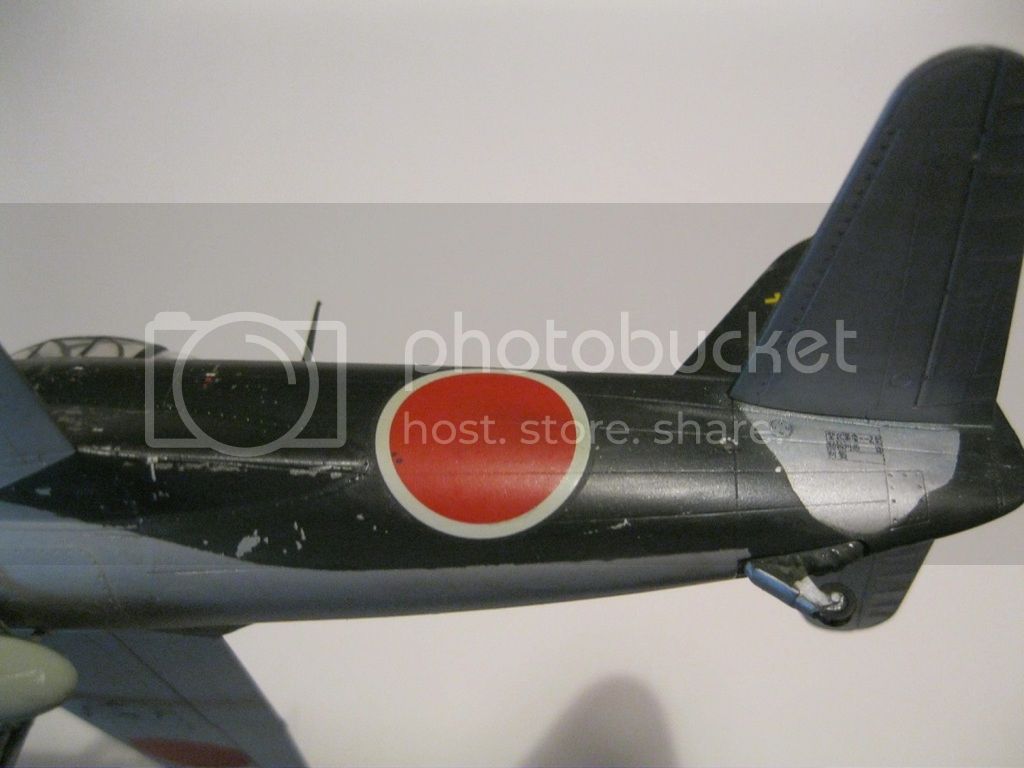
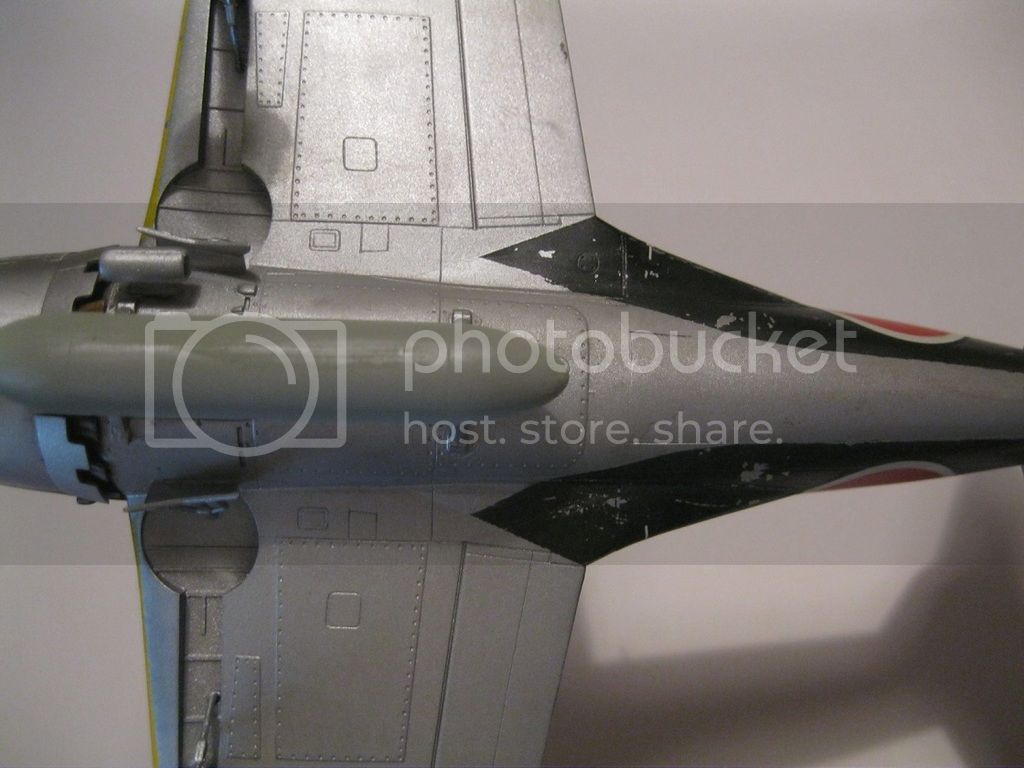
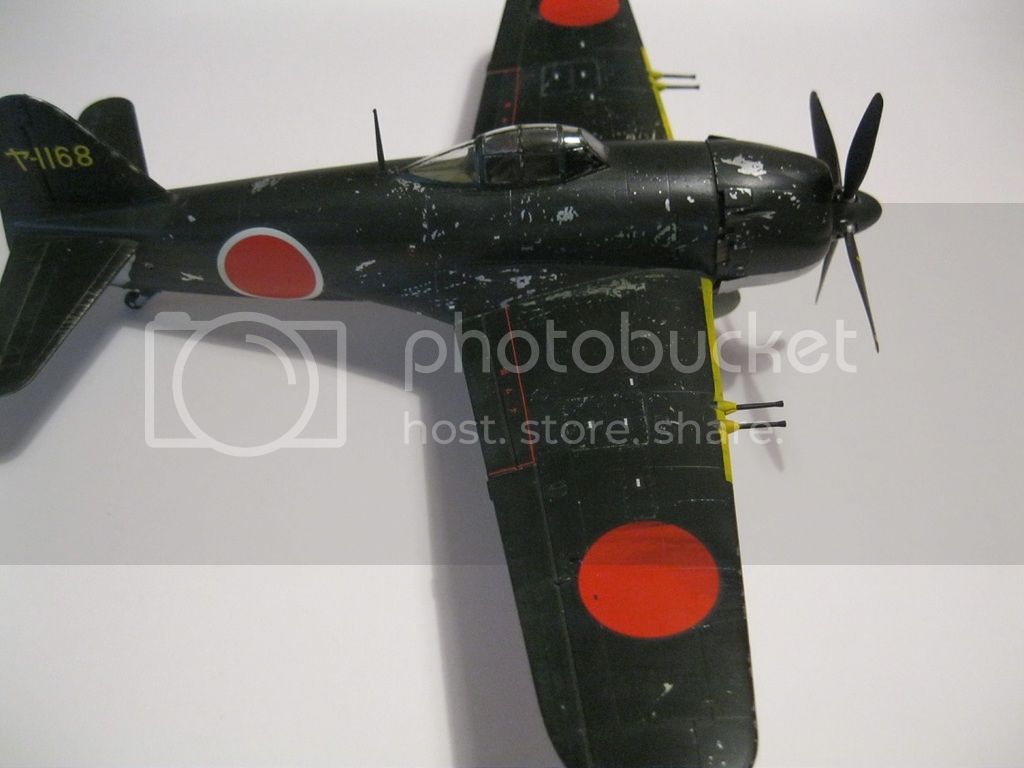
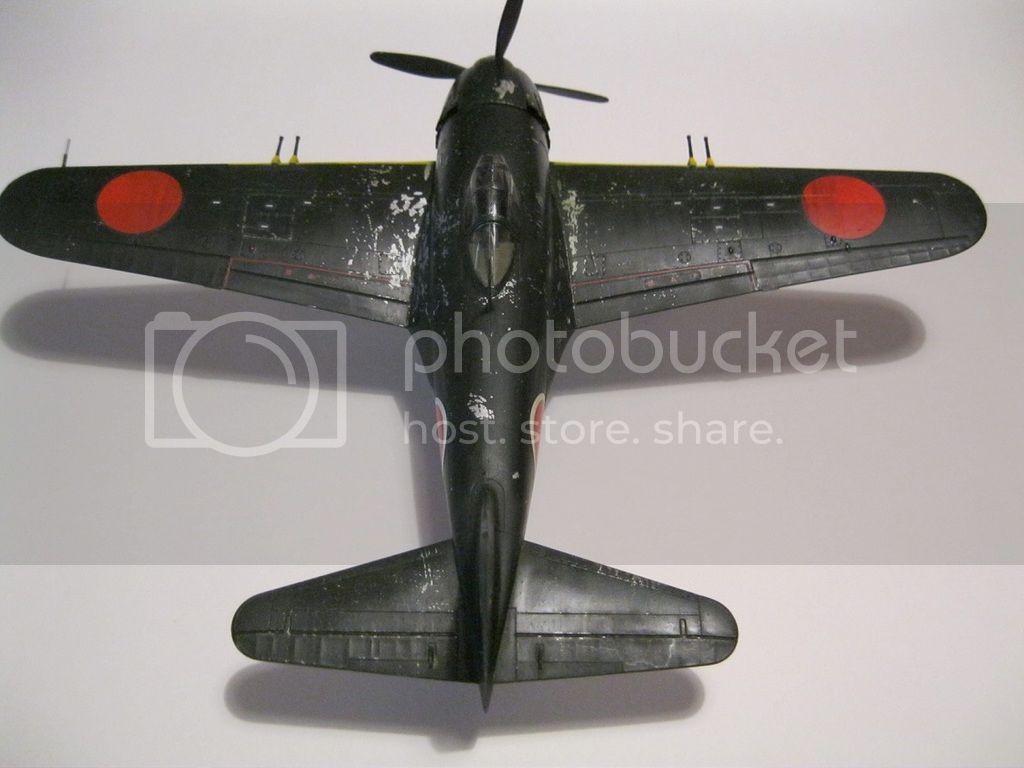
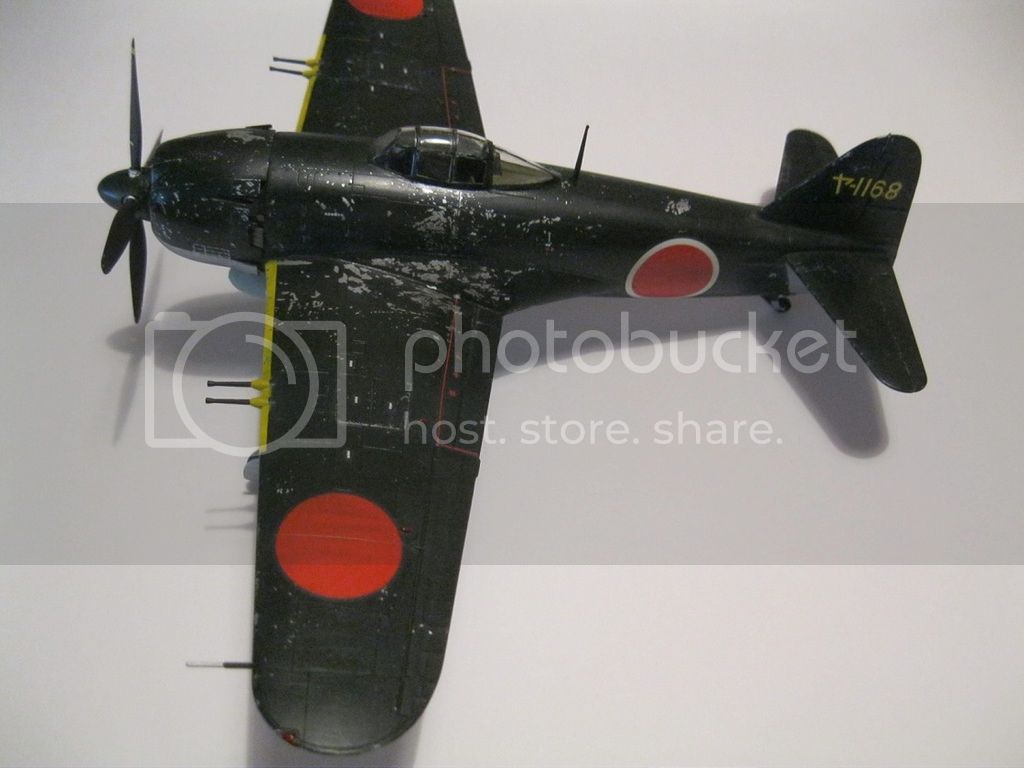
She - er, he? (George) - looks great! That chipping is effective and authentic to photos I have seen.
Nice work!


If they demand your loyalty, give them integrity; if they demand integrity, give them your loyalty.--Col John Boyd, USAF
“Any plan where you lose your hat is a bad plan.”
Utah, United States
Joined: December 14, 2007
KitMaker: 3,389 posts
AeroScale: 375 posts
Posted: Sunday, March 22, 2015 - 10:49 PM UTC
Thanks, Fred! I knew you would catch this right away.
Great nations do not fall because of external aggression; they first erode and decay inwardly, so that, like rotten fruit, they fall of themselves. The strength of a country is the sum total of the moral strength of the individuals in that country.
Ezr
Arizona, United States
Joined: February 25, 2007
KitMaker: 1,066 posts
AeroScale: 214 posts
Posted: Sunday, March 22, 2015 - 11:58 PM UTC
Beautiful paint chipping, Russ! I use the same technique. Seems like a lot of WW2 Japanese army planes ended up with conspicuously chipped paint, after being in service for awhile.
Utah, United States
Joined: December 14, 2007
KitMaker: 3,389 posts
AeroScale: 375 posts
Posted: Monday, March 23, 2015 - 01:01 AM UTC
Thanks! Using tape made it a lot more random, both in size and location. I have read that the Japanese didn't use primer on the exterior of their aircraft, which caused the paint to flake off.
Great nations do not fall because of external aggression; they first erode and decay inwardly, so that, like rotten fruit, they fall of themselves. The strength of a country is the sum total of the moral strength of the individuals in that country.
Ezr

#360
Connecticut, United States
Joined: June 18, 2003
KitMaker: 1,020 posts
AeroScale: 125 posts
Posted: Monday, March 23, 2015 - 01:12 AM UTC
Nice job, Russ!
The mid-wing 'George' is my favorite IJN fighter and you great job with the finish.
"I wish to have no Connection with any Ship that does not Sail fast for I intend to go in harm's way." - John Paul Jones
Joel_W
 Associate Editor
New York, United States
Joined: December 04, 2010
KitMaker: 11,666 posts
AeroScale: 7,410 posts
Posted: Monday, March 23, 2015 - 07:45 PM UTC
Russ,
Very nicely done. Your paint chipping not only looks realistic, but isn't overly done.
Joel
On my Workbench:
Monogram 1/24 scale 427 Shelby Cobra
Just Completed:
Beemax 1/24 scale BMW M3 E30 1992 Evolution II
Utah, United States
Joined: December 14, 2007
KitMaker: 3,389 posts
AeroScale: 375 posts
Posted: Tuesday, March 24, 2015 - 08:47 AM UTC
Thank you, Michael and Joel! Glad you like it.
Great nations do not fall because of external aggression; they first erode and decay inwardly, so that, like rotten fruit, they fall of themselves. The strength of a country is the sum total of the moral strength of the individuals in that country.
Ezr
JPTRR
 Managing Editor
#051
Tennessee, United States
Joined: December 21, 2002
KitMaker: 7,772 posts
AeroScale: 3,175 posts
Posted: Wednesday, March 25, 2015 - 05:43 PM UTC
Russ reviewed this model last autumn and you can read about it here:
N1K1-Jb Shiden (George) Type 11 Otsu 
If they demand your loyalty, give them integrity; if they demand integrity, give them your loyalty.--Col John Boyd, USAF
“Any plan where you lose your hat is a bad plan.”
JPTRR
 Managing Editor
#051
Tennessee, United States
Joined: December 21, 2002
KitMaker: 7,772 posts
AeroScale: 3,175 posts
Posted: Wednesday, March 25, 2015 - 05:48 PM UTC
I noticed a distinct lack of seams, even along the wing-fuselage and stabilizer-fuselage joints. Excellent!
If they demand your loyalty, give them integrity; if they demand integrity, give them your loyalty.--Col John Boyd, USAF
“Any plan where you lose your hat is a bad plan.”
