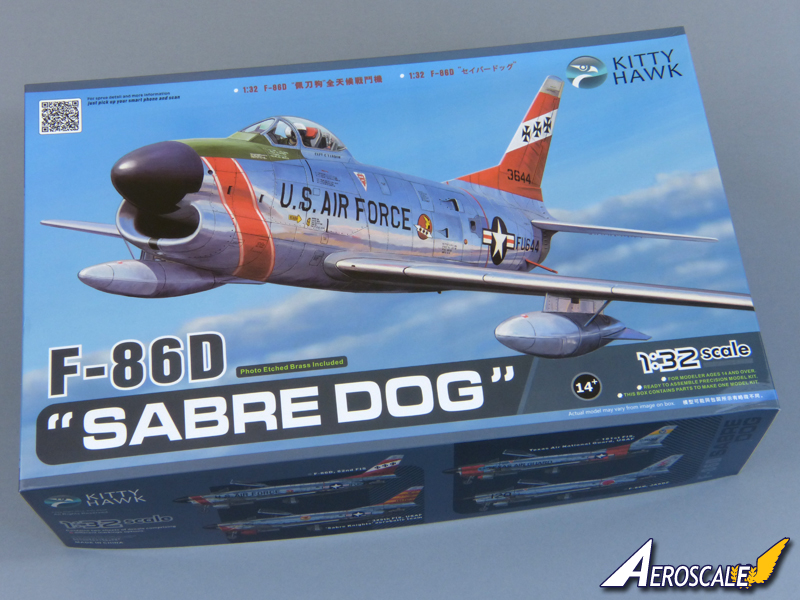
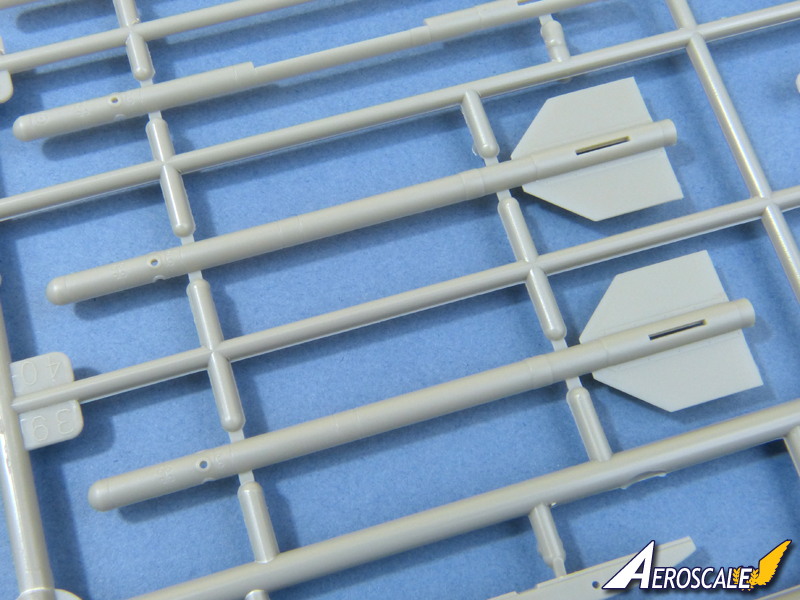
Easily mistaken at first glance as simply a Sabre with a chin intake, the F-86D ("Sabre Dog", "Dog Sabre", "Dogship" or, simply "Dog", depending on your reference) was actually a very different beast. Developed as an all-weather fighter, the new fighter embodied so many changes, it was initially designated the F-95A - but this was later changed to F-86D despite the aircraft having only around 25% commonality with previous Sabres. The Dog Sabre dispensed with machine guns and was built around a collision-course weapon system developed by Hughes Aircraft, in which the interceptor used an autopilot and radar fire control system to aim and semi-automatically fire a salvo of FFAR rockets. The radar necessitated a chin jet intake, and the 24 rockets were mounted in an automatic retractable box behind the nosewheel well. The rockets could be fired in salvos of 6, 12 or all 24 - al this in a sequence lasting around just one second.
The extra weight required an increase in power to compensate, so the F-86D introduced an afterburning J47 in a larger fuselage. Other changes included powered controls and, most obviously, a new horizontal tail with no dihedral and a clamshell-type canopy. Eventually, the Dog proved a very successful all-weather fighter and became the most-produced version of the Sabre, with over 2,500 built, but its entry into service was hamstrung by numerous technical problems on account of the complexity of its then state-of-the-art systems.
The kit
Its only fair to point out from the start that this review is based on a very early boxing of this kit, and steps have already been taken to address the few problems Ill mention below. As it doesnt fully match final production standards, Im treating this review as a First Look and Ill follow it with a Blog from which youll gain a fuller picture of the kit.
Kitty Hawks Sabre Dog is impressively presented in a very attractive and sturdy top-opening box, with the main sprues individually bagged and the clear parts further protected in their own cardboard box. Ironically, this box shifted in transit and actually crushed the nose intake in the sample kit, so it will be stapled in place in future to preclude any similar mishaps. The kit comprises:
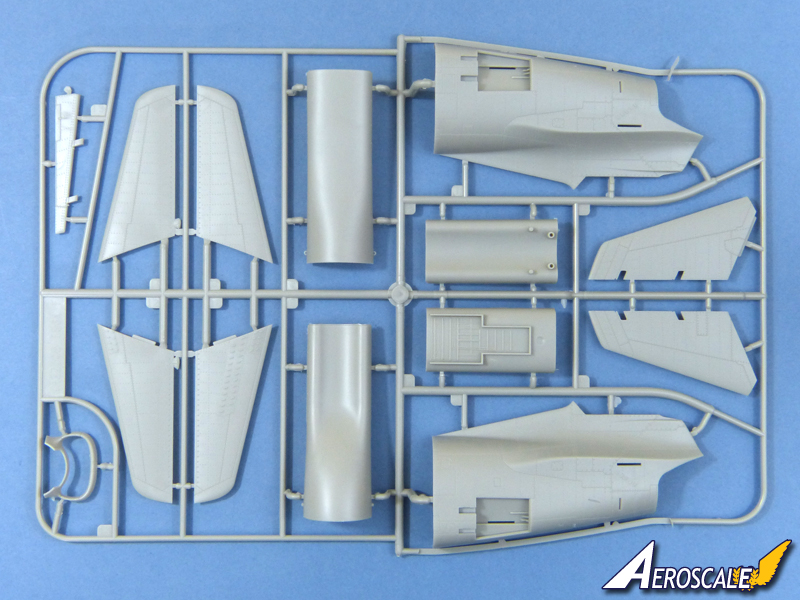
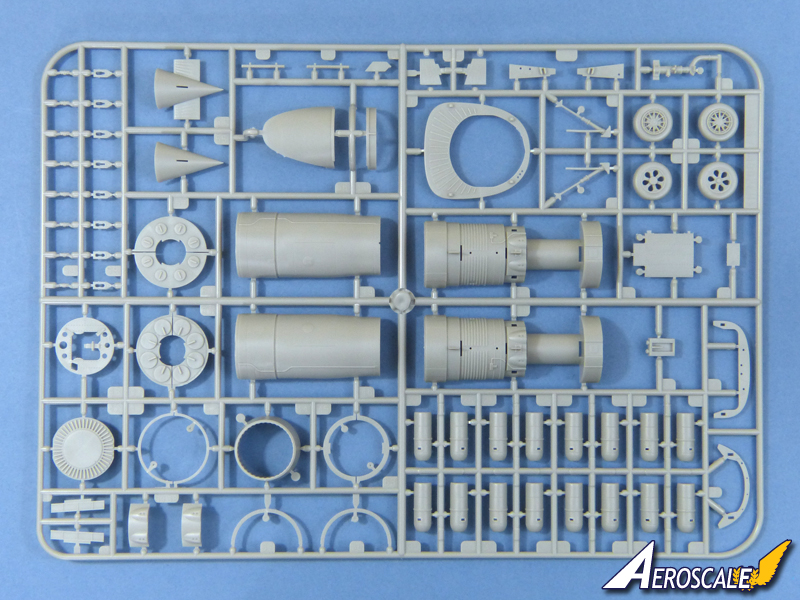
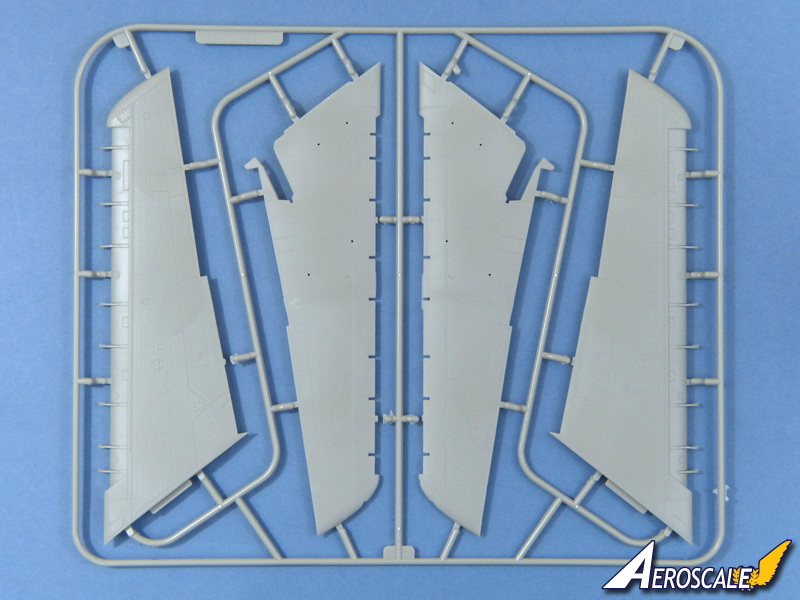
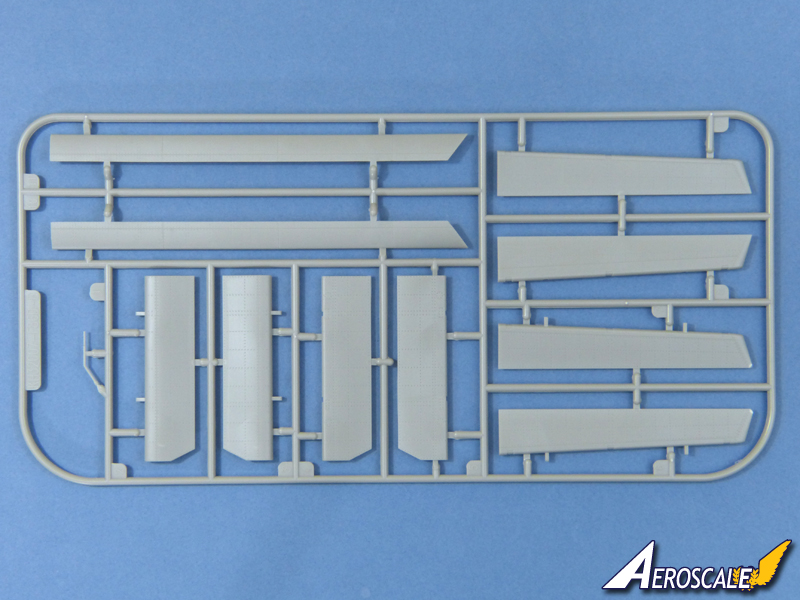
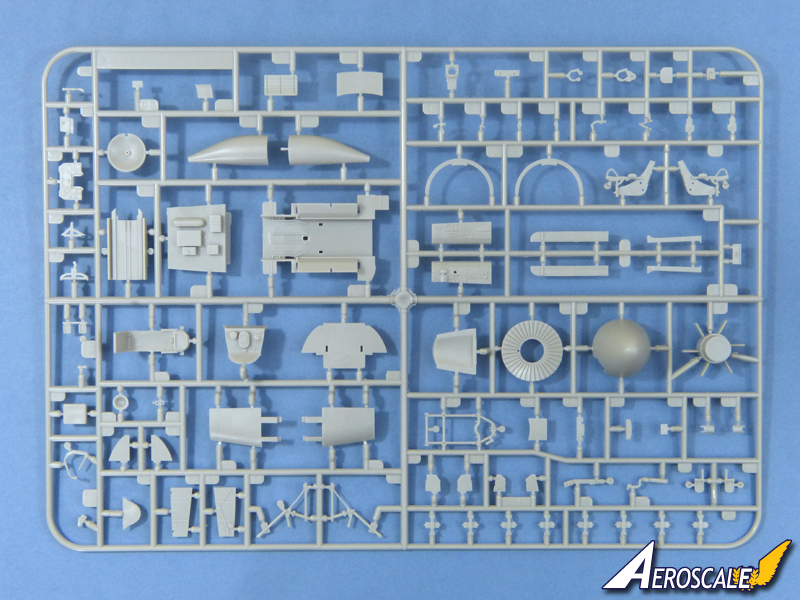
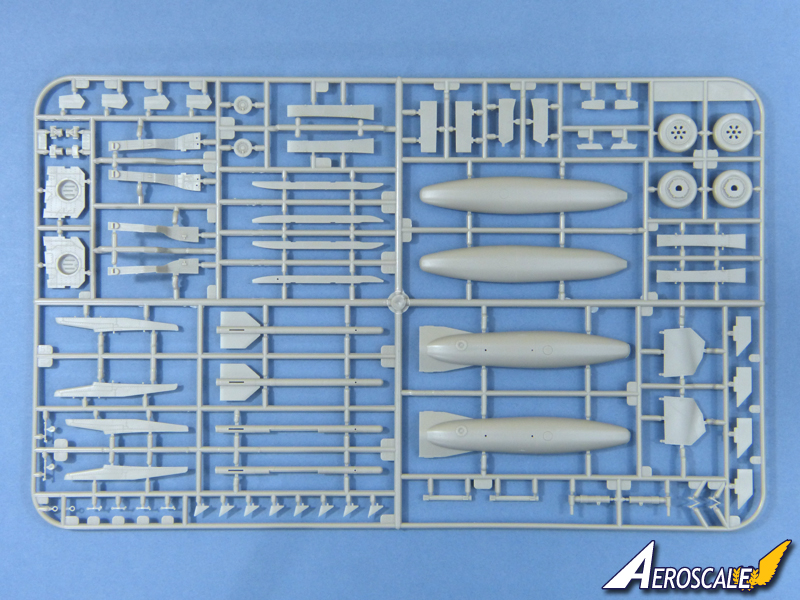
294 x grey styrene parts
14 x clear styrene parts
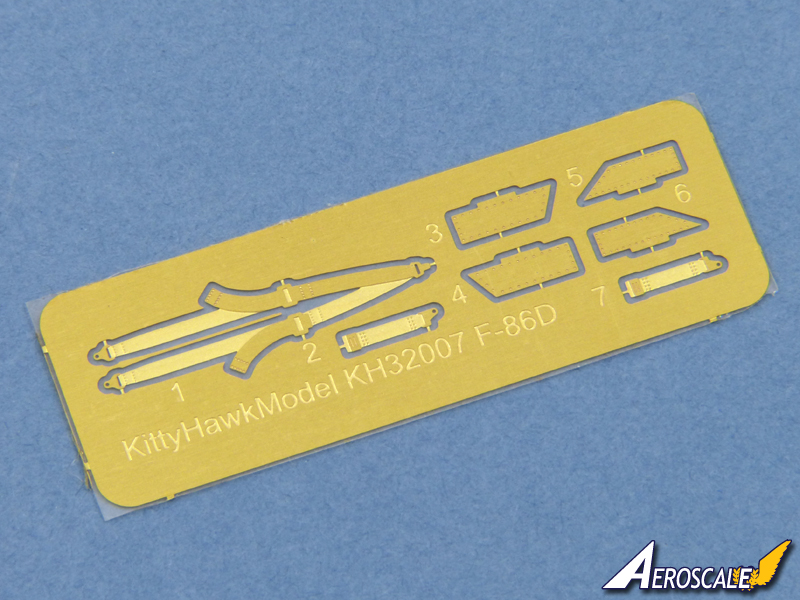
7 x etched brass parts
Decals for 6 x colour schemes
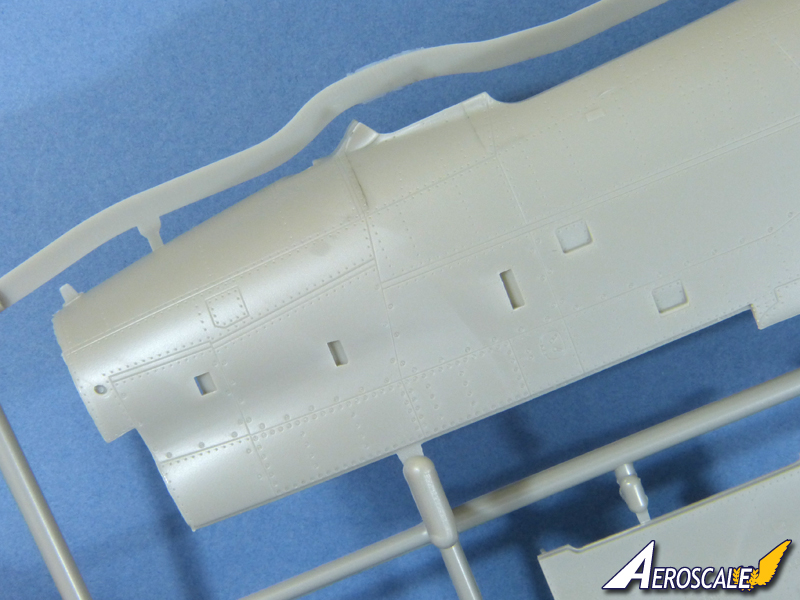
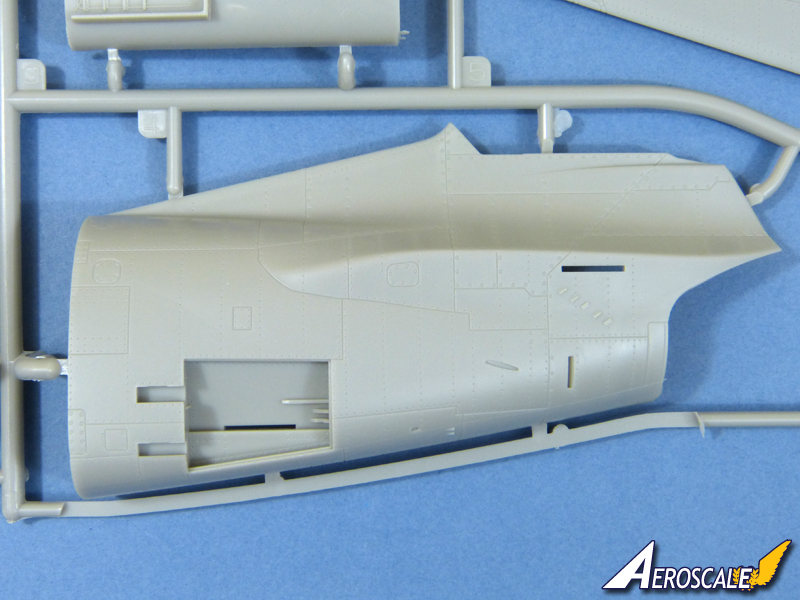
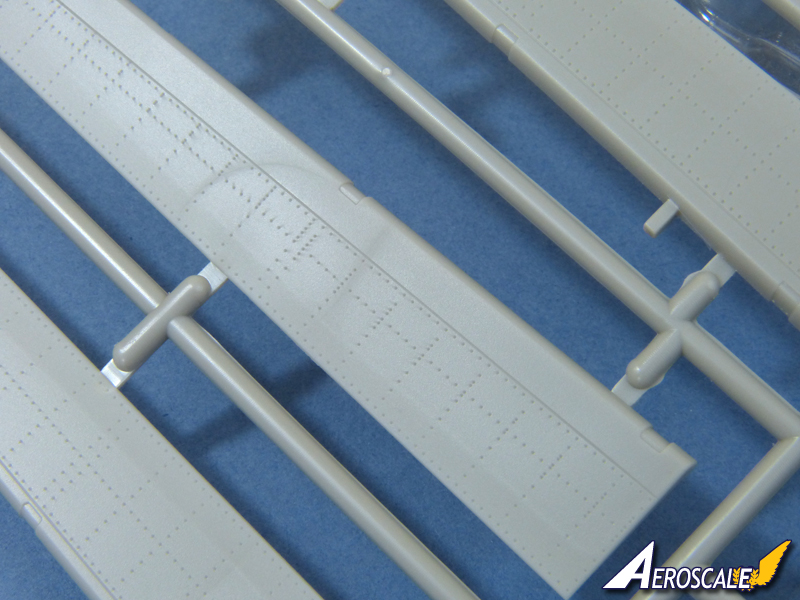
The moulding is generally very good, with some very fine detail evident. This early moulding does feature a little flash, but its nothing to worry about. Unfortunately the sample does suffer from a tricky short-shot on the cockpit tub, so Ill be doing a little corrective surgery in my build.
Theres no sign of any sink marks but, as weve come to expect with Kitty Hawk kits, there are plenty of ejector pin marks. To give credit where its due, most are safely out of sight and the designers do appear to have made an effort to make some of those that will be seen less prominent than in recent kits, but there are still some tricky ones that youll really want to clean up before assembly.
The surface finish is beautiful, will several levels of scribing and embossing for a nice subtle effect. Im sure purists will feel its still overdone for a flush-riveted airframe, but I think it should look lovely once painted.
Test fit
I always try to dry-assemble the main parts of the airframe for an in box review, but the Sabre Dogs design makes that awkward with the forward fuselage section. Basically, its split into four many parts, but they need the interior installed to give some rigidity. From what I can judge, they should all line up neatly, though.
The tail section is much more straightforward and clips together solidly, as do the wings. The wings also promise a good tight fit at their roots.
A few details
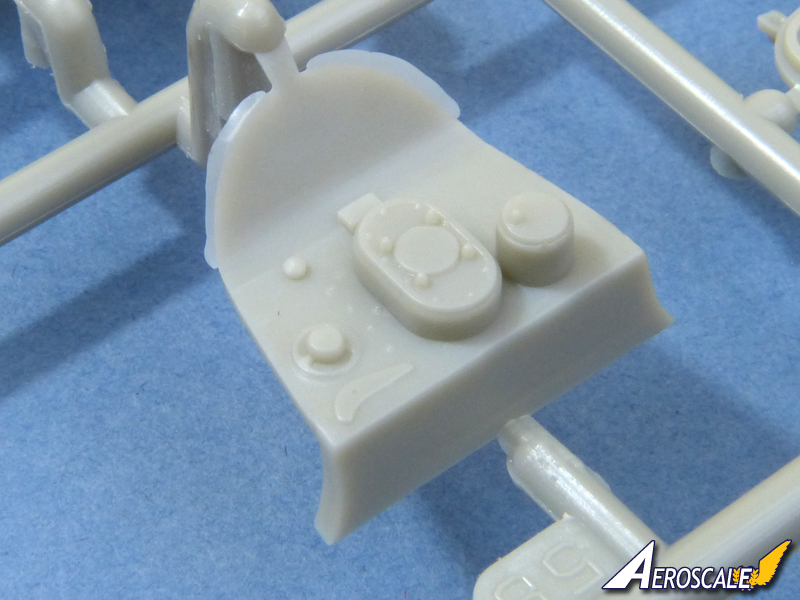
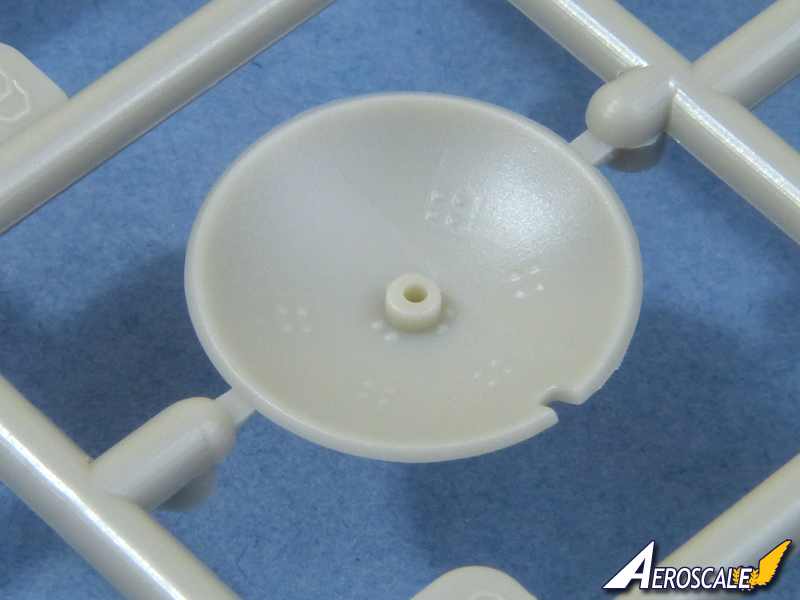
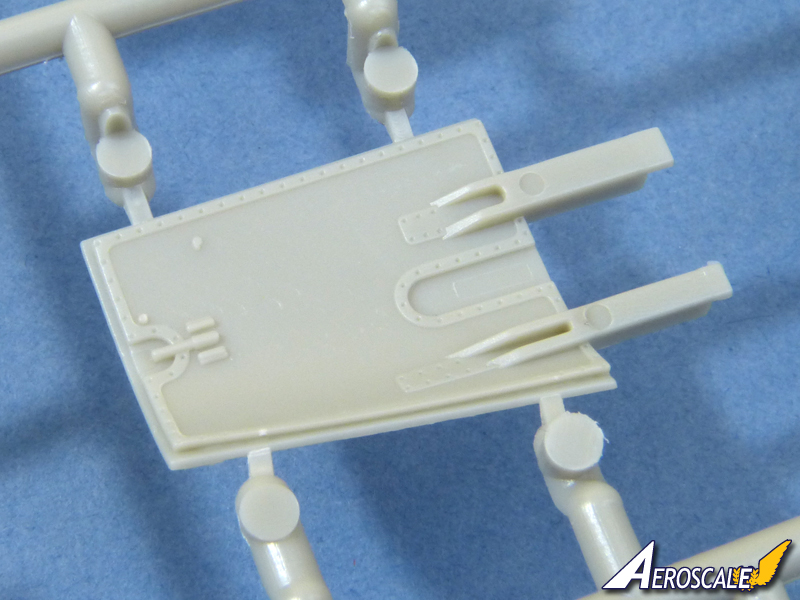
Construction begins with the ejector seat in its supporting cradle. The details pretty good, but this is one of the points where a knock-out pin really is very badly placed, right on the back of the headrest between raised details - just where its most easily seen and tricky to fix. The seat comprises 11 parts, plus a basic etched harness. The latter probably wont match up to what is almost sure to follow from aftermarket producers, but its a nice touch to have a harness provided in a mainstream kit, as its still not the norm.
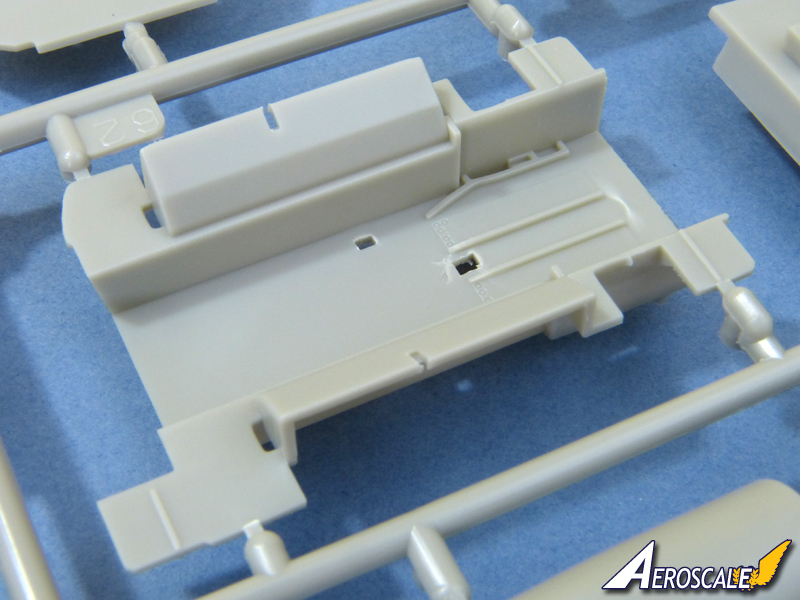
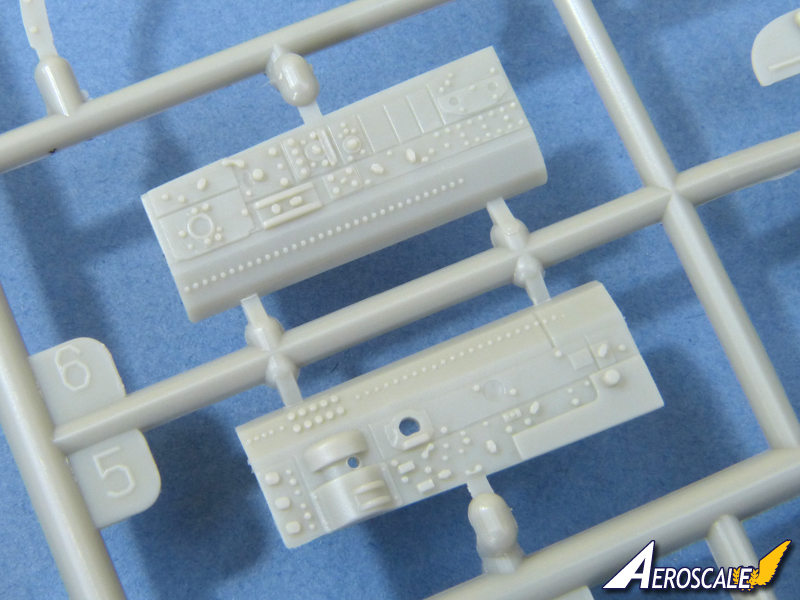
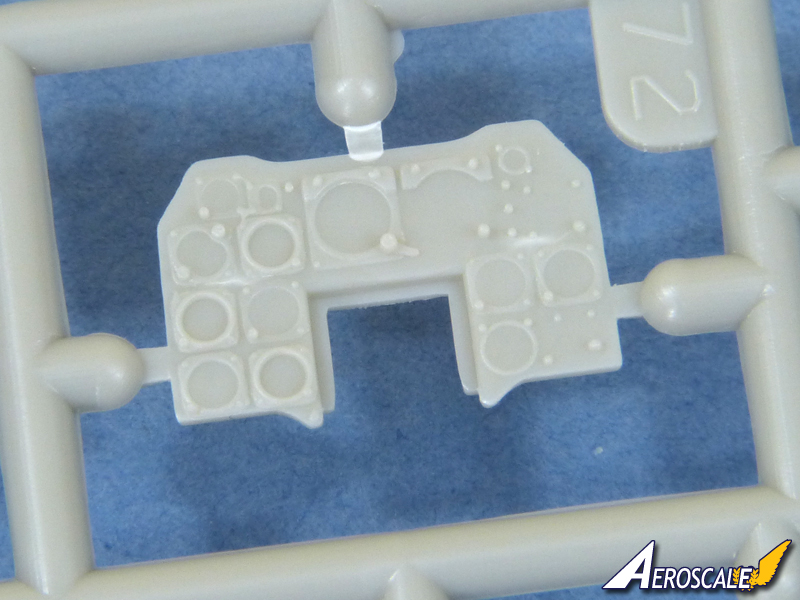
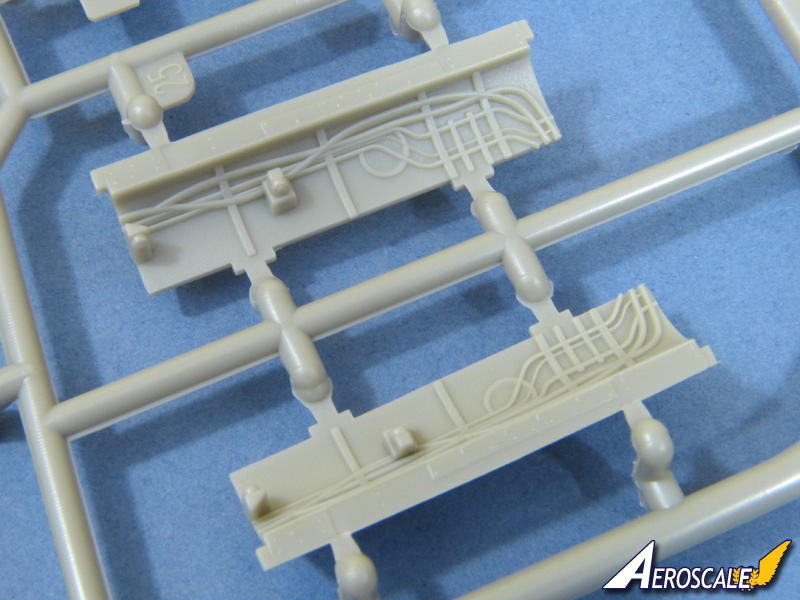
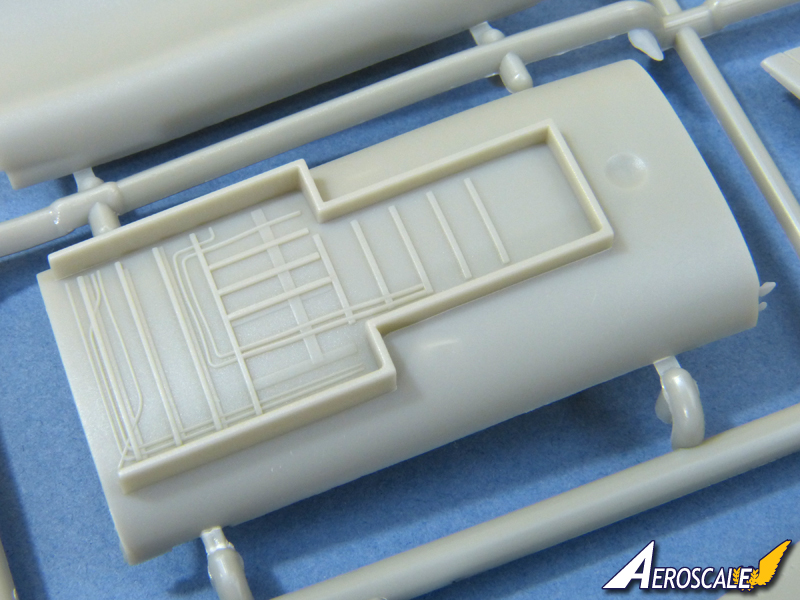
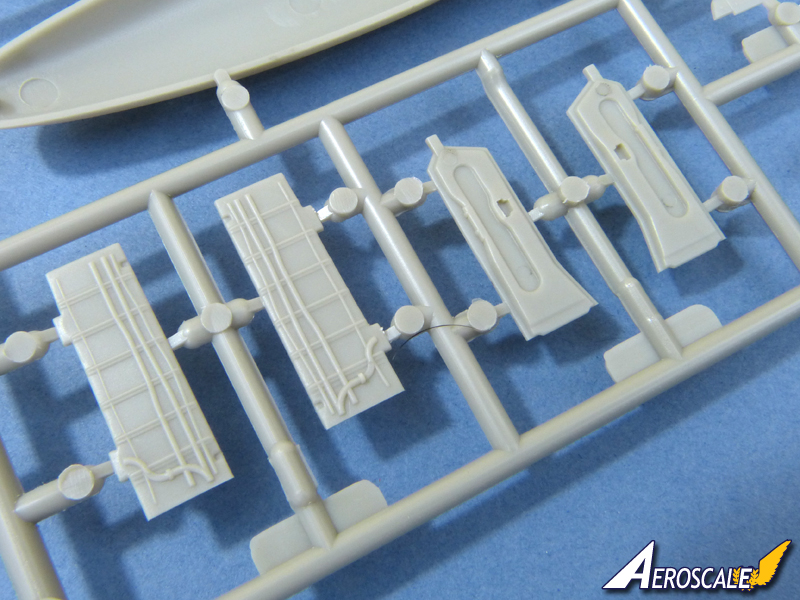
Another 20 or so parts complete the office. The side consoles and the main instrument panel are nicely detailed. Decals are also provided, but youll struggle to get them to conform to the raised details - and they wont look convincing in this scale if you sand the surfaces flat for the decals. However, you could always punch out the instrument faces and apply them as separate items to create an effective look.
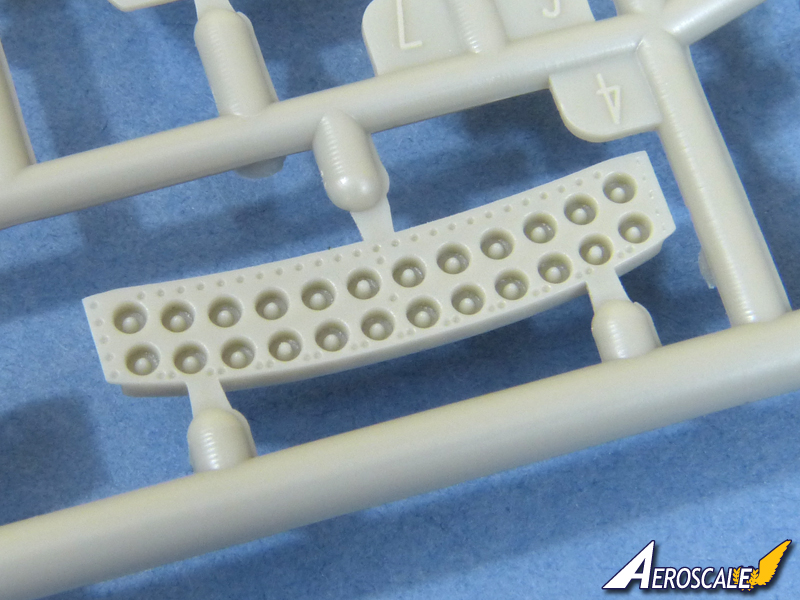
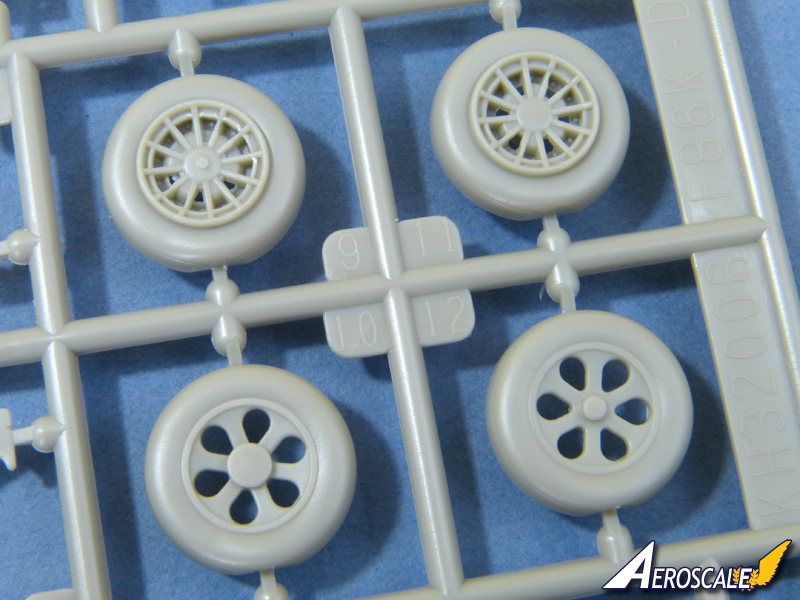
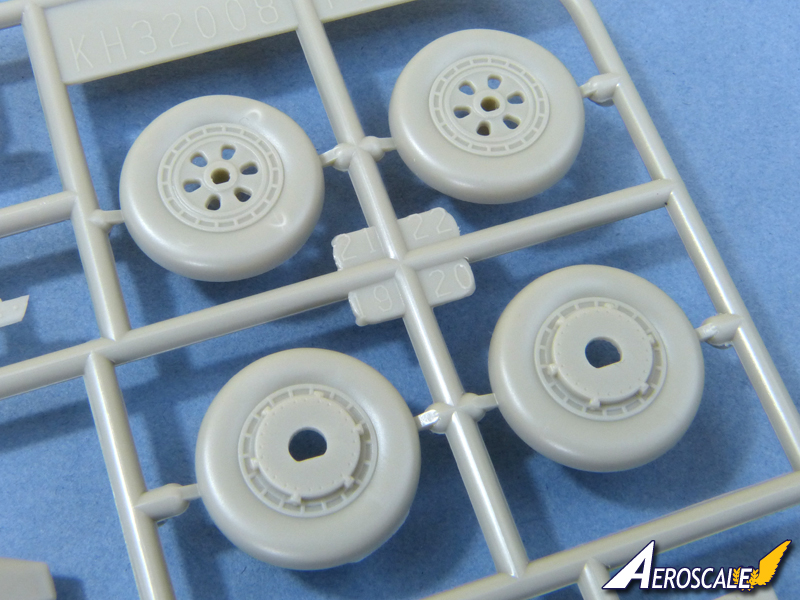
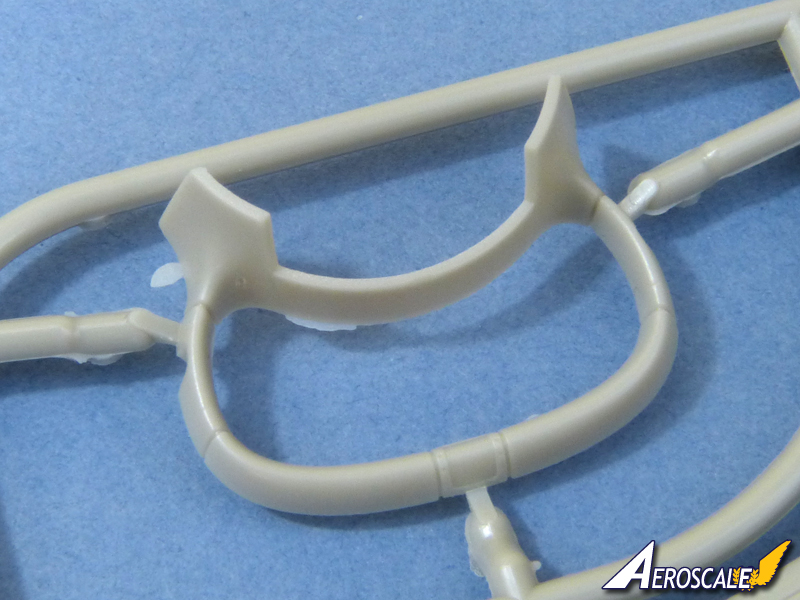
Attention then turns to the intake trunking, onto which attach the nose gear and FFAR rocket bays. This should all begin to create the foundation needed to keep the multi-part forward fuselage stable. Where Ill part company with the suggested sequence is by not installing the nose gear itself at such an early stage - that would simply be inviting trouble in my opinion. The kit includes two styles of nosewheel with alternative hub details. The tyres are weighted and the effect isnt overdone, so I think they should look very good.
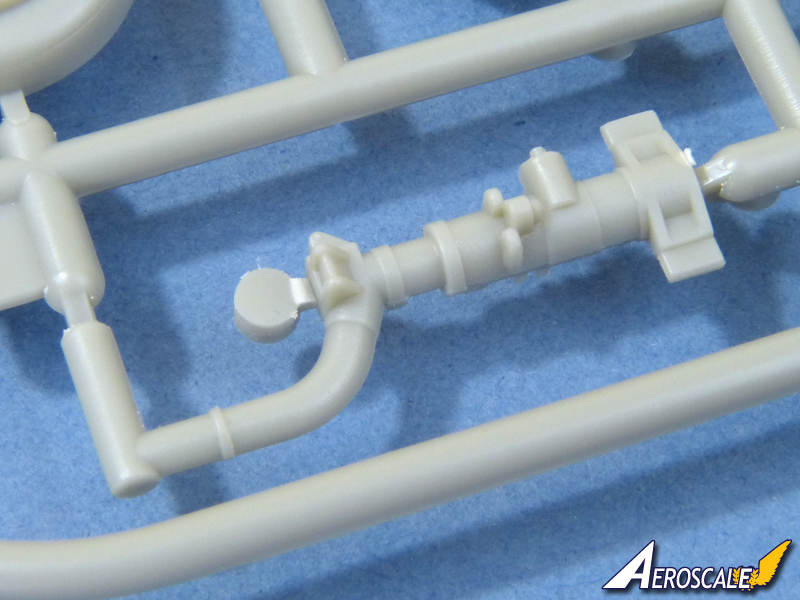
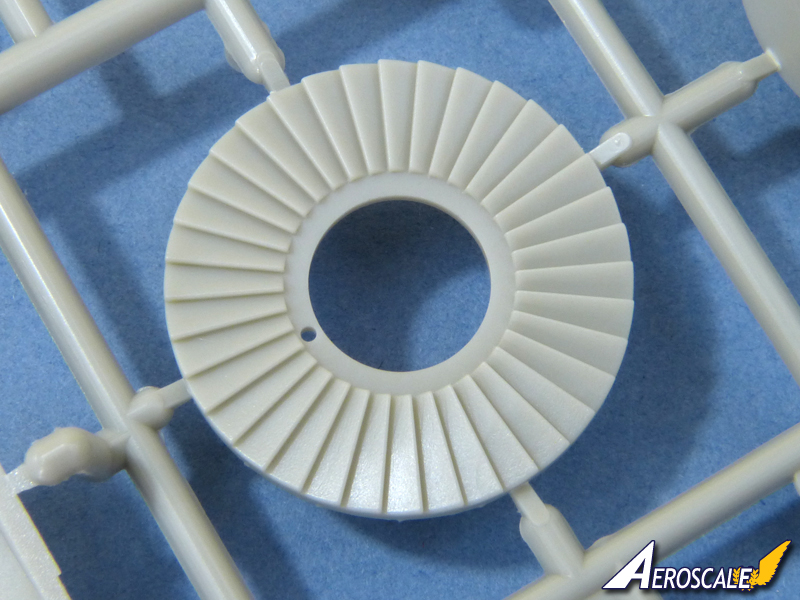
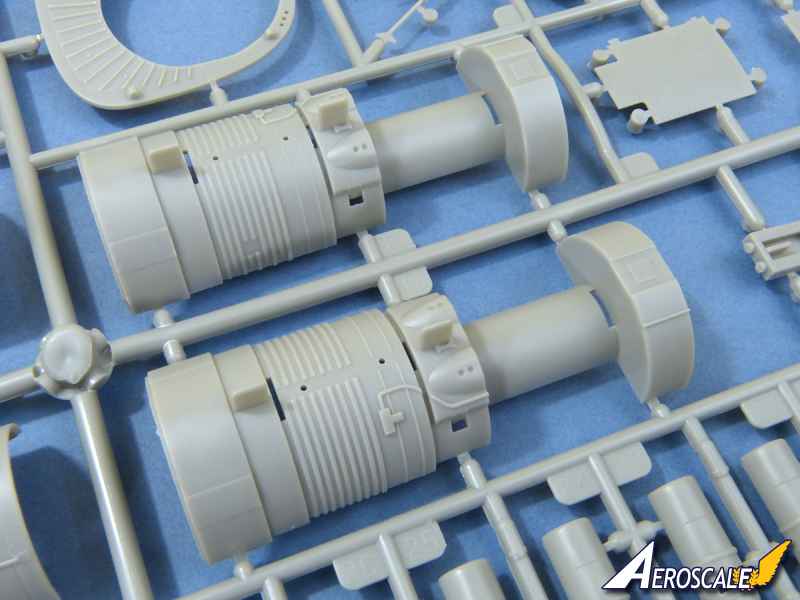
Next comes a really quite nicely detailed J47 engine. A first count show 50 parts, so theres masses of potential for superdetailing a stand-alone model. Sadly, it will be almost entirely hidden once the fuselage is assembled around it, and Kitty Hawk dont appear to intend it to be removable, despite the separate rear fuselage section. Unlike Hasegawas 70s vintage F-86D, which also included a neat servicing trolley on which to display the completed push-fit engine, Kitty Hawks engine appears to attach solidly to the intake trunking, to be lost for ever more.
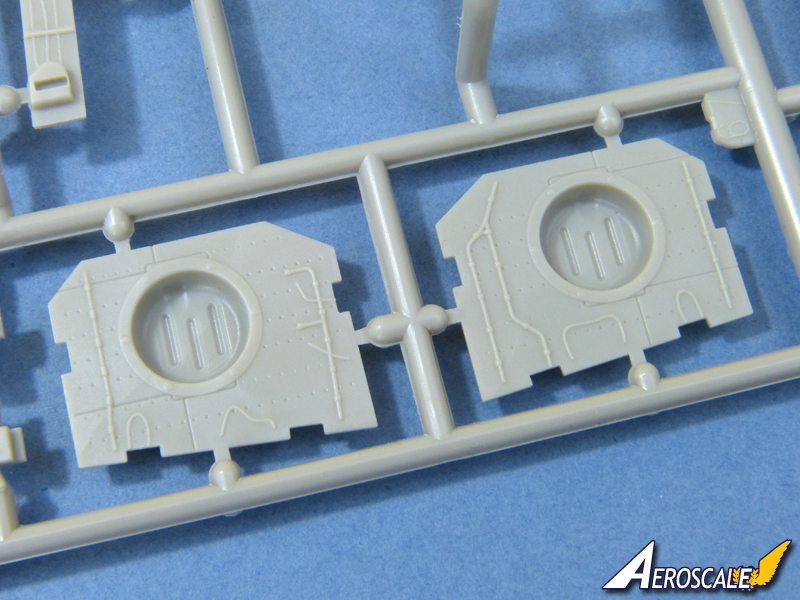
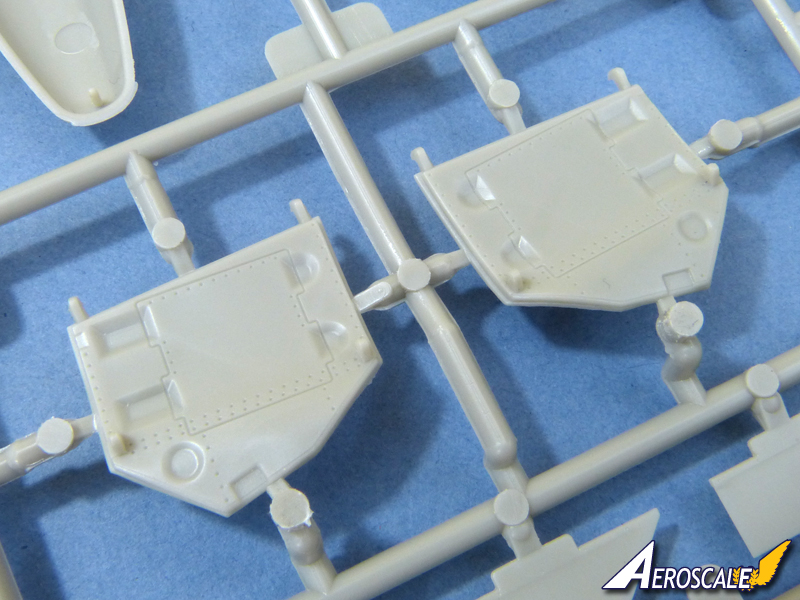
The front fuselage is then completed with a couple of belly panels, including the mainwheel bays, and it does look as though, at this point, you can say your last farewell to the engine. Once I get to this point in the Blog, Ill see if its feasible to make the engine removable.
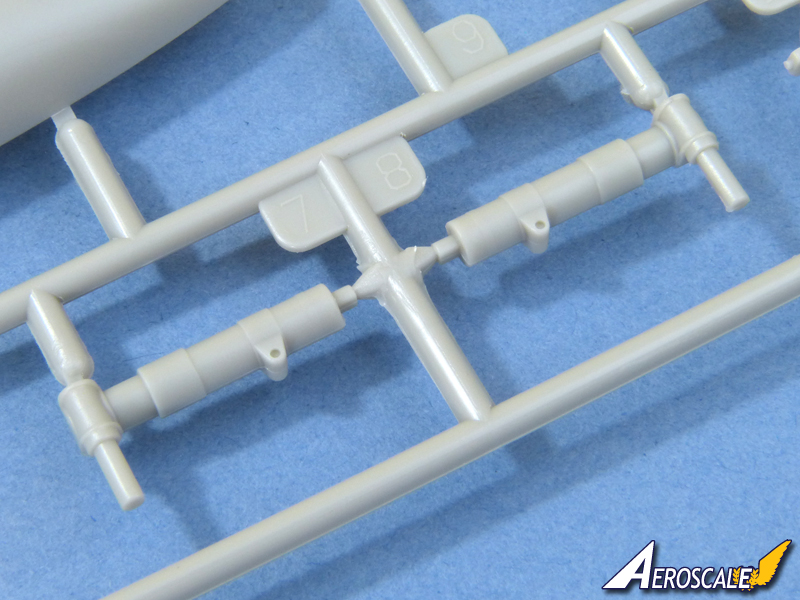
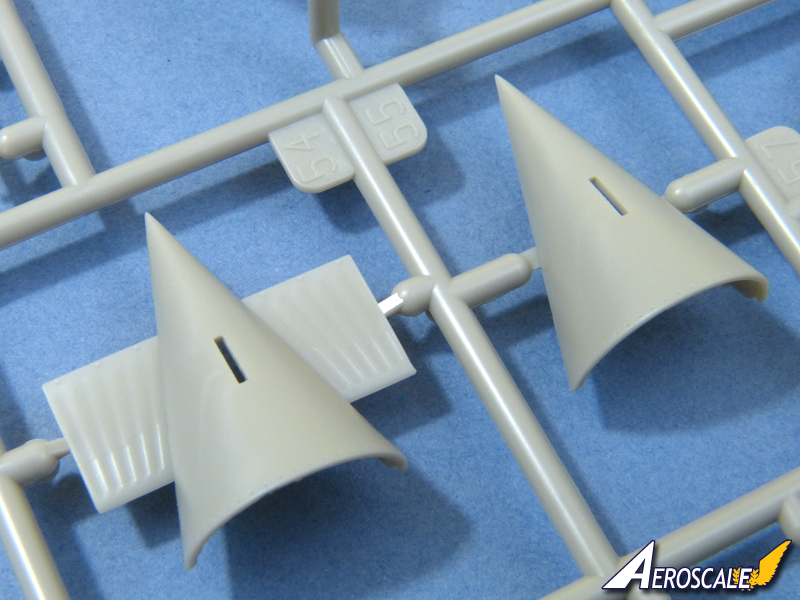
The next stages cover the rocket pack itself and the nose radar, soon followed by the wheel doors - just asking to get knocked off as you attach the rear fuselage and the wings, which are still to come. Basically, Ill follow conventional modelling wisdom and construct the airframe before adding easily-damaged smaller details.
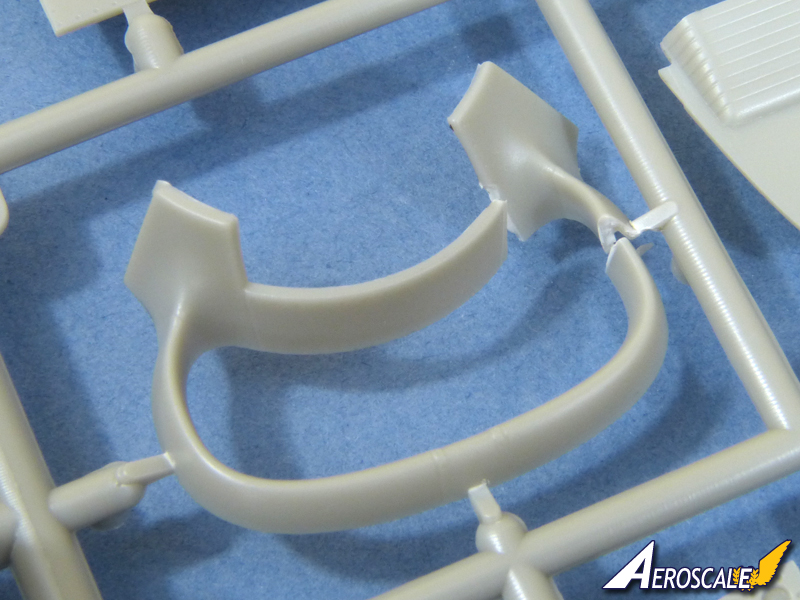
As noted above, the wings seem to be a good solid fit, and should need little or no filler. They feature separate slats, flaps and ailerons. The fin has a separate solid-moulded rudder which ensures a nice thin trailing edge, while the all-flying tail features delicately moulded vortex generators.
The airbrakes can be posed open, while the airframe is completed with a crystal-clear canopy. The first sample canopy suffered from some small translucent white flecks within the styrene, so Glen Coleman was kind enough to send me a replacement which is crystal clear (none of the other kits he checked were similar, so its a classic case of Sods Law that the review sample had the problem). The canopy features a quite a blown cross section, and Kitty Hawk have managed to achieve this without it causing a mould line to polish away. The solid areas of the canopy have a slightly frosted finish to ease painting.
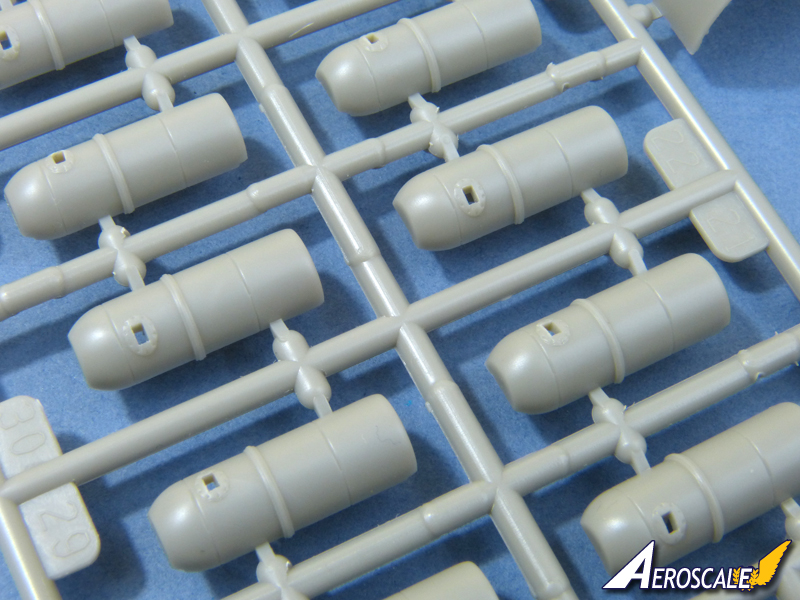
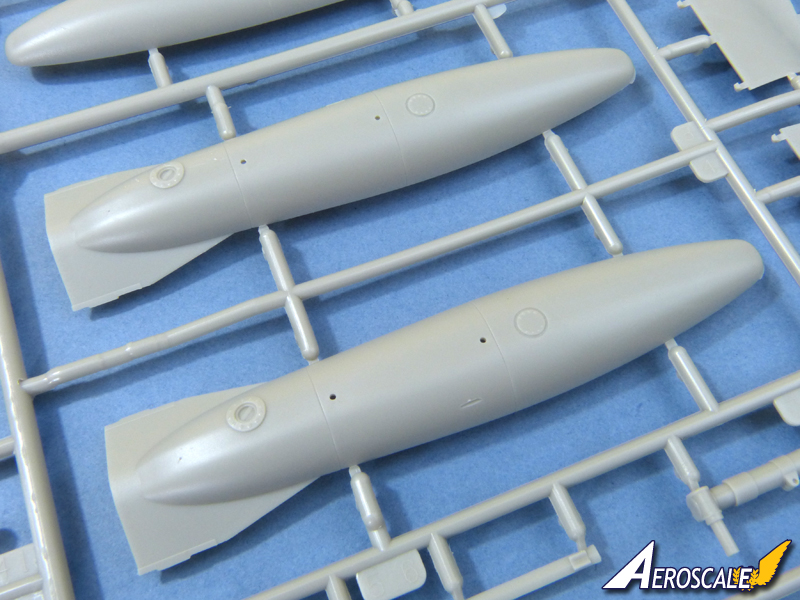
Underwing stores comprise a pair of drop tanks and Sidewinders. As far as my references go, I dont believe US Sabre Dogs were armed with Sidewinders, but they could be appropriate for some of the colour schemes in later foreign service. One thing that is rather annoying is that the mounting holes are ready-opened, so youll need to fill them for most schemes - and, Sods Law again, the holes are punch through right where theres some really delicate surface detailing to try to restore.
Instructions & Decals
As noted above, the construction sequence does tend to favour what looks good on the page rather than what makes modelling good-sense. That said, the 24-page instruction booklet is very nicely illustrated and straightforward to follow - Id just recommend reading it carefully and then deciding on an appropriate sequence for yourself (Ill be experimenting in the up-coming Blog to try to highlight possible pitfalls).
Colour matches are given for Gunze Sangyo paints throughout and are keyed to most details.
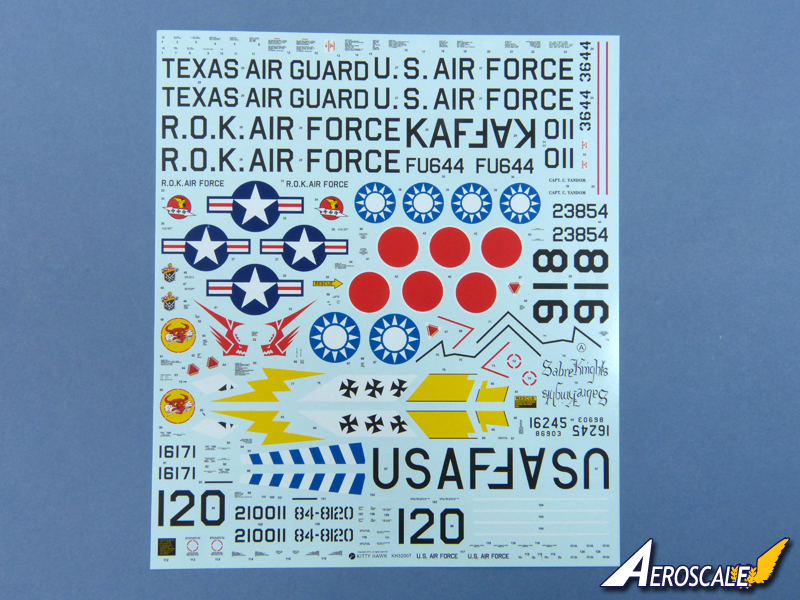
Decals are provided for a very interesting selection of subjects:
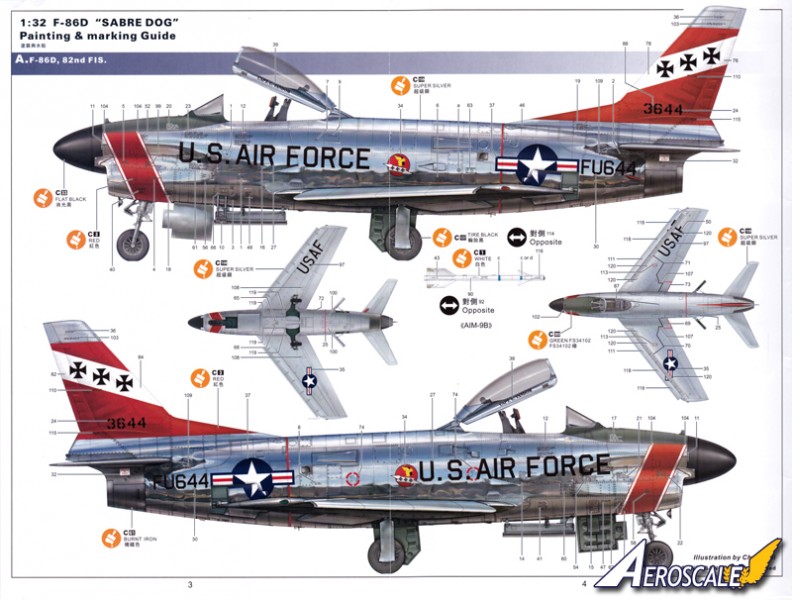
A. F-86D-55-NA, 53-0644, 82 FIS, USAF
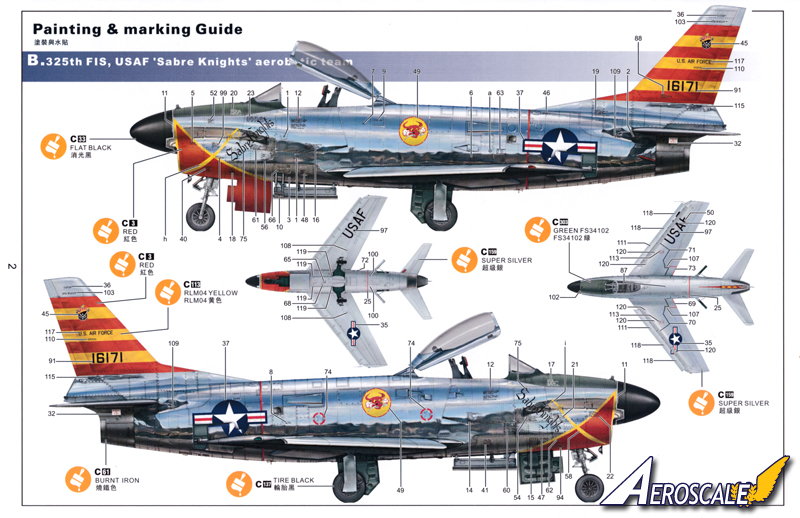
B. F-86D-35-NA, 51-6171, 325 FIS, USAF
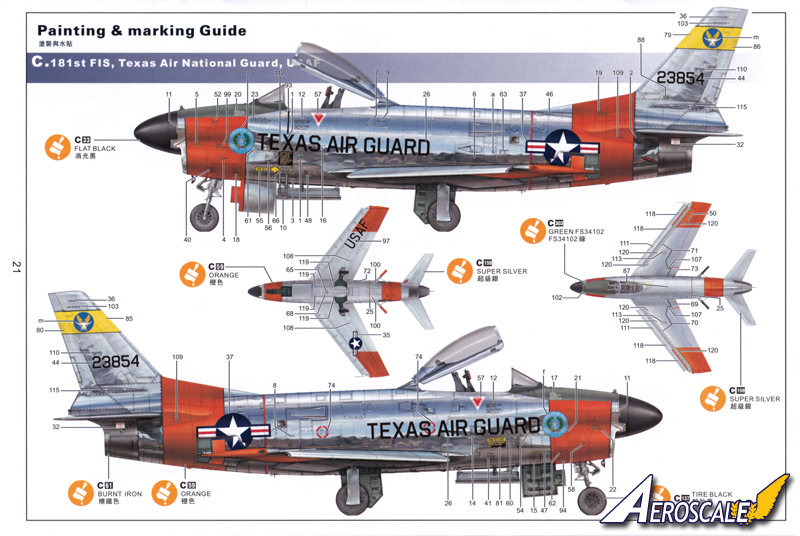
C. F-86D-40-NA, 52-3854, 181 FIS, TX ANG
D. F-86D, 84-8120, JASDF
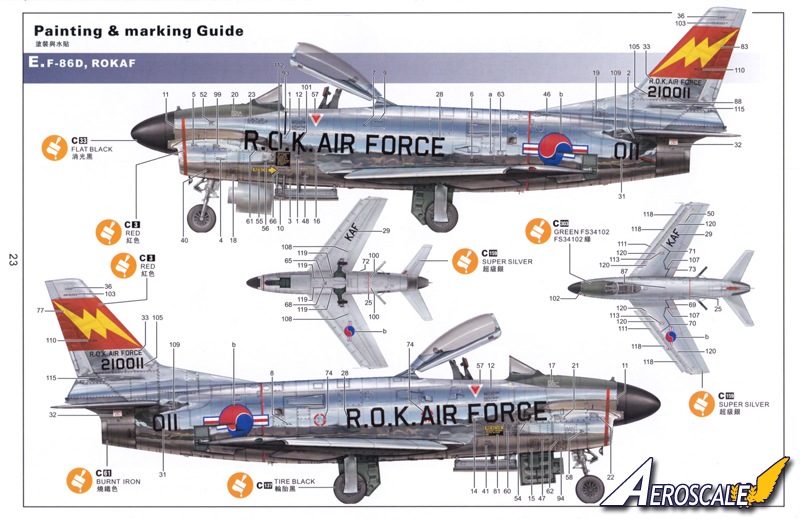
E. F-86D, 210011, ROKAF
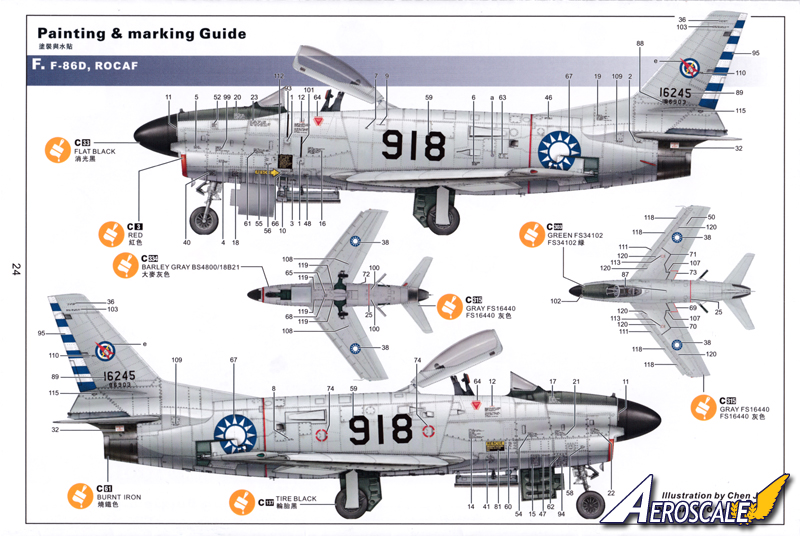
F. F-86D-35-NA, 51-6245, ROCAF
The decals are printed over two sheets and, at first glance, look really impressive. The large sheet (and it really is LARGE) is printed conventionally in excellent register. I did find a couple of small flaws, though, where the ink had smudged. The colours look nice and solid, although the Insignia Red of the US markings looks overly bright. Something of a concern is the dead flat finish - quite how well that will blend in on a n/m paint job remains to be seen, although hopefully a top coat of varnish will render the carrier film invisible
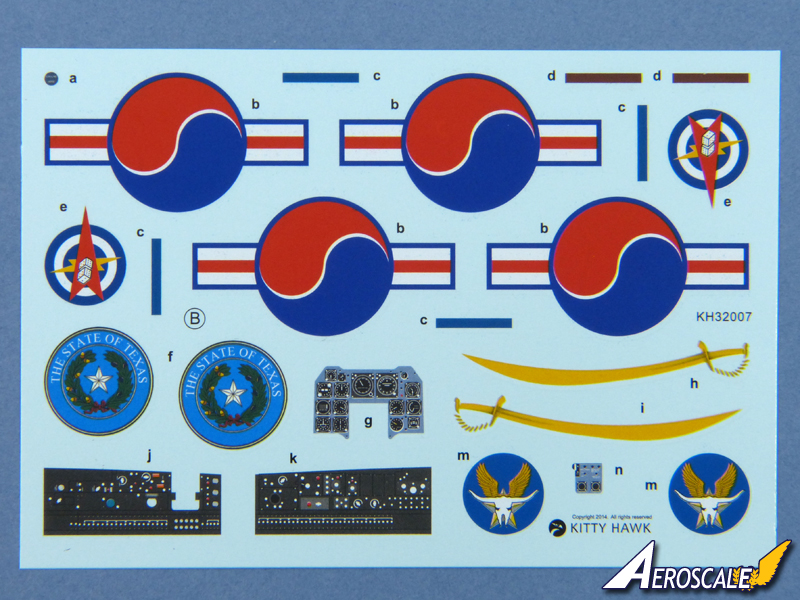
The second sheet is less successful, because its printed as a pattern of fine dots. Ive seen worse, and theyre fine from a distance, but really do show up when viewed closely - even with my aging Mk. 1 eyeballs.
Conclusion
Despite the few glitches noted in this early moulding (which will hopefully be soon ironed out), Kitty Hawks F-86D is an impressive kit in the box, and Im really looking forward to starting work on it. Its unconventional parts breakdown will depend heavily on how good the fit is, and it may be somewhat ambitious for less experienced modellers.
Please remember, when contacting retailers or manufacturers, to mention that you saw their products highlighted here - on AEROSCALE.
SUMMARY
Highs: Excellent detail and surface finish. An impressive selection of colour schemes.Lows: Dot-printing on some of the decals - plus the matt finish might cause problems on a n/m paint job.Verdict: Kitty Hawk's Sabre Dog is going to build in a large and impressively detailed model. The parts breakdown for the fuselage is a little unusual and may trip up inexperienced modellers, but it looks set to be a very enjoyable build.
Our Thanks to Kitty Hawk! This item was provided by them for the purpose of having it reviewed on this KitMaker Network site. If you would like your kit, book, or product reviewed, please contact us.
About Rowan Baylis (Merlin) FROM: NO REGIONAL SELECTED, UNITED KINGDOM
I've been modelling for about 40 years, on and off. While I'm happy to build anything, my interests lie primarily in 1/48 scale aircraft. I mostly concentrate on WW2 subjects, although I'm also interested in WW1, Golden Age aviation and the early Jet Age - and have even been known to build the occas...
Rowan,
Simply another one of your excellent and well detailed reviews. It sure looks like Kitty Hawk has a winner with this offering. I only which they would scale it down to 1/48 scale.
Joel
Hi Bill
Yeah - I've only been building 1:32 kits since the 1960s, so I'm still new to the genre.
Space was always the issue that made me build smaller subjects when I lived in small flats in London, but it never stopped me buying kits way bigger than I could fit on the workbench, let alone hope to ever display. Now I've got more time and space down here on the Island, I can delve into the Dark Side a bit more. I might even dig out my old Revell Ju 88s one day...
All the best
Rowan
Seems to be a beautiful kit.
Looks great and I love all the decal options. Great to see some of those early cold war colorfull schemes.
Thanks for the review, Rowan.


Comments