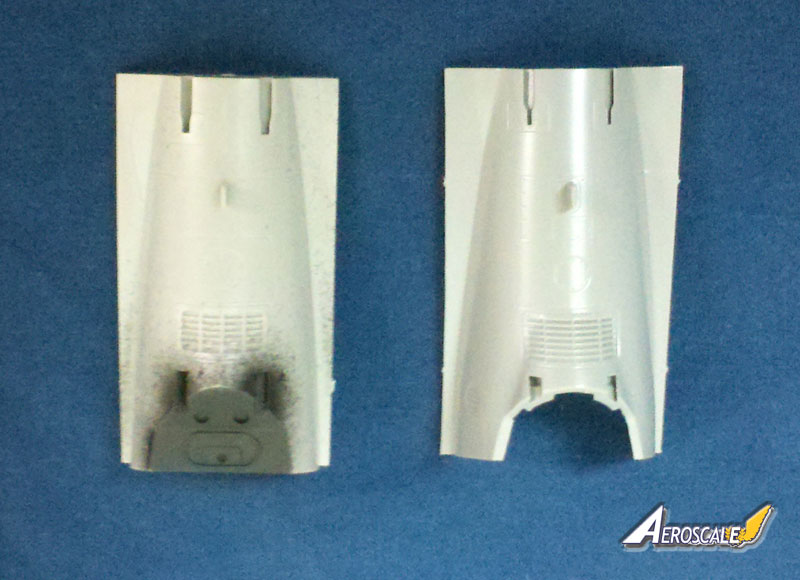
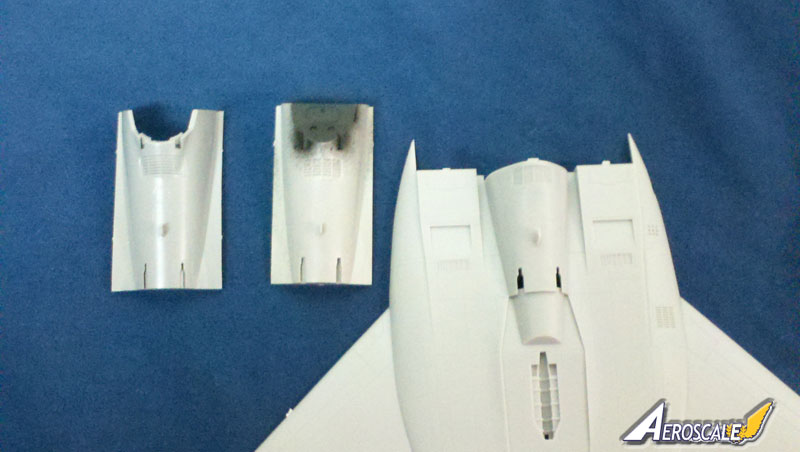
This is a very detailed kit of the F-15B/D. While Im no Eagle expert, it seems to cater to the differences between the B and the D well, with different antennae layout and instrument panels among other things. As noted in several previous reviews, however, the original release of the kit had some serious shape issues. One of the reasons this review is so long in coming was that Great Wall heard the complaints and issued a correction set with new parts, including new forward fuselage halves, radome, turtle deck (behind the canopy), canopy, and air brake and we were waiting to get the corrected parts to get started. These new parts addressed the issues well but they look very similar to the old parts if you aren't careful. It might be a good idea to just discard the old parts if you have the correction set. I dont know for sure, but I assume that later releases of the kit have the corrected parts already in them and dont have the old parts.
The Build
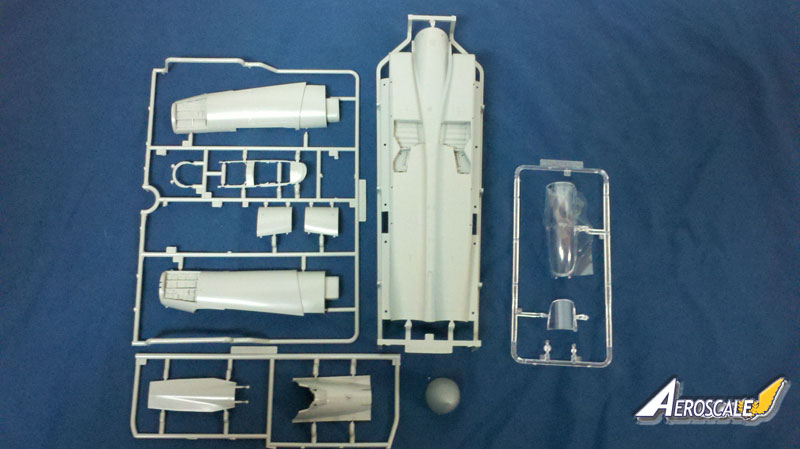
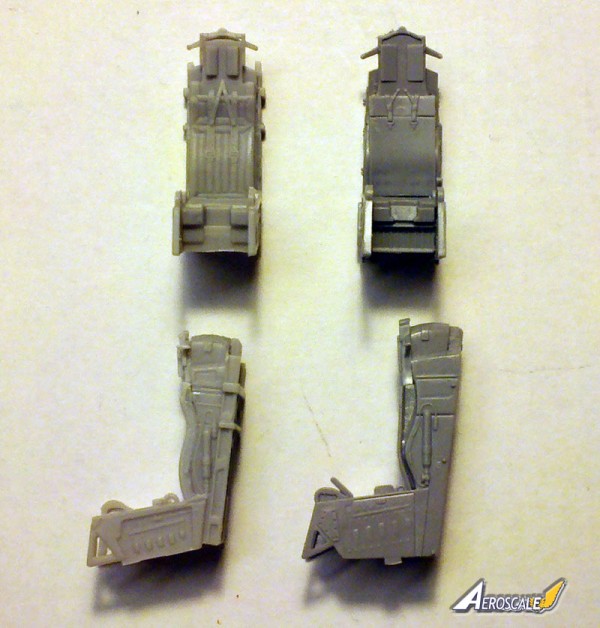
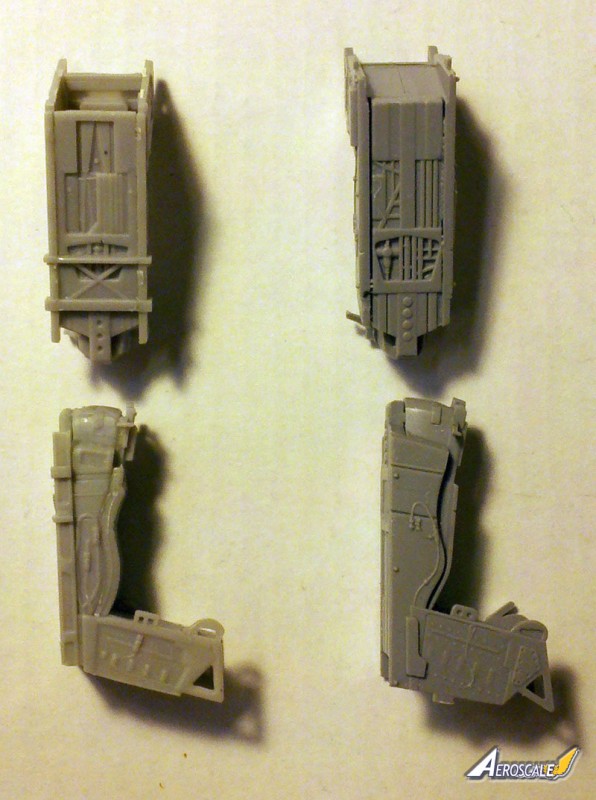
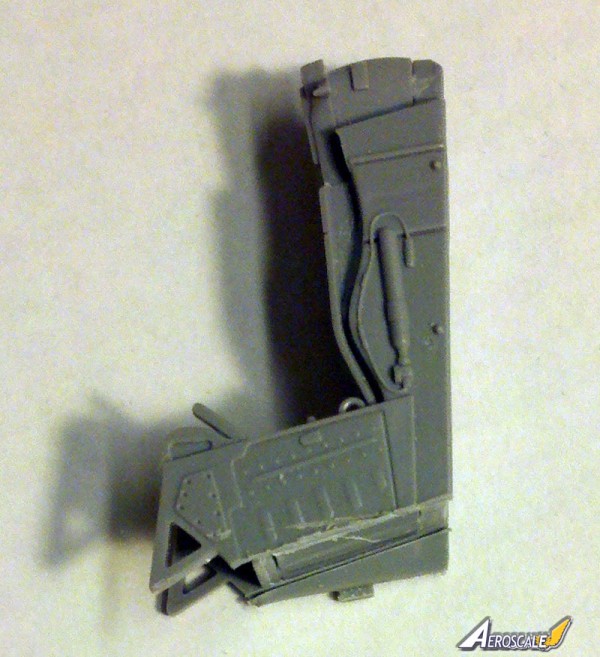
:Step 1 concerns the ejection seats. Both the Escapac and ACES seats are represented in the kit, each consisting of 5 parts apiece. While a little simplified they aren't bad for kit supplied items and include molded in harnesses but no seat belts. I had an old pair of seats from the Revell F-15E and used them as I thought they were a bit better, but the kit seats aren't bad. Paint call outs using Mr. Color numbers are included throughout, with a small table on page 1 of the instructions showing equivalents from Vallejo and FS numbers as well as color names.
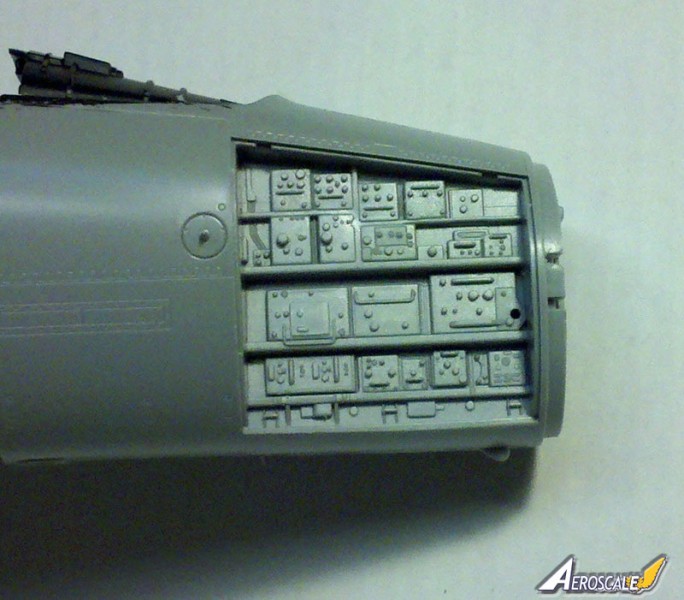
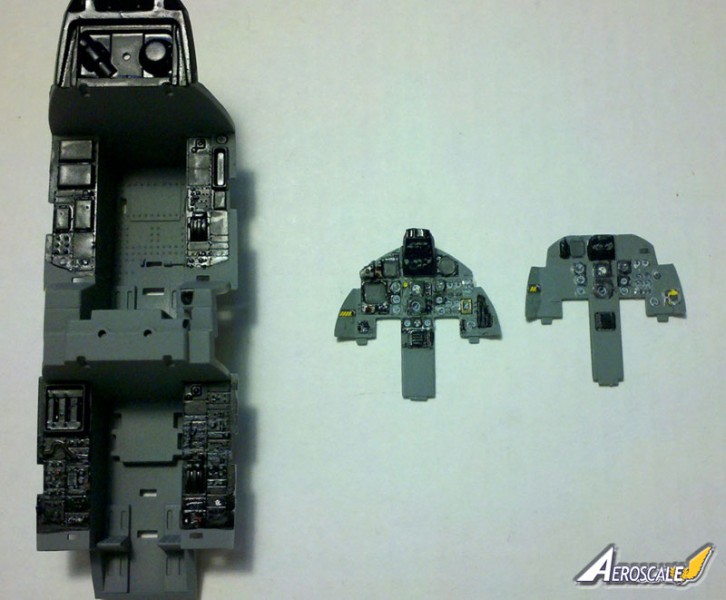
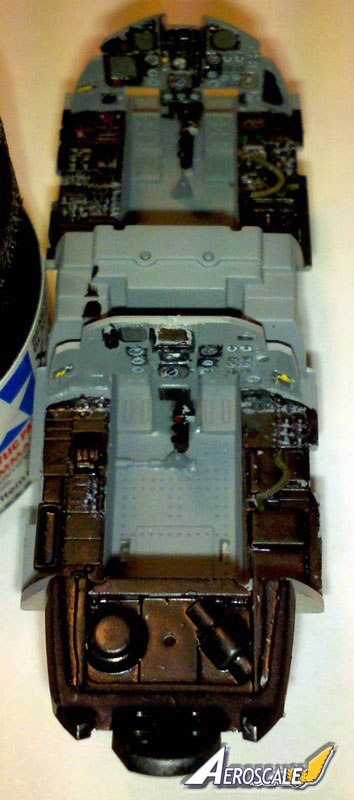
Step 2 is the first part of the cockpit and the nose wheel well. Detail here is quite nice with good side panels and seat rails. The rear instrument panel gets added here also but theres a note referring you to the next step (and page) for decal instructions for that. This isnt a problem as the panel can easily be added in the next step. Step 2 also shows an overhead view of the side counsels and how to paint them black, but no detail of the switches and knobs, etc. which are molded in. A good reference is helpful (if not necessary) to bring out all the detail here. The nose wheel well is made up of four parts and is included here, with some detail molded into the roof and sides. The only color called out is white. It then attaches to the bottom of the cockpit tub. Fit is very good throughout, though I found that the wheel well parts fit together very tightly. A little liquid cement as lubricant took care of that. Great Wall would have you install the seats here but they can be left out until later if you desire, which I did.
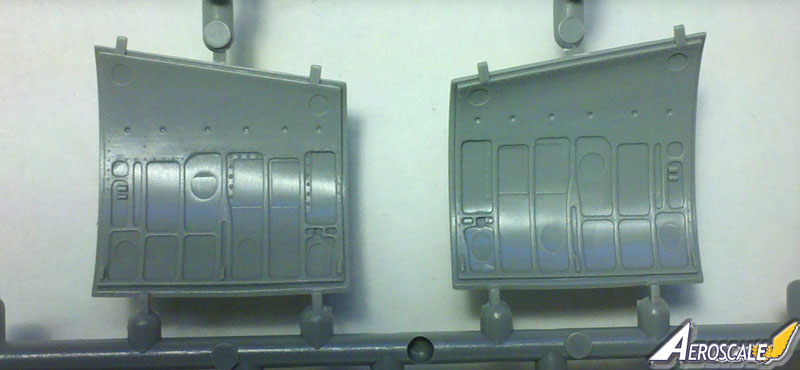
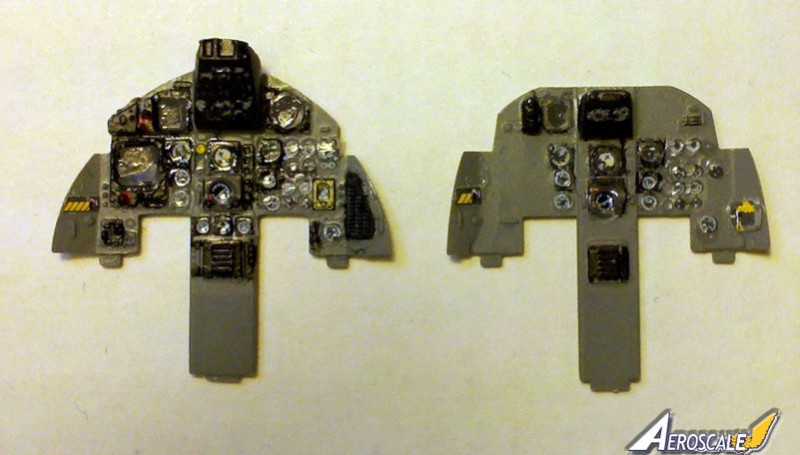
Step 3 continues the cockpit construction and includes the addition of the control columns (different for the B or D model), oxygen hoses, forward instrument panels, rear combing, and side panels. The hoses are a bit fiddly and placement is not really clear. Again, a good reference is very helpful. Also shown in this step is the placement of the individual decals for the instrument panels. The rear panel is the same for the B and D but the front panels are different. Some painting of the panels in Dark Gull Gray and Black is necessary before decal placement but this is not shown. The decals, however, are very nice if quite small. I worked from the center of the panels out and found that many of the instruments were the same for the front and rear panels, so I bounced between them - placing one decal while the other dried. Doing this got me through this step relatively quickly. After waiting for the decals to thoroughly set (I used MicroScale Micro Sol), I dull coated the panels. After that was dry, a drop of gloss coat simulated the glass. Fit of the panels into the cockpit after all that was fine, and then the side panels went on well to finish off the cockpit assembly.
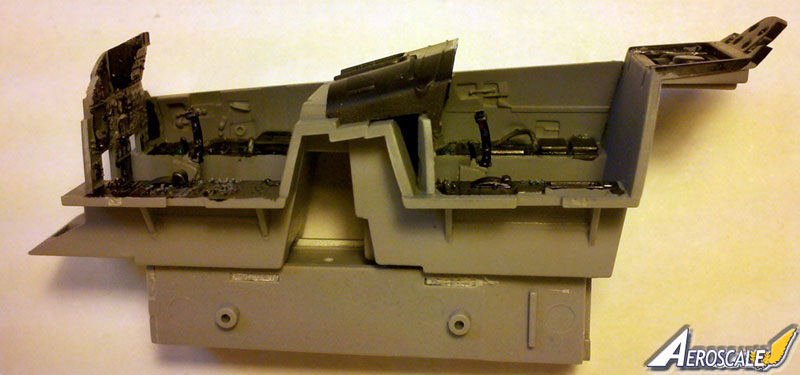
Step 4 is a busy one, bringing together the forward fuselage with the cockpit/wheel well inside as well as the nose radar and heads-up display. Be sure to open the various antennae holes in the nose before joining the halves together (Great Wall includes a good diagram for which holes to open. My research seems to show that IAF F-15Ds have the same set up as Bs. Hope Im right, because thats what I did!) Part C32, the radar bulkhead, was not changed by Great Wall when they did the new parts so it doesnt fit as precisely as it would have in the old, incorrect, nose parts. Im not having the radome open, so thats not a real problem for me and the molded in ledges hide any gaps quite well. I did add that part to make the assembly stiffer and it fit just fine. The heads-up display is made up of two photo-etch parts and two clear acetate panels that you need to cut out. Its pretty much just as fiddly to put together as it sounds. I painted the frames black first and the used Gator Glue to glue the acetate parts to one side of the frame. After that dried, I added the other frame. It came out looking very nice but I didnt add it at this time as I wanted to wait until just before I added the windscreen; otherwise Id just be asking to knock it off. All parts again fit very well but I had the wrong radome (the old, incorrect part) at first and did some head-scratching as to why it wouldnt fit until I figured that out. The corrected parts fit to the other corrected parts just fine. You do need to trim off the molded in hinges if youre going to close the radome but Great Wall does illustrate this.
I actually didnt add the radome at this time since I wanted to be sure I had a place to put weight if needed. Later on, when the main fuselage was altogether, I tried balancing at the main gear attachment points and it looks like this kit is a natural nose-sitter. Thats good news but I dropped a few small fishing weights in the radome anyway just to be sure.
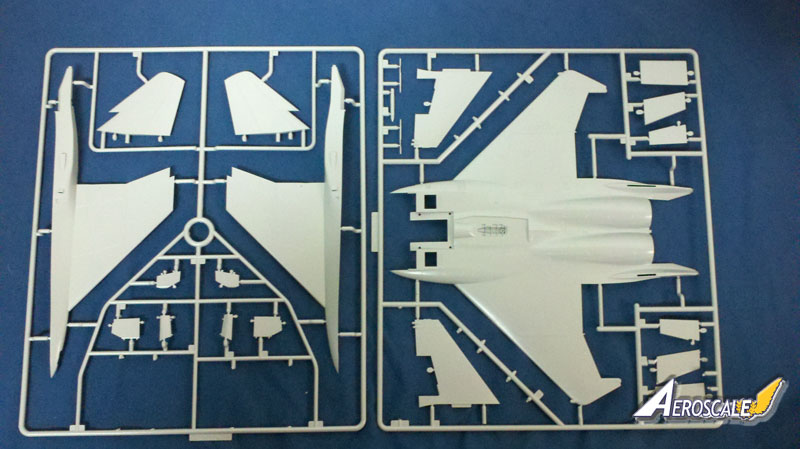
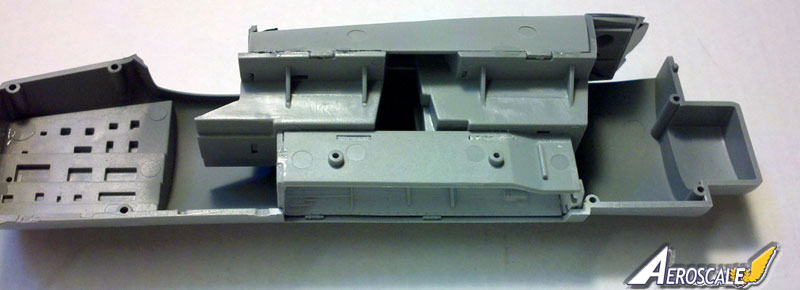
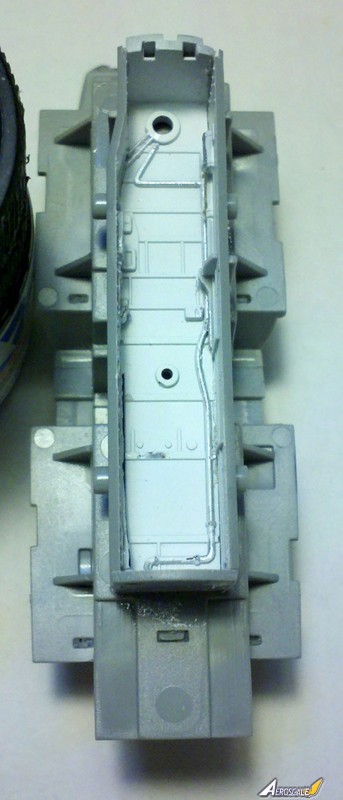
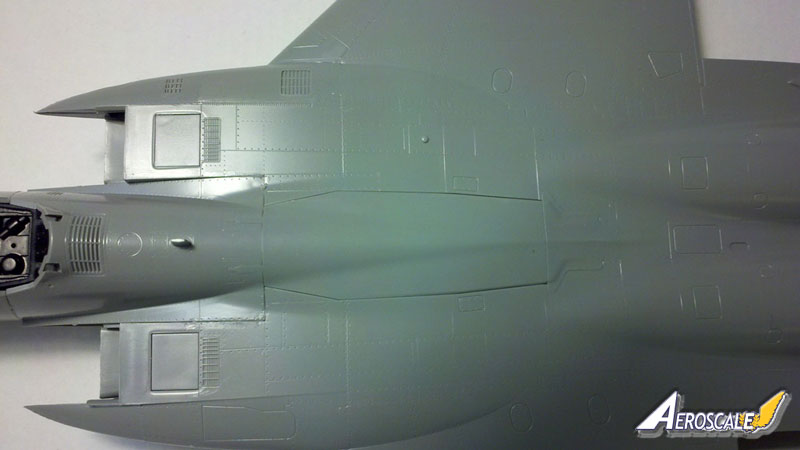
Step 5 brings together the intake trunks, lower rear fuselage and lower wings. Have a look at the side diagrams showing where to drill out holes for an antenna and fuselage and wing pylons, I suggest doing that before you start gluing parts together. Unlike most F-15 kits the lower wings are not molded on the lower fuselage, but are separate parts. They are well engineered and fit nicely and positively but when youre attaching them be sure to pay attention to the outside joint. A little extra care here will ensure gap-free seams. Theres an interesting box like part (F2) that fits in between the intakes at the front. This provides some stiffness to the lower fuselage and will help the seating of the forward fuselage when the time comes (step 9). Be sure to pay attention to the inset diagram showing which way it fits.
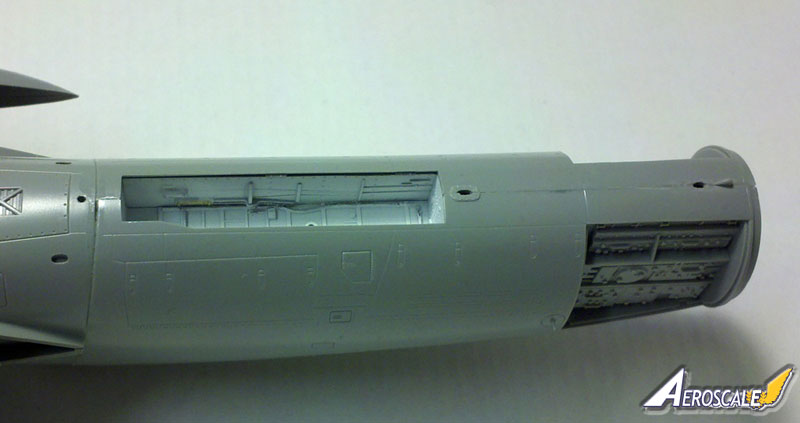
The intake trunks go together well but have some ejector pin marks that will be visible at the front end. These were pretty easy to sand away with a sanding stick. Of course there are also seams that need to be cleaned up but theyre pretty minimal. I deviated from the construction sequence a bit here. Since Israeli F-15s continue to use the turkey feather petals on the burners for long distance flights, and since I need a set of featherless cans for another Eagle I have planned, I swiped a pair of burners from an old Hasegawa kit to use on this one. This required some reverse engineering as Great Wall has full engines in the kit and the turbine blades which go at the end of the intakes are actually the fronts of those engines. Since I was using the Hasegawa burner cans, I couldnt use those engines. So I skipped to step 8 and put together the engine fronts, then glued them directly to the ends of the intakes. Fit was fine this way and then I added the trunks to the lower fuselage.
Great Wall would also have you add two photo-etch frames for the rear fuselage formation (slime) lights in this step. Figuring that the decals for these lights should go on BEFORE the frame parts and not wanting to try to mask those when painting, I didnt add them now. Well see if Im right or not later.
Step 6 has the builder add various parts to the upper wing/fuselage part (which is all one molding.) Included here are options for open or closed upper intake blow in doors, the gun muzzle, flaps, and ailerons. I left the flaps off for now as most pictures Ive seen of parked F-15s show the flaps bled down a bit and I figured that would get in the way of painting. They will be easy to install after assembly. Note that the drawing of the leading edge inner corner of A12 is incorrect and GWH have included an Instruction Amendment with the recast parts showing the correct drawing. I also used the closed blow in doors and they fit well.
The upper wings include the lower wing tips molded in and this can be a recipe for bad fit. Happily in this kit the break is along panel lines and (as well see in step 9) the fit is very good.
Step 7 has the buildup of the intake leading cowls. These come in two varieties: straight ahead or angled down. This is NOT made very clear in the instructions so take care! Option I is the fully opened, horizontal option that goes with the closed blow in doors in Step 6, option II is the lowered intakes that go with the open blow in doors. Interestingly the parts for the two options are on different trees (horizontal on tree H, lowered on tree I) to help you keep them straight, but study those instructions. I left these intake assemblies off the airframe at this time so I could paint behind them, they will also be easy to install after painting.
The amendment to the instructions I mentioned in Step 6 also redraws part of step 7, the intakes assembly, and does it incorrectly. It shows part H1 as the inner part of the left intake instead of H3 in the original instructions. H3 is actually the correct part. H1(the port side closed blow in door) was used earlier in step 6.
Step 8 is the engine and burner can build. Since I wasnt using these, I didnt go through this step. Great Wall would have you build up each engine and can as one large assembly and insert them through the finished airframe and up to the intake trunks later. This is actually a nice feature that aids in painting as its nice to have those big holes in the aft end to hold on to while airbrushing. The engineering of the featherless burner cans is interesting and should look pretty good, though due to molding limitations the actuators on the burners are pretty thick and may benefit from some scraping down from the inside.
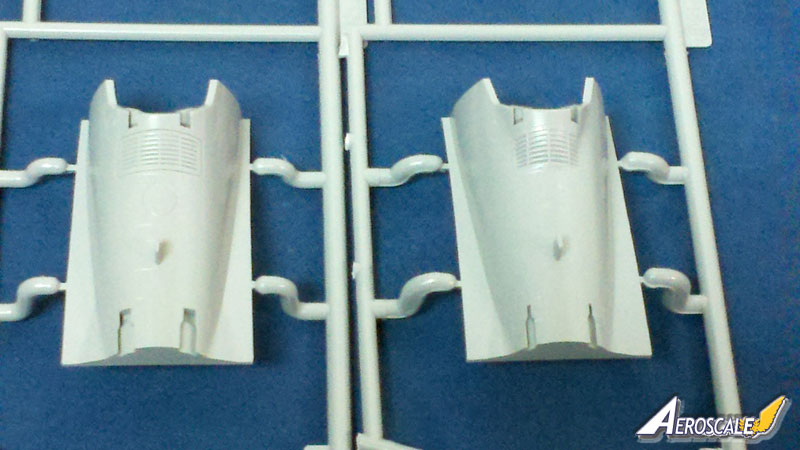
Step 9 only has three parts but they are big ones, bringing together the top and bottom of the rear fuselage and adding the front fuselage and turtle deck. First one glues together the upper and lower rear fuselage. As mentioned before, the fit is quite good and solid along the wings though a bit of work is needed is needed at the back where the stabilators will go. Then you add part B7, the turtle back (be sure to use the new one, it has a sharper angle to the canopy fairing than the old one) and then the front fuselage. I encountered a slight step between the front fuselage and the lower rear, but this may certainly have been user error. It was pretty easy to clean up.
Step 10 shows the addition of the windscreen, intake fronts and engines. I actually added the heads up display at this point just before the windscreen, which fits very nicely. As I said above, I didnt add the intake fronts or engines yet.
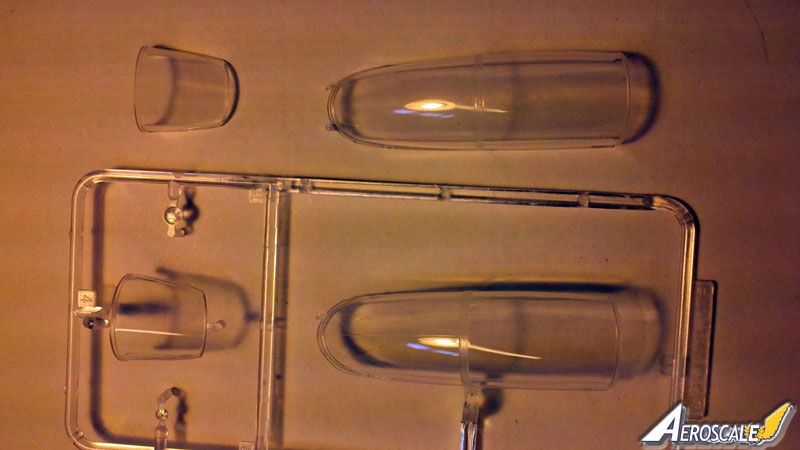
A note here about the windscreen and canopy. Like many modern jet kits, these parts have a small molding seam running down the middle. This is because a two part mold is needed to get the bulging shape of the parts correct. A lot of modelers complain bitterly about this but I dont see how the manufacturer could get the shape right without that seam. I use some very fine sanding sticks and then a couple of grades of plastic polish to deal with these seams and it comes out alright as far as Im concerned. For a final touch you can dip the clear parts in Future (or Kleen) floor wax to completely restore clarity. Its all worth it to me to get the right shape.
Step 11 has you putting together the canopy and speed brake. Ive never seen the speed brake open on the ground, so I cut the hinges off as shown and glued it down. Fit was excellent. Take care to use the new, correct canopy and clean it up as with the windscreen. Unfortunately I broke one of the hinges off the canopy when polishing it, but I was able to cut one off the unused, incorrect canopy as a substitute. I did not add parts C4, C5 or PE2 to the inside of the canopy at this time nor did I add the ram (C3) or canopy prop (C25) as I used white glue to glue the canopy closed for painting (after Id masked it off.)
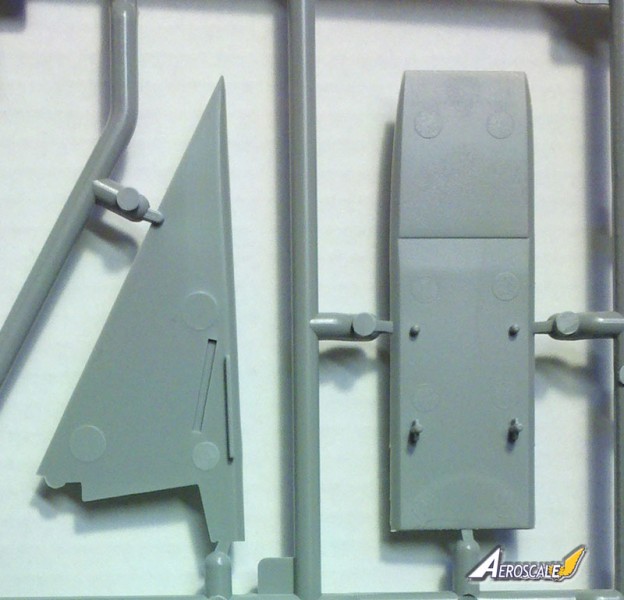
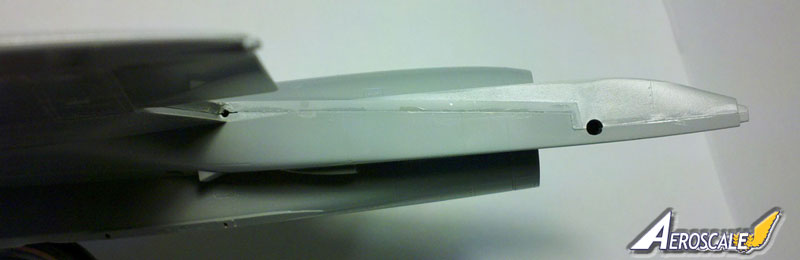
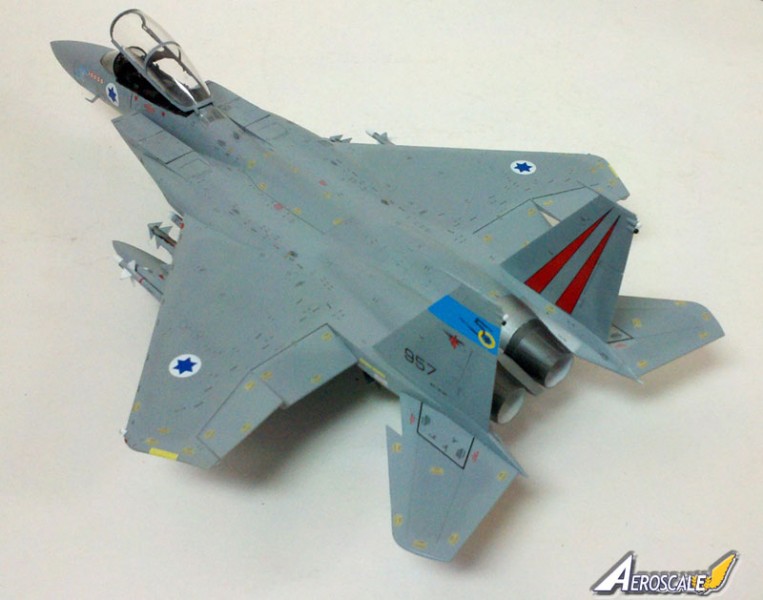
Step 12 Here you put together the twin tails and add the fairings to the aft tips of the fuselage. The rudders are separate and fit well. The mass balances and/or antenna on the top of the tails are also separate so the correct combination can be installed. USAF Eagles have a large antenna on the top of the starboard tail but Israeli aircraft do not. GWH provides an extra mass balance to correctly model this.
The fairings (J4 and 5) on the tips of the tail are separate parts so GWH can substitute antennae parts there in later releases (though have unfortunately chosen not to include anything other than the fairings in this kit). They are not numbered on the tree, but they only fit one way, so its not difficult to figure out by test fitting.
Great Wall would have you add the stabilators in this step as well, but I chose to leave them off for paining.
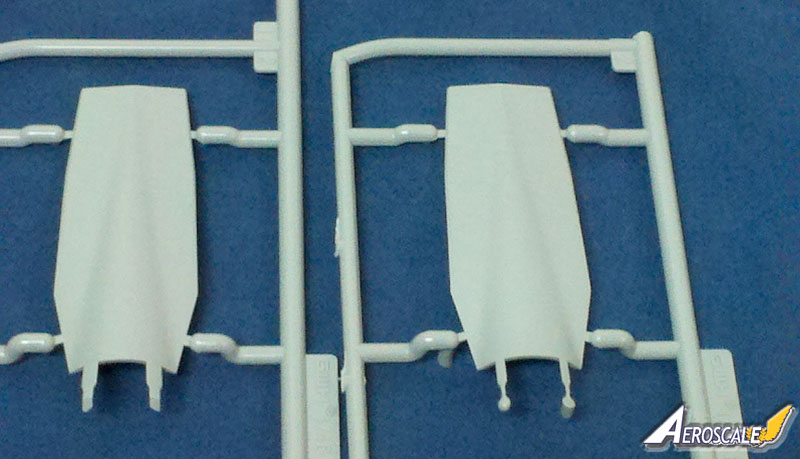
Step 13 is the landing gear step. I saved most of this one until after painting, but did cut the hinges off the main gear doors B3, 9, 10, and 11 (see step 14) and glued them in the closed position now since they are normally closed on the ground. I did NOT glue the forward nose gear door (C16) into place yet, even though its normally closed too. Theres no way youd be able to fit the nose gear retraction strut into place later with that door there. I did glue the strakes, parts F10 and 11 into place at this point.
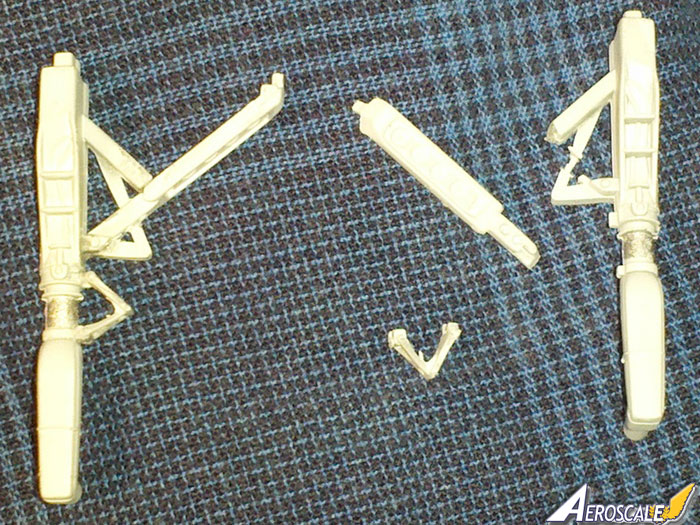
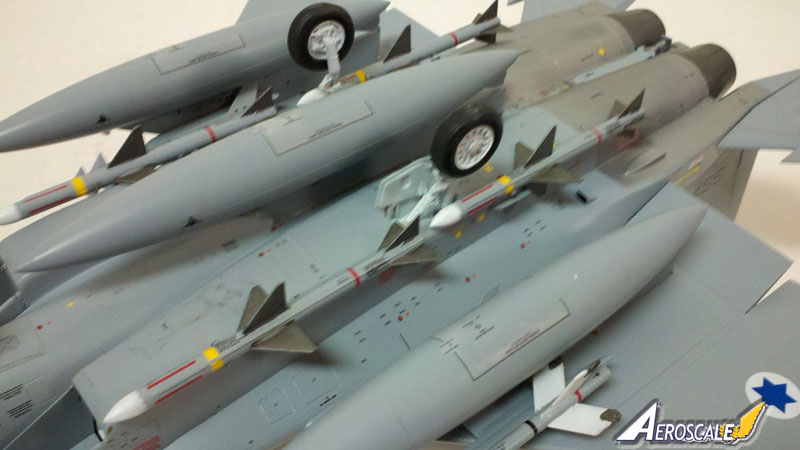
While were talking about the landing gear, allow me to point a couple of things out. I used the wheels for the F-15D, parts R7, 8, 9, and 10 and one thing I discovered about them was that the demarcation between the wheel and the tire is very fine, thus making them hard to paint (this is true of the nose wheel as well.) I strongly suggest a round mask you help you with this. I painted the wheels white then got out a circle template and found the right sizes for the wheel, cut out disks of tape and taped over the wheels (once the paint was dry, of course) and then painted tire black.
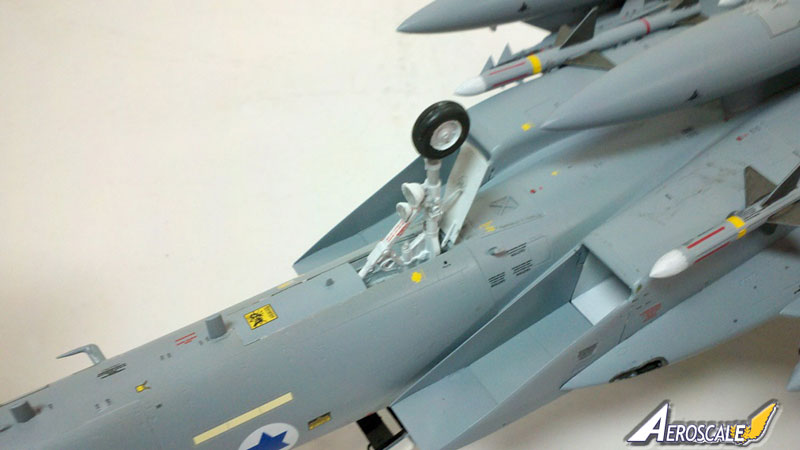
Also, where the main gear retraction arms locate to the main struts is not very clear in the instructions. They should go above the links. See the photo attached to this article.
Step 14 shows the gear doors as closed if youre modeling the aircraft gear up.
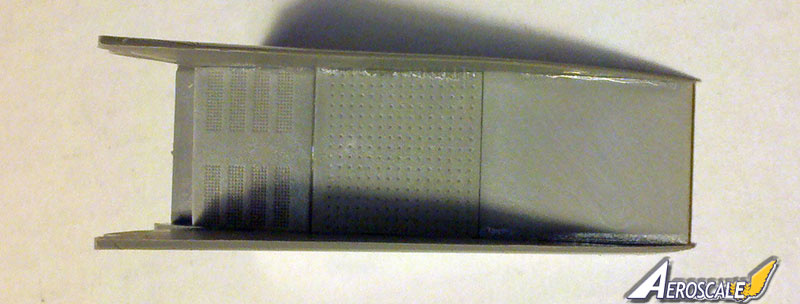
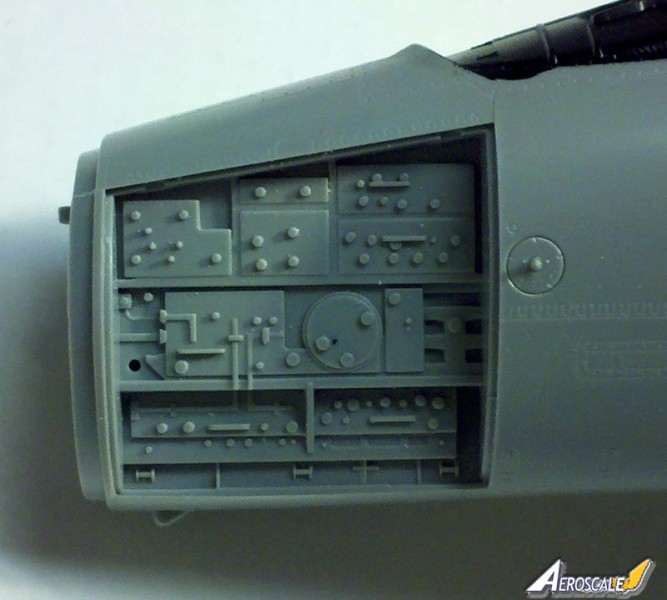
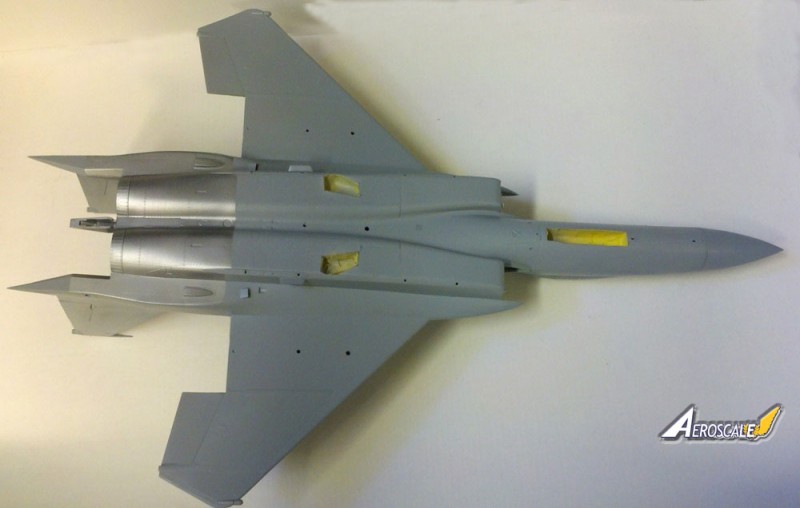
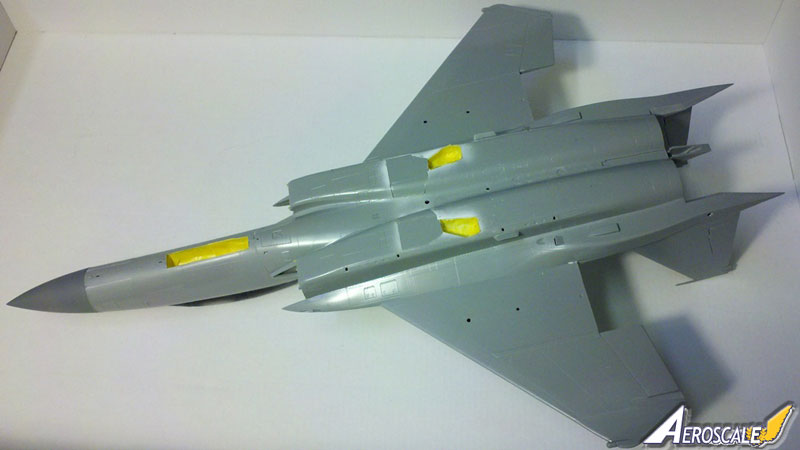
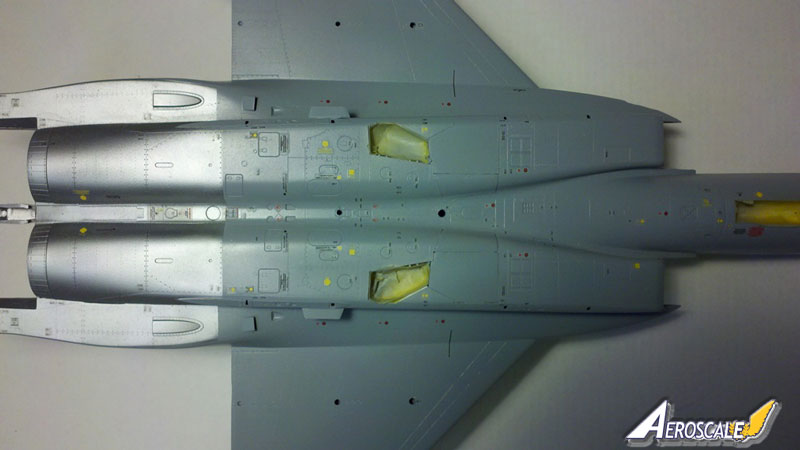
Step 15 has you add the electronics bay hatches on either side of the nose. They can be open or closed, your choice, and GWH has molded in some nice detail inside. I like my models looking like theyre ready to take off, so I closed them. This is where I think I made my biggest mistake on the kit and I used the doors from the original kit rather than the reworked parts. The result was pretty large gaps on the bottom of the doors. Some Mr. Surfacer made quick work of those.
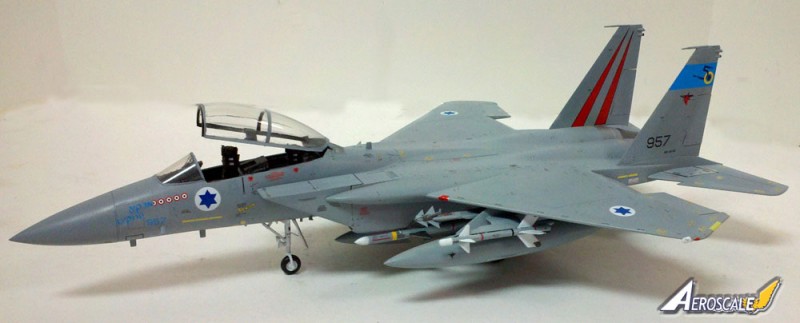
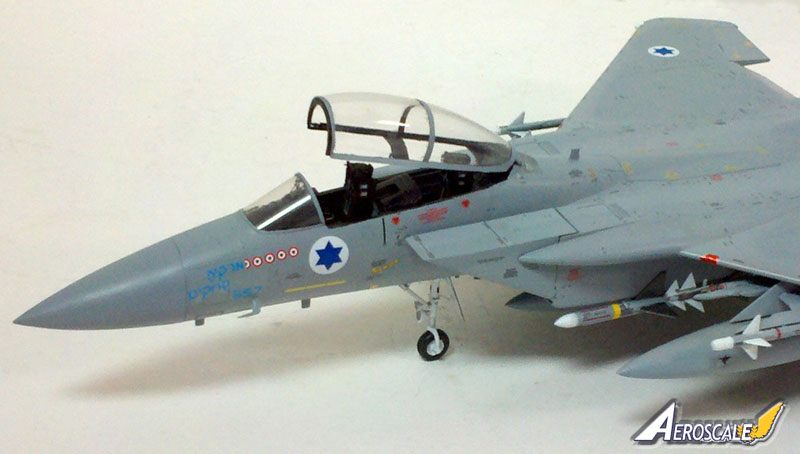
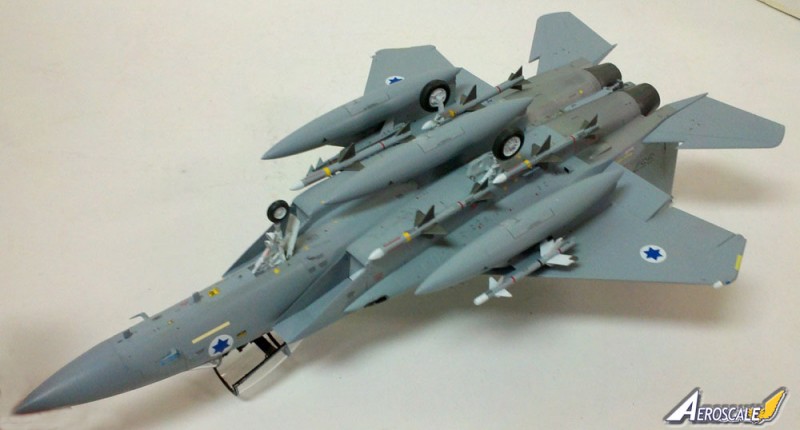
Step 16 shows the construction of the drop tanks, Python 3 and 4 missiles, and pylons. The original instructions have an error here and show the wing pylons as part F14. They are in fact O1, which is shown correctly in the instruction amendment sheet. Fit of everything here is good though I left the missiles separate for painting and decaling. In my IsraDecal book on the F-15 I found a shot of an F-15D in Israel 50th anniversary markings with a Python 3 and 4 on each wing pylon and went for that look on my model.
Step 17 is the addition of the braces for the Sparrow missiles, the tail hook and fairing, and various antennae. I only added the tail hook fairing at this time for painting purposes (pictures Ive seen show the tail hook door to be gray rather than natural metal like the surrounding areas, so I left that off.) I came back to this one at the end and discovered that the original instructions sheet left some antennae off. Make sure to check that amendment sheet! Once it was time to add everything, it all fit well.
Step 18 is the addition of the pylons which I also waited to do until later. After all the painting and decaling were done, this worked as advertised.
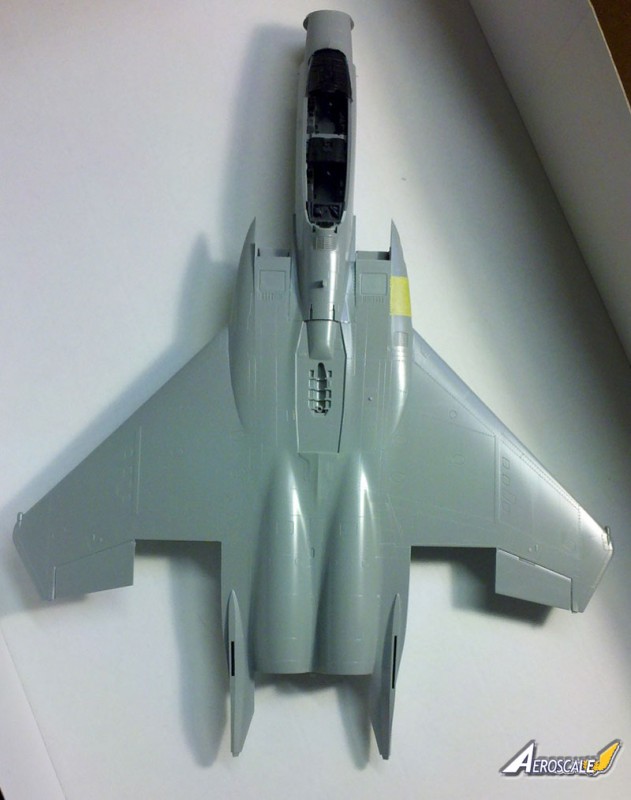
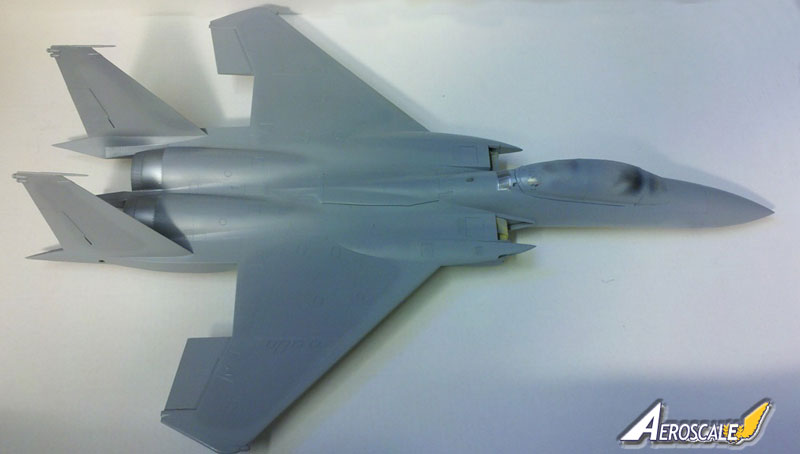
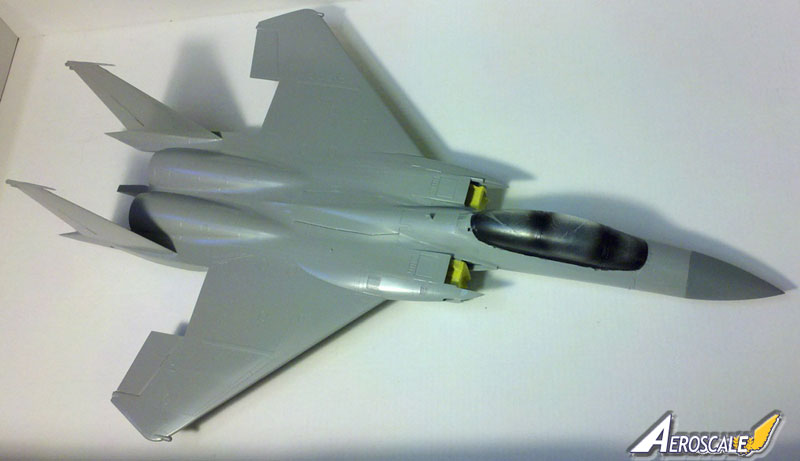
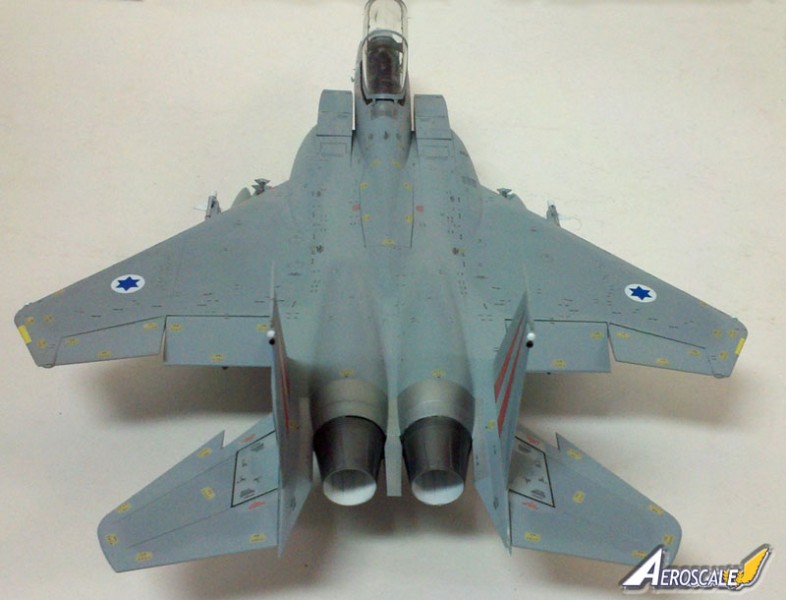
After main construction but leaving off the antennae, weapons, landing gear, stabilators, and pylons; it was time to paint. The painting instructions included seem to match pretty well with my other sources and I used Testors Model Master for the Light (FS36375) and Dark (FS36320) Ghost Gray scheme since Israel never went with the Mod Eagle colors. Those Ghost Grays are pretty close and its hard to tell where youre painting the dark one once you have the light shade on. I also used Model Master Metalizers for the hot metal areas around the tail (stainless steel for the fuselage and titanium for the burner cans.) Once all the painting was done I laid down a coat of MicroScale gloss clear on the painted areas (and Model Master Metalizer sealer on the metal bits) in preparation for decaling. Then the fun REALLY began!
Decals
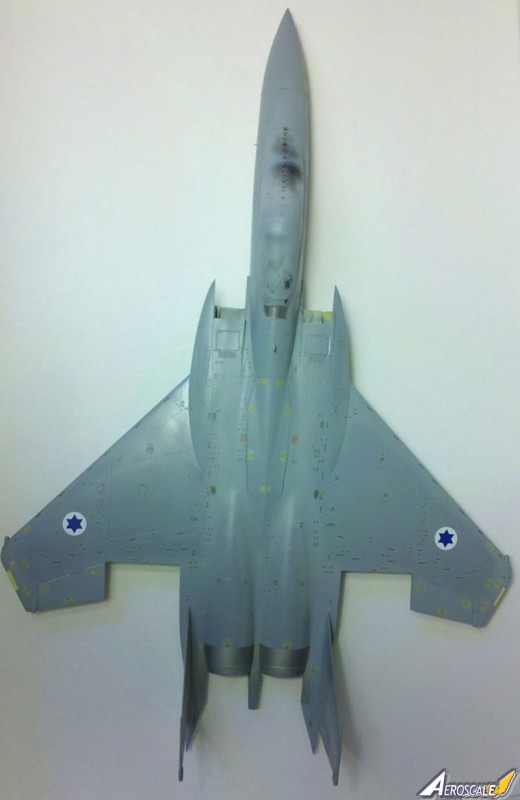
First, I dont think I did a good enough coat of gloss. That was my fault and I paid for it with a fair amount of silvering. But the very large number of decals is down to Great Wall. Holy mackerel are there a lot of stencils! Since this is a review, I committed to using them all but I seriously thought I was going blind on more than one occasion. There are, of course, the standard No Step and service stencils; but the airframe is also covered with tiny panel numbers and GWH has supplied them all as far as I can tell. And theyre nearly all separate. Use of a magnifying glass is essential, at least for these tired eyes. Its also important to stretch this over several sessions or youll lose it completely.
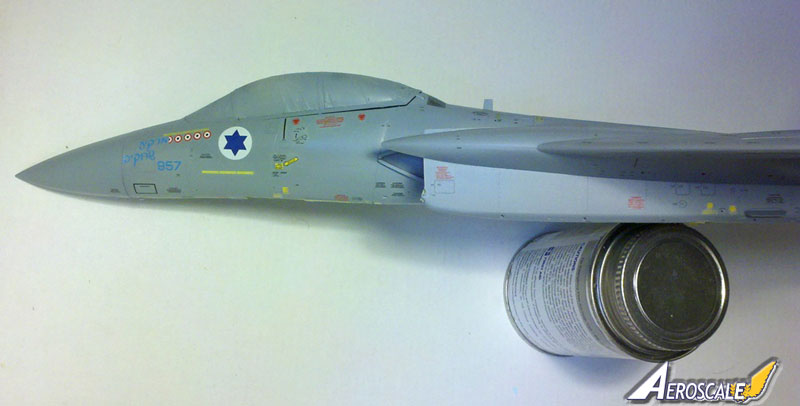
I used an IsraDecal sheet for F-15D 957 Sky Blazer, the highest scoring F-15 in the world I do believe, but only used their decals for aircraft specific markings to give you the best info about the kit in this review. The kit decals went down fine and work well with either Micro Sol or Solviset. One big issue I ran into right away though was the instructions. With all those tiny decals its very hard on an instruction sheet to show where they all go, and Great Walls method of using different color lines leading to different places can be confusing. Add to this that I discovered (fairly quickly, happily) that the underside placement diagram on my kit was printed off register (see photo) and I was glad I had that IsraDecal sheet to cross check. Anyway, if you want to know why this review took so long, those blasted decals are the answer.
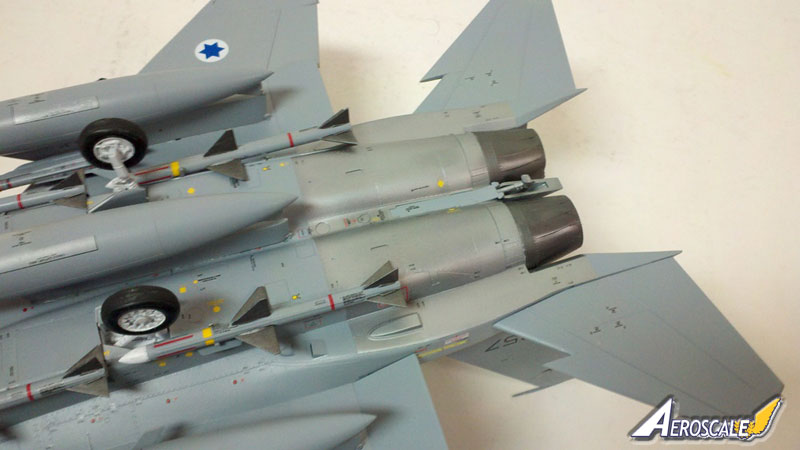
Once all the decaling is done (the missiles have plenty as well, by the way), I sealed everything up with another coat of gloss and then a coat of flat. Having done that, the assembly of the various bits Id left off went well and only took a couple of days. The result is what you see in the attached photos.
Conclusion
:What to say about Great Wall Hobbys F-15B/D? First, major kudos to them for correcting the badly shaped nose and spine areas! I understand the problem does not exist for their later issued F-15C kit. It would have been nice to have more options in this one, including antennae for the tail instead of just fairings and more weapons choices for those not doing an Israeli modelt; as well as burners with the turkey feathers on. But whats in the box is very nice indeed. Excellent detail and good fit add up to a very attractive package and, as far as this modeler is concerned, the best 1/48 F-15 currently on the market (just edging out the Revell F-15E). Ive seen a completed F-15C here on AeroScale done without all the panel number stencils and it looks great, so I think youre safe leaving them off if you want to avoid my biggest issue with the kit. Other than that, you cant afford to miss this one if youre a fan of McDonnell Douglas contribution to American and Israeli air superiority in the late 20th and early 21st centuries.
Please remember, when contacting retailers or manufacturers, to mention that you saw their products highlighted here - on Aeroscale.
SUMMARY
Highs: Very nice detail, good surface detail, problems with first release mostly addressed with new parts, good fit and engineering generally, excellent Israeli AIMs, featherless exhausts.Lows: Wheels still not corrected (brakes 90 degrees off), very little distinction between tire and wheel makes painting harder. huge number of stencil/panel number decals, no American weapons except Sparrows,intake duct very narrow, no optional tail tip antennaVerdict: An excellent kit of the F-15, the high points far outweigh the lows.
Our Thanks to Great Wall Hobby! This item was provided by them for the purpose of having it reviewed on this KitMaker Network site. If you would like your kit, book, or product reviewed, please contact us.