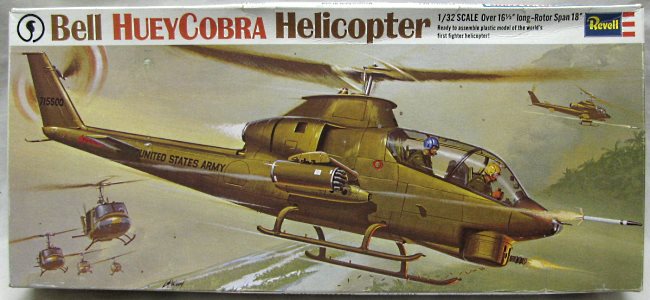
Revell's 1/32 AH-1G Bell HueyCobra [sic] Helicopter was a sensation when it was released c.1969. Looking up trivia about it I came across the model built by a Vietnam War AH-1 Cobra pilot who wrote that it is still an accurate and commendable model.
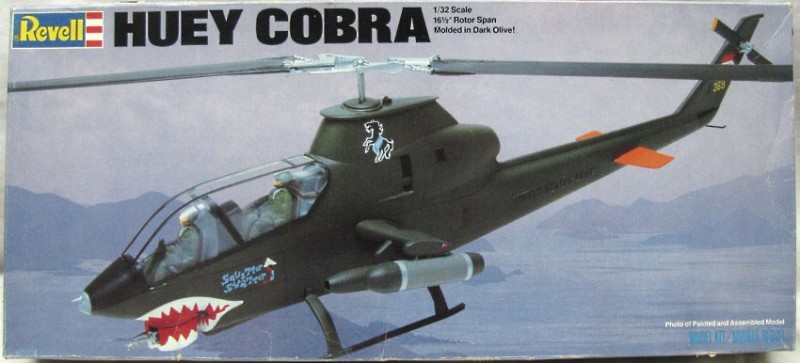
That original model was catalogued by Revell as H287. There have been at least five re-releases starting with an early 1980s reissue, number 4415. A 1990s re-release is 04495 and it contains an extra sprue with the 19- and 7-shot FFAR rocket pods, new external store wings, and curvy intake filters.
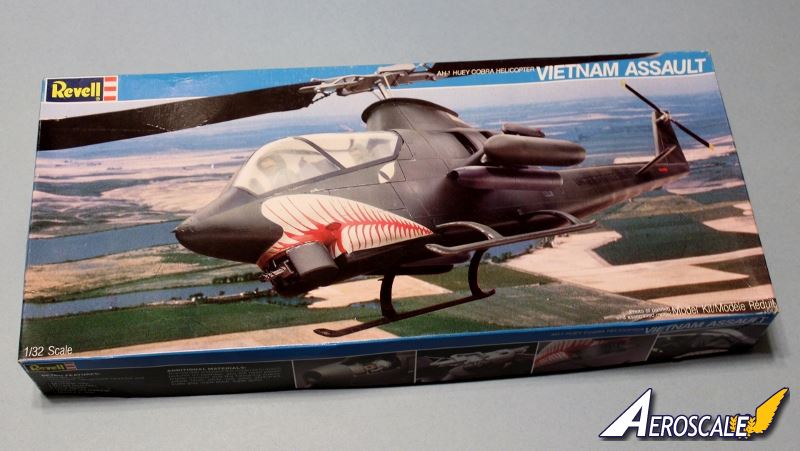
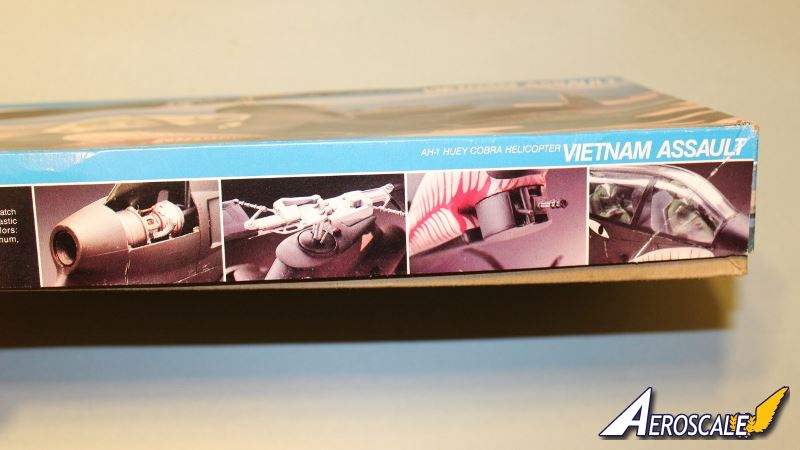
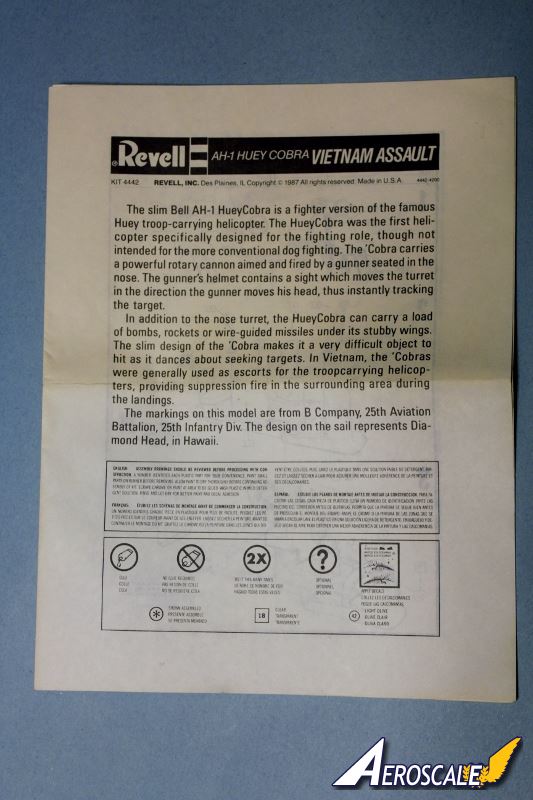
This review is kit 4442, "AH-1 Huey Cobra Vietnam Assault Helicopter", issued in 1987.
We'll see how the vintage model looks today. I built it for a campaign and you can see far more build photos through Click here for additional images for this review, at the bottom of this review.
Revell's Cobra
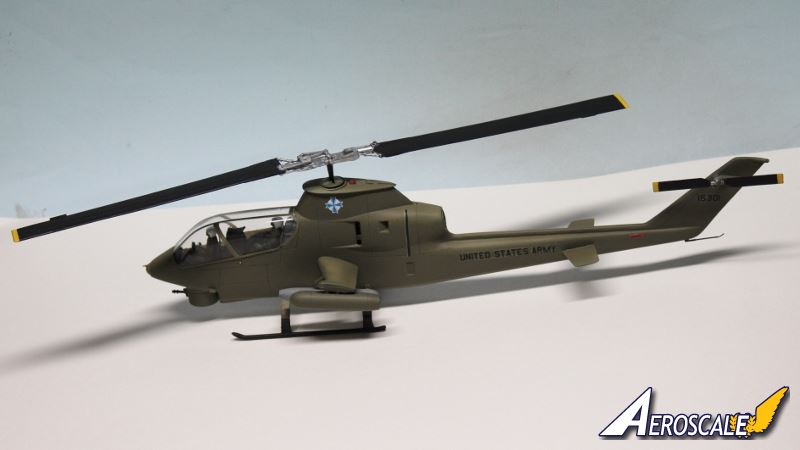
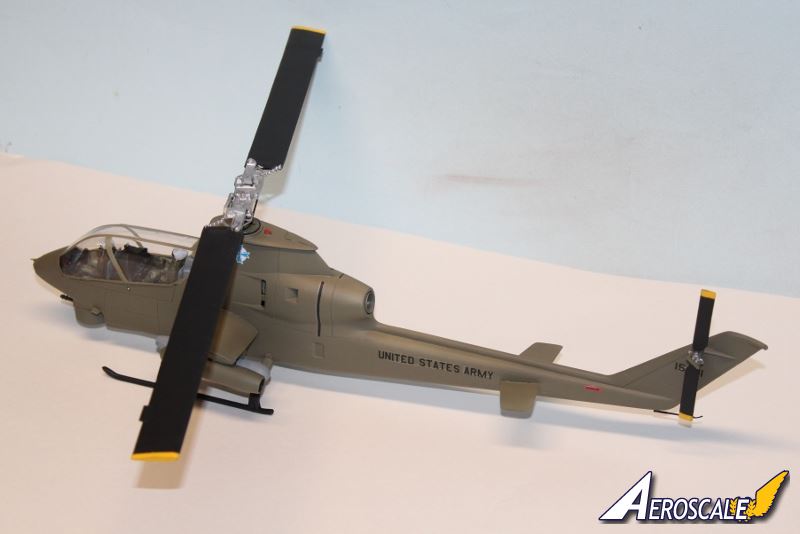
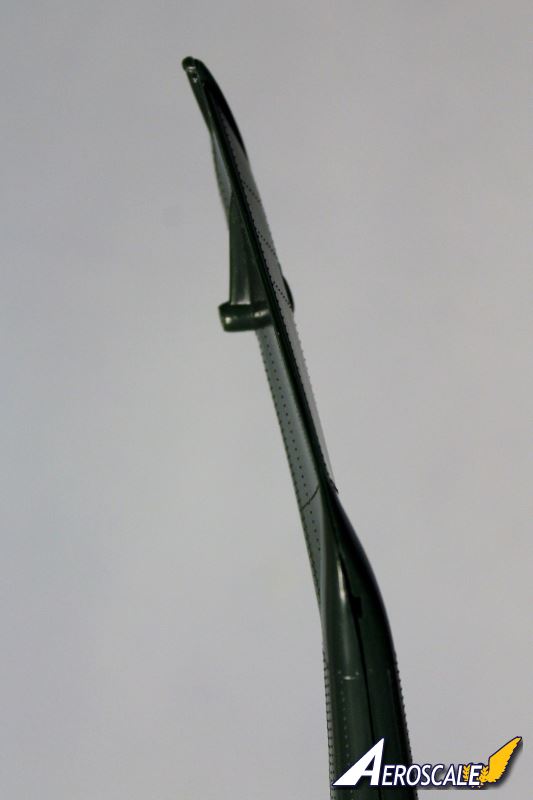
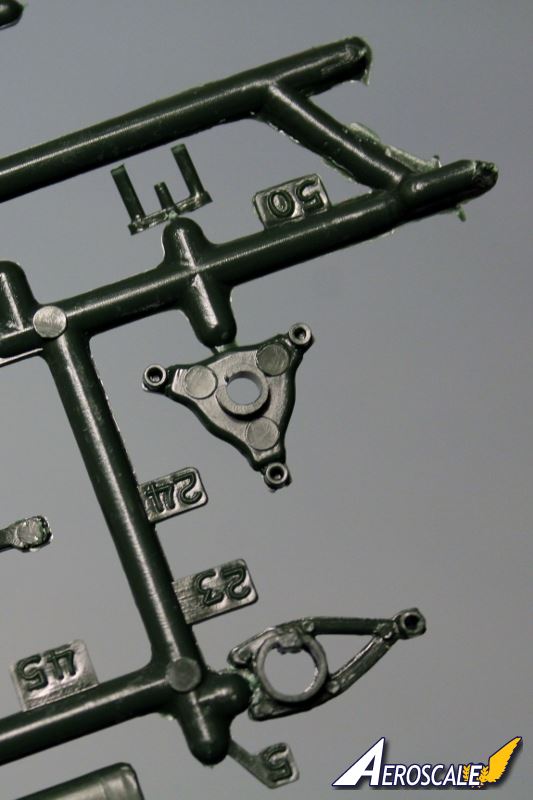
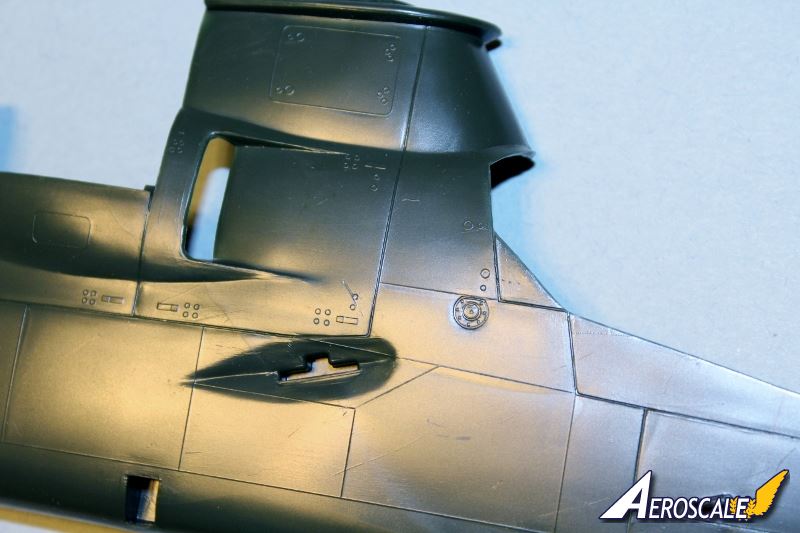
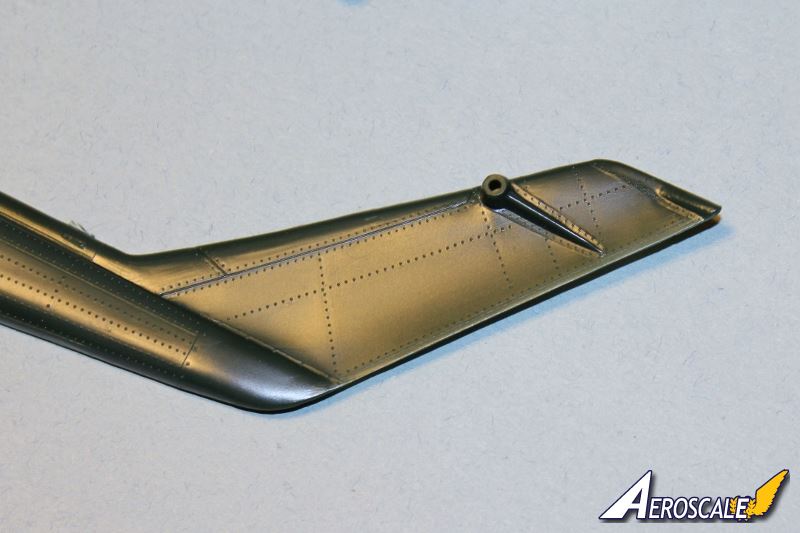
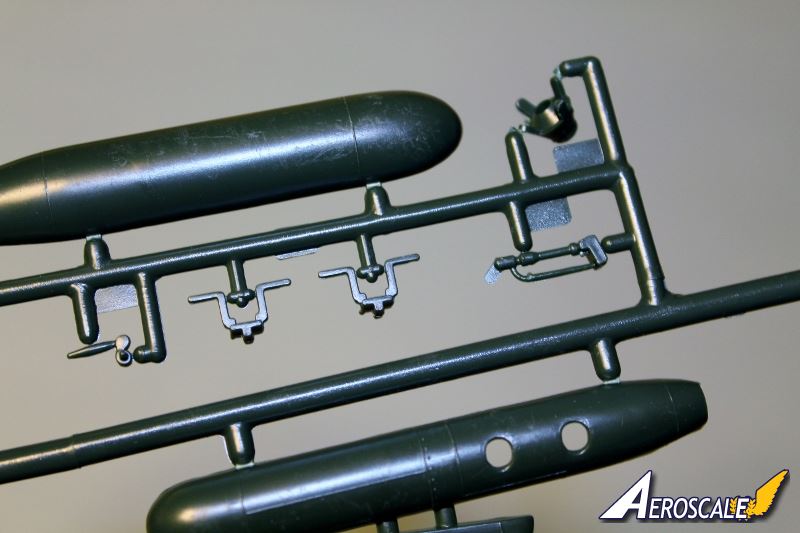
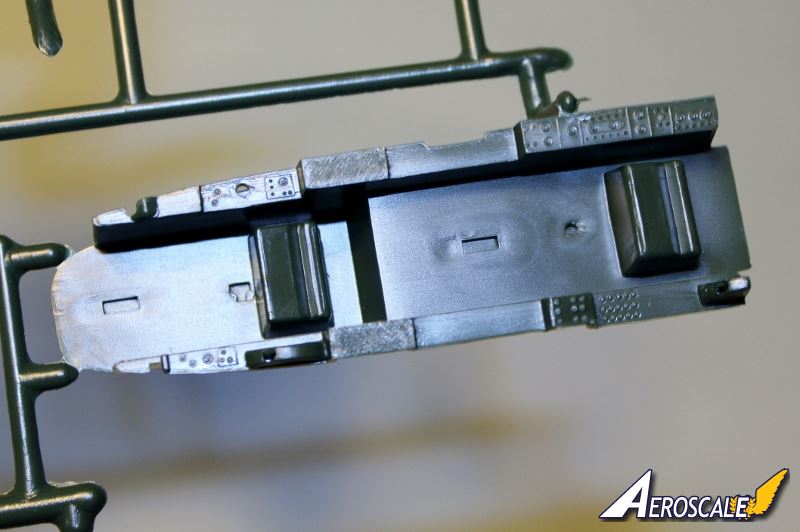
While the Vietnam War was in full swing, Revell kitted the Cobra and the Huey in their big 1/32 scale. It has an 18-inch rotor span/airframe length, yet is very narrow. Typical of those models, Revell included an engine that could be viewed via removable cowling, pilot figures, a detailed cockpit and movable components. Many pieces are small in diameter. After the fashion of the time, panel lines were often raised. The Cobra was built with raised rivets, and those are faithfully molded on the airframe, as well as Dzus fasteners. (Revell also molded flush rivets where authentic.) Surface detail looks pretty good.
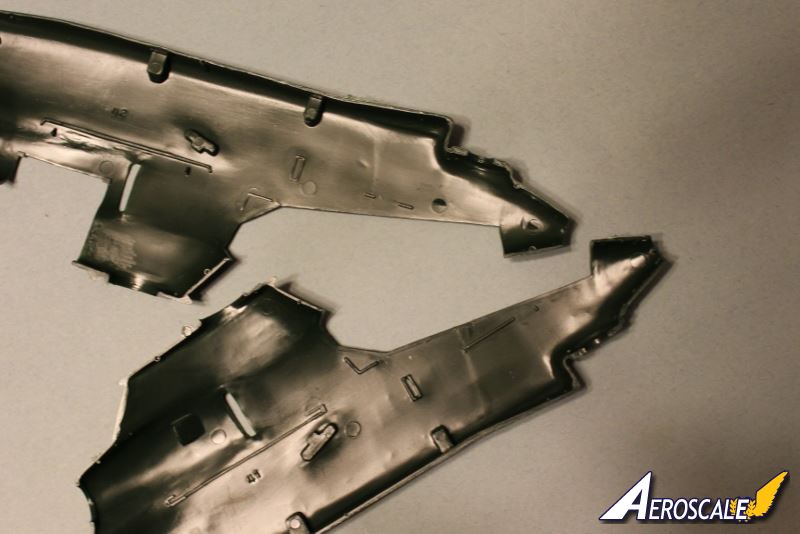
However, molding is not comparable with today's modeling standards. While good for back then, the kit suffers from flash, noticeable seam lines and visible ejector pin circles. Happily, the only sink marks I noticed are on the top of the rotor head and inside of the skids.
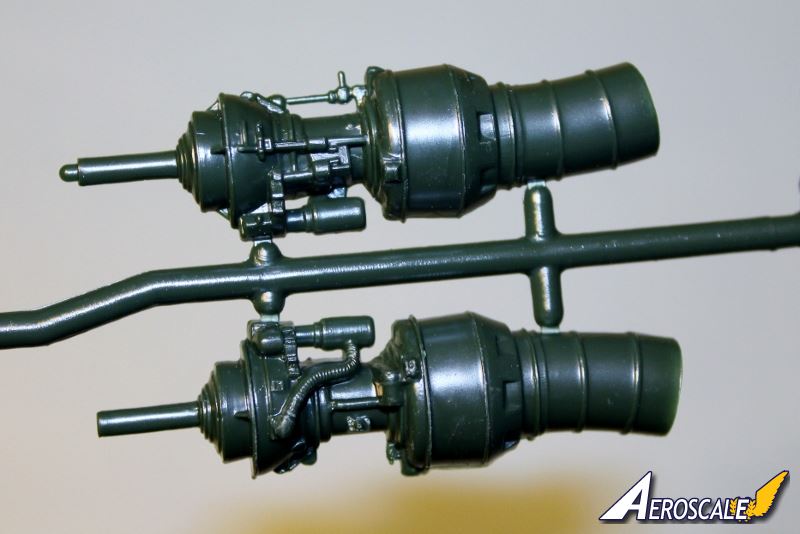
Revell armed their Cobra with what they infer as M195 20mm automatic gun pods, streamline capped versions of the M158 7-tube or M200 19-tube rocket launchers, and the integral M28/M28A1 armament subsystem with an M134 7.62mm minigun and an M129 40mm automatic grenade launcher.
Detail
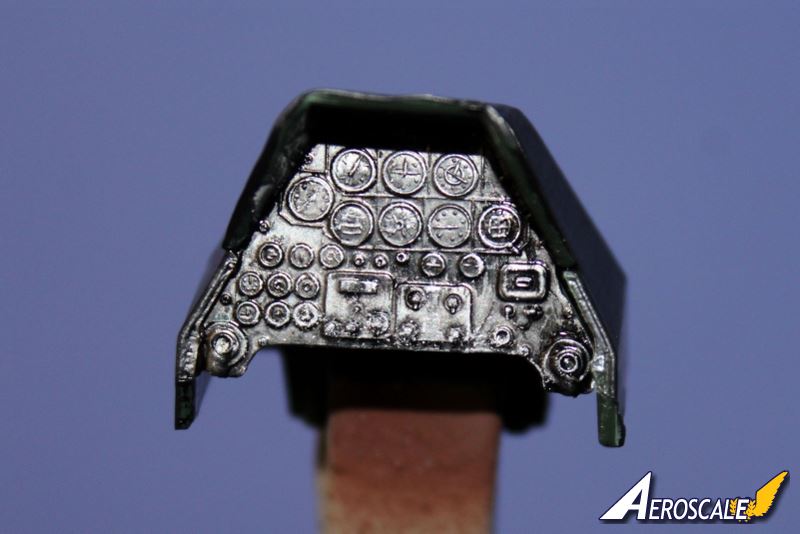
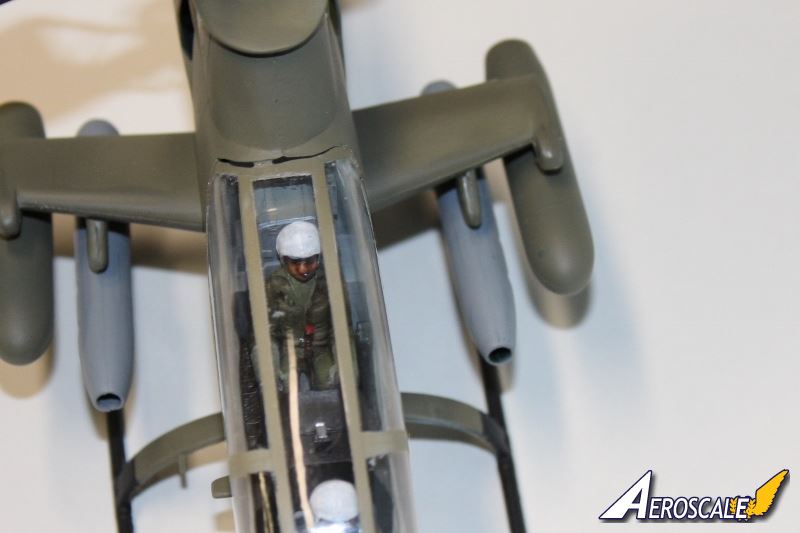
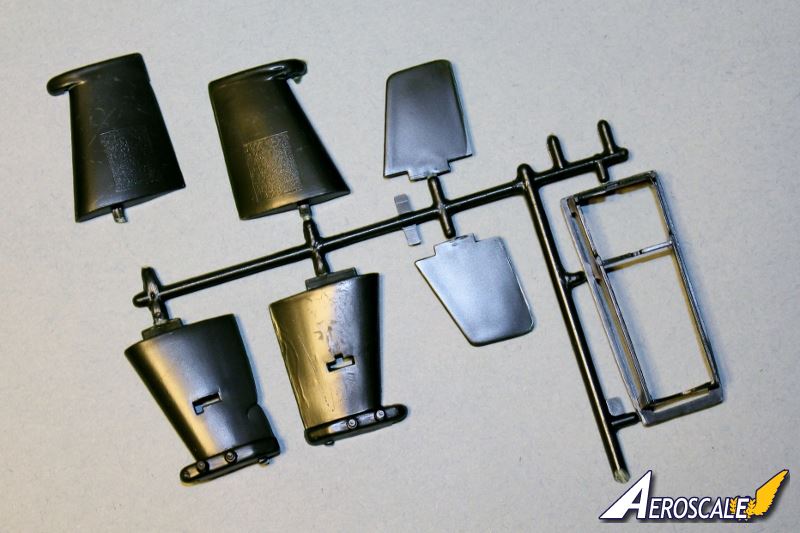
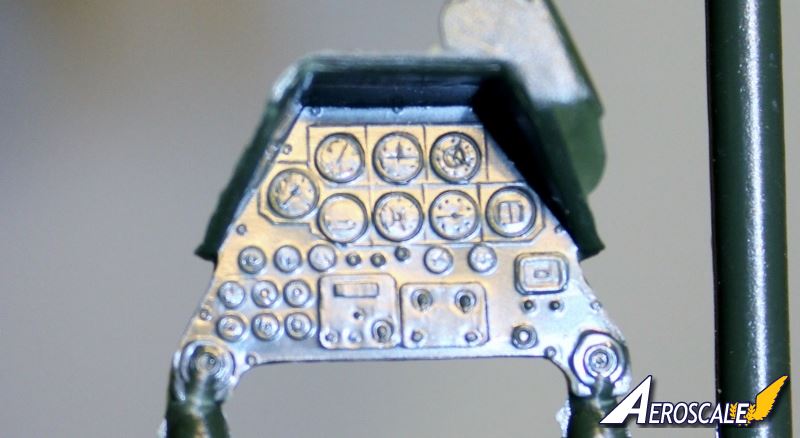
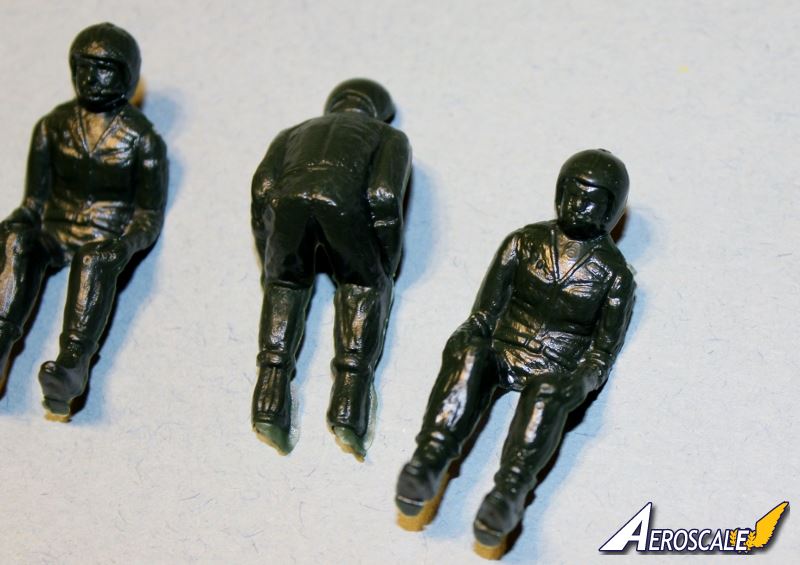
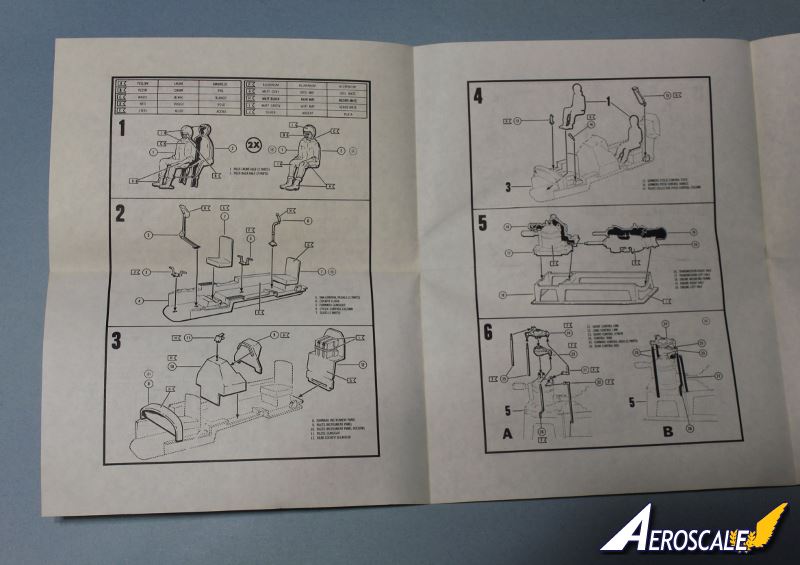
The 16-part cockpit is fair. It is a big stepped tub with a separate rear bulkhead. Two slab seats are included as separate parts, as are the front and rear instrument panels, a control stick, collective, Infinity Gun Sight, cyclic grips, TOW missile targeting telescopic sight unit, and yaw pedals. Oh, and figures of a pilot and gunner. The gun sight has a big chunk of plastic sticking up for the reflector glass.
All instruments and buttons and switches are molded on. I don't recall how sharp the detail was in the late 1968s when this model was released but the copy I have now, the detail is fair. I can make out instruments with simulated numbers, and there is a cluster of buttons/lamps on the front panel, yet overall the detail is soft. Detail on the figures is fair to poor.
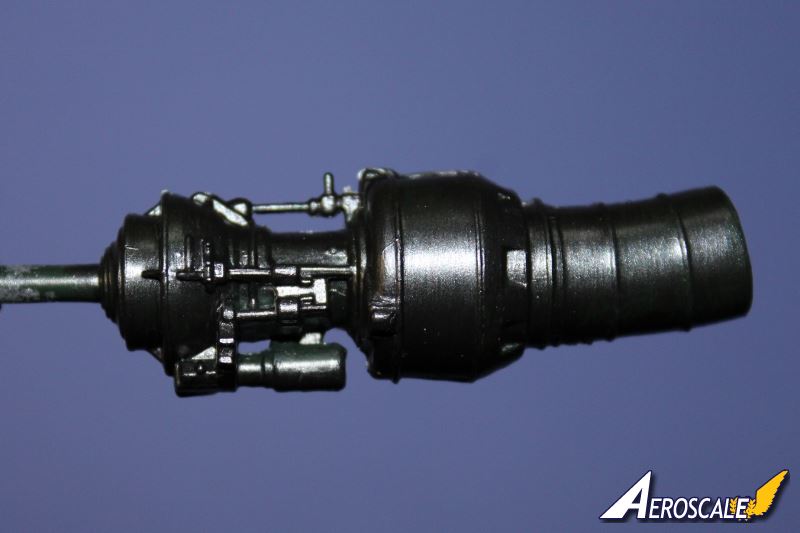
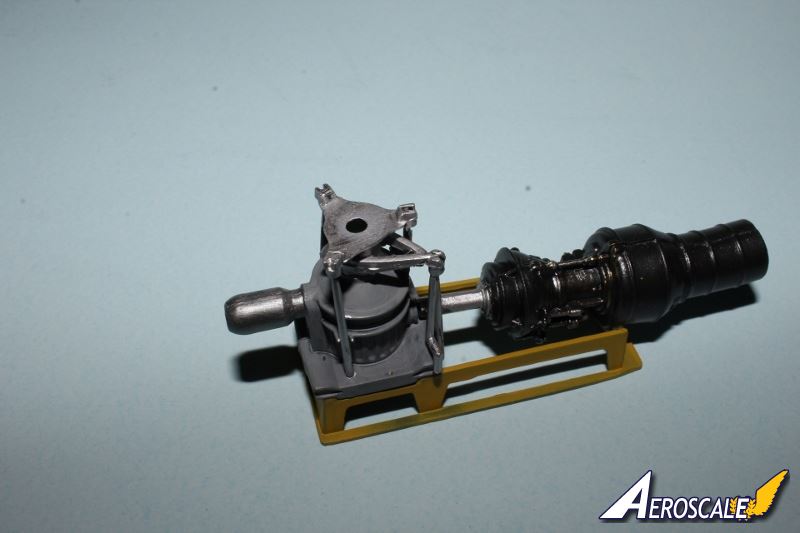
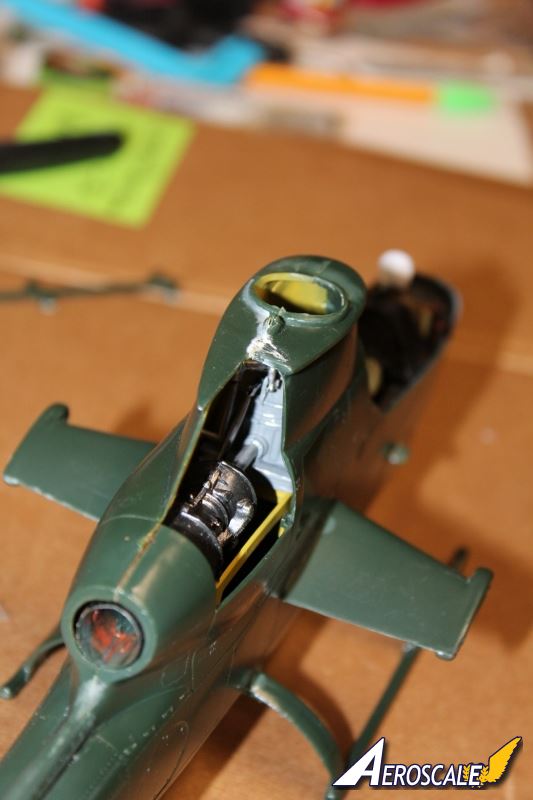
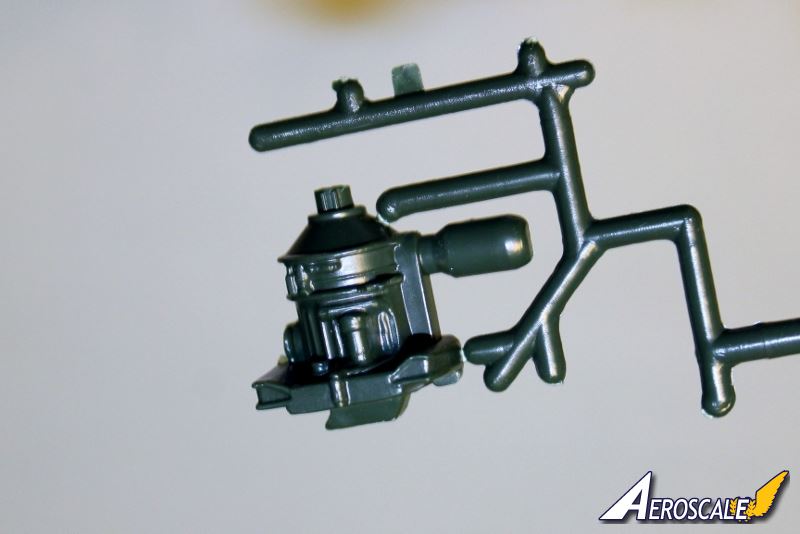
The Lycoming T-53 engine is a left and right part affair. All detail is molded on. It plugs in to the two-piece transmission housing. Those two assembles rest on a mounting frame.
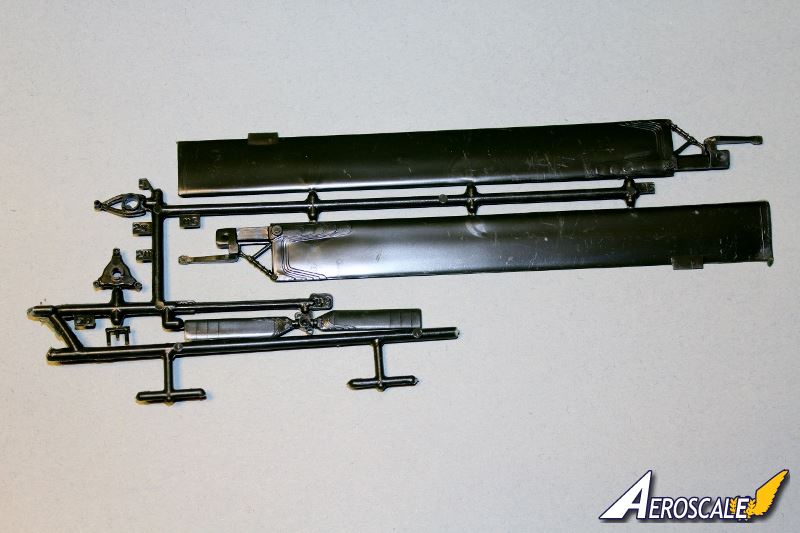
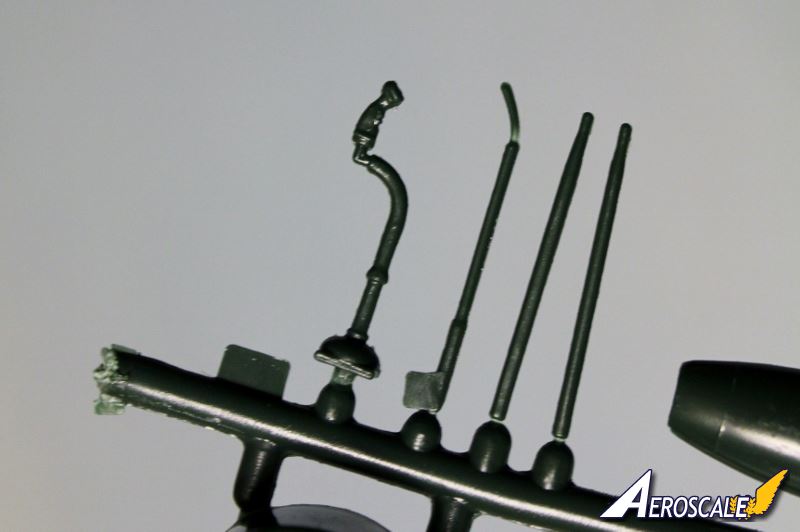
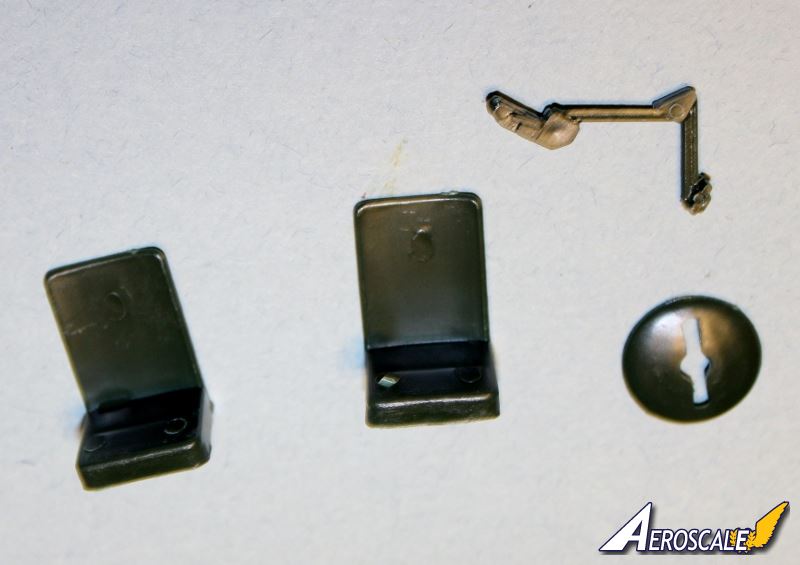
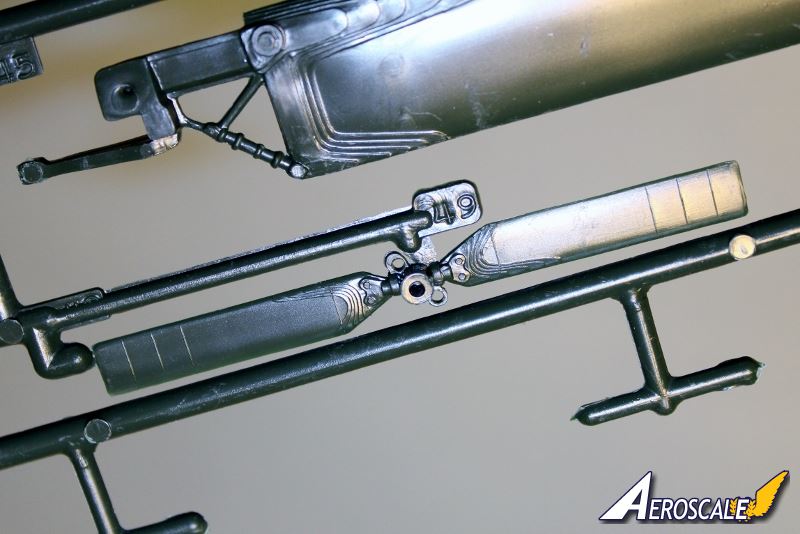
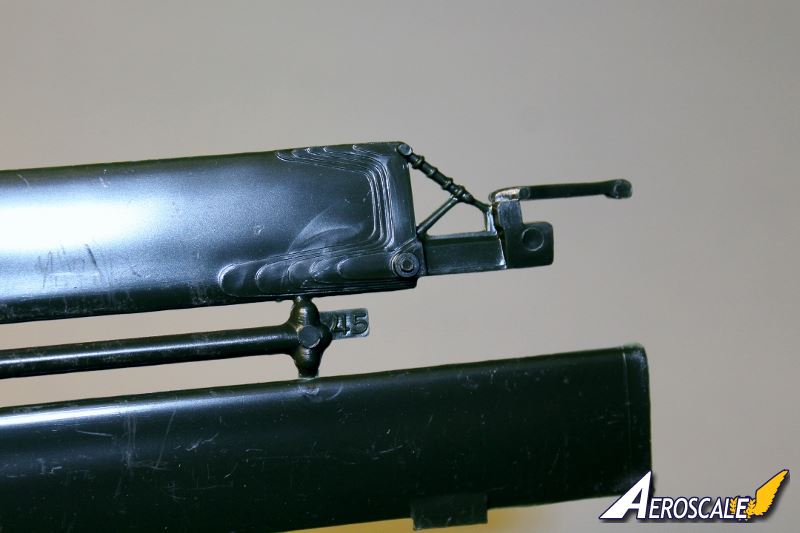
The rotor shaft assembly is impressive. Aside from the rotor shaft, Revell included seven parts to build up the yokes and control rods and links. Fit is only fair but the affect is pleasing.
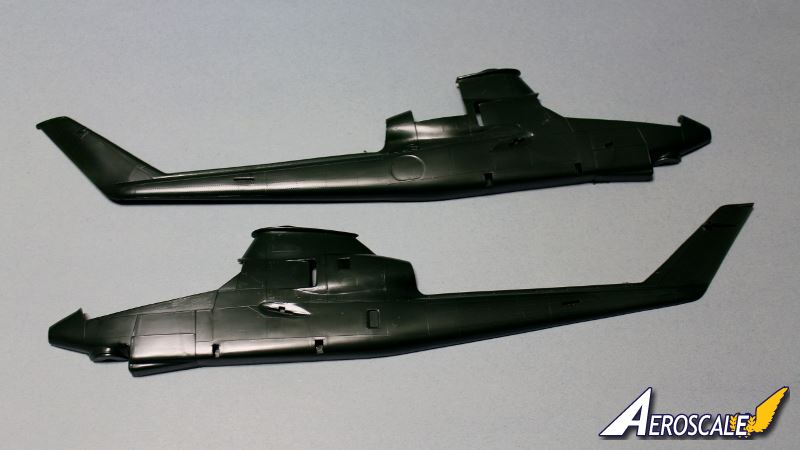
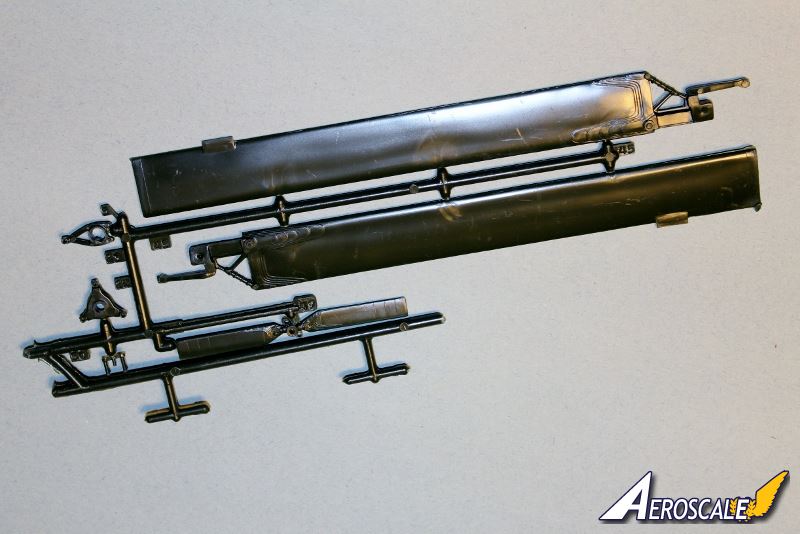
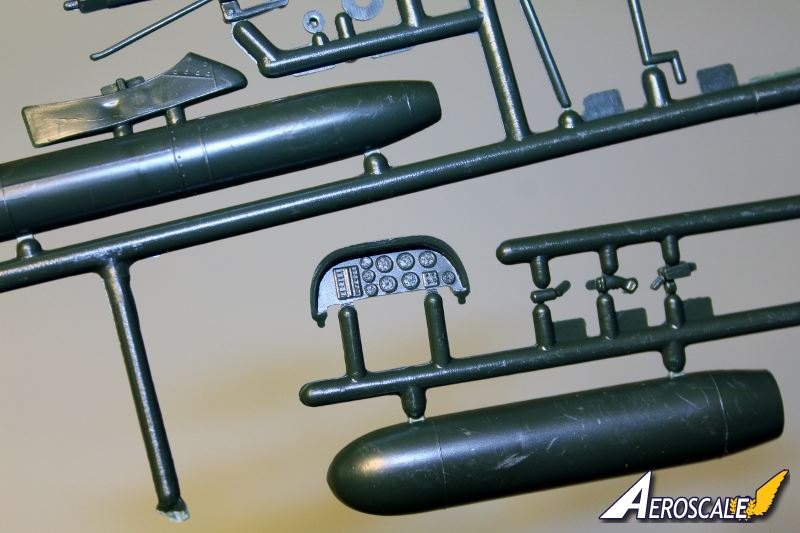
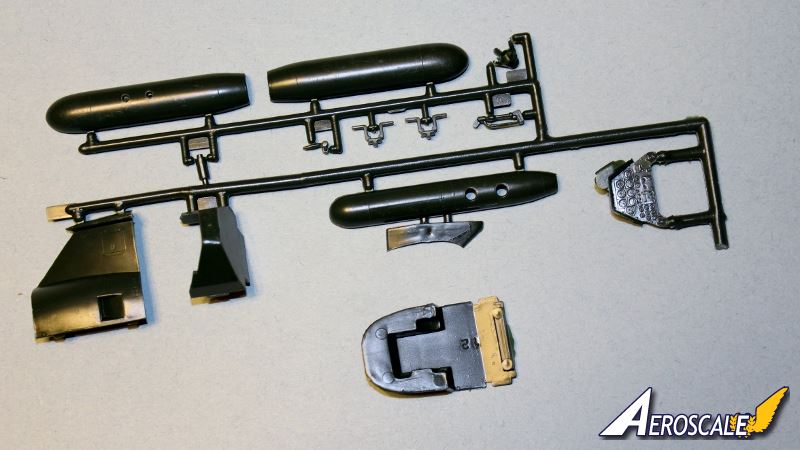
Thus some 30 pieces build up the interior components of the Cobra, excluding the crew. The rest of the is simple: left & right fuselage halves; top and bottom weapons pylons/wings; two-halves minigun pods and rocket pods; skids; horizontal stabilizers; tail rotor; main rotor blades and a rotor head. A tail skid, canopy, landing light/pitot cover and a cowling panel round out the parts - fewer parts for the exterior than for the interior.
Revell's "action" features, aside from the spinny rotors, are the movable chin turret, and the engine access hatch.
Overall not bad, especially the cockpit.
Instructions and decals
Revell's re-release instructions have a brief history of the Cobra. The assembly sequence is about a dozen steps illustrated with line art and shading.
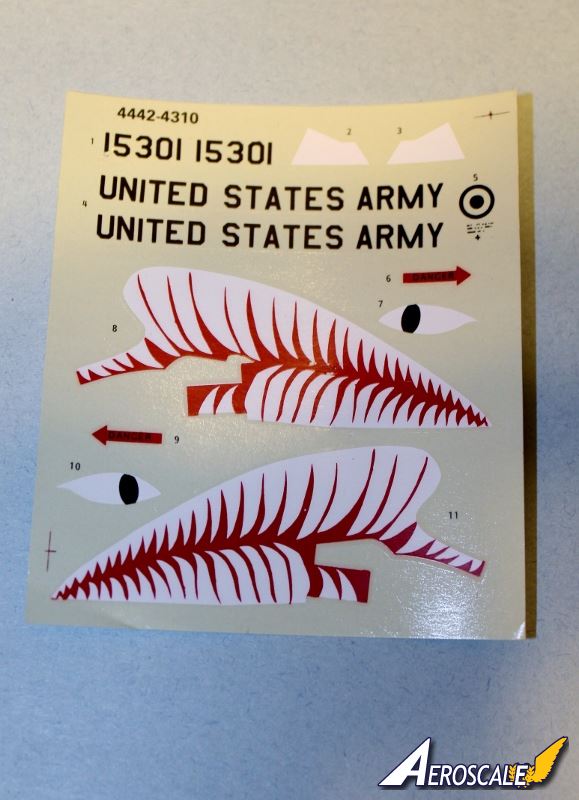
A modest single-subject decal sheet includes Army and unit insignia, and airframe markings limited to DANGER arrows and the fuel port circle. The decals were made with that disconcerting milky paste popular in the late 1980s into the mid-1990s.
No paint brand is referenced for the eight colors used. Painting detail is lacking, with no guidance about metallic rims around the weapon pods, etc..
Assembly
Thick as the parts are, I was able to solidly weld the parts together with copious amounts of liquid glue without fear of it melting the plastic. That liquid glue even acted like a gap filler.
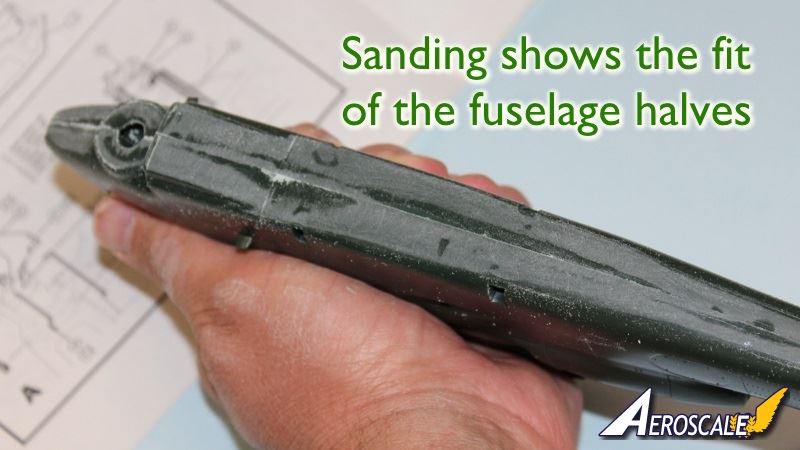
Parts fit together positively yet there is slop in the fit of many parts. I had to carve the alignment tabs of the weapons wings and skids to make them fit. The cockpit bulkhead fills one of the fuselage halves but leaves a gap on the other. The fuselage halves require a great deal of filling and sanding on the bottom, along the sail, and the nose in front of the canopy. The canopy fits tight but with gaps - great, obvious yawning gaps; while I did not do it, shims of styrene or epoxy should close them up nicely. Both wingtips need a lot of sanding to smooth them out. The cockpit parts go together well but be certain to install the pedals and sticks before the crew figures. The distance between the boots and legs are narrower than the size of the parts.
The gun turret is a five-piece assembly with the minigun barrel cluster, a separate muzzle piece, the 40 mm barrel, and a retaining cap. The fit of every part of it is horrible. I had to carve away excess plastic to make the guns fit through their ports.
The top of the sail behind the rotor and where the access panel fits has a significant warped dip inwards. It took a great deal of coaxing and superglue to make it flush with the other fuselage half.
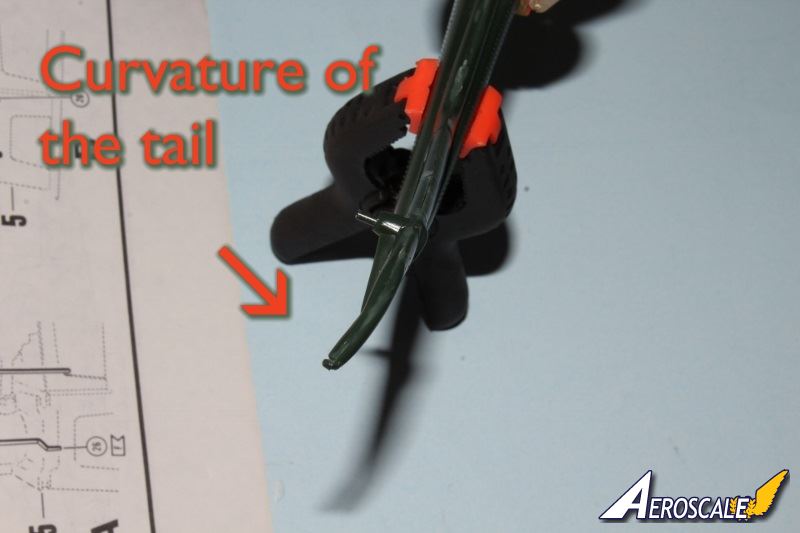
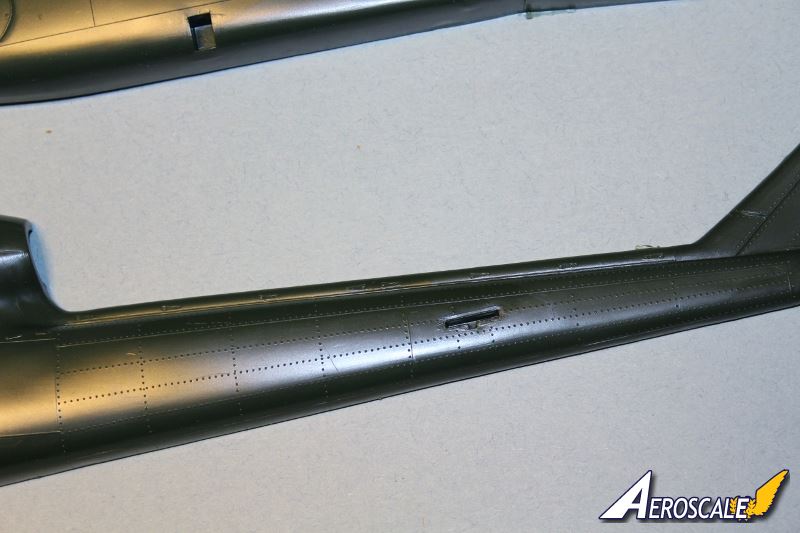
The noticeable gaps along the top of the boom, and the tail, mated smoothly and closed without gaps.
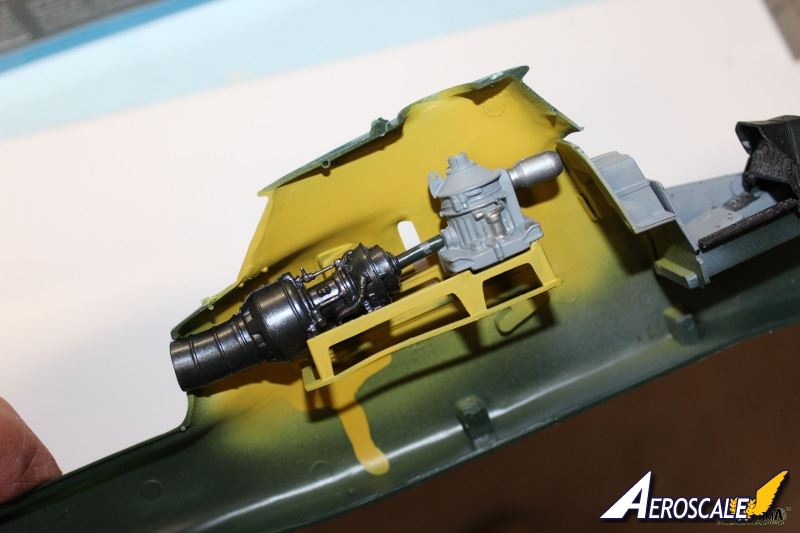
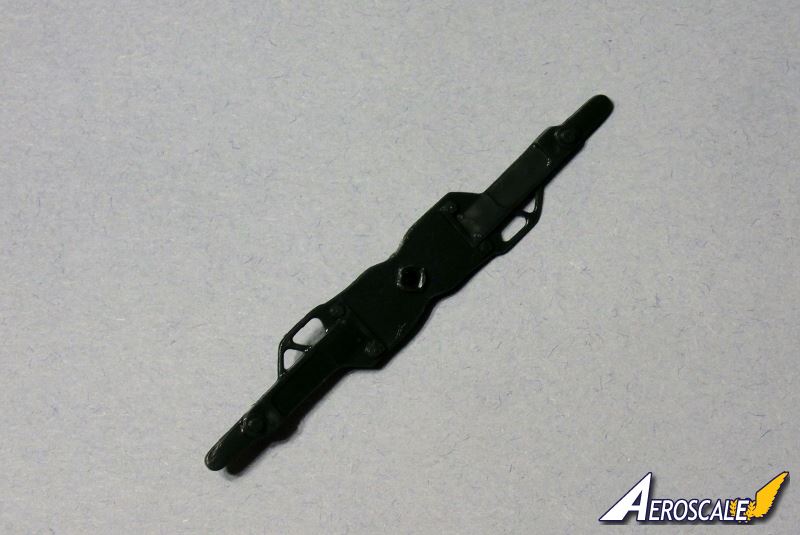
About the powerplant and two-blade semi-rigid main rotor with a teetering hinge system. All the links and rods on for the rotor look good but they just don't fit well along the transmission case. Good thing that assembly is virtually hidden once the fuselage halves are joined - maybe? The two blades fit to the rotor yokes well after the liquid glue softened the styrene. But I wonder how much handling the rotors can take? The rotor shaft alignment is a square peg for a square hole and two pitch links that fit into the pitch arms, yet those are relatively small pieces of plastic for a relatively heavy sub-assembly. The two pitch links are very thin and delicate.
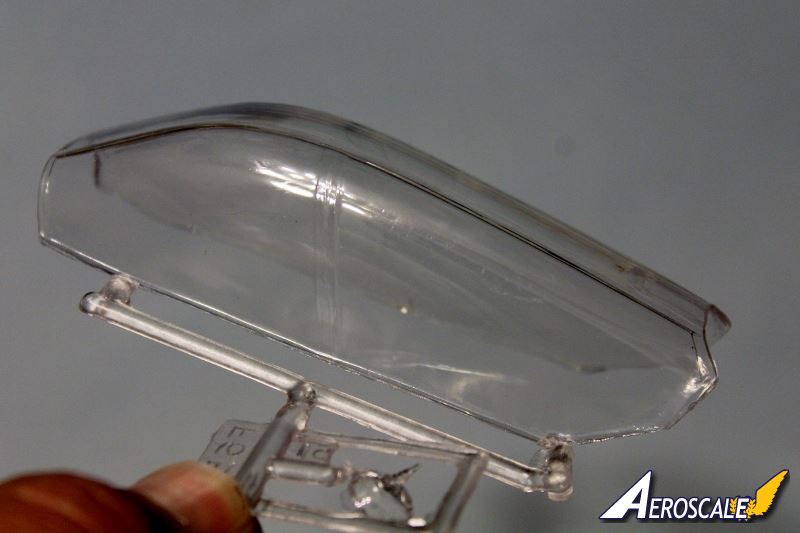
Low, soft and incomplete framing is molded onto the canopy. Fortunately, the clear plastic is clear without distortion. It is fairly thick but robust and that is a plus when trying to fit it over the cockpit. It also keeps it sturdy when masking and trimming. There is at least one aftermarket replacement canopy available.
Finally, the decals went on acceptably and the milkiness disappears as intended. The decals do need some setting solution to settle around the rivets.
In summary, fit is not awful but it is not up to today's standards, and will need some filler and precise alignment prior to gluing some parts.
Conclusion
I built this AH-1G model for the first time back in the late 1960s or early 1970s. It was a lot of fun but I recall the rotor broke off easily. I built it again when I learned to paint. Back then I didn't know or care about accuracy or fit.
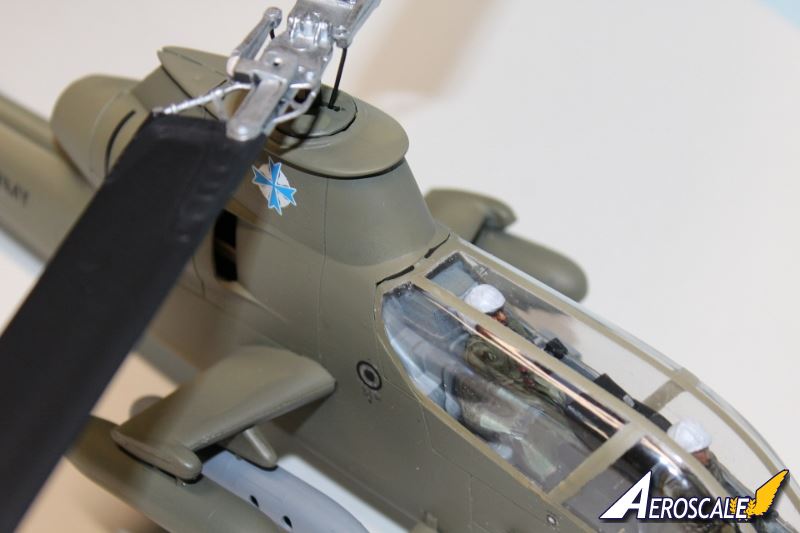
I think the model looks good. As previously mentioned a Vietnam War AH-1 Cobra pilot who wrote that it is still an accurate and commendable AH-1G model. I think the surface detail is good. The cockpit detail is commendable, too, if somewhat soft. If I build another one of these, I'll cut away the gun sight reflector and replace it with clear sheet. Lots of bits and pieces can detail the engine and compartment.
Molding quality of the era holds the model back with poor fit of some parts. Visible ejector marks, flash, and seam lines, too. Filler can hide the gaps. I suspect that perhaps an issue when the molds were newer will find slightly better molding.
There are plenty of aftermarket detail sets to make variants of the Cobra and a variety of weapons. many decals are available, too. I did not use all of the kit decals and instead used a Fireball Modelworks set to make the model for the 2d Bn, 20th Aerial Rocket Artillery, 1st CAV Div.
With some TLC Revell's venerable AH-1G can be built into a showpiece. I greatly enjoyed building it again and will enjoy building it a fourth time.
Highs: I think the surface detail is good. The cockpit detail is commendable, too, if somewhat soft.Lows: Molding quality of the era, with poor fit of some parts. Visible ejector marks, flash, and seam lines.Verdict: With some TLC Revell's venerable AH-1G can be built into a showpiece. I greatly enjoyed building it again and will enjoy building it a fourth time.
About Frederick Boucher (JPTRR) FROM: TENNESSEE, UNITED STATES
I'm a professional pilot with a degree in art.
My first model was an AMT semi dump truck. Then Monogram's Lunar Lander right after the lunar landing. Next, Revell's 1/32 Bf-109G...cried havoc and released the dogs of modeling!
My interests--if built before 1900, or after 1955, then I proba...
If you have this one, and you're in North America, the Cobra Company cockpit detail set is absolutely essential. There are also optional rocket pods and other armaments available. Sadly, Cobra Company will not ship to Europe after the owner lost too many sets in mail thefts
Hi Fred
Thanks for the review. It brought back many happy memories of the kit I bought on a school exchange visit to Germany in the '70s.
I also came home with Revell's boxing of the Esci 1:9 BMW R75 and sidecar.
You couldn't get either in the UK at the time, so I was well chuffed! (Of course, that was long before the days of the Internet and taking for it granted that you can simply order from overseas whatever isn't in your LHS...)
All the best
Rowan


Comments