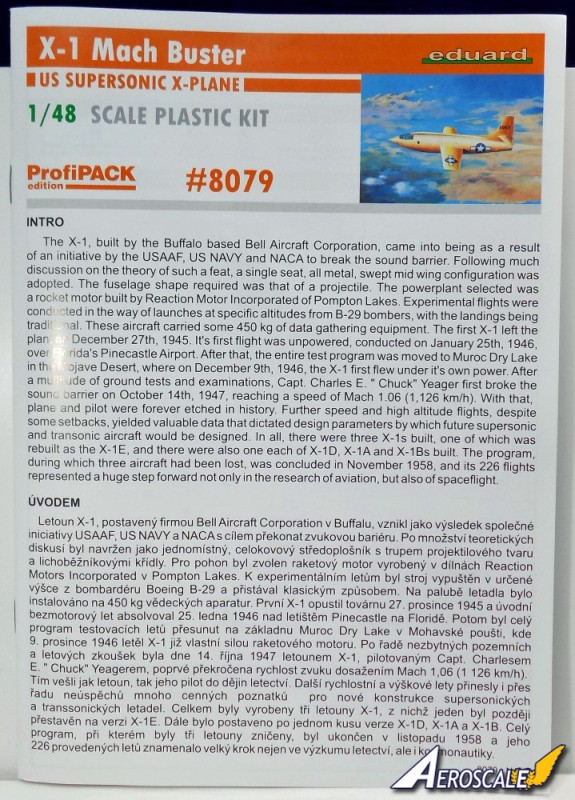
The X-1, built by the Buffalo based Bell Aircraft Corporation, came into being as a result of an initiative by the USAAF, US NAVY and NACA to break the sound barrier. Following much discussion on the theory of such a feat, a single seat, all metal, swept mid wing configuration was adopted. The fuselage shape required was that of a projectile.
The powerplant selected was a rocket motor built by Reaction Motor Incorporated of Pompton Lakes. Experimental flights were conducted in the way of launches at specific altitudes from B-29 bombers, with the landings being traditional. These aircraft carried some 450 kg of data gathering equipment.
The first X-1 left the plant on December 27th, 1945. It's first flight was unpowered, conducted on January 25th, 1946, over Florida's Pinecastle Airport. After that, the entire test program was moved to Muroc Dry Lake in the Mojave Desert, where on December 9th, 1946, the X-1 first flew under it's own power. After a multitude of ground tests and examinations, Capt. Charles E. " Chuck" Yeager first broke the sound barrier on October 14th, 1947, reaching a speed of Mach 1.06 ( 1,126 km/h). With that, plane and pilot were forever etched in history. Further speed and high altitude flights, despite some setbacks, yielded valuable data that dictated design parameters by which future supersonic and transonic aircraft would be designed.
In all, there were three X-1s built, one of which was rebuilt as the X-1E, and there were also one each of X-1D, X-1A and X-1Bs built. The program, during which three aircraft had been lost, was concluded in November 1958, and its 226 flights represented a huge step forward not only in the research of aviation, but also of spaceflight. Info from the Eduard sheet
In the box
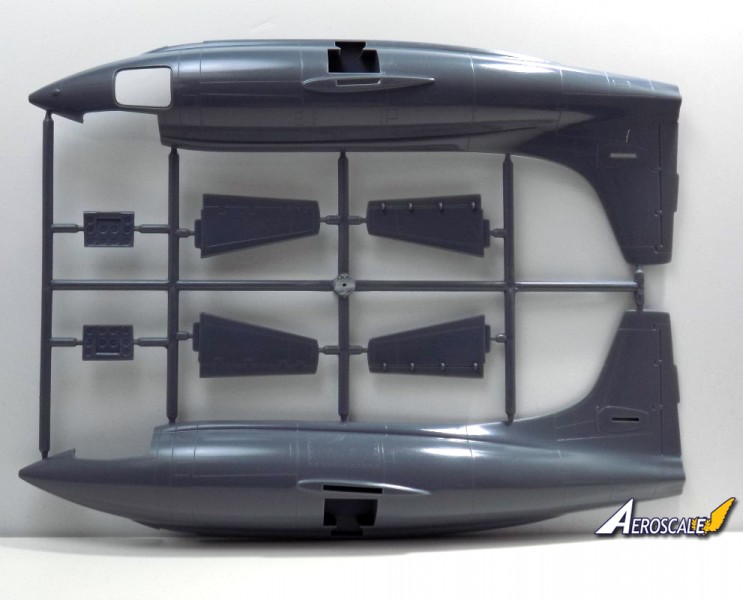
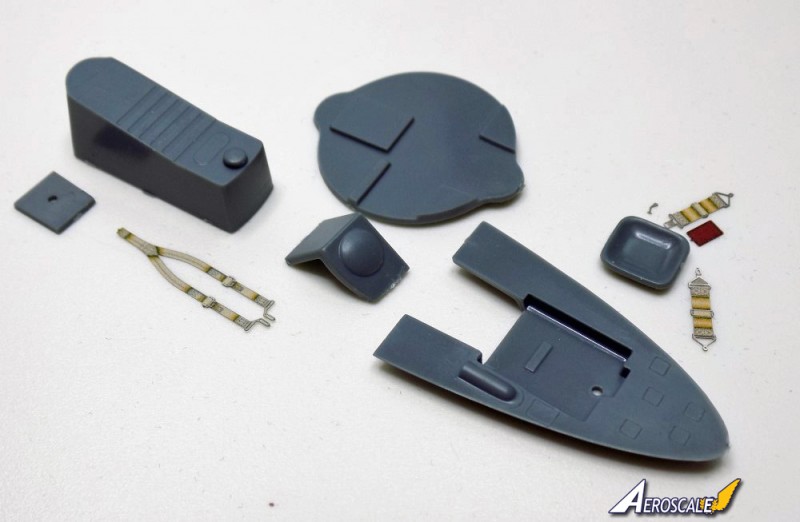
Packed in a smallish box, the kit comprises of two grey sprues, one coloured photo etch sheet, Brassin wheels, a set of masks, a small decal sheet, and a instruction booklet.
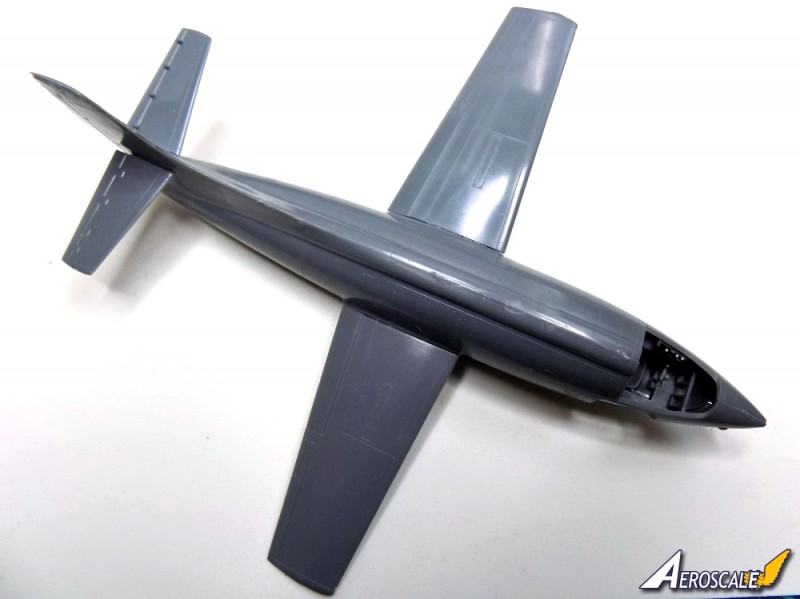
Considering how old this kit is the plastic parts have held up well, with no flash present and ejection pin marks near enough non existent.
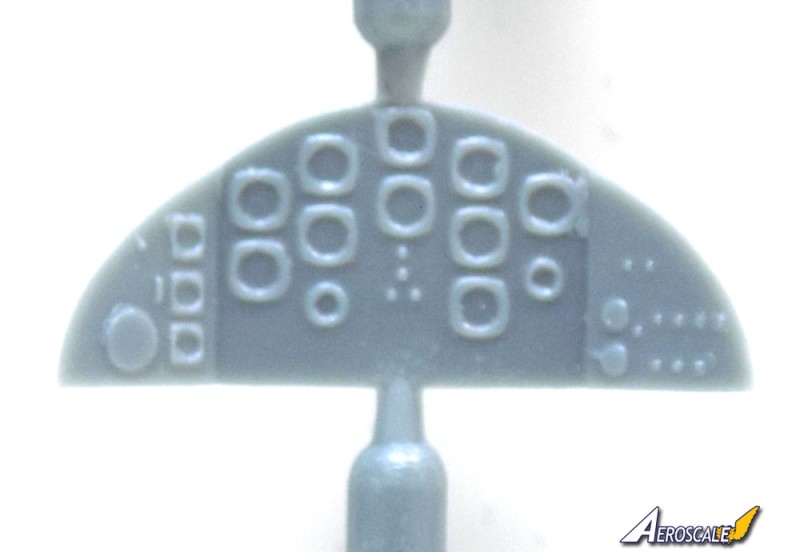
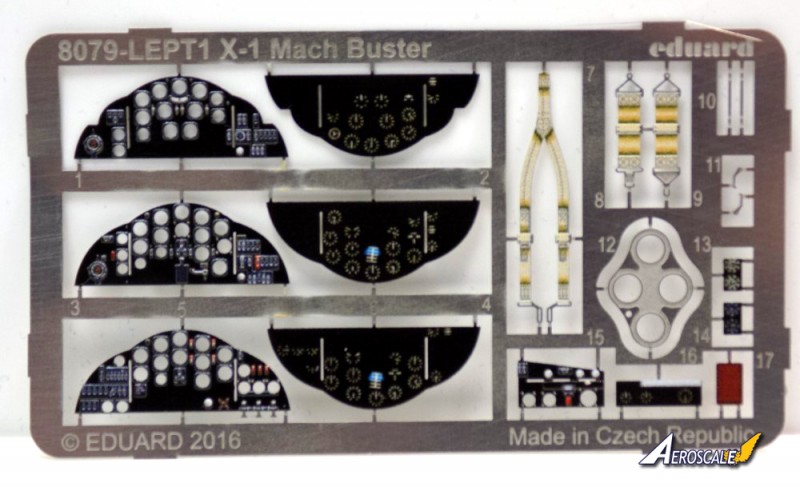
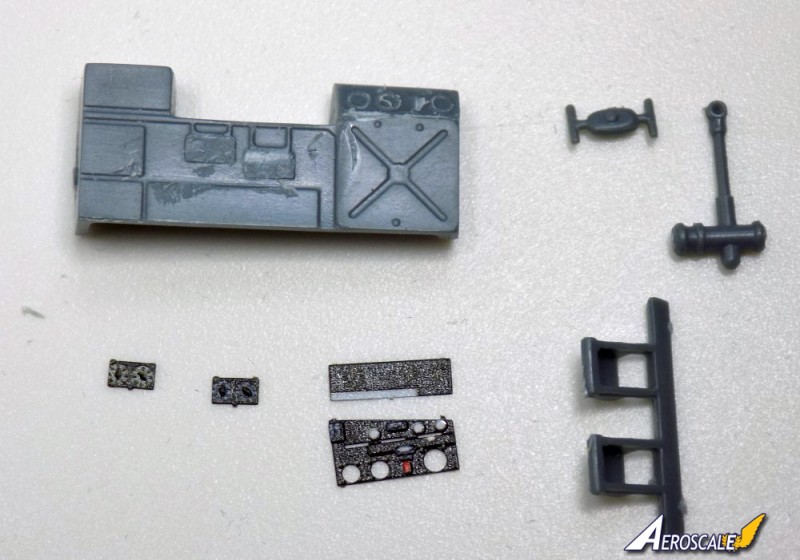
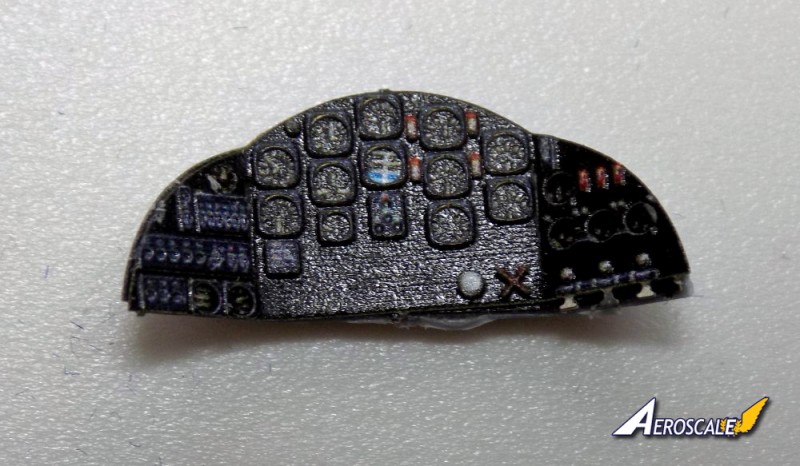
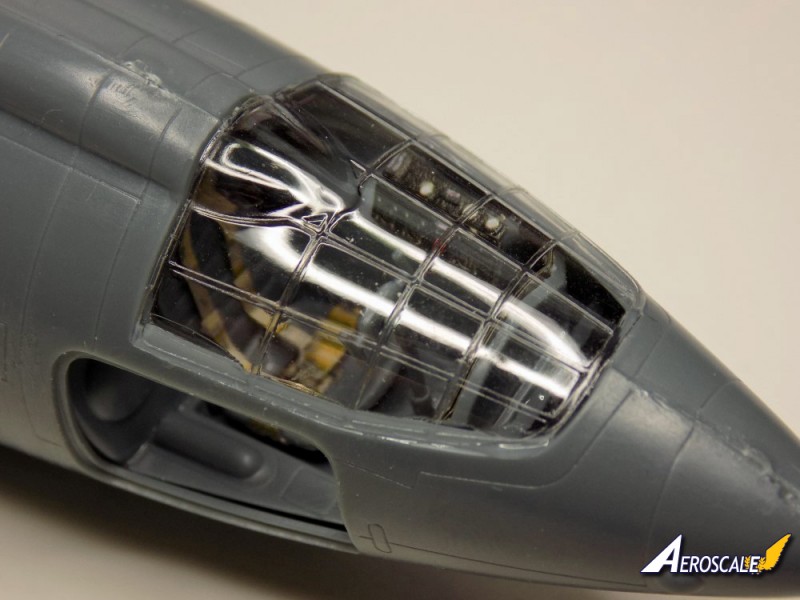
External detail is in the way of recessed panel lines, with the internal detail for the cockpit about average. The inclusion of the coloured photo etch sheet for the instrument panels, and harness add some well needed detail.
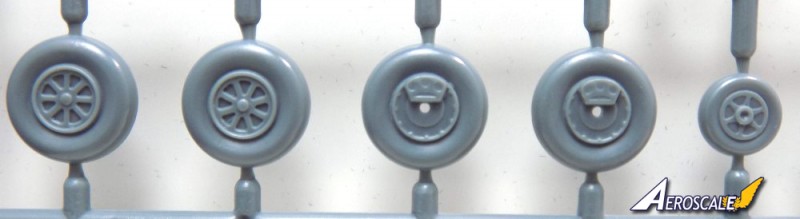
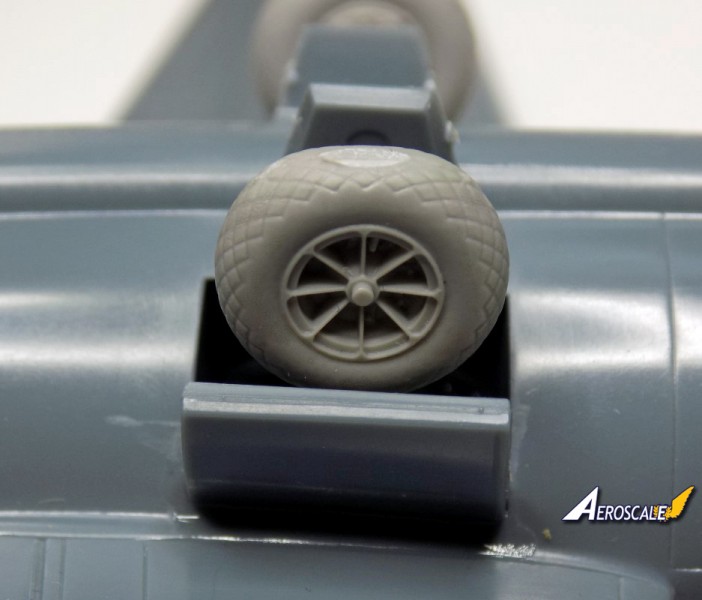
The undercarriage bays are devoid of any detail but you really cant see much anyway. The inclusion of Brassin wheels for replacing the not very good plastic ones is a nice touch.
Instructions and decals
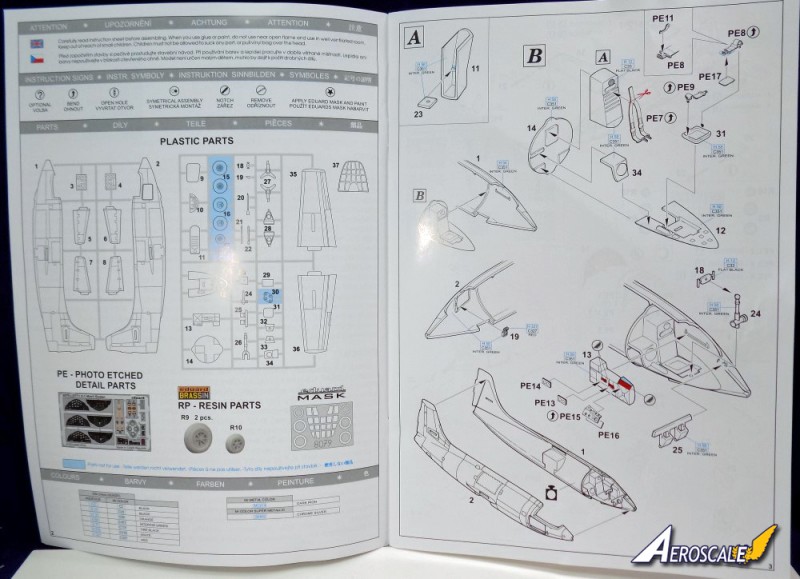
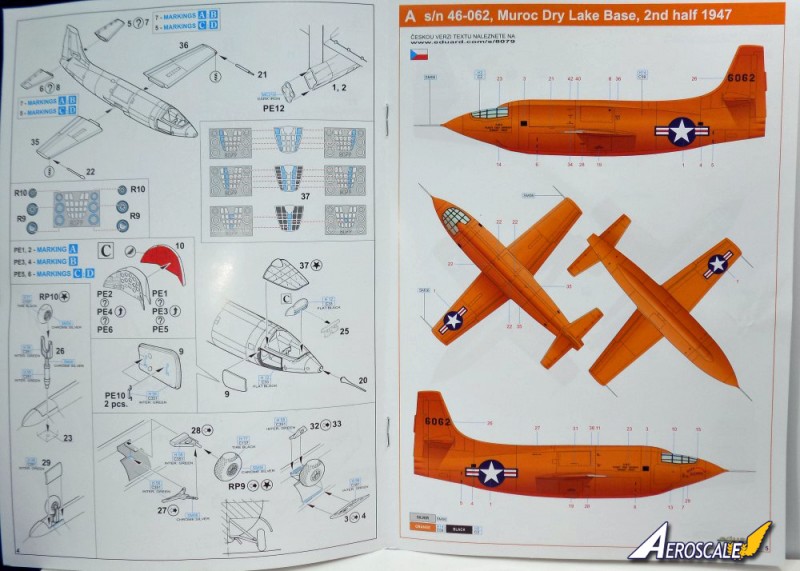
The instruction booklet is made up of a folded A4 size paper and is glossy and in colour. The photos on the right show the whole booklet, with the build taking place over two pages.
One slightly annoying thing is the sprues dont have any numbers on the trees, so you have to go back and forth in the instructions to make sure you have the right part.
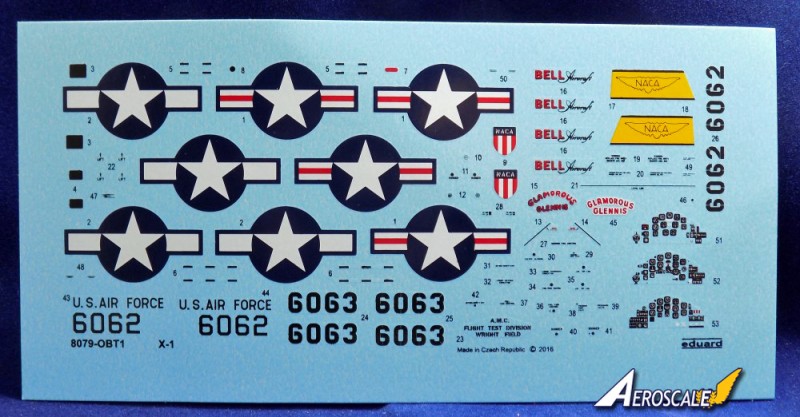
The decal sheet is not very big, and is printed by Eduard, so issues shouldn't be a problem.
The sheet carries the airframe codes and national insignia for the four marking options.
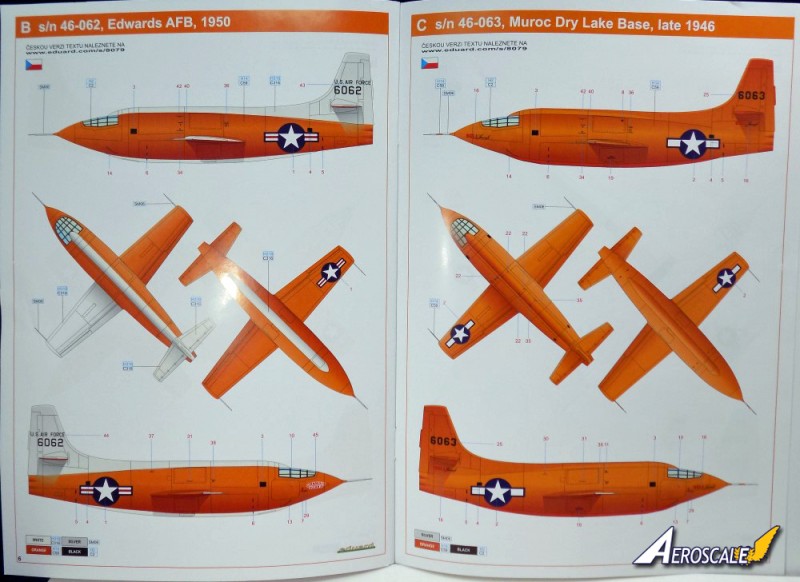
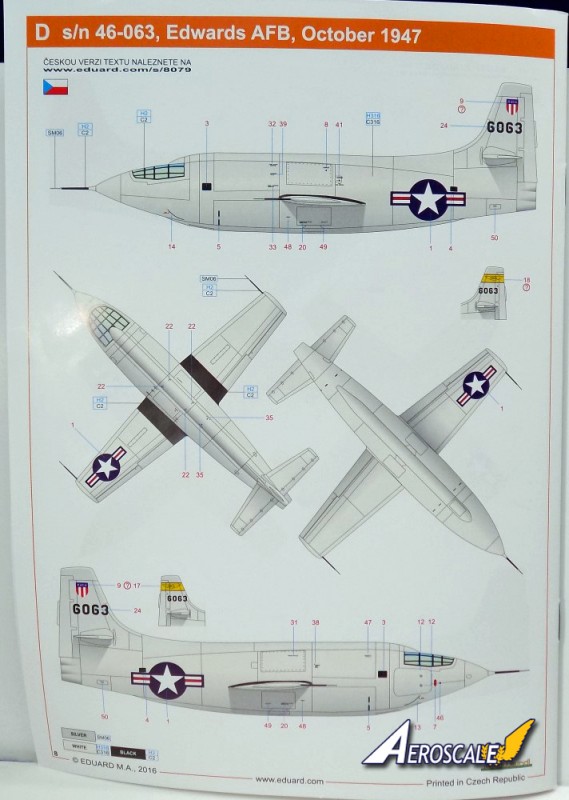
The marking options are - 1 - Bell X-1, United States Army Air Force, 46-062, Muroc Dry Lake Base, 1947. Orange scheme 2 - Bell X-1, United States Army Air Force, 46-062, Edwards AFB, 1950. Orange/white scheme 3 - Bell X-1, United States Army Air Force, 46-063, Muroc Dry Lake Base,1946. Orange scheme 4 - Bell X-1, United States Army Air Force, 46-063, Edwards AFB, 1947. White scheme
Well as this is a build review I had better crack on with throwing this together.
The build
Cockpit
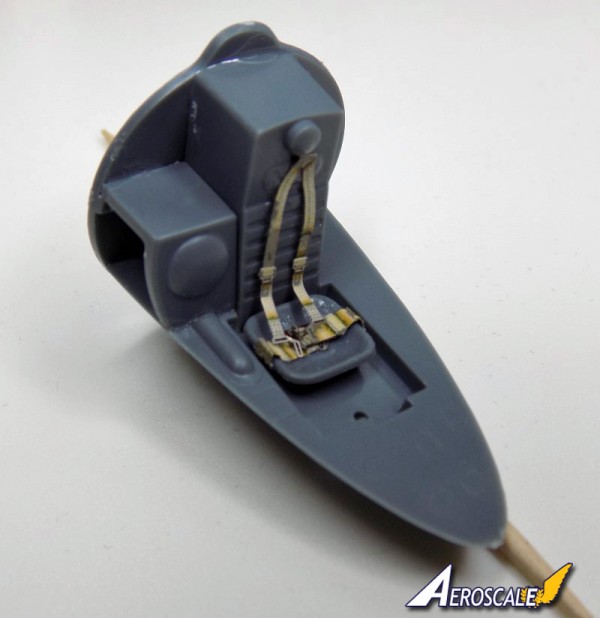
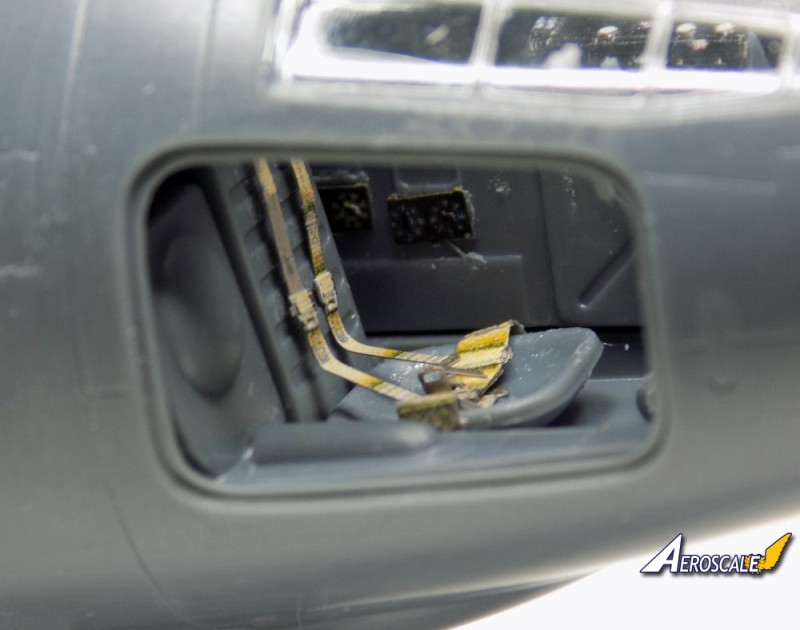
The first part of the build is building up the cockpit, with the first stage having 6 plastic parts and 5 P.E parts.
The P.E is for the harness, and one of the catches for the lap belt is absouloutly tiny, thankfully Eduard supply two. The top of the back strap needs to be trimmed to fit.
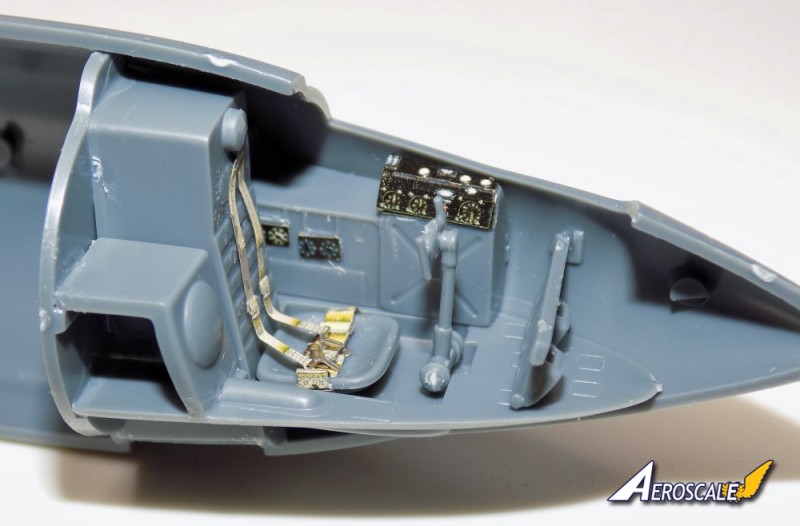
More cockpit parts follow with the sidewall panel, one piece rudder pedals, and the control column.
Once all this is together the fuselage can be closed. Dont forget to add weight though as this will be a tail sitter.
The fuselage has no locating tabs, so make sure its all properly aligned before committing to gluing and clamping the halves together.
Wings and tail planes
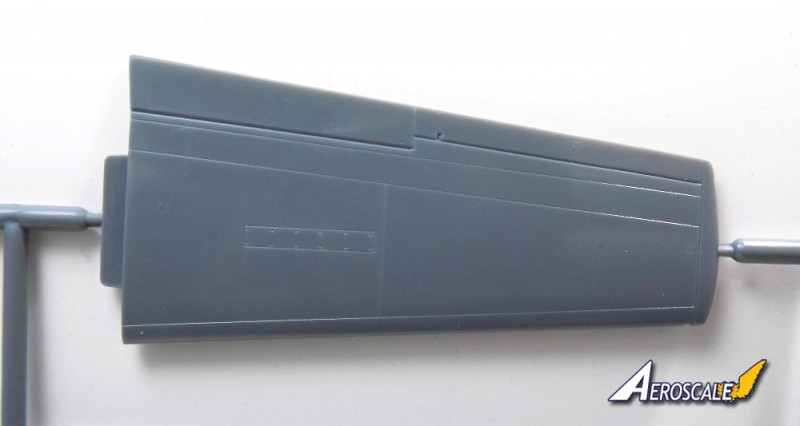
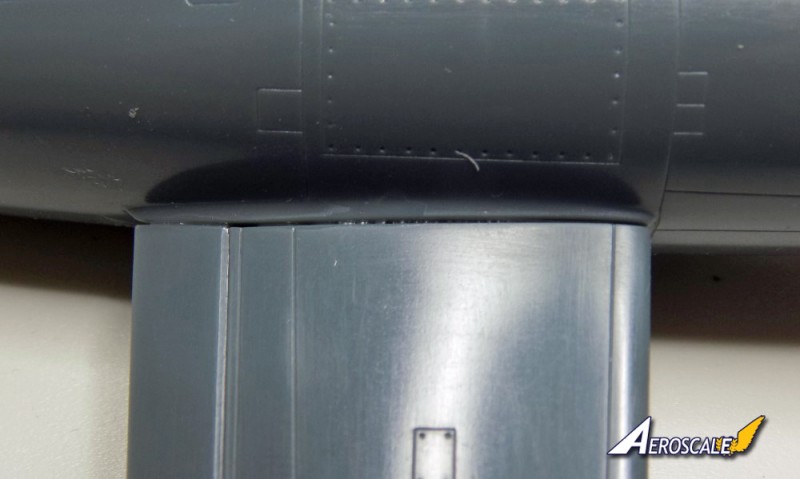
The wings are one piece each so no worrying about gluing halves together. The wings slot into the fuselage, and hold themselves in pretty well. Only a little filler is needed on the join.
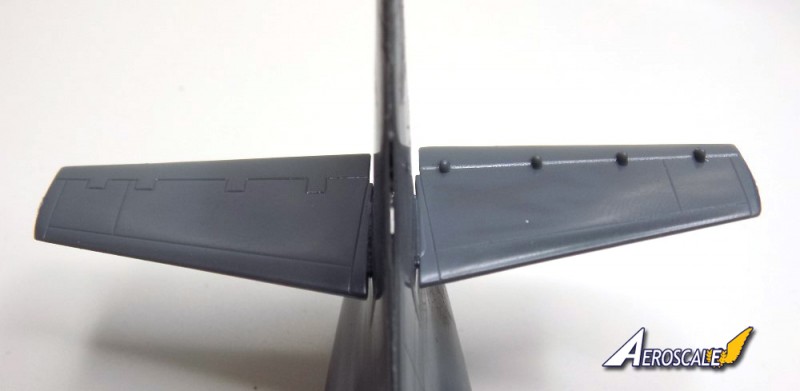
A choice of two different horizontal stabilizers are offered, one set has very prominent elevator tabs, the choice of stabilizers depends on which marking option you go for.
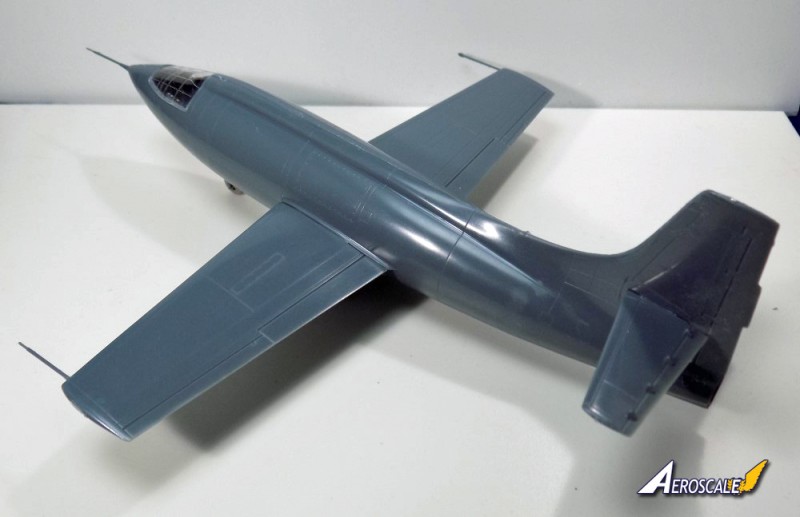
Both fit into the slots in the tail, and only need a little glue to hold them in place. A touch of filler may be required. (As you can see from my pics the tail has not glued quite true, as you can see through the gap, this has been remedied lol).
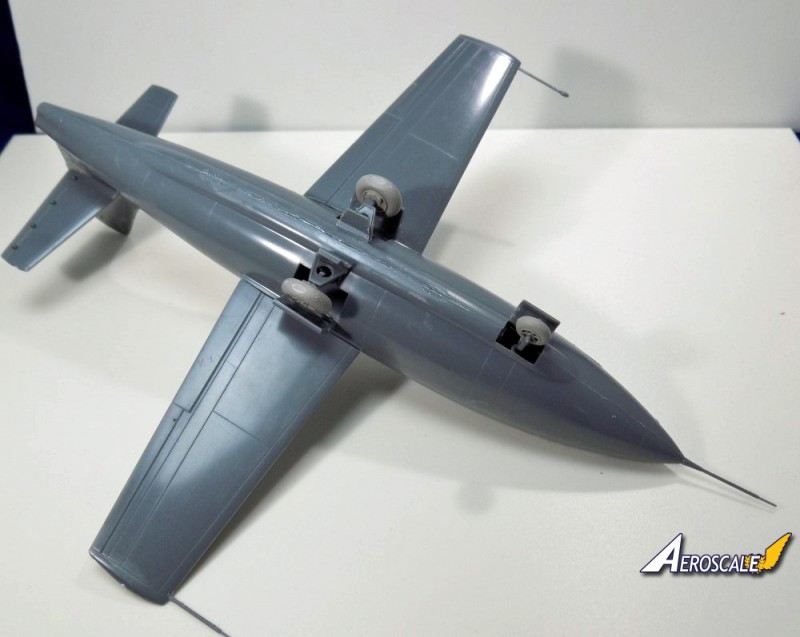
Undercarriage
Probably the simplest part of the build. The main undercarriage is made up of three parts each, including the wheels. The parts fit into the fuselage without any trouble and the wheels, which are weighted, so make sure you get them the right way round, fit onto a locating tab.
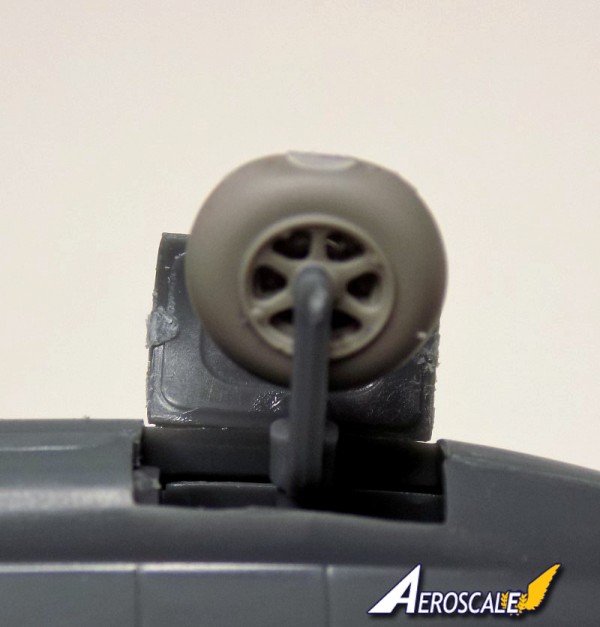
The nose wheel assembly is even easier, with the front leg as one part and the wheel slotting into the fork. To tell the truth I didnt even glue the nose wheel on, as the fit is so good.
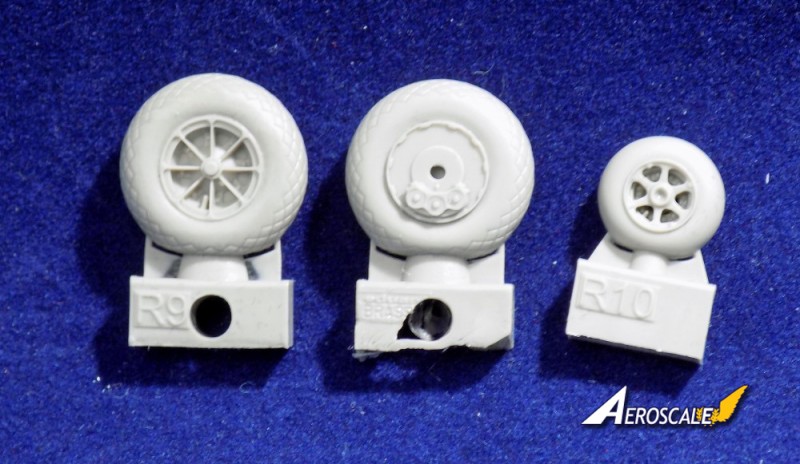
The resin wheels are way superior to plastic parts, and have a nice tread pattern on them. Masks are supplied for the painting of the hubs.
Other bits and bobs
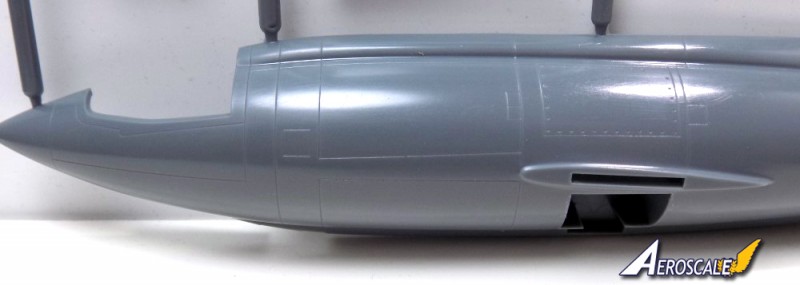
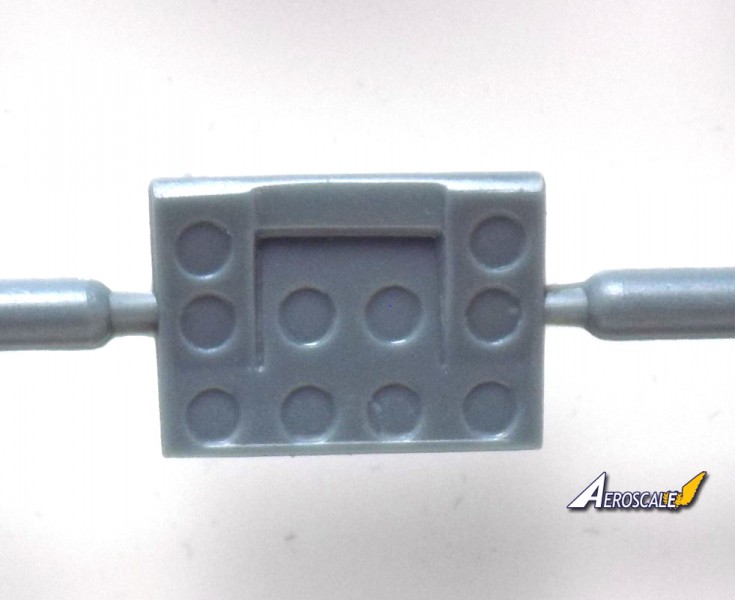
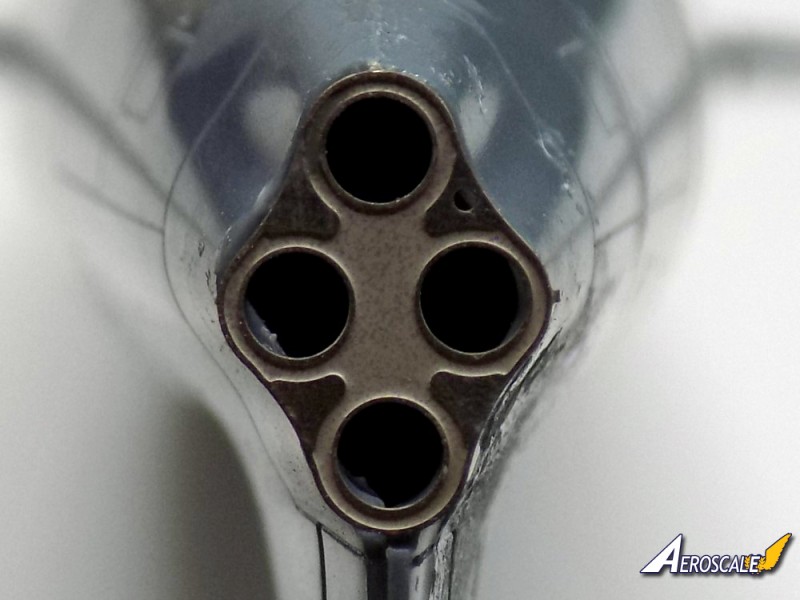
The back of the machine has the rocket exhausts as a P.E part and covers the hole. Unfortunately there is nothing on the other side of the hole, so blanking it off is a solution, if it bothers you.
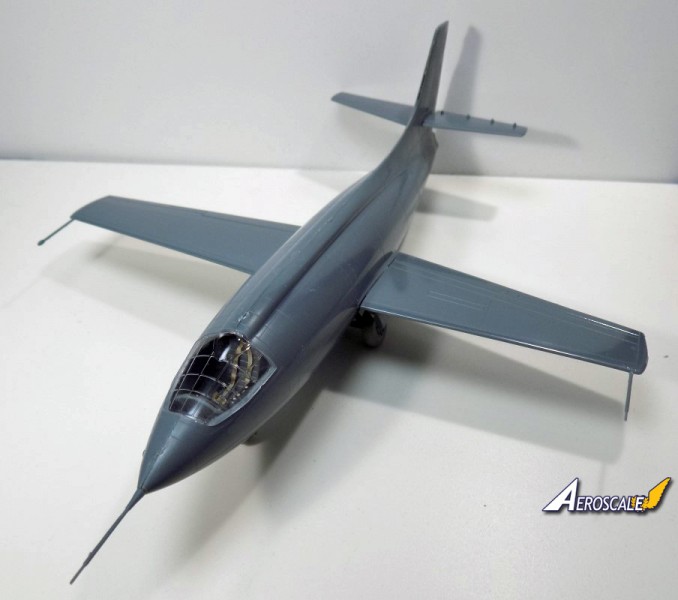
The escape hatch has two P.E handles fitted to the inside of the door, but as I managed to lose both to the carpet monster I glued the door in position. I took a pic so you can get an idea of how much you can see if you leave the door off. The door itself doesnt hinge to the fuselage, so placing the kit on a base shouldnt lose the door.
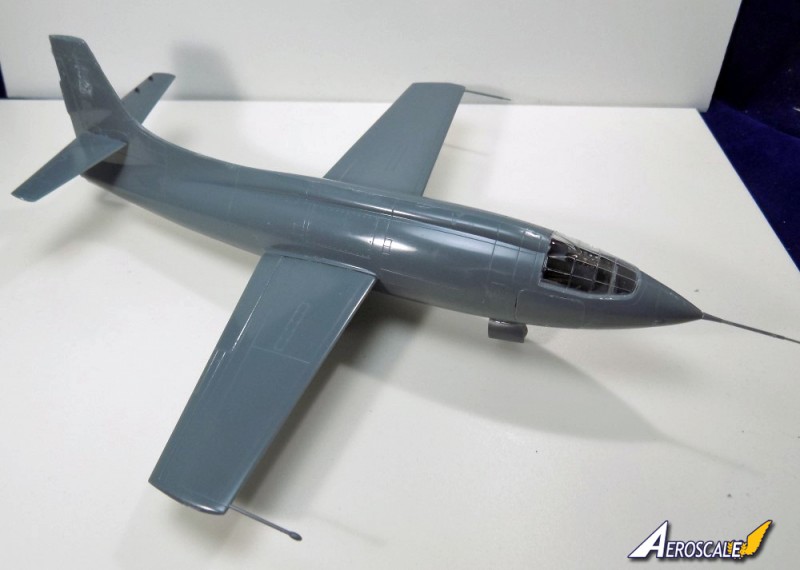
Two pitot tubes are attached to the wings at each end and one for the nose.
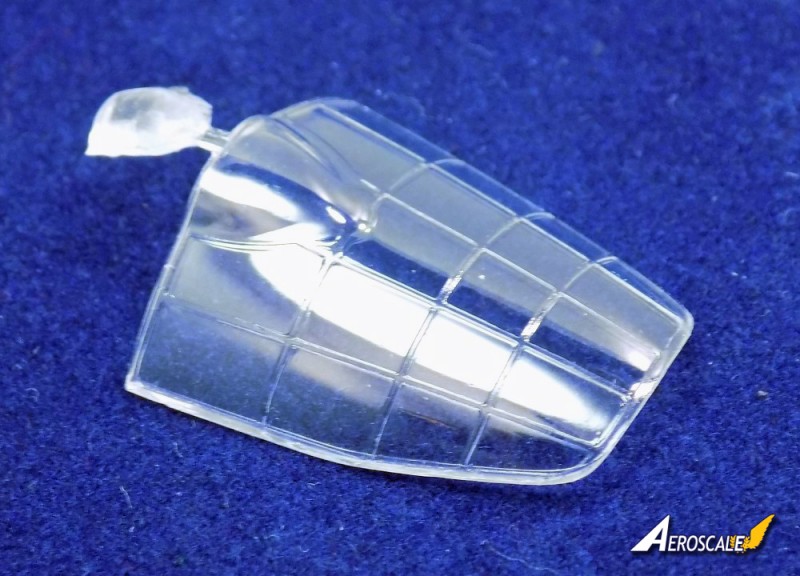
The last part is attaching the one piece canopy. Thankfully Eduard have included some masks for this part, which will make painting all the framework easy.
All in all this kit took me about two hours to put together, but I didnt paint anything.
I would say this is a great kit for a beginner, as the build isn't difficult, even with the photo etch parts.
This is a fun little kit, with striking colour schemes included.
Please remember, when contacting retailers or manufacturers, to mention that you saw their products highlighted here - on AEROSCALE
SUMMARY
Highs: Easy to build. Fairly well detailed.Lows: No locating pins, most notably for the fuselage halves.Verdict: Ok this may be an old kit, but its still pretty good, and has a fair level of detail. The marking options are pretty good, with two machines having two different marking options from different times in their careers.
Our Thanks to Eduard! This item was provided by them for the purpose of having it reviewed on this KitMaker Network site. If you would like your kit, book, or product reviewed, please contact us.
About Andy Brazier (betheyn) FROM: ENGLAND - SOUTH EAST, UNITED KINGDOM
I started modelling in the 70's with my Dad building Airfix aircraft kits. The memory of my Dad and I building and painting a Avro Lancaster on the kitchen table will always be with me. I then found a friend who enjoyed building models, and between us I think we built the entire range of 1/72 Airfi...


Comments