HISTORY:
The
McDonnell F2H Banshee was a twin engine jet fighter that saw combat during the Korean war. Too slow to combat the new, swept wing jet fighters that were appearing, it was still valuable for ground attack, photo-reconnaissance and bomber interception, but was restricted to daylight operations.
The initial fuselage was stretched 8 feet to increase fuel load, the tail was revised, and a new
Westinghouse Radar System was installed for all weather mission capability. The 4 X 20mm cannons in the nose were located further down in the fuselage to accommodate the radar, which allowed for an increase in ammunition capacity.
The
F2H-3 was not used in combat operations but did remain in
USN service until the late 50s. It was also used by the Canadian Navy with 39 aircraft equipping two squadrons.
THE KIT:
Academy have reissued the
F2H-3, first offered by
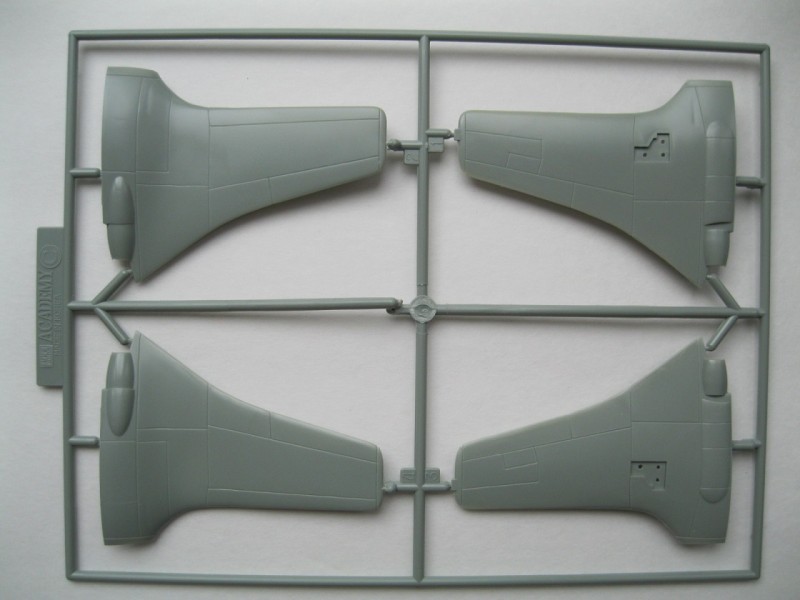
HobbyCraft in 1987. The sprues appear to be the same as what was originally offered, yet molded in
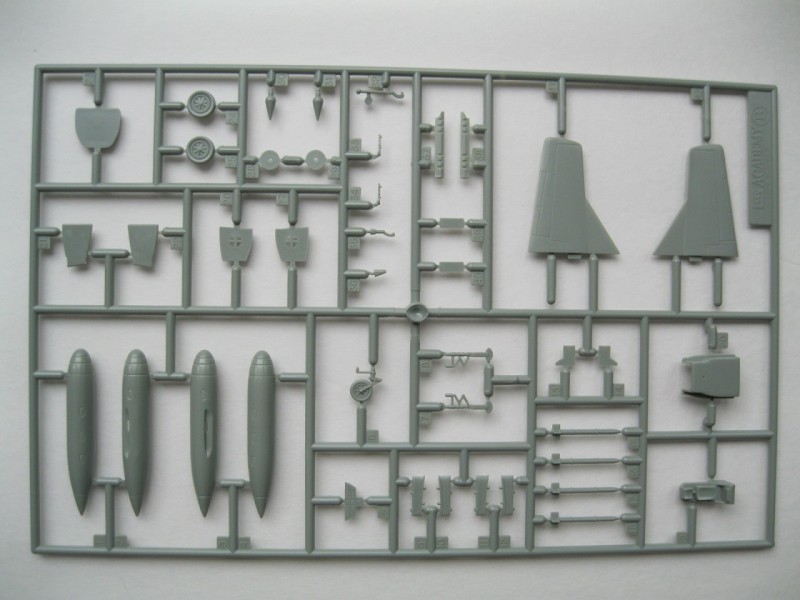
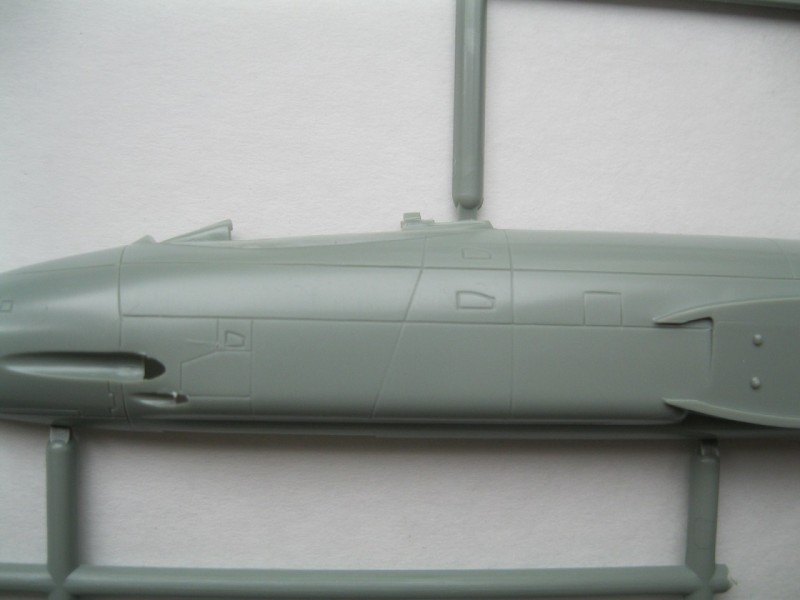
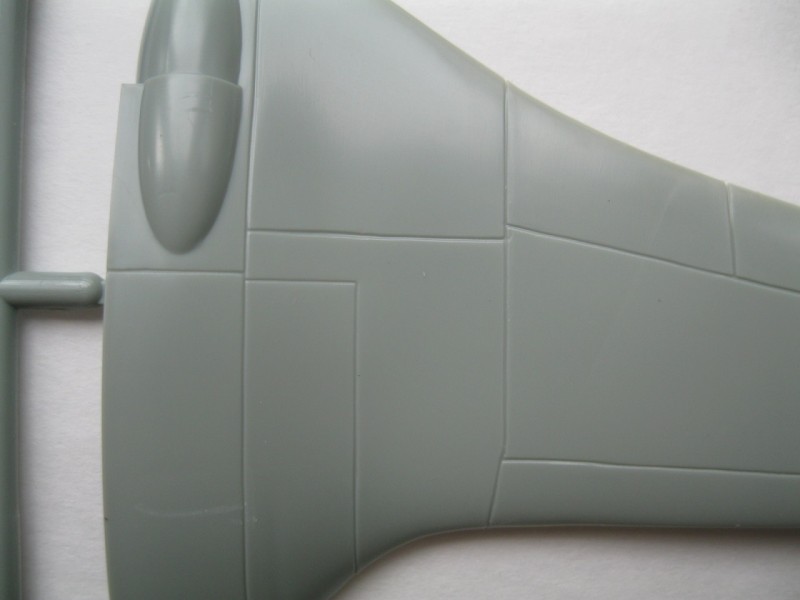
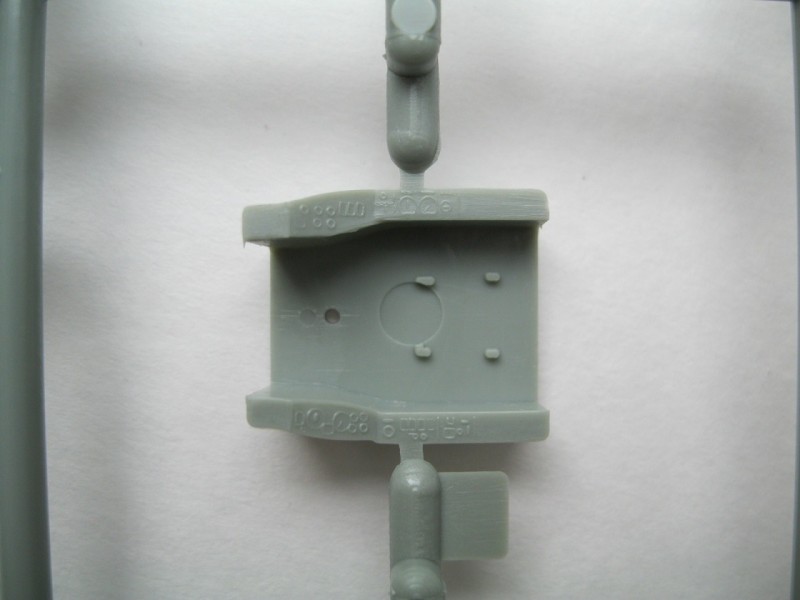
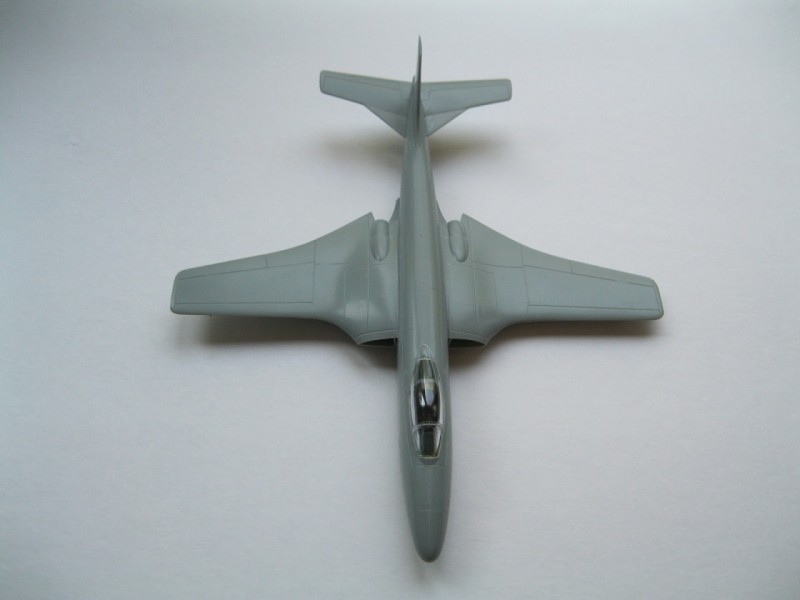
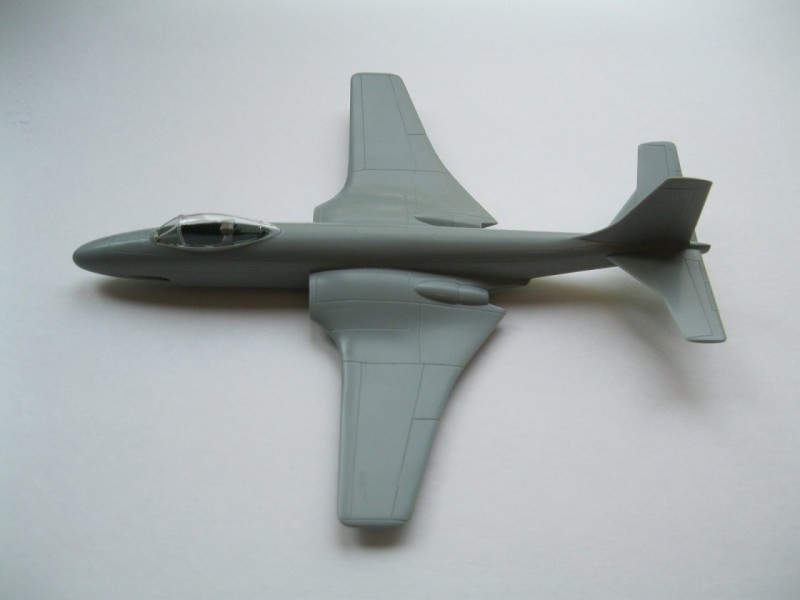
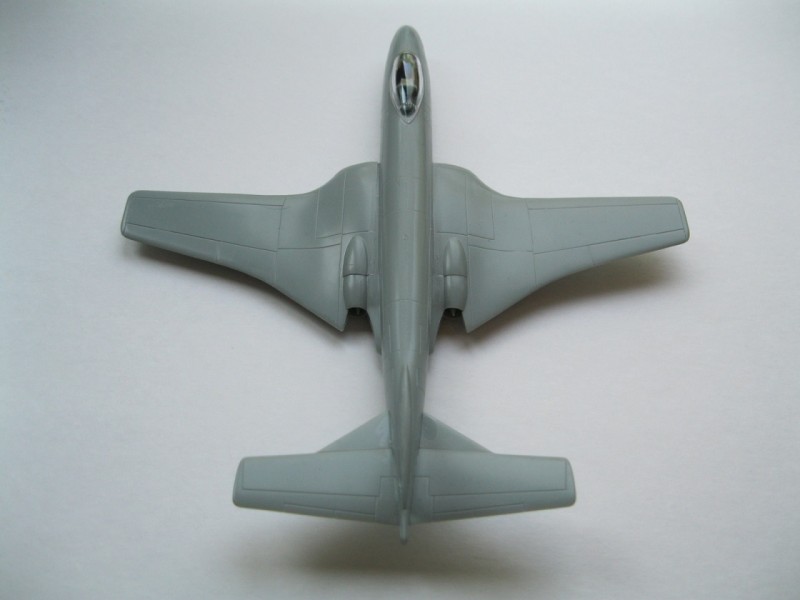
Academy's characteristic gray-green polystyrene. Detail is generally good with a nice shape, though I did not measure to determine if its dimensions were exact. The panel lines are somewhat large, but also common when compared with other 1/72 kits I have seen. Sink marks were minimal and there was no real flash present or other molding issues.
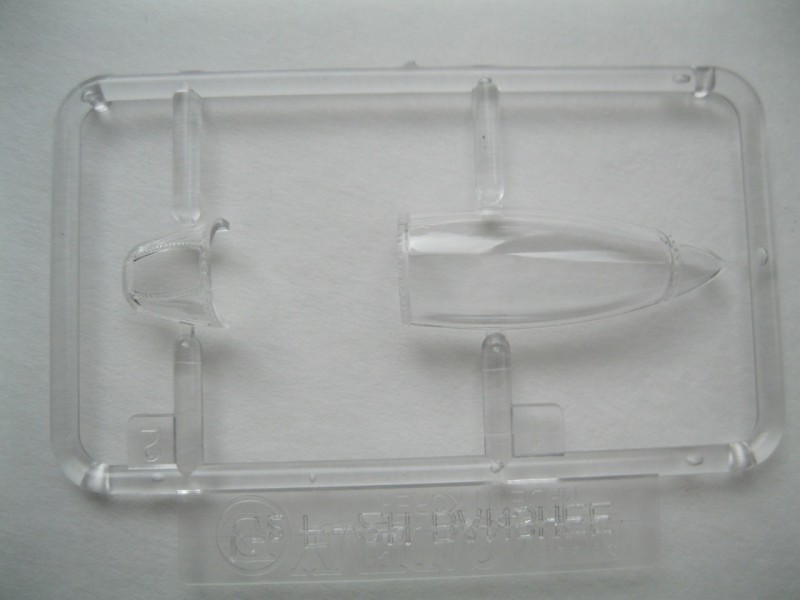
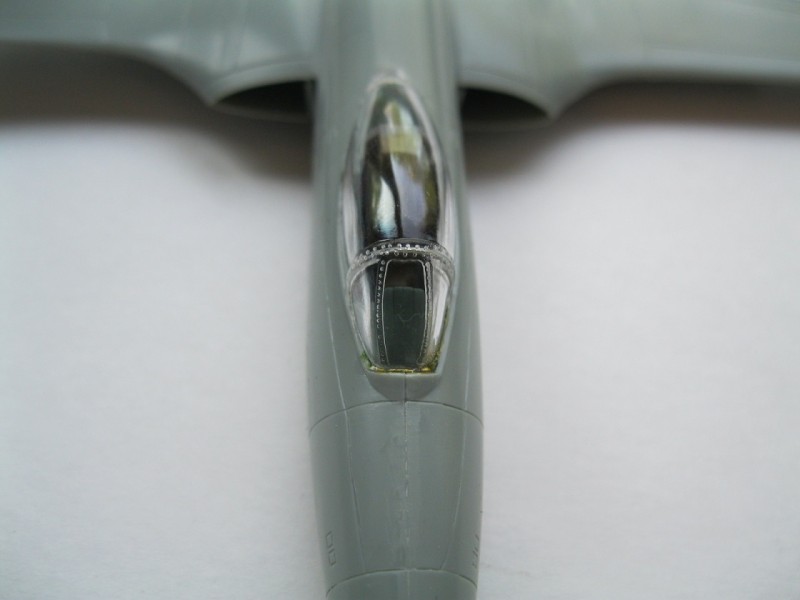
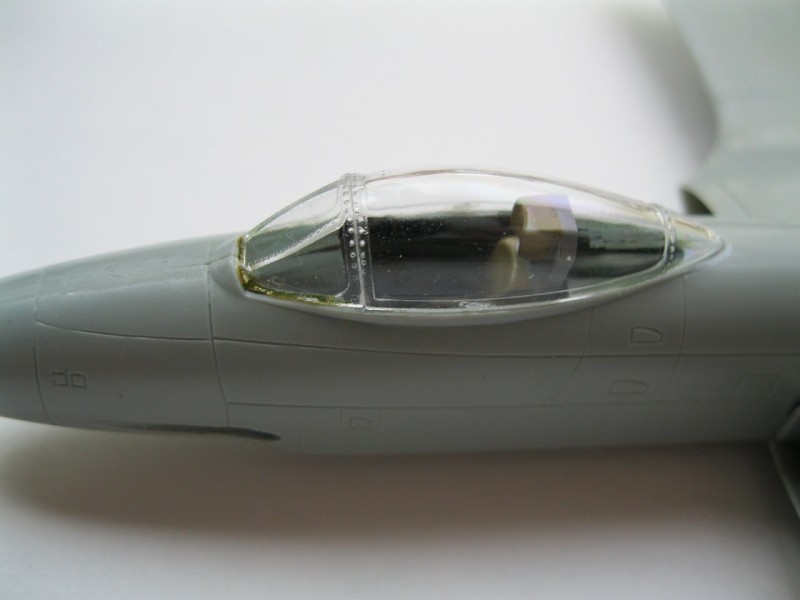
The clear parts, consisting of the canopy in two pieces, were clear and frame detail is present. The parts count is low, making this an easy build for those who want something simple, yet also offering potential for those who wish to add more detail.
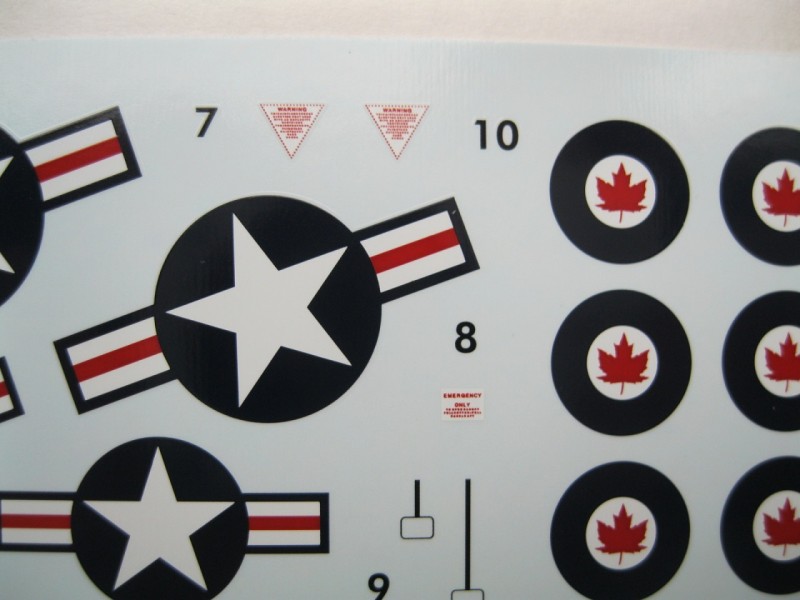
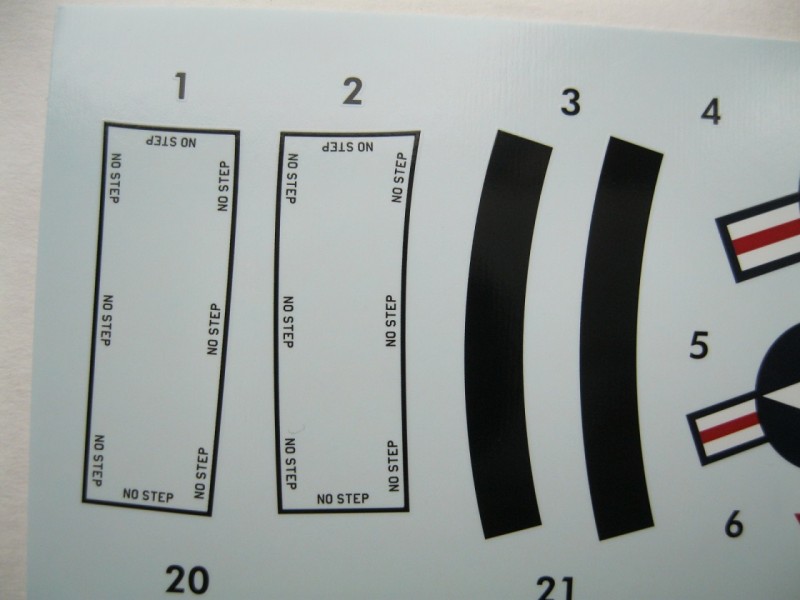
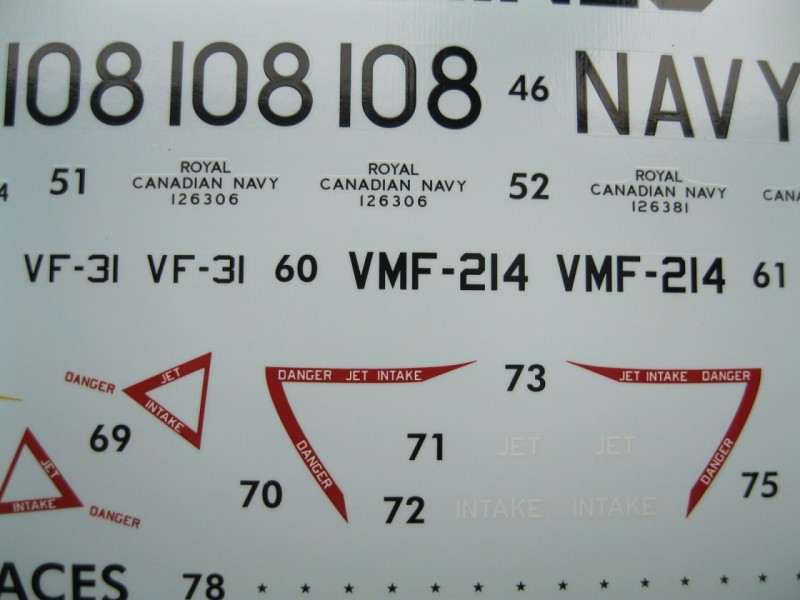
The most impressive aspect in the kit are the decals. Printed by
CARTOGRAF, the decals offer markings for 7 aircraft, as follows:
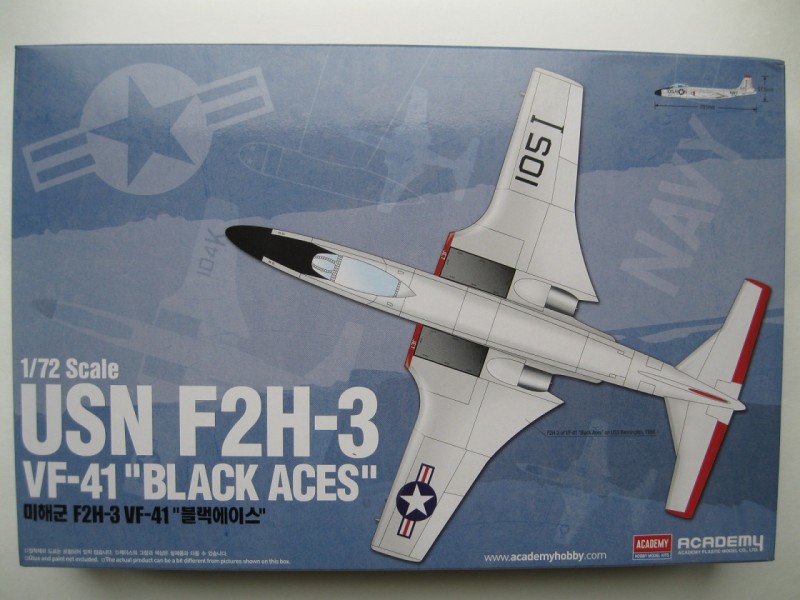
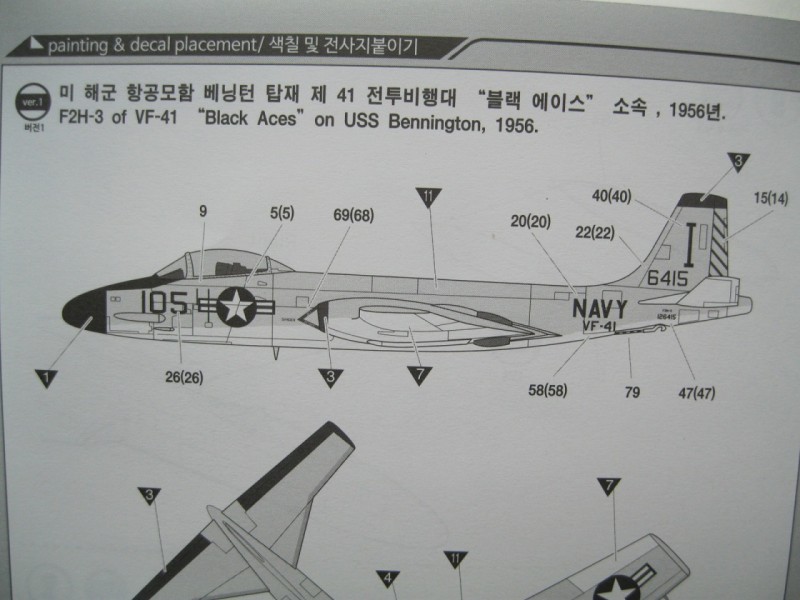
- F2H-3 VF-41, "Black Aces", USS Bennington, 1956, light gull gray over white. Marked 105.
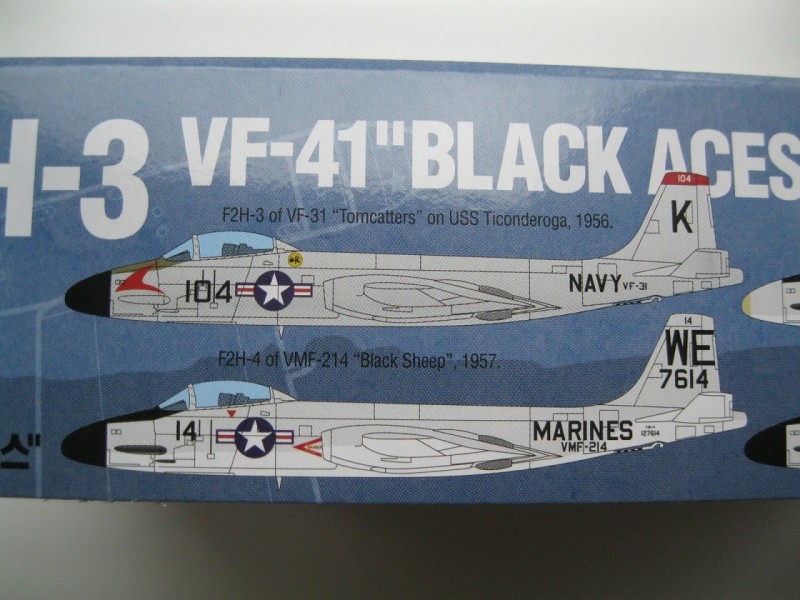
- F2H-3, VF31, "Tomcatters" USS Ticonderoga, 1956, Aluminum all over. Marked 104K
- F2H-4 VMF-214 "Black Sheep," 1957, light gull gray over white, marked 14WE
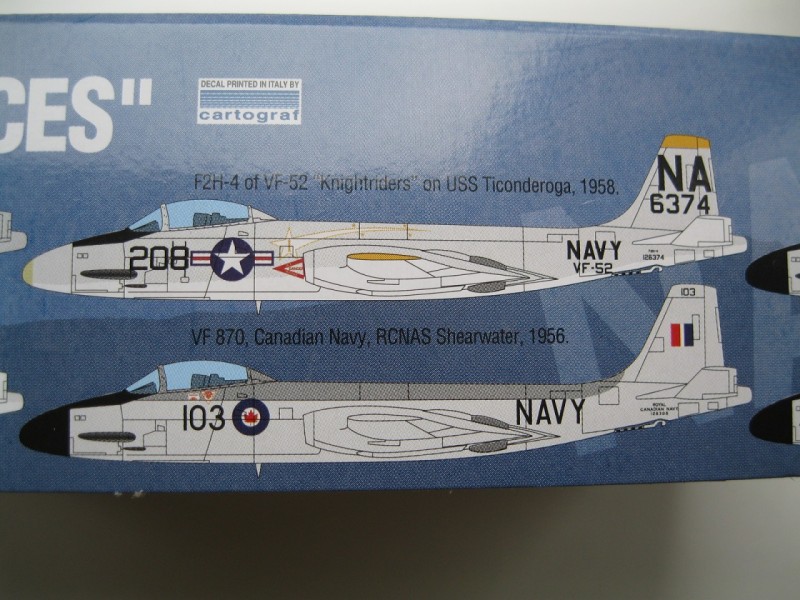
- F2H-4 FV-52 "Knightriders," USS Ticonderoga, 1958, light gull gray over white, 208NA.
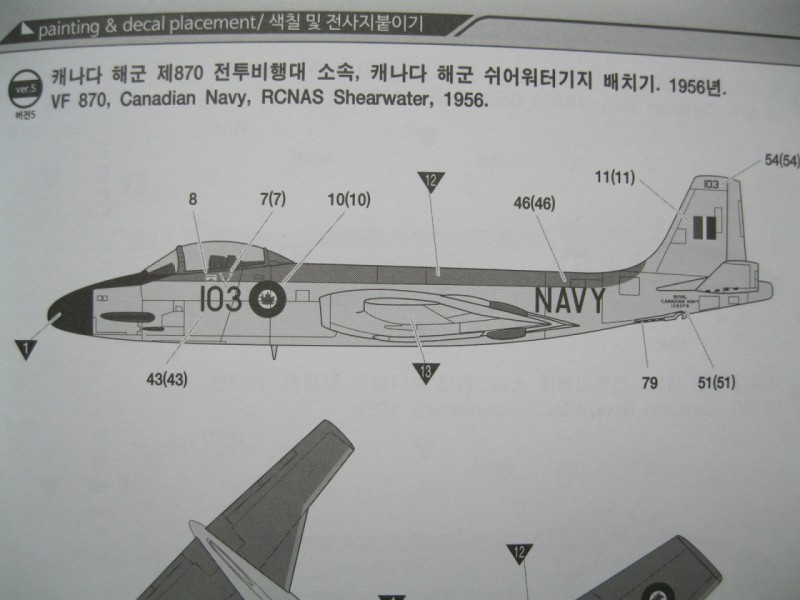
- F2H-3 of VF870, Canadian Navy, RCNAS Shearwater, 1956, dark sea gray over light sea gray, marked 103
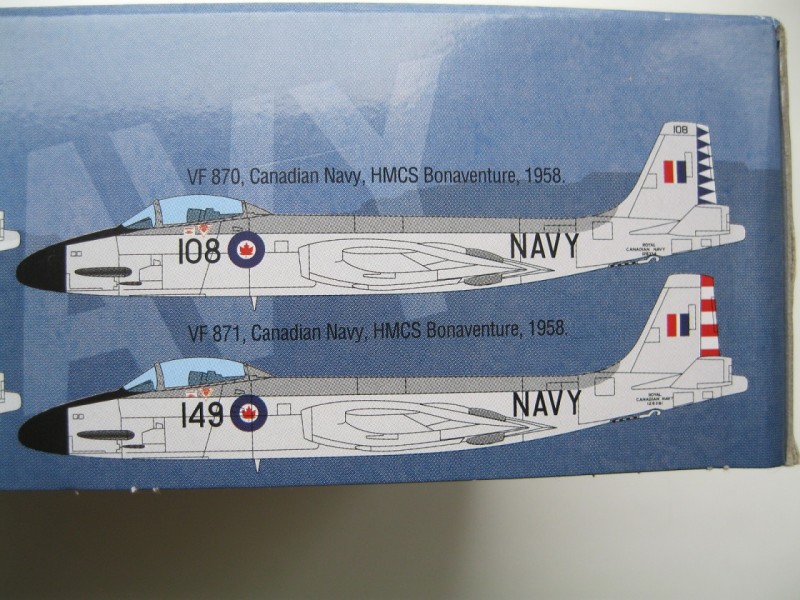
- F2H-3, VF870, Canadian Navy, HMCS Bonaventure, 1956, dark sea gray over light sea gray, 108
- F2H-3, VF-871, Canadian Navy, HMCS Bonaventure, 1958, dark sea gray over light sea gray, 148.
The Decals are carefully printed, appear to be in register, and the small print is legible.
THE BUILD:
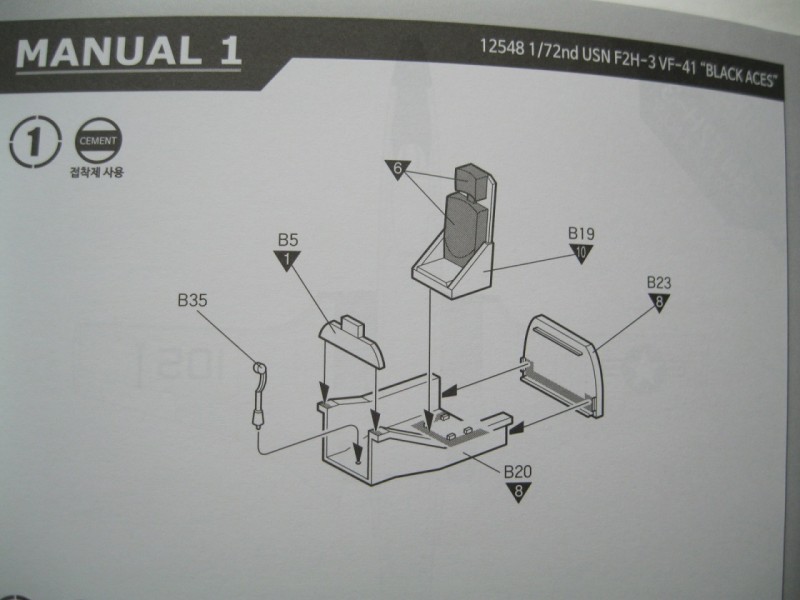
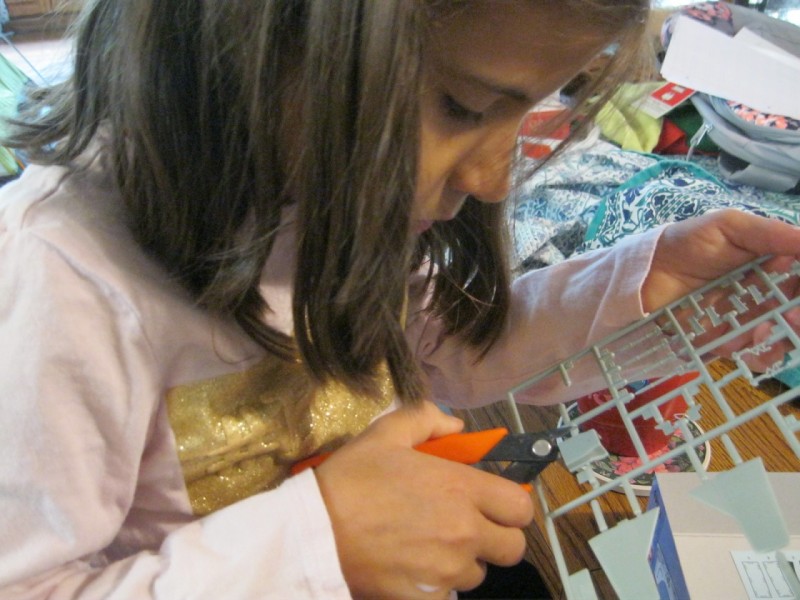
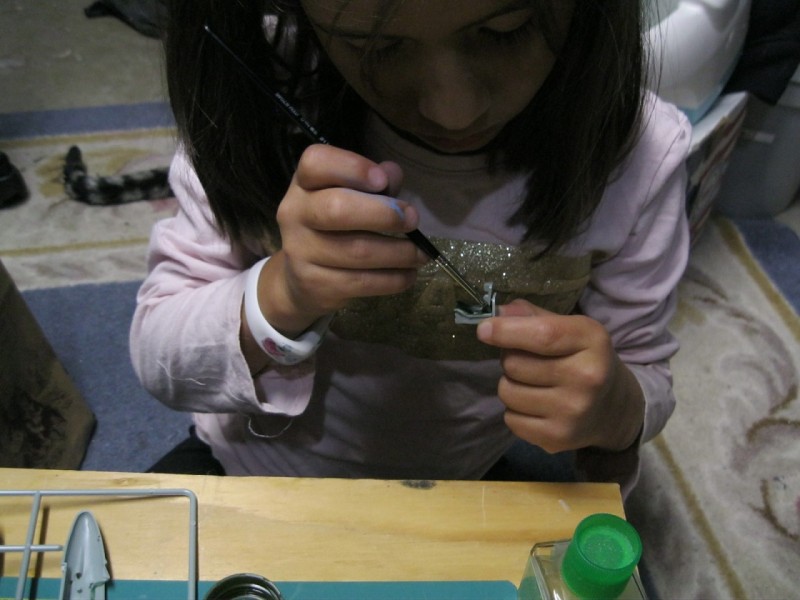
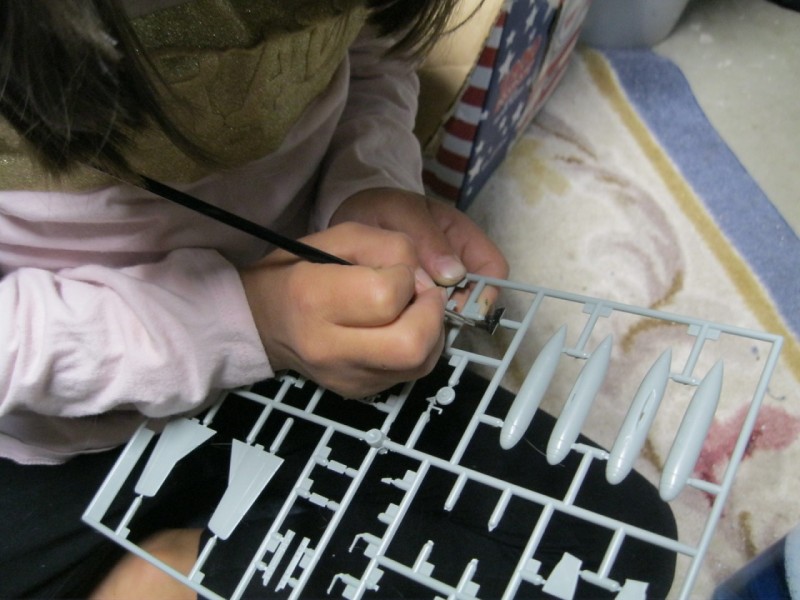
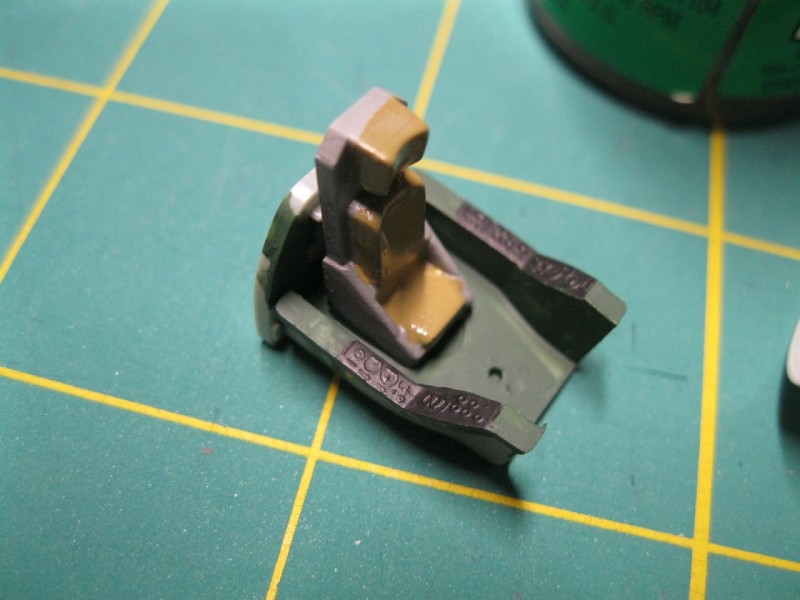
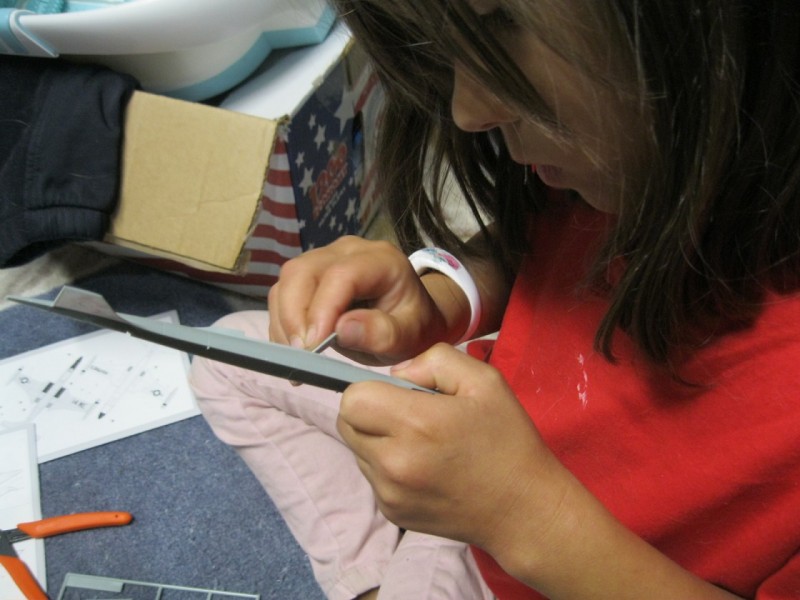
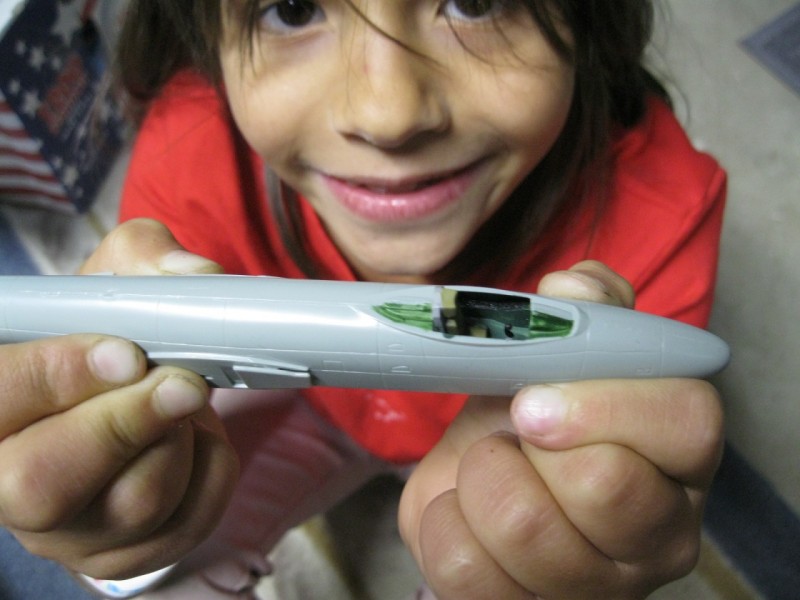
My 9 year old daughter has been asking to build a glue together kit, and this seemed the perfect opportunity. We sat down together and followed the instructions carefully, starting with cockpit assembly, including painting.
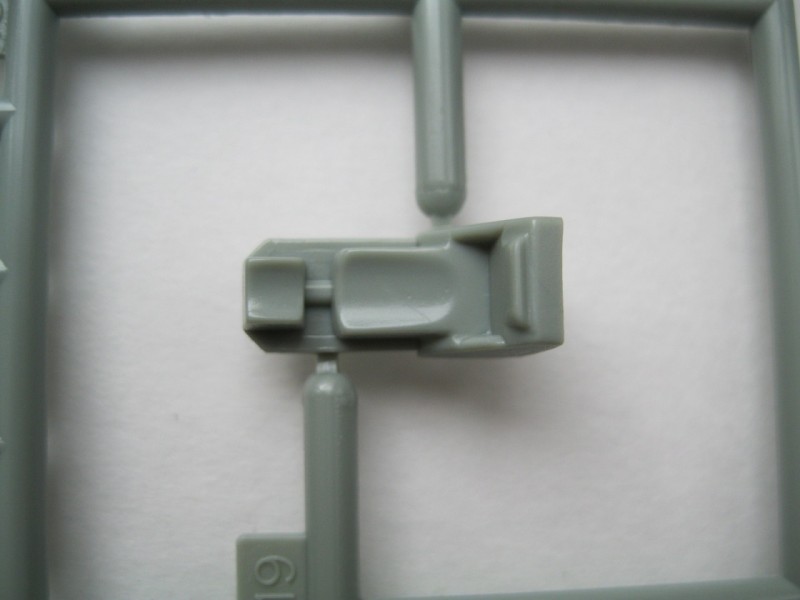
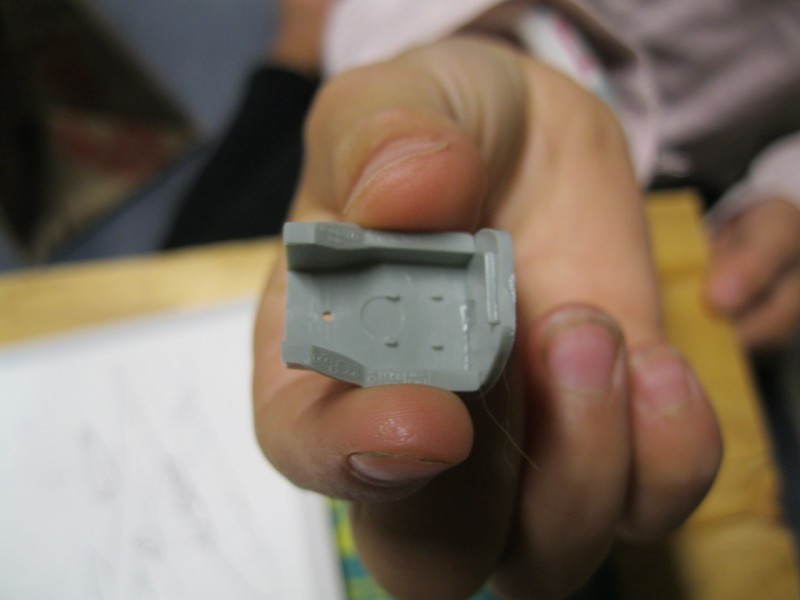
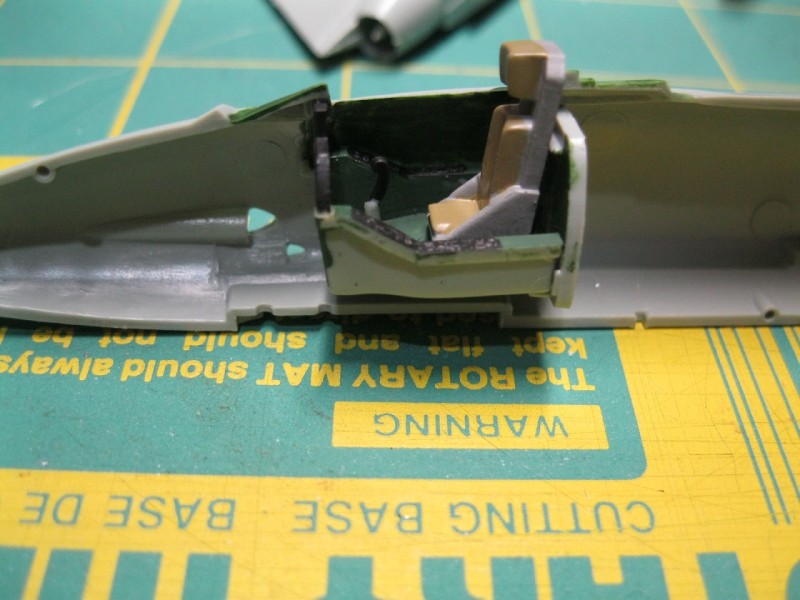
The instrument panel features raised detail for the dials, with additional raised detail on the sides of the cockpit tub. Five parts complete its assembly. Seat-belts are not included, yet the sparse detail is fairly clear, even with the canopy closed.
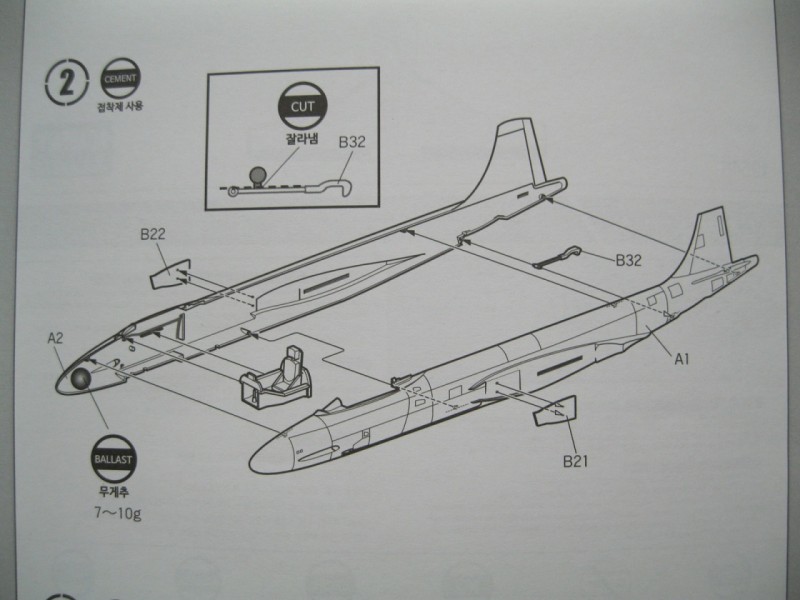
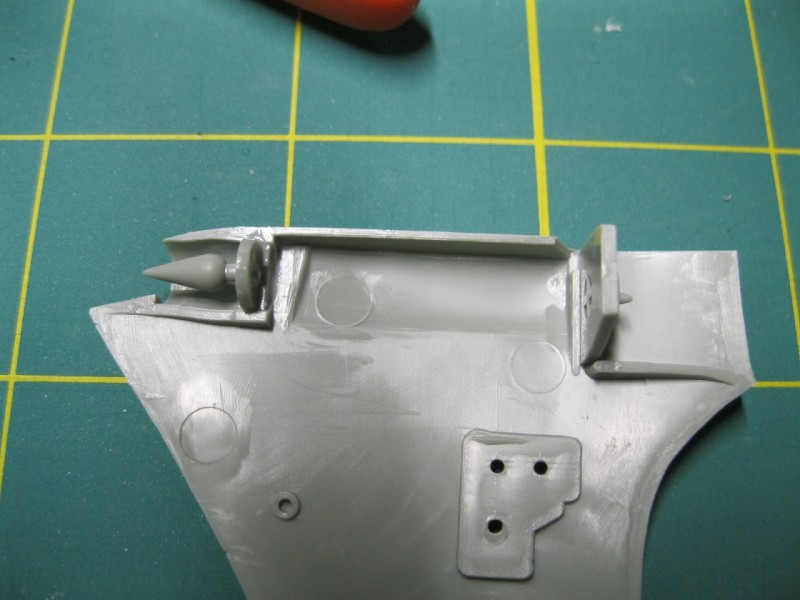
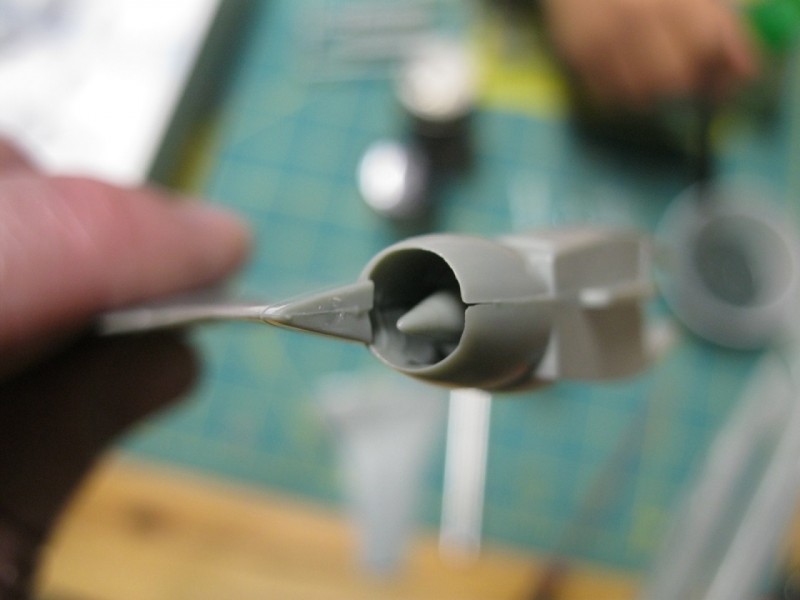
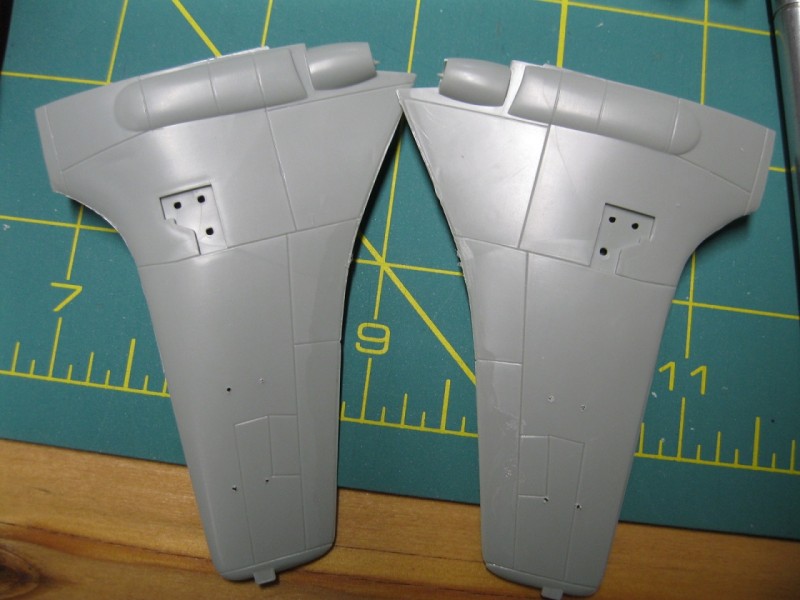
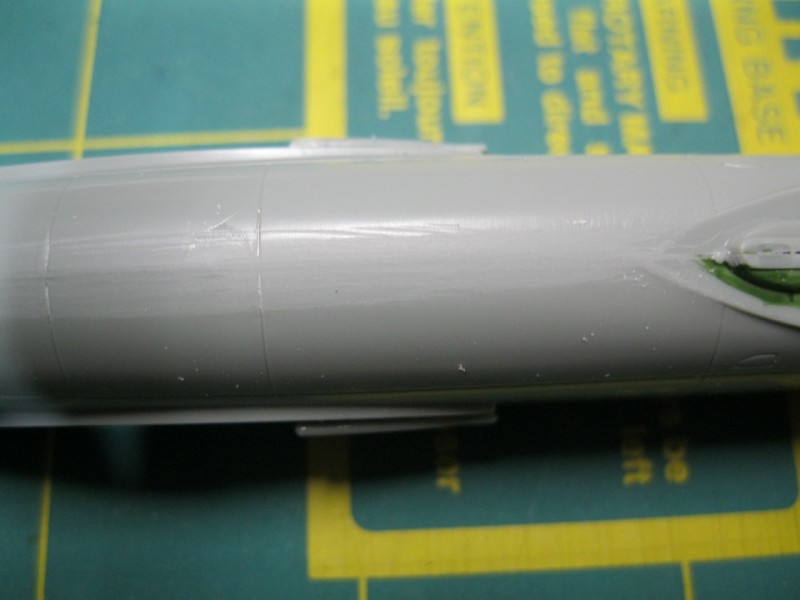
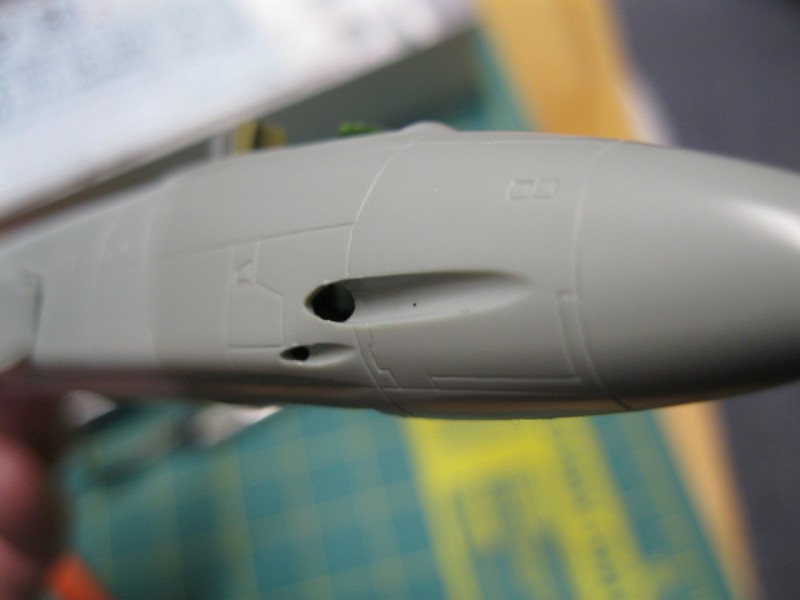
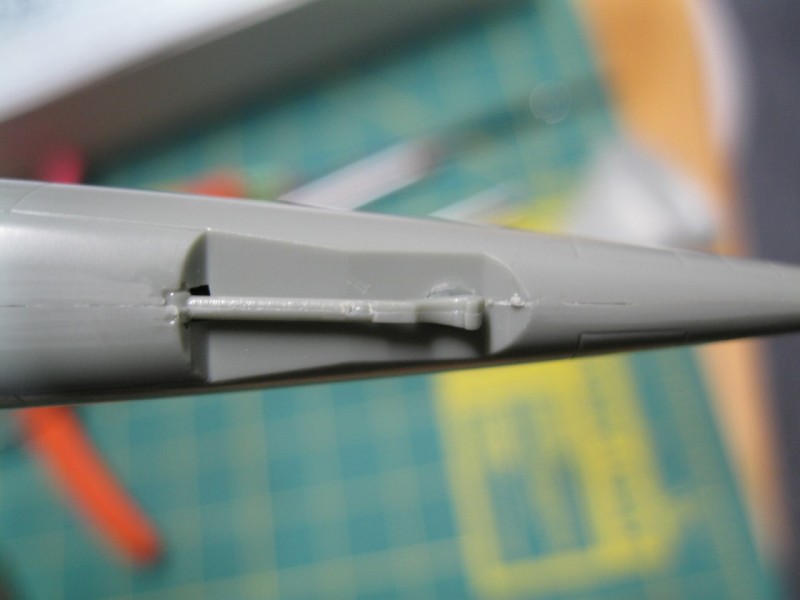
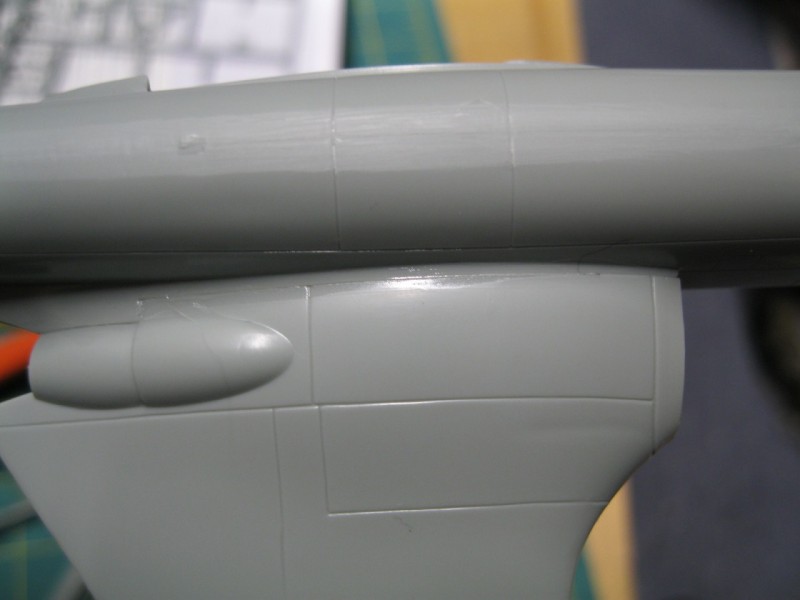
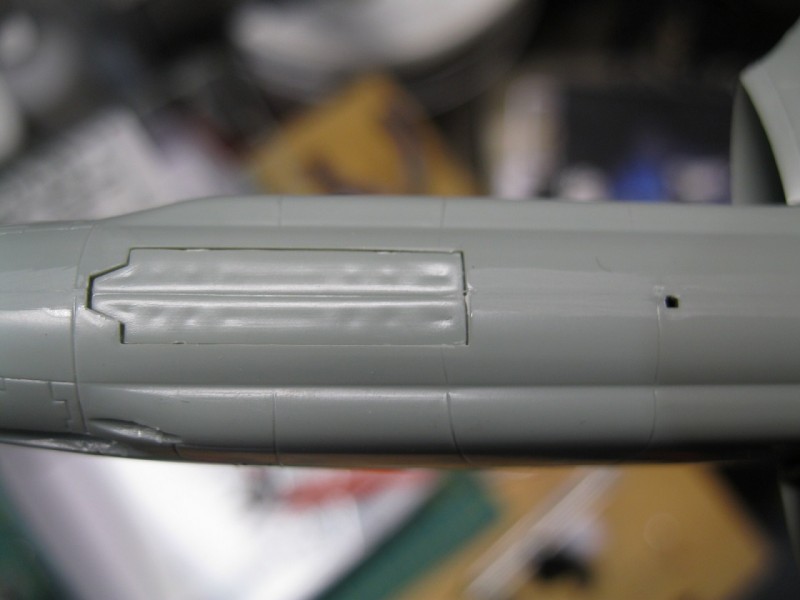
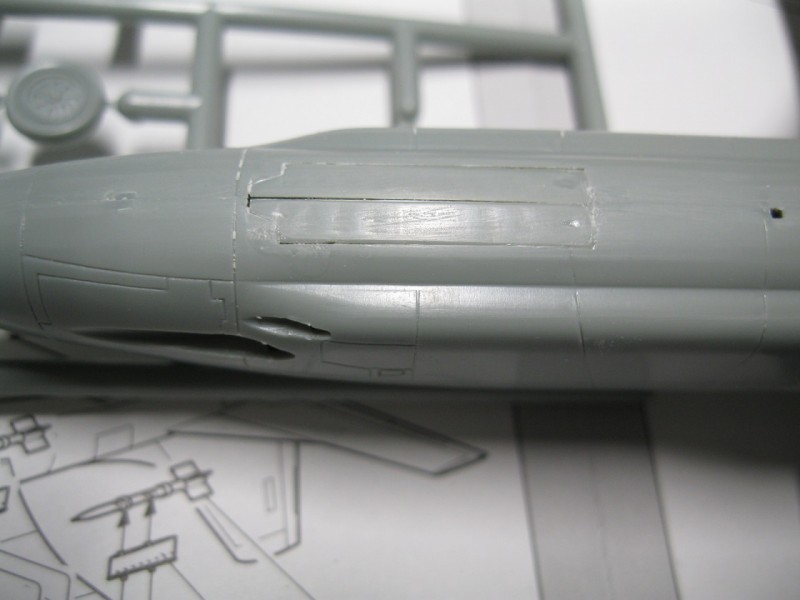
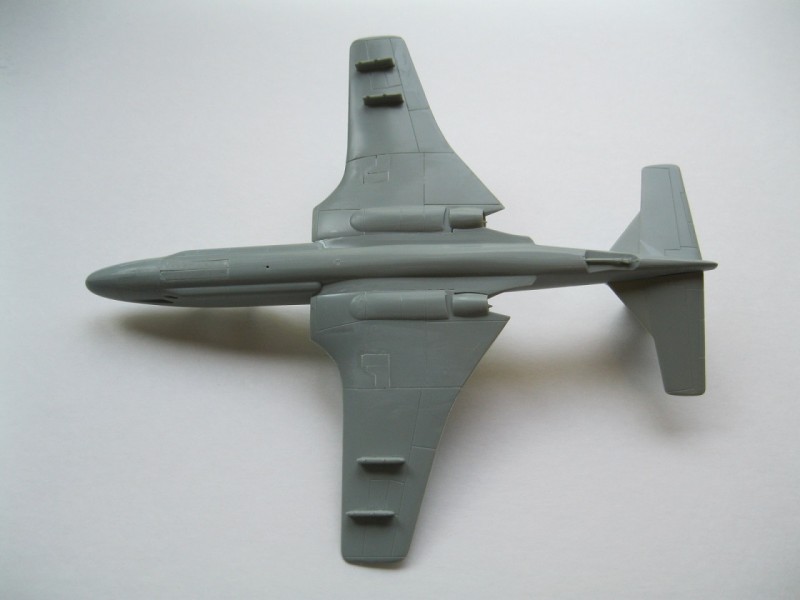
Step 2 join the two fuselage halves. The instructions indicate to place a weight in the nose, but Ana decided she wanted to have this hanging from her ceiling so we decided early on to not use the landing gear. Remember to install the tail hook. There are also two parts for the intakes on the fuselage sides. The two fuselage halves lined up fairly well with only some light cleanup to smooth out the join. The nose cannon openings are somewhat large, and have no inner detail, and from the side daylight can be seen through them.
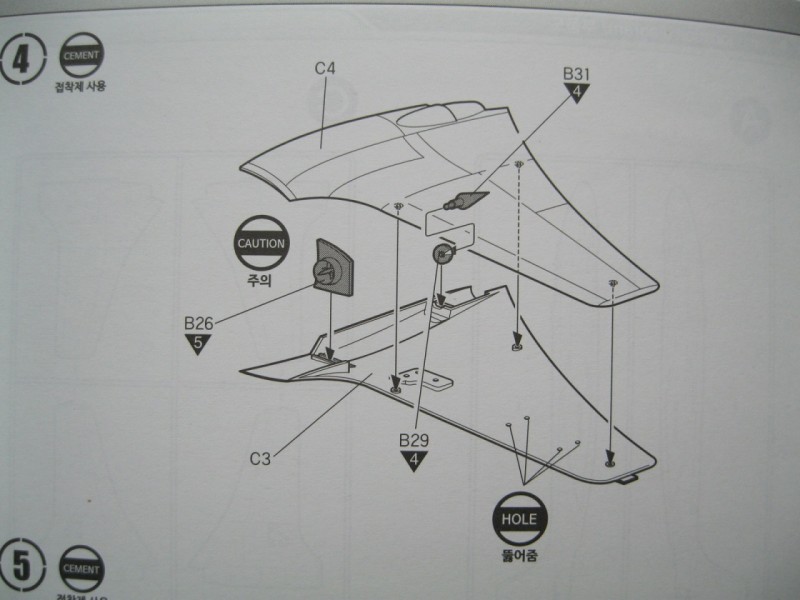
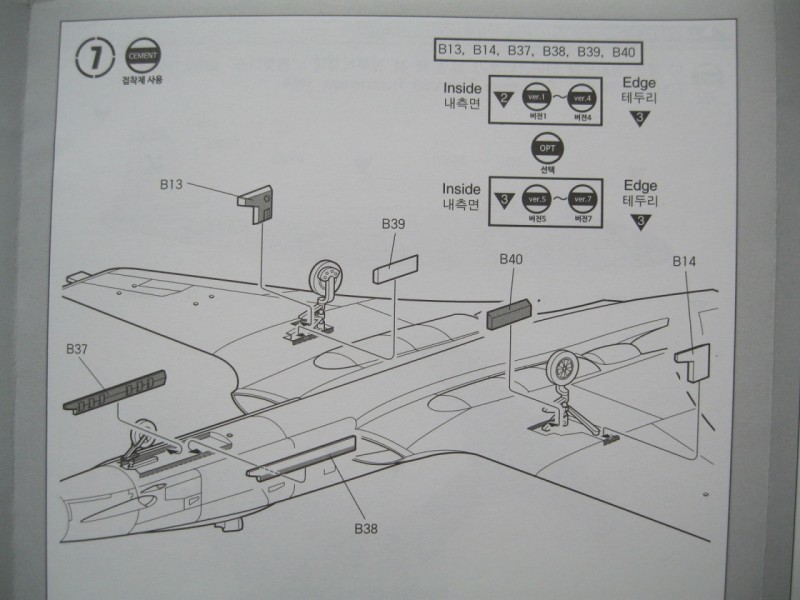
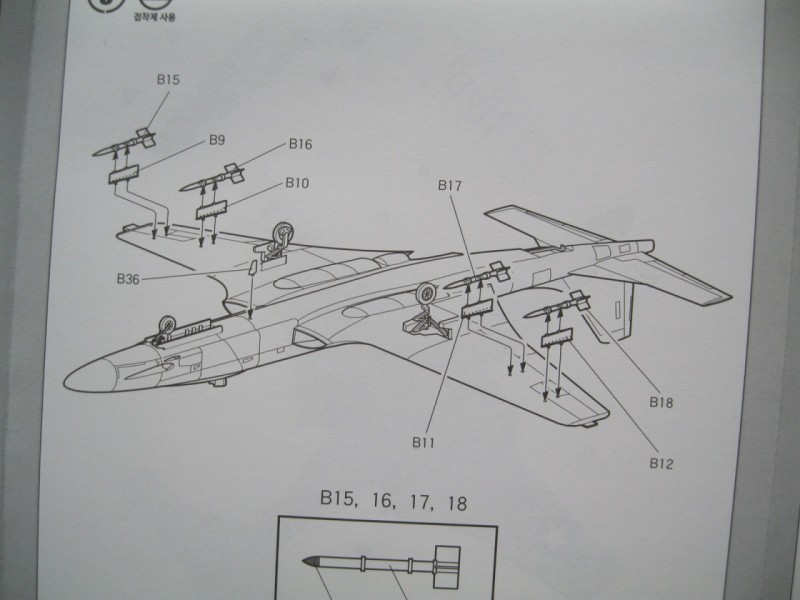
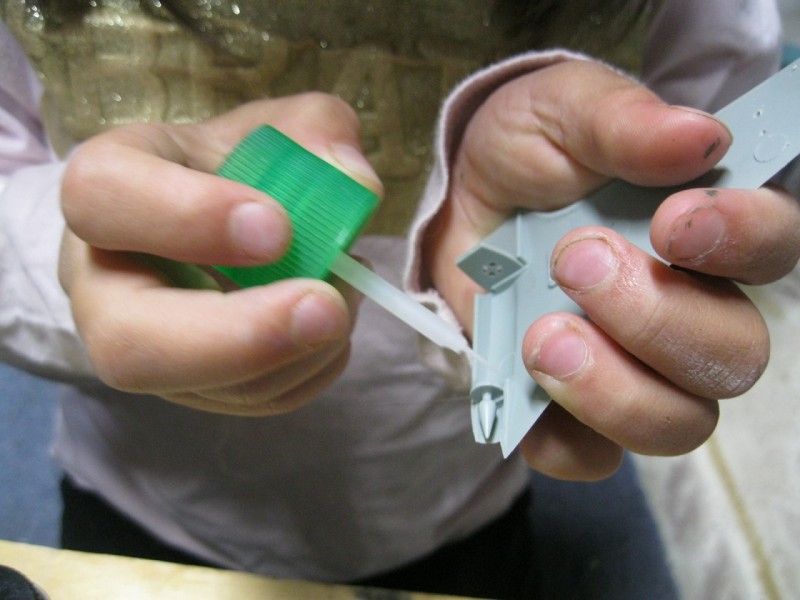
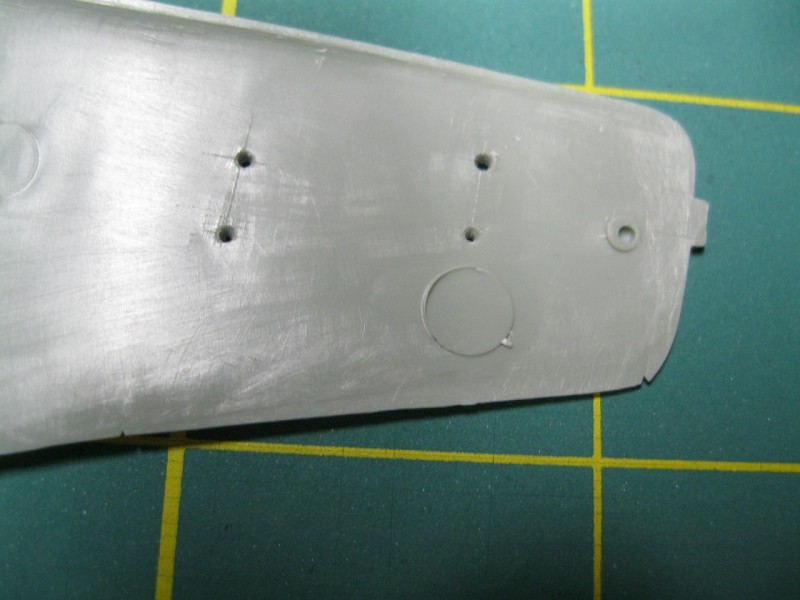
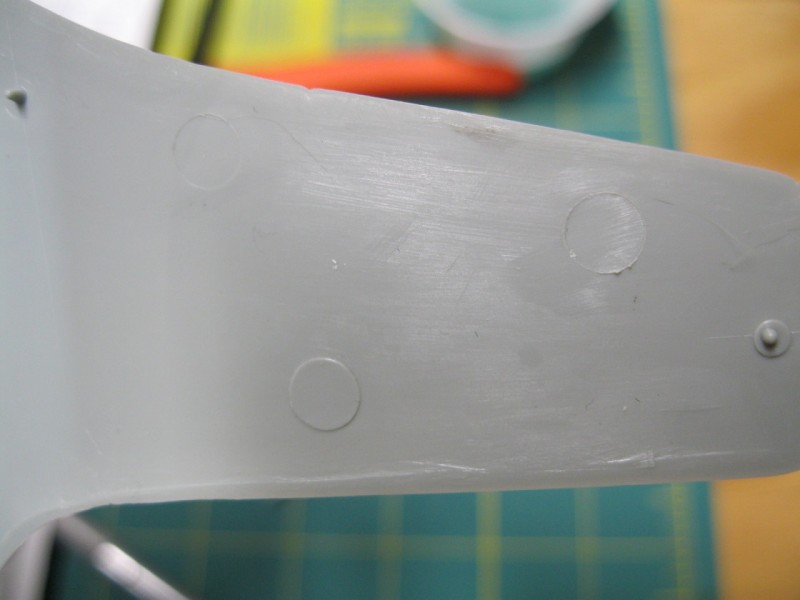
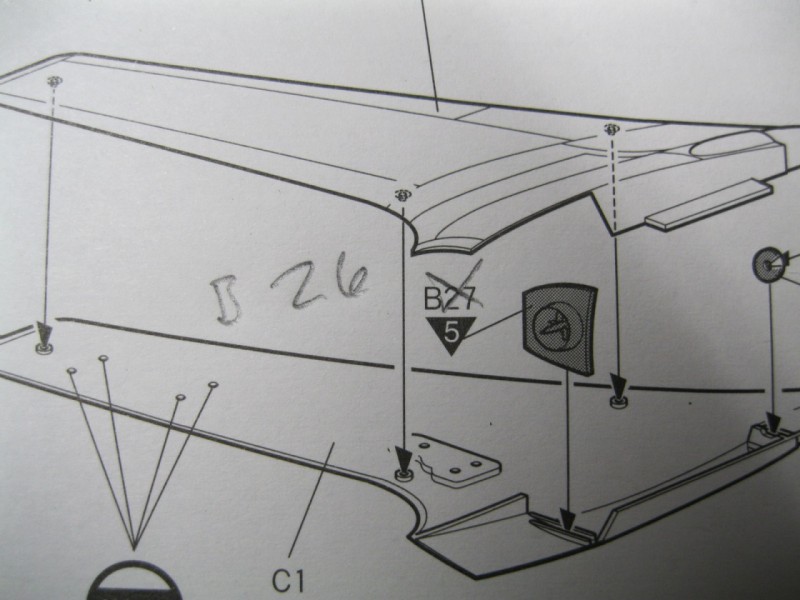
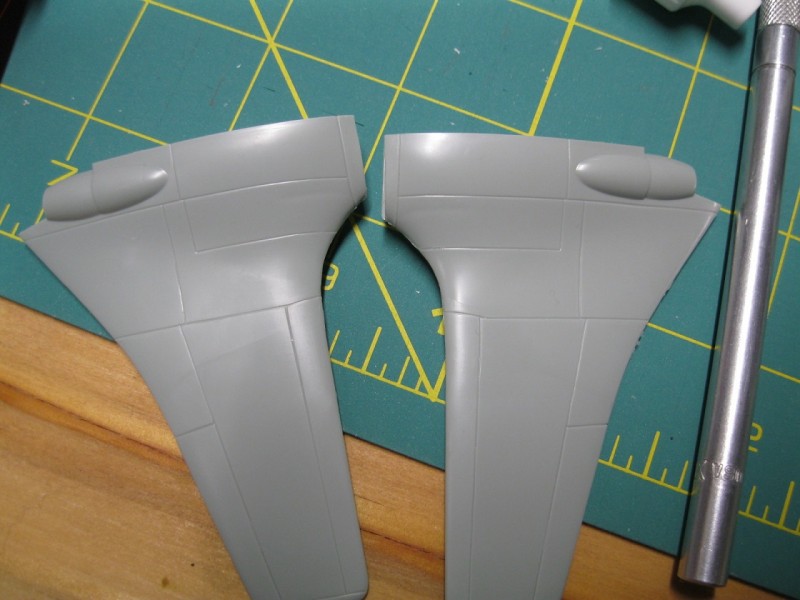
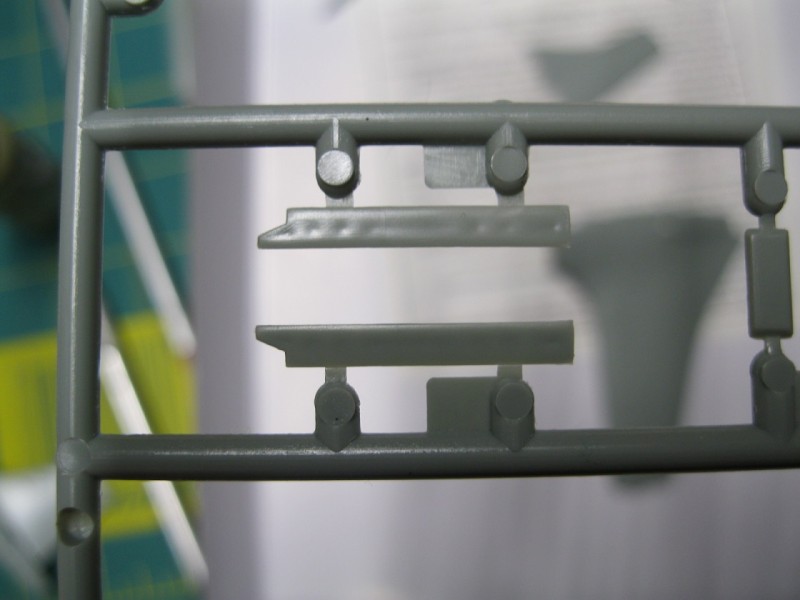
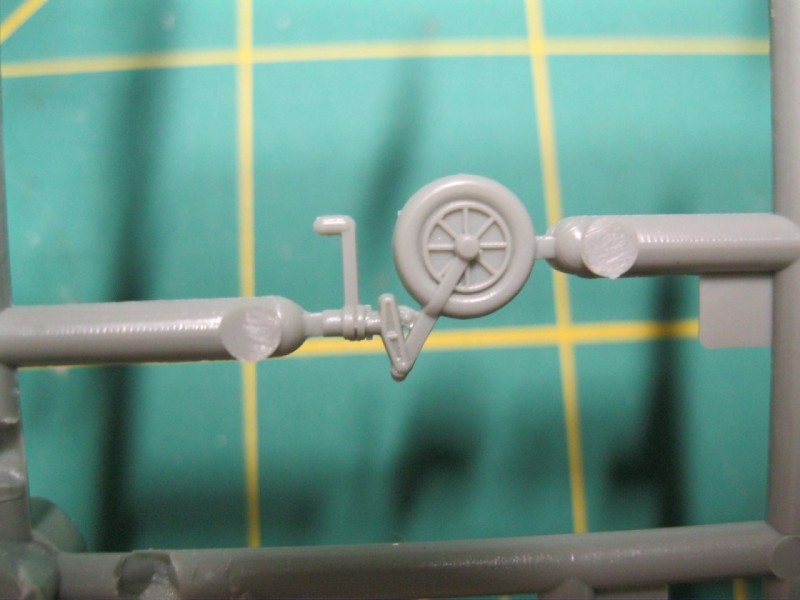
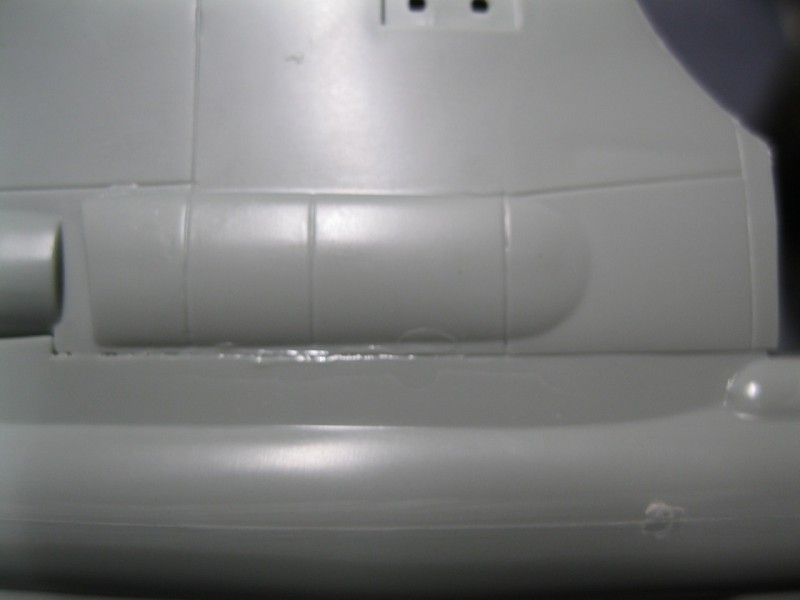
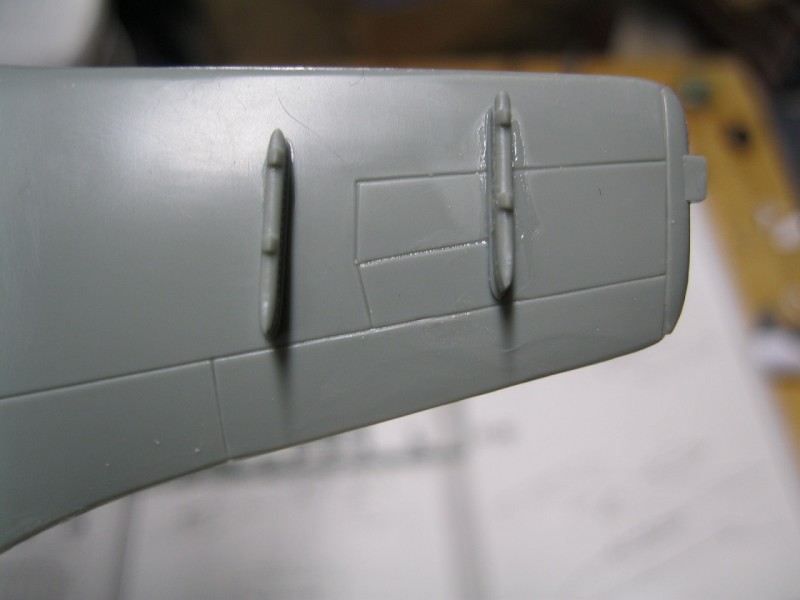
Steps 3 and 4 are the two wings. The jet intake and exhaust parts are installed here. The instructions appear to have parts B26 and B27 placed incorrectly, at least we had to reverse them to get them to fit. The exhaust parts were fiddly and difficult to get to sit straight. If you want to install the rockets, drill holes in the lower wing sections before you close the wings up.
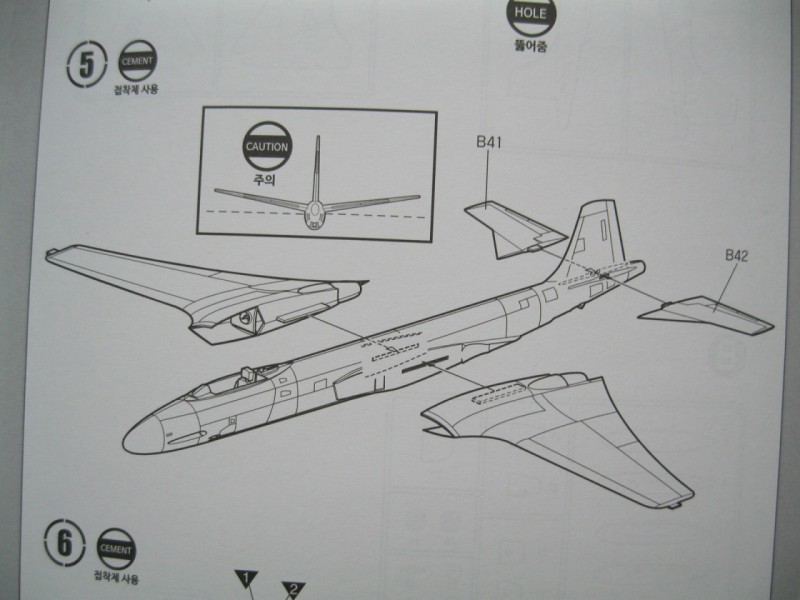
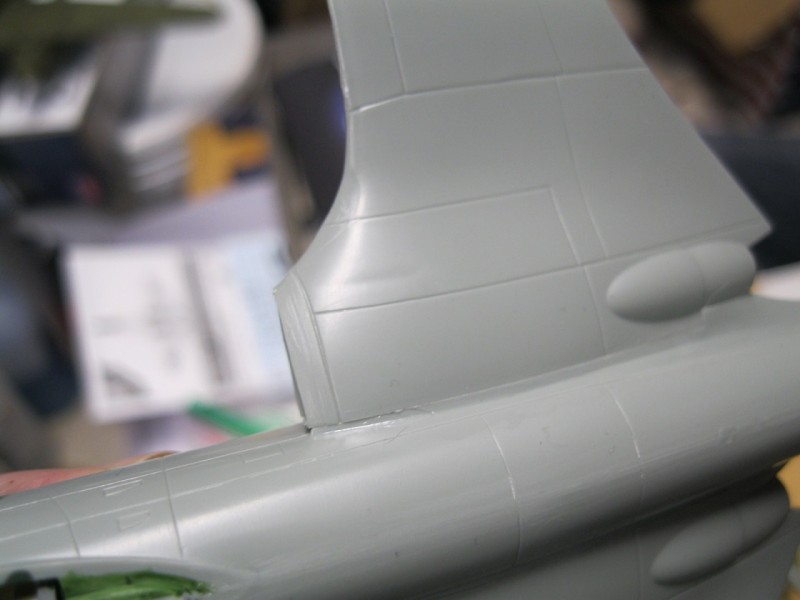
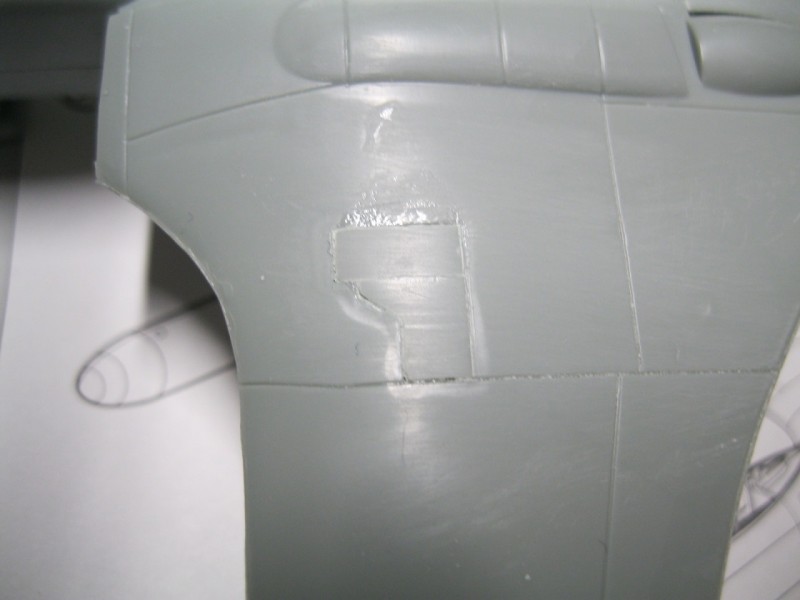
Step 5 is the wing and tail assembly. There is a caution box to show the angle for the tail plane assembly. We had a bit of trouble getting the wings to sit snugly against the fuselage.
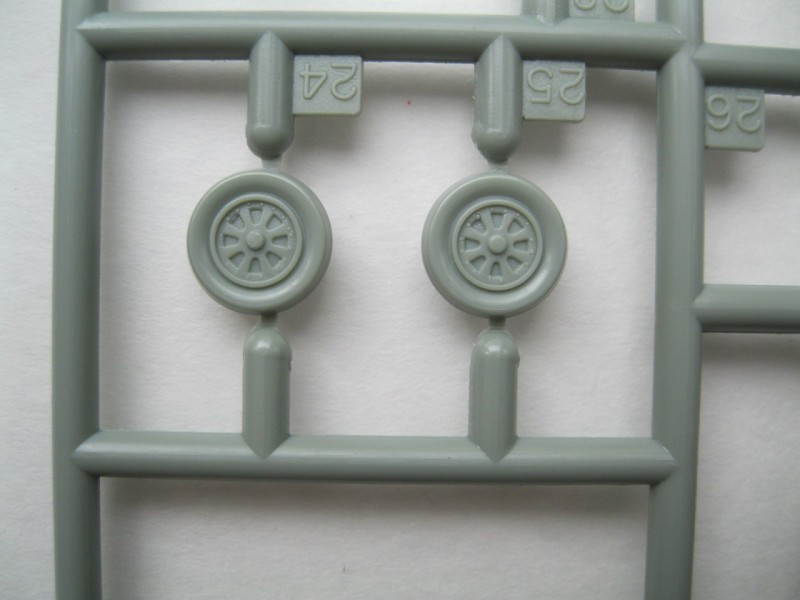
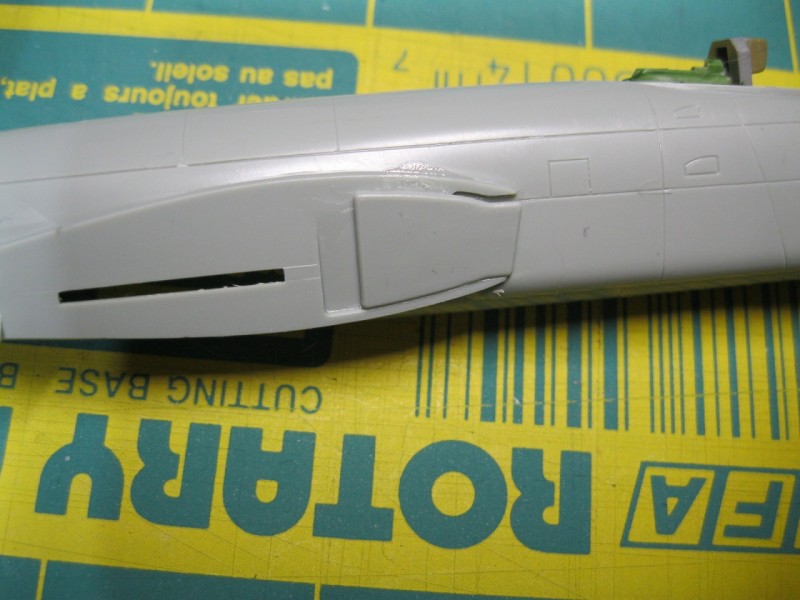
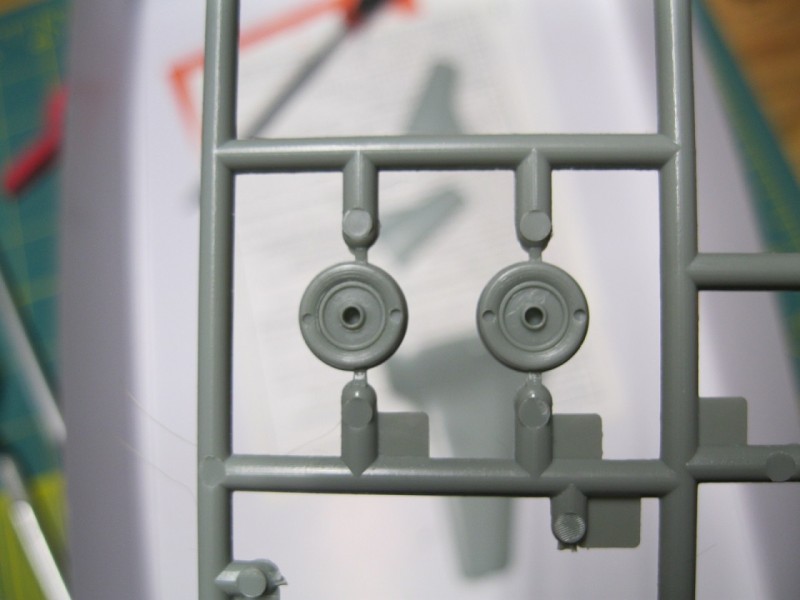
Steps 6 and 7 are the landing gear and doors. We posed it closed, which took a little bit of work and still needs some filler to close up the gaps. The front gear doors had some sink marks. For those who will leave the gear down, the forward landing gear piece is bent, possibly an attempt to represent the
"kneeling gear" that was used on the
F2H-1, but not after. At any rate, it is too short and leaves the model very nose down. You will need to replace or modify the part to get it to sit level.
Step 8 adds the rockets and rails.
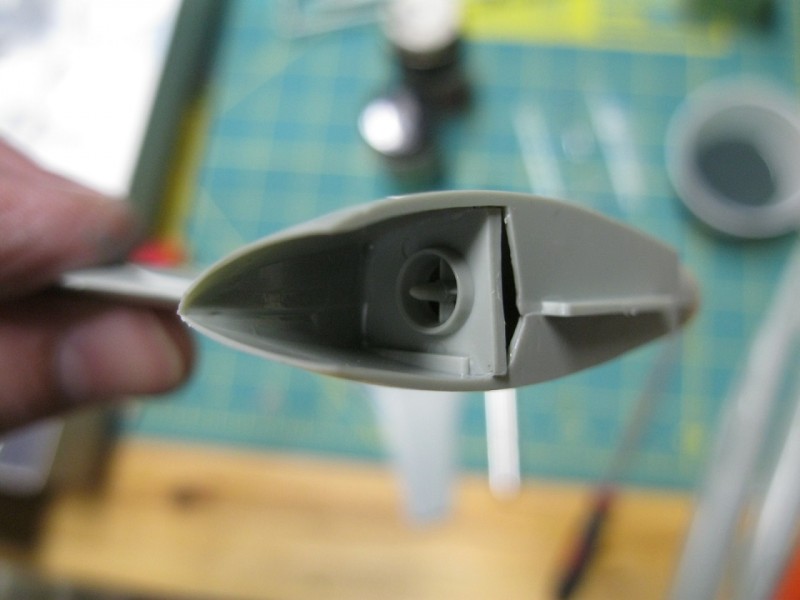
Step 9 adds the wing tip fuel tanks. These were not used on all the marking options so check resources or the accompanying marking guide. If not used, the locator tab on the wing tips will need to be removed.
Step 10 adds the cockpit canopy. The fit of ours was slightly crooked in how it lined up with the fuselage halves.
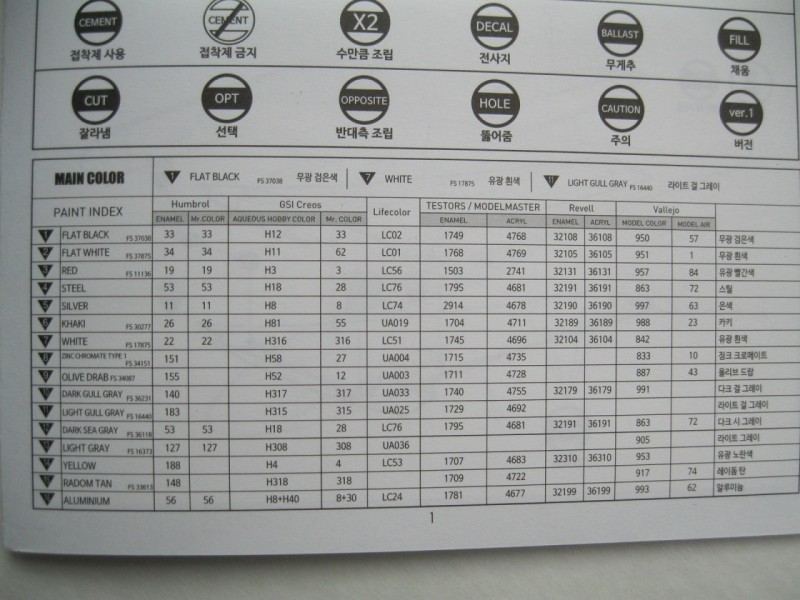
PAINTING:
For painting, you may follow the instruction guide. Paint numbers are called out for
Humbrol, GSI Creos, Life Color, Testors Model Master, Revell and Vallejo paint brands, with acrylic, enamel or lacquer paint numbers represented. After some clean up on the kit, we will paint it in something most likely very different, based on what Ana wants for her room. Right now she favors bright red.
CONCLUSION:
This kit offers a nice break for those modelers looking for a simple build. It's a good starting point for either a new modeler getting into their first "glue kits", or an advanced modeler looking to see what they can do with any available aftermarket. When done it is on the small side, being not much longer than my hand. It has been a nice project to sit down and do with my daughter, and I look forward to doing more. With only 50 parts, 12 of them optional, it shouldn't take long to build.


Comments