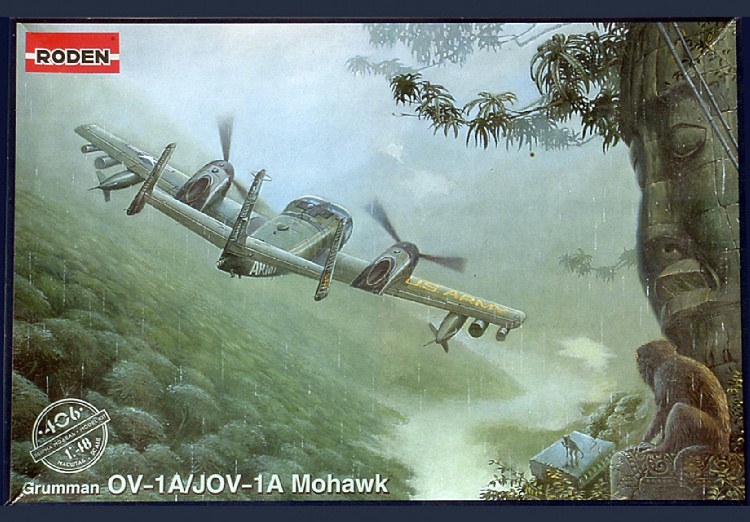
There is one model kit of Mohawk in 1:48 scale manufactured by the Roden Company. Roden's Mohawk consists of 186 parts molded in light grey plastic and 18 clear pieces. There are a lot of parts unused, indicating more versions to come in the future. See Rowan Baylis' In-Box Review.
Document, Extra detail & special decals
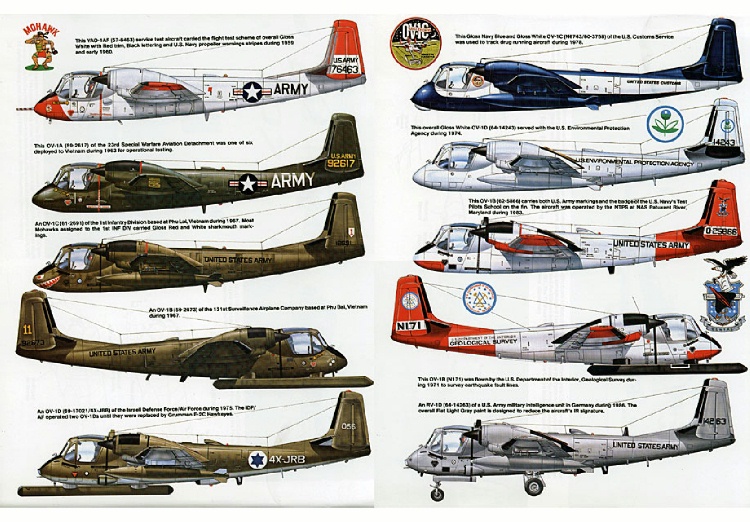
To build the model, I needed some Mohawk document. There are few Mohawk books, the only book that I found was the Squadron/Signal OV-1 Mohawk in Action by Terry Love Aircraft Number 92 - ISBN 0-8947-215-2. There are a lot of photos and profile drawings of all the Mohawk versions with specifications and their development history.
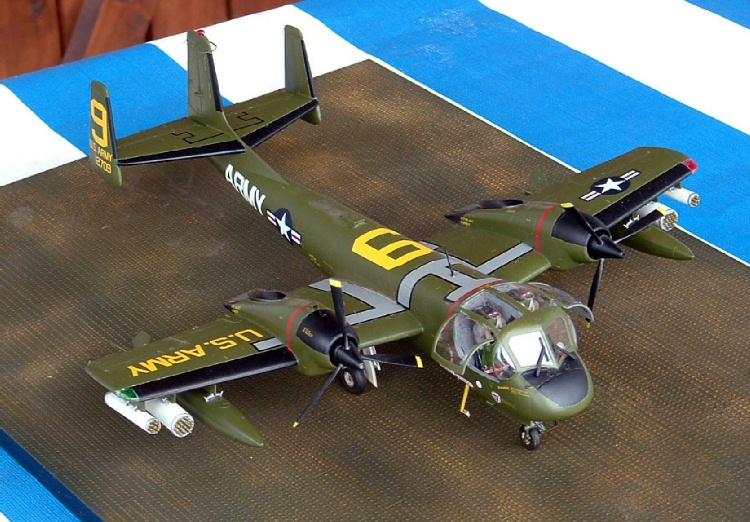
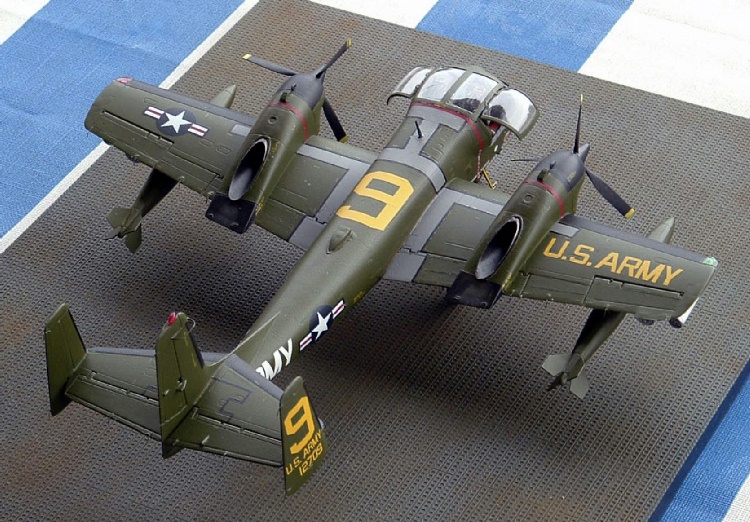
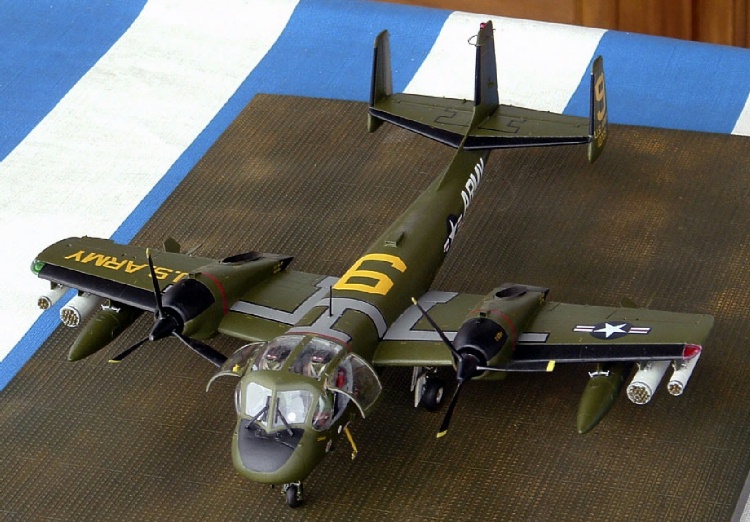
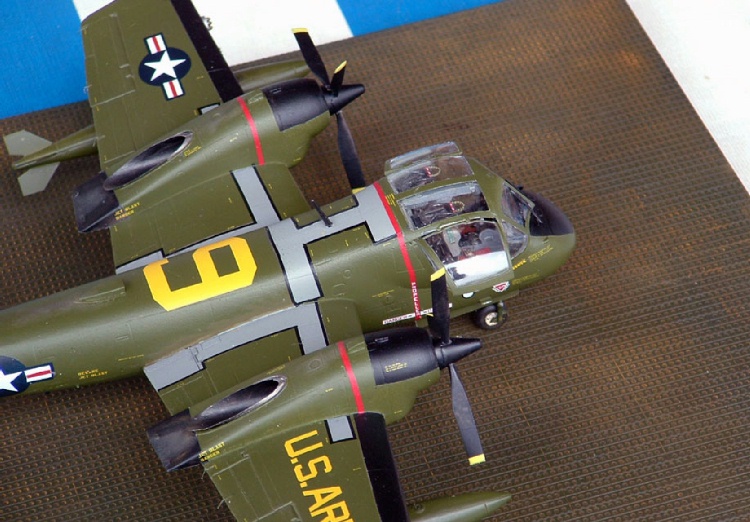
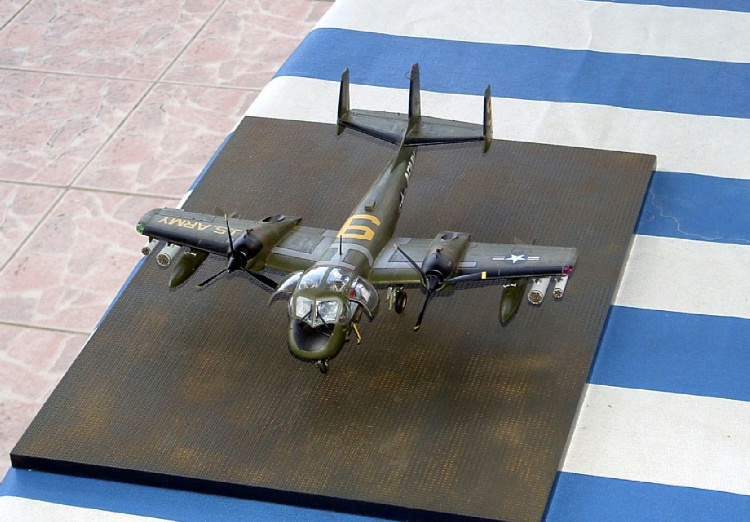
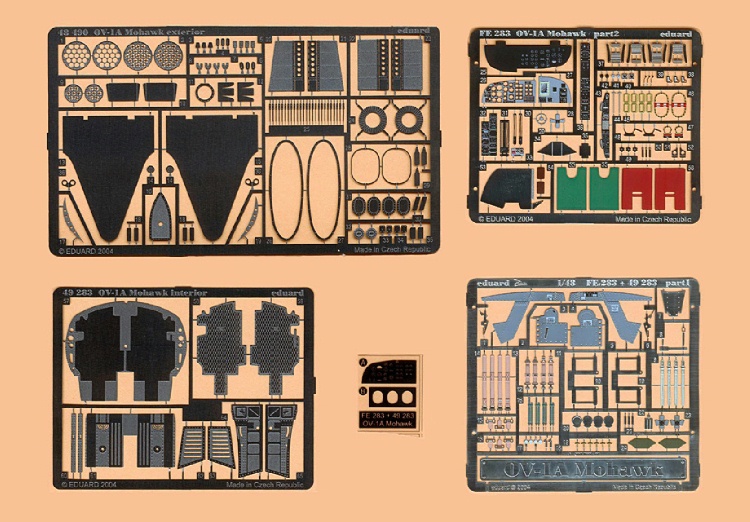
Added to the Roden kit were the Eduard Photo-Etched parts: #49283 OV-1A Mohawk Interior and #48490 OV-1A Mohawk Exterior. For the Vietnams OV-1A Mohawk aircraft, I had used the Two Bobs decal set #48-082, this decal set has all markings and stencils for 2 aircraft versions: one Mohawk s/n 60-3740, Ft. Rucker, Alabama, 1984 and one Mohawk s/n 61-2709, 23rd Special Warfare Aviation Detachment, Vietnam in 1963.
Building & painting
As you'll have guessed from the test fit, the first job with this kit is to trim and then clean up every part carefully. The Roden plastic quality is softer than Hasegawas; filling some crispy parts is needed .
Following the assembly instructions, there are 39 steps to build this aircraft:
Step 1 10: assemble and paint the cockpit with throttles, control sticks, seat frames and seats then the instruction panel before assembly of the panel shroud. In these steps, I added the Eduard PE parts: pedals, seat belts then the instruction panel, I had to sand most of the plastic detail on this piece, because of the Eduard pre-painted parts, I did not need to paint all PE parts but some retouching was needed before gluing these PE parts on the panel and cockpit with cyanoacrylate glue. I glued these pieces, following the Eduard instructions, there is different detail of the observers instrument panel for the Vietnam OV-1A version, I did not use the Roden parts: 13G, 14G, 38D and 39D as in the first 2 steps. Finally, I painted all Roden parts before assembly of the flight instrument, throttles, control sticks, seat frames and seats together.
Step 11 16: assemble the undercarriage and the upper flight instrument panel into the windshield, all I had to do was carefully seal the windshield with Tamiya masking tape.
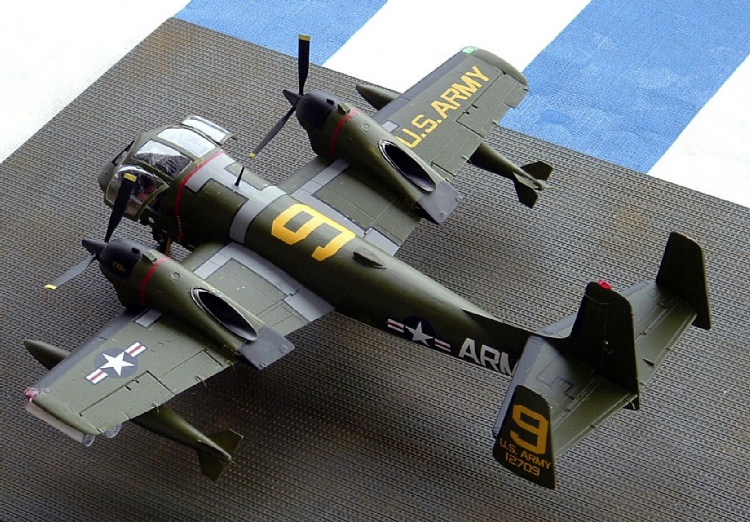
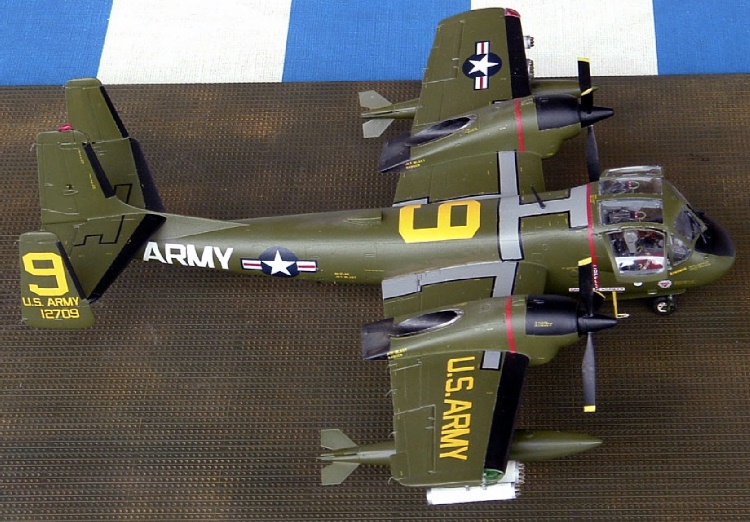
Step 17 22: assemble the jet pipes, the propeller engines, the upper and under wings, the W-tail. In these steps, I used the Eduard PE parts for the jet pipes as they look thinner than the plastic parts and painted them with Model Master Burned Metal then drilled holes on the under wings for the under wing stores before gluing them together. I painted the wing clear parts but kept them away for the final assembly with the jet pipes: clear red for the left wing and clear green for the right wing.
Step 23 29: assemble the under wing stores, 2.75 inch rocket pods, gun pods and external fuel tanks. There was no problem with these steps but I had to rectify the rocket pods by sanding, fortunately with the PE parts that I glued on, after that these pods look better.
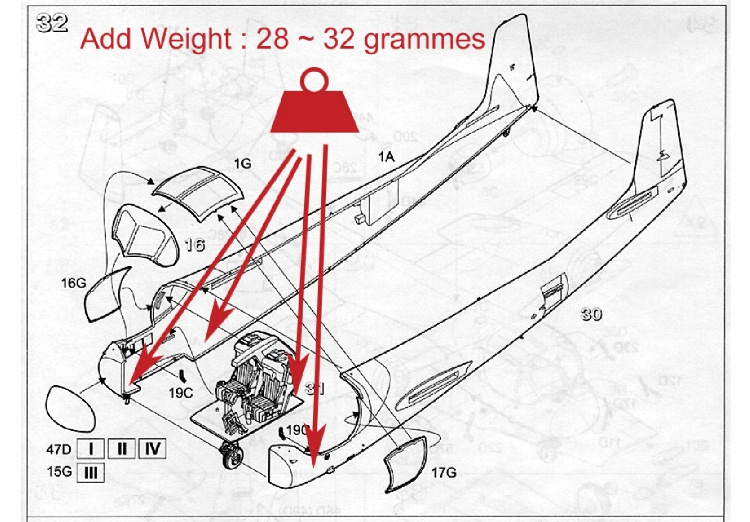
Step 30 34: assemble the instrument panel between 2 halves of the fuselage then the nose gear, the wings, the W-tail wing, the nose cone, the airbrakes, the antennas, the air intakes, the windshield cleaners Be careful in these assembly steps, See Rowan Baylis' In-Box Review, through his experienced view, adding weight is needed about 28-32 grams (1 to 1.13 oz) around the cockpit and the nose cone to avoid the model being a tail-sitter before gluing the 2 halves of the fuselage together that the Roden assembly instructions did not mentioned this. I had a little problem, as I wanted to glue the airbrake parts into the fuselage, sanding these parts is necessary to align them in the fuselage. I painted and kept some parts for the final assembly such as the windshield cleaners
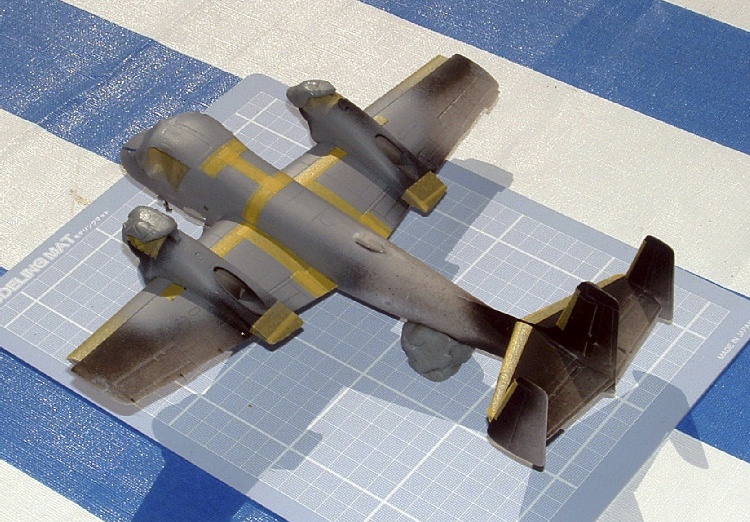
I painted the De-icer Boots in black as shown on the Two Bobs decal instructions then masked these boots with masking tape, for the identified bands on the top of the aircraft, I painted the top of the aircraft with Model Master Grey FS 36173, I placed a thick transparent film over the decal sheet, followed the masking tape on the film then trimmed the masking tape along to the black decal stripes to obtain the right identity bands before placing them on the model.
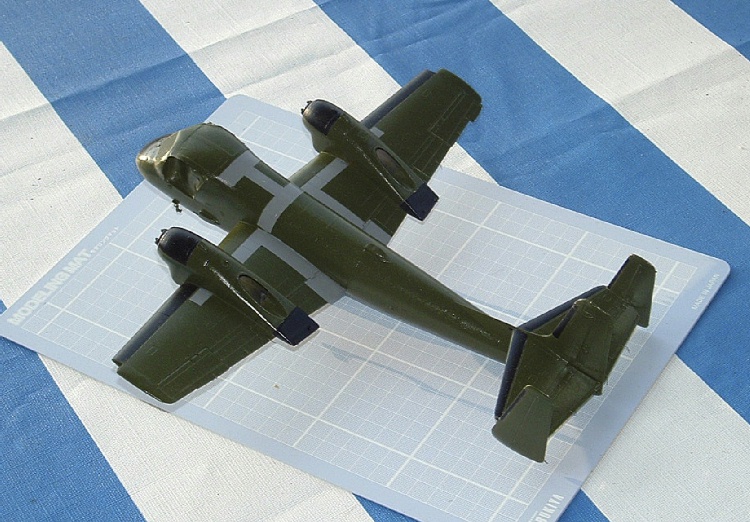
I painted overall the model with Tamiya grey primer in order to check the model surface then I finished the aircraft in Model Master Olive Drab FS 34087.
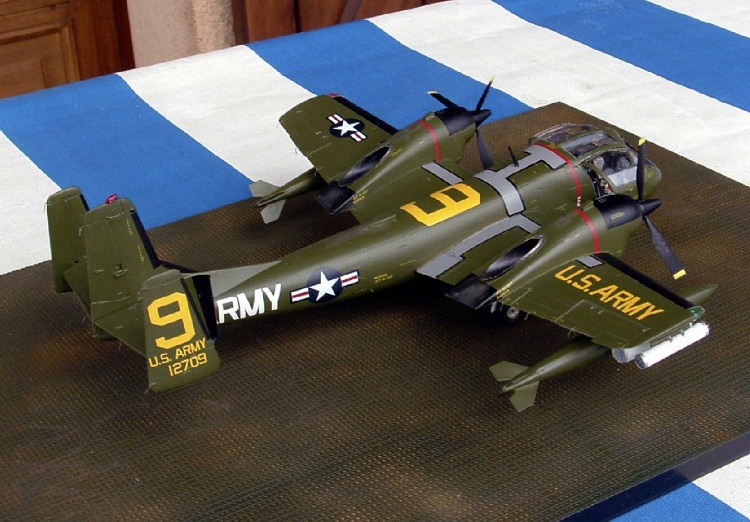
Step 35 39: assemble the main gears, the main wheels, the retract struts, the main covers, the door actuators and the main gear doors. I painted them following the Roden assembly instructions then glued them to the aircraft followed by the propellers blades and cones.
I sprayed the overall model with a coat of Humbrol Gloss varnish before applying the Two Bobs decals, fortunately Bob Sanchez at Two Bobs company had the idea to put the stencil numbers the same as the Roden stencil instructions so I did not have any difficulty with the stencils on the model.
After setting the decal markings and stencils on the aircraft with Microscale Set solution, I continued to assemble the painted jet pipes, pylons, drop tanks, rocket pods I sprayed a coat of Humbrol semi-gloss varnish overall .
Finally, I assembled the canopy windows in the open position, removed all masking tape on the canopy then glued the windshield cleaners, the clear parts such as the taxi-lights, the position and landing lights. To weather the model, I used as my first try, some colors from the Tamiya Weathering Master sets A and B.
My model represents the first OV-1A Mohawk used in Vietnam war in 1963 at Qui Nhon, the 2nd ARVN Military Corp, later some JOV-1As were introduced in September 1962 at Nha Trang by the 23red Special Warfare Aviation Detachment.
Conclusion
The Roden 1:48 OV-1A / JOV-1A Mohawk is an excellent kit. The model looks very impressive when built out of the box with some extra detail added by an excellent Two Bobs decal set.
Modelers who want to build the 1:48 Mohawk won't have any problem in modeling this aircraft, moreover on the hobby market now, there is a larger choice of Roden kits for OV-1B and OV-1D Mohawks and more Extra Detail sets. Highly recommended!
SUMMARY
During late 1954, the U.S. Army issued a requirement for the development of a joint service high performance aircraft for observation, artillery spotting, reconnaissance, command and utility use. The U.S. Army issued Type Specification TS145 in 1956 which called for a two seat, twin turboprop aircraft designed to operate from small, unimproved fields under all weather conditions. In March 1957, the Department of Defense announced that the Grumman Aircraft Corporation had been designated to build the new observation aircraft, which had received the company designation G-134.
My first built kit was an 1 :72 B-58 Hustler at age of 9 in the sixties, a gift of a military advisor in Vietnam. Through the seventies, I had built some aircraft and AFV: Monogram, Revell, Hasegawa, Tamiya, etc. till I was called on duty at 19. By many change in life and job, I abandoned this hobby...