Background
The Fiat G.55 grew from the Italian aviation industry's scramble to produce a modern fighter able to meet its powerful and heavily-armed Allied counterparts on more-or-less equal terms. With no suitable in-line engines of their own, the German DB 601 and 605 were chosen for licence production. As with the Macchi C.205 and Reggiane Re 2005, Fiat fitted a DB 605 (or RA 1050 Tifone, as the Italian-built version was known) to an airframe developed from an existing design - in this case, the Fiat G.50 - to produce a new fighter which promised far superior performance.
The prototype flew on April 30, 1942 and immediately showed a lot of promise. Early aircraft were armed with a rather unusual configuration of weapons - 1x Mauser MG 151/20 20mm cannon firing through the propeller hub and no less than 4 x Breda-SAFAT 12.7 mm machine-guns in the nose, two each above and below the engine. Although closely spaced weapons gave a good density of fire, the arrangement proved troublesome in practice and the lower machine guns were moved to the wings where they were later replaced with a pair of additional cannons.
In trials against the C.205 and Re.2005 the Fiat G.55 proved to have the best all-round performance but, despite its promise and considerable German interest, production was pitifully slow and only 35 G.55s had been built by the time of Armistice in September 1943. Thereafter, production continued for another year under German control and 148 G.55s were delivered to the Fascist Aeronautica Nazionale Repubblicana in Northern Italy. Production could never meet demand and the A.N.R. units were forced to re-equip with Bf 109Gs, despite the Italian pilots' reluctance to accept an aircraft they felt was clearly inferior to the Fiat.
The kit
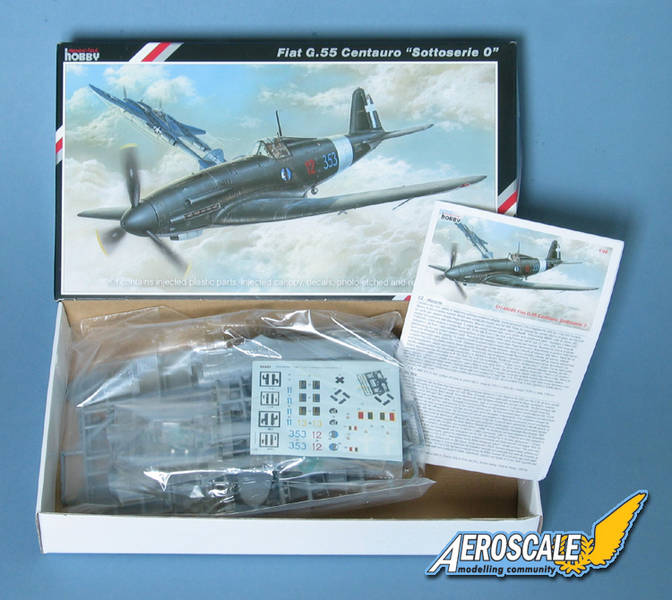
Special Hobby's new Centauro arrives in a sturdy and attractive conventional box with the clear parts bagged separately from the other sprues. The kit comprises:
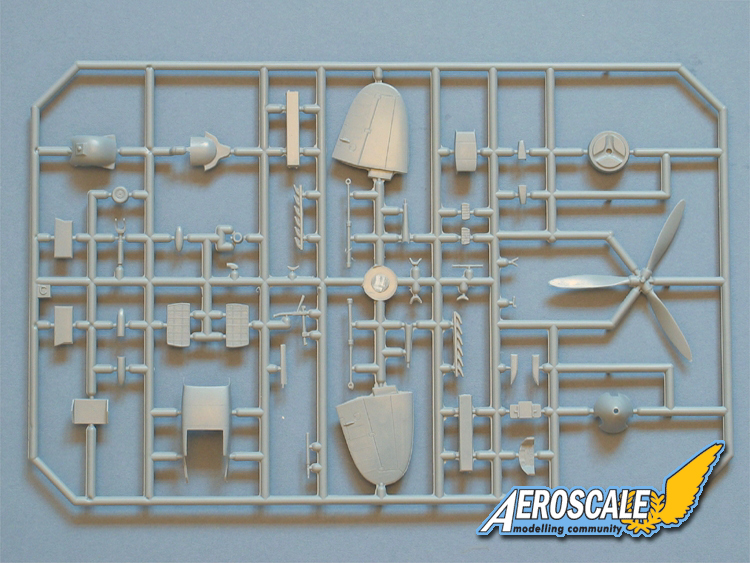
73 x mid grey styrene parts
3 x clear parts
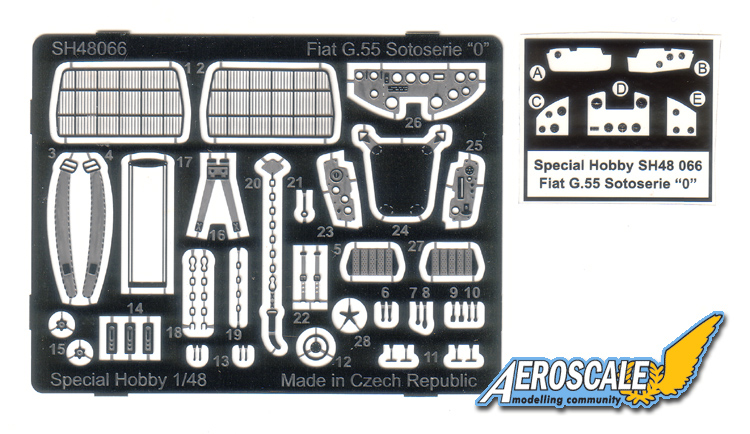
42 x etched steel parts, plus a clear film for the instrument faces
1 x Resin Part
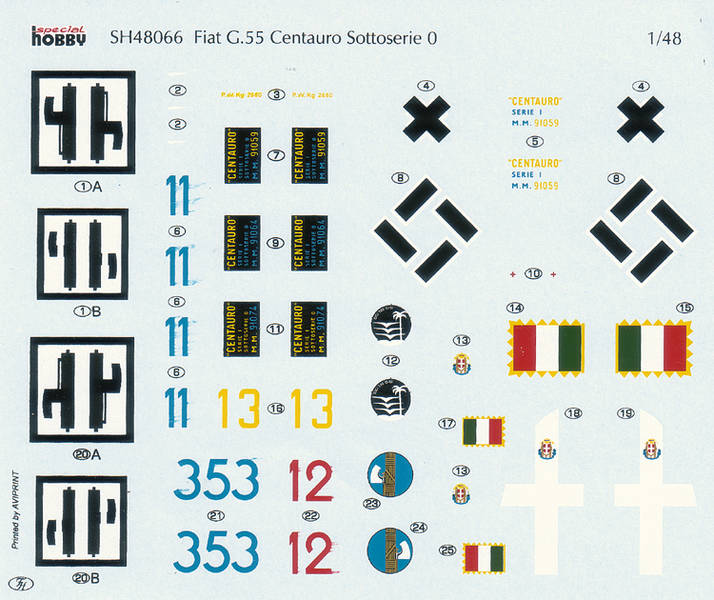
Decals for 3 x colour schemes
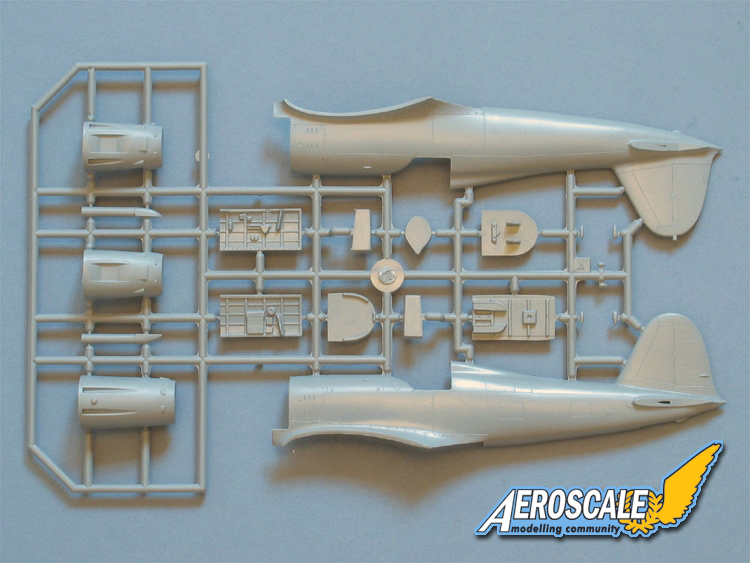
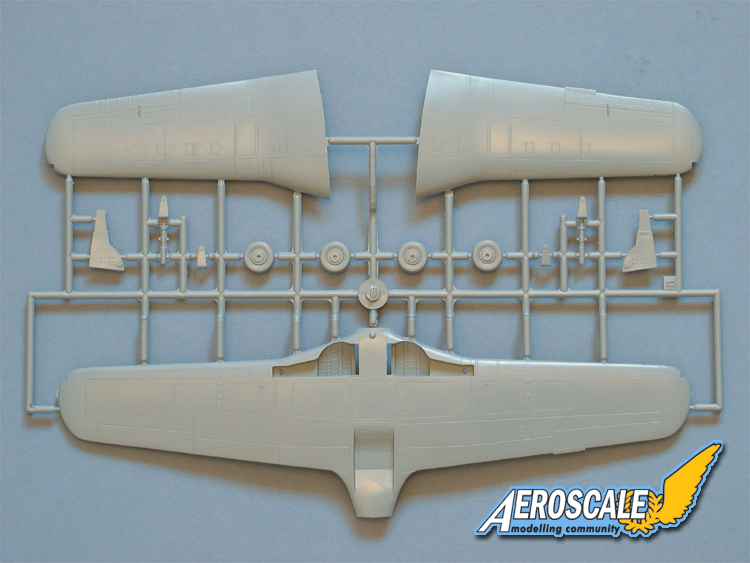
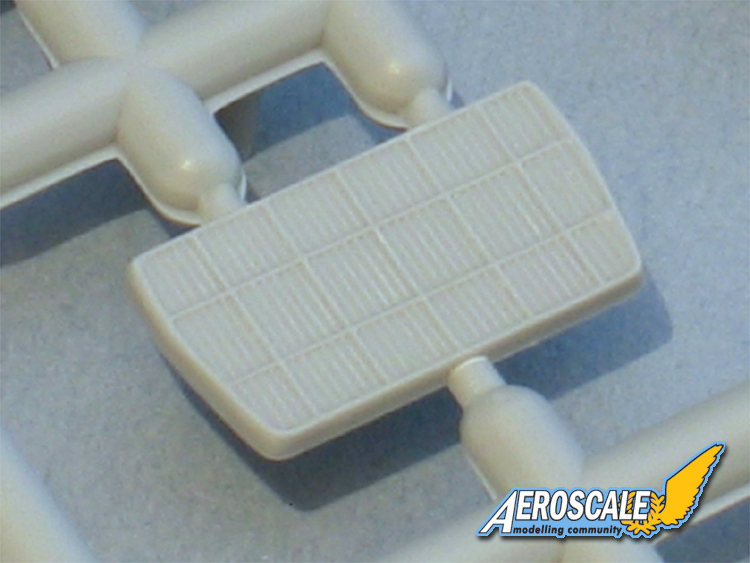
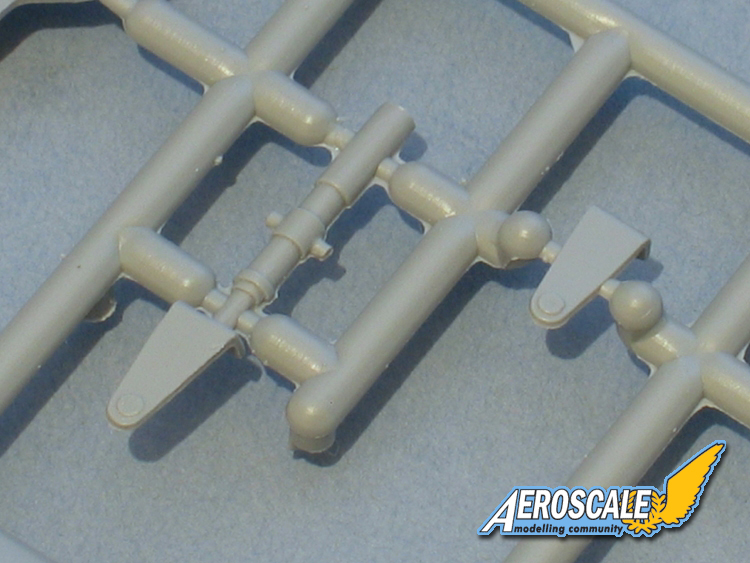
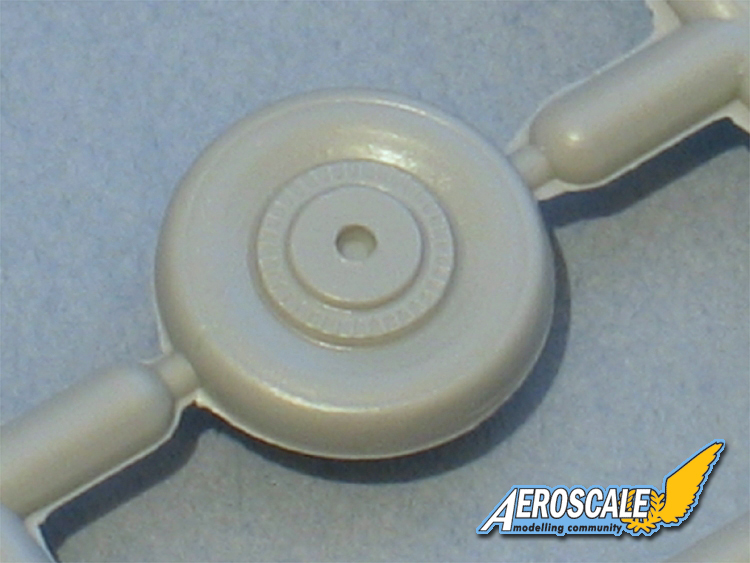
The moulding is pretty good. Remember, this a semi-short run kit so the standard isn't up to the standard of mainstream producers, with a bit of flash here and there on the smaller parts and a few surface blemishes. The plastic used is quite soft, which makes it easy to polish the parts to remove any marks. Surface detail consists of nicely scribed panel lines and a few raised access panels, plus subtly depicted fabric control surfaces. I found a few minor sink marks here and there and, as you'd expect in a kit of this nature, there some hefty ejector-pin marks on the inner surfaces, including a couple in the cockpit area which require attention.
Parts Breakdown and Test Fit
The first thing that's immediately apparent is that this kit is produced with future alternative versions planned.So, you get two complete fuselages to depict the early- and late-style rudders (more on that later) and a separate nose section to allow for the different armament configurations of the Sottoserie 0 and its successors.
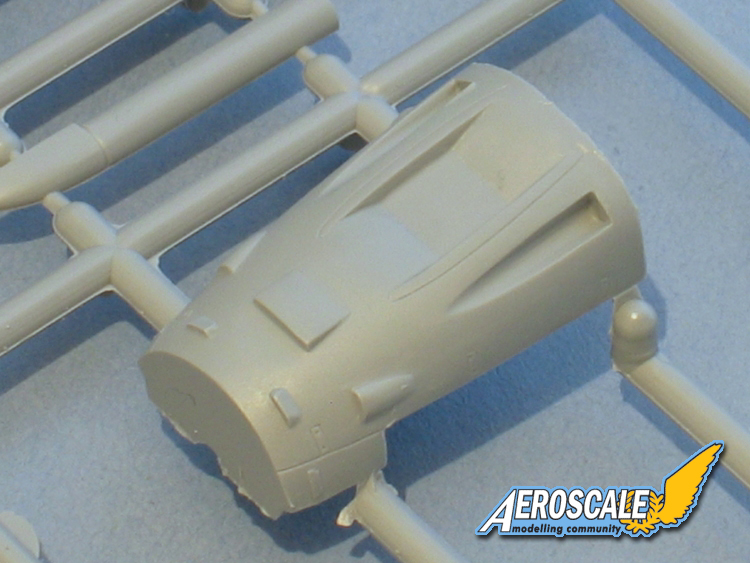
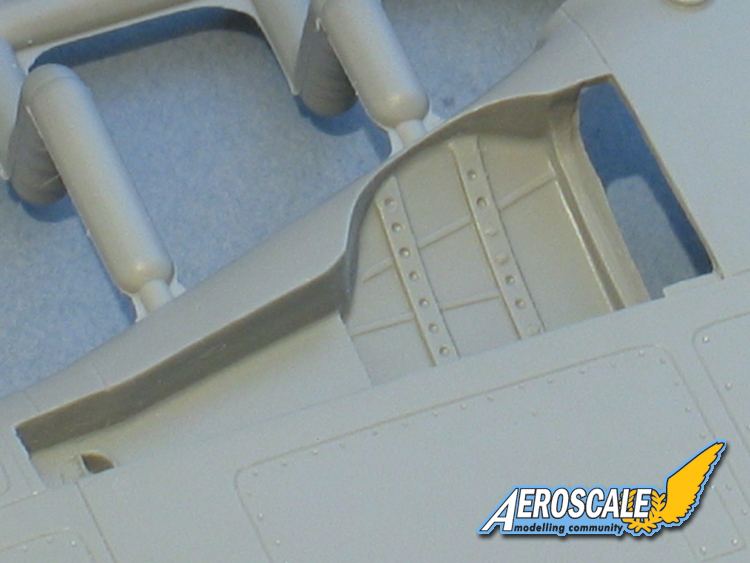
A test fit of the major parts is very encouraging - the fuselage halves line up well and the wings have nice thin trailing edges and match the roots well. The nose assembly is surprisingly fiddly, with separate exhaust troughs which must be aligned carefully before the upper and lower cowls can be joined. Since the cowls are split laterally and the fuselage is split vertically, you have to add the nose section as a complete unit and hope the cross-section matches. The gun ports are moulded solid, but the soft plastic will make it easy to drill them out.
Details
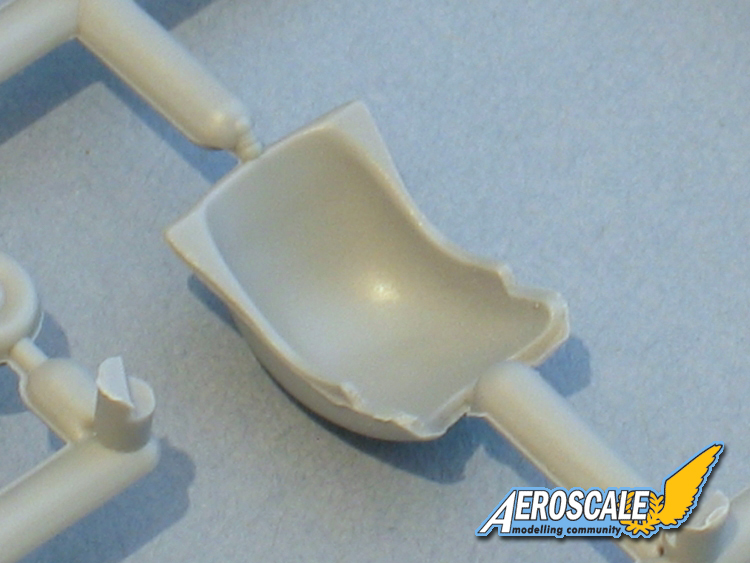
The cockpit is built up from a mix of styrene and etched parts. It's a little surprising that almost no use at all is made of resin (just the gunsight), but the plastic parts aren't bad at all. Interestingly, a resin cockpit for the G.55 is available... in the more expensive Pacific Coast Models version which utilises the same sprues - and the instructions for the Special Hobby kit actually show the extra detail from the resin side-walls, so they can be used as a reference for improving the plastic parts included here.
The instrument panel is broken into three sections with etched fronts and film backing for the instrument faces. There's a plastic auxiliary panel under the dashboard, but most of the other cockpit details are etched, including a nicely done version of the distinctive Italian seat-harness.
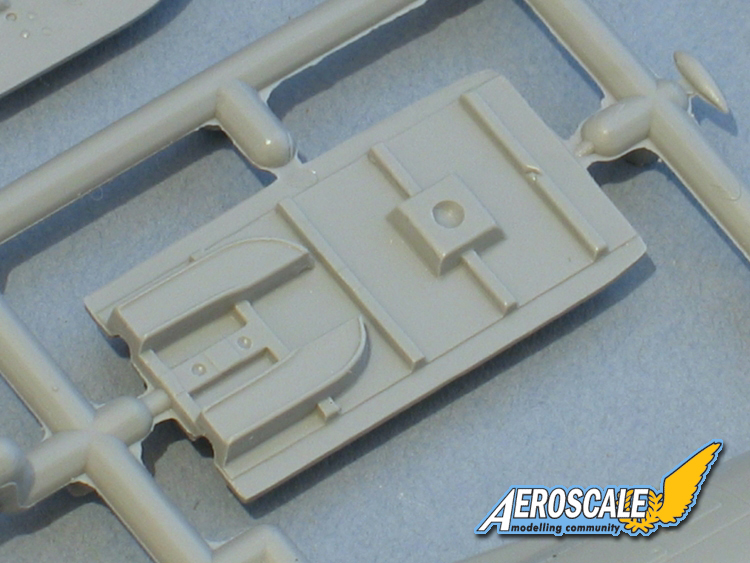
Looking at the rest of the airframe, the wheelwells have some quite good moulded detail and the undercarriage should look fine with a little basic cleaning up. Special Hobby correctly supply the extra bulge and ejector shutes on the belly for the Sottoserie 0's lower nose guns.
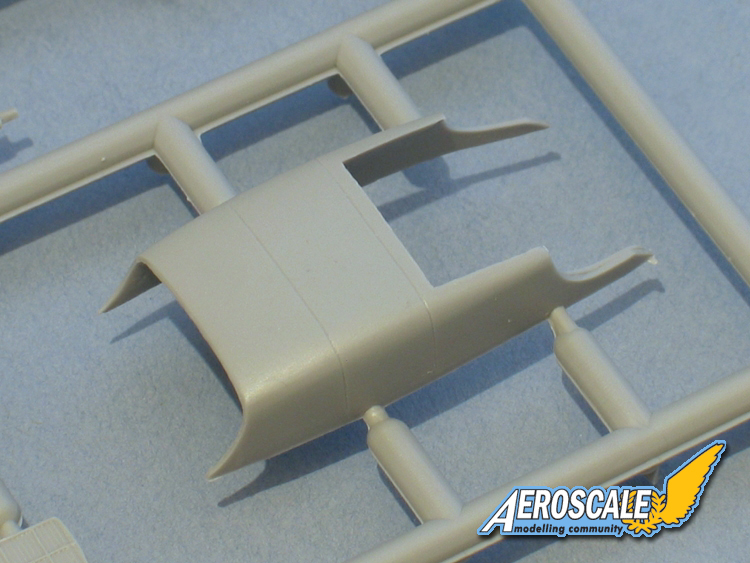
The canopy is neatly moulded in one piece and is very clear, with well-defined framing. It's thin enough to look good if you choose to slice it carefully with a razor saw to pose it open.
Instructions
The assembly diagrams are well drawn and break the construction down into 23 clear stages. Colour notes are keyed to the Gunze Sangyo paints range.
Important: As noted above, separate parts are included for fuselages with early- and late-style rudders, and these are numbered incorrectly in the instructions. To build the aircraft in the decal options, you should use parts A1 and A2 (not E1 and E2 as shown, which have a late-style rudder). The boxtop and painting diagrams show the correct style.
Painting and Decals
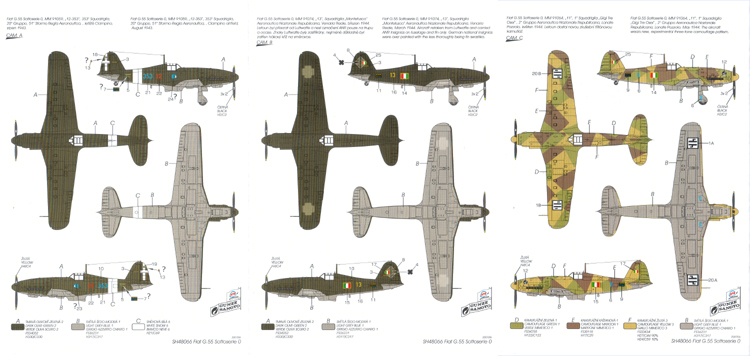
Special Hobby supply decals for 3 interesting schemes:
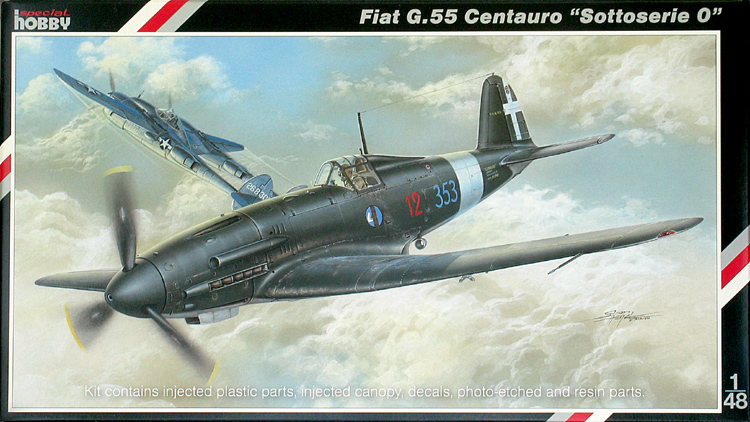
A. - s/n MM 91059 "12-353", 353° Squadriglia, 20° Gruppo, 51° Stormo, August 1943 in standard delivery finish.
B. - s/n MM 91074 "13", Squadriglia "Montefusco", with Luftwaffe markings overpainted and replaced by A.N.R. insignia.
C. - s/n MM 91064 "11", 1° Squadriglia "Gigi Tre Osei", 2° Gruppo, May 1944 in the spectacular experimental 3-colour topsides splinter scheme worn by the aircraft at Lonate Pozzolo.
The decals are well printed - thin and glossy and in perfect register - but my sheet has been partially spoilt by somehow being smeared before the ink had dried. Strangely, this has only happened to the blue and red fuselage numbers and some careful trimming will salvage the markings for Scheme C.
Conclusion
This is a very neat kit of a version of the G.55 which hasn't been available before in this scale as an injected kit. As with any short-run model, a bit of experience is recommended for anyone tackling it but, on the basis of the test fit, it seems reasonably straightforward and will build into a spectacular and unusual WW2 fighter.
Reference
Camouflage and Markings of the Aeronautica Nazionale Repubblicana 1943-1945, by Ferdinando D'Amico and Gabriele Valentini, Classic Colours, 2005
Special Hobby's Fiat G.55 Sottoserie 0 is available from Modelimex - specialists in Eastern European short run kits.
Please remember, when contacting retailers or manufacturers, to mention that you saw their products highlighted here - on
AEROSCALE.


Comments