A short time back, I
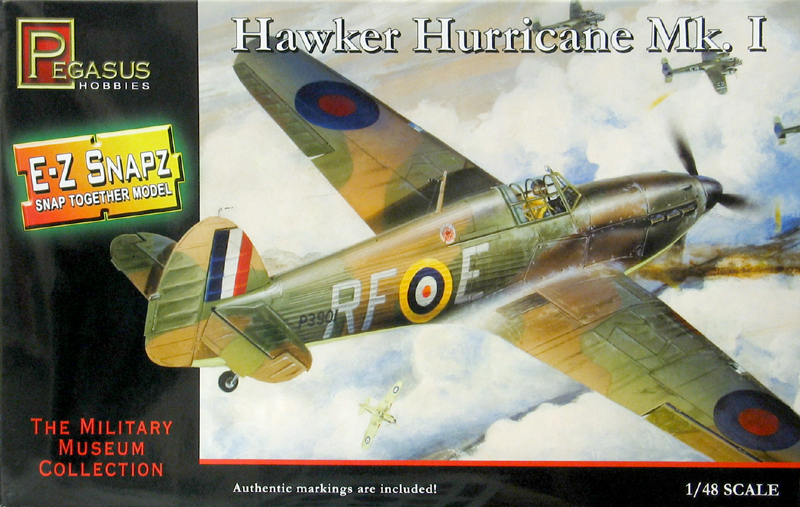
posted a kit preview on AgapeModels.com of a new kit from Pegasus Hobbies, a Hurricane Mk. I. It appeared to be a gem of a kit from the look of the parts, decals and instructions, considering it was a snap-tite model- and under $10.
Turns out it was- and then some!
While I certainly love a really accurate, detailed, marvel of engineering as much as the next modeler, there's something to be said for models that are just fun to build. The kind a kid can build and play with, and an experienced modeler can spend a weekend on, or a month, and feel like they've turned out a good build.
Pegasus Hobbies delivers on all counts with their Hurricane Mk. I kit. Given the fact that this is a low-cost, entry level kit, I cannot find a single thing to complain about. Building this kit was just about sheer modeling perfection.
Construction
The cockpit is very simple and basic. Some sidewall detail, including the tubular framework of the Hurricane, is molded in. A basic instrument panel, control column and seat all snap- yes- snap! into place. Don't sweat it- glue it in place, paint it British interior green and/or black, dry-brush some silver on, and glue it in the fuselage. The canopy is one-piece, and though fairly thin and clear, you can't see much of the cockpit when all is said and done.
Now is when you're in for a surprise. Snap the cockpit into one fuselage sidewall, and snap the other fuselage half in place. That's when you realize how much engineering Pegasus put into this kit- the fit is perfect. Right on the money. No step, no gap- as perfect a fit as I've seen on a kit. (And certainly the most cost-effective fit ever
.) I ran a line of Tamiya Extra Thin Cement along the seam, and when it dried, I hit it with a few swipes from the sanding stick and called it done.
Assembling the wings is just as easy. Snap them in place, throw on a little cement, and sand the line to blend. Ok
. I forgot to mention you have to place in the wheel well piece first
. follow directions, not a build report! :D
Seriously though- the engineering on this kit is a dream, and given that it's meant to snap together, you almost don't even need to glue it.
The only gap I had to deal with was a fairly predictable one- where the rear of the wing meets the underside of the fuselage. And I can't say that's anything to complain about. I've built models that cost four and five times as much from companies known for "perfect" engineering that had as much of a gap as this $10 toy! (Which makes me think the "big guys" ought to pay attention to what Pegasus Hobbies is doing
. proof you can get great fit for less than half a day's pay.)
Painting and decals
I masked off the canopy with some Bare Metal Foil, and snapped it to the fuselage. With that and the wings and horizontal stabs were in place, I was ready to paint.
I started on the undersides using PollyScale Sky Type "S". The first coat was darkened with some PS Night Black to act as pre-shading for the panel lines. I followed that up with straight Skye, making sure to let some of the pre-shade shine through. I then masked off the undersides, and turned my attention to the top.
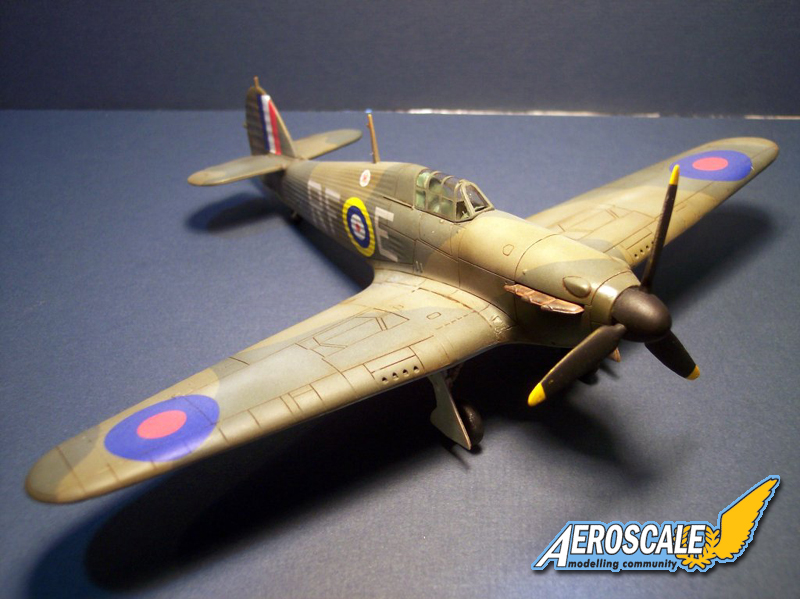
First was a coat of PS British Dark Earth, darkened with the black. This was followed with Dark Earth, again letting the panel lines show through. Once that was complete, I masked off the camo pattern with blue masking tape, and put down a coat of PS British Dark Green that was darkened, then filled in with the same color unaltered.
I'd read about a technique to sort of bring both colors together, and decided I'd give it a try. I removed the masking, and using some very diluted PS White, I lightly sprayed on some highlights and fading in random patterns, making sure to cross camo color lines. This gave the effect (or hopefully gave the effect) of the paint fading in a fairly random pattern, and not something "manufactured" by paint technique. This effect can be overdone very quickly, so go easy if you try it, spraying on the lightest layers. I also found it helped to set my air pressure for my airbrush as low as I could to still be able to shoot paint.
Once that was complete, I did some "paint chipping" with a Prismacolor silver pencil. That was followed with a few thin coats of Future, airbrushed on to prepare the surface for decaling and washes. And that's when I discovered another hidden diamond in this gem of a kit.
First
. let me run down a side-road. How many times have you paid big bucks for a kit, only to find out the decals were too thick, mis-colored, resistant to any common decal solutions, or just generally a pain in the neck? If you're like me- it happens far too often. Especially when it's the kit from the most expensive of the biggies- the one renowned for engineering and preciseness (you know who I mean!) and yet the decals are darn near as thick as sheet styrene? Here's a suggestion to those manufacturers- check out Pegasus Hobbies. (And that's not yet the last time I'll suggest that!)
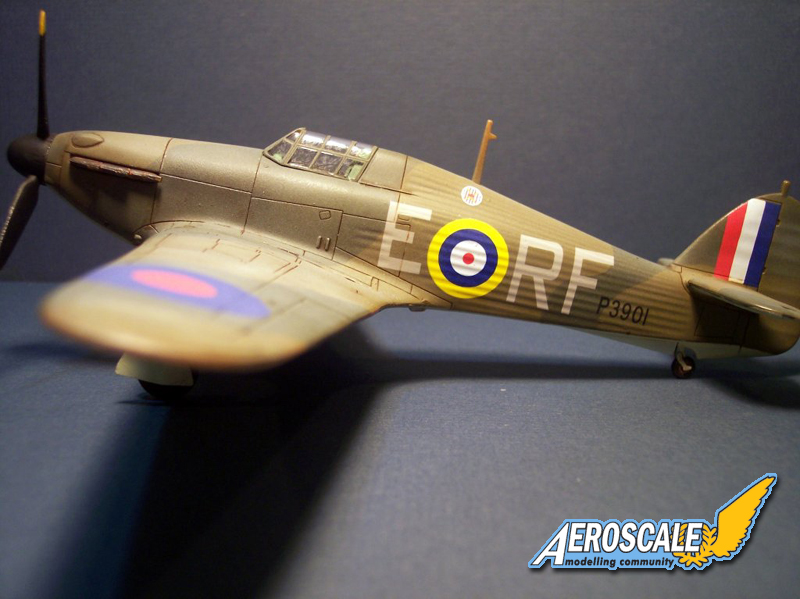
The decals for this Hurricane were a dream. And I normally HATE decaling. No, there weren't the nine-hundred odd stencils that many kits come with, just the basic markings. I simply cut one out, dipped it in water for a bit, slid it on the model, and using a Q-Tip, forced out any air bubbles. And then I just stared.
They settled into the panel lines. The settled around the detail. They hugged down like they were painted on. I put another decal on and hit it with some decal solution. It practically became part of the surface.
Honestly, I've not seen too many decals nestle down as well as the one I tried without the decal solution. And I've never seen a decal look so good as they did after the decal solution (Pollyscale Decal Softener, by the way).
I don't know who makes the decals for Pegasus Hobbies, but I wish other manufacturers would follow suit. Whoever does produce them could run the rest of the decal manufacturers out of business!
After that most pleasant decaling experience, I sealed everything in with another coat of Future. Once that was dry, I followed up with an acrylic and soap water wash. The panel lines might be a bit deep for those who sweat scale size, but for my tastes, they were just right. I prefer a kit to make the hobby pleasant- slightly overdone is much better than slightly underdone. (because slightly underdone usually means slightly frustrating for me.)
Last details and conclusion
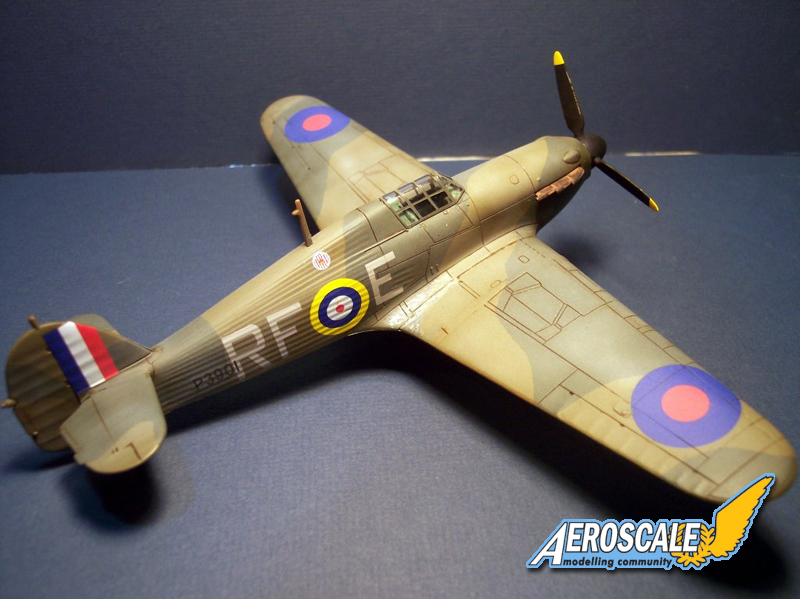
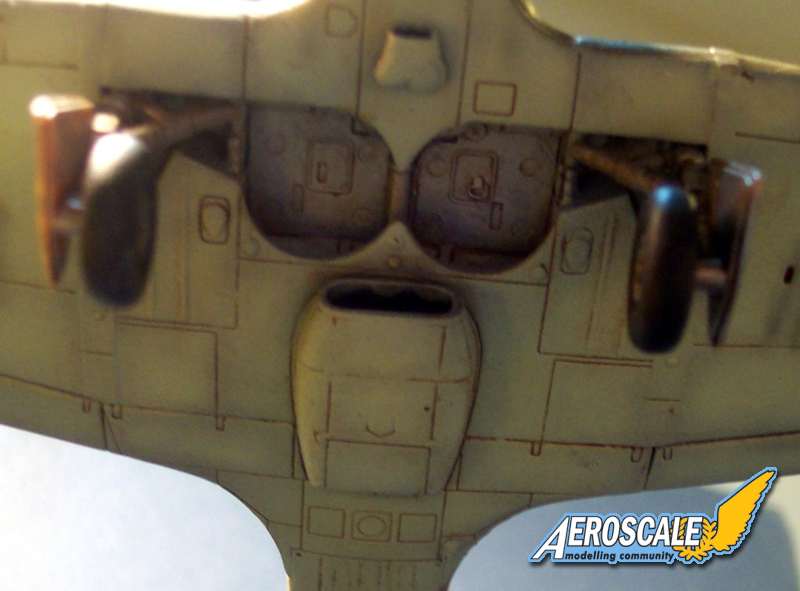
The final bits were added on- propeller, landing gear and exhausts, and after a few coats of Pollyscale Flat and the removal of the canopy masking, I sat back and enjoyed my efforts.
I can't say enough good about this kit. It is everything I personally want from a build. Fun. Enjoyable. Delightful. Affordable. Pick your favorite word. No worries about scale feet and rivets and hair splitting about this and that. Just sit at the workbench and whistle while you build.
I'm already looking forward to my next Pegasus Hobbies build- a Spitfire Mk. I. And my son is building their Bf-109G, and will probably do their Me-262 also.
And I'm looking forward to every one of them. All four builds for less than the price the "big guys" often charge for their kits. With thick decals. (They really do need to buy one of these kits...)
Please remember, when contacting retailers or manufacturers, to mention that you saw their products highlighted here - on
AEROSCALE.


Comments