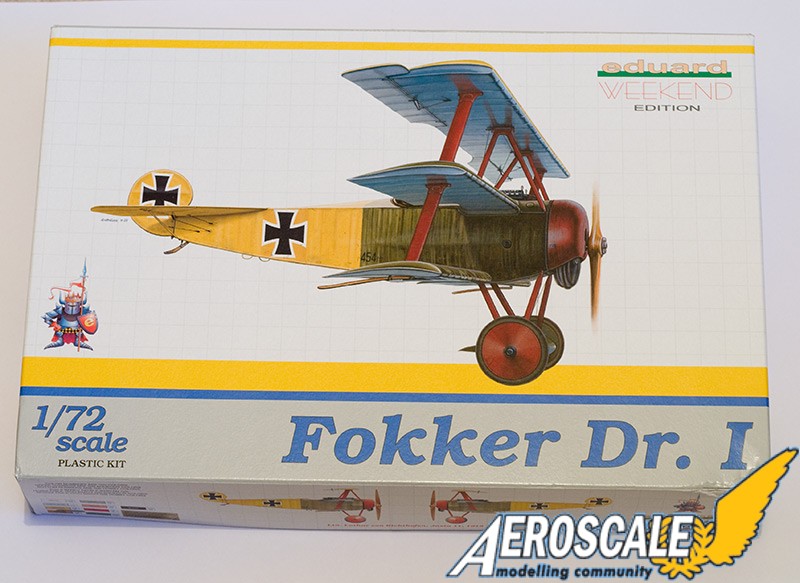
This is the basic 'weekend edition' kit, which has no photo-etched metal parts, no masks and one marking option. The plastic components of this kit were first released in 2000, I believe. This edition was released in September 2009. I was slightly surprised by the size of the box- it being large enough for most 1/48 aircraft- I guess this is due to standardisation in box and sprue sizes. The artwork on the box is really nice- not quite a profile, so the plane looks a bit less flat- the prop and cylinders are shown in motion. The edges of the box repeat the painting instructions, which is useful as they are in colour
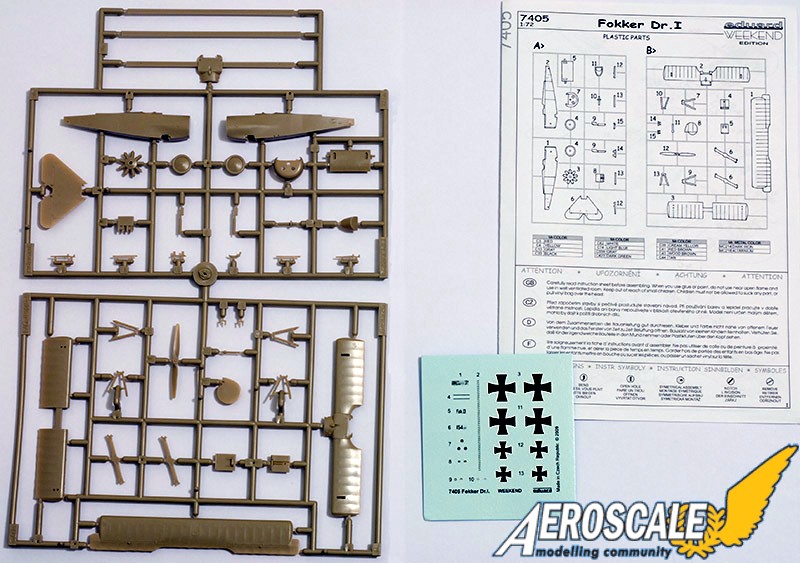
The instruction sheet is a single folded sheet of A4, printed in black and white on both sides. I didn't follow the order of the instructions, as painting of the parts is much easier to do before assembly. As this kit may be bought by less experienced modellers, it would have been good to see an instruction sequence that showed more painting steps before assembly.
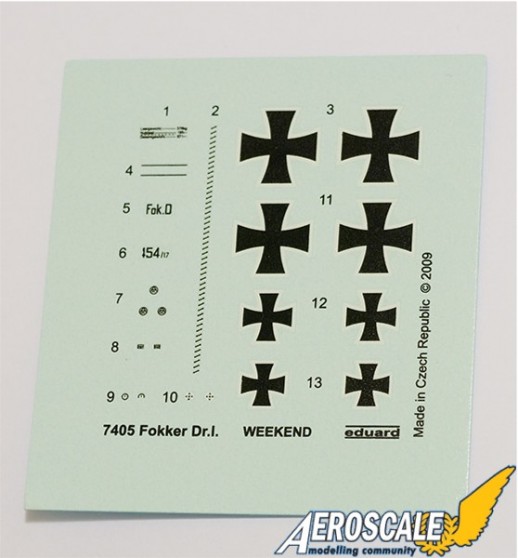
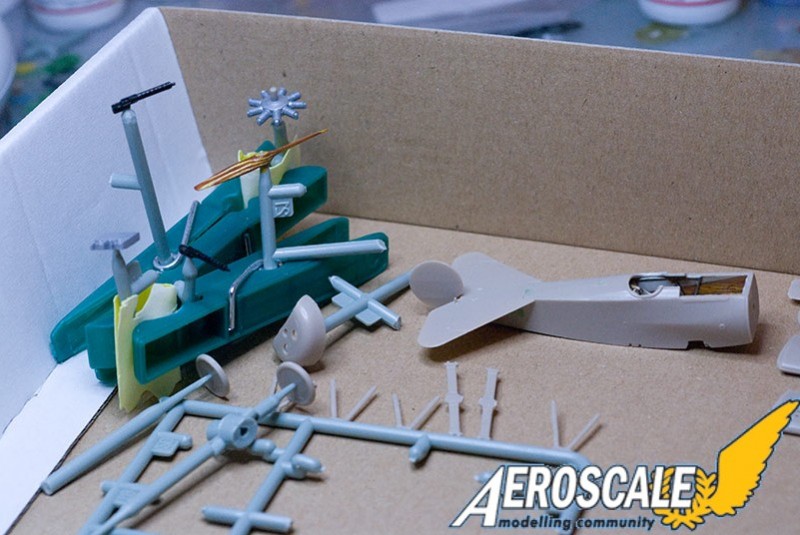
The box contains a small transfer sheet, and a clear re-sealable bag containing one sprue in light brown plastic. There are 38 parts on the sprue, three of which are not used (they are used for making a 'skeleton-wing' strip-down version requiring a lot of photo-etch). The small parts are attached from one side, so are easier to cut free.
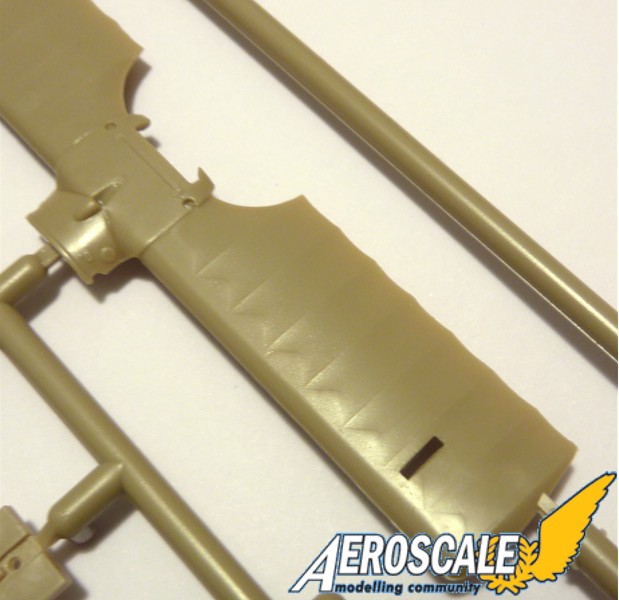
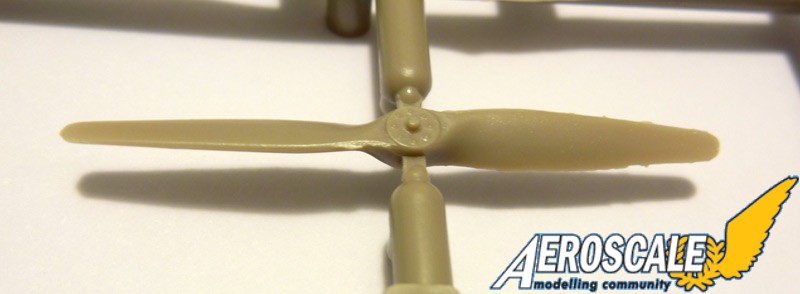
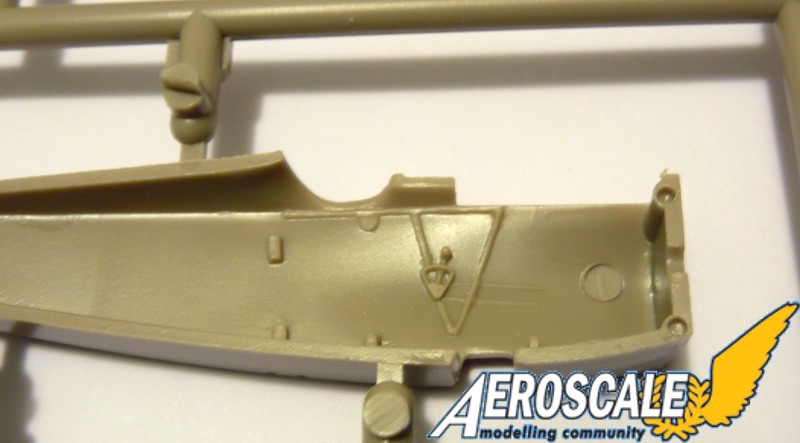
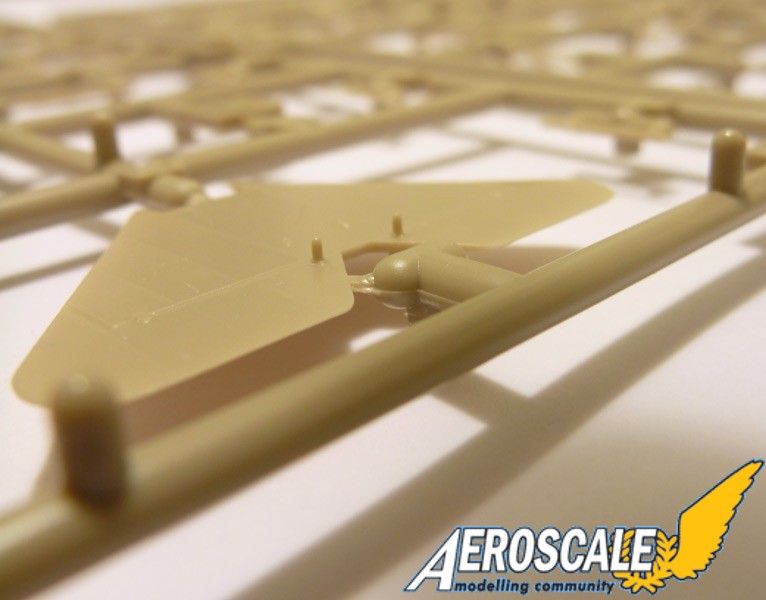
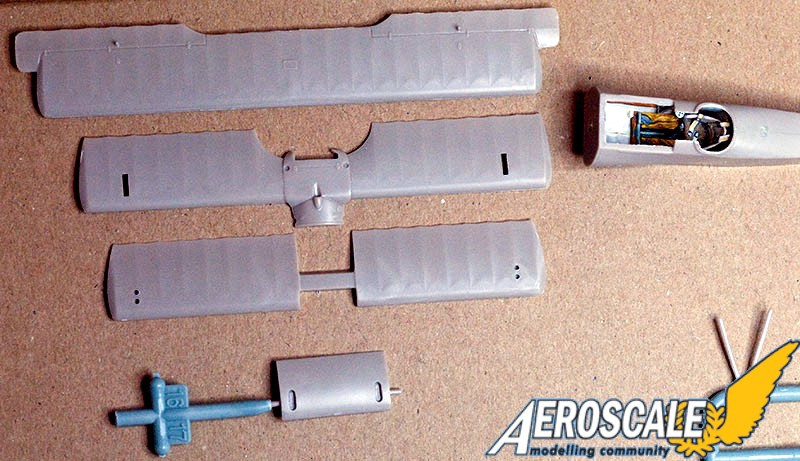
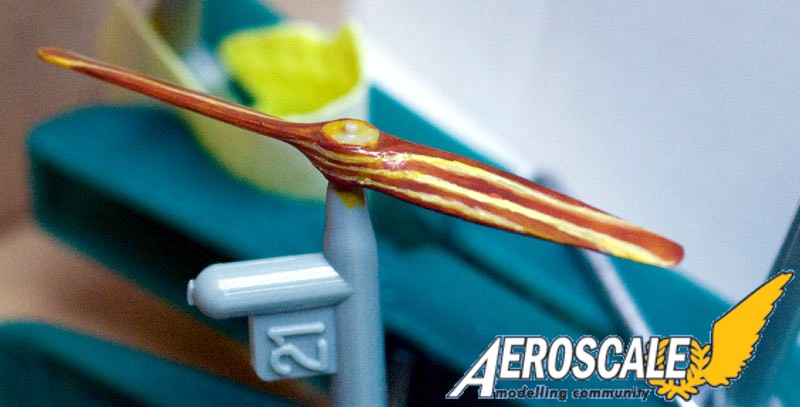
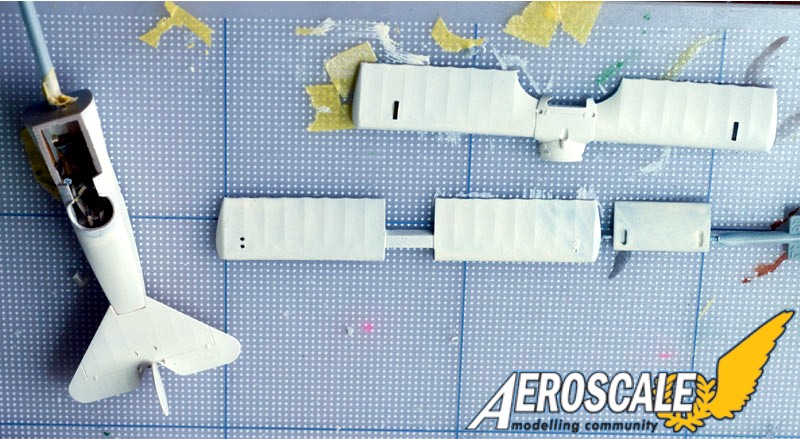
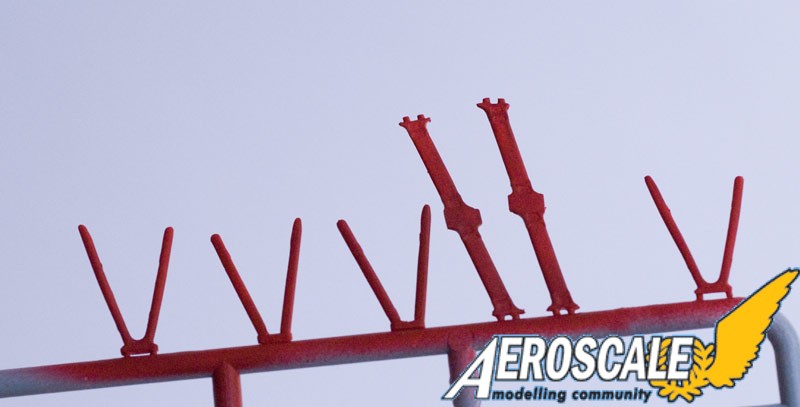
The moulding of the parts is very nice- the trailing edges of the wings are very sharp, and the horizontal tail part is very thin. The fabric detail is very restrained. I have had to angle the camera just right for the detail to catch the light. There are some tiny bits of flash on the parts. The small parts are mostly free of flash, with the exception of the prop which needed some sanding. The wing leading edges needed some sanding. I guess this may be due to the moulds getting worn. It isn't something I would worry about, though it would be nice for a super-quick build if there was none at all. The prop and engine are free to rotate in the finished model, a little touch that does add something (lacking on most short-run kits).
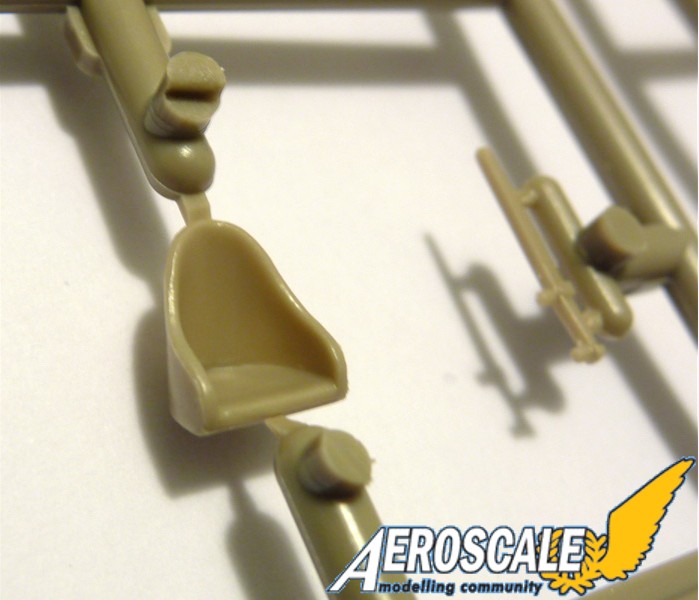
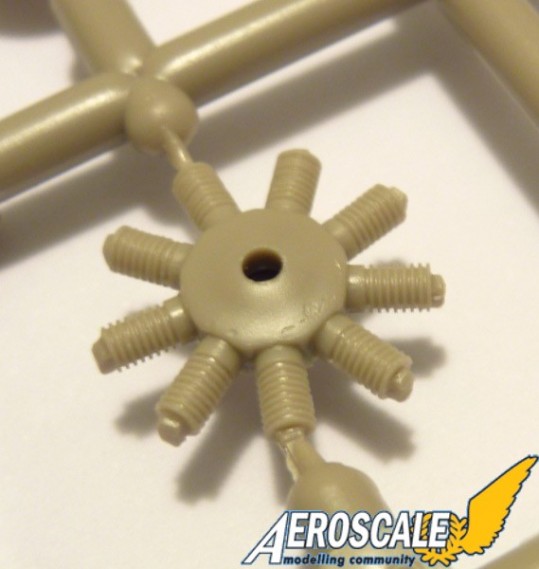
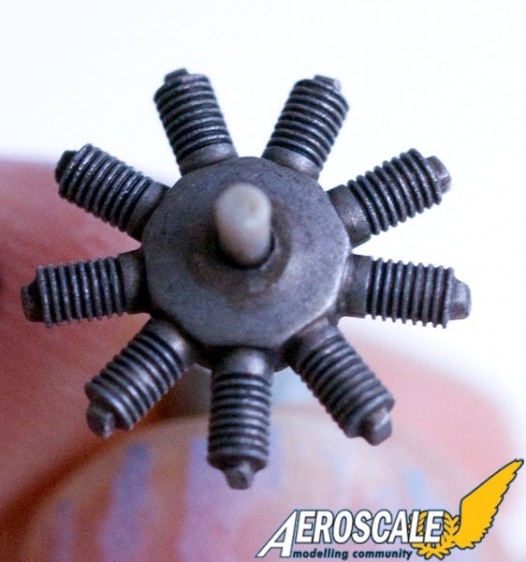
The internal detailing is not outstanding- the kit has in the past been supplied with photo-etch to make up for this. However, in this scale, and with the size of opening, the detail is adequate. Some moulded guidelines for which area should be painted as wood, and which in beige, would be nice (the painting instructions show the triangular areas of wood). I love the finely moulded control horns that are present on all the control surfaces. The holes where the control lines pass through the horizontal surfaces of the tail need to be drilled out before the control lines are rigged. The engines has super-fine cooling flanges moulded onto the cylinders.
Construction
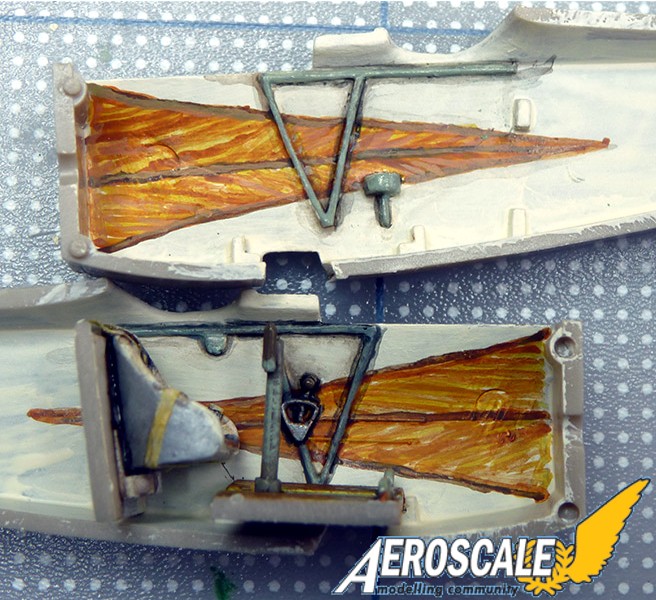
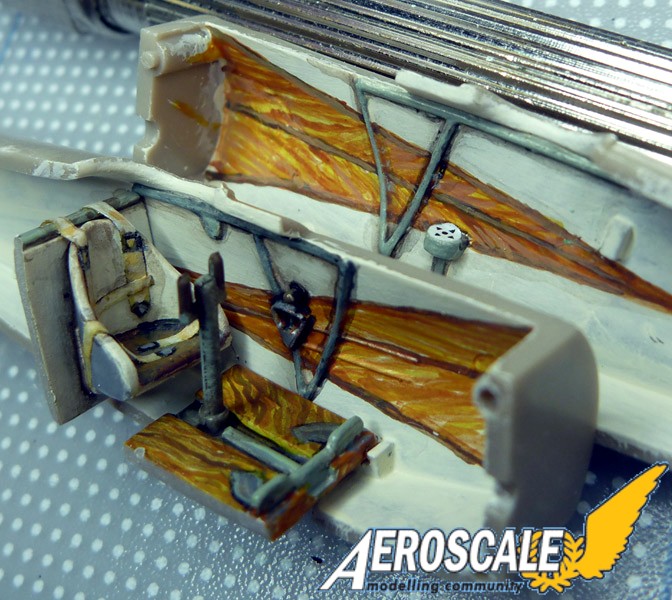
The cockpit was painted according to the instructions, with the addition of a linen inner and aluminium outer back to the seat, and tape seat belts. The foot plates under the rudder pedals were painted on. The transfer for the compass was applied and it fit well.
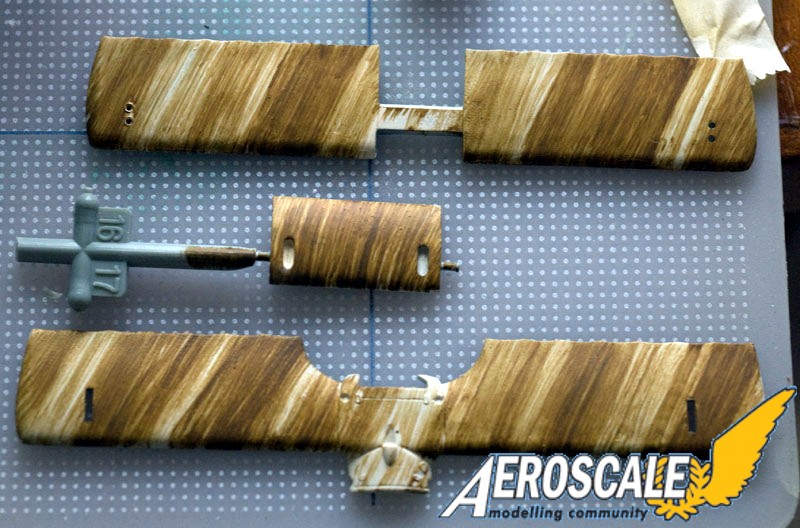
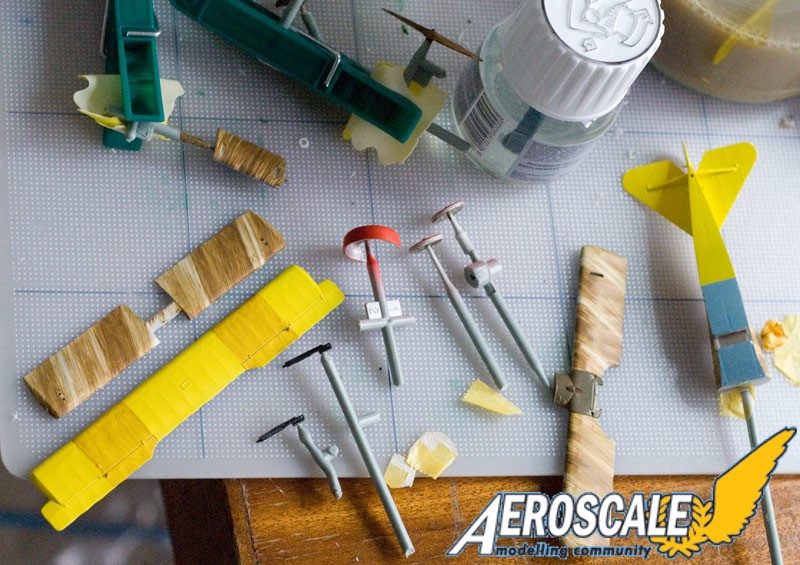
I cleaned up the parts that needed airbrushing, and applied a tan coloured primer, that would be the base for the streaking. The struts were painted by first sticking them with superglue to a piece of sprue.
camouflage streaking technique
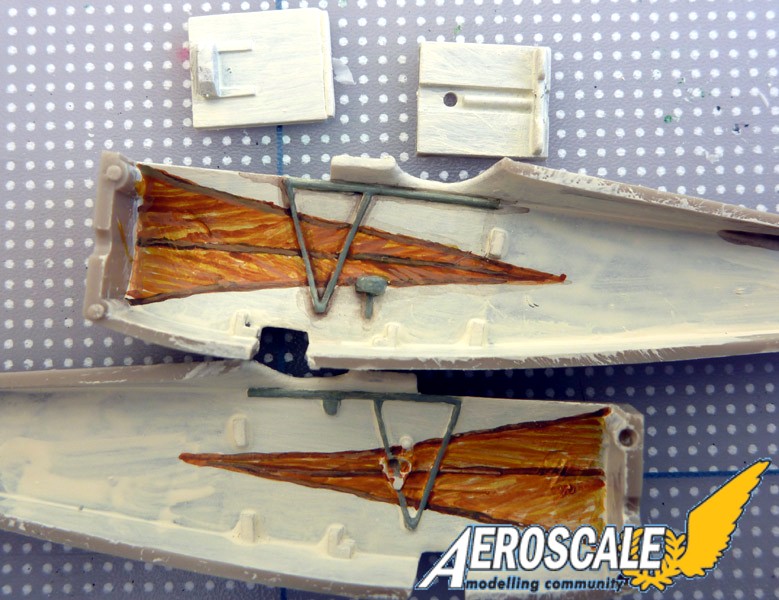
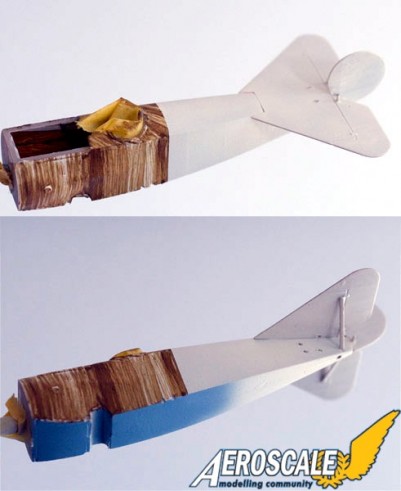
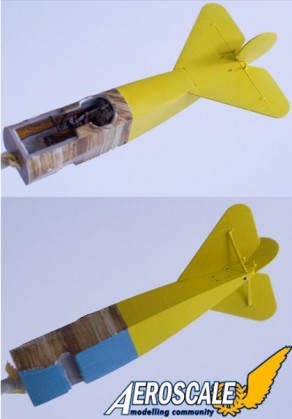
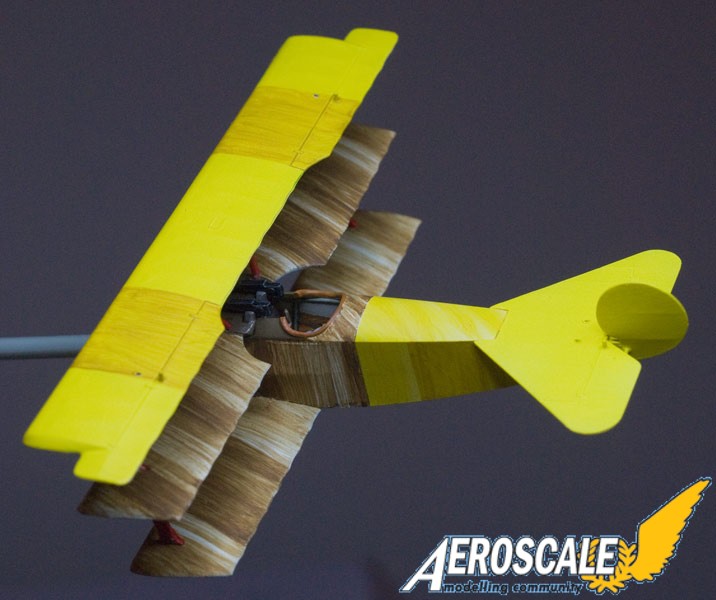
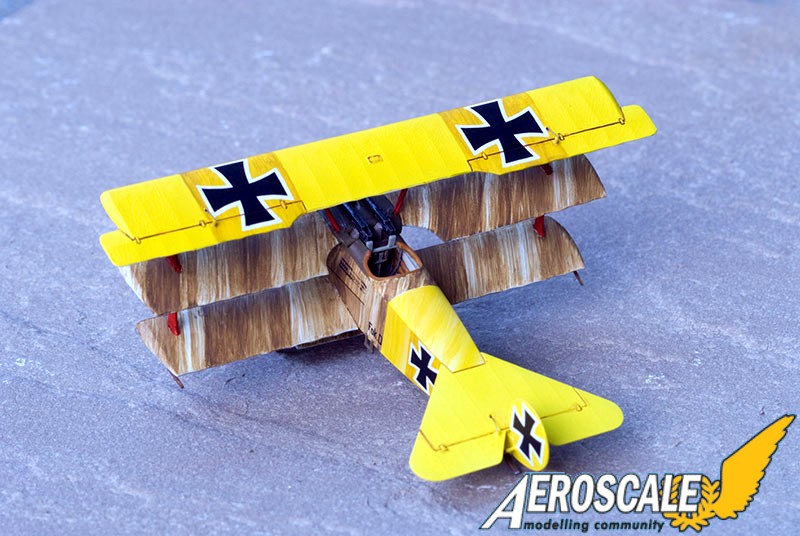
Spray a coat of linen base. Get a 1.5cm or 2 cm flat brush (has to be very dry) Thin some olive paint (I used Xtracrylix RAF Olive Drab) thinner than normal for brush painting. Use a small, but heavily-ladden brush to transfer spots of paint onto the big flat brush- apply plenty, but just in isolated spots, not all over the brush. Place the wing at the right angle (I used JackFlash's "two ribs per stripe" rule). Drag the brush across the wing, beginning with the trailing edge (I found the paint didn't get to the leading edge if I did it in the opposite direction). I over-shoot on both side of the wing to make sure I have covered it. After each pass, you will have to re-spot paint on the big brush. After 3 passes, you have to wash the big brush out, and dry it (I used a hair dryer)- it must be dry before re-loading with spots of paint. The darker bits can have a second pass. If you miss a bit, make a pass in the reverse direction, without rotating the brush. I used this same technique to add the subtle streaks to the yellow (which I think represent the yellow being painted onto the originally olive-streaked cloth). For the yellow streaks, I used linen and tan paint on the same flat brush, which nicely added subtle lighter and darker shades. As per the box art, this was just done on the fuselage yellow parts. The wings and front fuselage had a light blue under-surface colour airbrushed.
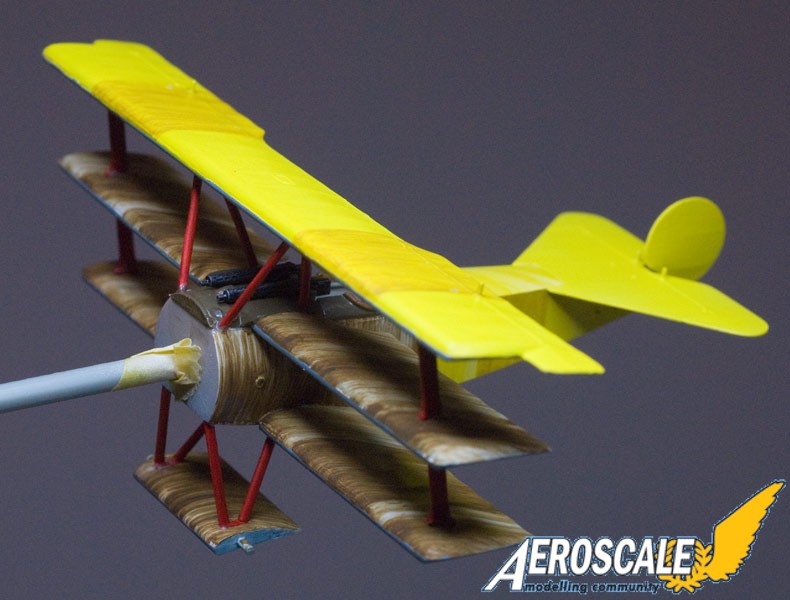
Continuing the assembly
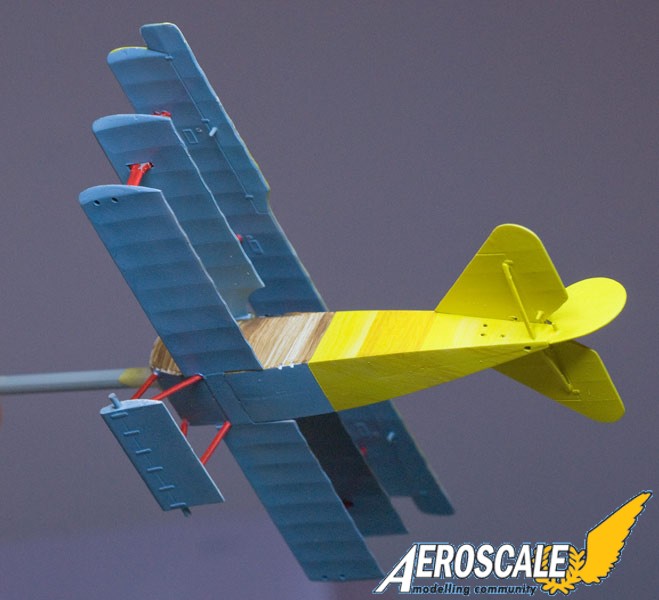
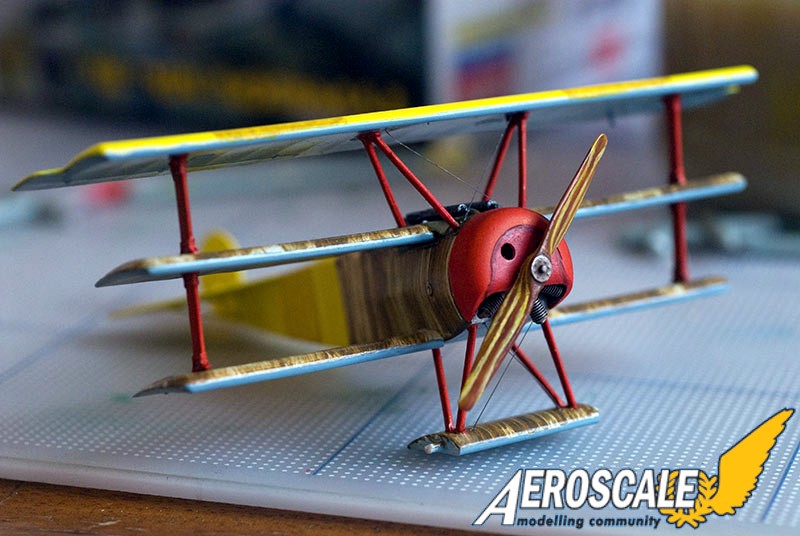
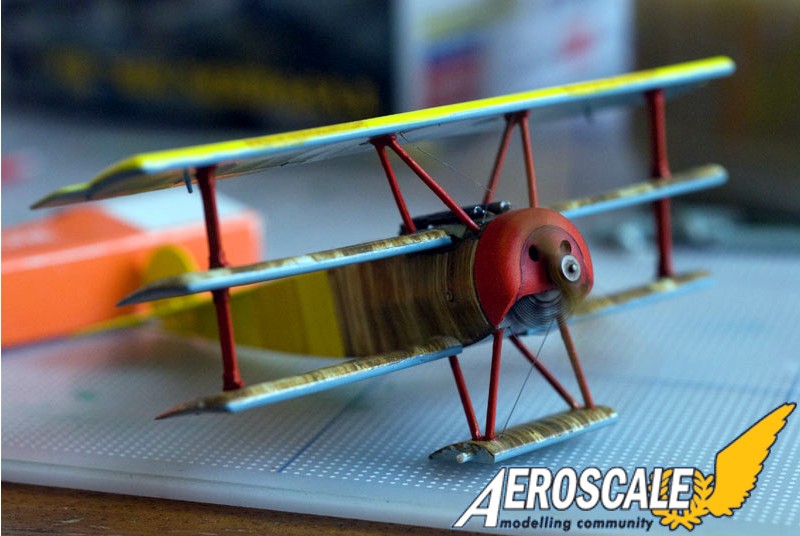
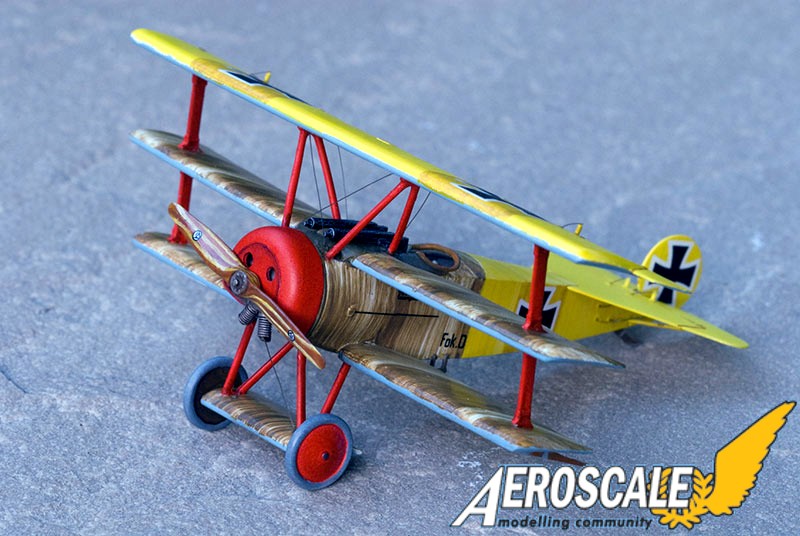
Assembling the four levels (three wings and the undercarriage) wasn't too hard. Being a triplane actually made alignment issues go away, pretty much. The outer struts pass through the middle wing, making it very sturdy, and unable to be very mis-aligned. The undercarriage was more of a struggle though. All in all, much easier than the average biplane, and great for beginners, or those who don't like being driven mad aligning things. After a lot of dry fitting of the engine and prop, I concluded the cowling will only fit if the engine is mounted backwards (i.e. the reverse of the way the instructions say). I'm not sure whether it is an error in the instructions, or ill-fitting parts. I sanded the front and back of the engine a little to make it free to rotate when you blow on the prop. The transfers / decals settled down very nicely over Klear (Future). I used Micro Set, but I didn't need to use Micro Sol, as the surfaces are smooth, and the upper surface crosses went down into the aileron gaps with some persuasion from a brush.
Rigging
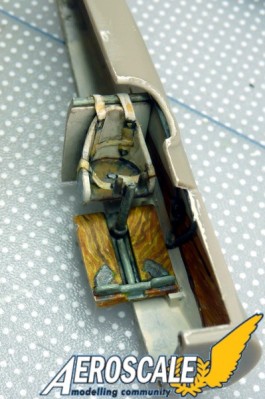
There is not much rigging to be done, but there are quite a few control lines, some of which are not documented in the instructions (those from the ailerons). I would recommend doing to riggin before inserting the metal plate/twin machine gun assembly, and the metal plate prevents you getting tweezers into the fuselage to tension the lines (that would be glued into the wing or undercarriage first, and fed into holes into the fuselage). I added two loops under the rear fuselage (made from two loops of wire glued in drilled holes), that were used for repositioning the aircraft on the ground. I ran some brown wash into the underside fuselage join before applying the stitching transfer- I wish I hadn't sanded the seam so thoroughly! I also painted on stitching to the covering of spar of the lower wing that runs under the fuselage. I did minimal weathering, just some dark brown water colour airbrushed for the exhaust staining, and some brown water colour around the control surfaces. Then airbrushed an acrylic flat coat.
I would like to thank Eduard for providing the kit for this review.
Please mention "Aeroscale" when contacting Local Hobby shops, distributors and manufacturers.
SUMMARY
Highs: Details are on the whole great for this scale, subtle fabric effects, small transfers for labels and instrument add a nice final touch. Alignment of wings easy, and the aircraft looks great finished.Lows: Foot step on pilot's left side a bit big for this scale. Those wanting a more scale look will need to spend some time scratch building extras for the engine. Verdict: A really nice looking colour scheme, a popular aircraft, embodied in an accurate and detailed kit that is not too difficult to assemble. Excellent for beginners or those wanting a quick build- would look almost as good if you didn't want to spend time rig
Our Thanks to Eduard! This item was provided by them for the purpose of having it reviewed on this KitMaker Network site. If you would like your kit, book, or product reviewed, please contact us.


Comments