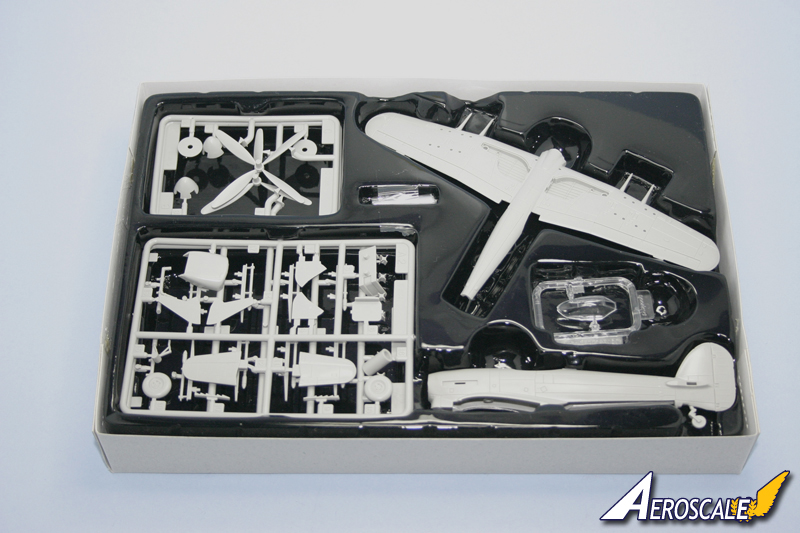
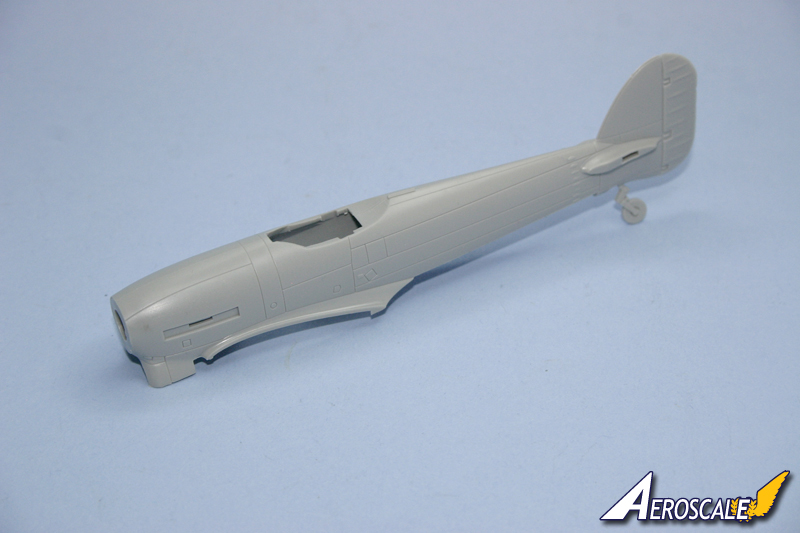
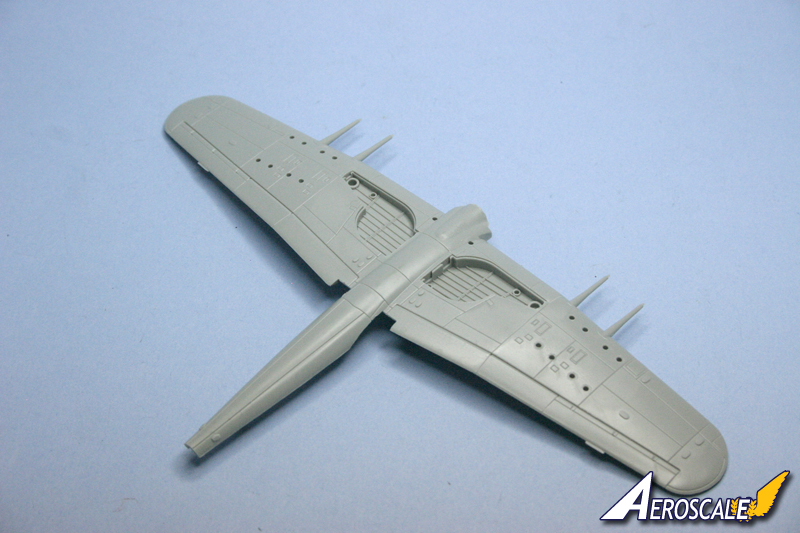
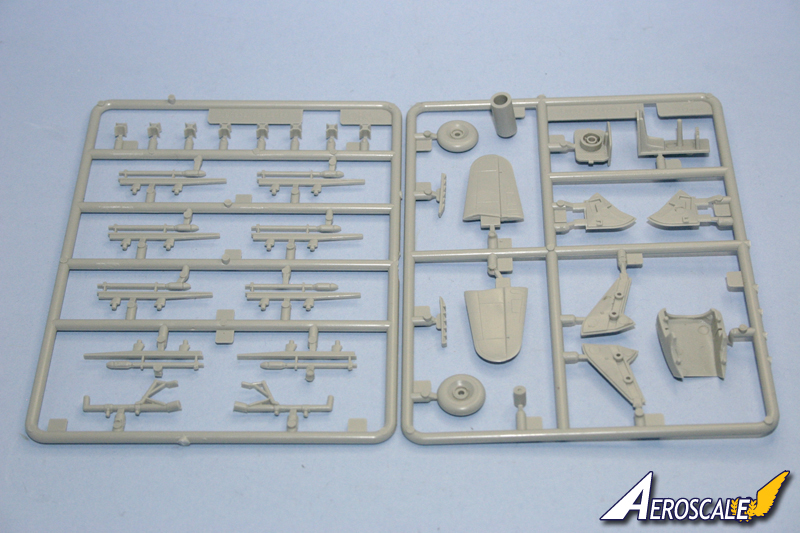
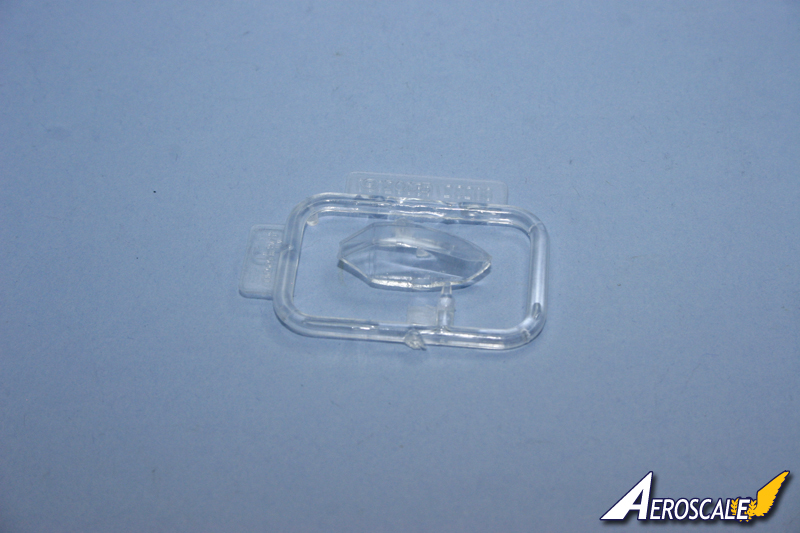
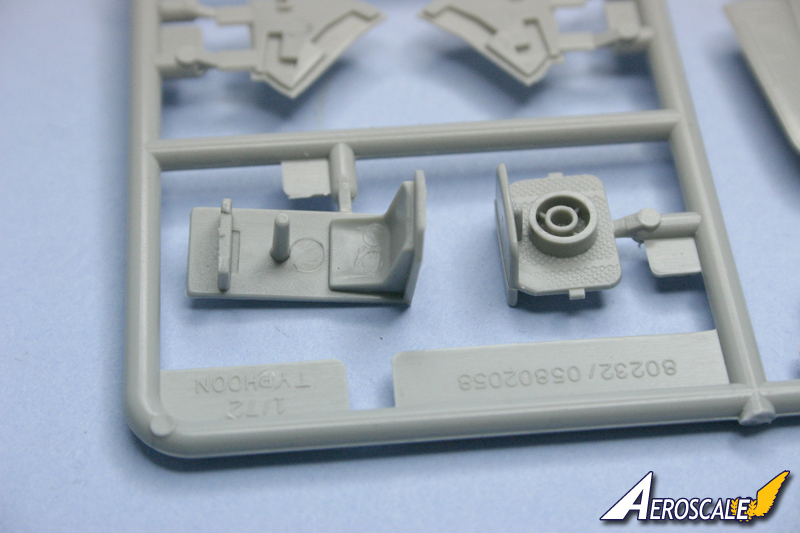
On opening the box you are greeted by a well laid out sight. Rather than pieces being in bags rolling around the box everything is nicely sat in individual areas in a vac form insert. There are minimal sprues four in total one clear with the canopy and the other three holding 39 pieces. All of the pieces are well cast with good detail for the price. Also the major injection marks were in areas that would not be seen. The fuselage is a one piece cast with nice looking detail and reasonable panel lines (I have seen much worse and deeper ones in 1/72 before now) The wing is again a one piece casting and has clear crisp details it is nice and weighty and not flimsy. In honesty I did wonder about accidentally snapping the guns off during the building process but they are strong and survived very well.
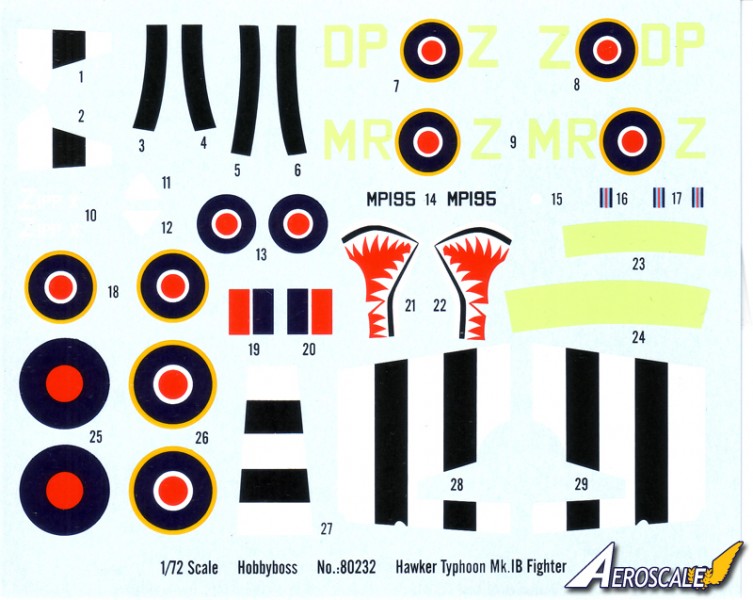
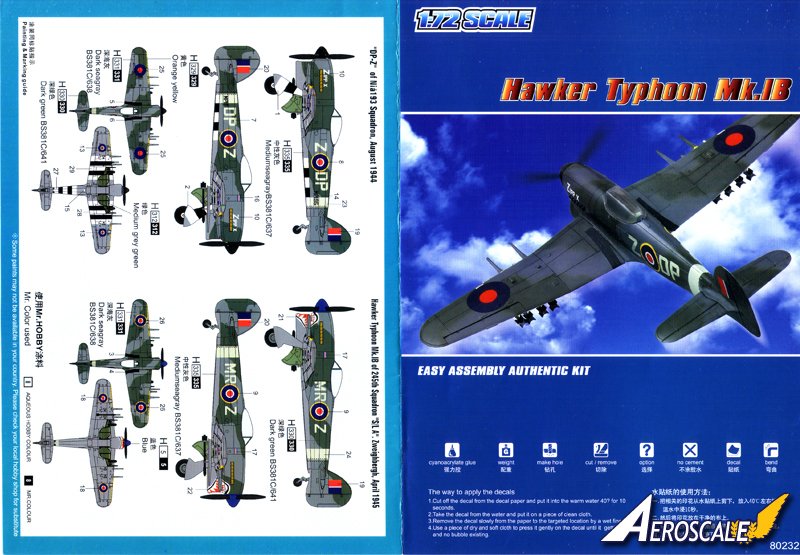
The decals provided cover markings for two aircraft and they are well printed and in good register.
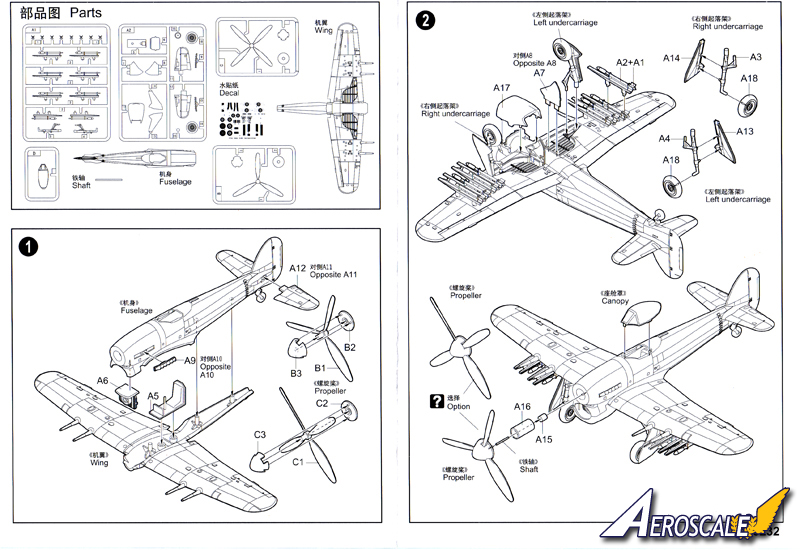
The instructions are very simple and straightforward the building diagrams are clear and follow a logic order, there are only two building steps shown and a nice sprue diagram. The paint guide is on the back for both aircraft the markings cover and it is in colour. I find this much more helpful than some other manufactures that use different shades of grey with no numbers that you have to match up to the paint chart at the bottom of the paint guide.
Construction
As per the norm I painted up the one piece cockpit and inside the fuselage with Humbrol 78 Cockpit Green. Due to lack of details for the cockpit I opted to make a seat harness using Tamiya masking tape I then painted this Khaki as not much is too visible it does the job well. While on the cockpit detailing warpath I cut out the control column and using a small piece of plastic rod made one that was more in scale. Using a piece of plasti-card I cut out a basic instrument panel shape painted this black and added dials etc to it once dried I attached it into the cockpit.
The cockpit was attached to the top of the wing. While this was setting I painted up the radiator aluminium, this was followed by a black wash. After the wash had dried this was glued into the fuselage.
The wings were then attached to the fuselage I do like the Hobby Boss kits like this as a firm push and click the wings are on. I was pleasantly surprised with the great fit of the wings to the fuselage. I ran some plastic weld round the joints and it was done. I only sanded the joints to make sure it was flush and there were no blobs of plastic weld. I also fitted the exhausts at this point which fitted like a glove.
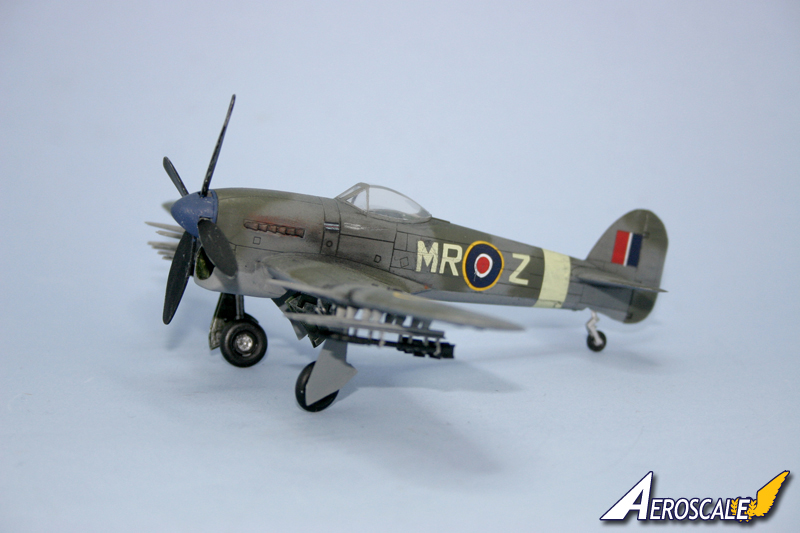
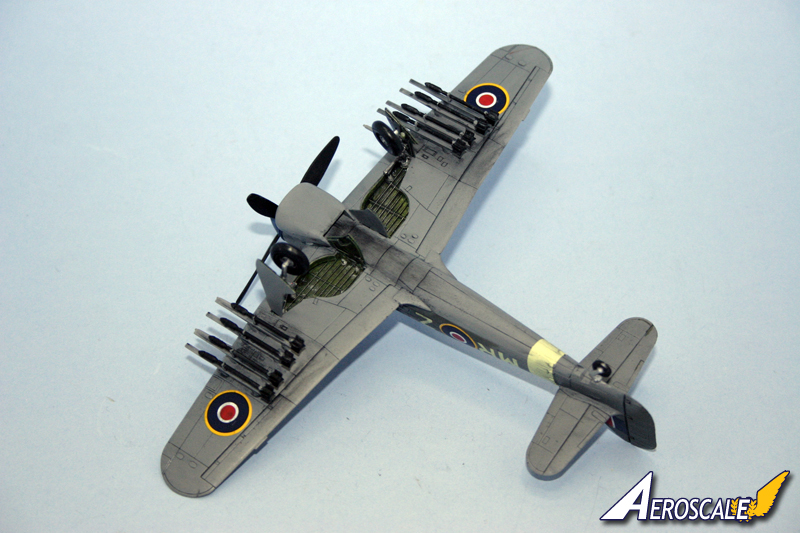
I put the fuselage to one side to dry off while I made the rockets up. The rockets are cast already mounted to the pylons all that is needed is the fins to be attached. I admit I did get slightly frustrated with trying to get them to stay put so out came the superglue and accelerant it worked like a charm. The downside to having the rockets already on the pylons is having to attach them before spraying the underneath colour onto the aircraft. Which is the option I went for after much debating.
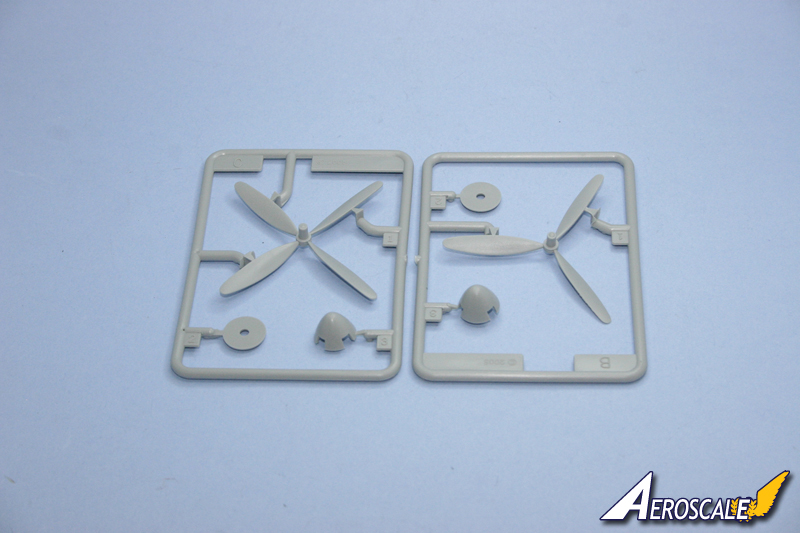
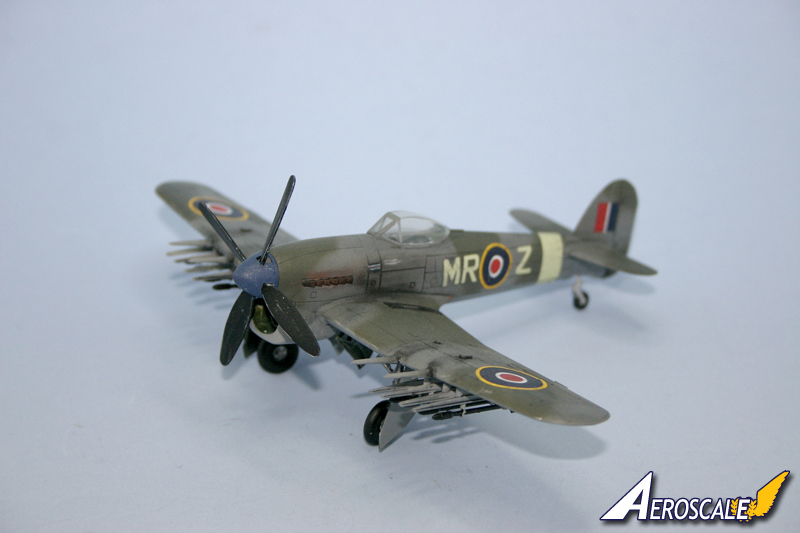
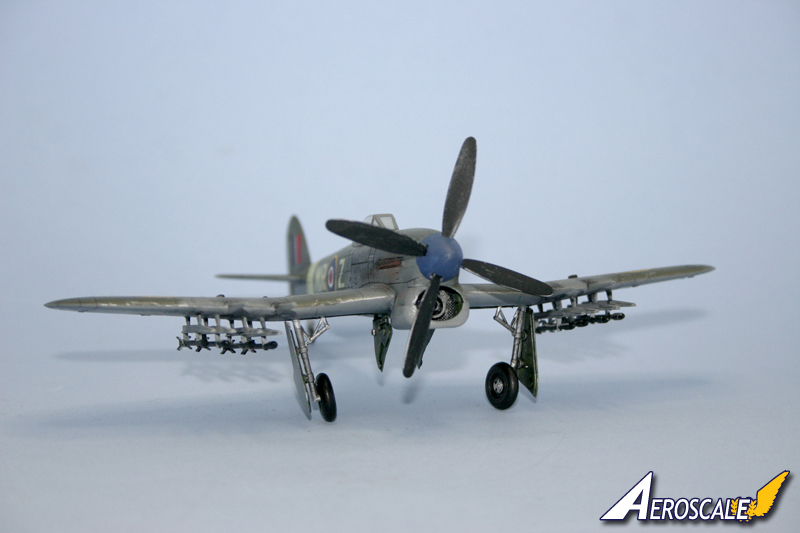
The propeller and spinner was easy enough to put together there is a choice of two propellers one three blade and the other four blade, there is also a choice of two spinners. I went for the four bladed version. I did decide from the start to just glue the spinner in place rather than using the metal shaft provided to allow the propeller to turn. I brush painted the blades Humbrol 33 Matt Black followed by a drybrushing of Aluminium to give the weathered look. The spinner was brush painted using Tamiya XF-8 Flat blue this again was followed by a quick dry brush. I am aware spinner tips are normally yellow but I decided to leave the blades black I didnt feel like conforming and it being the same as every other one built.
With the fuselage set I added the air-scoop underneath and again no fit problem it fitted nice and tightly into its locating holes a quick wipe round with plastic weld and minor sand over the joint and it looked great. The two pieces for the tailplane were next to be fitted. The detailing on the tailplane is good and the fit was good I did have to use a small amount of filler on the underside joints both sides. Once sanded it looked good and they were both level which is always a bonus.
The wheel wells were painted using Humbrol 78 Cockpit Green this was followed by a nice black oil wash. Once the wash had dried Humbrol 78 was again used to do a dry brush which really picked out the details in the wells. As 78 was open I thought I may as well paint the inside of the undercarriage doors. There are one or two sunken injector pin marks which I used a small amount of Plasto to fill and sanded flush. Once the doors were painted I put then to one side.
As I was almost ready to airbrush the canopy was masked before I attempted fitting it to the model. The canopy was well cast and no flaws within the plastic. In honesty I worried that there would be a fit problem with the canopy but my fears were unjust it fitted flawlessly and I really could not have been happier. The final touch before heading off to the spray bay was to attach the previously constructed rockets to the underside and to break out the blu-tac to mask off the wheel wells.
Painting
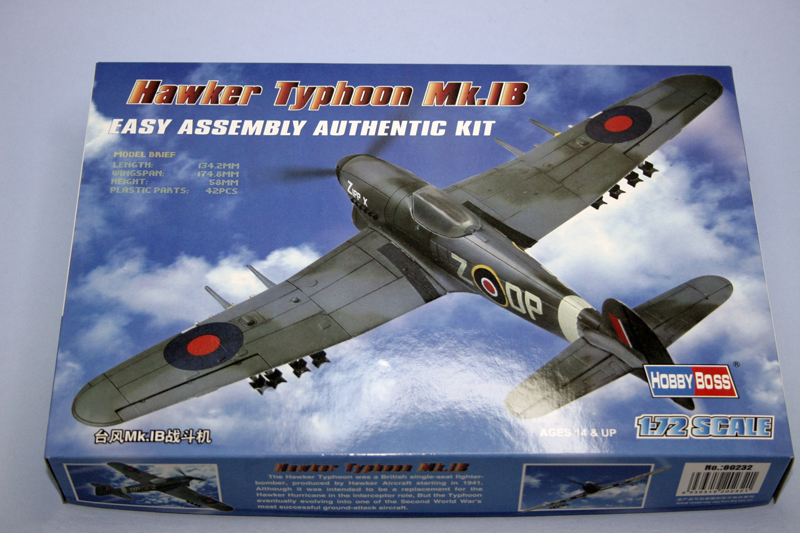
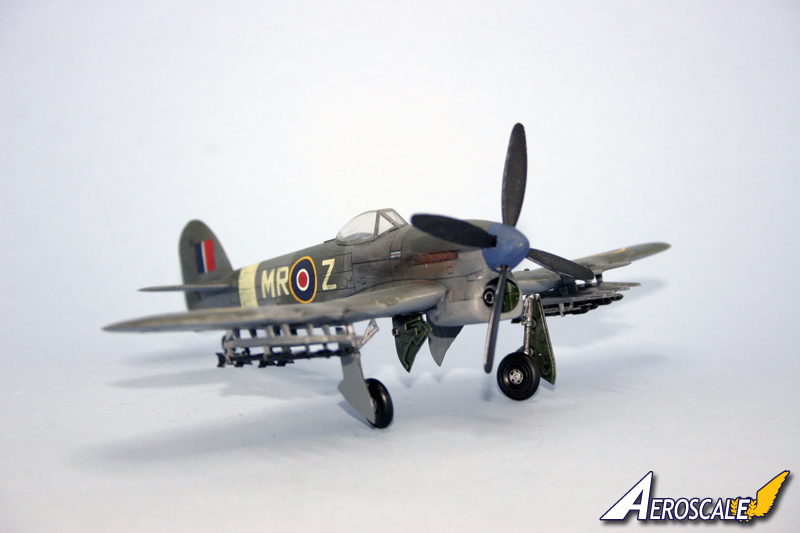
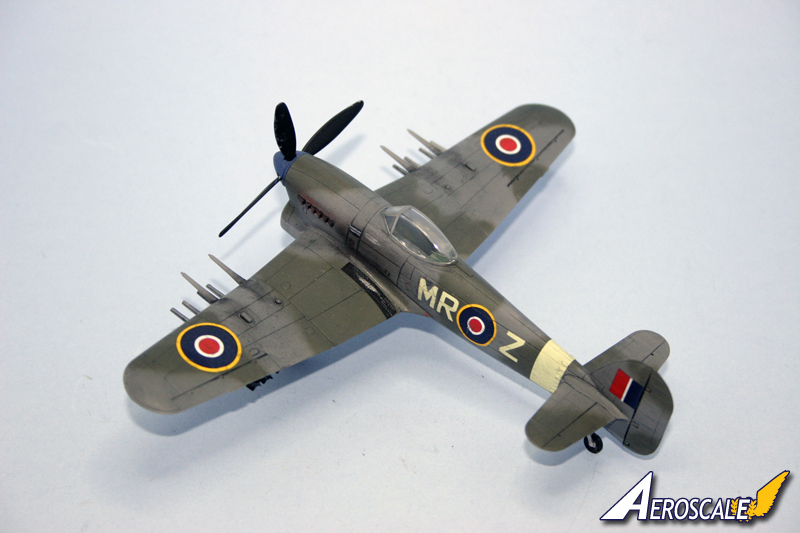
The kit comes with two options for aircraft the one used on the box-art is Zipp X this has invasion stripes on the underside and the normal grey/green camo on the topside which are actually provided as decals looking at the decals I think they would be a good size to fit the model rather than the usual too long, too short problems. I can only guess at this as I opted to go for the second colour option. The second colour option is Hawker Typhoon MK.IB of 245th squadron April 1945 on the instructions it shows the plane with sharks teeth (who could resist that?)
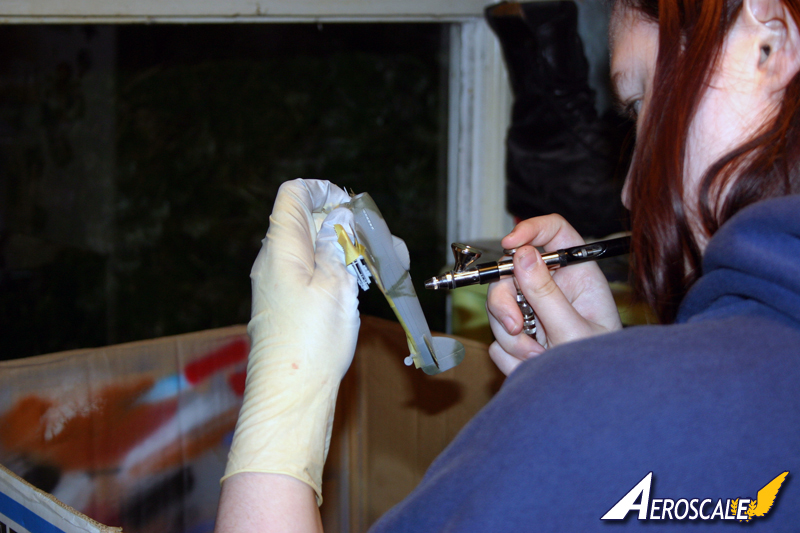
After a quick coat of grey primer the fun began I sprayed the underside of the model using Xtracrylix Medium Sea Grey, the Xtracrylix dry pretty fast when using their thinners with them so left the model to dry for about half an hour. I did use some Tamiya masking tape to allow the straight line between the bottom and top colours. The topside was then sprayed all over using Xtracrylix Dark Sea Grey again left to dry for about half an hour. I opted to spray the Xtracrylix Dark Green freehand onto the model rather than masking the camo lines using blue-tac. I left the model under a upside down container to avoid dust getting into the paint work while awaiting its coats of future.
Rather than sitting around I went back to the bench and painted the undercarriage legs Aluminium and proceeded to apply the black oil wash used previously for the wheel wells. The same treatment was given to the wheel rims and the tyres painted black with a slight dry brushing of Neutral Grey to give some depth, wear and tear.
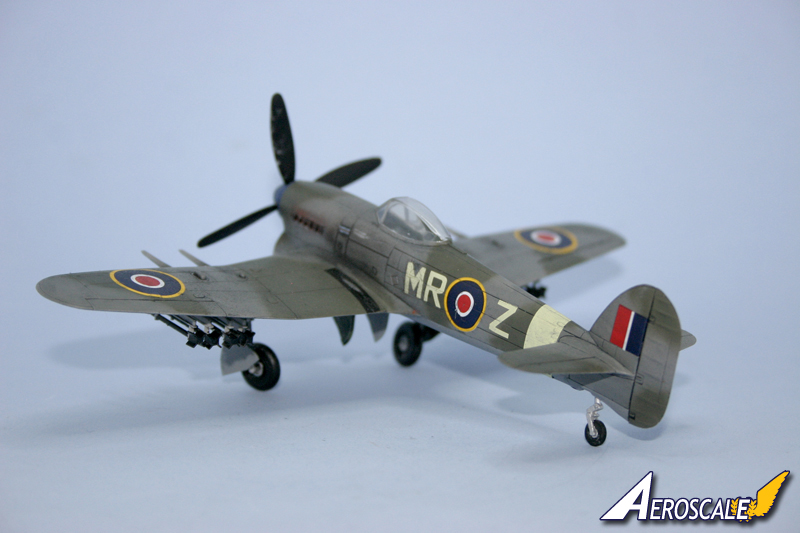
Finally the model was dry, the masking was removed but not the canopys masking. The undercarriage, doors and wheels were then glued into place and then two to three coats of Future were sprayed over the model ready for decaling and the good old oil washes. I put the tail band decal onto the model first as I thought this was going to be a pain to get to conform and settle down in general. Again the kit surprised me the band was just the right size it went on easily and settled down very well indeed. The decals were a joy to work with and there were no reactions at all I did use a small amount of Daco decal setting solution the thin one and I was worried the decals may be too flimsy to cope but again I was wrong.
I did have an accident with one side of the sharks mouth hence why it is not on the finished model I could have done Zipp X but I already had the tailcodes on and was not prepared to change my mind. The decal problem was a result of me leaving the decal in very warm/ hot water for 10 mins and completely forgetting about it until I saw pieces of it floating around. I look at it this way it was not the decals fault and now at least mine is unique. This is also the reason I decided not to put the yellow areas on the leading edges of the wings.
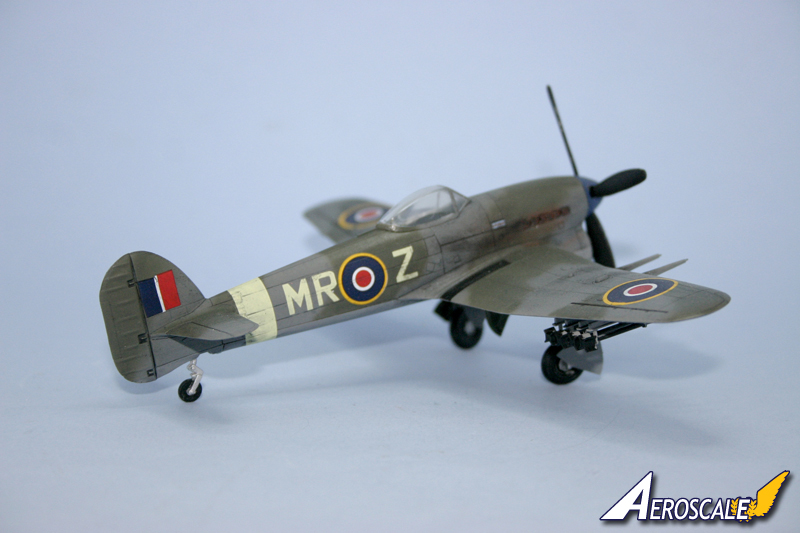
A further two coats of Future were sprayed over the decals to protect them from the impending oil wash. The oil wash I used was Davys Grey mixed with pure turpentine this was liberally applied over the whole model. Taking care to avoid the previously weathered wheel bays. As I had made the wash quite thin I left it for 10mins then proceeded to wipe the wash from the surface using cotton buds. I was left with some streaky areas and the wash still in the panel lines which is what I was aiming for. Once I was happy with the shading and the streaks I put the model to one side to dry for about an hour.
I added the final touches next I painted the exhausts in Tamiya XF-56, painted in the tailwheel and carefully painted in the rockets with a stupidly small brush to be sure I did not get any black paint onto the underside of the model. I used Mig Pigments Soot and weathered the guns and exhaust areas. Using Tamiya Aluminium I did some dry brushing in certain areas like the pilot walkway, leading edges etc. Once I was happy with the weathering I took the model to the spray bay for the final time and gave it a coat of Matt Varnish. The final thing to do was unmask the canopy.
Conclusion/ Overall
Overall I really like this kit is fun to build I managed to build this in a day and thoroughly enjoyed every minute of it. It would be a fantastic beginners choice (or any of these ones in the Hobby Boss range) or if you want a kit you can do a quick build on and have fun. I t builds into a good representation of the Tiffy and I enjoyed it so much I went out and bought a second one. I think this will appeal to the beginners and advanced modellers alike. The beginners have something straightforward but the advanced modeller can scratch build details etc to their hearts content.
Please remember, when contacting retailers or manufacturers, to mention that you saw their products highlighted here - on AEROSCALE.
SUMMARY
Highs: Ease of assembly; Good detail on most pieces; Low cost; Good fit, Good DecalsLows: Really its only the cockpit detail which lets it down however this is easy to rectify with some work as not too much can be seen with the canopy on. Verdict: A great beginners choice or a quick fun build.
About Sam Berry (camogirl) FROM: ENGLAND - NORTH EAST, UNITED KINGDOM
Hi I'm Samantha (I prefer Sam though) I've been modelling since 2002. I started modelling at my local ATC sqn and learnt everything I know from my absolutely wonderful husband (Tomcat31). I was an adult member of staff there from Nov 2004 and I left 2008 I taught modelling to the cadets as well as a...


Comments