The practice of converting airplanes from standard wheeled undercarriage into floatplanes, was established back in the early days of WWI.
This was to permit them to touch down on the coastal areas and patrol for submarines. Further inland it permitted aircraft to come down on surfaces of lakes and reservoirs. This innovation was a very successful type of design and it continued to be employed in the post-WWI years for various categories of aircraft. The conversion was useful for small commercial airplanes which could then land on the surface of lakes or even ponds with sometimes limited water area to deliver supplies, mail and passengers to wilderness areas.
The Beechcraft Staggerwing airplane was a good example of this kind of machine, being ideally suited for such tasks. It was very fast for its time, and had very short take off and landing runs. In 1935 a B17L was experimentally re-equipped with a set of EDO type floats, each with a displacement of 452 pounds. One airplane was purchased by Thomson Airways from the state of Maryland. It featured in the Hollywood film "Too Hot to Handle" in 1938 with the world famous stars Clarke Gable and Myrna Loy in leading roles.
Eventually floats were fitted to other versions of the Staggerwing. Apart from the United States of America they were also used in Canada (in 1940 that country's Ministry of Transport purchased the SD17 for use on the Great Lakes) and in Australia (one machine was used at least until 1944).
With the beginning of WWII, and the USA's entry into the war in December of 1941, a great number of civil machines were requisitioned by the government for military use. Some float Staggerwings had this fate, along with their land based equivalents, and were given the military designations of GB-1 and GB-2. These airplanes were used both in the mainland USA and in more remote areas of the country, in Alaska. Their active service was quite extensive.
After the end of WWII most of these aircraft returned to civilian service again. Some Staggerwing floatplanes were being used for commercial purposes as late as the early 1970's. (Info edited from Roden website)
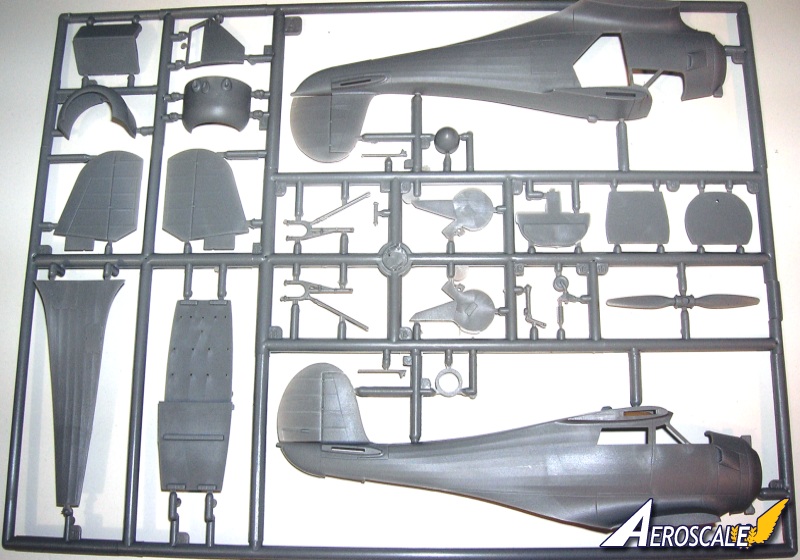
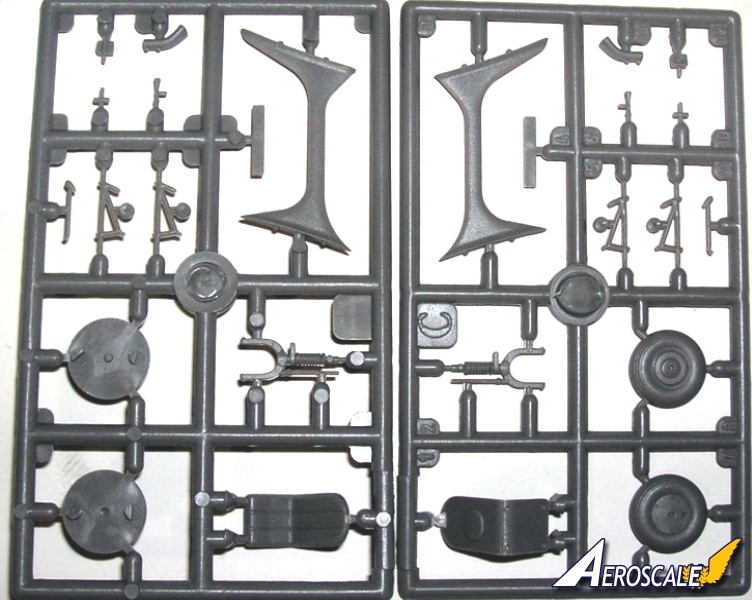
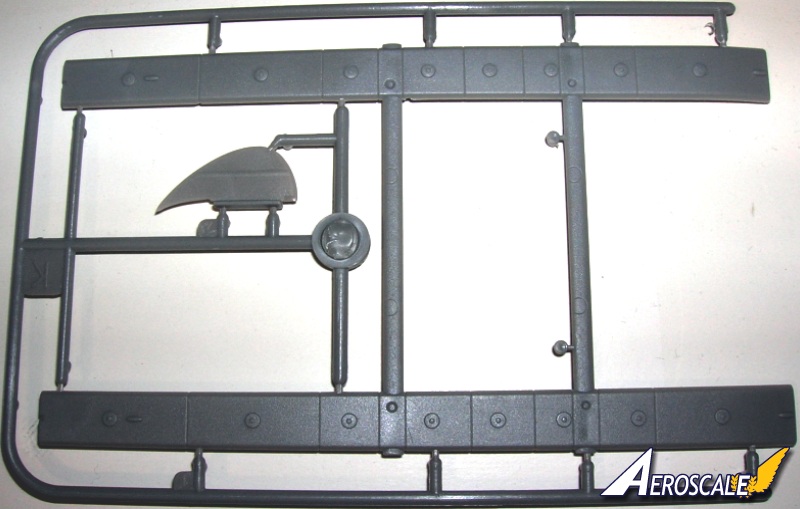
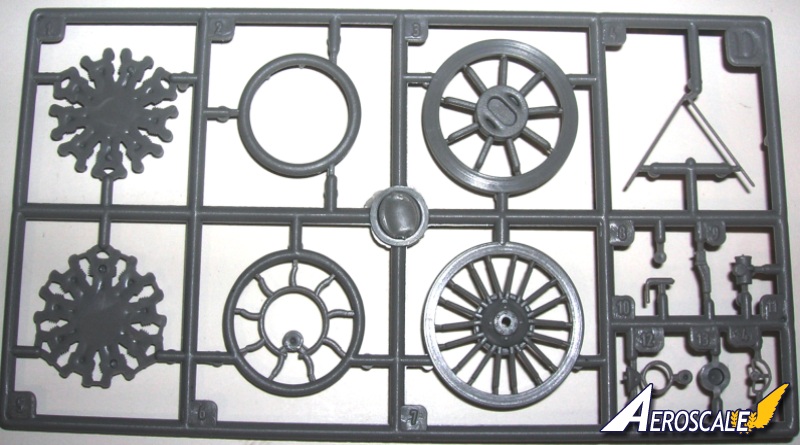
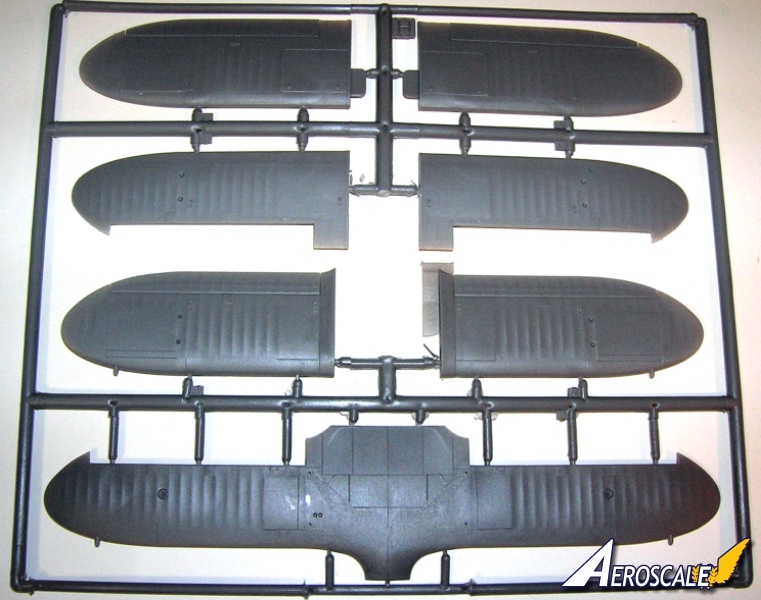
The kit itself comes in the typical Roden packing with parts in protected cellophane sealed bags. It is a srtaightforward build with minimum rigging found on almost all biplanes of this era. The Pratt & Whitney Wasp Jr radial has some fine details. But I recommend replacing the pushrods. The kit items are by nature a little out of scale unless your doing an OOB. And even then some stretched sprue might be a little cleaner. Lap belts in the cabin should be added. On the original the cabin was considered plush or luxurious for the time. In my opinion the kit cabin could do with a bit of scratchbuilt structure present. The basic kit parts dry fit nicely without any glaring issues. Though there is some flash around the instrument panel. I also recommend drilling out the instrument panel at the gauge locattion and adding a clear backing then add the decals for the gauge faces behind the clear backing. When finished and dry paint this back area a bright white. Though truth be told, even with all the clear plastic winshields it going to be pretty dark in the cabin interior.
building tips
From Aeroscale's own Ms. Jessica and her experience with the earlier Roden 1:48 D-17S kit #446.
". . .Having built this kit, I offer the following tips:
Trim down the door, and all side windows. As moulded they're too large for the openings.
The instrument panel really cries out for detailing. The generic decal is really not sufficient to do justice to it, especally since it sits under that large windscreen.
The elevator mass support tabs are too long. They should be trimmed by about a third. . ."
The Build
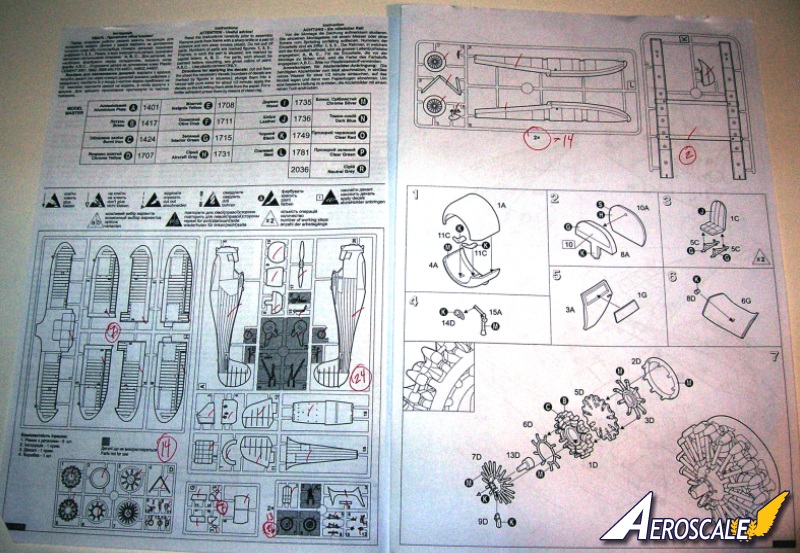
Step 1. Engine cowling (1&4 A)and air intakes (11 C X 2).
Step 2. Instrument dash panel (8 A) & firewall (10 A). The instrument panel really cries out for detailing. The generic decal is really not sufficient to do justice to it, especally since it sits under that large windscreen.
Step 3. Pilot & co-pilot seats (1 C X 2)& supports (5 C X 4).
Step 4. Control column (15 A & 14 D).
Step 5. Cabin door (3 A) & its window (1 G). Trim down the door, and all side windows. As moulded they're too large for the openings.
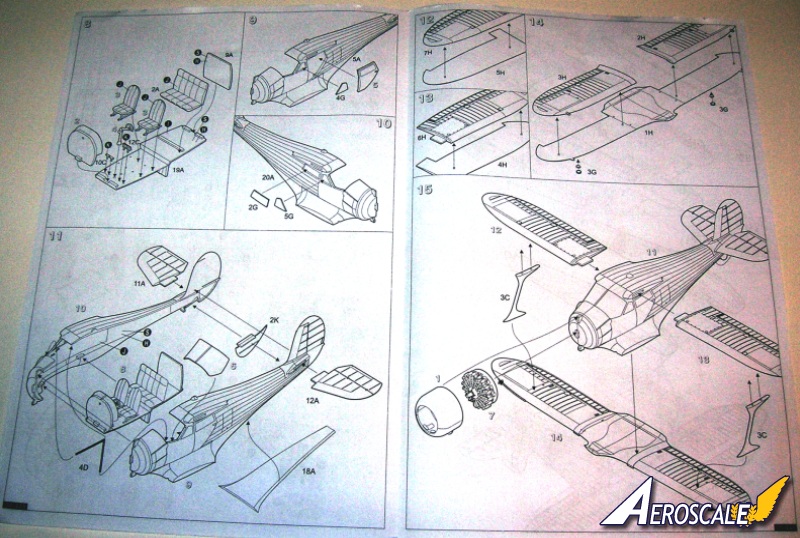
Step 9. Left fuselage side, window and door from step 5 & window. Trim down the door, and all side windows. As moulded they're too large for the openings.
Step 10. Right fuselage side & windows. Trim down all side windows. As moulded they're too large for the openings.
Step 11. Unites fuselage halves (5 & 20 A), Elevators (11 & 12 A), belly section (18 A) & assembly from step 8. The elevator mass support tabs are too long. They should be trimmed by about a third.
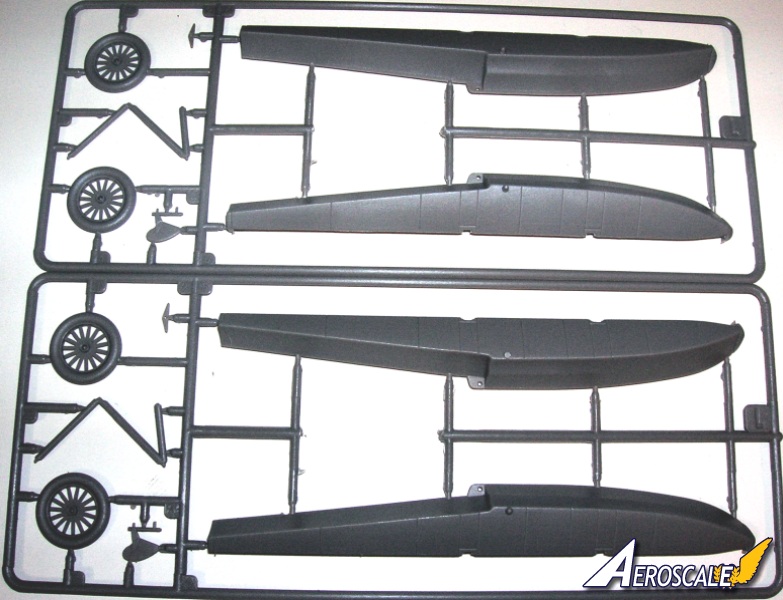
Step 12. Assembles top right wing (5 & 7 H).
Step 13. Assembles top left wing (4 & 6 H).
Step 14 Assembles lower wing. (1, 2 & 3 H).
Step 15. Unites wings and engine components to fuselage & wing struts (3 C X 2).
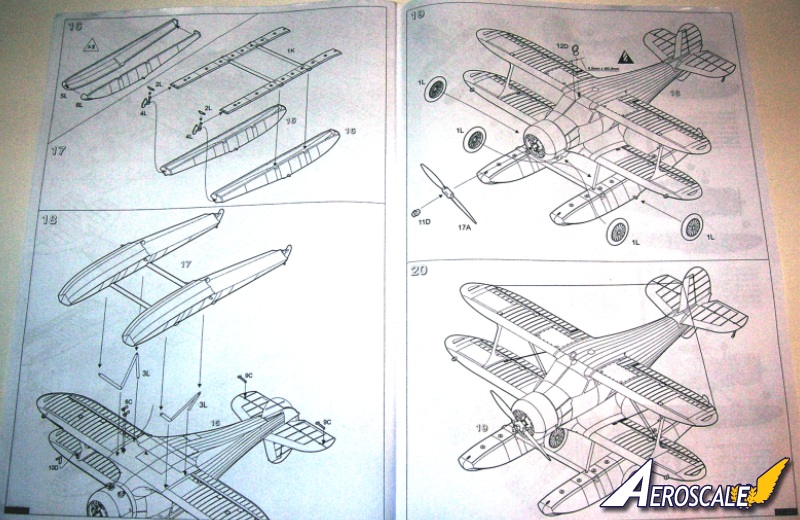
Steps 16 -17. Assembles floats (5 & 6 L X 2) (2 & 4 X 2) to cross brace (1 K).
Step 18. Attaches float assembly to kit.
Step 19. Attaches beaching wheels (1 L X 4)& propeller (11 D & 17 A).
Step 20. Notes rigging paths.
Decals
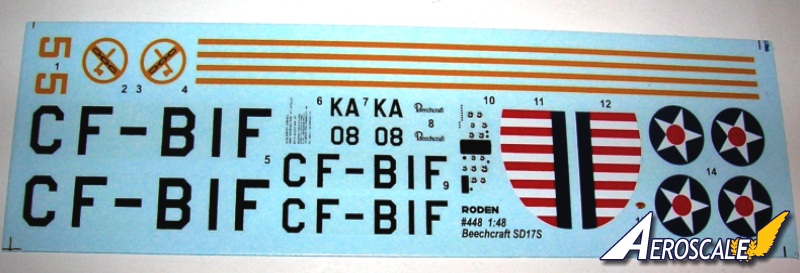
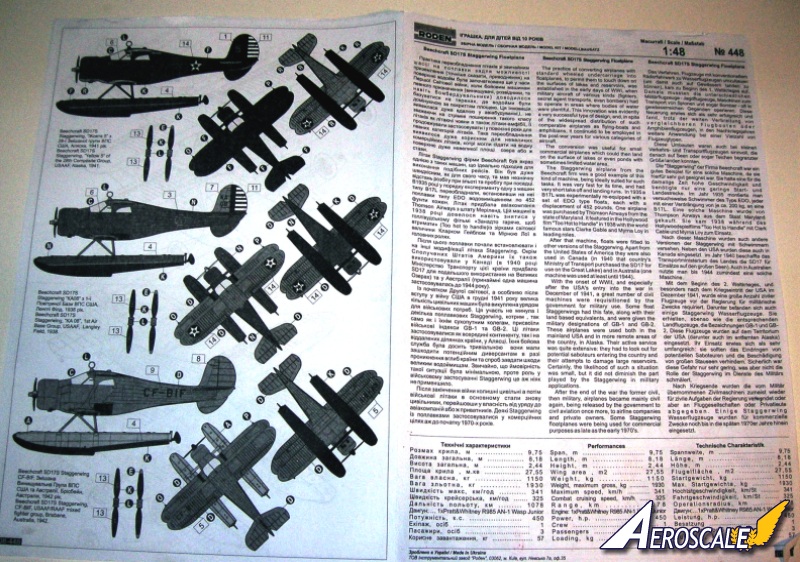
1. Beechcraft SD17S Staggerwing, Yellow 5 of the 28th Composite Group, USAAF, Alaska, 1941.
2. Beechcraft SD17S Staggerwing, KA 08, 1st Air Base Group, USAAF, Langley Field, 1938.
3. Beechcraft SD17S Staggerwing, CF-BIF, USAAF/RAAF mixed fighter group, Brisbane, Australia, 1942.
Please remember, when contacting retailers or manufacturers, to mention that you saw their products highlighted here - on AEROSCALE
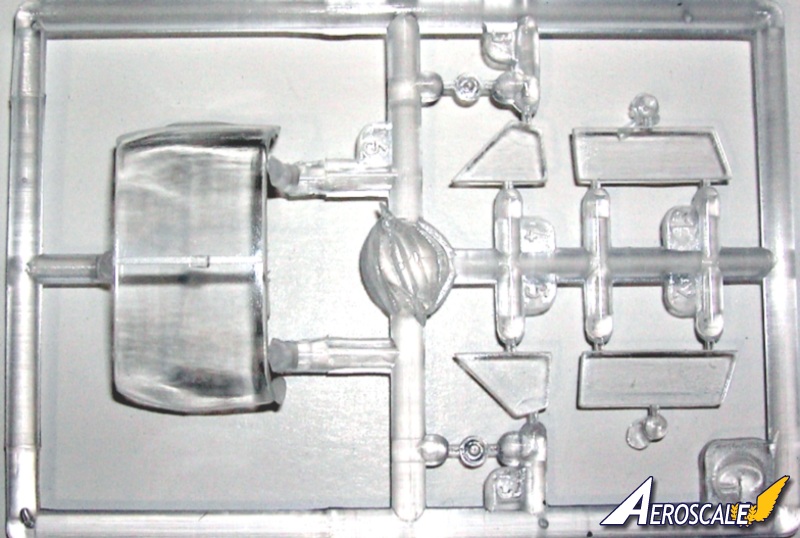
Highs: Interesting between the wars and early WWII subject with good possiblities for colour schemes. General fit is good. Average clean up time.Lows: Some flash around the instrument panel part. Windshield and clear parts would be better vacuformed.Verdict: It's a good kit, mostly free of problems. Subject matter will really catch the viewer's eye.
Our Thanks to Roden! This item was provided by them for the purpose of having it reviewed on this KitMaker Network site. If you would like your kit, book, or product reviewed, please contact us.
About Stephen T. Lawson (JackFlash) FROM: COLORADO, UNITED STATES
I was building Off topic jet age kits at the age of 7. I remember building my first WWI kit way back in 1964-5 at the age of 8-9. Hundreds of 1/72 scale Revell and Airfix kits later my eyes started to change and I wanted to do more detail. With the advent of DML / Dragon and Eduard I sold off my ...


Comments