The Saab Company was approached in 1948 to develop a turbojet powered strike aircraft to replace a series of 1940s vintage attack, reconnaissance and night-fighter aircraft in the Flygvapnet including the Saab B 18/S 18, J 21R/A 21R and J 30 (de Havilland Mosquito).
Swedish Air Force requirements for the P1150 were demanding: the aircraft had to be able to attack anywhere along Sweden's 1,245 miles (2000 km) of coastline within one hour of launch from a central location. It had to be capable of being launched in any weather, day or night. Special attention was to be paid to integrating the electronics and weapons systems to create the equivalent of today's weapons systems approach to combat aircraft design. The aircraft was to be armed with four 20 mm cannons, rockets, bombs and/or a new anti-ship missile being developed, the Rb 04.
Soon after entering squadron service, the J 32 Lansen broke the sound barrier on 25 October 1953 when a production aircraft exceeded Mach 1 in a shallow dive.
All-weather fighter version initially operated only for bad weather / night fighter duties. Two prototypes and 118 production aircraft built between 1958 and 1960, retired in 1973. Armed with four 30 mm ADEN guns, Rb 24 missiles (license-built AIM-9 Sidewinder, or 75mm unguided rocket pods. J 32B was powered by the more powerful Svenska Flygmotor RM 6A engine a licence built version of the Rolls-Royce Avon Mk 47A.
The Kit
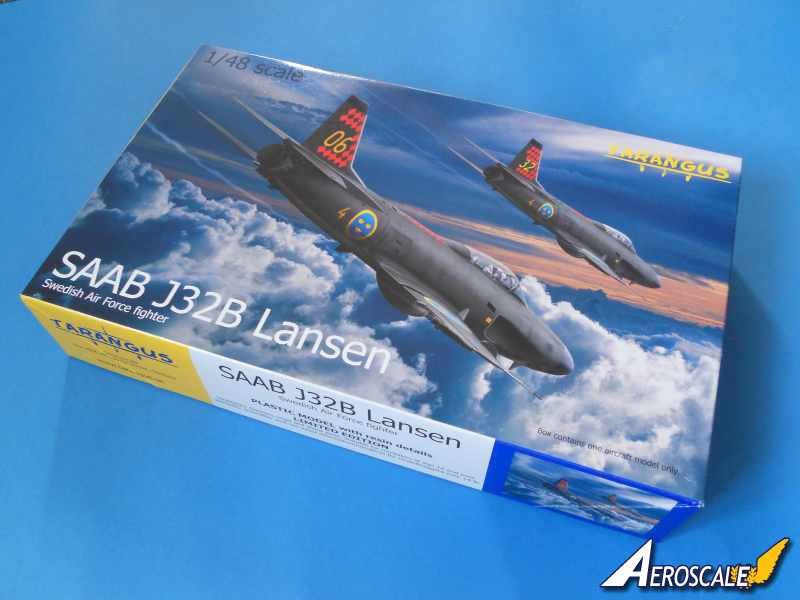
The kit is contained in a top opening box with an evocative lid illustration. The box is pretty sturdy and the parts were safely contained in a large re sealable bag; the clear parts are bagged separately. Contents: includes:
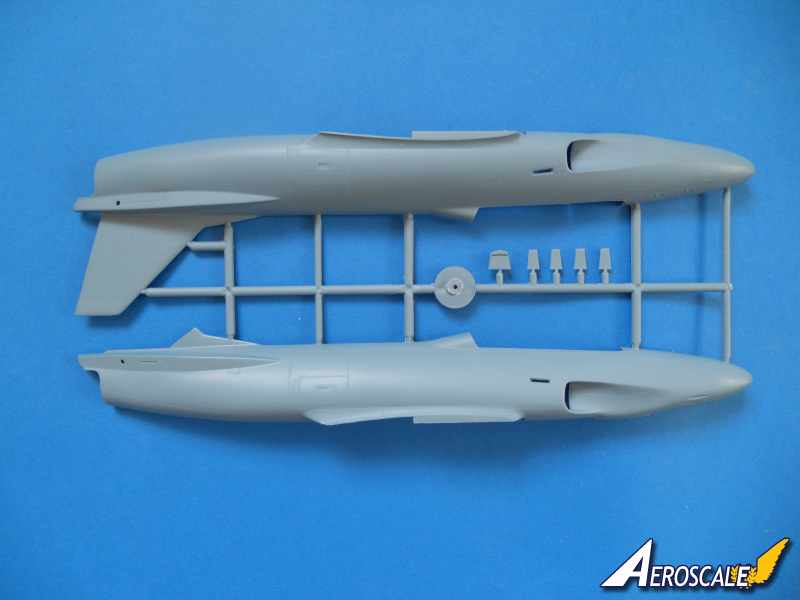
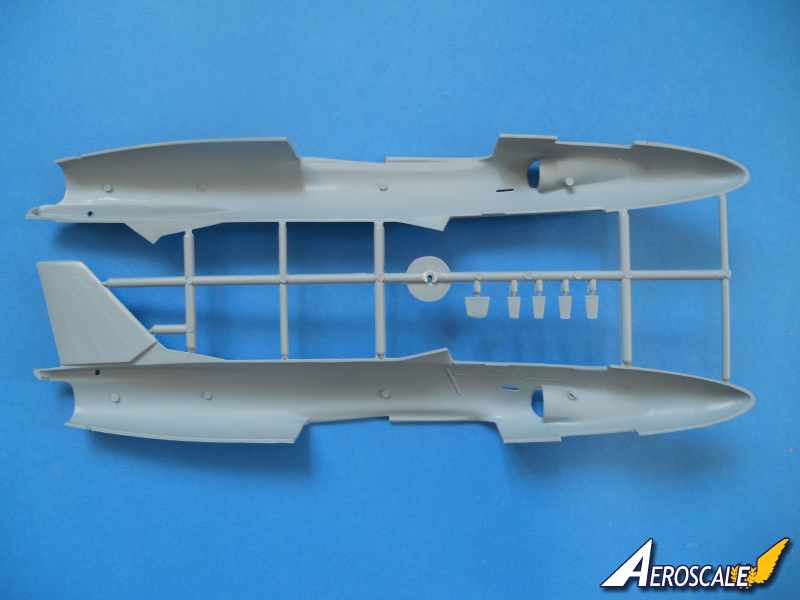
-5 x large plastic sprues.
-1 x small plastic sprue.
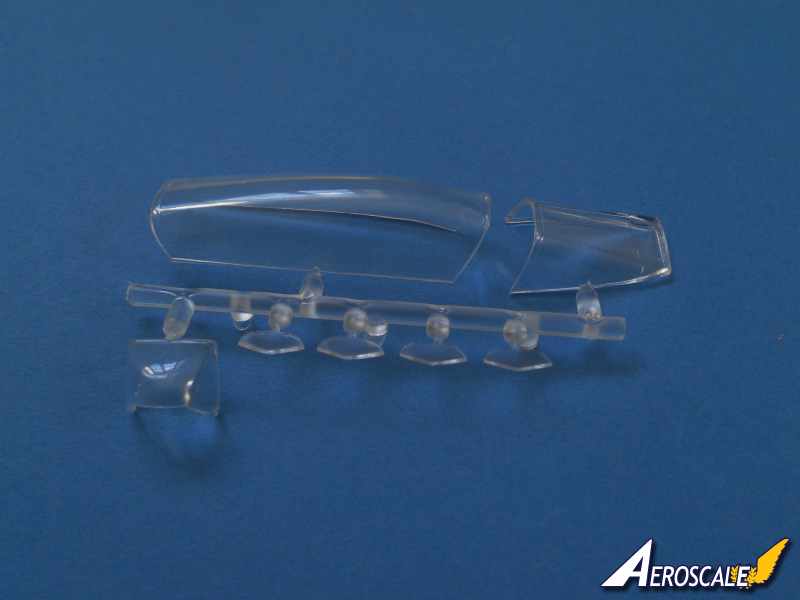
-1 x clear plastic sprue.
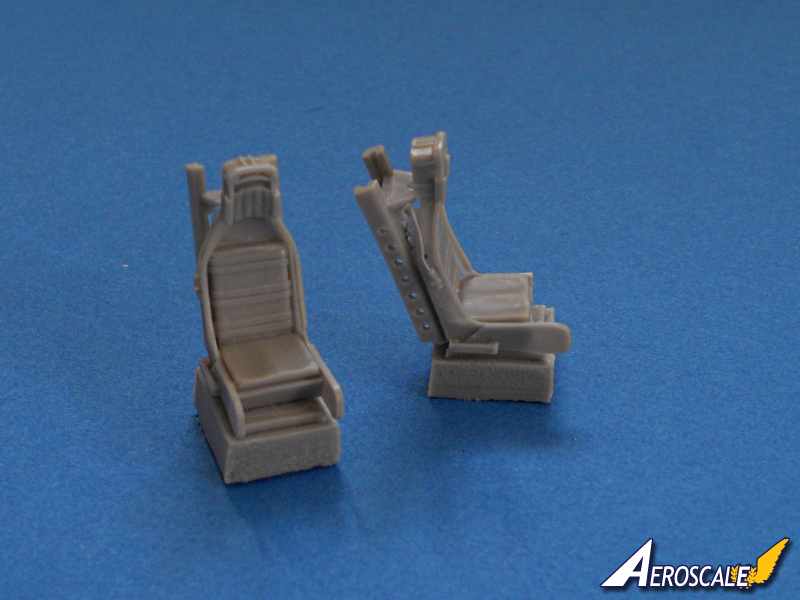
-2 x resin seats.
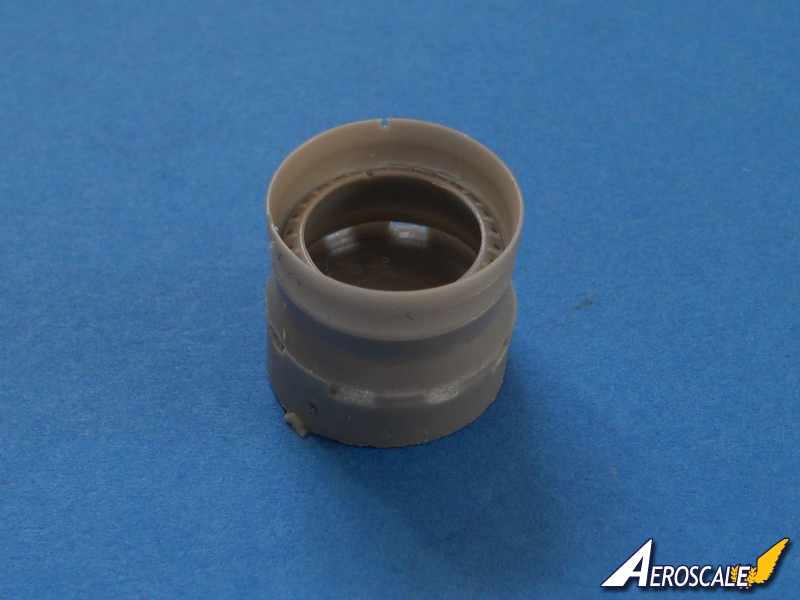
-1 x resin jet pipe nozzle.
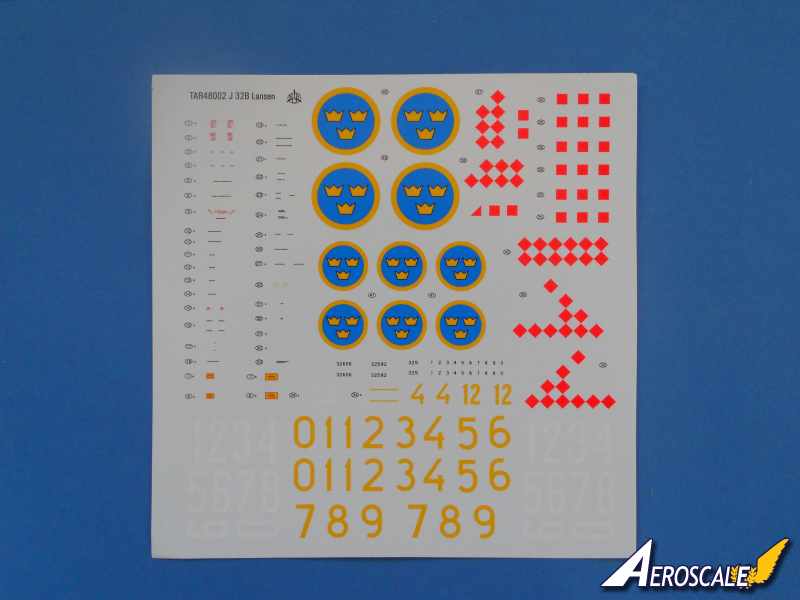
-1 x large sheet of waterslide decals.
-2 x smaller sheets of waterslide decals.
-1 x 11 page instruction and painting guide.
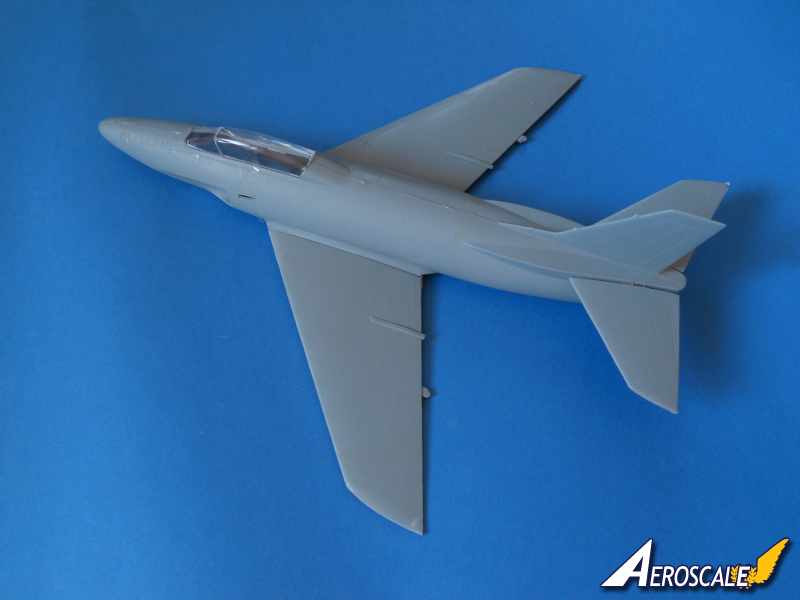
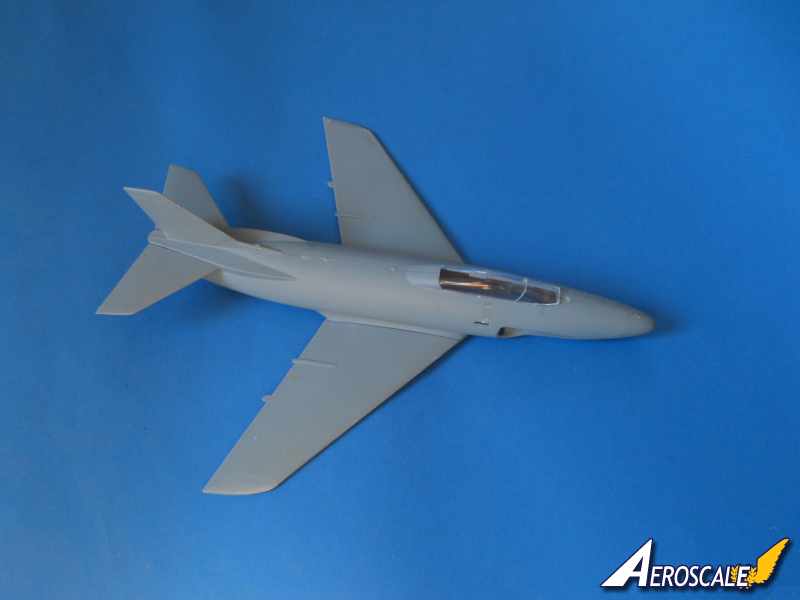
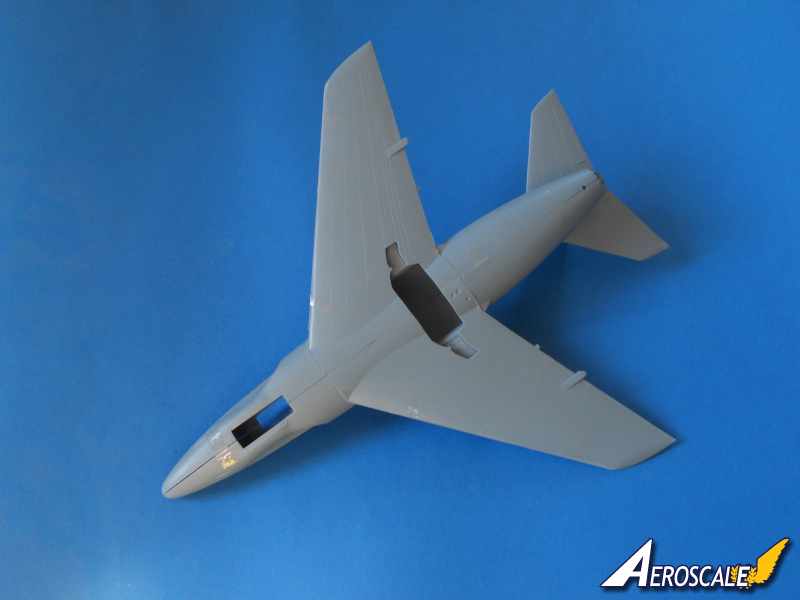
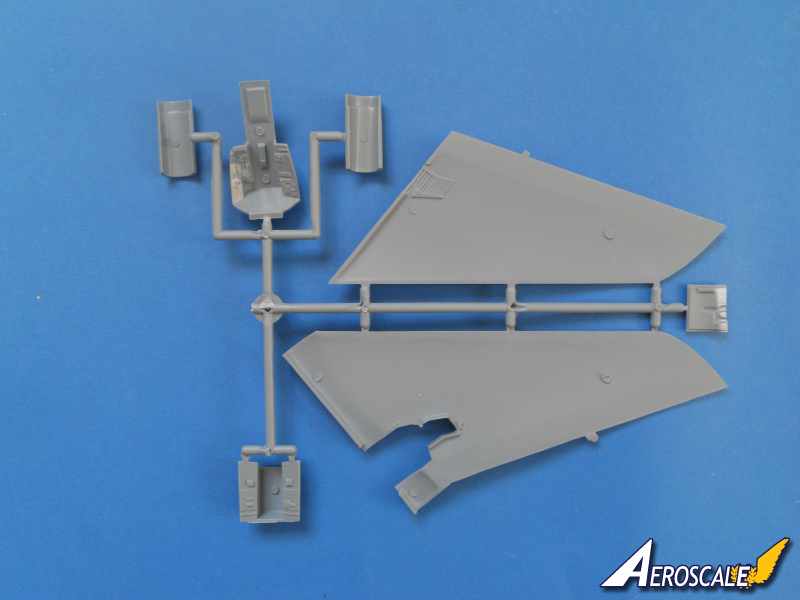
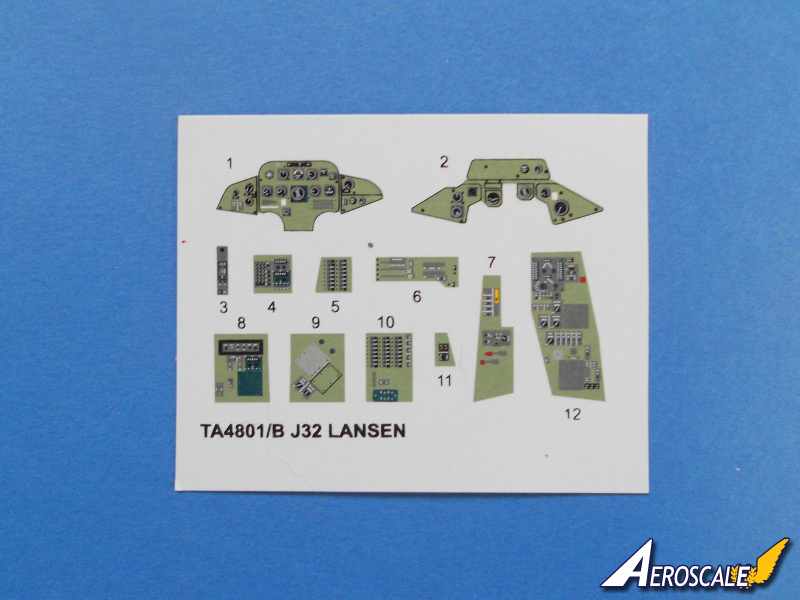
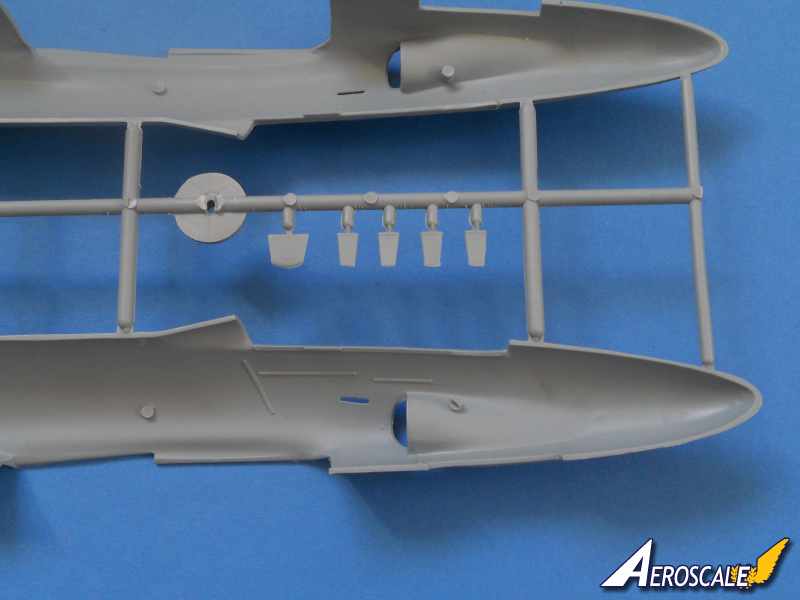
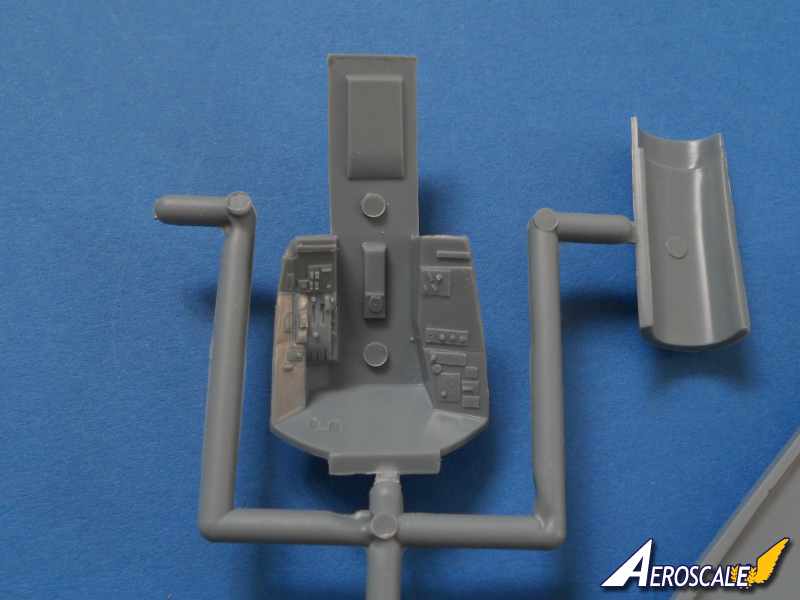
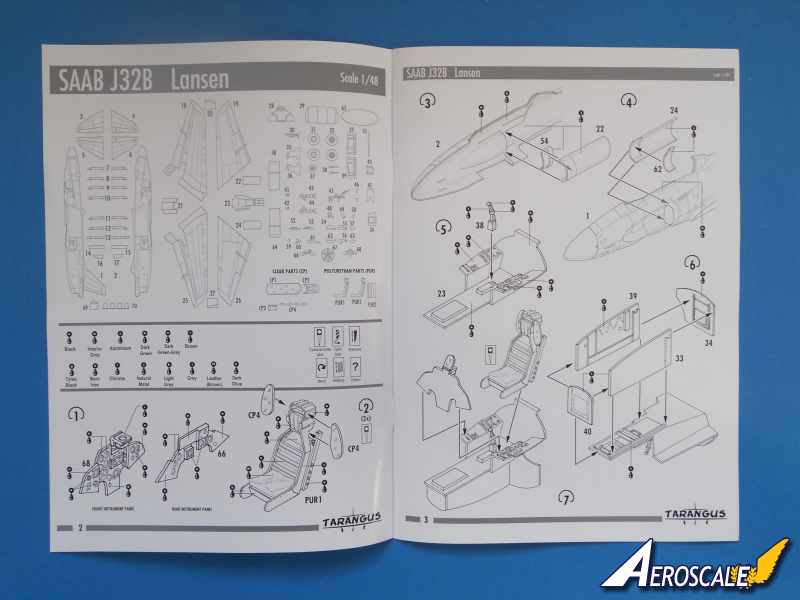
The Cockpit: is made up from two separate tubs, one for the pilot and the other for the navigator. The side panels have some basic low relief detail on them. The pilots cockpit has a detailed instrument panel onto which is added a clear plastic HUD. The navigators office also has an instrument panel [with a fewer instruments] plus a rear bulkhead to attach to the tub. Tarangus has supplied twelve decals replicating the cockpit instruments to add interest. Each decal is numbered, but there is no indication in the instructions where to place them. Tarangus claim the decals will conform to the relief detail on the plastic. If you prefer there is detailed painting instructions for the instrument panels and side consoles. Both positions have a flight control stick to glue in position. Both ejection seats are beautifully cast resin items featuring seat cushions and head rest pads. They are both attached to casting blocks which need to be removed. You will have to either purchase some aftermarket seat harnesses or scratch build some as there are no harnesses or straps cast onto the seats. There are a couple of clear plastic ears to attach to both seats. There is a blast screen for the navigator made from clear plastic and a hood for the pilots instrument panel to fit after the fuselage halves are joined. The Canopy: comes in two parts so the canopy can be displayed open. The clear plastic is good quality and there is some fine low relief framework on the windscreen. The Fuselage: is a completely new tooling, the two halves stretch the whole length of the aircraft. It makes a nice change seeing a fuselage that is not made up of a number of components. The reason for the new fuselage was to incorporate the open gun ports in the nose. The detail is a little soft and they would benefit from opening up towards the gun barrels. There are no gun barrels included with this release so you will have to scratch build these. As this is a limited run kit there are no locating pins or holes to assist the joining of the fuselage halves, so it would be wise to fit some plastic card tabs to help with the lining up. The recessed surface detail on the dark grey glossy plastic is very well done and should put some of the major plastic kit manufacturers to shame. The plastic is quite soft, making the trimming of surplus plastic from the sprues simple enough with care. The complete vertical tail surface is moulded on the port side fuselage; the trailing edges are commendably thin.
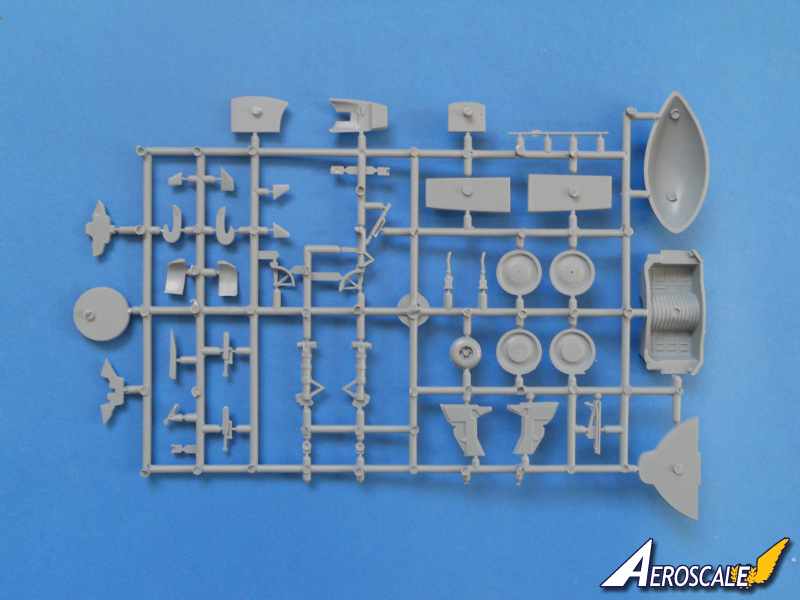
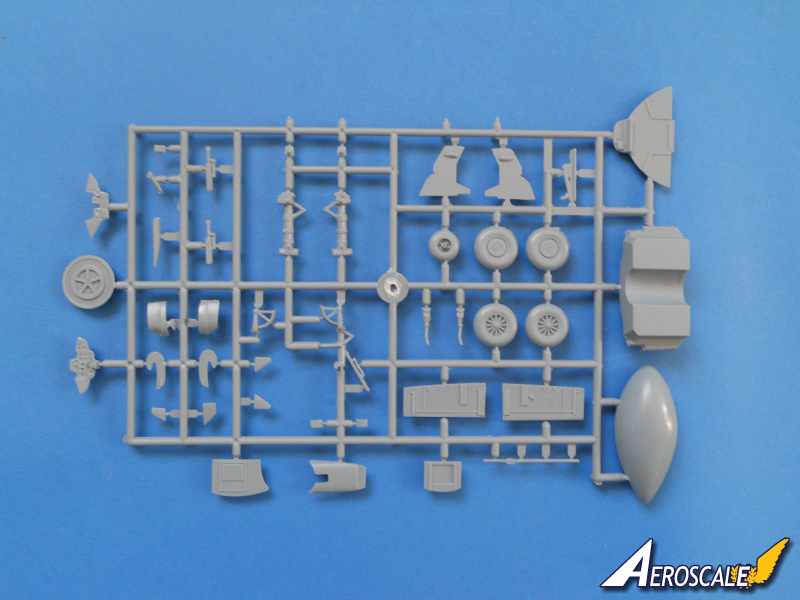
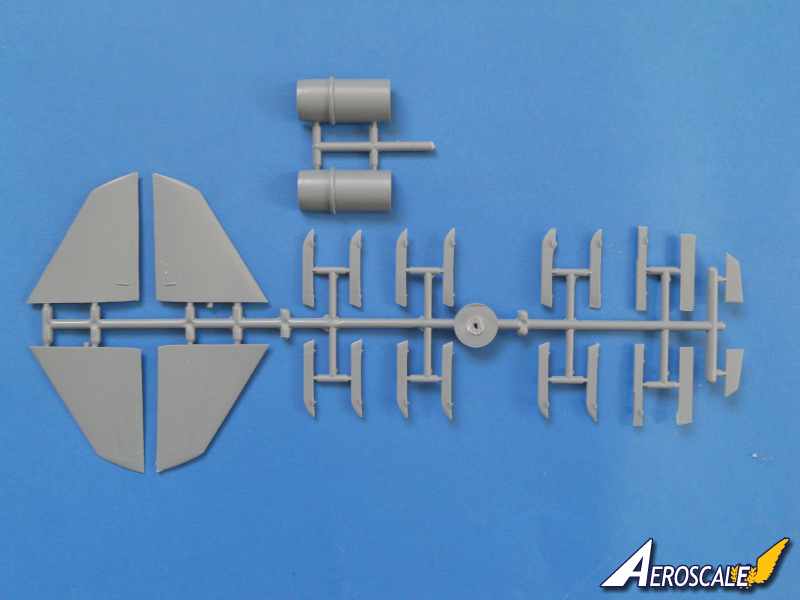
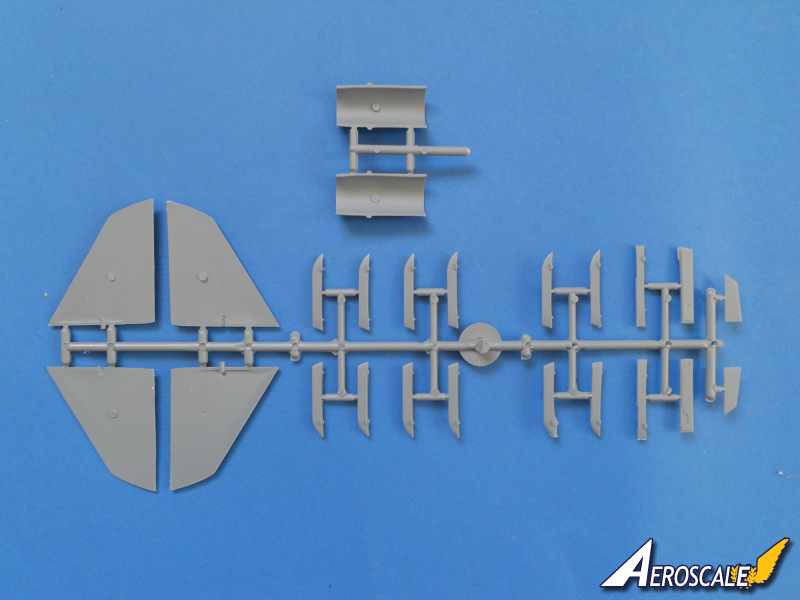
The air intake ducts are separate parts and off a decent length [32mm]. For a good fit they are best attached before the fuselage halves are joined. There is a separate boundary level plate to fit against the fuselage just in front of the air duct. There is no representation of the primary compression blades of the engine, but to be fair I would seriously doubt you would see it buried deep inside that large cavernous fuselage. It might be an idea to scratch build blanking plate to fit at the end of the air duct to prevent seeing too far into the fuselage. The shape of the intakes is first rate and capture the look of the real thing.The jet pipe at the rear of the aircraft is in two parts and is split vertically. There are two heavy raised ejector marks on the inside of the jet pipes to rub down. The rear part of the engine has some simple detail moulded onto a separate plastic disk that fit onto the jet pipe. A nice touch is the inclusion of the detailed resin jet nozzle.
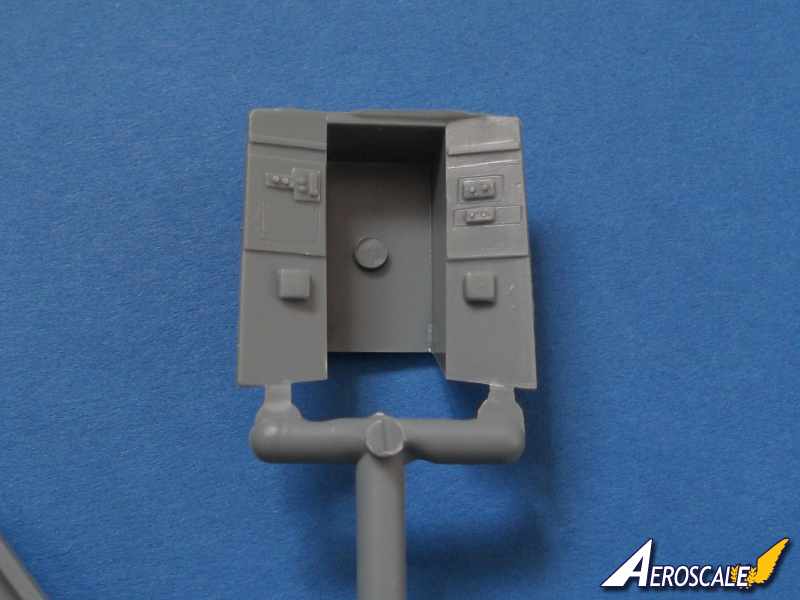
Before buttoning up the fuselage the four part forward undercarriage bay needs to be built and fitted underneath the pilots floor. The detail is fairly basic but nicely done.
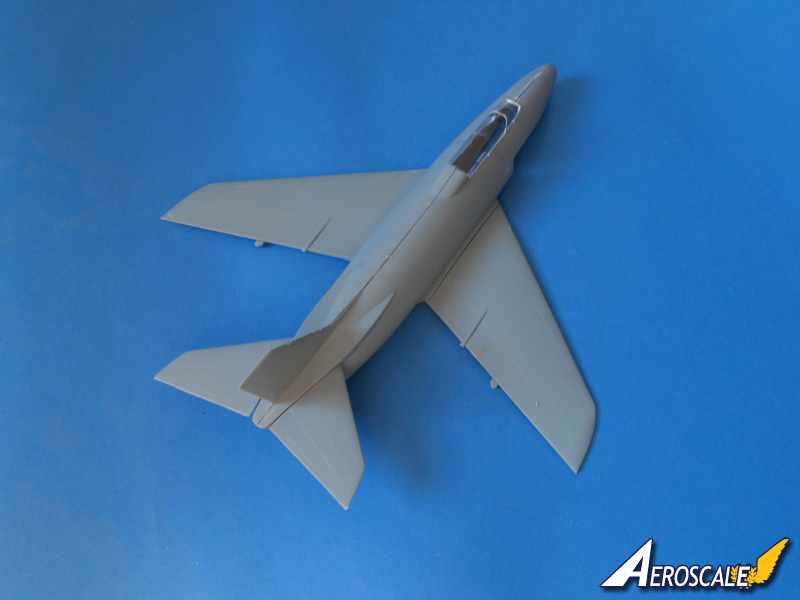
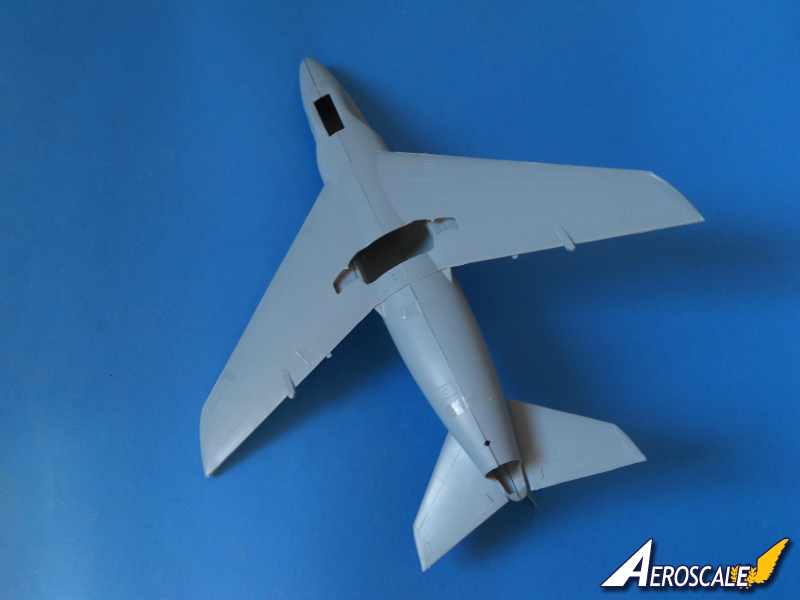
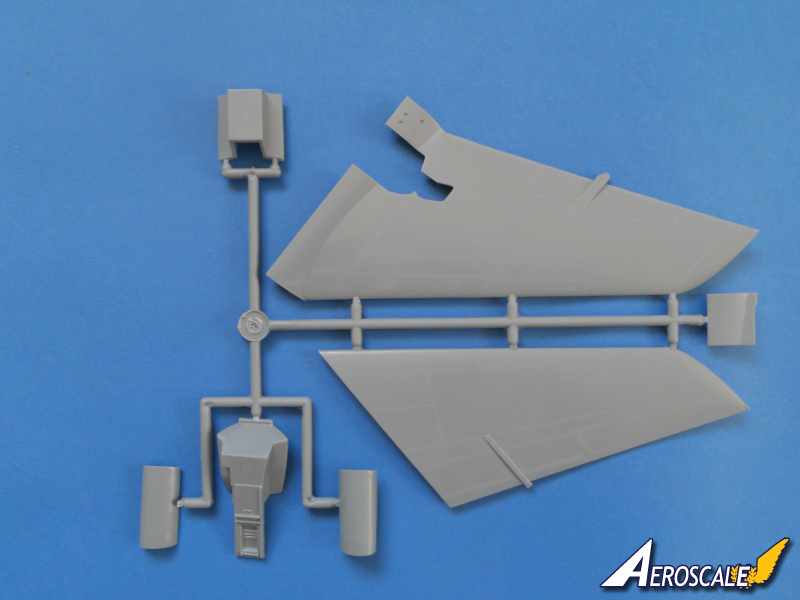
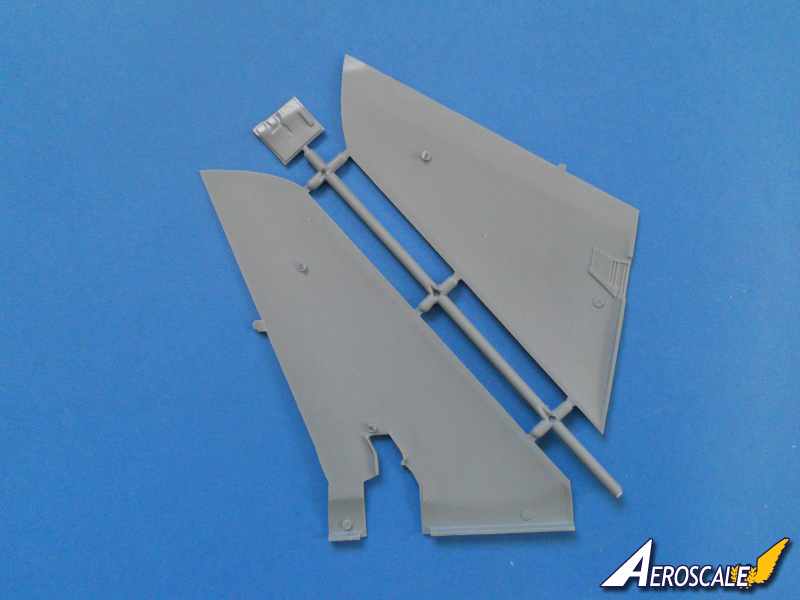
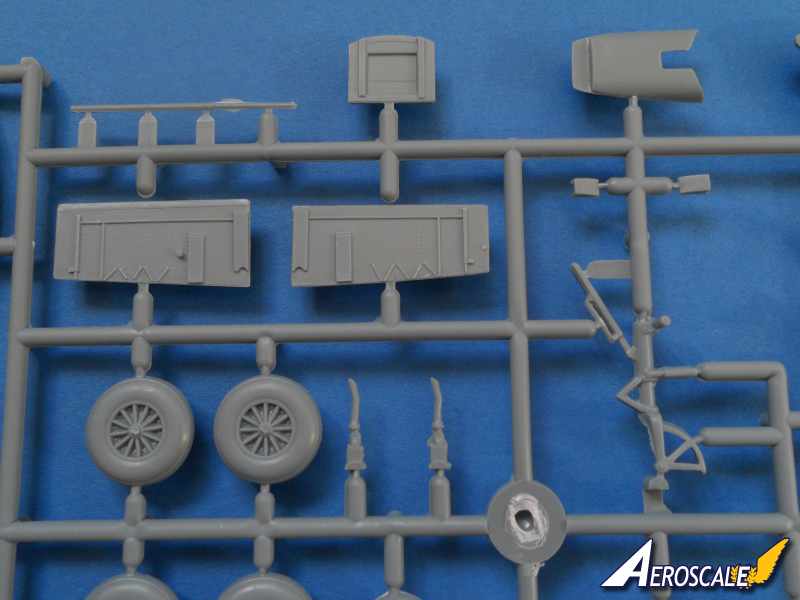
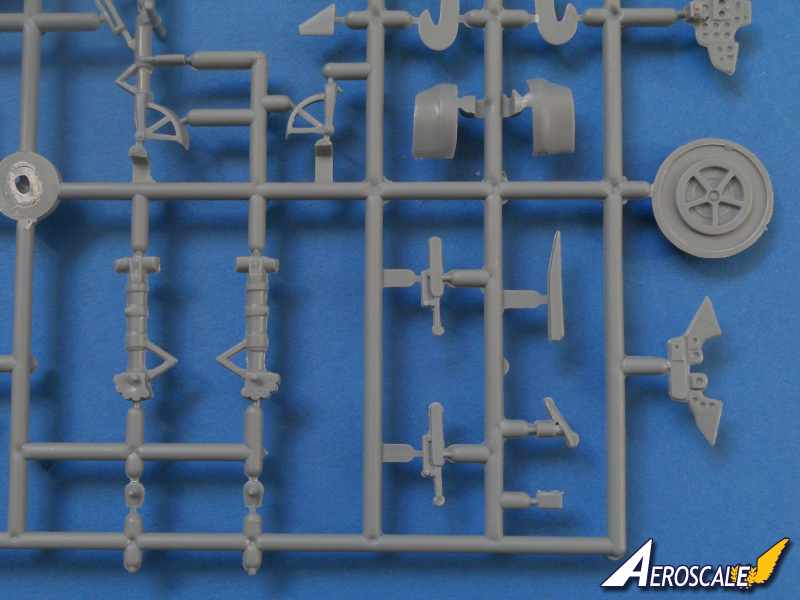
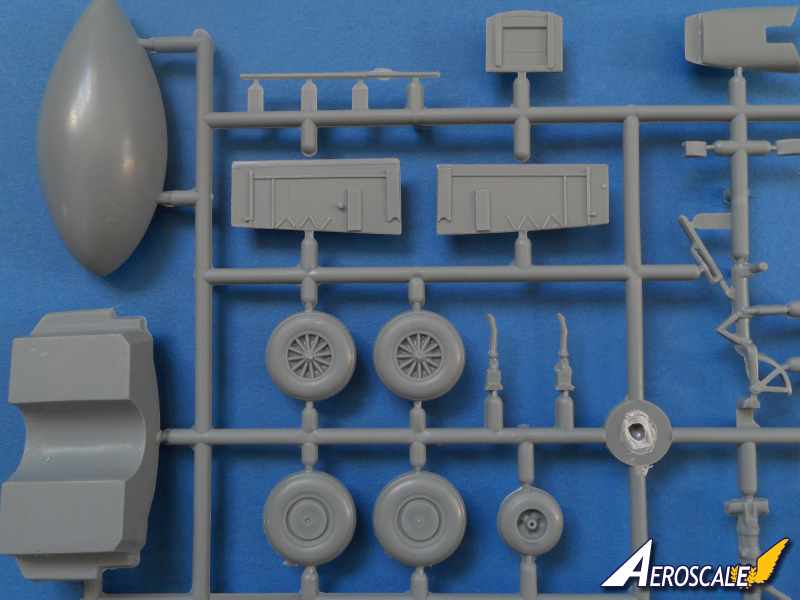
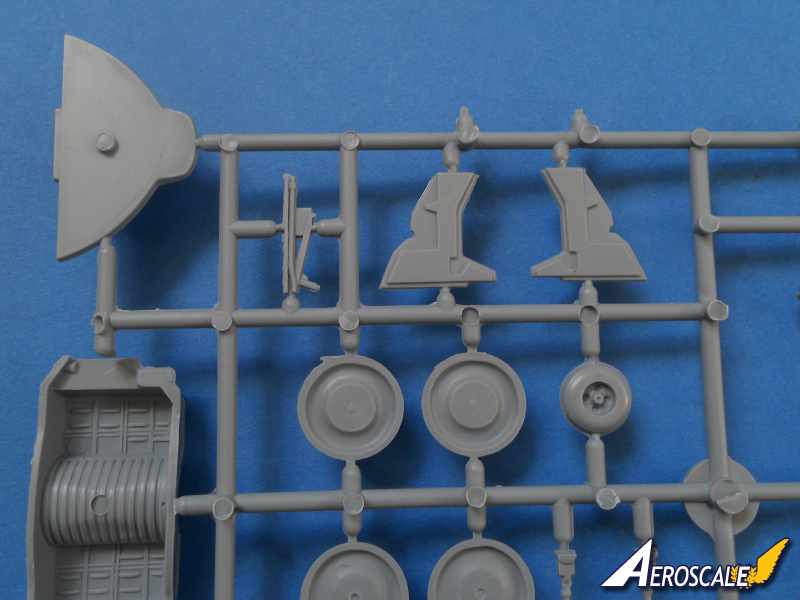
There is an optional one piece ventral fuel tank that can be added. The Wings: are made up from four parts with a substantial gluing area at the joint of the two lower wing halves. This produces a good strong lower wing that is further re enforced by the one piece main undercarriage bay that spans part of the joint. The trailing edges are thin and the recessed detail is good. There are some substantial raised ejector marks to remove before joining the wing halves, but as the plastic is soft this presents no problems at all. The two large vertical fins seen on top of the wings are separate parts as are the two partial wing fences. There is a rather long a delicate probe to fit into the starboard wing as well. If you want to fit the rocket rails, the locating holes for them need drilling. The location for the holes are marked on the under wing surfaces.
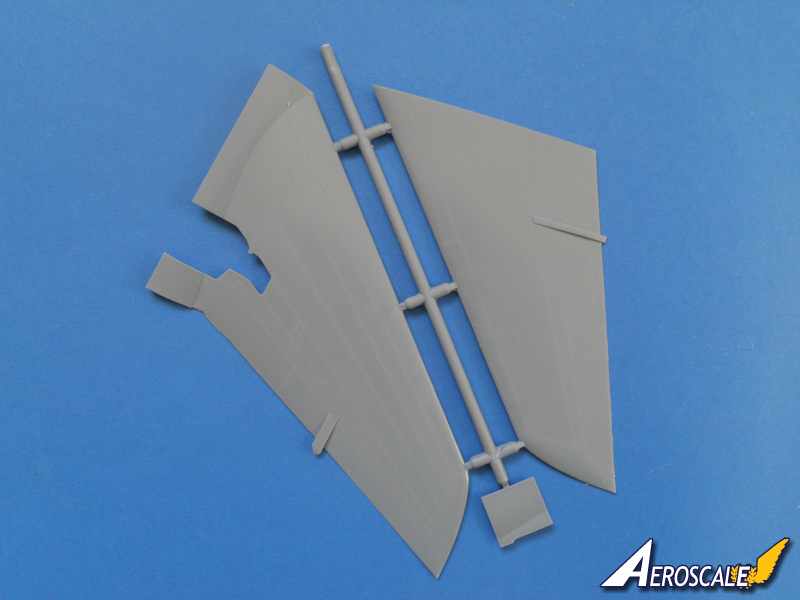
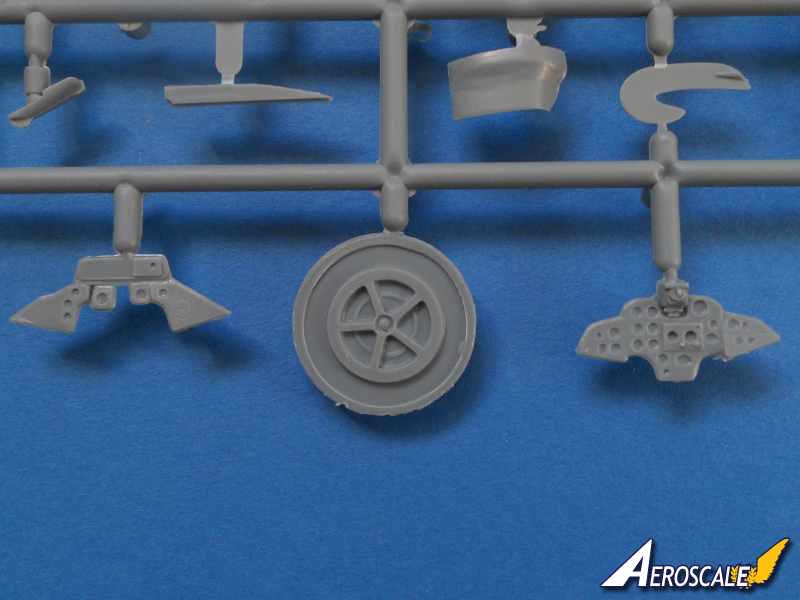
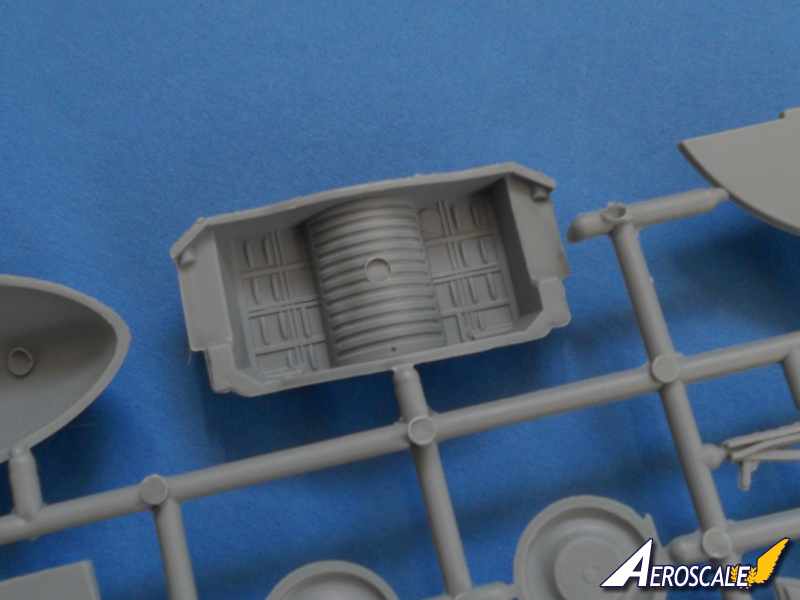
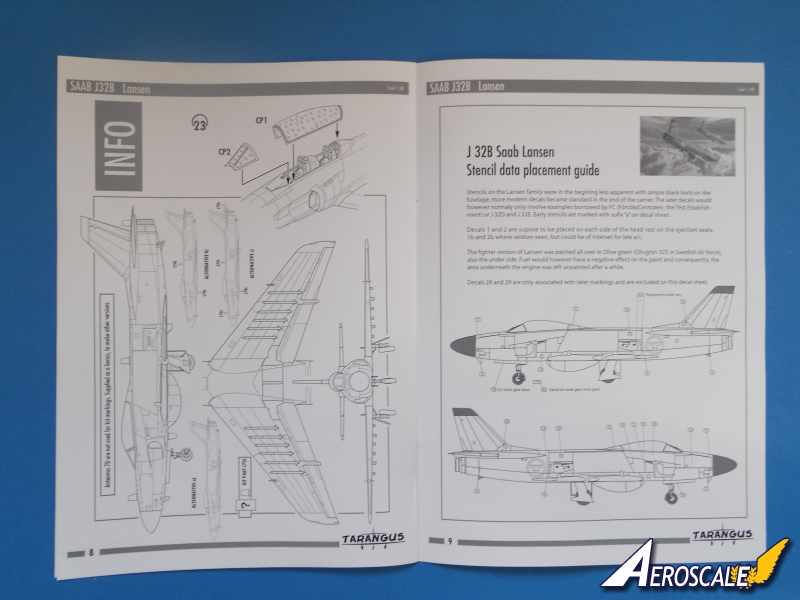
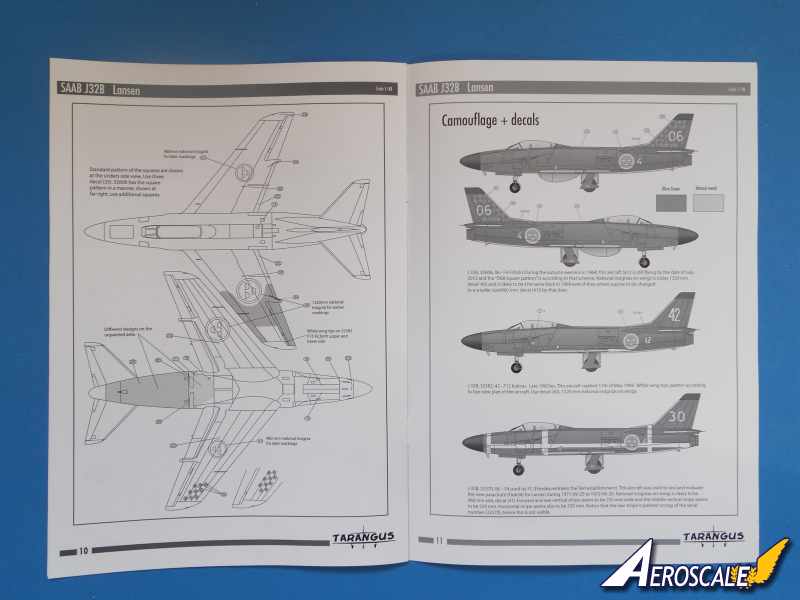
Each stabiliser is made up from two pieces split horizontally. The raised ejection marks on the inner surfaces need to be removed, but once done they fit rather well, with decent trailing edges thickness. There is a single attachment point into the fuselage for each and the fit is very good. Instructions provide information about the dihedral angle. The Undercarriage: the front undercarriage leg has the actuating rod attached to it. The hub of the wheel is attached to the leg at two points and the area is made up from two parts that sandwich the one piece wheel. I do like the moulded on mud guard on both parts of the undercarriage leg. The substantial legs of the main undercarriage are nicely detailed, the actuating rods are separate. All three legs will benefit from a bit of time cleaning the slight bit of flash found on them. The spokes of the two part main wheels look very good. The separate main undercarriage bay is detailed; the lower part of the engine is represented by some ribbed plastic. Unfortunately there is a deep recessed ejector mark right in the middle of the ribbed detail. During my build of the A 32 the ejector mark was a simple matter to eradicate. In any case the ejector mark will be mostly covered by an additional detailing part for the undercarriage bay The inside of undercarriage doors have low relief detail, there are a couple of landing lights to add to the two forward undercarriage doors. Finally there is a one piece anti scrape tail wheel to add. Dry Fit: Generally with a limited run kit you tend to expect to have to trim and sometimes wrestle with parts during the build. This one though seems to fit together rather well. Some trimming with a sanding stick is necessary on the trailing edge of the insert of the lower wing that fits into the fuselage. The windscreen is slightly long for the recess in the fuselage, so a little trimming is required. Armament: Well there isnt any although there are fourteen rocket rails supplied to fit beneath the wing though. Twelve of the rails are used; there is a choice of two styles of rail for the outer positions. Markings: three options are provided: J32B, 32606 06 F4 Frösön 1968, overall olive green with orange exercise markings applied to the tail and wings. Still flying today. J32B, 32582 42 F12 Kalmar late 1960's. Overall olive green with white wing tips. J32B, 32570 06 F4 Frösön 1971-72. Test and evaluation aircraft used by Försökcentralen [FC]. Overall olive green with white stipes and bands on the fuselage.
The rear under fuselage areas of all the aircraft were heavily stained natural metal.
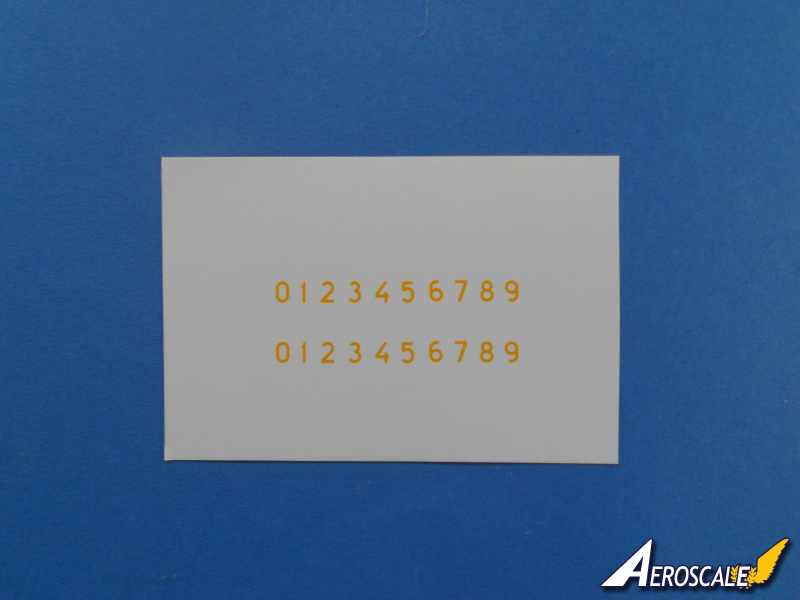
The Decals: look very good indeed. There are two sizes for the upper national markings; the much larger ones are for the earlier aircraft. There are plenty of stencils to add. The orange day glow cheques are bright and will certainly liven up the camouflage scheme. The Instruction booklet: is printed on glossy A4 paper. The black line drawings are large and very descriptive. The instructions illustrate twenty three stages of construction. The decal and paint guide is very good describing the weathering of the olive green upper colour. Upper and lower plan, side profile and head on views are included. Excellent.
Conclusions
Tarangus certainly made the correct decision to produce a new fuselage for this release. The fuselage fits together very well and the one piece tail has a commendably sharp trailing edge. Although similar to the bomber version, the Lansen fighter has subtle differences. One of which the jet pipe nozzle is reproduced in resin. So within a few months Tarangus has supplied the modeler with two versions of this important Swedish fighter. Not bad at all for a new Company.
Many thanks to Fredrik Zetterberg the President of Tarangus AB for being so kind sending this review sample.
SUMMARY
Highs: Great shape and scales out very well indeed. Build looks relatively straightforward.
Lows: Where do those decal instruments go? price may put some off.Verdict: This is a very good limited run plastic kit. The size of this beast will certainly look impressive on your model flight line. Highly recommended.
Our Thanks to Tarangus AB! This item was provided by them for the purpose of having it reviewed on this KitMaker Network site. If you would like your kit, book, or product reviewed, please contact us.


Comments