On a rainy Friday in September I just happened to go by our main hobby shop in Stockholm and this kit just jumped into my bag without me being able to stop it...
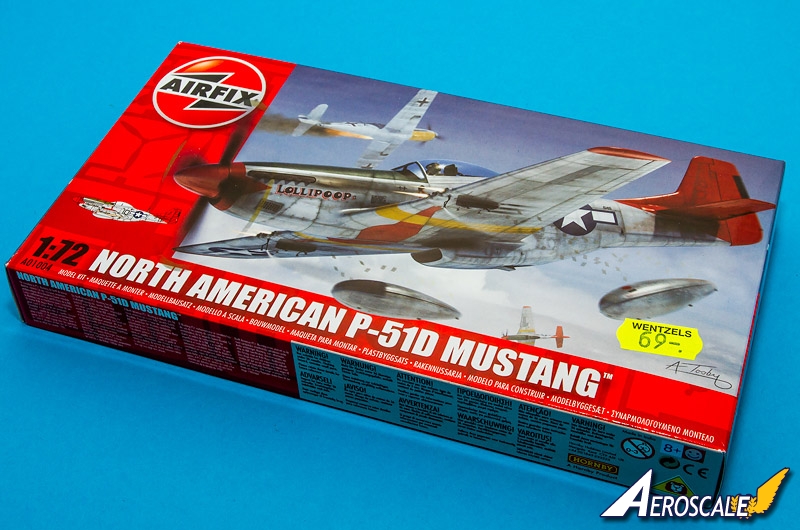
The kit really takes me back in time to my beginnings as a modeller, it has all the hallmarks of a Series 1 kit: side opening box with painting details on the rear side, one marking option, all the parts on two sprues (three sprues counting the clear parts)... And I really like it!
The single marking option is for a colourful bird from the famous Tuskegee Airmen. They do look nice but I didn't use them so I don't know how they perform. Can someone, who has already used them, come to my rescue?
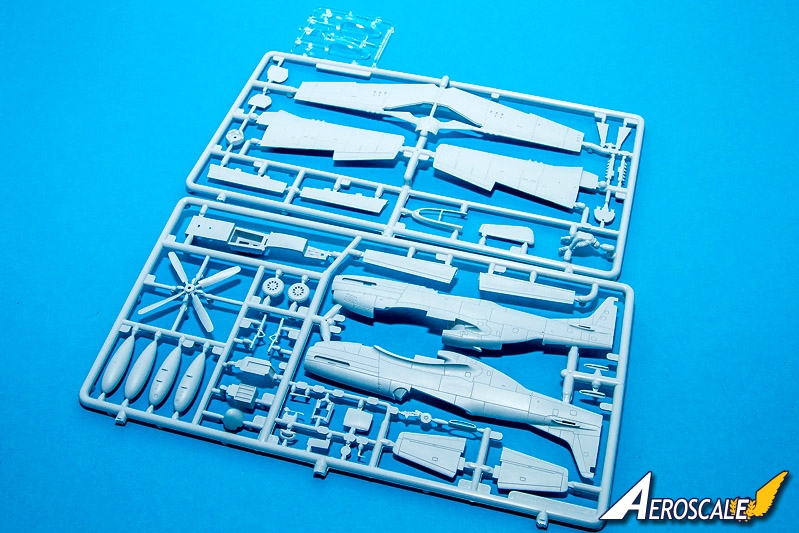
The plastic parts look good without being exceptional. Surface detailing is a bit on the coarse side and details are a bit soft. Another thing that is soft is the plastic itself, it is easy to overdo the sanding and I was actually quite worried about the strength of the landing gear.
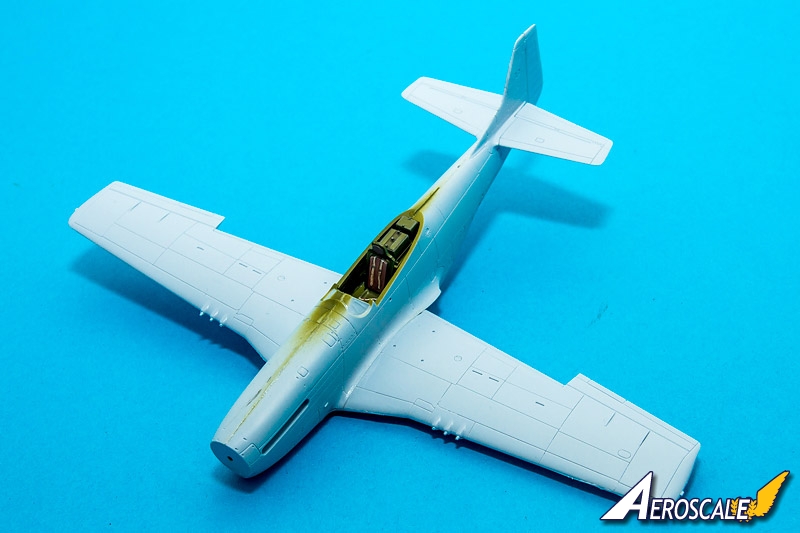
Load options are limited to a set of drop tanks but there are other features worth mentioning: I really appreciated the two separate sets of well fitting flaps: one set for flying and one for landing configurations. Add to this a separate rudder and I think there is more than one would expect in this box!
The low points are limited to the blank instrument panel in an otherwise adequate cockpit (decals simply don't do it for me), a windscreen that, due to the way it attaches to the fuselage, is tricky to glue and finally the most stupid thing there was to copy from the Tamiya kit: the two-piece main canopy with the clear part separated from the frame. They will have to be glued together one way or another...
So, what is it like to build? To sum it up in one word: easy! Especially if you follow the instructions...
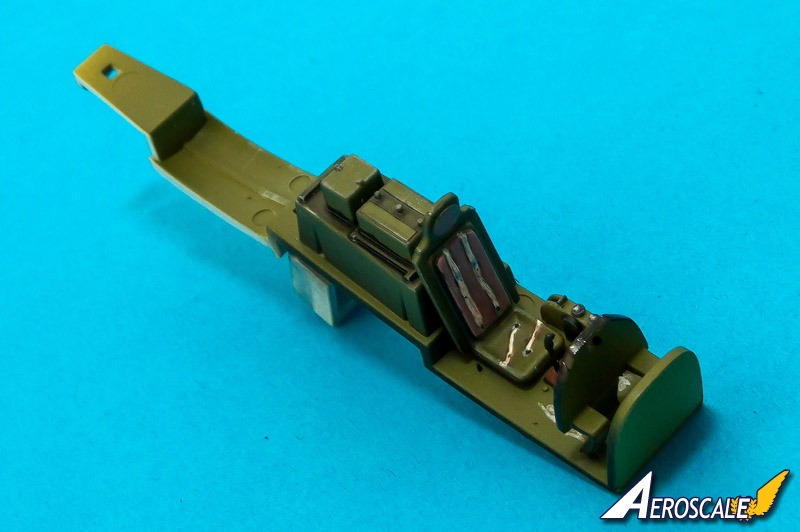
As with every Mustang build it all starts in the cockpit. There are no moulded seat belts in the seat, I painted mine but paper tape or photo etch frets will do the trick as well. The rest of the cockpit was painted and the not-too-good-looking decal was attached to the instrument panel. Resulting in a not-too-good-looking instrument panel...
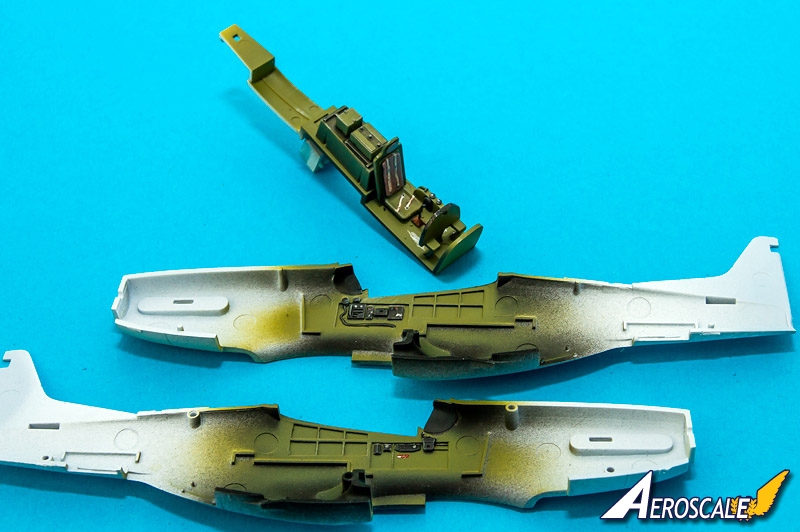
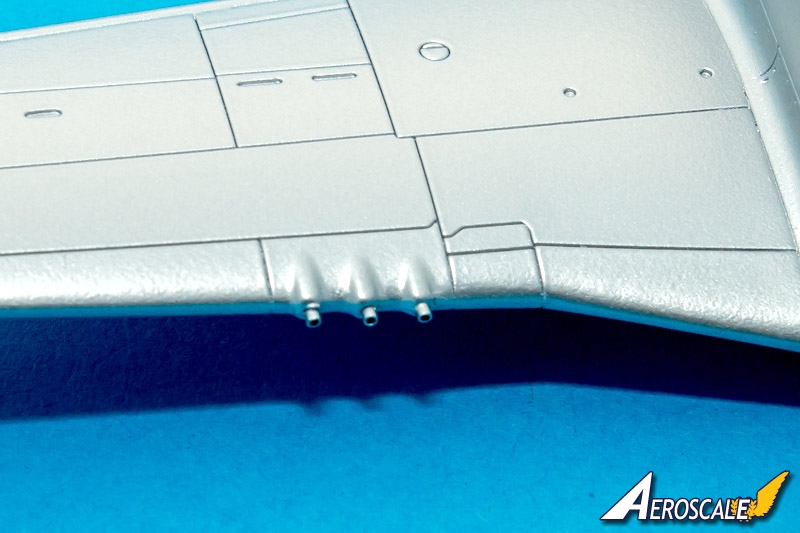
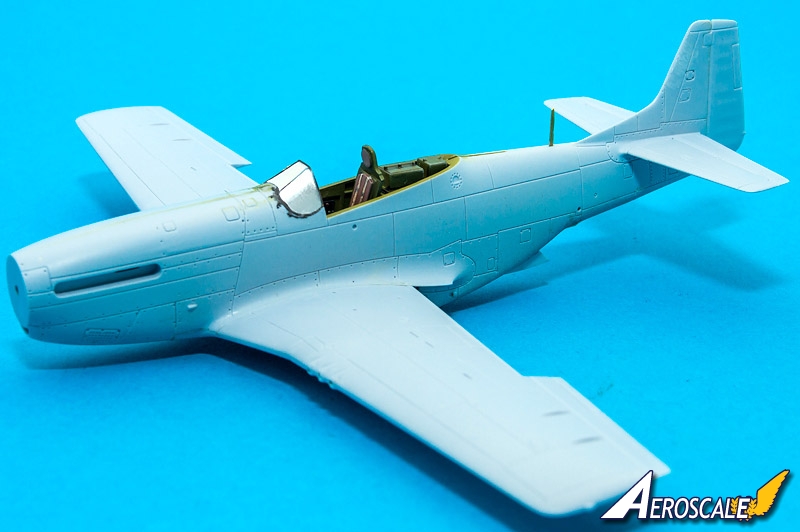
The rest of the build is a very quick process, after less than an hour it does look like a Mustang! A few points to look out for: wing fit is tight, check before glueing, and wait with the flaps until the wings are glued to the fuselage! The wings themselves fit well together apart from one critical area: around the cannon ports. There seem to be some kind of insert in the mould that isn't really flush with the rest. I quickly gave up on filling and filing the cannon stubs round and substituted Albion tubing instead.
The smaller parts are well done, especially the wheels have nice deep detail and a well cast diamond thread pattern. Landing gear are easily attached and the strength seem to be enough despite my initial worries!
The final problem, and the one thing I put off the longest, is the canopy... My friend Ulf has always been a strong advocate of thinned white glue for his ship models and I decided to give it a go this time. After all, it can't really go wrong since it can be cleaned up using water... I mixed water and glue and brushed it on to the top of the frame, quite a lot of it so that capillary action forms a bulge. Then I attached the canopy carefully and prayed! When the glue dries it shrinks, leaving a neat seam that is adequately strong. Problem solved!
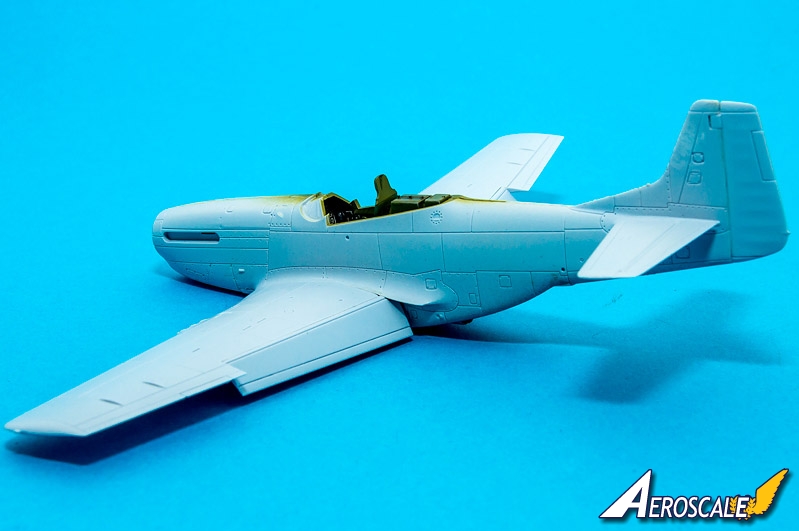
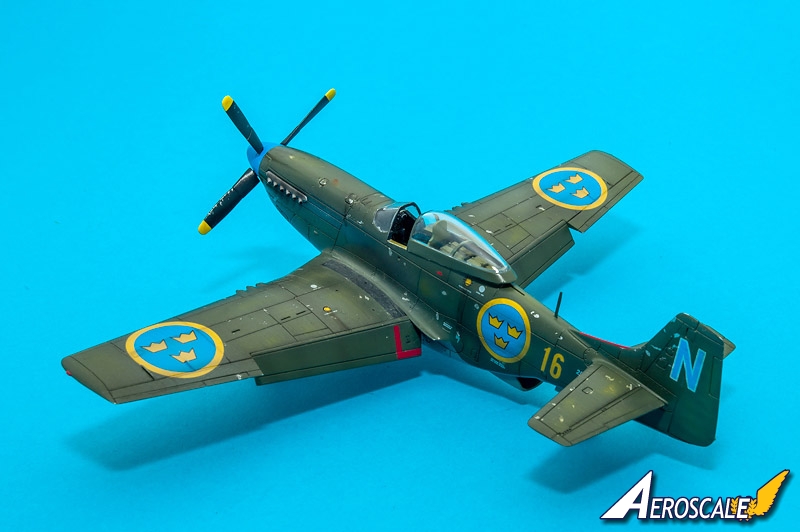
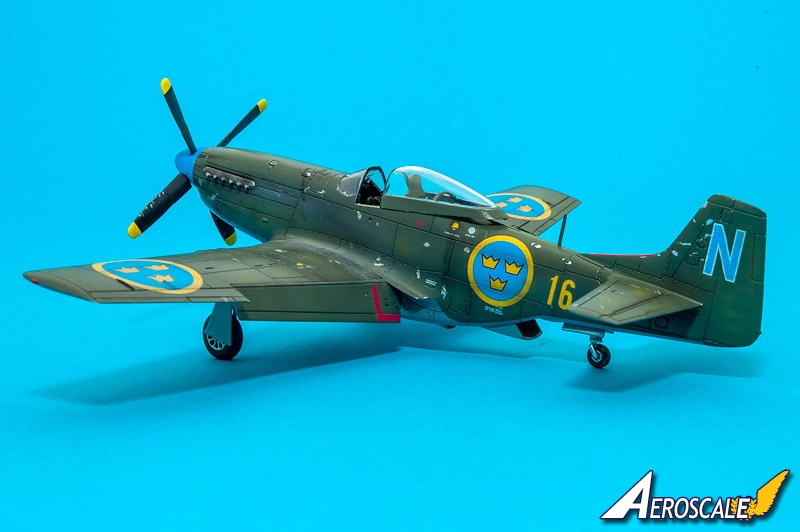
The finished Mustang really looks Mustang: it is a big, mean and chunky piece of flying machinery and Airfix has captured that look very well. It looks heavy and I like it a lot, full points for that!
So how does it compare to the other kits on the market? I would say that I prefer the Airfix offering over both the Italeri kit and the well cast but rather skinny Hasegawa offering. The Tamiya kit is outstanding but almost three times the price of the Airfix. Let's say it like this: if I was in the shop looking for a Mustang and there were Tamiya and Airfix to pick between, I would probably pick Tamiya due to a bit more refined details. If there only was the Airfix I would happily bring that one home without going looking for alternatives.
Finally, a few words about my choice of markings: the Swedish Air Force operated more than 150 Mustangs after WWII, among these there were two green-painted examples, the rest were silver/natural metal.
I read about blue N many years ago and legend has it that this was one of the fastest Mustangs in the air force. It's regular pilot was an NCO who, probably due to being the most junior pilot at the squadron, had gotten the scruffiest plane there was as his. When he realised just how good it was, he carefully made sure that it was kept that way so that nobody else would lay their hands on it! When Swedish decal manufacturer RB-decals released a sheet with this aircraft it was finally time to build it.
Please remember, when contacting retailers or manufacturers, to mention that you saw their products highlighted here - on AEROSCALE.
SUMMARY
Highs: Pricing, a few unexpected extra features and ease of construction makes this one a winner!Lows: Detail could be a bit more refined, I don't like the blank instrument panel and while it can be overcome, the canopy design is not the most clever.Verdict: A modestly priced kit which despite this contains some nice extra features that results in a very good-looking Mustang. Almost as good as Tamiya for 1/3 of the price!
About Magnus Fridsell (magnusf) FROM: STOCKHOLM, SWEDEN
It all started with a Biggles book, one of those where he is a flying policeman... He flew an Auster of some kind. Later that year, this was in 1982 when I was 10, I got the Airfix Series 1 Auster for Christmas.
Since then modelling has been my interest. It has survived RC flying, flying full sca...
According to Swedish Fighter Colours three Mustangs (J-26s) were camouflaged, s/n 26001, 26004, and 26031.
26001 (43-6365) P-51B-7, 354 FG, 355 FS. Interned 13th May 1944.
26004 (44-13917) P-51D-5, 359 FG, 503 FS. Interned 6th August 1944.
26031 (44-72220) delivered 23rd April 1945. SOC 21st May 1948. W/o F 16 27th June 1947 Used as ground instructional airframe.
26001 & 26004 presumably retained their USAAF camouflage. 26031 was experimentally painted in the standard Flygvapnet colours olive green and light blue-grey.
Antoni!
All three green Mustangs were repainted in Swedish green/grey colours (there are photos proving that in several publications).
26001 (ex USAF "Z Hub") was a P-51B that never saw "real" squadron service, it was flown as a "hack" and communications aircraft.
According to my sources the "other" (I've done 26031 from the Airfix kit) green P-51D was 26003 (not 26004), a D-5, the only P-51D in RSWAF without the fin extension.
Have a look here for a condensed history of those aircraft. Those are the instructions for the decals I used, they even include "Z Hub" as it supposedly looked like when it landed in Sweden in May 1944!
Magnus
The book arrived in todays's post. You are correct, there is a mistake in the book. Examination of the photo captions shows 26004 "You've had it" as bare metal and 26003 "Mary Ann" olive green. All the photos of "Z Hub" show it with all the markings removed except the name, US serial number and white id bands. I have no problem with them being later repainted but there are only photos of "Z Hub" in new paint.
Finally I finished the kit and the decals are mostly good. The only issue I had was with the yellow stripes, as they needed a bit of trimming, and is quite stiff. (On the other hand that means they are fully opaque.)
So I would perhaps suggest the yellow stripes being masked and paintet. (I did paint the red stripe behind the propeller, to make sure the color was matching.)
Sorry for the late reply, hadn't noticed the question. For the metal finish I used different Citadel metallics over a white coat. "Chainmail" mainly, with some panels picked out in a lighter or darker shade. (I mixed "chainmail" with "mithril silver" and "boltgun metal" respectively.)
I have used those paints for close to a decade but I haven't done a full NMF using them yet. And now they have changed both the names and the formula for them...
Magnus


Comments