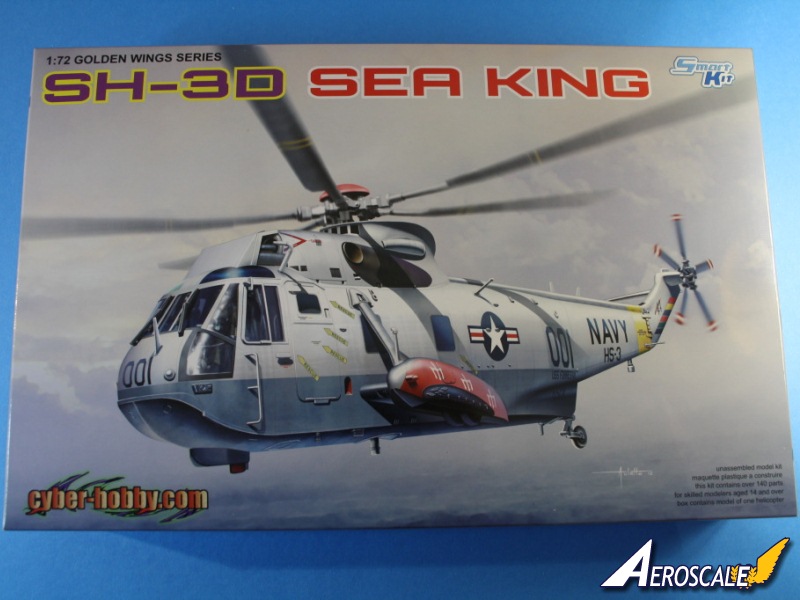
History
The Sikorsky Sea King was developed as a twin engine turbine powered amphibious anti-submarine helicopter for the US Navy beginning in 1957. The prototype XHSS-2 first flew in 1959, and the type entered service in 1961. Although it was developed for anti-submarine work, the Sea King was soon found to be adaptable to other roles and subsequently modified to serve in Search and Rescue, Utility Transport, VIP Transport, Mine sweeping, and experimental roles. The Sea King was selected to serve in the Armed Forces of many different NATO and Western-aligned nations and was built under license by Canada, Italy, Japan and the UK. In addition, Sikorsky adapted a lengthened version into two different Civil models.
building the kit
This was supposed to be a straight build review, but after researching the subject I found many areas that needed correcting to produce an acceptable model.
I don't compare models to drawings or published measurements. When assembled it will look like a Sea King.!
But I do compare models to photos.
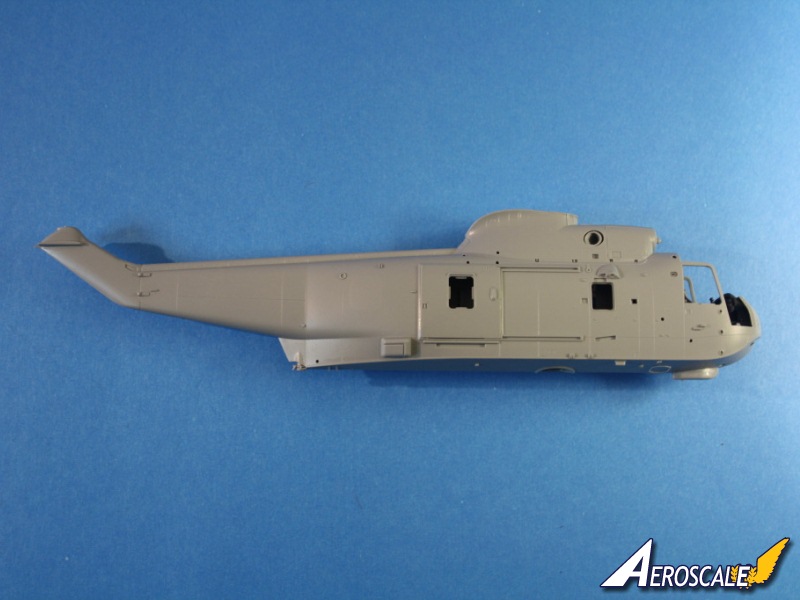
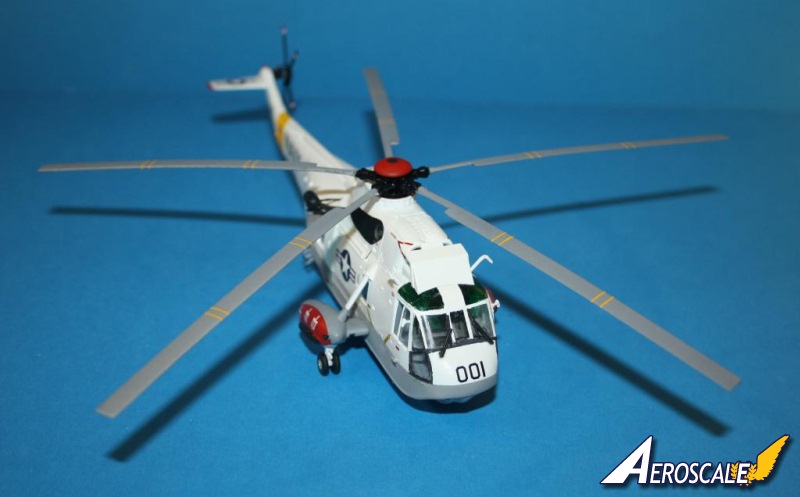
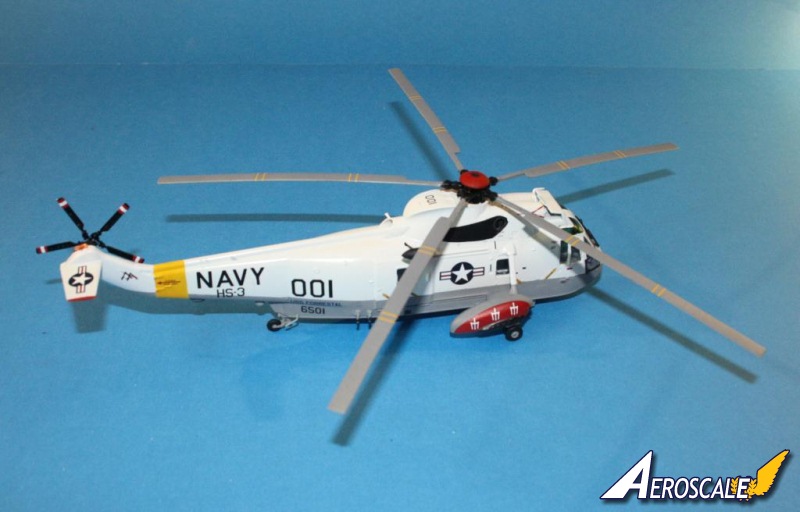
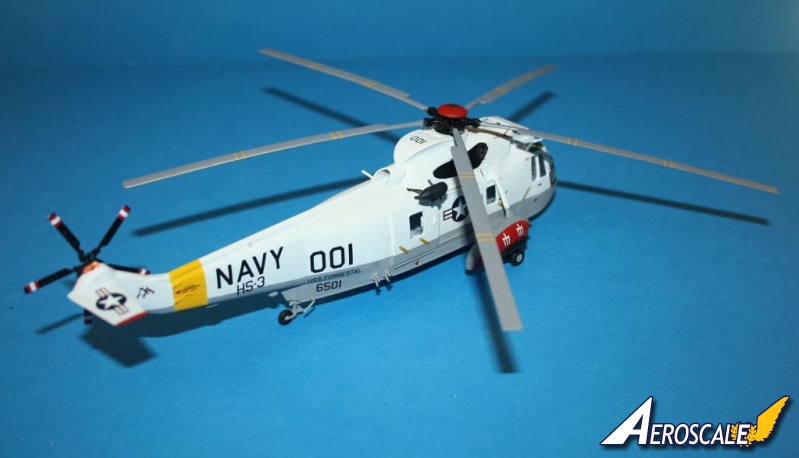
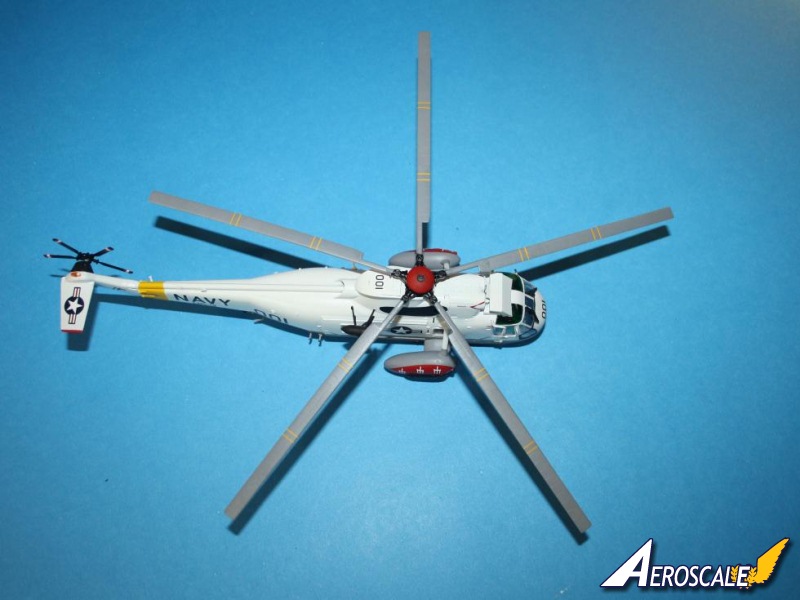
The Sea King version that I have built is the supplied option for HS-3 flying from USS Forrestal.
As seen in this
photo, the various Antennae, pods and mounting points visible are not included in this release. Also, the shroud on top of the tail boom aft of the engine housing is missing
Since I building this kit, Eduard has released an
upgrade set for the AEW.2 Sea Kingthat has many parts which may be used with this kit:
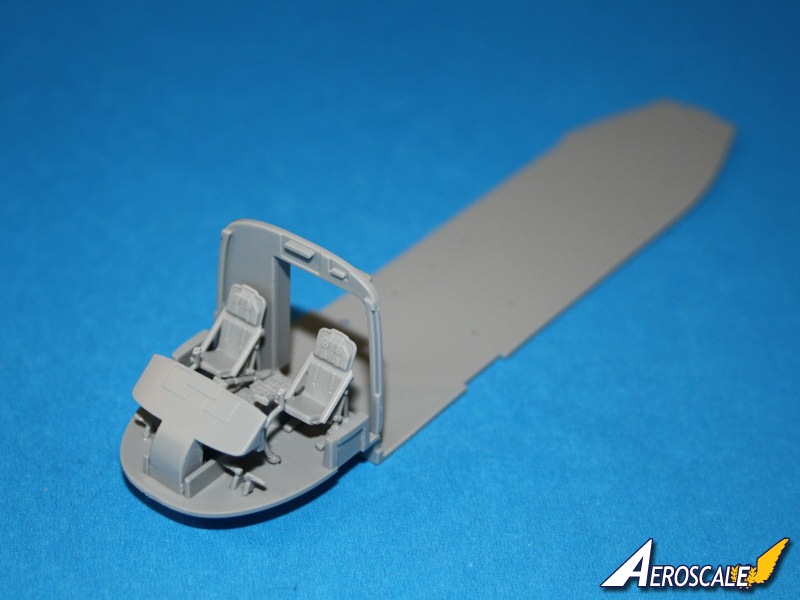
As the interior supplied with the kit was incorrect I built the Sea King with all doors closed. All parts joined together well with minimum filler used.
Step 1/2/3
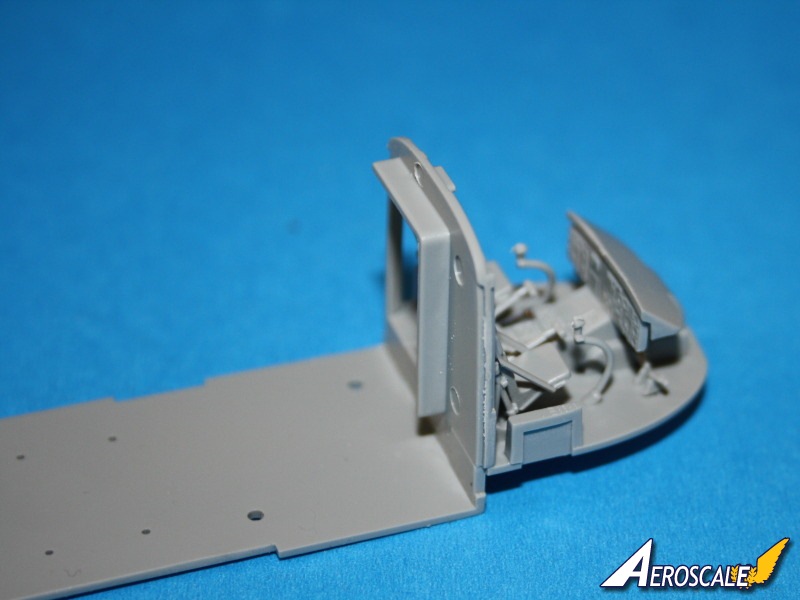
Cockpit built as per instruction sheet but seating at rear was not built.
Step 4
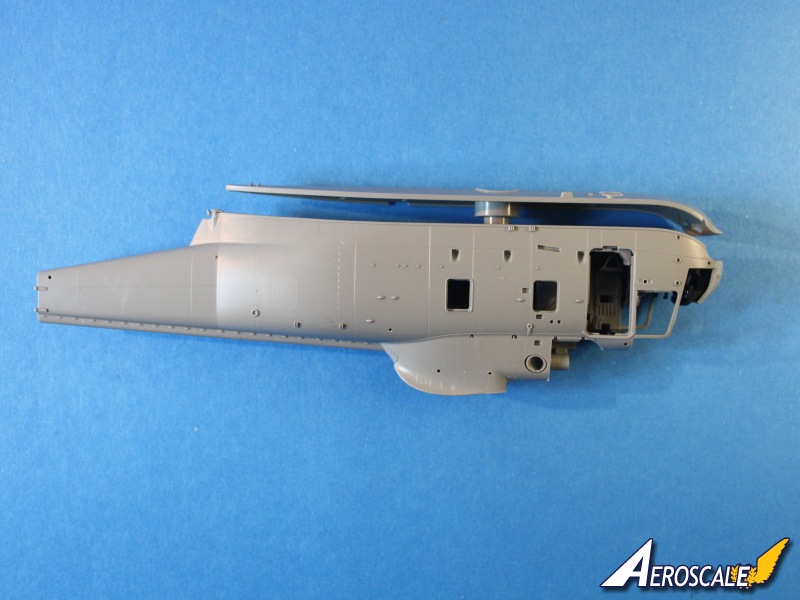
The floor (part B45) was drilled out to allow part A9 to pass through it when gluing part B1 to the bottom of fuselage (step 4 photo). All marked holes were opened up before the fuselage was closed. Take note that exhaust parts C62/C61 are reversed on instruction sheet. The fuselage was glued and set aside to dry.
Step 6 A/B/C
The transmission cover (part C19) is not called out in instructions. Now we come to the point where I get a touch of AMS! As you can see after checking the Web for info/photos of the Sea King and with all the photo data out there it makes me wonder why kit manufactures dont release an initial variant of an aircraft and include variant parts then only need change the decals and box art. This kit issue has lot of parts for the spares box.
The parts that I have made are not from drawings but eyed from photos and scaled to known items on the aircraft.
The cabin step (C38) is not used on this variant so the location point was filled with strip and filler. Antenna (C17) is not used on this aircraft.
To date any photos that I have found of the Sea King (any variant) do not show grab rails (C15/18/23) so i cut off their location collars and filled the location holes.
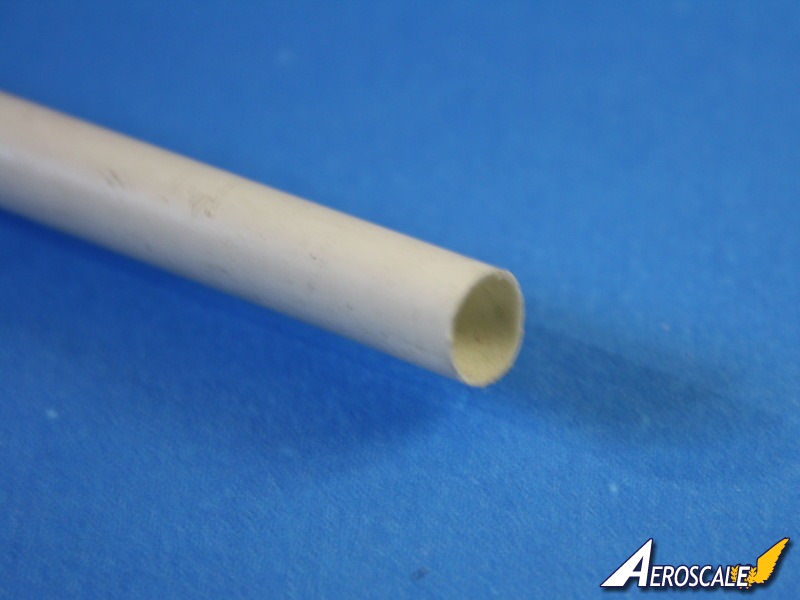
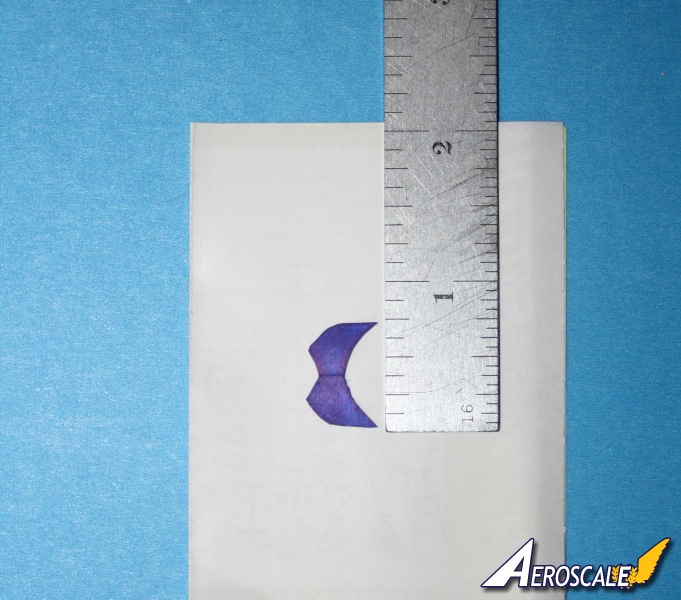
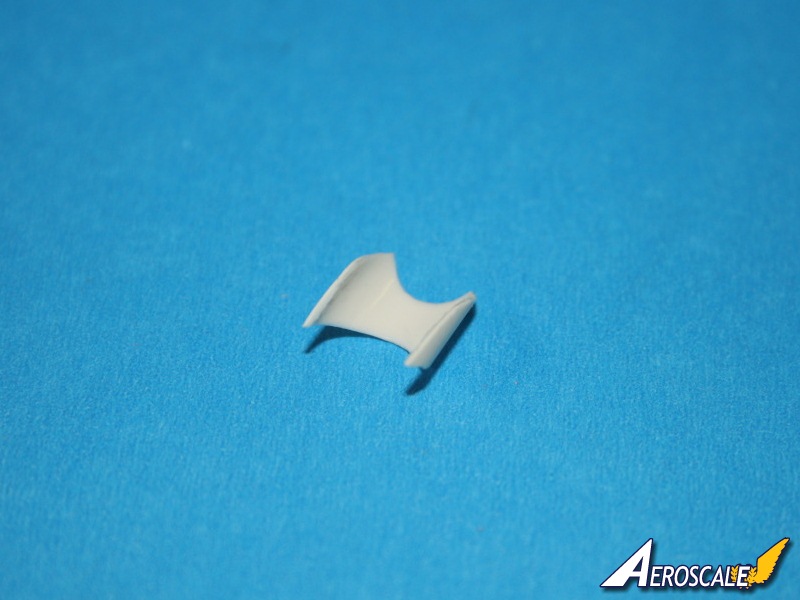
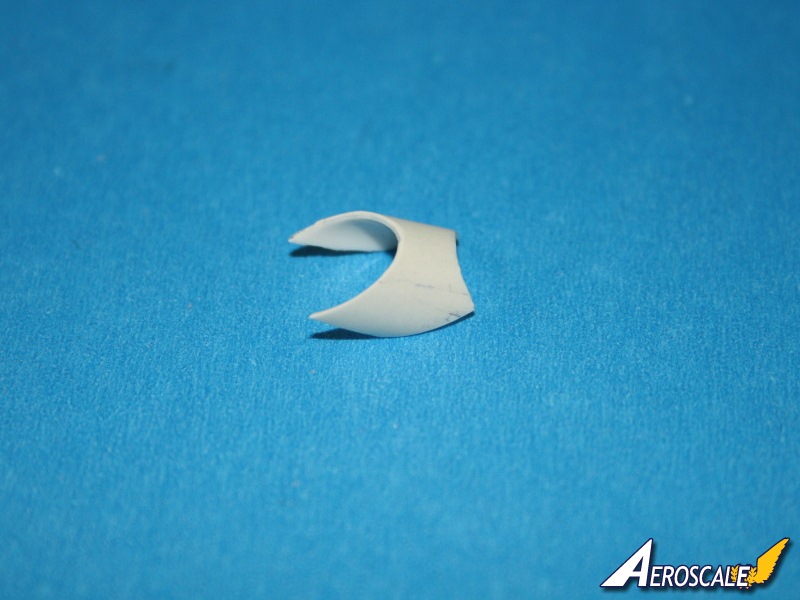
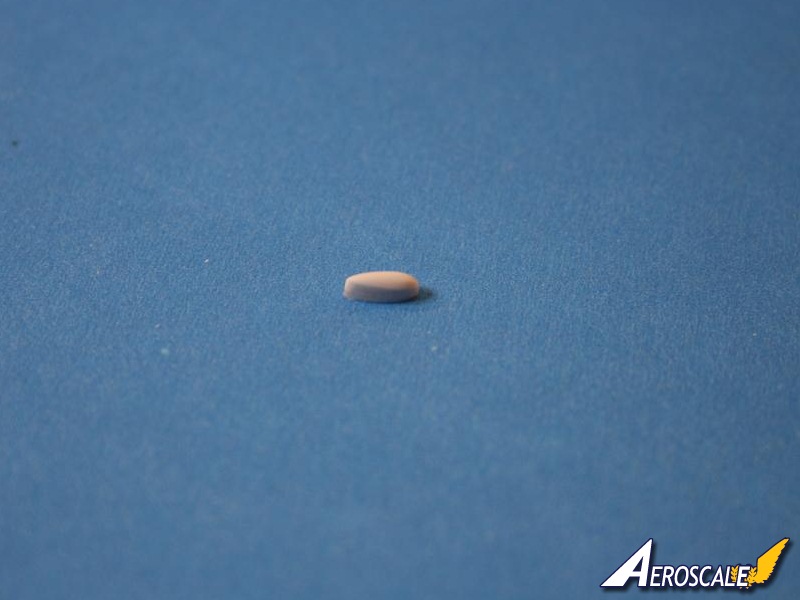
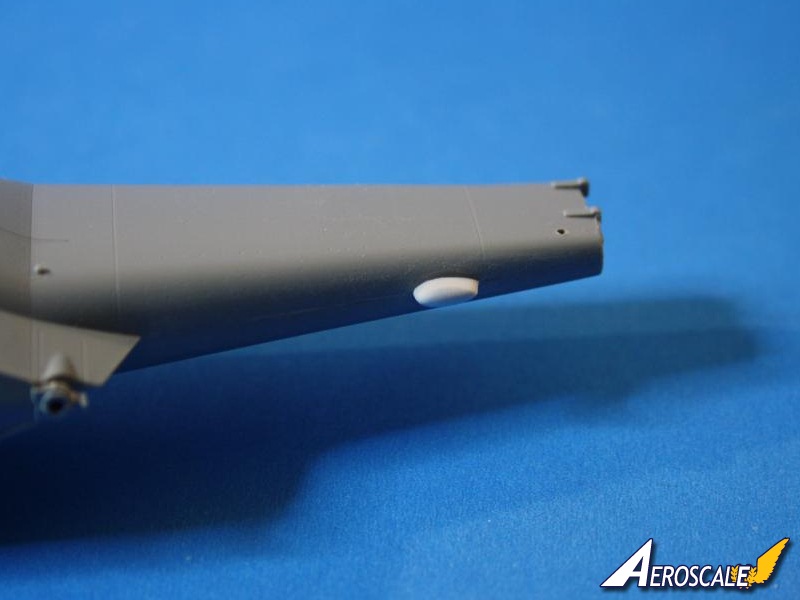
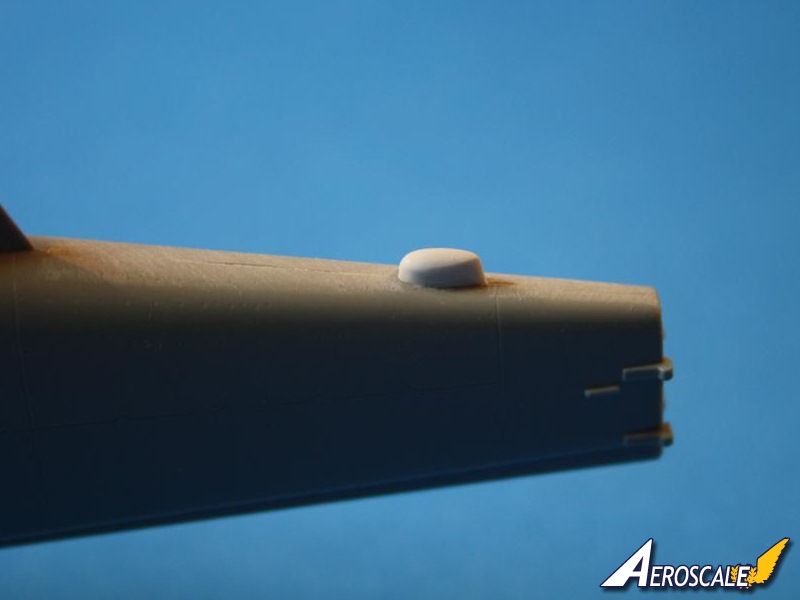
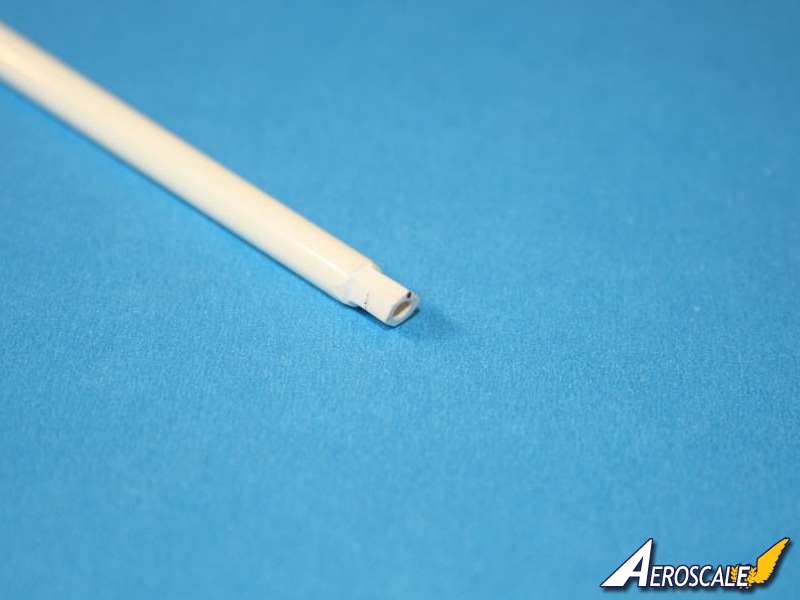
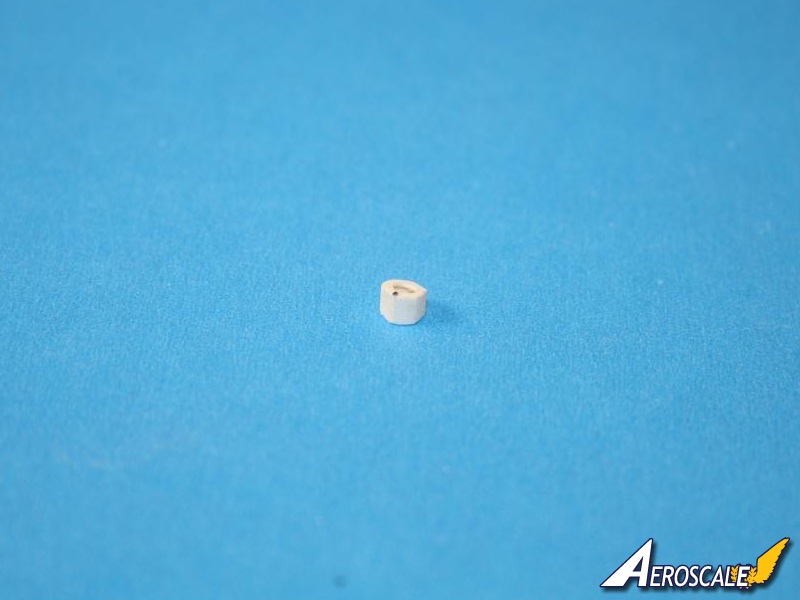
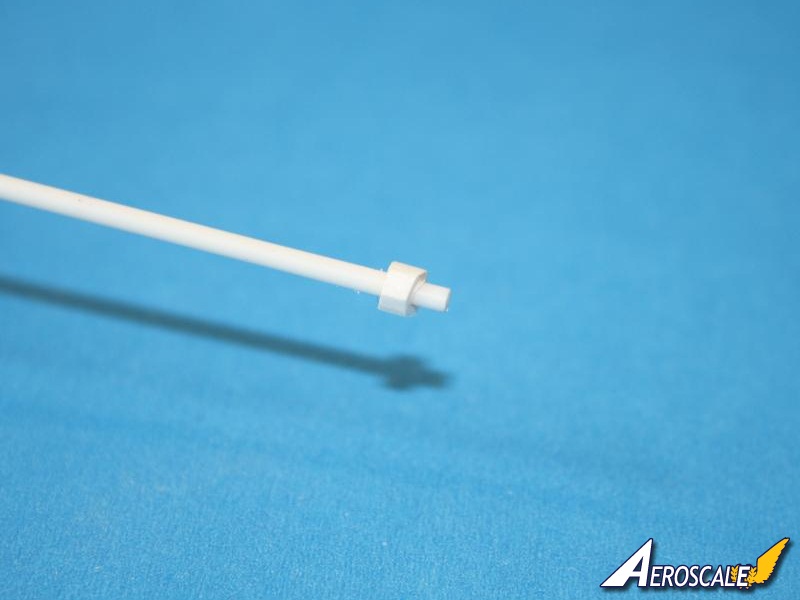
One glaring omission is the shroud at the rear of the transmission housing, Eduard includes this in their aftermarket set but i think it is too small and I prefer my homemade part.
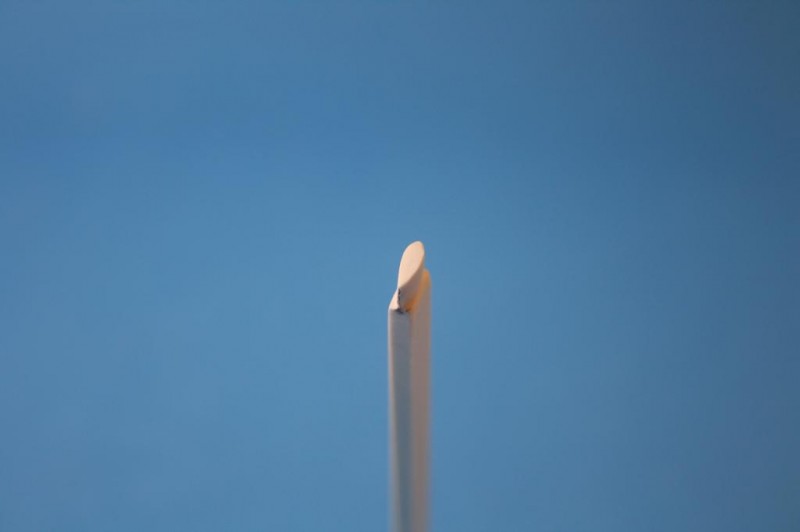
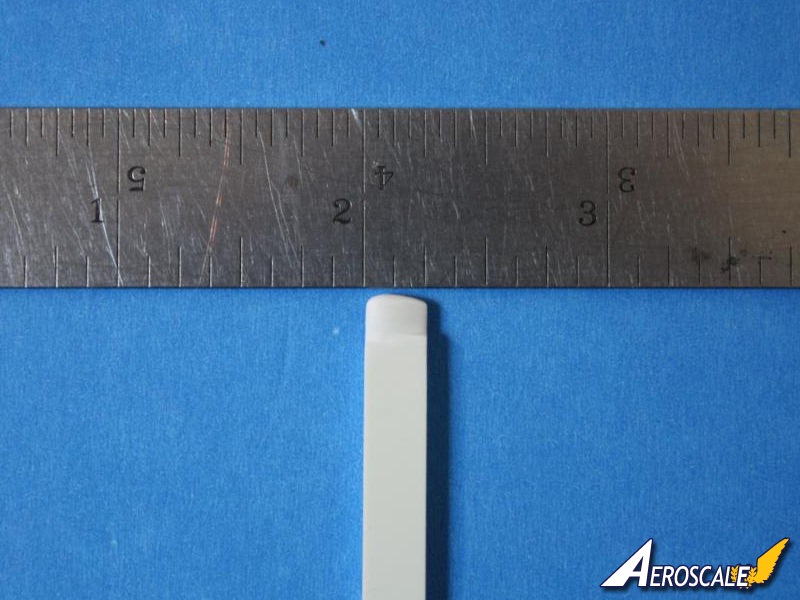
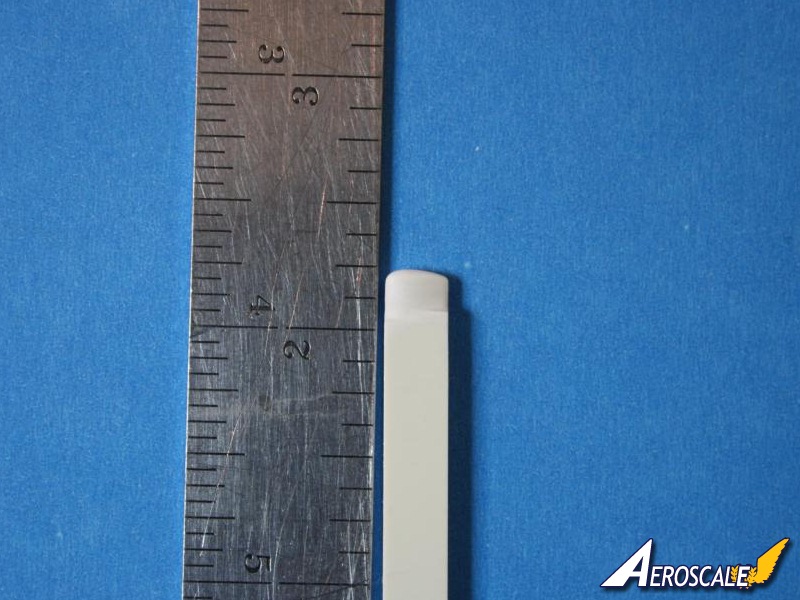
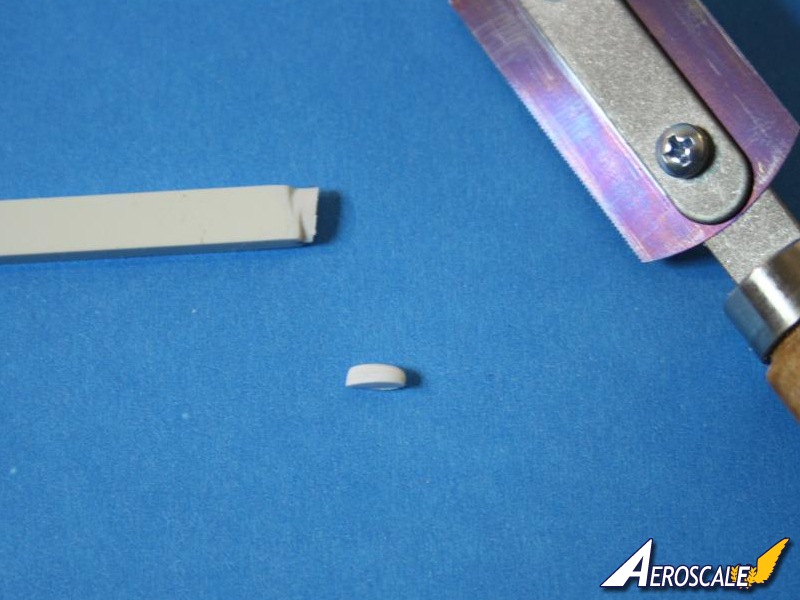
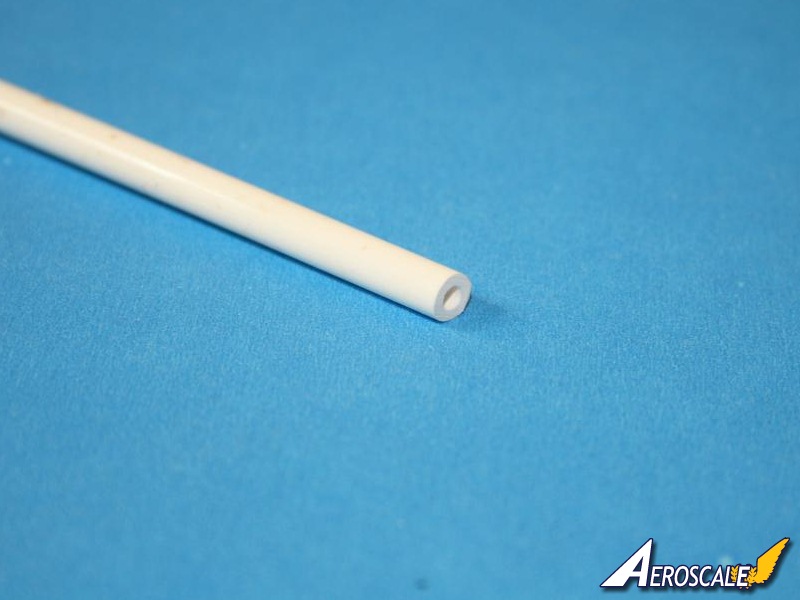
I fabricated the shroud from 5/16 OD tube by laying out the profile on paper until I was happy with the shape and then traced around tube. After cutting and clean up I glued it in place. I did not include a screen as seen inside the shroud in photos.
Window E2 should read E5 and F15 should be omitted (I found this out after I glued it on).
Step 7
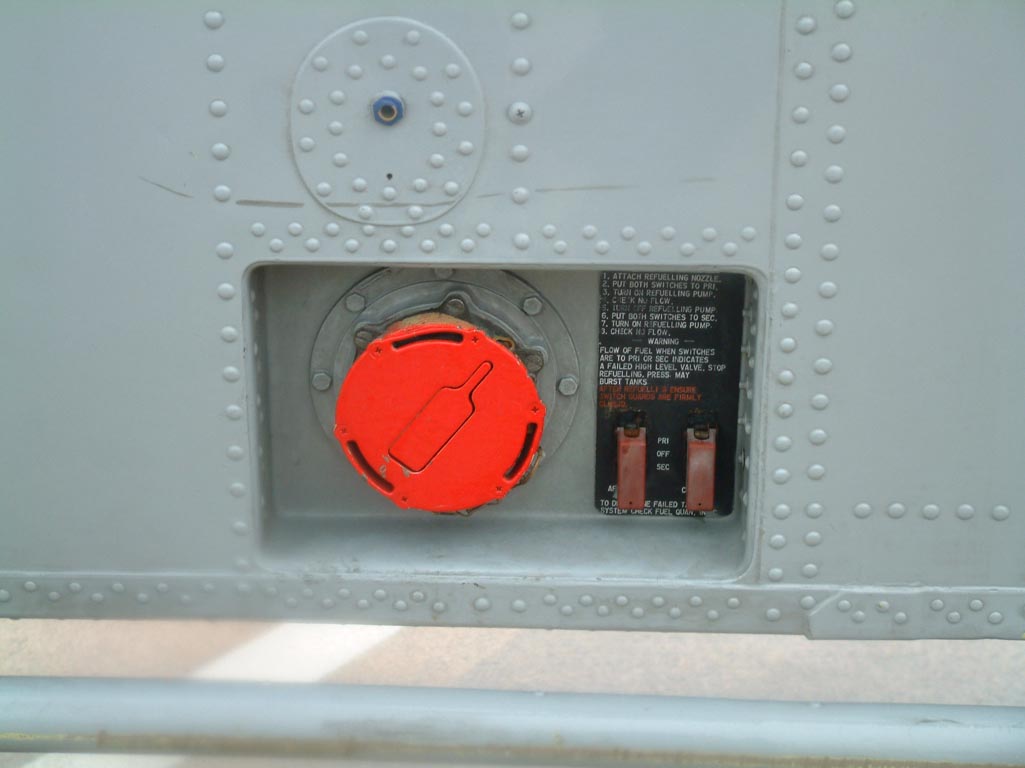
This Walkaround shows the refuelling cap and switches which are missing on this model.
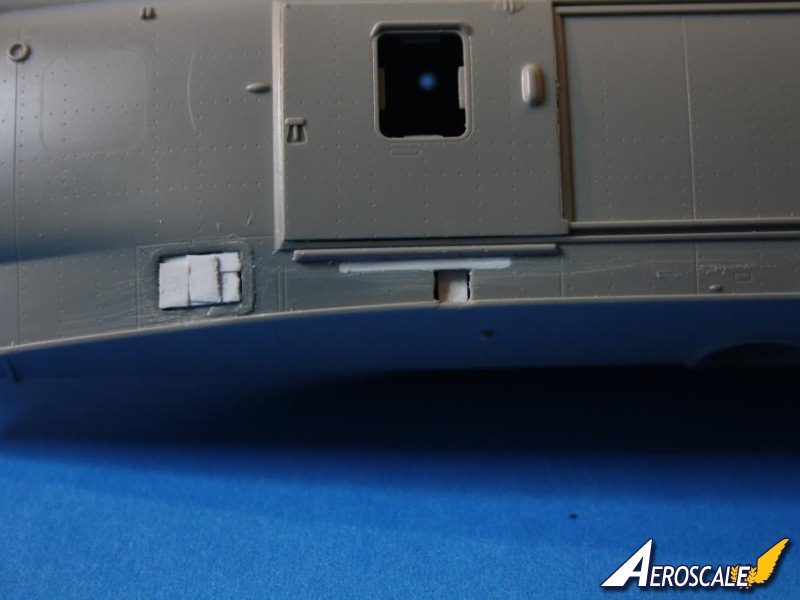
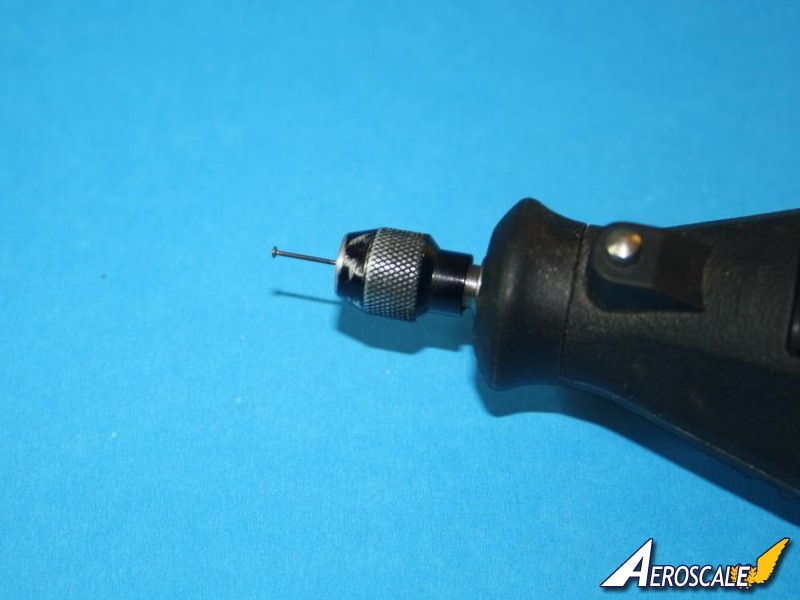
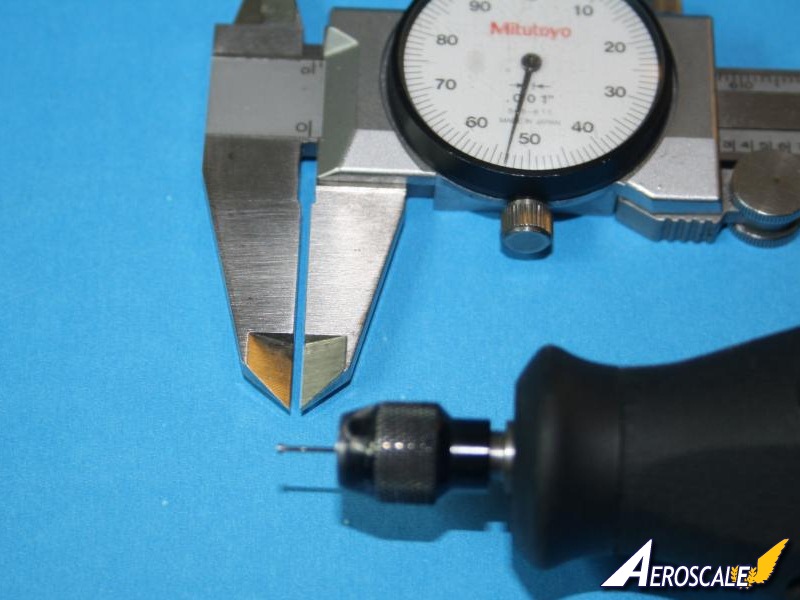
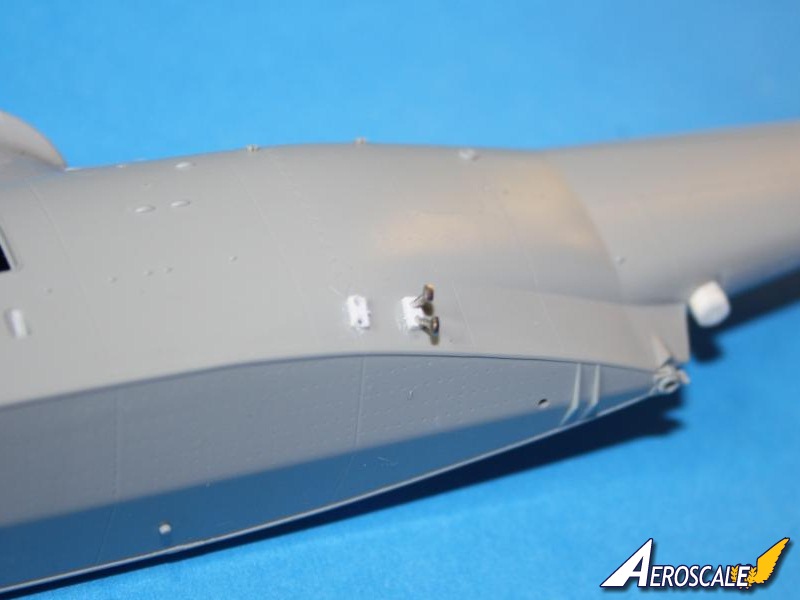
After filling the step location I opened up the hull below the door and made a filler of styrene to mount filler cap onto, I filed a pin head down to size in a Dremel tool and drilled a .028 diameter hole in the recess and super glued it in place.(step 7 photos)
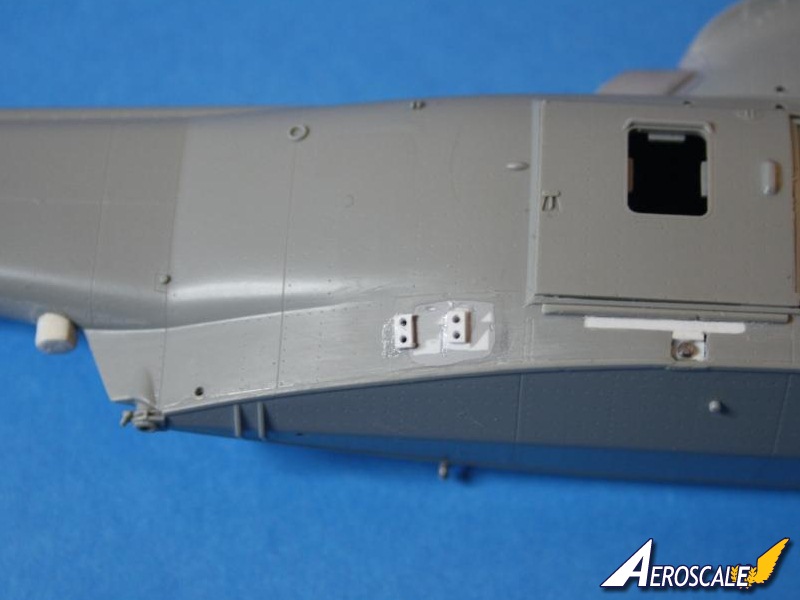
To the left of the side door is a cast on box. This was removed and filled with styrene strips.
On both side of the aircraft at the box location are hangers for pods as seen in photos, I have seen many variations of the mounts so check you photos.
I fabricated brackets from pins and styrene for the pads and drilled them 0.028 diameter and glued the bent pins in.
Step 8
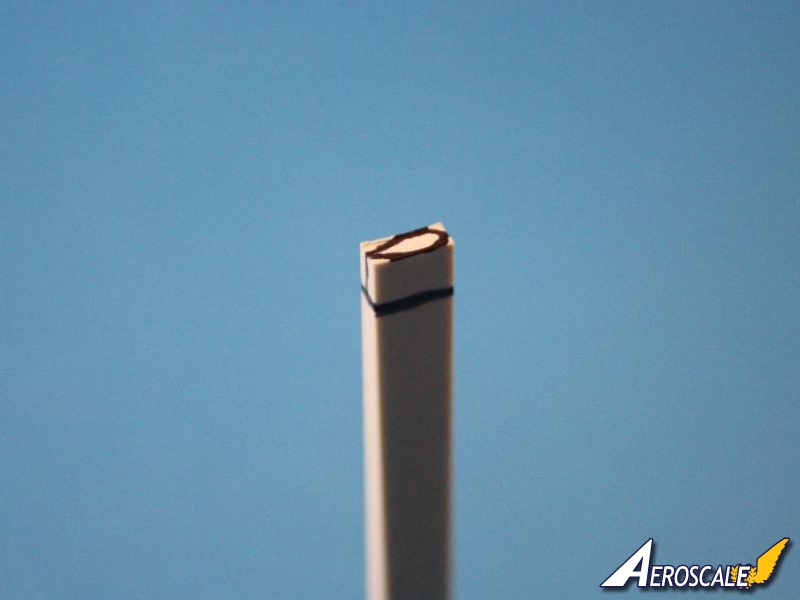
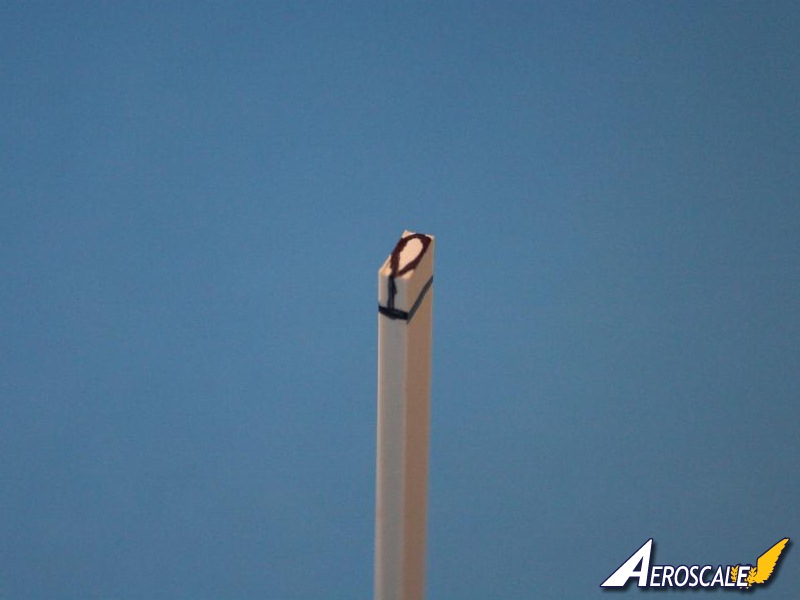
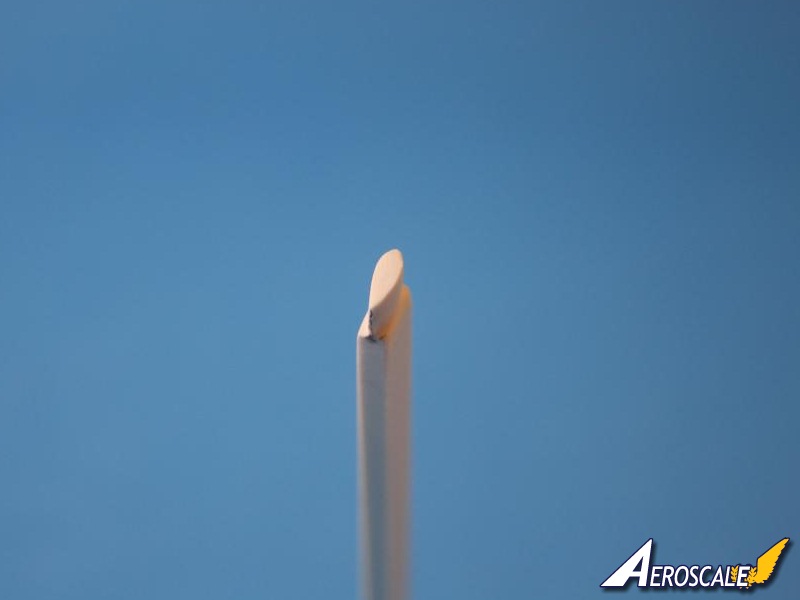
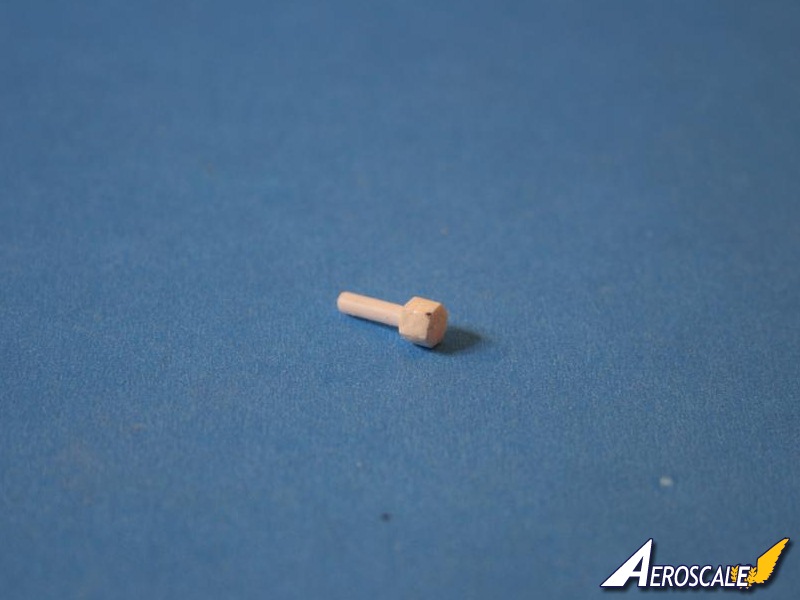
In photos of Sea King 6501-001 you will see on the underside of the tail boom two antennas( Kit C24 is not correct). I fabricated the oval antenna from 1/8 X 1/4 styrene (Photo Steps 7 AA AE). 6501-001 is the only Sea King photo that I found in my searches that has the Hex shape antenna at the intersection of the hull and boom. I fabricated this from 0.187 OD styrene tube and I glued a 0.080 rod as a location pin.(Photos 8 A E). I determined the locations for these antenna by studying aircraft photos.
The tail and rotor(F28 -5 blade) are now glued on (Eduards detail set has folded tail option included). Undercarriage is assembled at this time; wheels down is the only option. I left off undercarriage and the sponsons until final assembly to make painting easier. The tail wheel is installed and linkage is compressed as if AC is on deck.
Step 9
At this step we assemble the rotor head and blades(I built the unfolded option)
This step went together nicely with no problems. One thing I did do was to remove the locating key on the drive shaft to allow rotor blades to rotate (I am less likely to break off blades).
Step 10
Now is the time to install the cockpit canopy. I tinted the top glass with green marker on the inside before gluing on to cockpit (this is not called for in instructions but is visible in many photos).
On the air intake cover(C 64) I had to remove the tab on the bottom to make part sit flat on the canopy. Wiper arms and blades were left off until after all the painting had been done.
Step 11
Painting and Markings.
I used Automotive spray cans for the white and grey. For all other colours I used Tamiya Acrylics.
The decals are by Cartograf and are some of the best that I have ever used. They set down well on a semi gloss coat with minimum setting solution (Microscale Micro Sol).
Markings are provided for:
- 1. HS-3 USS FORRESTAL 1974
- 2. HC-1 USS CORAL SEA 1970
- 3. HS-75 USS DWIGHT D EISENHOWER 1984
The instructions are clear although a few items that have the wrong numbers called out.
conclusion
This is a good model with great decals somewhat let down by the use of one set of mouldings to do variants not covered by the parts available. As I pointed out early on in this review, kit manufactures should include parts options for other variants at the initial mold making stage making issues of different variants much easier.
Even after one of my dogs chewed the cockpit area (causing a few bad words to fly) the parts all fit well with minimum of filler.
related reviews
Sikorsky SH-3D Sea King by Richard Tonge.
Westland Sea King HC.4 by Matthew Robeson.
Westland Sea King AEW.2 by Jessica Cooper.


Comments