

1⁄35Japan Airlines - Enomoto Special
...
Post a Comment
Decal Art from Pictures
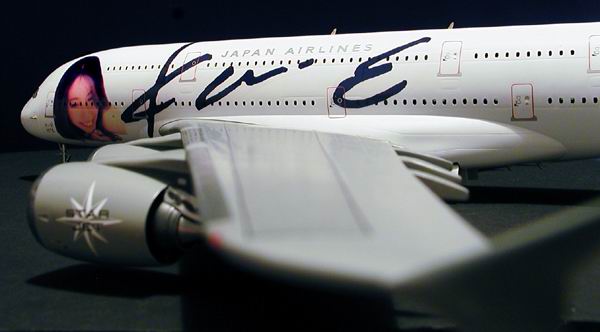
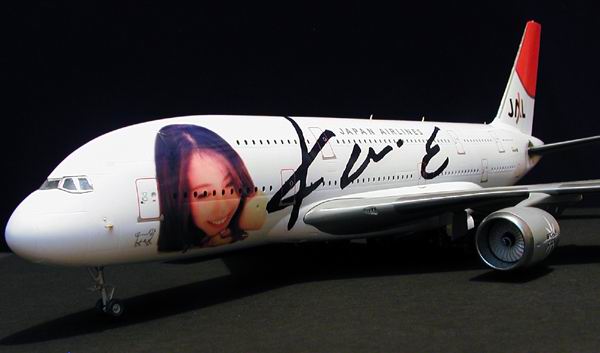
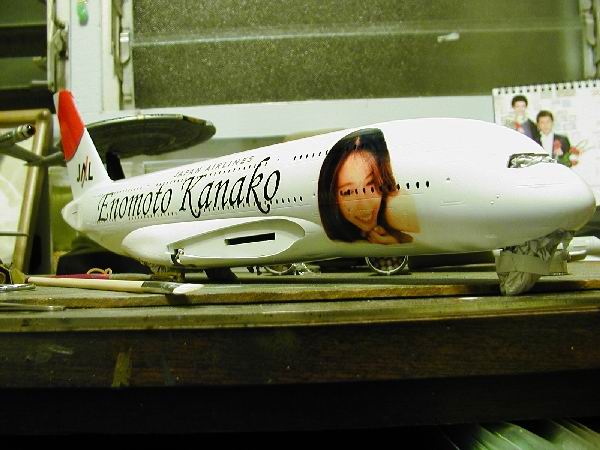
After going through all 4700+ pictures I have of this young woman, I picked one that I liked. I chose a close up shot of her face (much like the Matsui image) for the sides. For decals of this size, I chose an image file that was about 200KB and larger. This size image file ensures that there is enough data to smooth out the plotted image and to prevent the decal from looking Pixelated, or jagged edged. I printed the pictures on plain paper to make sure I got the size of the images correct on the side of the model. This also helped me check the resolution of the images at this print size. I did the same with an image of her name in Romanji and her signature. After making sure I had everything just right, I slipped in the clear decal paper and printed out the art. After allowing the decals to dry for a week, I brush painted them with Microscale Liquid decal. I added two coats of the liquid decal just to make sure I covered every inch of the printed image. My first try with the left side image showed several areas not covered completely and I had to throw the decal away after I had applied it to the fuselage. The rest of the markings came from the kit (doors and such), Platz (the JAL serial number) and Brasil-Decal (tail fin Hinomaru and Japan Air Lines logo on the fuselage side). I didnt use the window decals since I had already painted the interior black and this made all the windows dark enough. Everything on the fuselage was sealed with a few coats of Tamiya Clear Gloss. The decals on the wings were sealed with one coat of Tamiya Clear Gloss.Taking Wing and Flying Circles
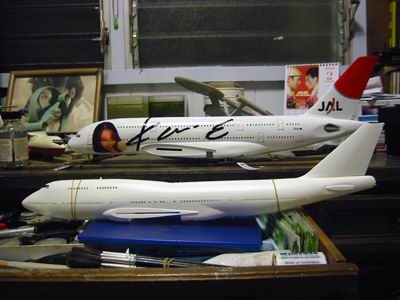
After allowing all the fumes to clear from the room for a few weeks, I was ready to add all the flying surfaces to the fuselage. I scraped a bit of paint off the gluing surfaces and test fitted the wings to the fuselage a few time to make sure they went on straight level and easily. After sacrificing a few of the older kits to the plastic gods, I applied CA glue to the wing and tailplane tabs and attached the wings and tailplanes After the CA had finished curing, I picked up the model and flew it around the room a few times with a touch and go off the desk top. What, you dont do this? No? Oh well forget what you just read. After I had finished flying circles in the room I added all the wheels, engines and final details like pitot tubes, AOA sensors and what not.Well that was a fun kit to put together. Of course perusing 4700+ pictures to use as nose art helped make this project all the more fun for me. I dont often do airliners, but I might do a few more now.


Copyright ©2021 by Valentin E. Bueno. Images also by copyright holder unless otherwise noted. The views and opinions expressed herein are solely the views and opinions of the authors and/or contributors to this Web site and do not necessarily represent the views and/or opinions of AeroScale, KitMaker Network, or Silver Star Enterrpises. Images also by copyright holder unless otherwise noted. Opinions expressed are those of the author(s) and not necessarily those of AeroScale. All rights reserved. Originally published on: 2004-08-13 00:00:00. Unique Reads: 5690

WEB HOSTING BY


Copyright ©2021 AeroScale and Kitmaker Network, a subsidiary of Silver Star Enterprises
All Rights Reserved. Please read our Conditions of Use and Privacy Policy.
All Rights Reserved. Please read our Conditions of Use and Privacy Policy.