

1⁄72MiG-21MF
3
Comments
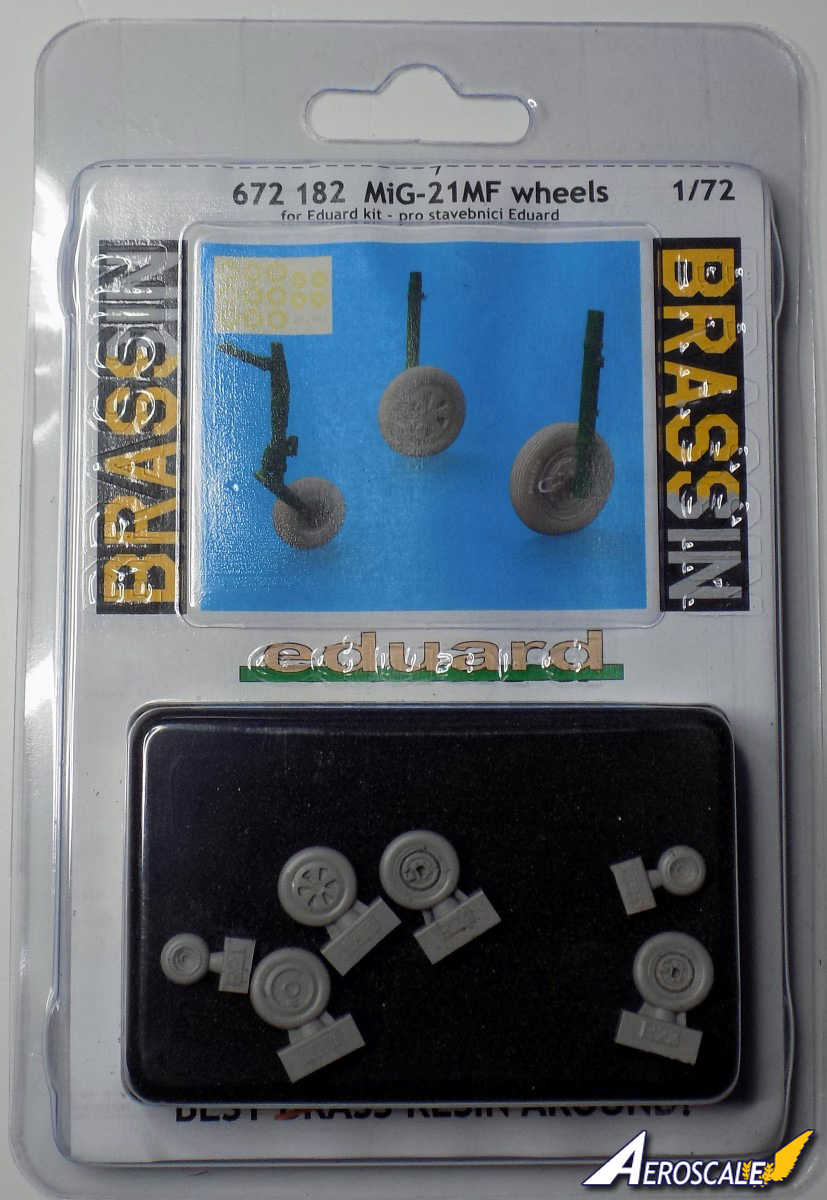
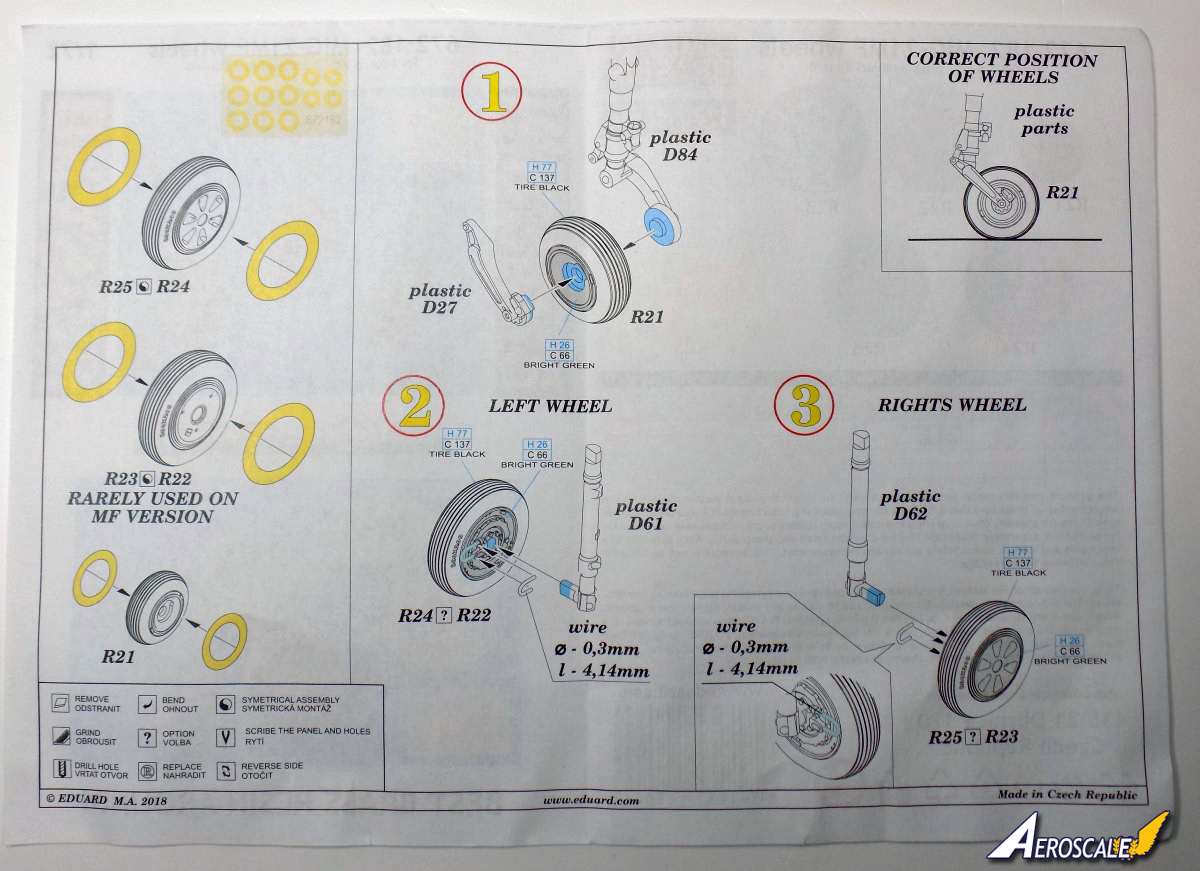
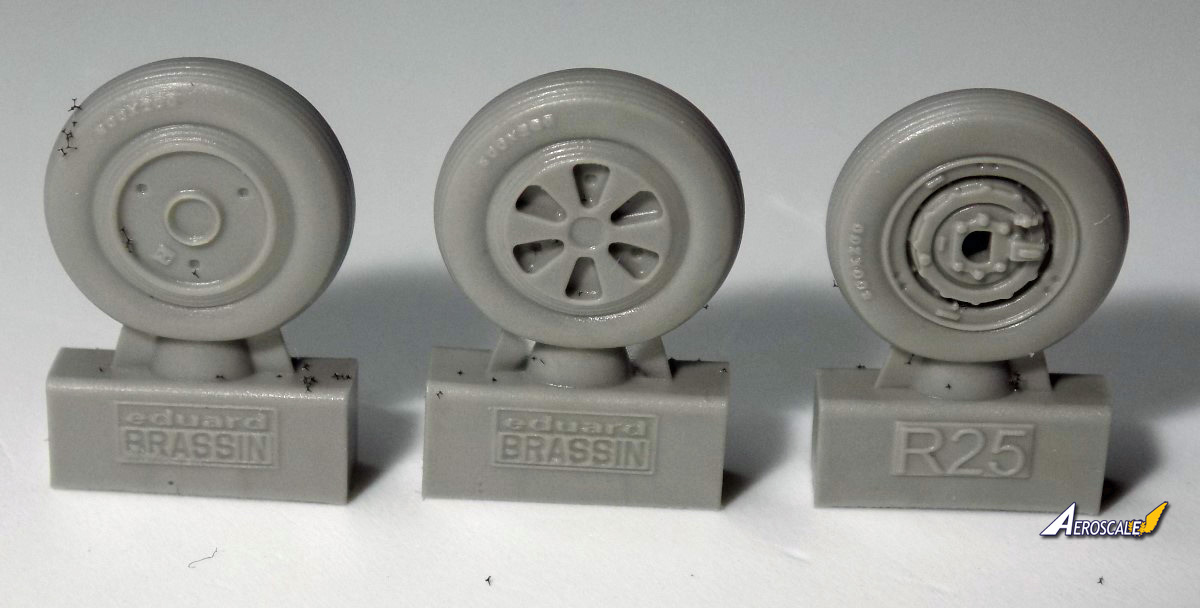
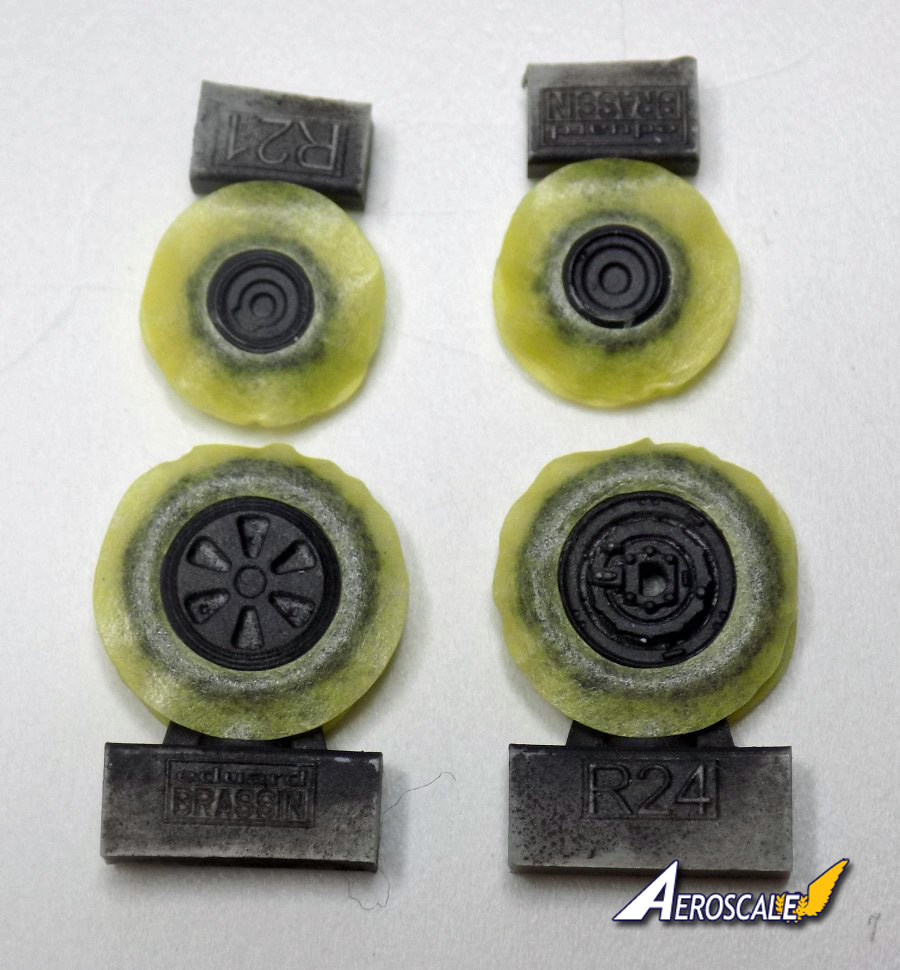
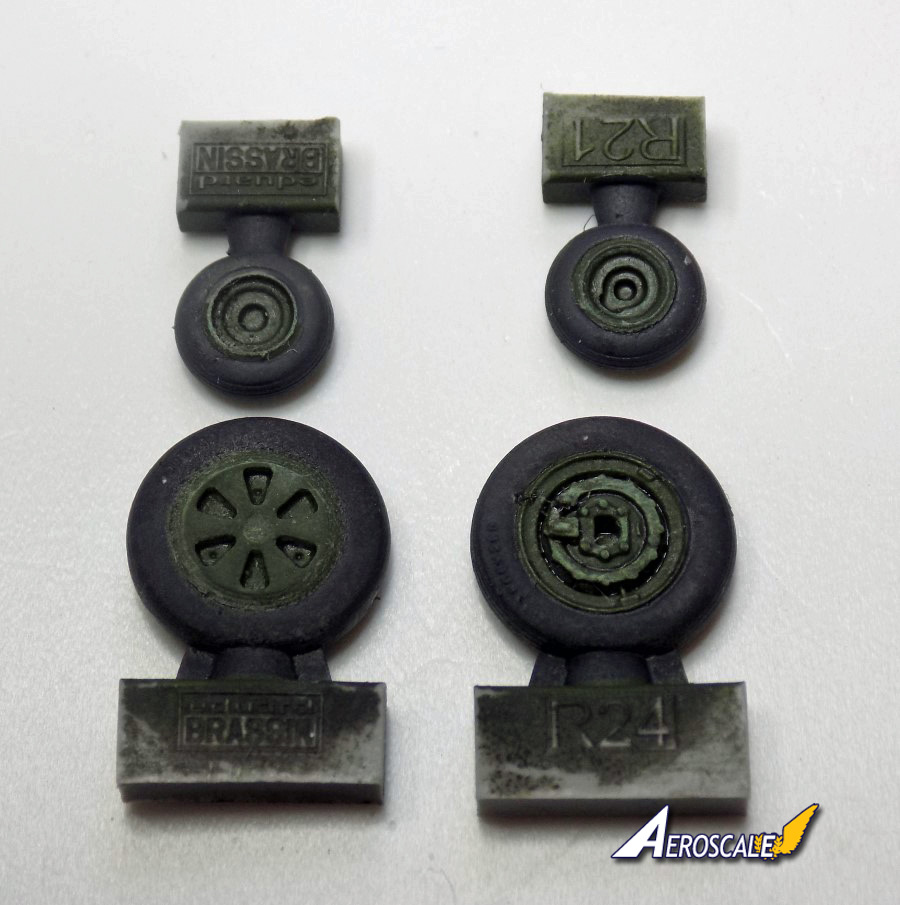
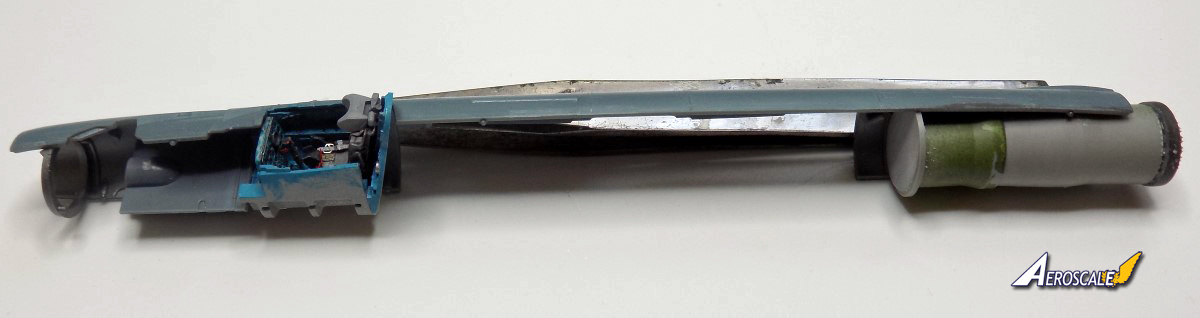
Brassin MiG-21MF Wheels
Item No - 672 182Price - £8.40 (Hannants)
Link - Wheels
Four main wheels, and two nose wheels are supplied in this set along with a small mask sheet for the tyres, for painting the hubs.
Two different main wheels are supplied, one set with a closed hub and the other with a six spoke hub. The closed hub is only used on the Malian aircraft (Marking option E).
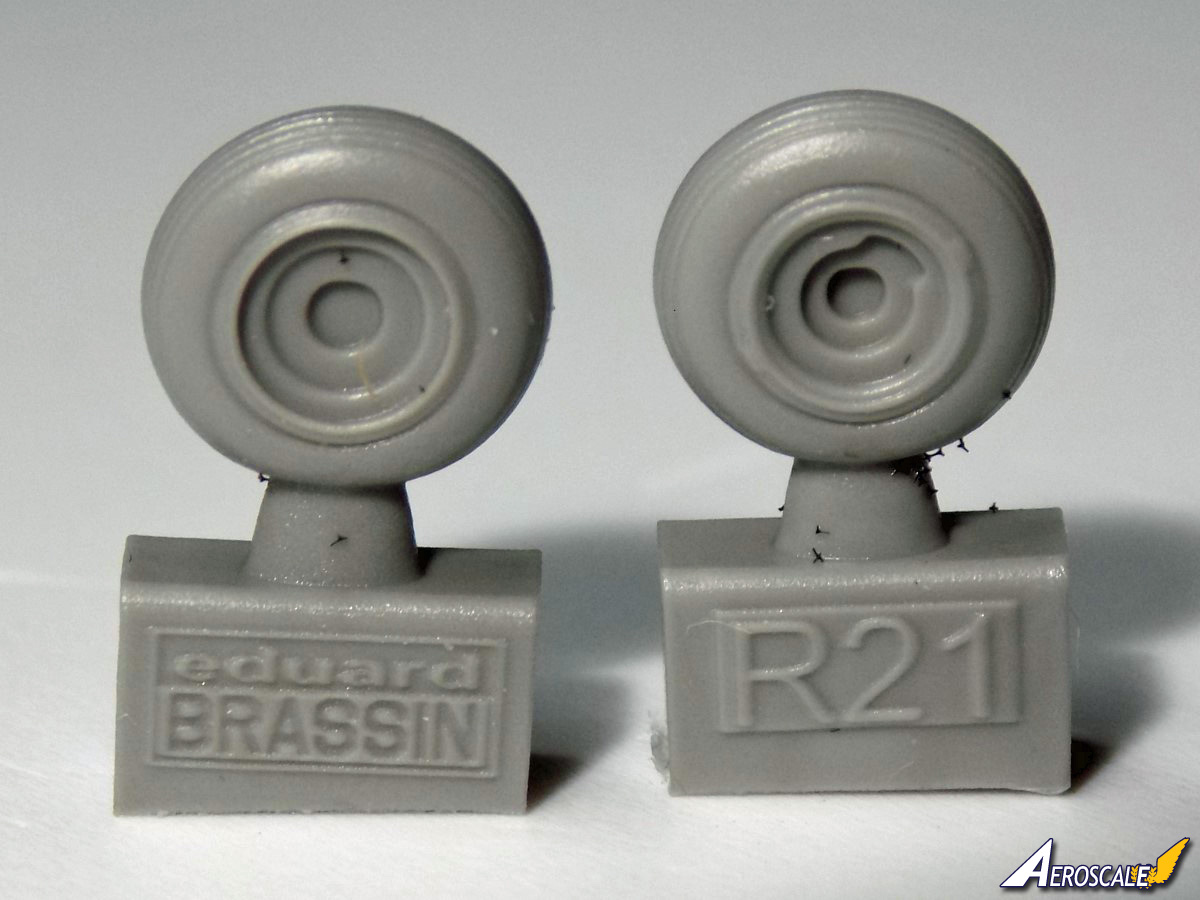
Each wheel is one piece and attached to a pouring block on a small part of the tyre, which is very easy to remove.
Detail is a lot more refined then the kits parts, with the tyres having a weighted look and tread on them, which the kits parts lack.
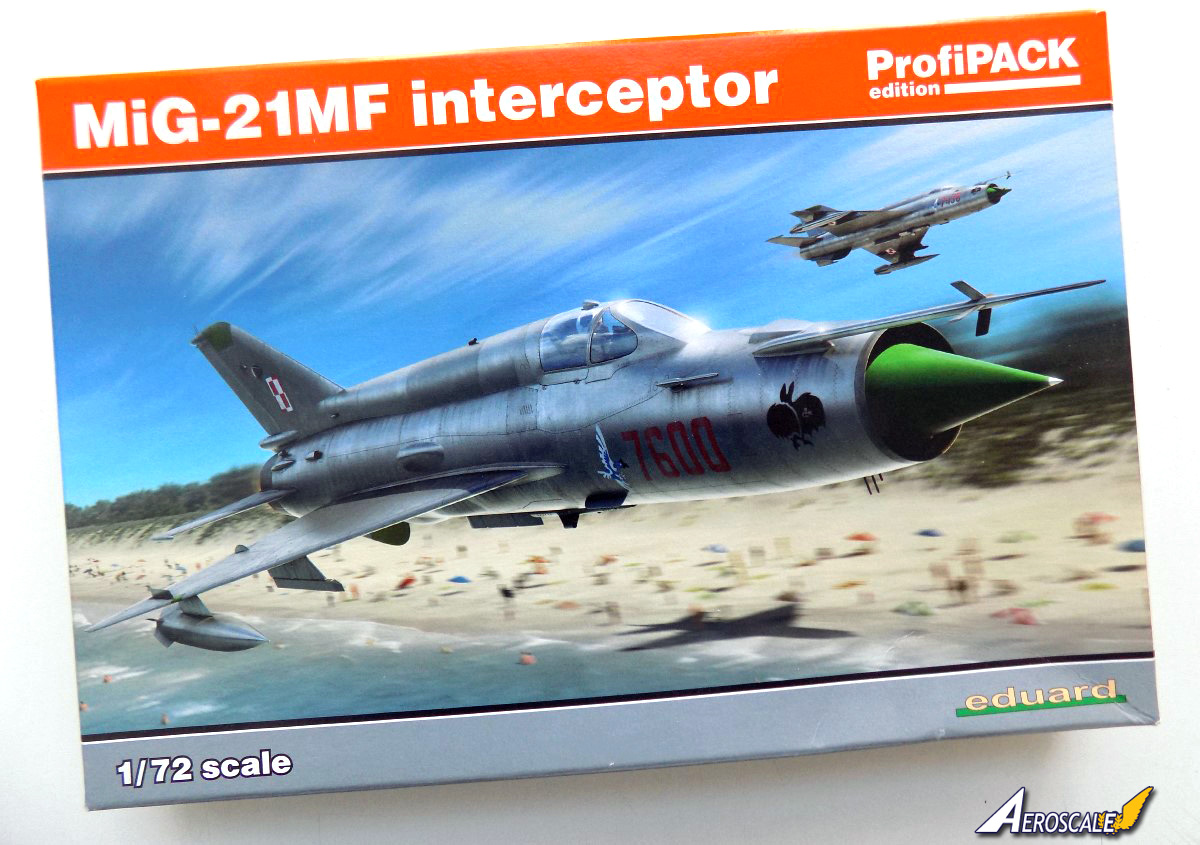
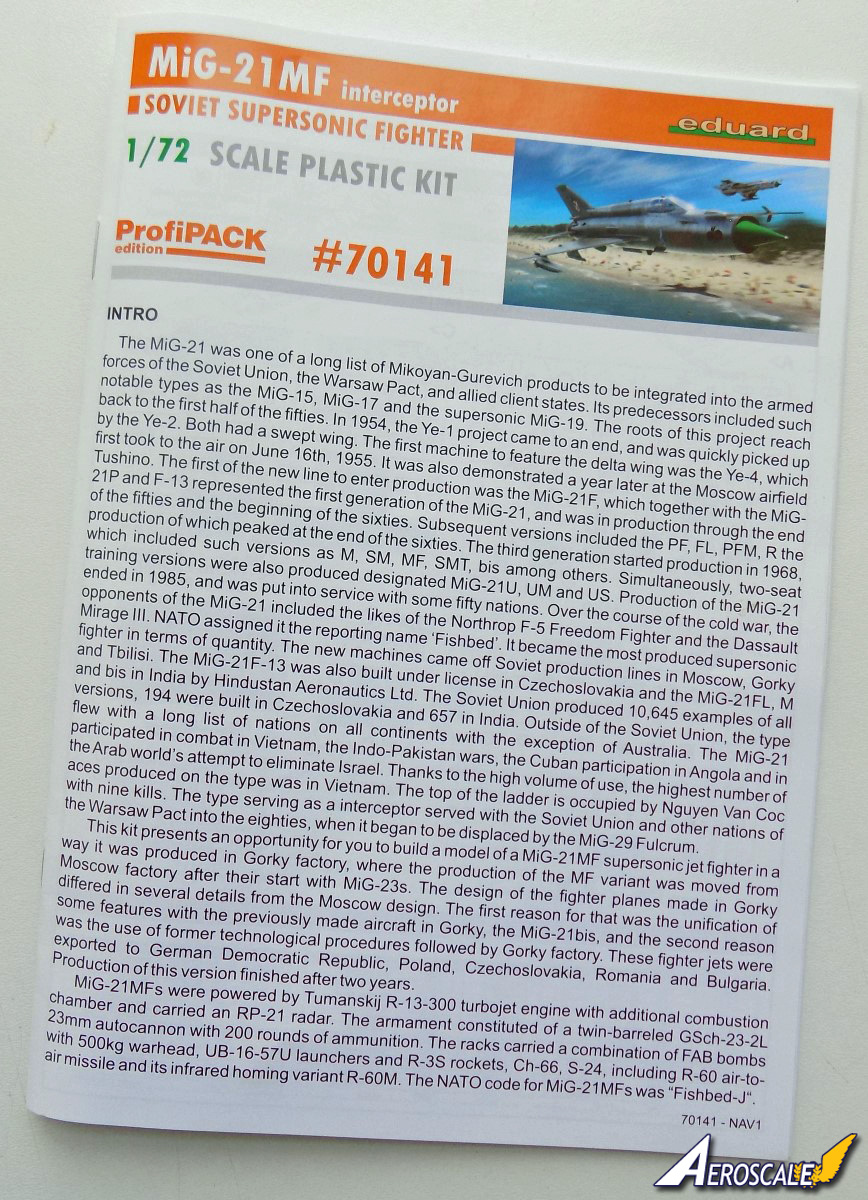
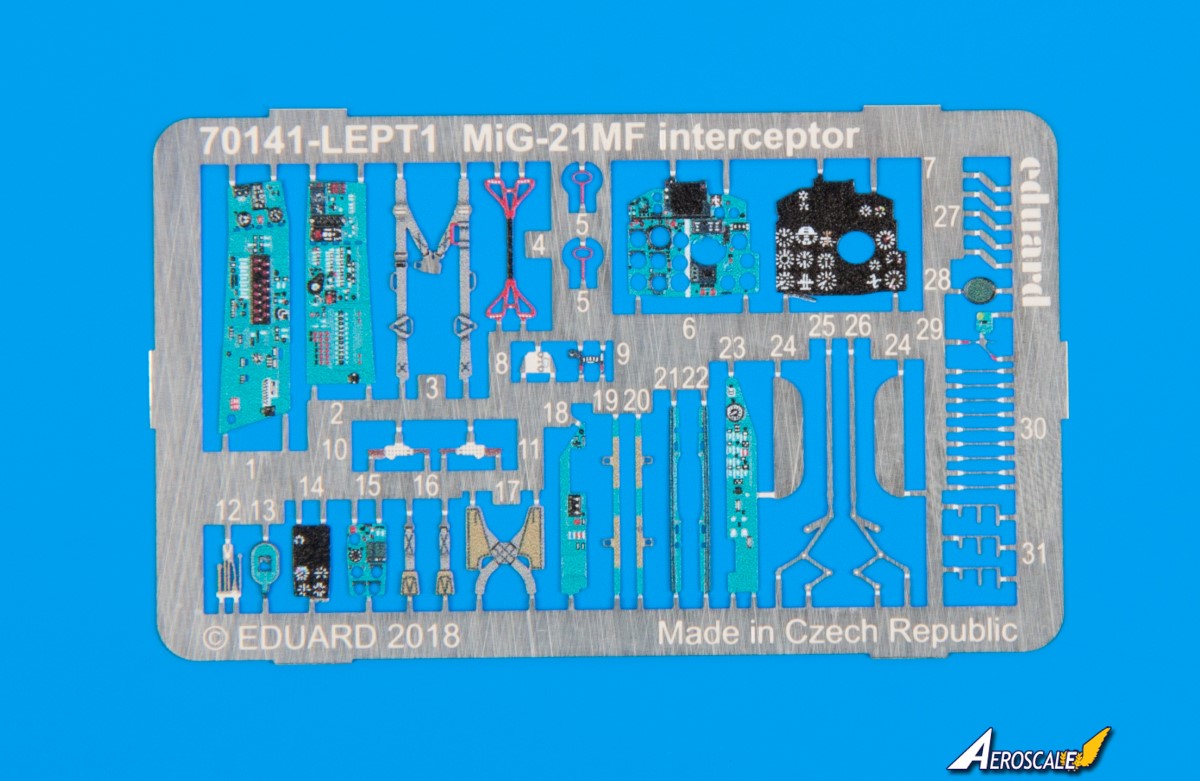
MiG-21MF Interceptor
Item No - 70141Price - £19.40 (Hannants)
Link - MiG-21MF Interceptor
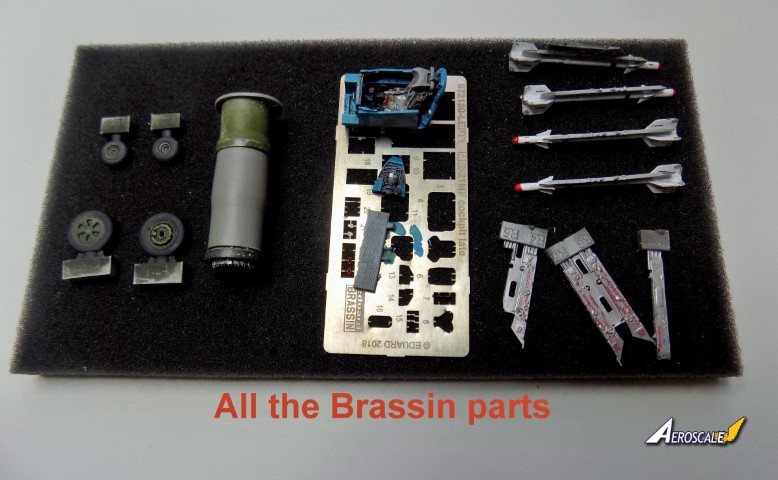
So having built and painted all the Brassin extras. I suppose I had better build the actual kit, which hasn't been opened, apart from nicking the pylon decals out of the box.
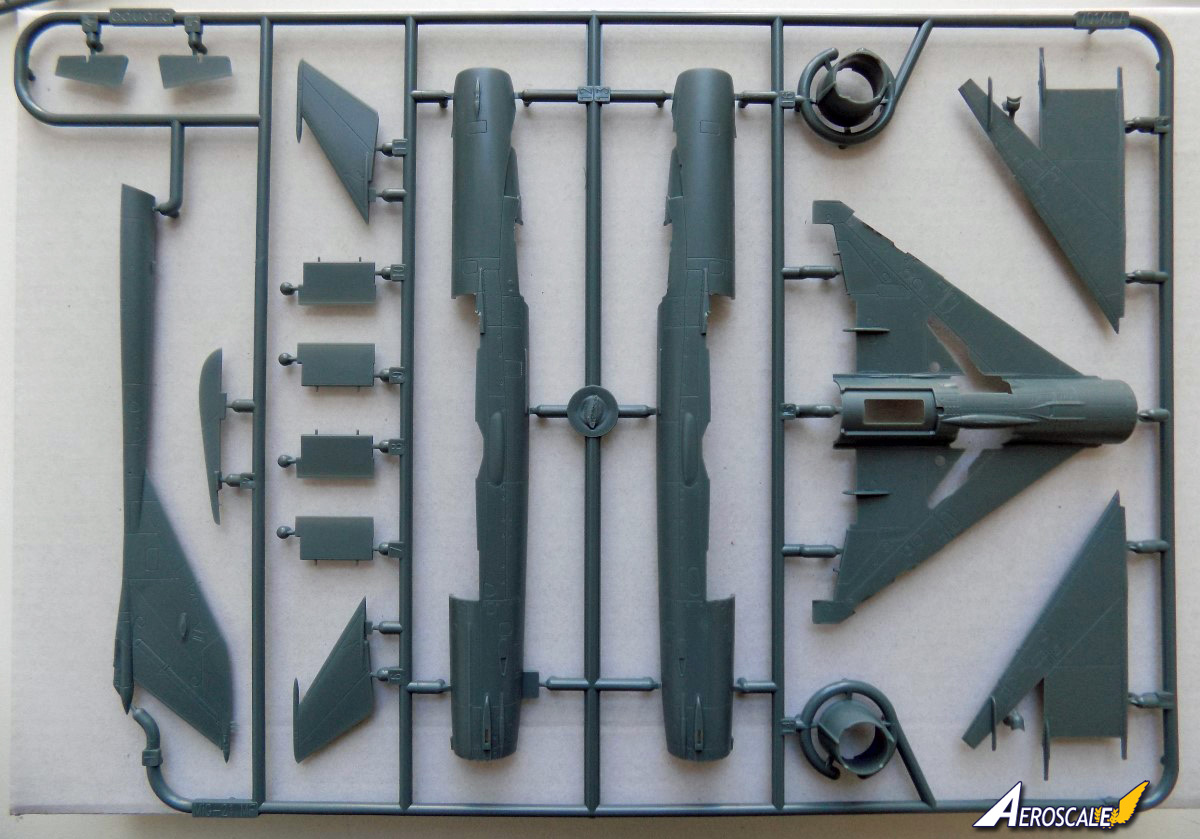
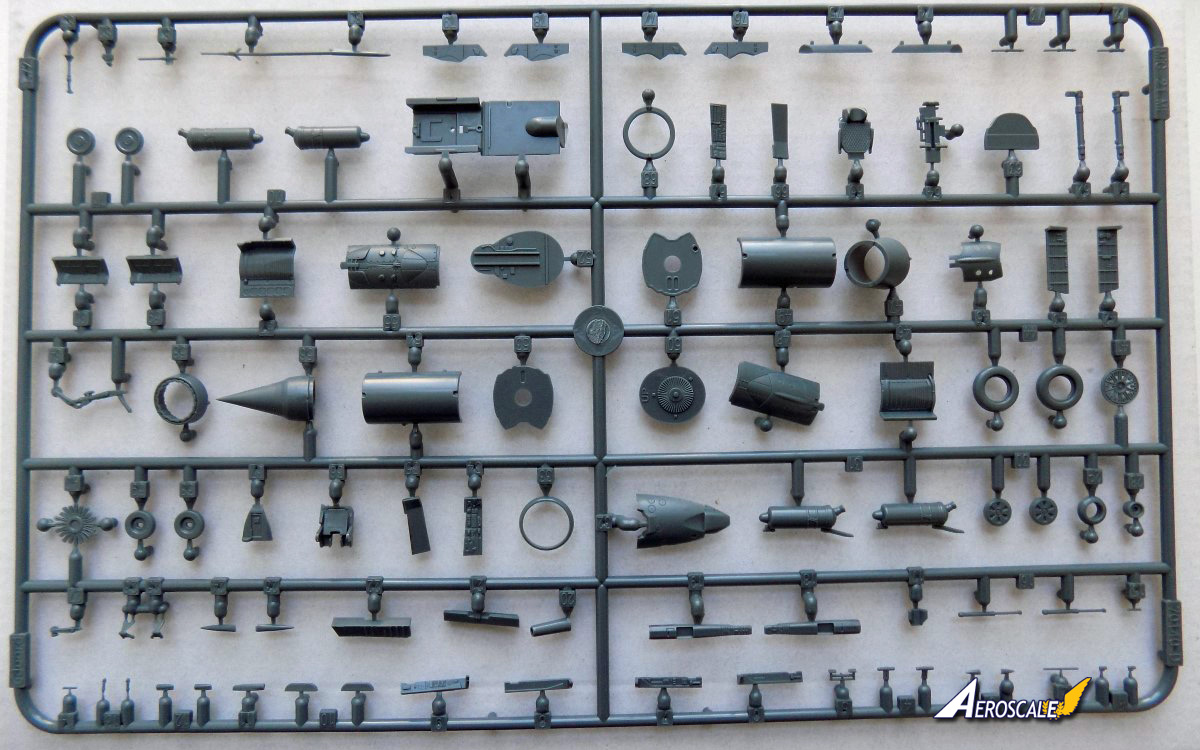
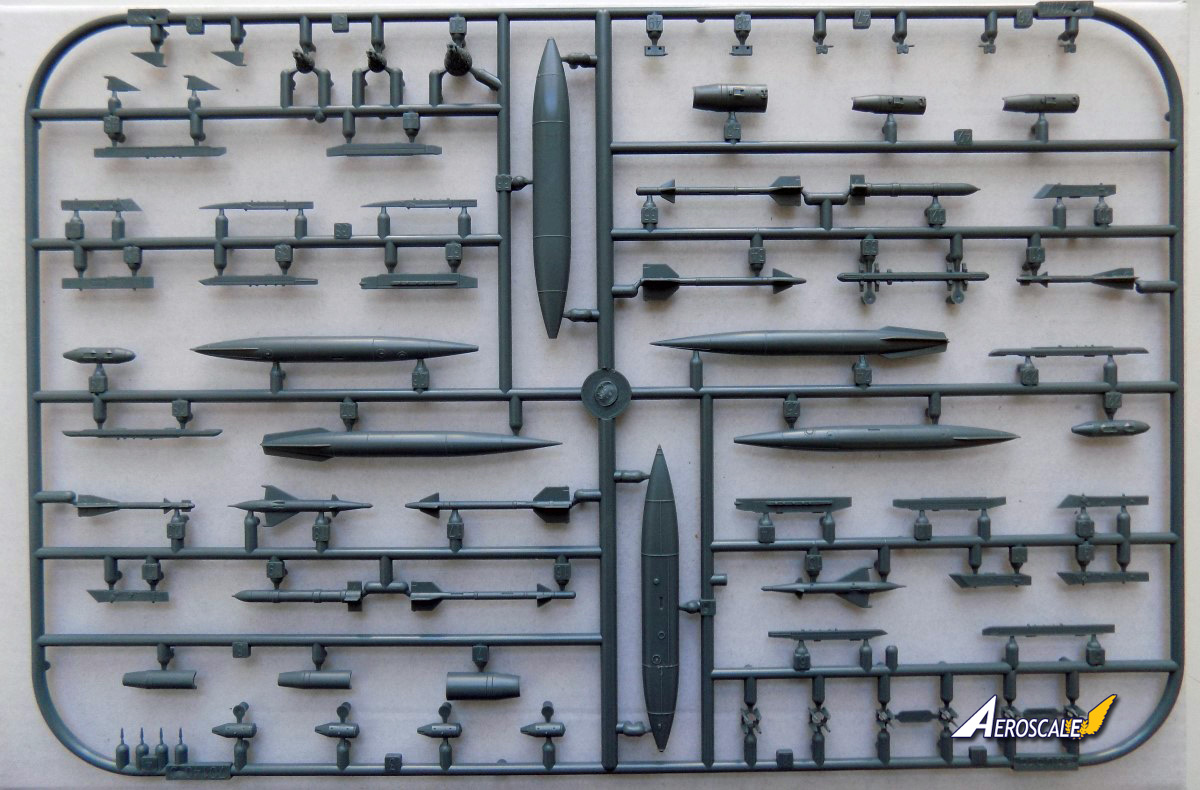
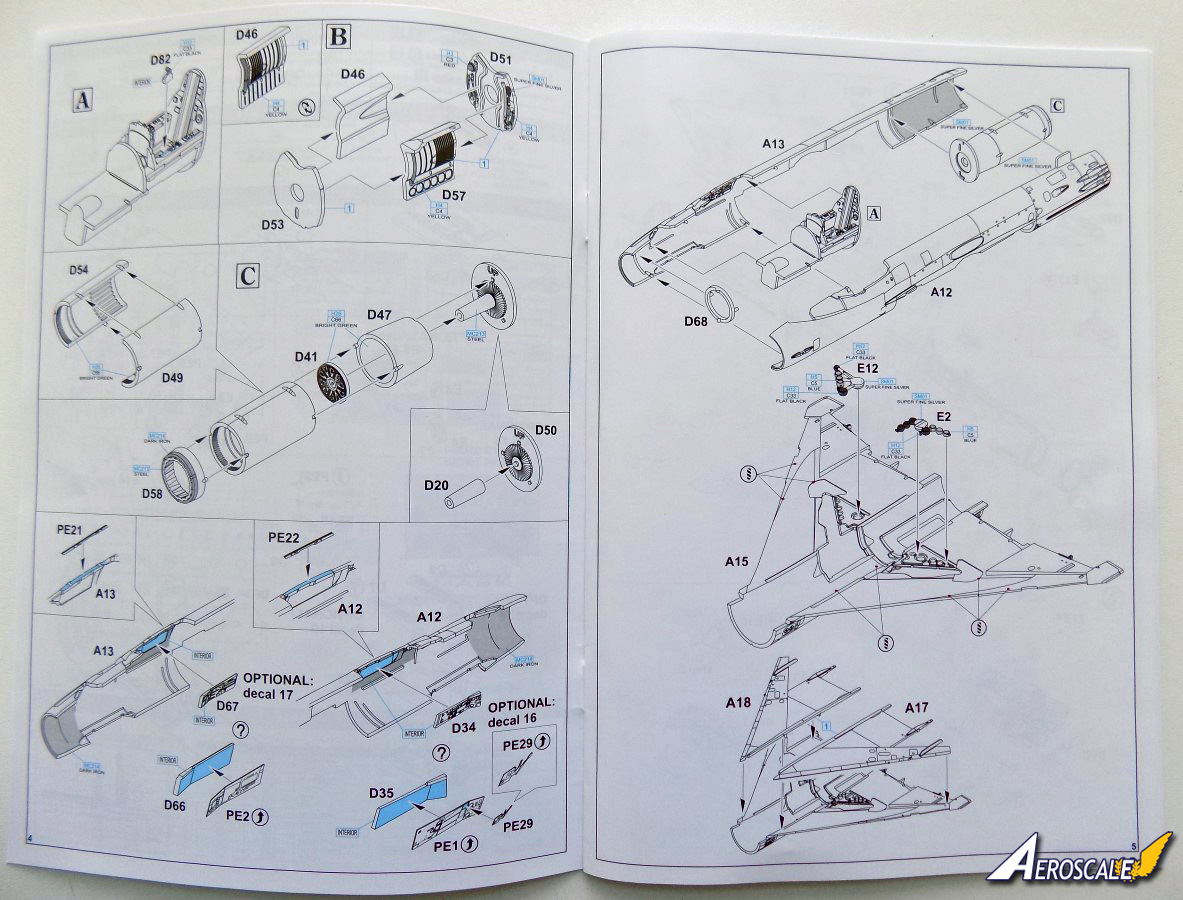
Packed in the standard Eduard ProfiPack boxing , the kit comes with three grey sprues, one clear sprue, a coloured fret of photo etch, two decal sheets, a set of masks and the instruction booklet.
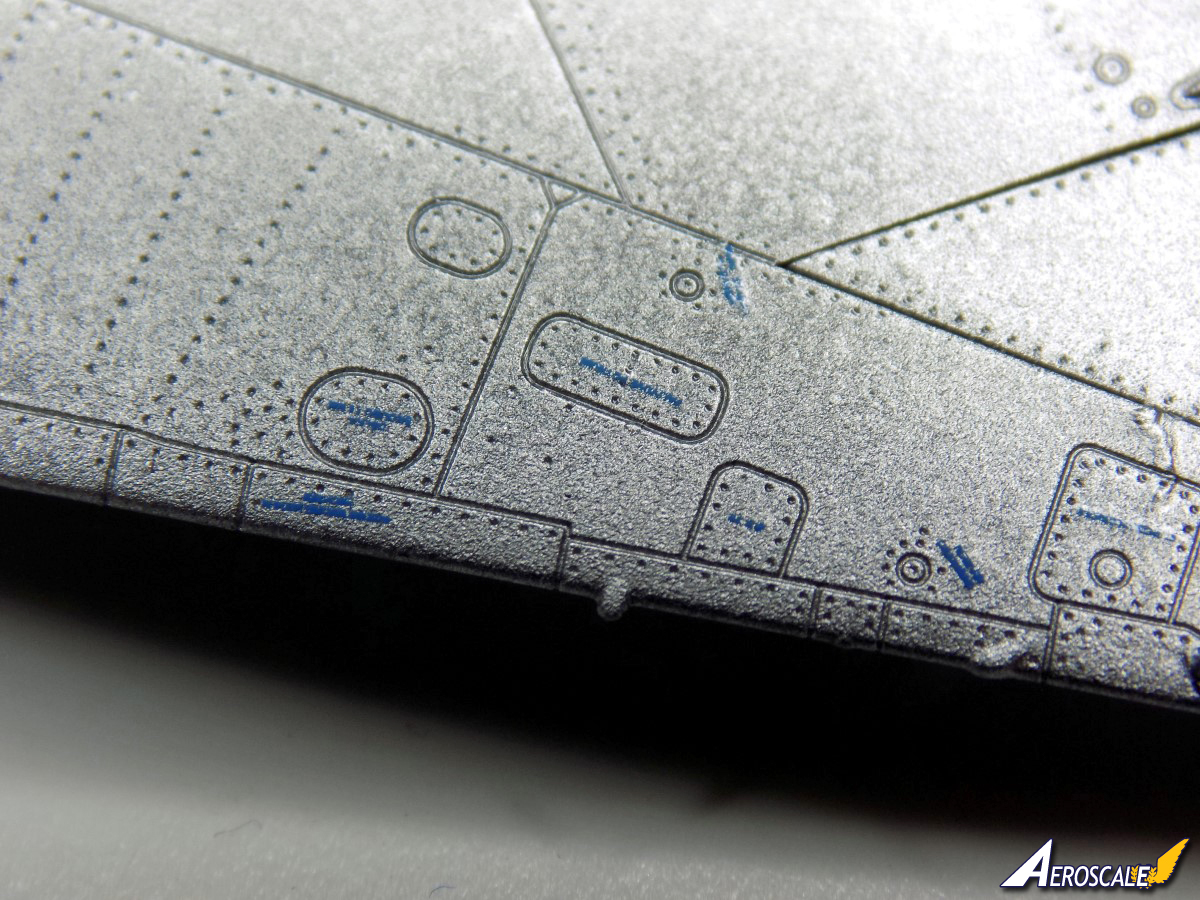
External detail is exquisite with very subtle panel lines and rivets.
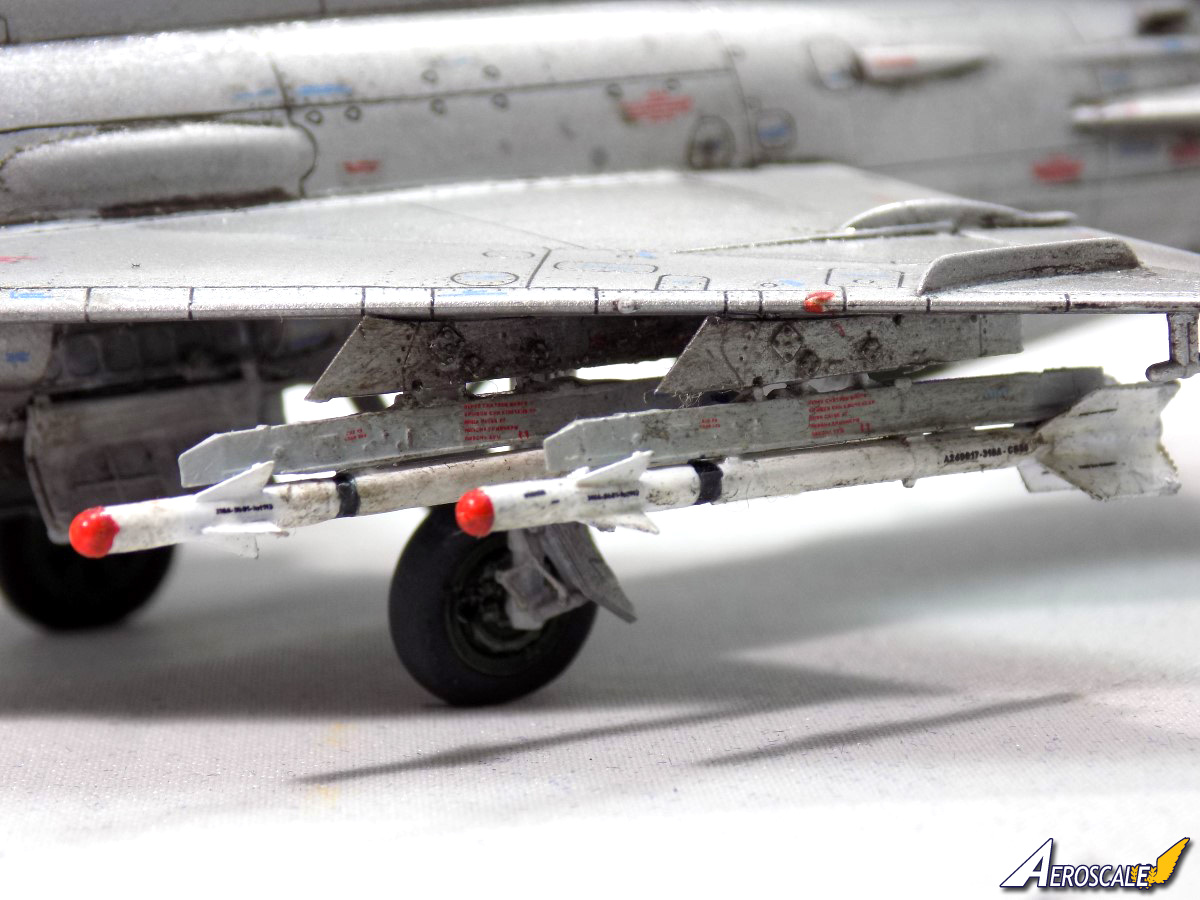
Detail for the internal parts is just as outstanding as the exterior, and the kit comes with a host of options, including decals for the cockpit instrument panels, if you don't fancy using the P.E, open or closed airbrakes, separate elevators and flaps, a whole sprue of external weapons, optional Rocket Assisted Take-Off units, a choice of wheel hubs, open or closed canopy, and five decal options.
The clear parts are crisp and distortion free.
A number of parts are not used in this boxing, so it bodes well that other versions of the MiG-21 will be released.
The build
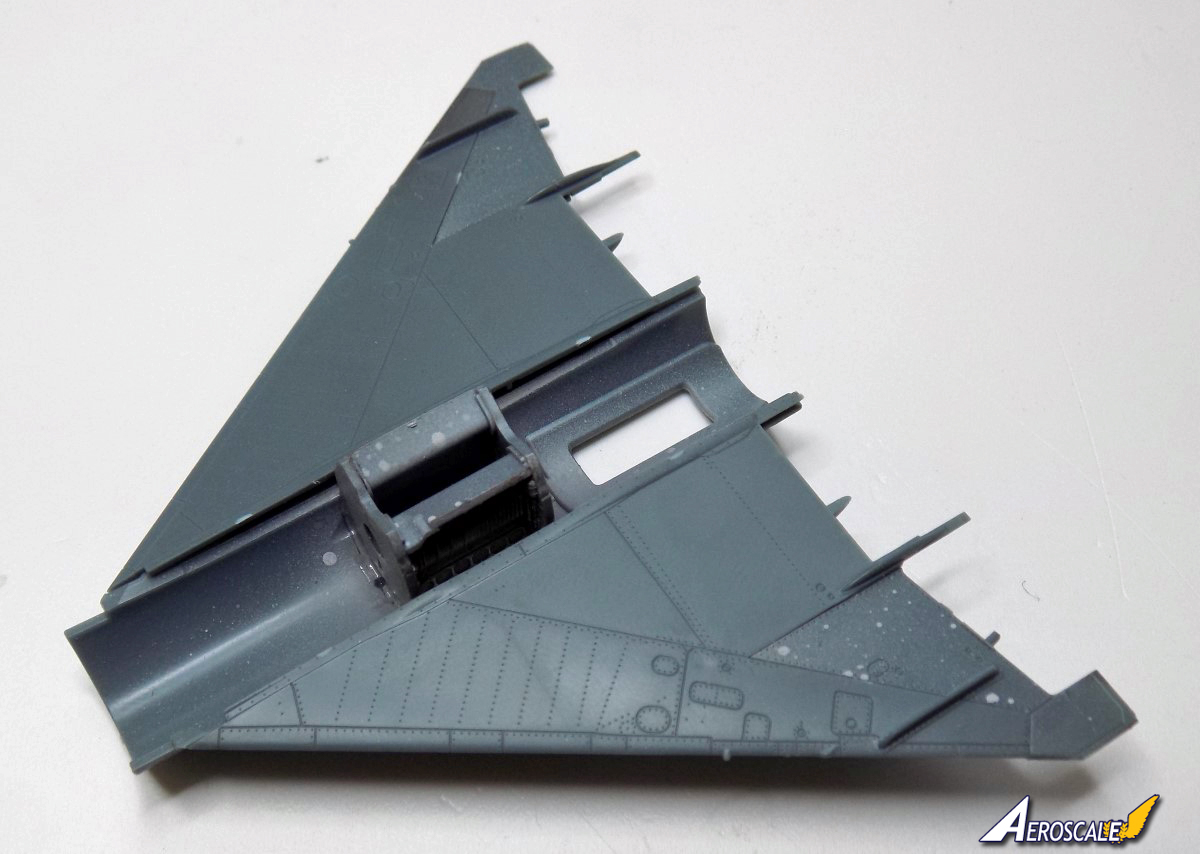
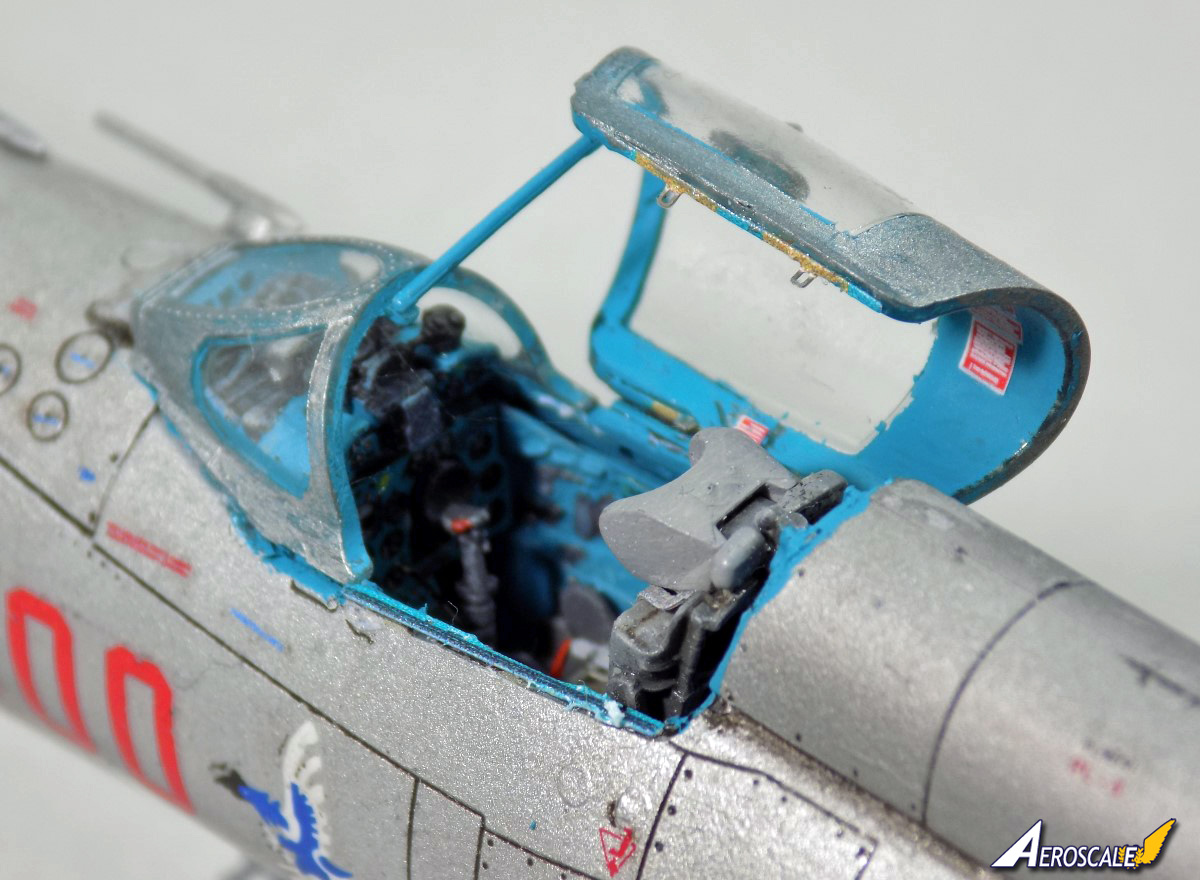
The build and the parts breakdown is very similar to the 1/48th kit from Eduard, which was released 7 years ago, but this kit isn't a scaled down version but a whole new tool. Having already built the majority of the internal parts as Brassin extras, the first part is to install and close up the fuselage.
Its a bit of a tight squeeze to get all the Brassin extras in, but they do fit, with a bit of jiggling. I did find I was left with a small gap along the top of the fuselage seam, but as that part is covered by the one piece spine, fin and rudder, so it covers it completely, so no need to fill and sand.
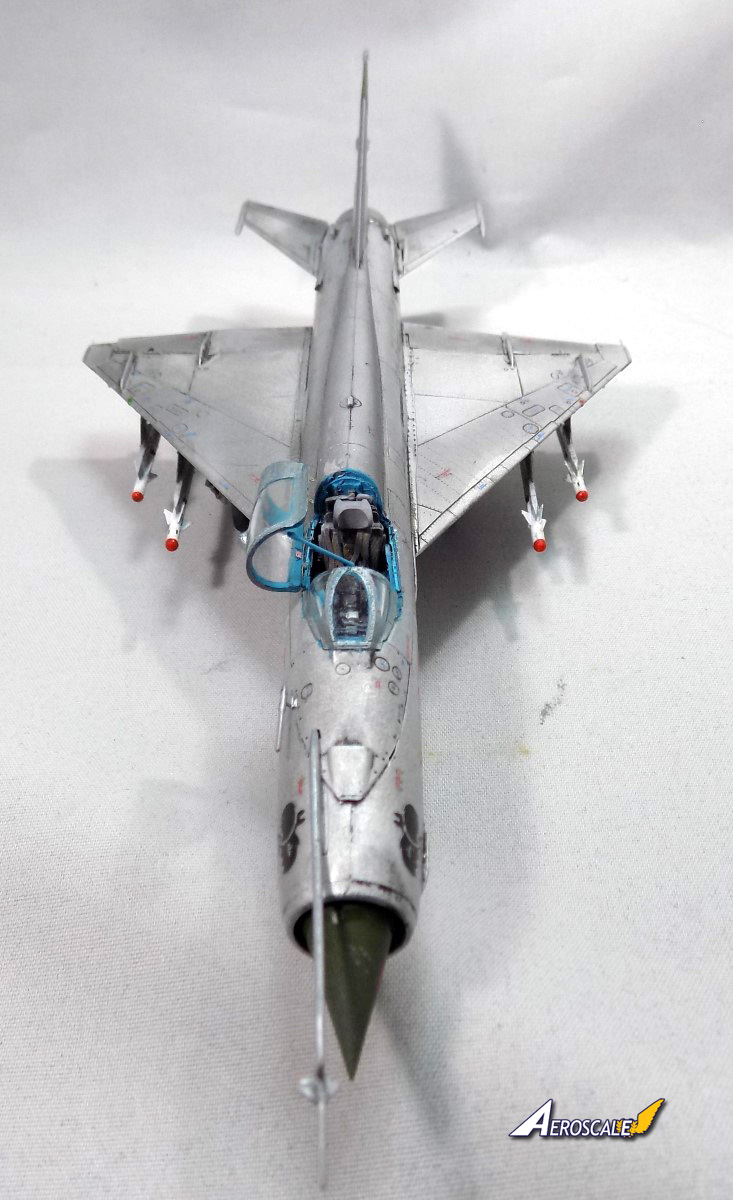
Once the fuselage is closed up we move onto the wings which are split into three parts, with a full lower half with part of the fuselage underside and two top sections.
Two clear inserts need to be added to the lower wings, which double up as the landing lights and the compressed air bottles. Once fitted the top halves of the wings can be glued together.
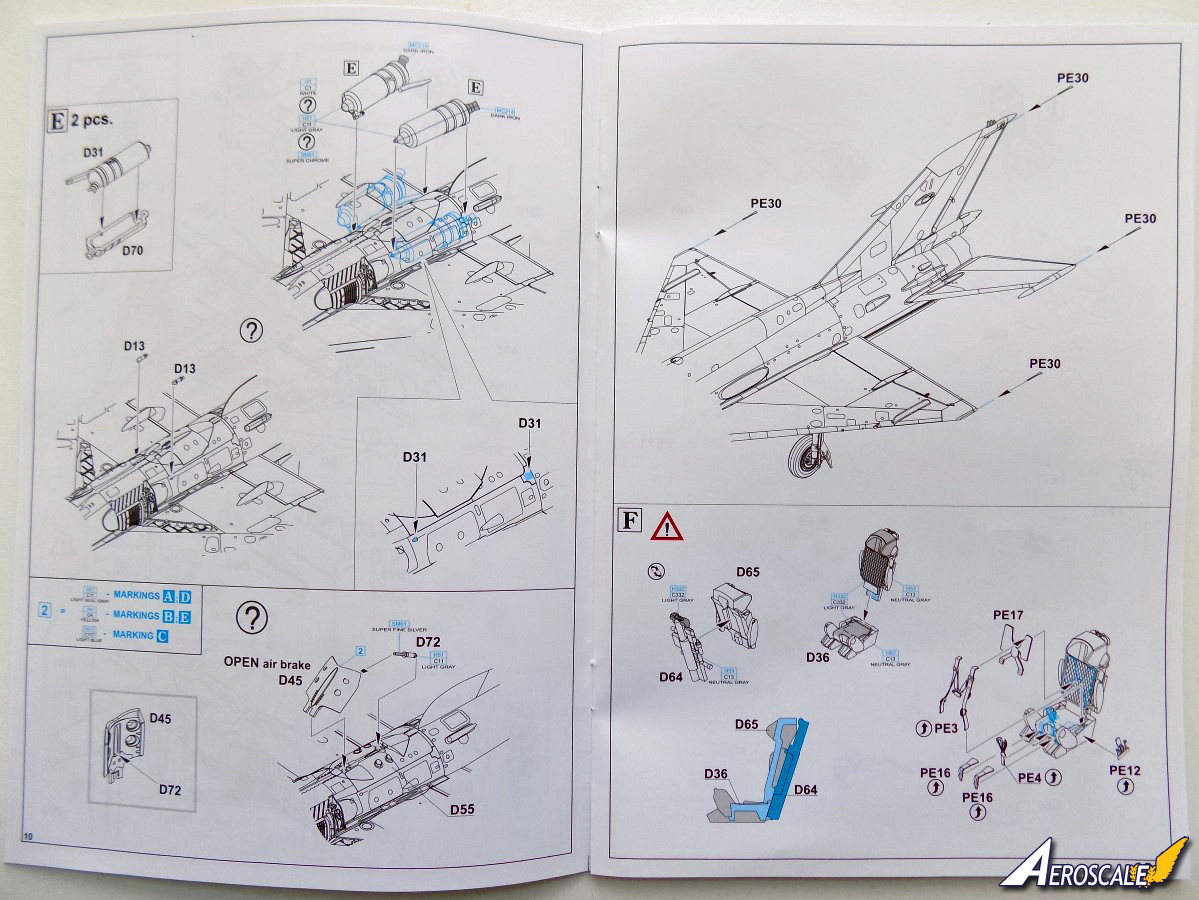
The main undercarriage bay assembles easily and is a good fit in the fuselage/wing belly section. Along with the nose bay, Eduard state the bays can either be Light Gull Grey or a darker grey, or in the case of marking option C, light blue. As I'm building the Polish version I plumped for the Light Gull Grey colour.
The wings slot into the belly of the fuselage and is a pretty tight fit, but once fitted very little seam work is needed. The spine/fin/rudder combination, the stabilisers and the wing flaps can all be fitted.
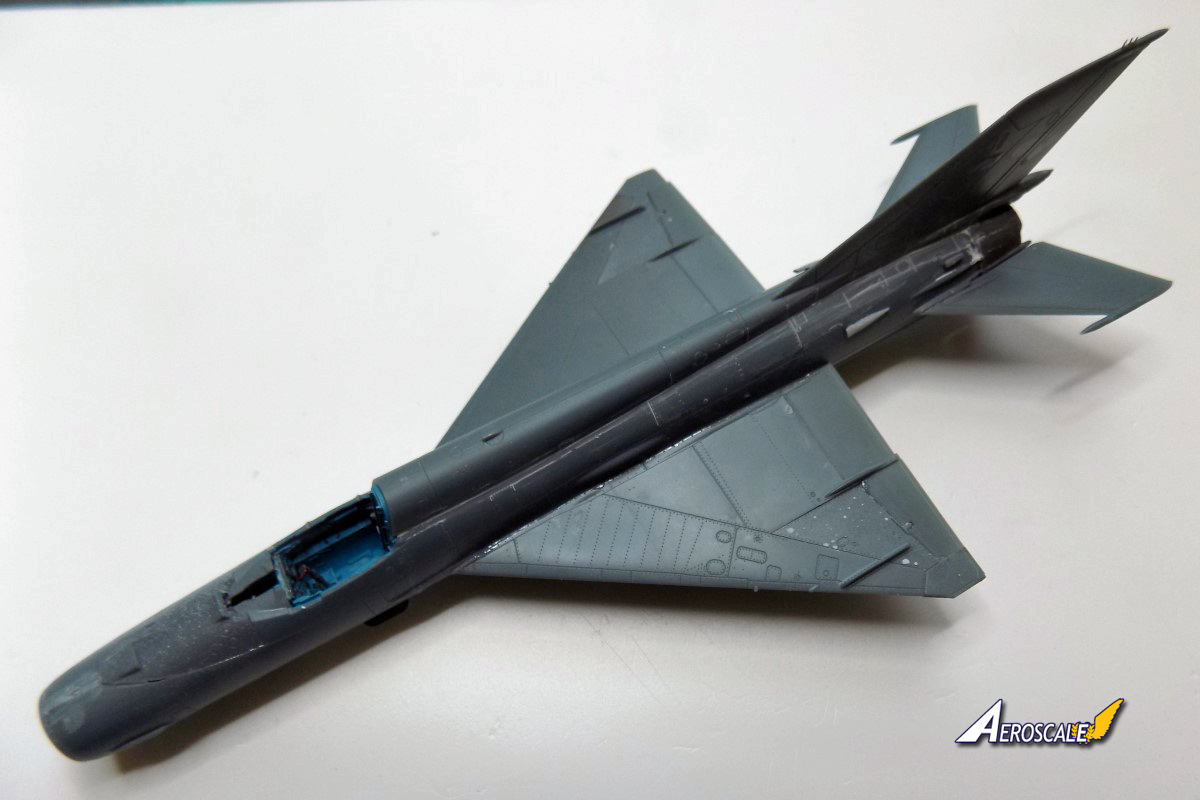
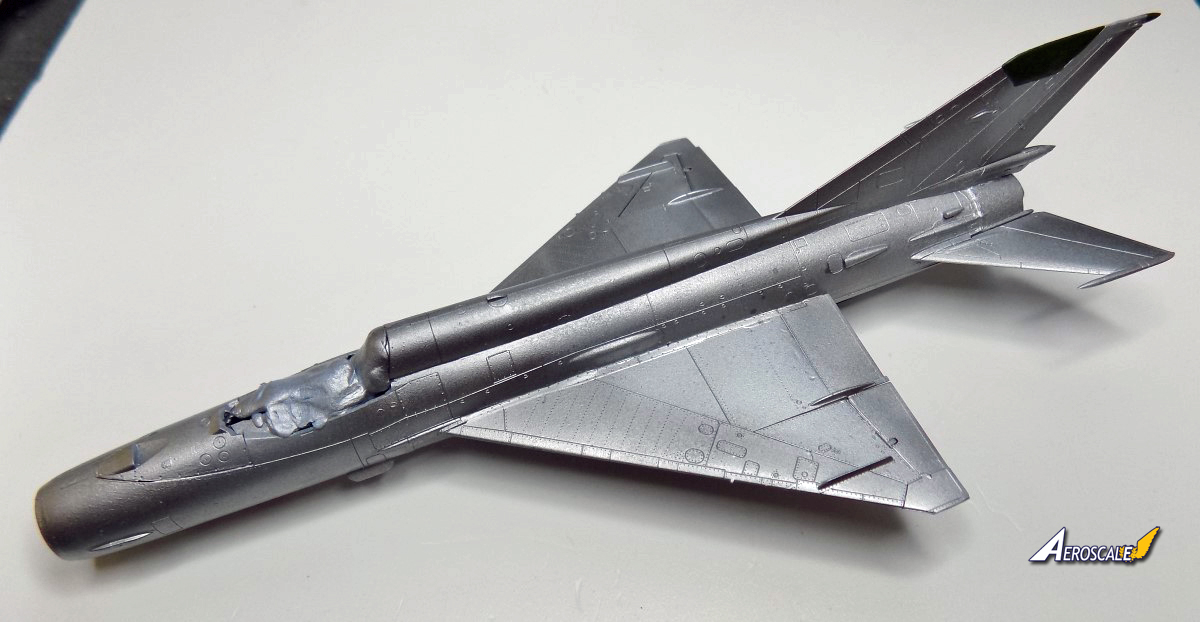
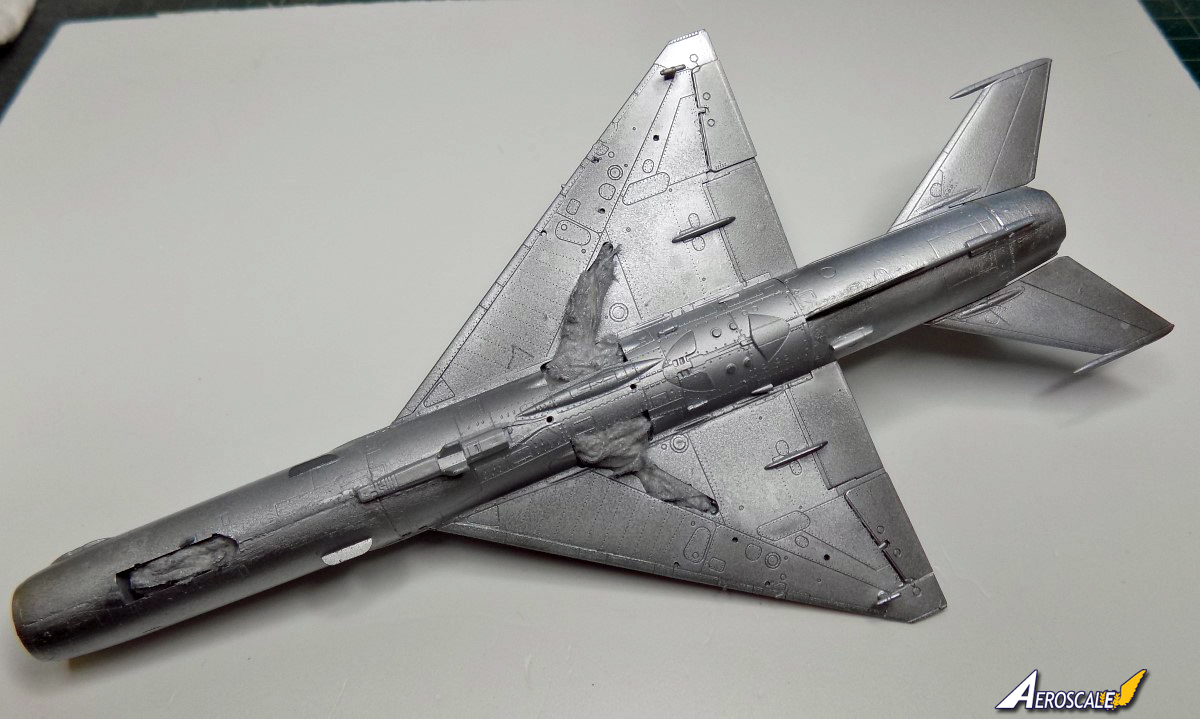
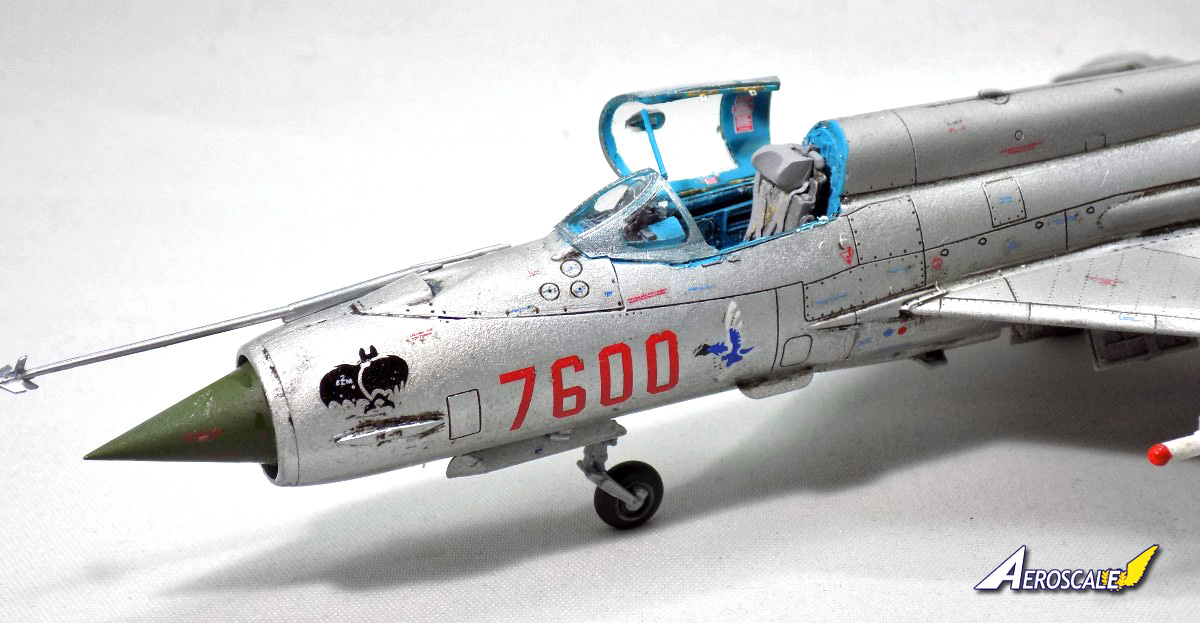
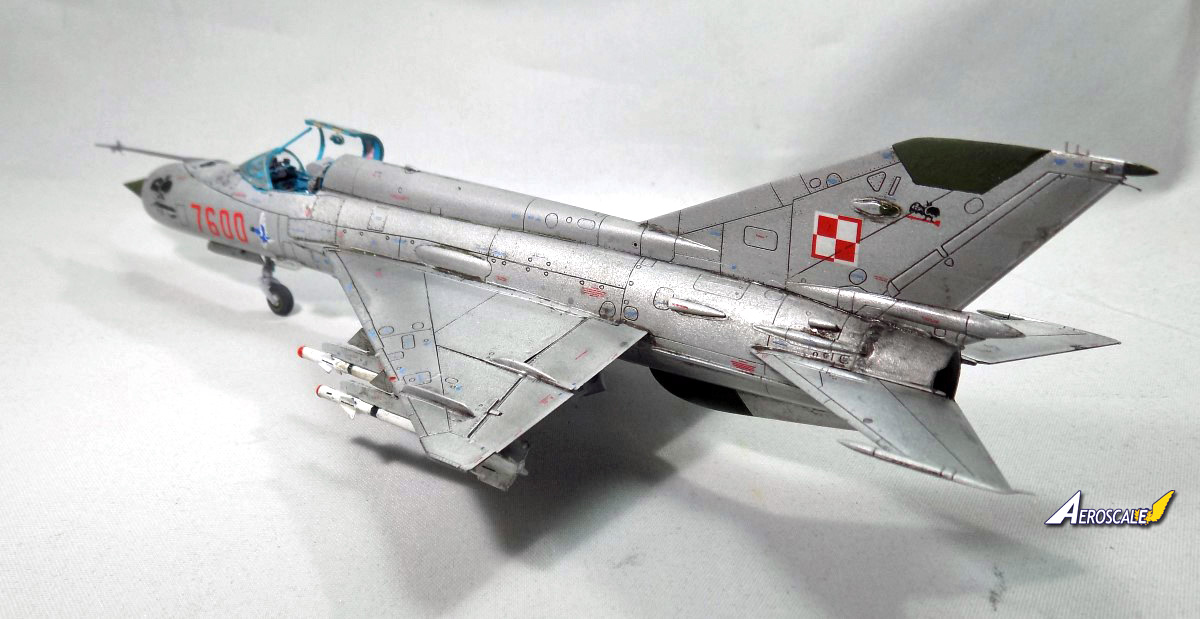
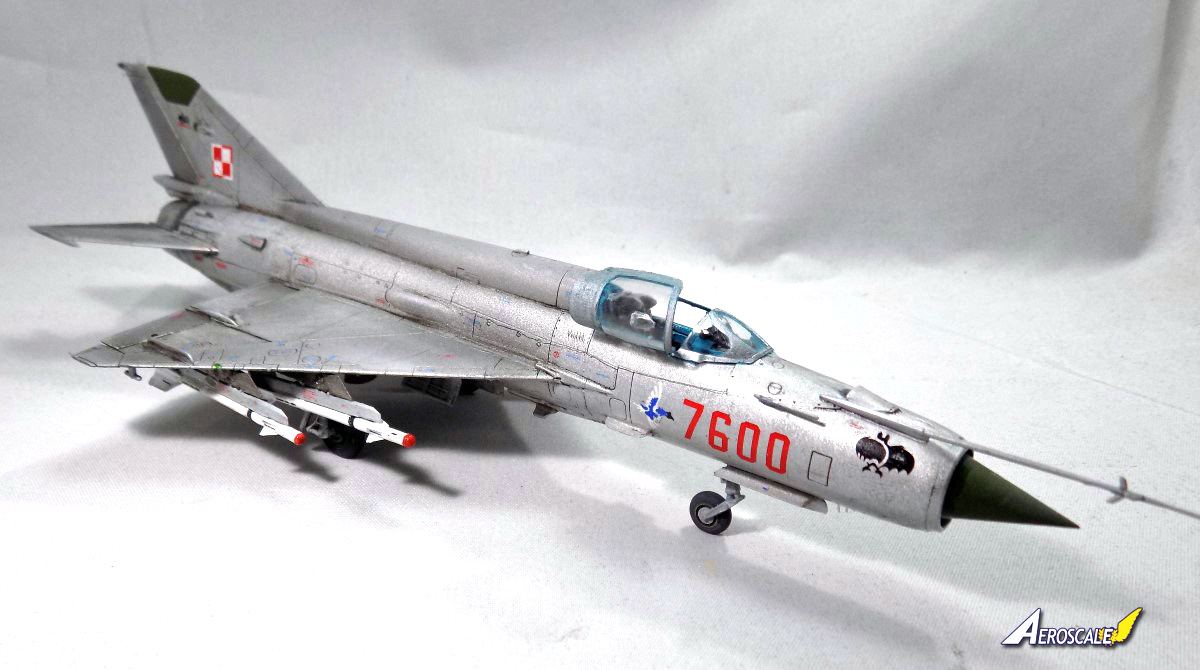
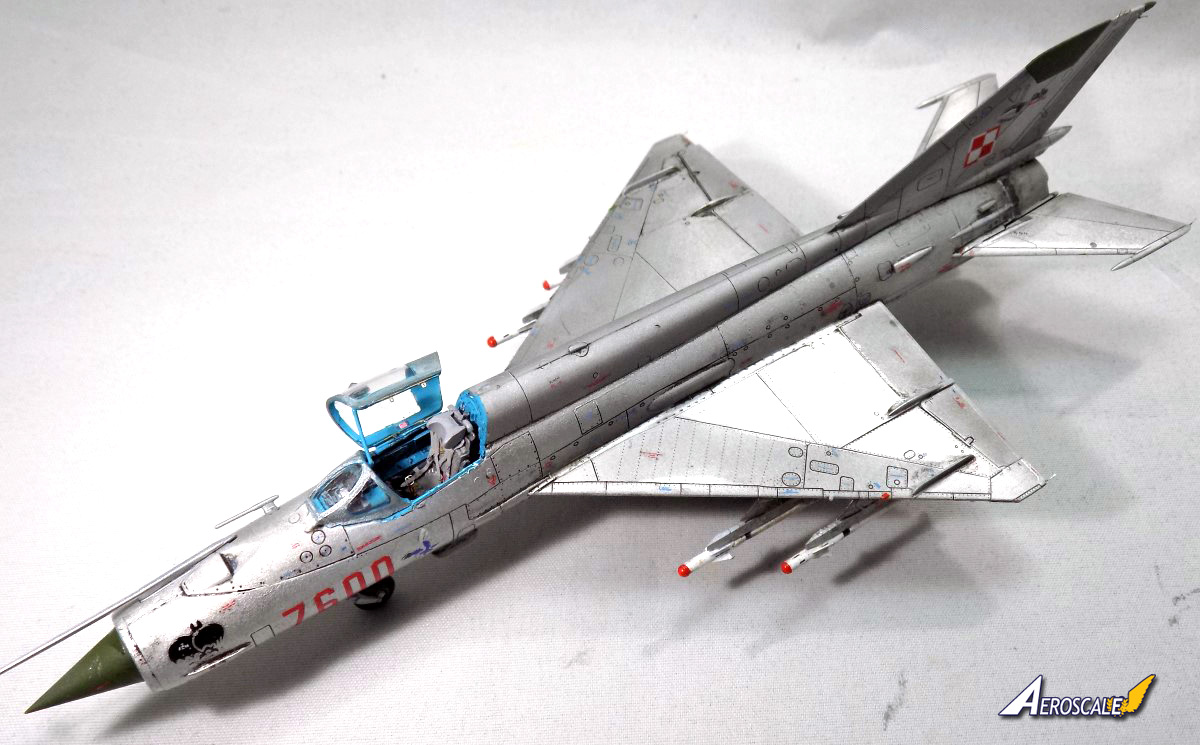
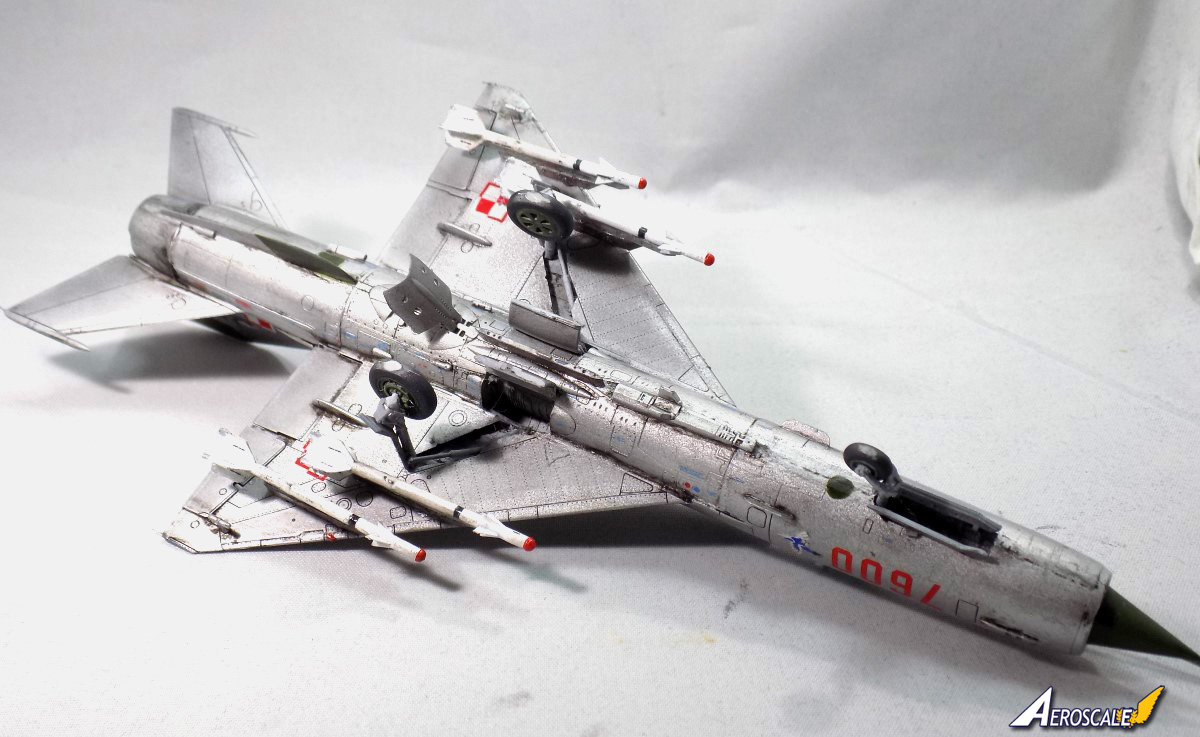
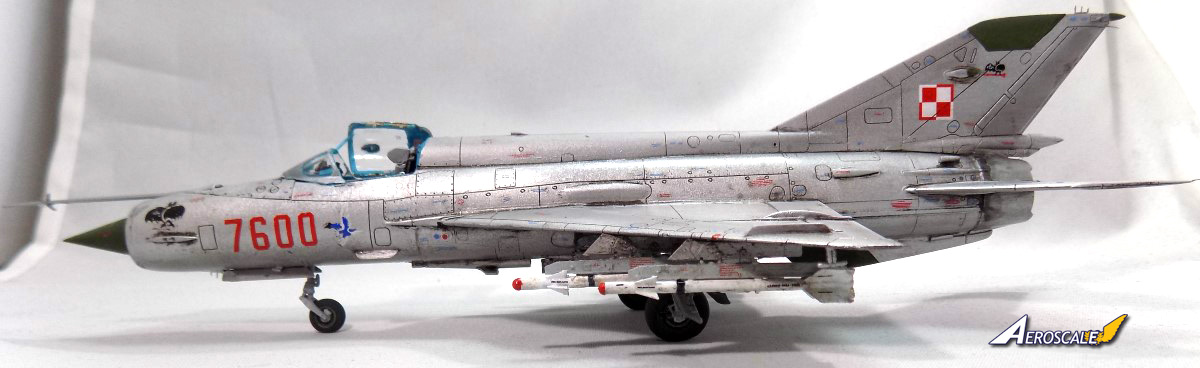
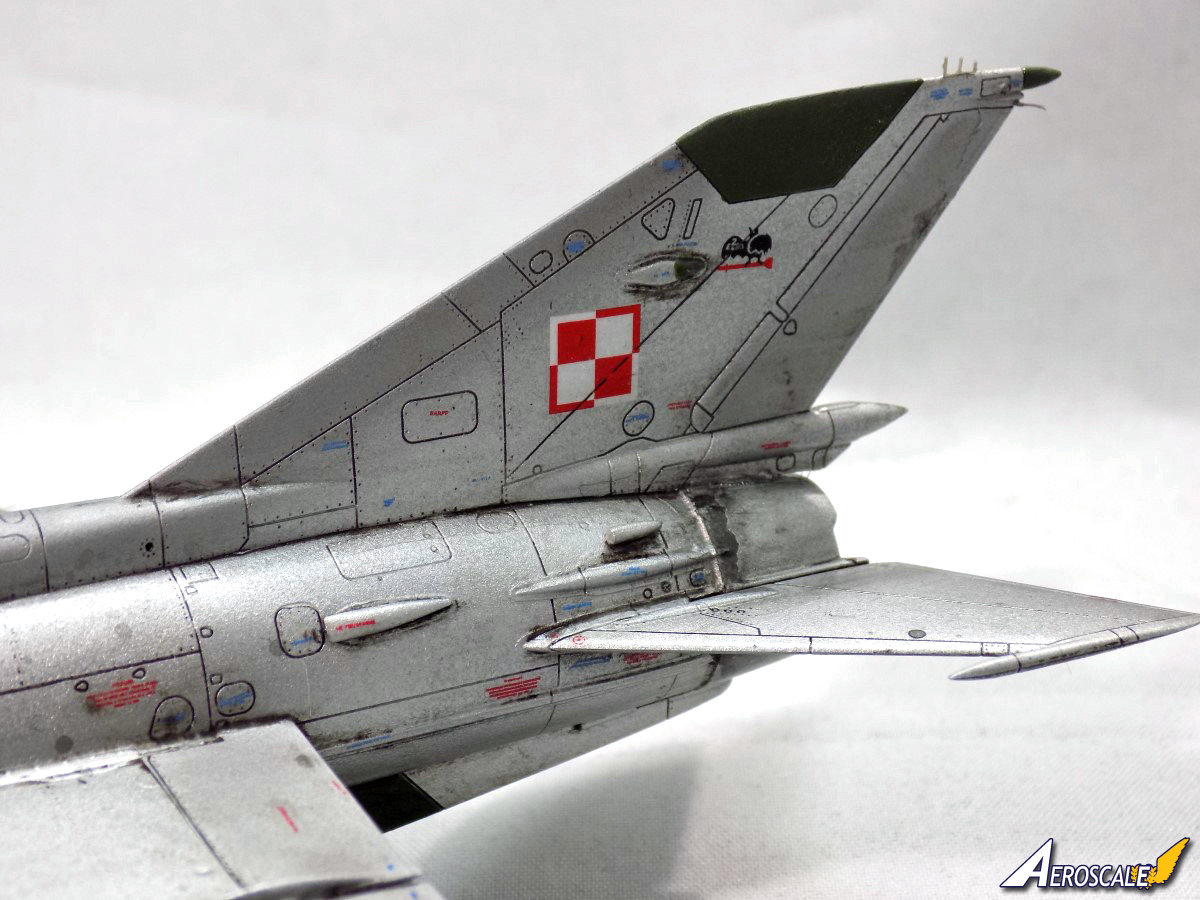
Once all the major parts were fitted, I decided o paint the aircraft. As this scheme is a metal finish I broke out AK Xtreme Metal Aluminium. Once sprayed, a few panels got a dark aluminium for some variation.
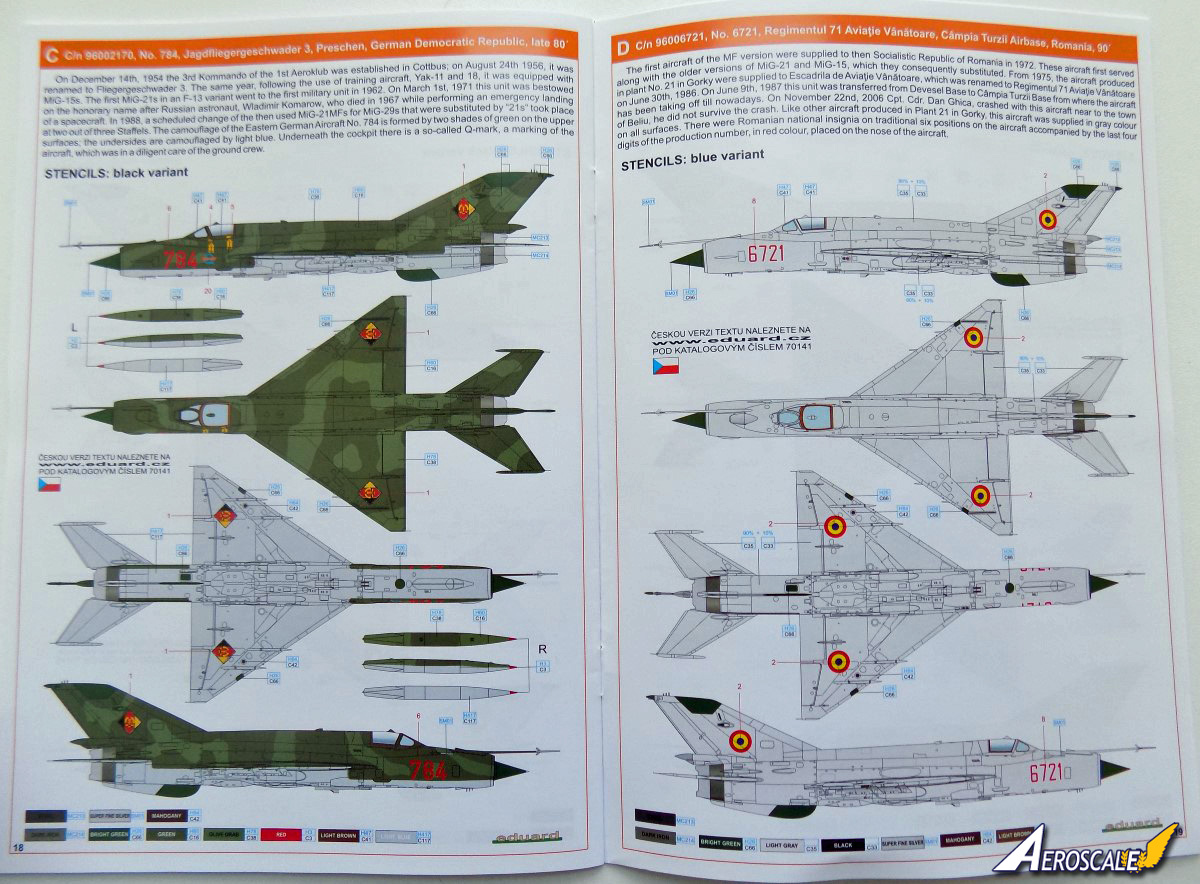
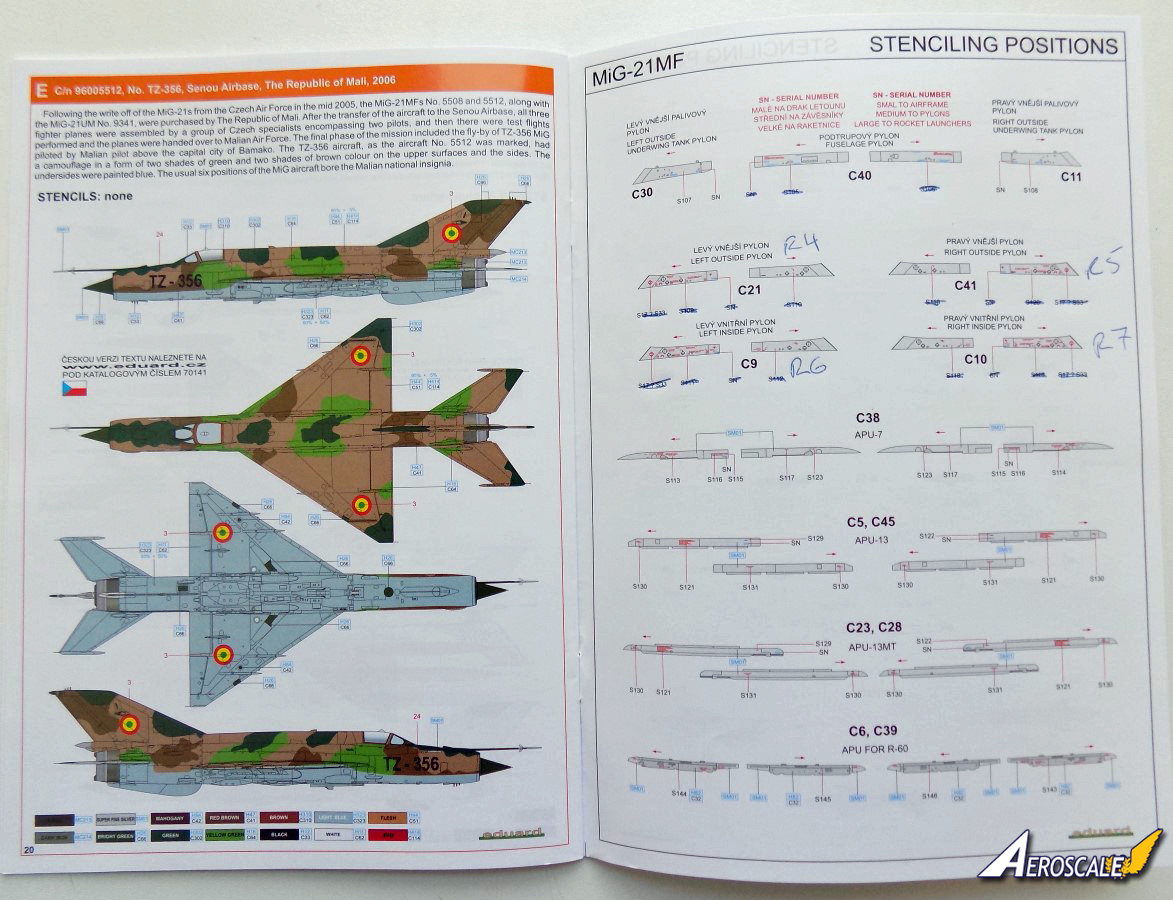
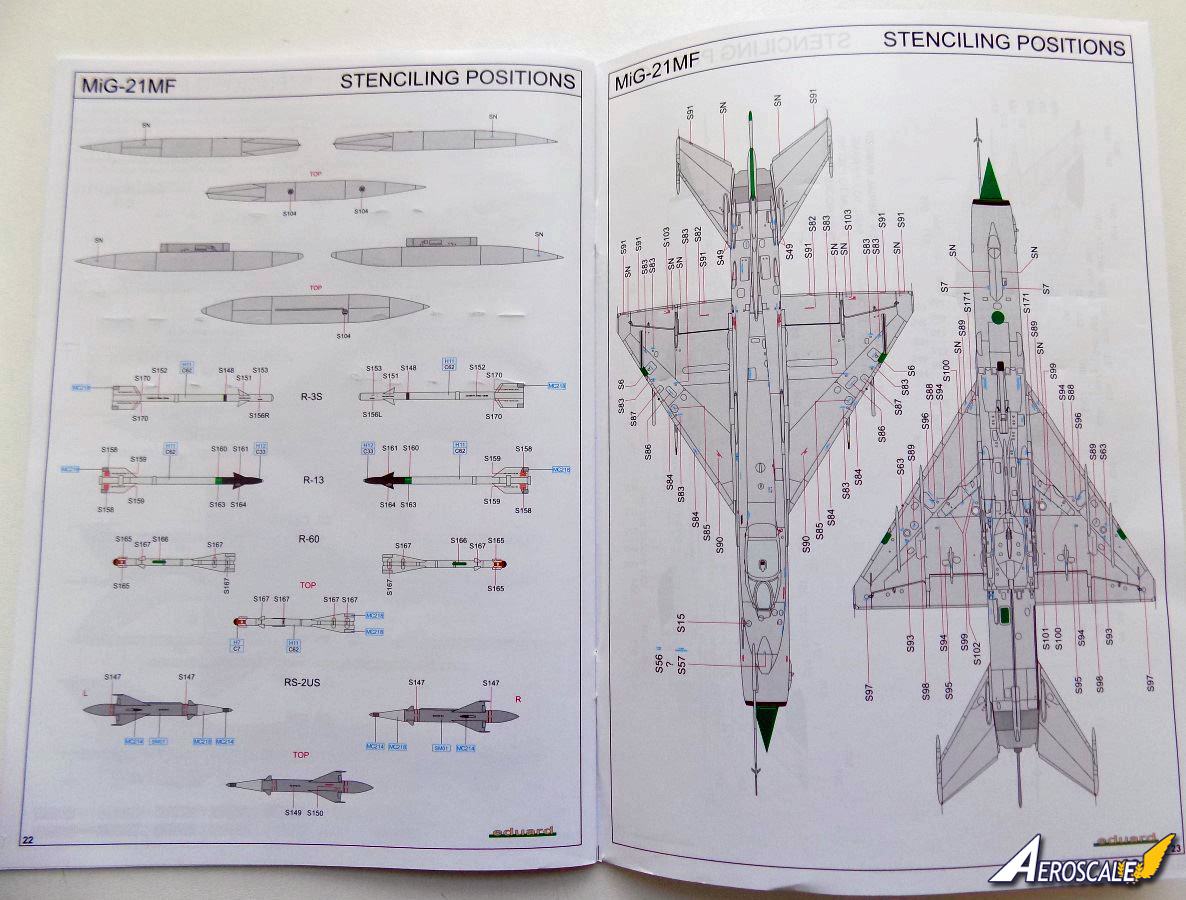
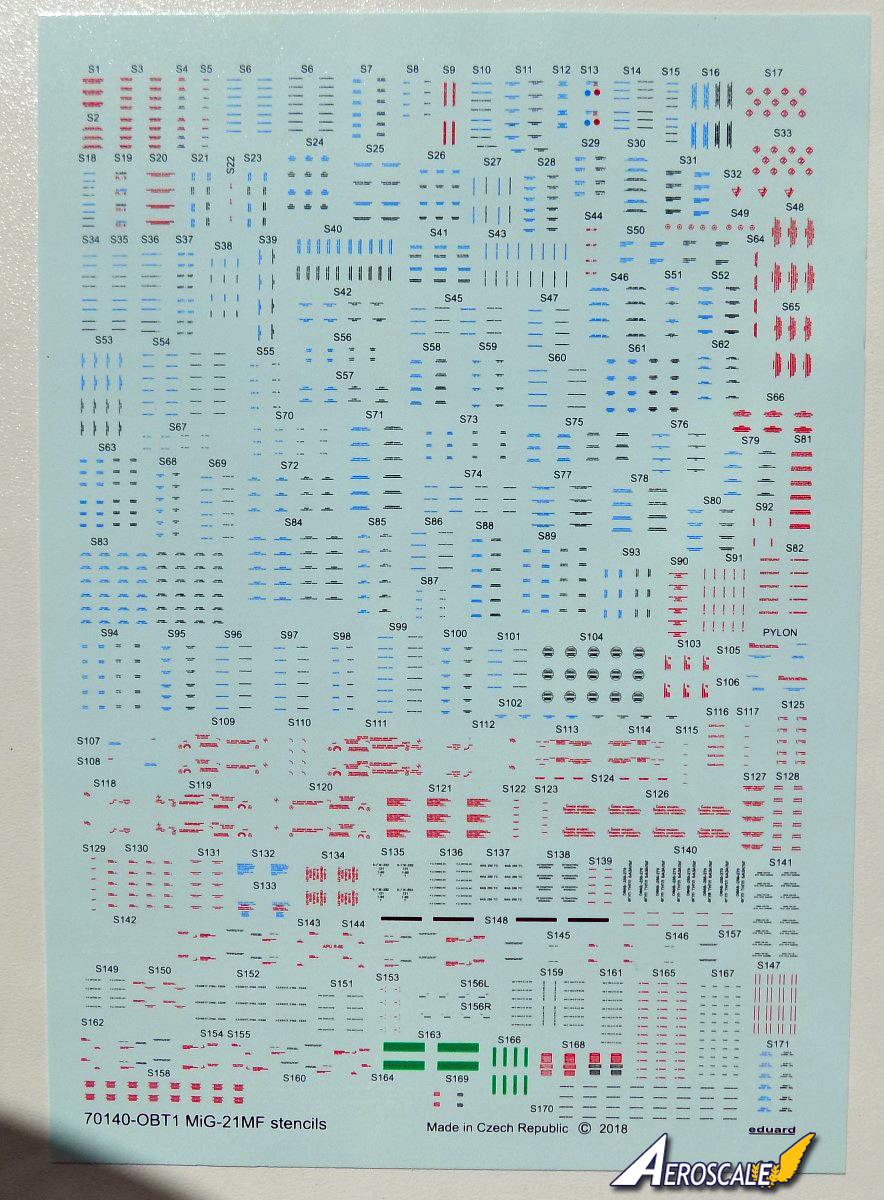
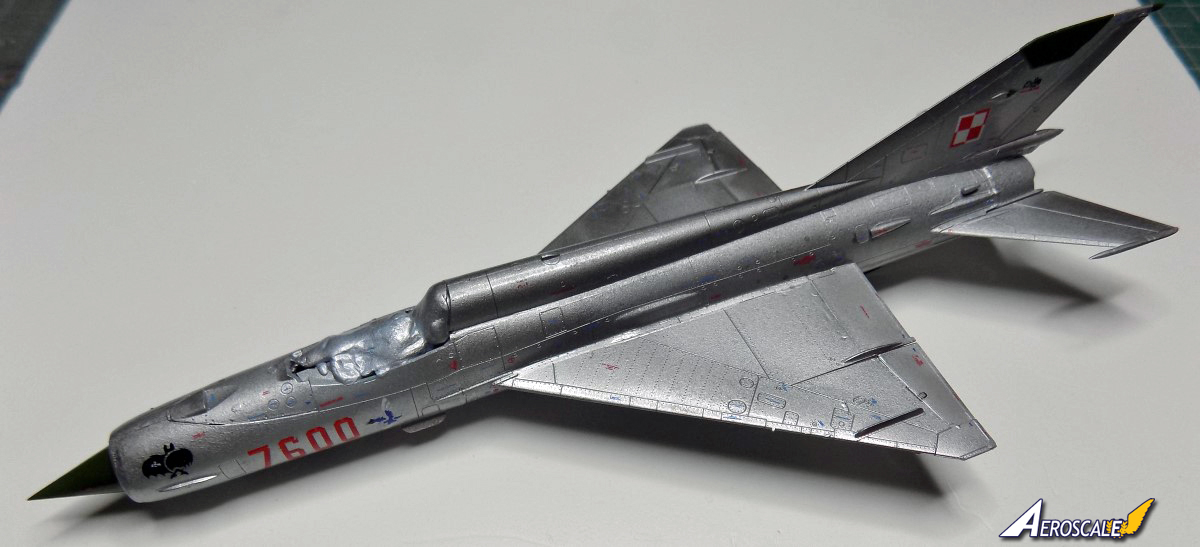
Now comes the bit I was dreading, stencils, loads of them, about 200 give or take 10 or so. Different markings require either black or blue stencils, so the larger decal sheet holds them, with plenty too spare.
It took me three days to apply the stencils, but once they are on, you actually only notice the bigger ones lol.
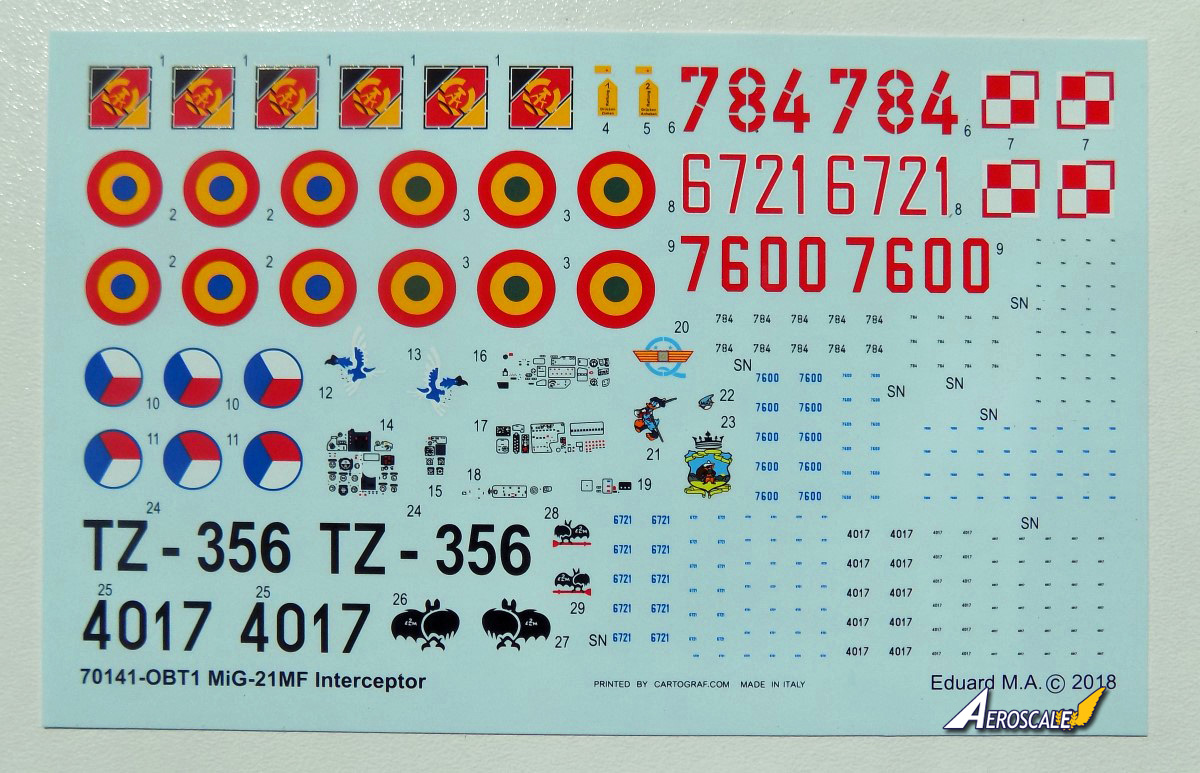
Once the stencils are on the main aircraft markings were applied, and these are printed by Cartograph, so no problems arose with the application.
A gloss coat was sprayed over before I weathered the panel lines with AK Paneliner (No I' not getting paid to promote AK's line of stuff lol)
Once the aircraft was weathered I added the various dangly bits, such as the undercarriage, ariels and the air brake, which can be modelled open or closed.
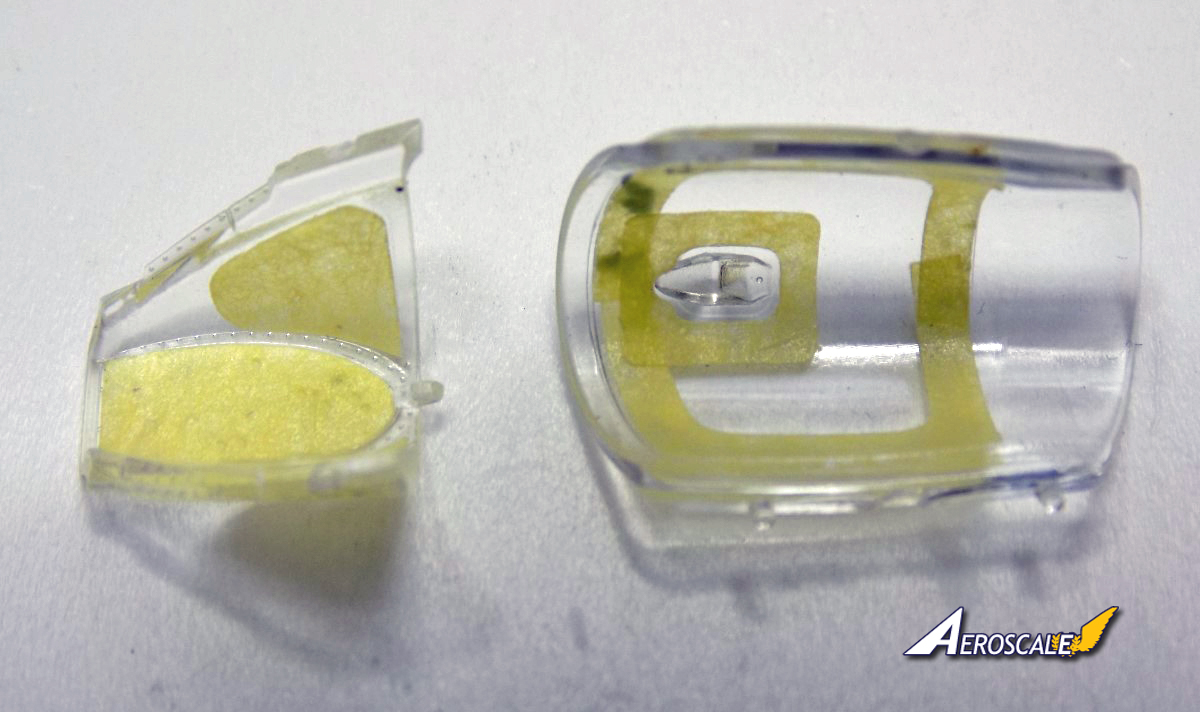
Last up is the canopy, which I used Eduard's TFace mask set.
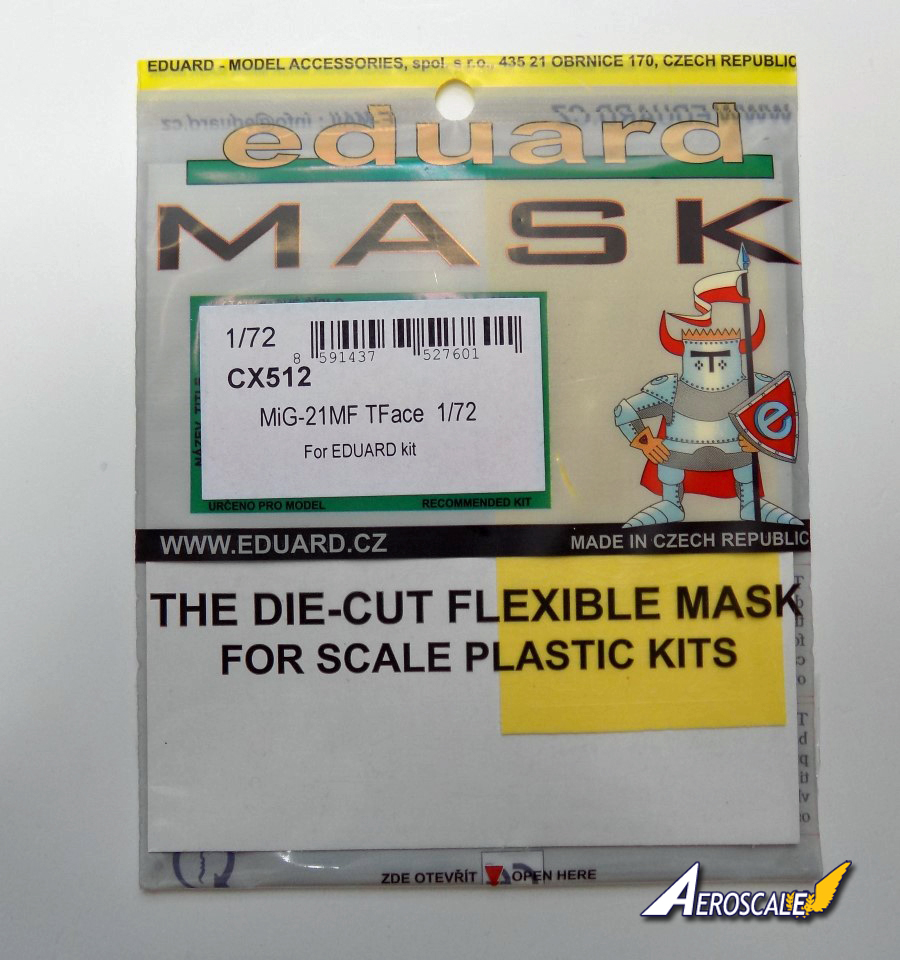
MiG-21MF TFace
Item No - CX 512Price - £7.20 (Hannants)
Link - MiG-21MF TFace
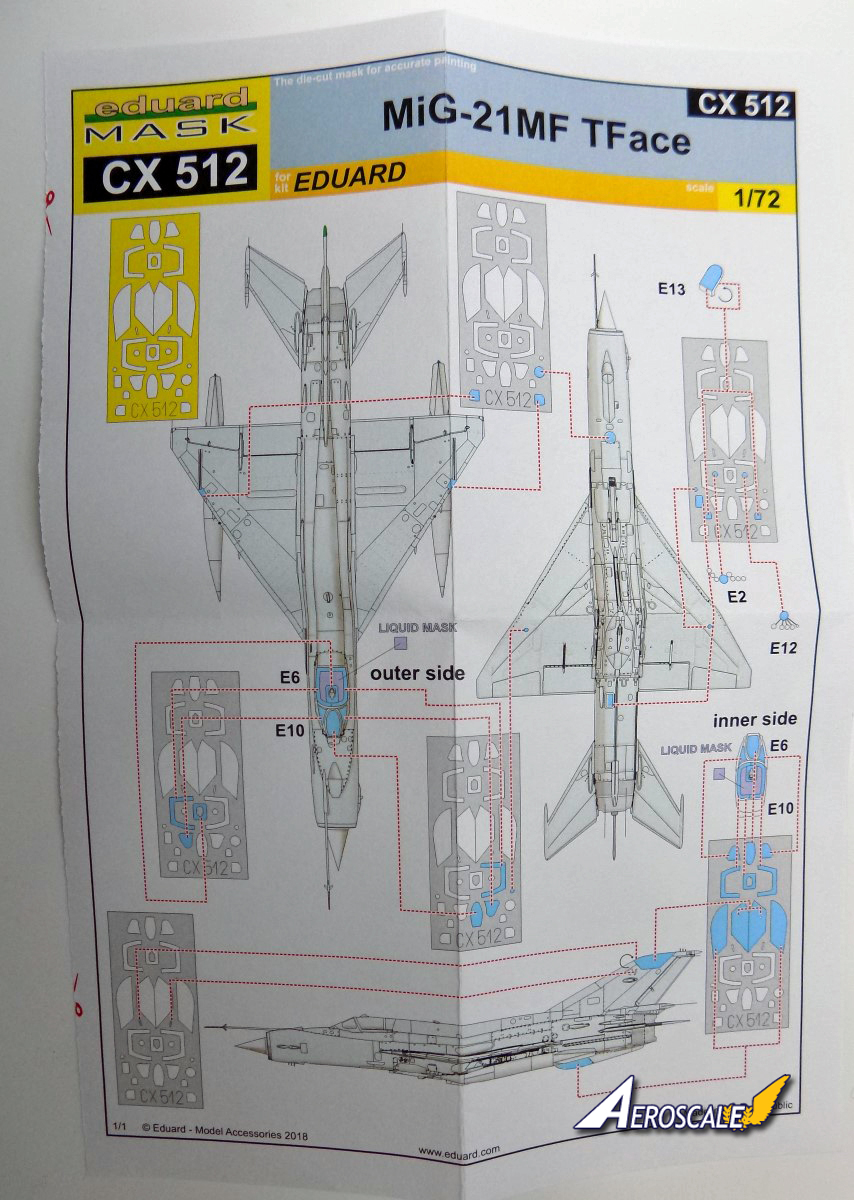
Eduards new line of masks are called TFace as they now come with an interior mask for the canopies.
This is very handy when you are modelling the canopy open, as you can now spray the insides as well as the outsides with out worrying about messing the whole thing up with overspray.
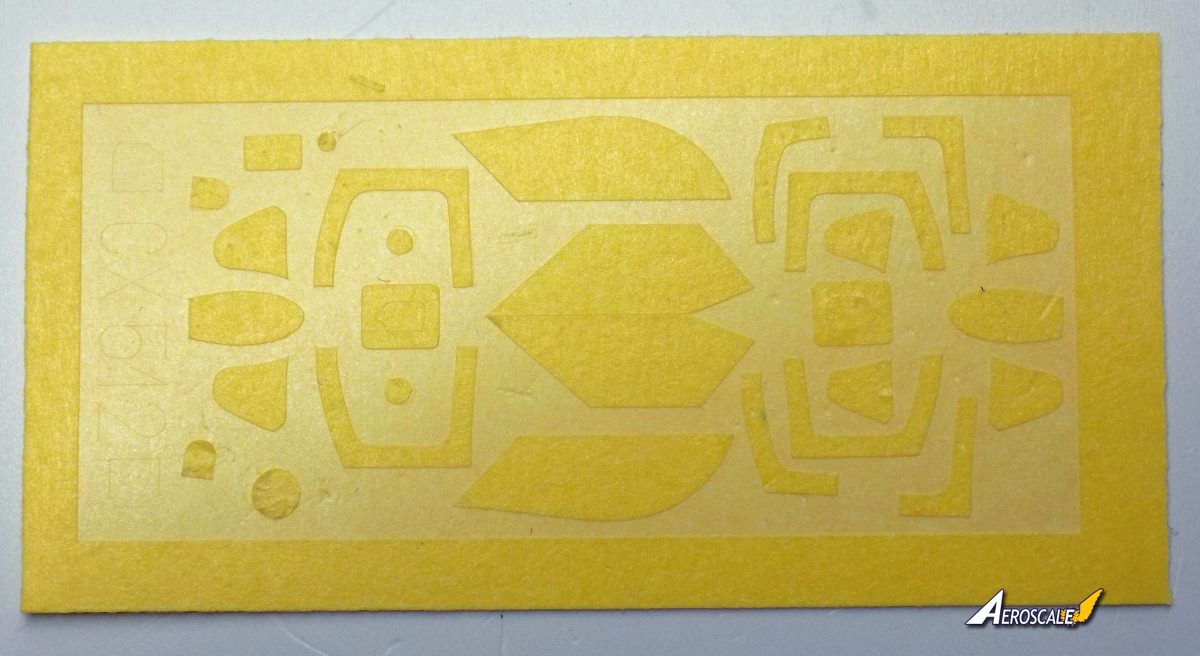
Packed in the now standard sealed bag, with a cardboard insert, the contents contain one sheet of masks, and a set of instructions.
The set is made with the usual kabuki tape, and having used Eduard masks before they are easy to apply, leave no residue on the part and if you are careful when removing could be used again.
The set contains masks for the inside and outside of the canopy, and windscreen, and several masks for the dark green panels found dotted about the aircraft.
MiG-21MF
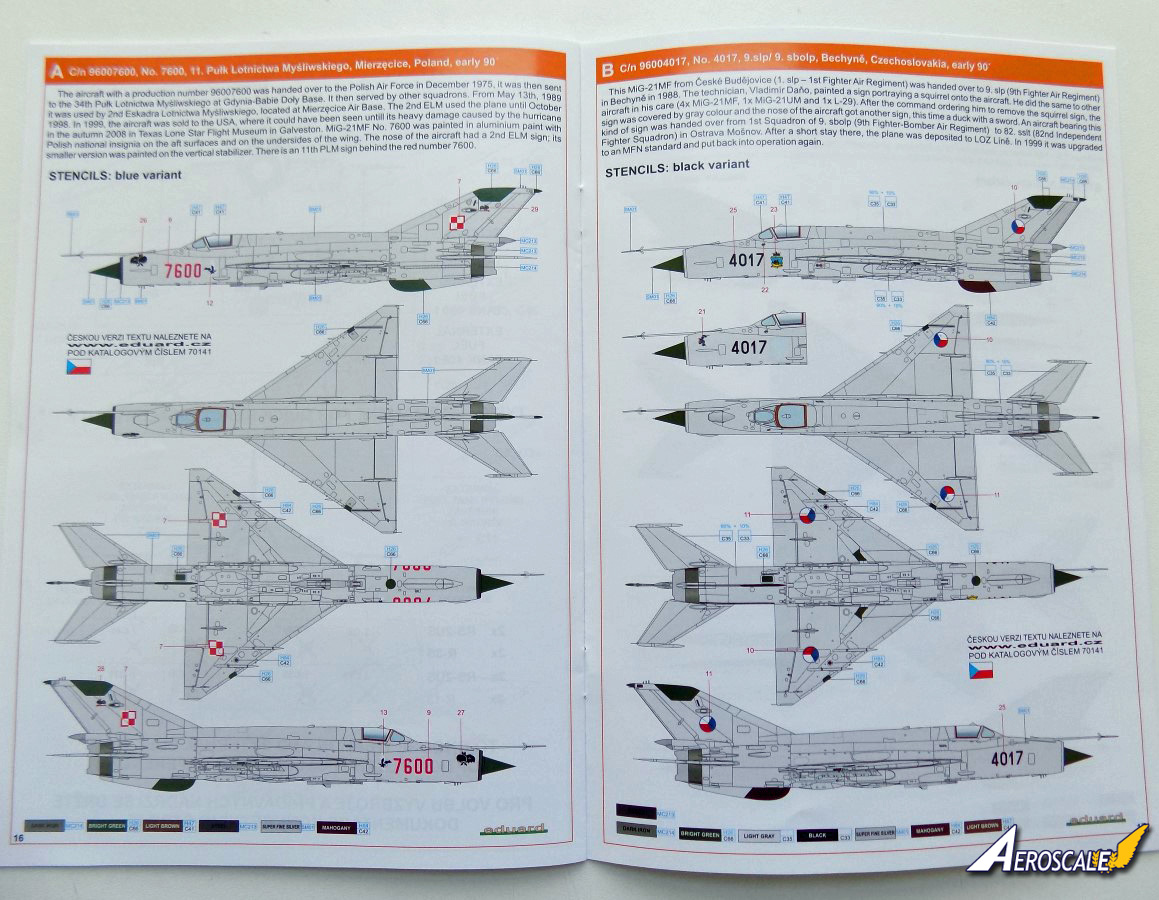
The aircraft modelled is -C/n 96007600, No. 7600, 11. Pułk Lotnictwa Myśliwskiego, Mierzęcice, Poland, early 90´
The aircraft with a production number 96007600 was handed over to the Polish Air Force in December 1975, it was then sent to the 34th Pułk Lotnictwa Myśliwskiego at Gdynia-Babie Doły Base.
It then served by other squadrons. From May 13th, 1989 it was used by 2nd Eskadra Lotnictwa Myśliwskiego, located at Mierzęcice Air Base. The 2nd ELM used the plane until October 1998.
In 1999, the aircraft was sold to the USA, where it could have been seen untill its heavy damage caused by the hurricane in the autumn 2008 in Texas Lone Star Flight Museum in Galveston.
MiG-21MF No. 7600 was painted in aluminium paint with Polish national insignia on the aft surfaces and on the undersides of the wing. The nose of the aircraft had a 2nd ELM sign; its smaller version was painted on the vertical stabilizer. There is an 11th PLM sign behind the red number 7600.
Conclusion
Eduards new tool 1/72nd MiG-21MF is the best and most detailed kit of this iconic fighter produced, and with the Brassin extras, really takes the detail to the next level.With some beautiful detail already in the base kit, and with the ease of building, this kit is highly recomended.
Please remember, when contacting retailers or manufacturers, to mention that you saw their products highlighted here - on AEROSCALE


About the Author


FROM: ENGLAND - SOUTH EAST, UNITED KINGDOM
I started modelling in the 70's with my Dad building Airfix aircraft kits. The memory of my Dad and I building and painting a Avro Lancaster on the kitchen table will always be with me. I then found a friend who enjoyed building models, and between us I think we built the entire range of 1/72 Airfi...
Comments

Hi Andy
Nice job! It's great to see a full build - especially with all the extra "gubbins" thrown in.
Having built Eduard's 1:48 MiG-21 yonks ago, I'm surprised to see they are still quoting a hopeless paint mix for the cockpit colour...
All the best
Rowan
JUL 21, 2018 - 07:36 AM

Thanks Rowan, it was a fun build, and back to front build wise lol.
I think its strange how Eduard always go with Mr Color paints when they sell Mission Model paints on thier site.
As for the paint mix, I think its funny how they didn't even bother with a mix on the Brassin cockpit instructions sheet, but just went with Emerald Green, which is totally out.
Andy
JUL 21, 2018 - 09:52 AM
Hi Andy
You're quite right - when I wrote about Eduard's "mix", it should have been "match" - and a hopeless one!
Looking back at my MiG-21SMT, I ended up using Citadel "Hawk Turquoise" with a dash of LifeColor "US Interior Green" lightened with white. That got really close to the colour of Eduard's etched parts - but, of course, their colour may have changed since.
All the best
Rowan
JUL 21, 2018 - 10:16 AM
Copyright ©2021 by Andy Brazier. Images also by copyright holder unless otherwise noted. The views and opinions expressed herein are solely the views and opinions of the authors and/or contributors to this Web site and do not necessarily represent the views and/or opinions of AeroScale, KitMaker Network, or Silver Star Enterrpises. Images also by copyright holder unless otherwise noted. Opinions expressed are those of the author(s) and not necessarily those of AeroScale. All rights reserved. Originally published on: 2018-07-21 18:39:49. Unique Reads: 14916

WEB HOSTING BY


Copyright ©2021 AeroScale and Kitmaker Network, a subsidiary of Silver Star Enterprises
All Rights Reserved. Please read our Conditions of Use and Privacy Policy.
All Rights Reserved. Please read our Conditions of Use and Privacy Policy.