

Des.


Not good enough modeller, I hope that is just false modesty
This is great work. And I second Carl.
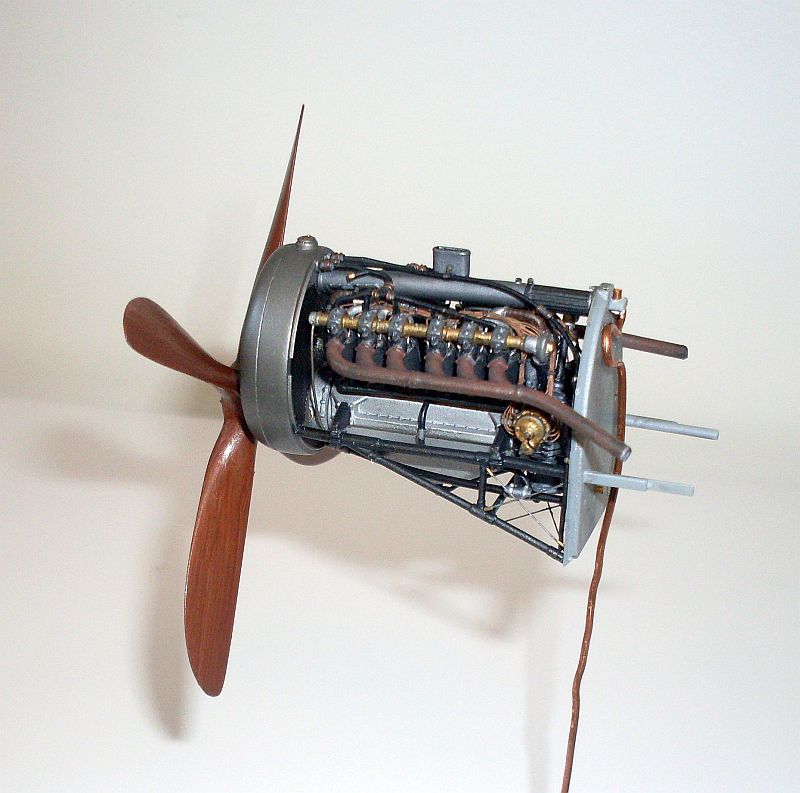
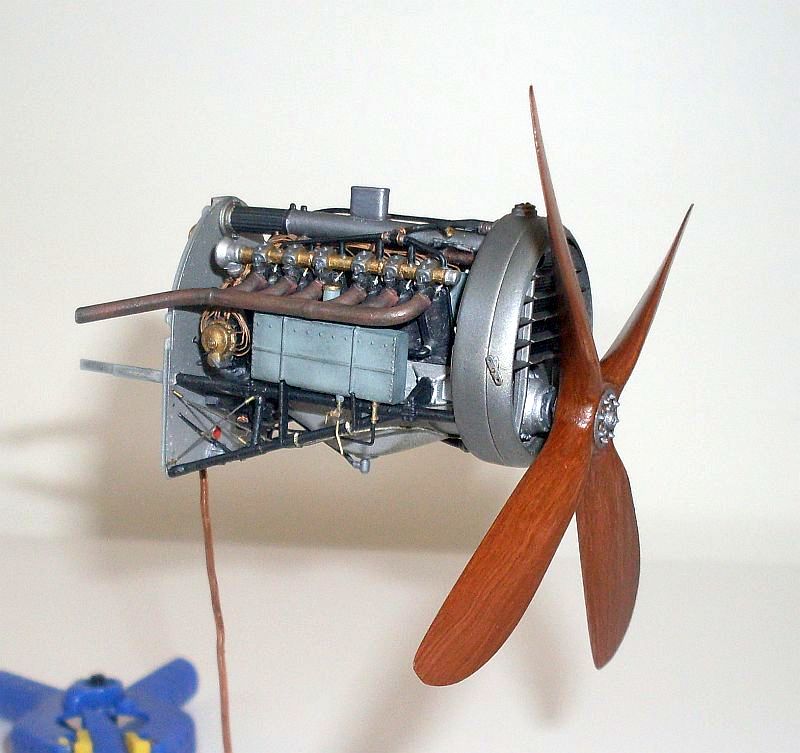
Just keep us up to date. That engine is magic.


Thank you all for your wonderful comments.
No Stephen, I will not be joining the GB simply because I am not that good a modeller. I only went back to modelling a short time ago and am still in the learning stages. I drool over some of the builds I have seen here and hope that one day I will be half as good as them. Maybe the next lot of WNW releases will see me joining a GB, until then I will keep drooling and keep practicing.
Des.
Thanks all for your nice words.
OK, I'm convinced, seems like I should join the WNW GB. Being only new to Kitmaker (and computers) I don't know the ins and outs of a GB or how to join, could someone please give me some advice on what to do. Seeing that I have already started my kit do I still qualify? Also, I have already started a thread with photos of my build so far, can thay be put into the GB section? Sorry, but these are all things I don't know.
Thanks in advance for any assistance
Des.

Thanks guys for the info, I have now enlisted.
Cheers
Des.

Thanks all for your nice words.
OK, I'm convinced, seems like I should join the WNW GB. Being only new to Kitmaker (and computers) I don't know the ins and outs of a GB or how to join, could someone please give me some advice on what to do. Seeing that I have already started my kit do I still qualify? Also, I have already started a thread with photos of my build so far, can thay be put into the GB section? Sorry, but these are all things I don't know.
Thanks in advance for any assistance
Des.


 |


