Hi All,
Time for another update feels like its been a while since last but there has been a lot of progress made too!
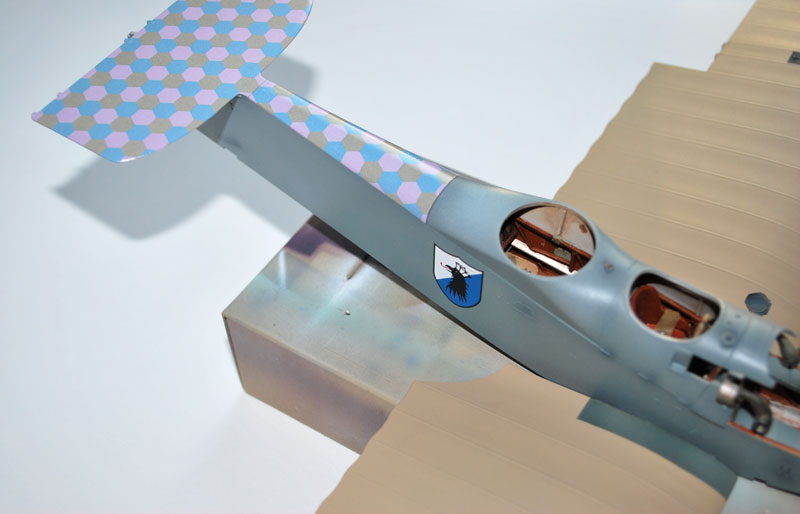
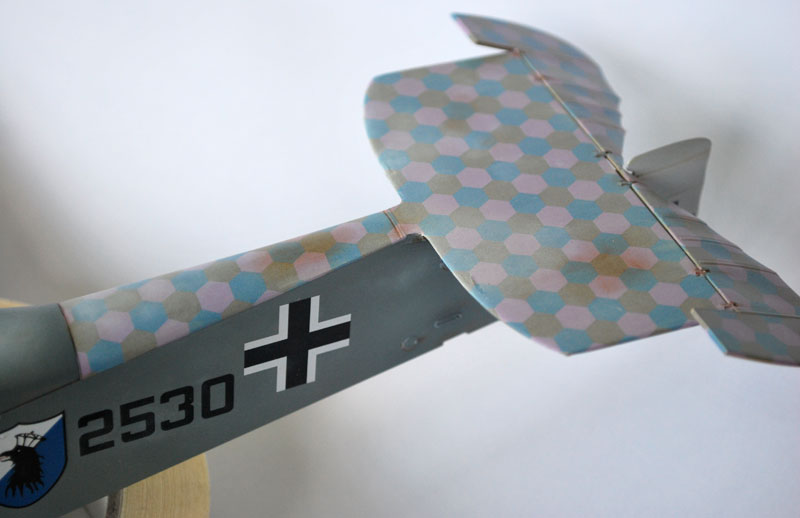
Most time has been spent applying the Hex to the uppersurfaces, this was a pretty straightforward proceedure, but time consuming. I did a couple of bolts at night, then let it dry until the next day. The bolts are done as cookie cut patterns in the kit, with cut outs for the nonslip surface and the small hatches. The Hex was laid out as a contious pattern with seamless transitions, oposite to the landbased lozenge so once youve laid the first bolt you have to carefully fit the next one to match. This was not too difficult but you need to trim off a slight sliver on each side otherwise you get a quite noticable black line along the edges.
The only small trouble I had was the fact that the cut outs for the hatches did not match, and althogh the bolts were fairly well sized I found the last one on the wingtip to be a bit short. Mind you only a bit but enough to have to do a bit of mending. There is ample of extra bits on the sheet, so this was pretty straightforward.
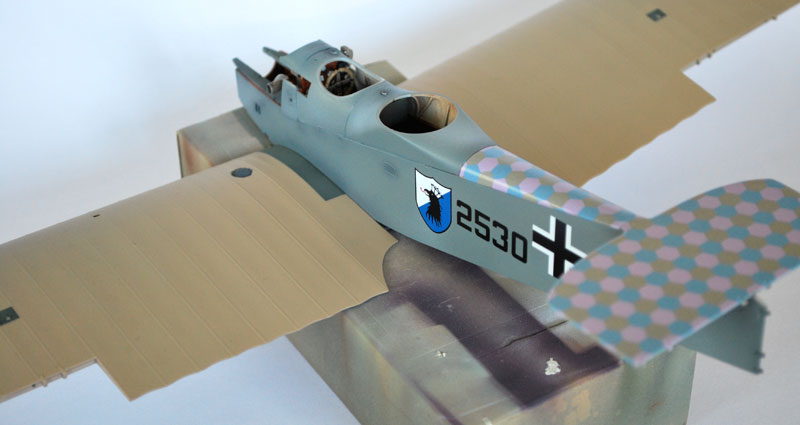
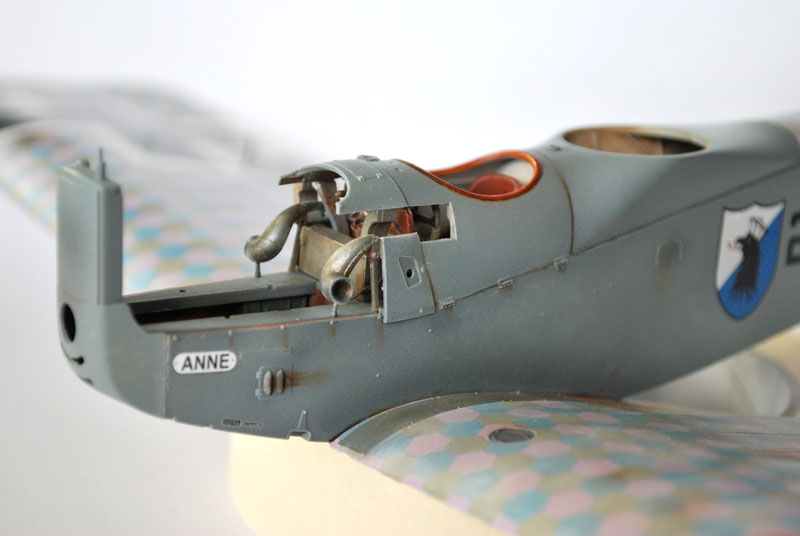
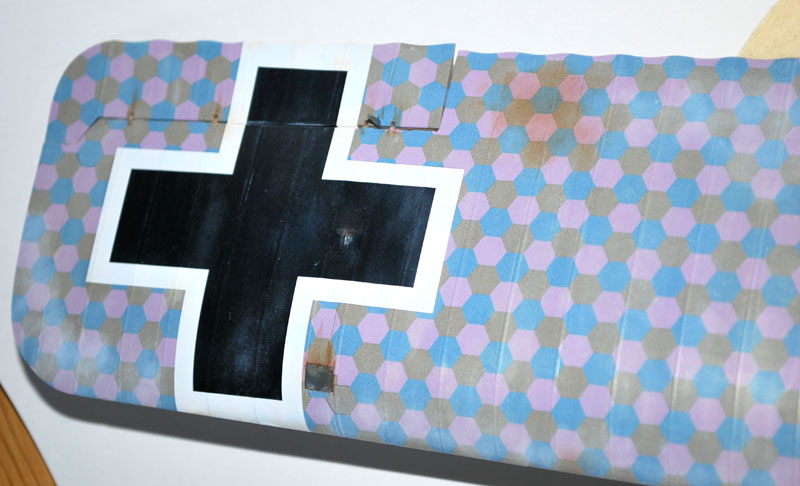
I sprayed the whole lot with a couple of coats of Furure, and then started considering the waethering. The Hex is a bit bright as it comes probably so that each modeler can do as they please with texture and toning. I choose to go with oils and a bit of dry pastel. But rather than using my usual burnt umber I went for yellow ochre light and white in various mixes. In my mind I wanted a sun bleached and salty residue effect. After this was applied I did some details and smears using the umber...
Overall Im fairly pleasaed with the end result even though I think I may have overdone it a bit in places. Well judge for yourselves...

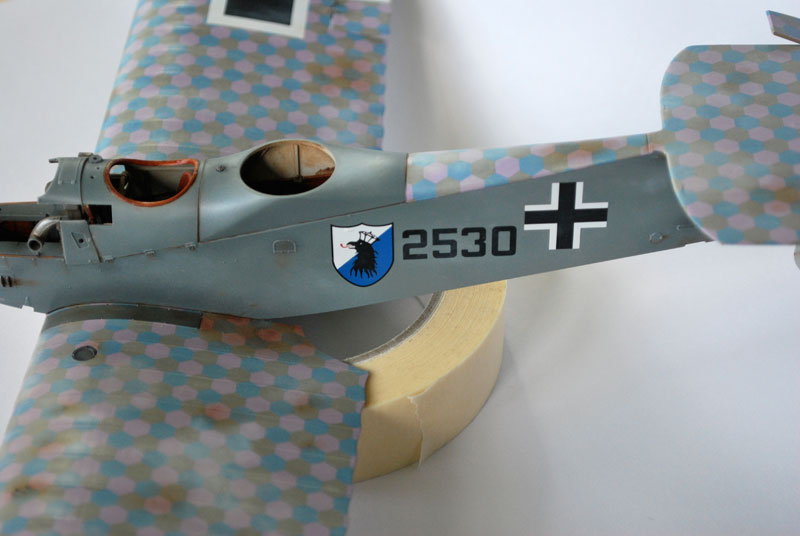
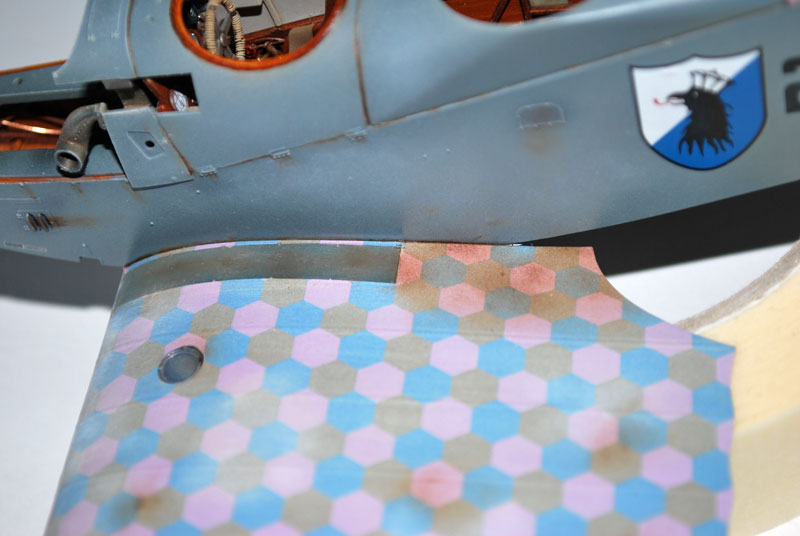
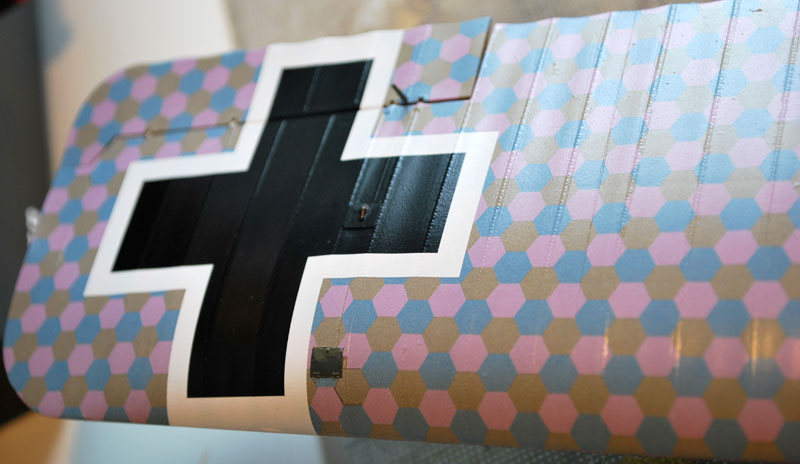
Before nice fitting pattern that needs some blending. If you look close on the hatch youll see that I had to make a bit of mending to get it to look right.
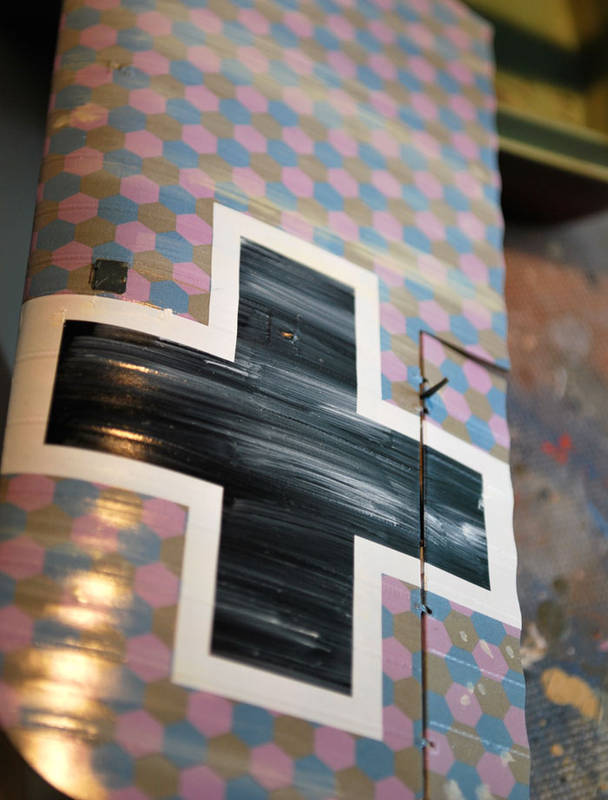
During I applied oils in small blotches, mixed with a bit of white spirit. Then using various brushesspreading it out out only to wipe most of it off with a rag. Then some dry brushing and que-tips etc to blend it all together. After sealing I used a bit of dry pastel for a bit of further highlighting in places.
After all blended in and drying it took about three days for it to be all dry be careful to keep it all away from dust.
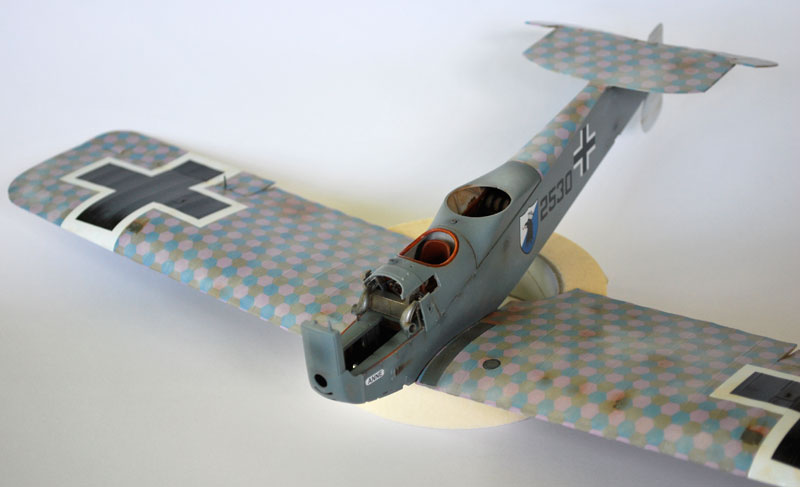
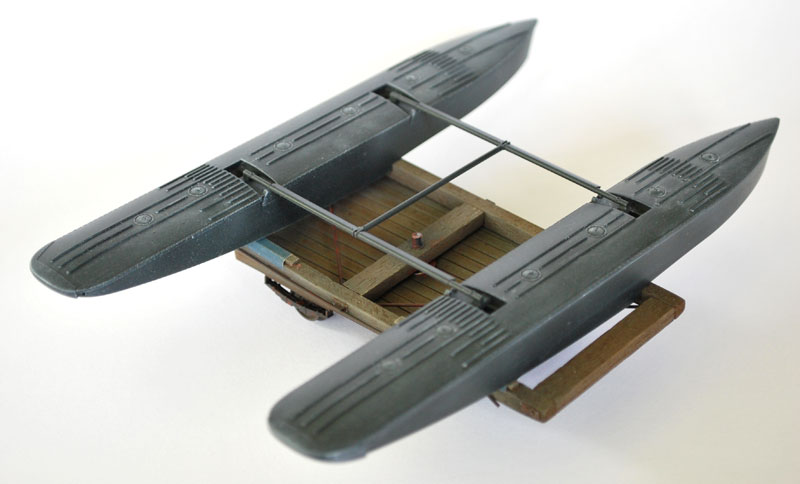
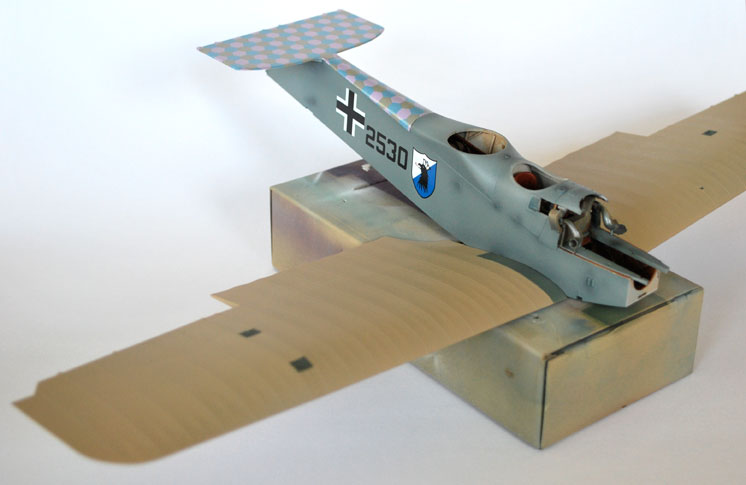
I liked the idea of dried salt on the black floats perhaps I shouldve applied a bit less but I guess I can tone it down a bit later on...
Thats about it for now. Guess Im out of the final bend and onto the home straight. With no upperwing, nor any rigging to speak of final assembly will move fairly quick I think. There are some more details taht needs to be put in its place and then ofcourse the engine and guns.
Til next time thank You for looking all and any comments as as usual very welcome.
Mikael