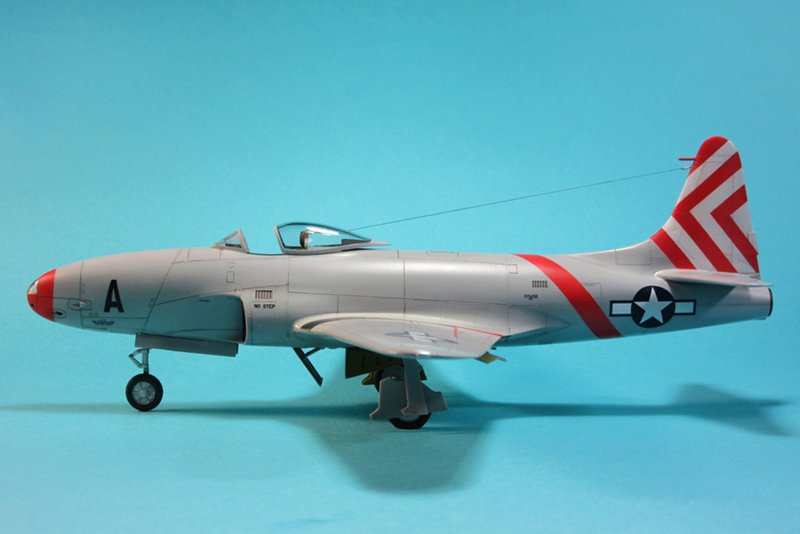
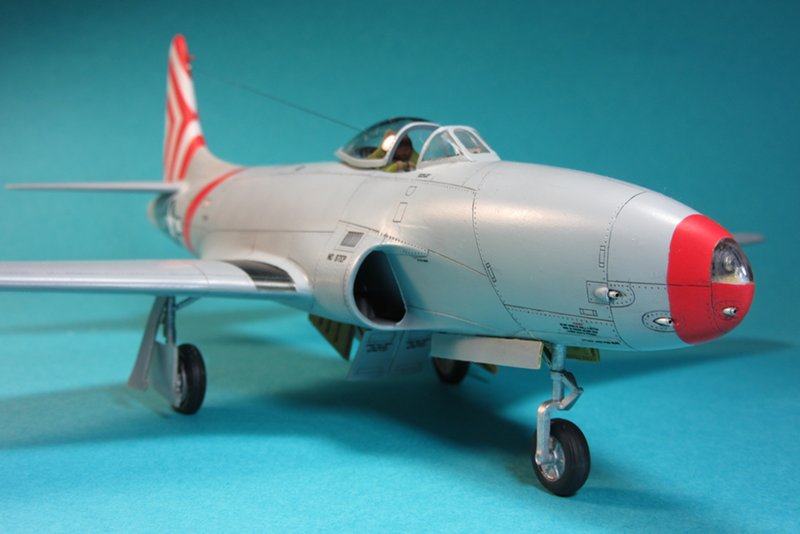
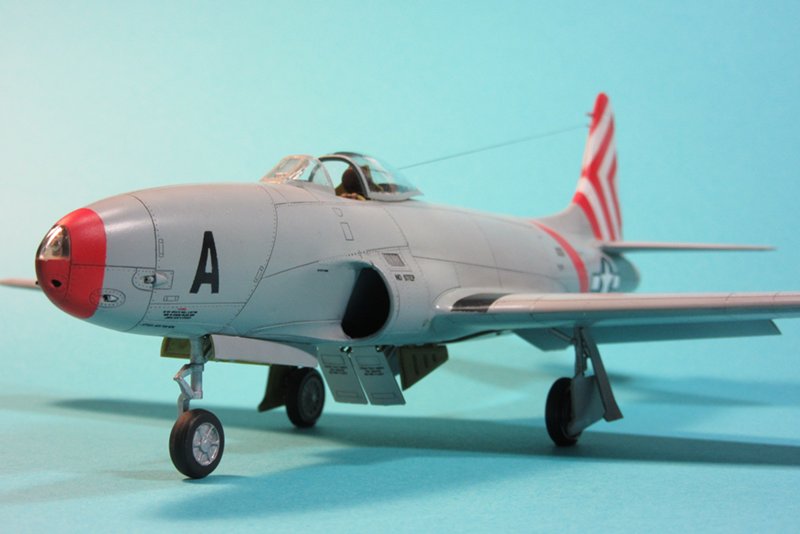
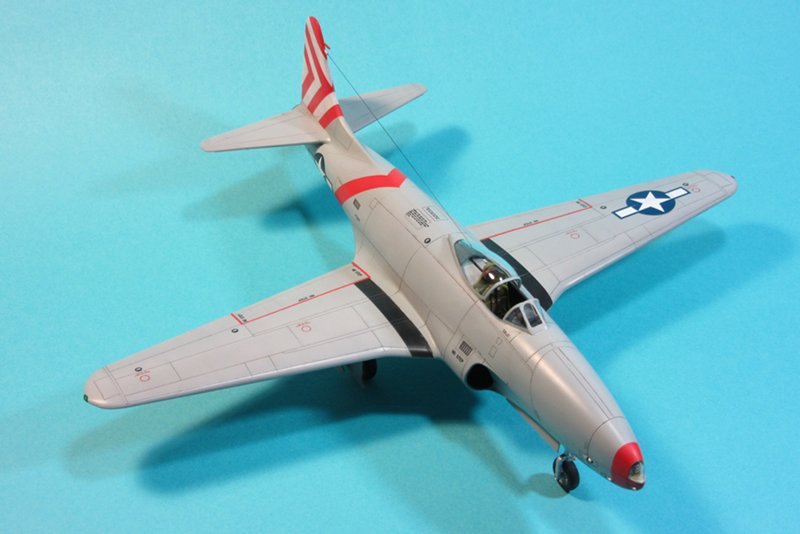
1/48 Hobby Boss F-80A as Project ExtraversionI added the last few touches to my YP-80 conversion, scratching new .50cals out of micro tubing and painting the wingtip lights.
 My scratchbuilt barrels made from Albion Alloys vs the kit plastic guns. No contest, and easy to make.
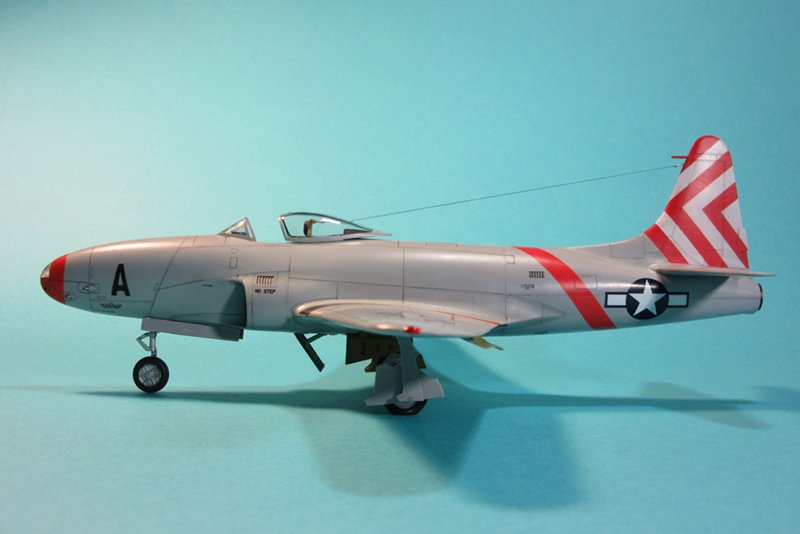
The antenna wire took some time to get the way I wanted it. I anchored it with 0.015" steel wire at the seat and tailfin, added insulators from coiled jeweler's wire, and finished it off by running EZ Line between the insulators. This was the first time I have ever tried drilling through a canopy, but a little tape on the clear plastic kept the bit from skipping or the plastic from splintering.
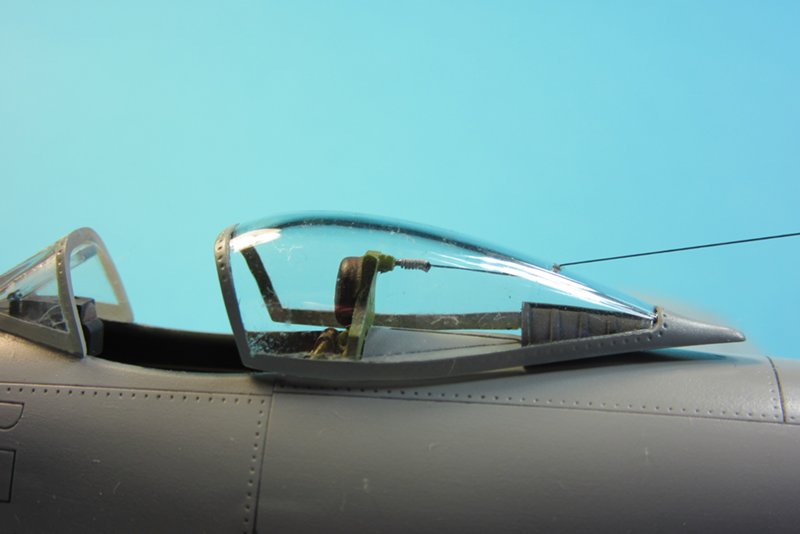 Antenna wire anchored to the resin armor plate. Not "scale" but I like to add details like insulators that pop out.
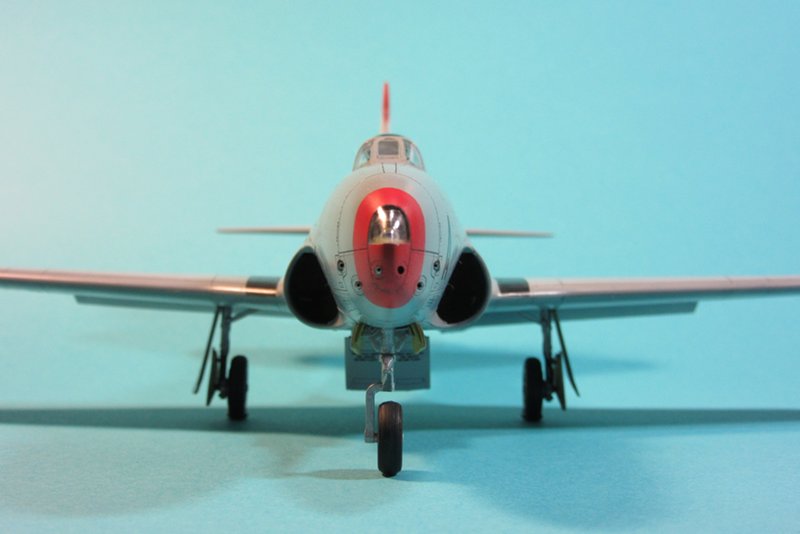
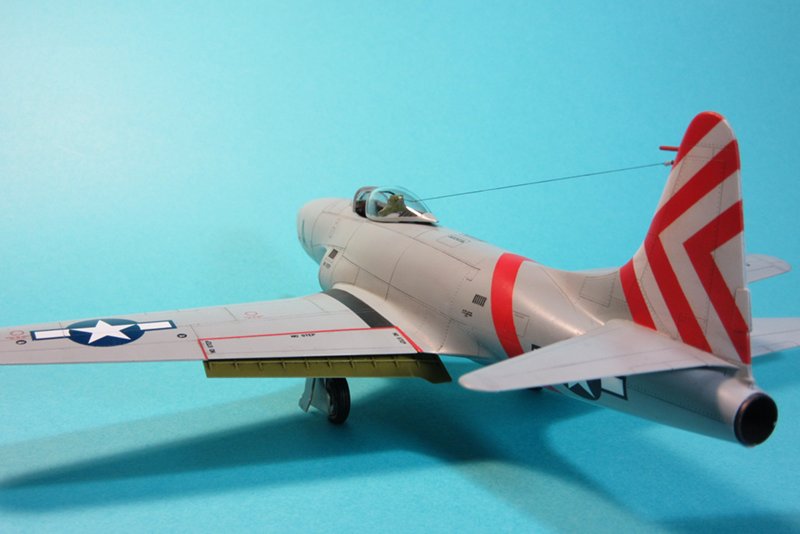
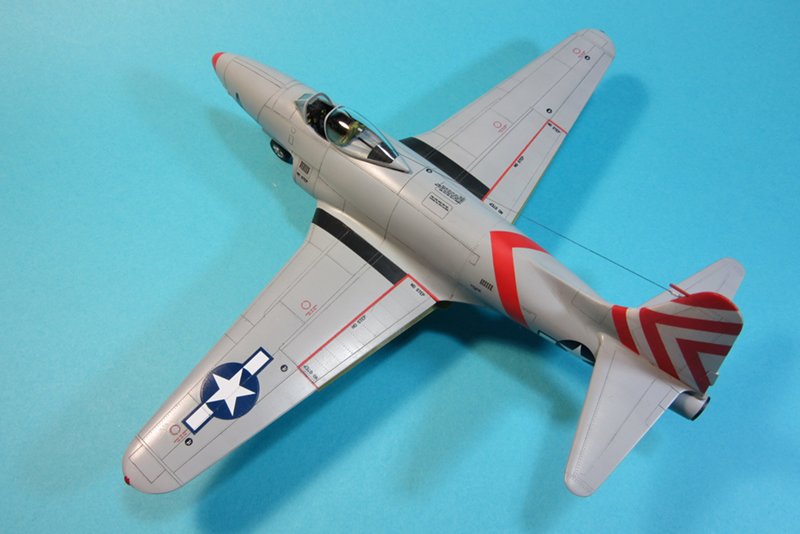
After I finished everything I realized I had forgotten to paint the red trim striped on each wingtip. Oh well, I can go back and try to do that with some frisket masks someday if I feel like risking it.
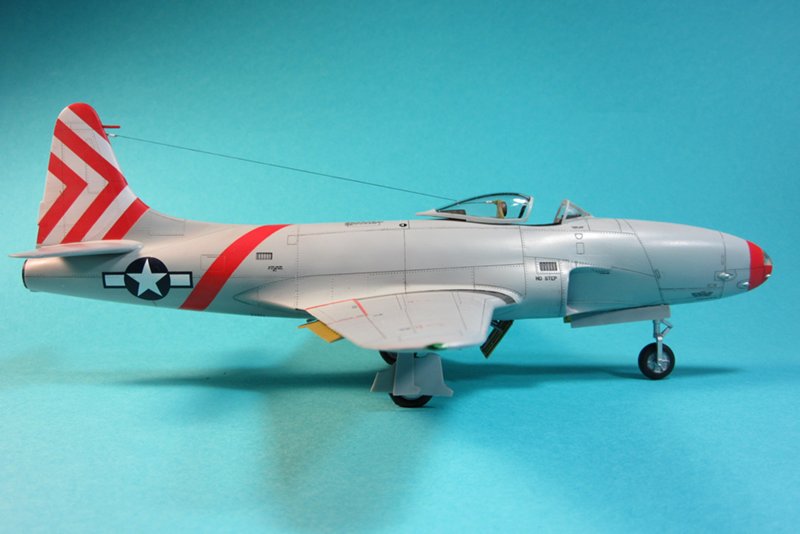
Well without further ado, here is my attempt to turn the Hobby Boss P-80A into the United States' first combat operational jet fighter of WW2 - The YP-80 of Project Extraversion:

I am happy with my result but I would not choose to build this kit again. The only reason I built it is I really wanted a YP-80 in my collection given its place in US aviation history, and I was willing to work with what was available to have one. The list of errors HB made with the kit is extensive; some of them I corrected, others I decided to ignore, and some I could do nothing about even if I had wanted to. It is a decent kit in terms of engineering or fit, but not a accurate model of the real aircraft. Hobby Boss missed a real opportunity here.