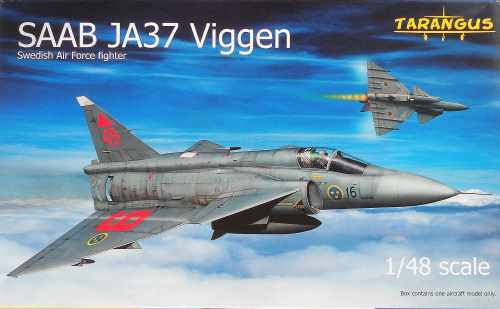
Hi all, Im currently building the new Tarangus kit of the Viggen JA 37, so its perfect for this campaign. Thanks to Michael for the suggestion. There are some impressive builds underway, particularly the Bv 141 by Chris and Jessies IL-62. The shape of the Il-62 is stunning, one of the best looking airliners ever.
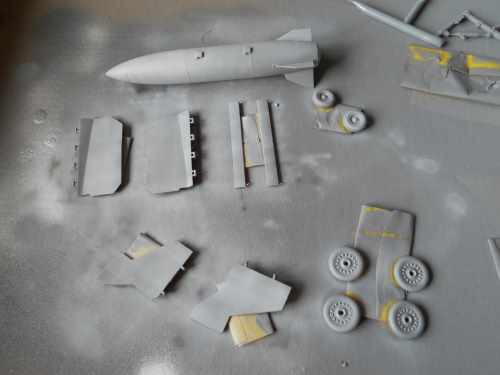
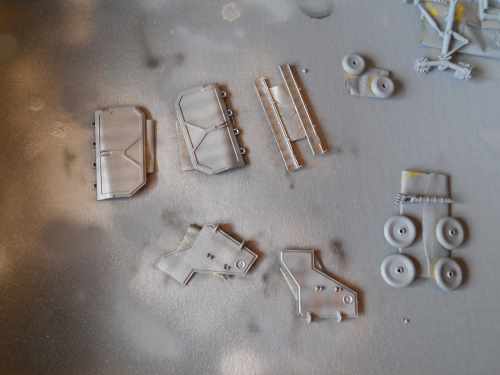
I did a inbox review of the kit and you can find it
here if you are interested. This will be a straight out of the box build; I am not hanging around waiting for aftermarket products. Anyway the detail generally is pretty good.
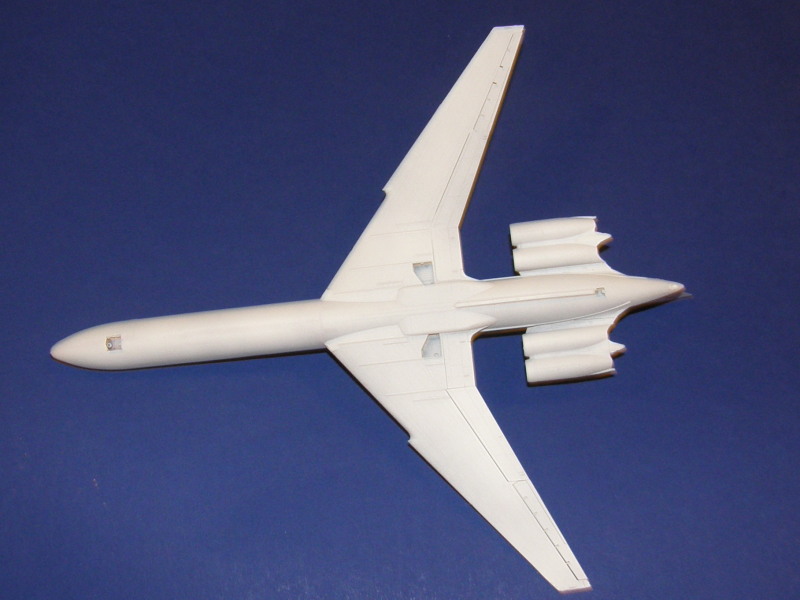
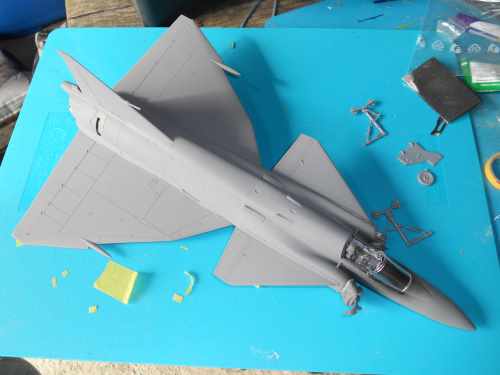
I am already considering which paint scheme to paint this kit. I really fancy the four colour upper camouflage scheme, but I do like the two tone grey scheme. The grey Viggens seem particularly heavily weathered which I find appealing.

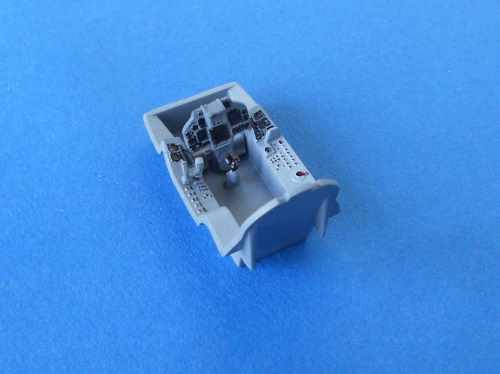
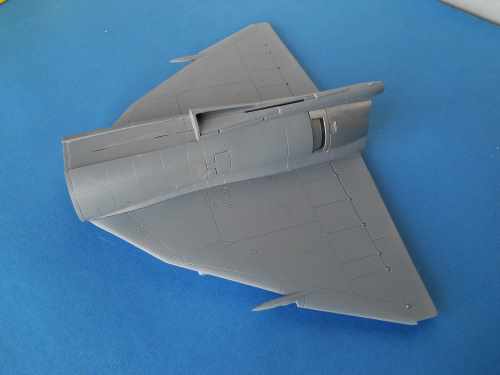
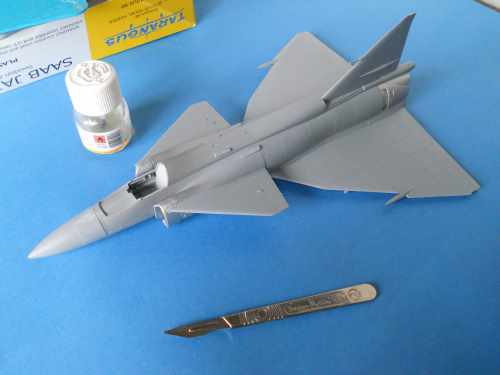
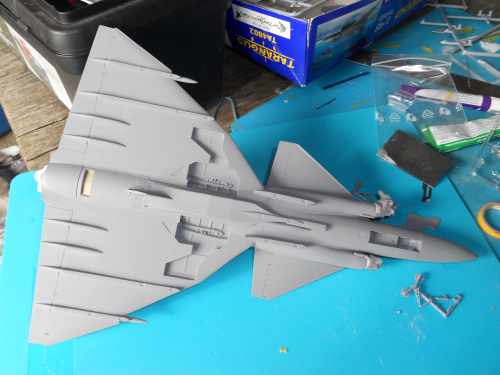
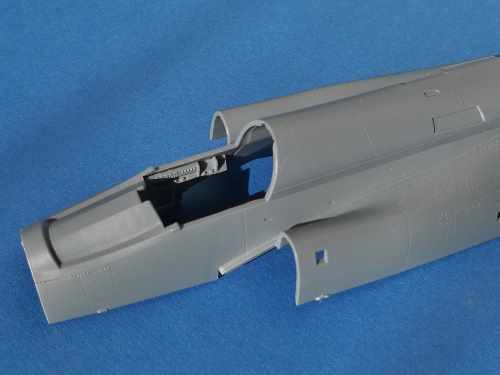
I have started with the fitting of the additional instrumentation that goes onto the cockpit wall. Hopefully the images are clear enough for you to see the fine raised detail. I do like the slightly recessed areas indicating where things like instruments, air inlets and outlets fit. One thing that is immediately apparent is how soft the plastic is. So you need to take great care separating the parts from the sprues. I would suggest using snips rather than using a blade. The holes you can see along the fuselage just behind where the air intake fits is for the fitting of the canards.
I have also glued in place the one piece front under carriage bay.


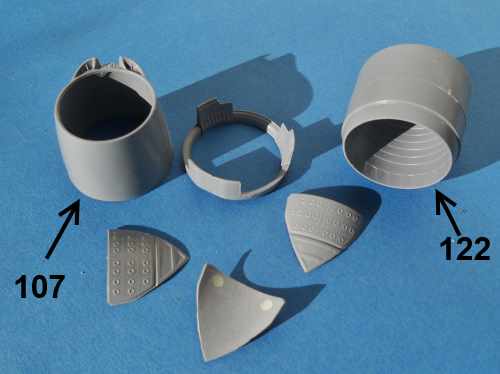
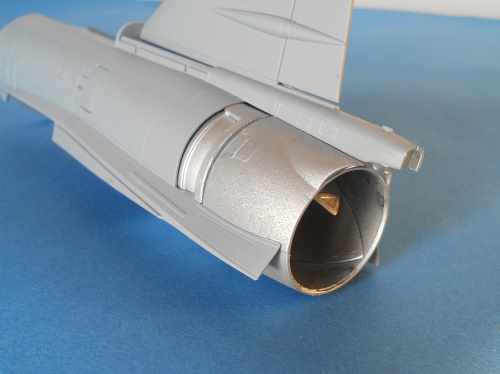
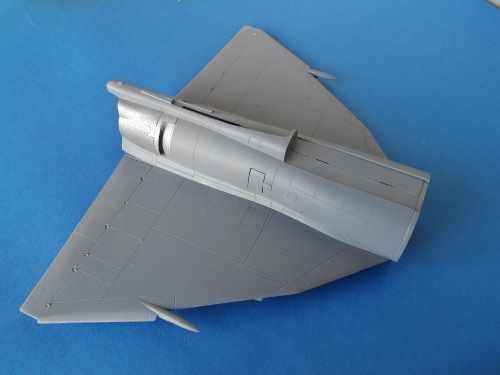
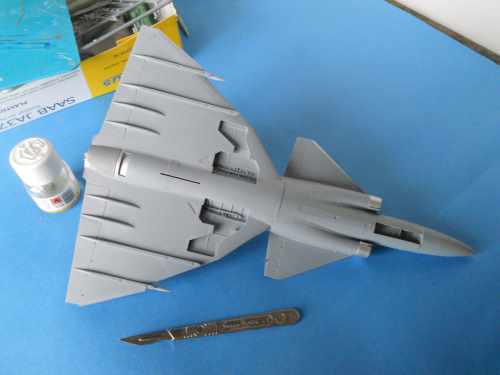
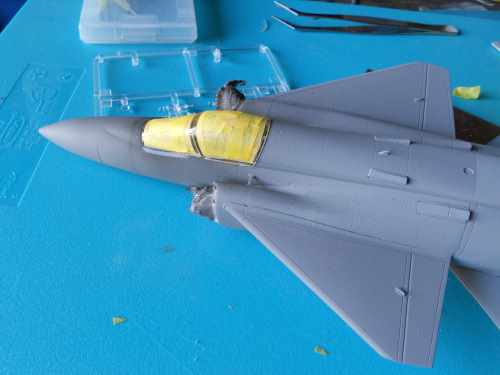
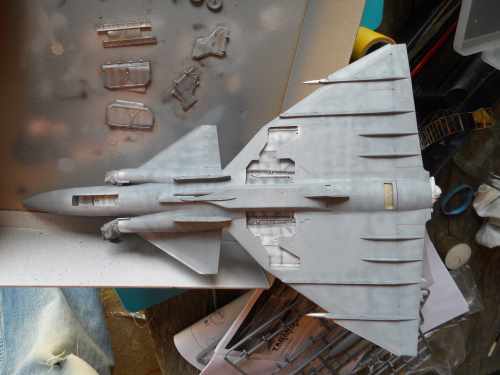
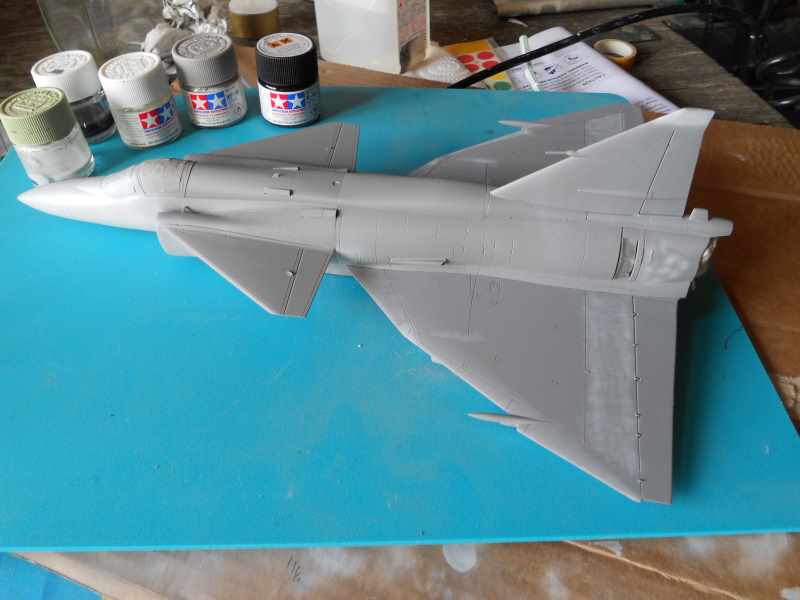
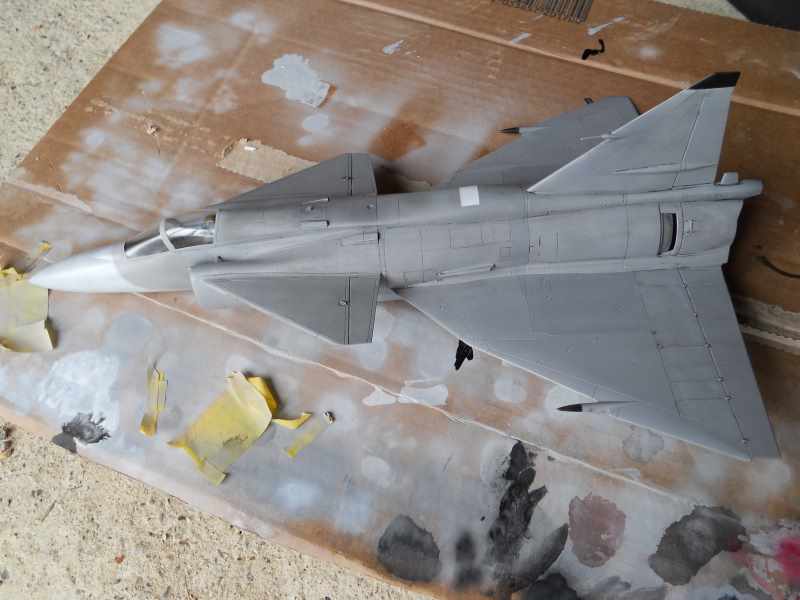
I joined the two parts that makes up the rear fuselage of the Viggen. From the images the join does not look clean, but this is hidden under the spine attached to the upper front fuselage. I have not glued the most rearward part of this section just yet. I also glued together the two part duct and the bulkhead that fits around the primary compressor. I gave them and the inside of the air intakes a quick spray this morning with aluminium from a Humbrol rattle can. Normally I would use Aclad II paints, but Im pretty sure you will see very little of the compressor fan once the fuselage is buttoned up. I did use a dark wash over the fans just to give them more of a chance to be seen.


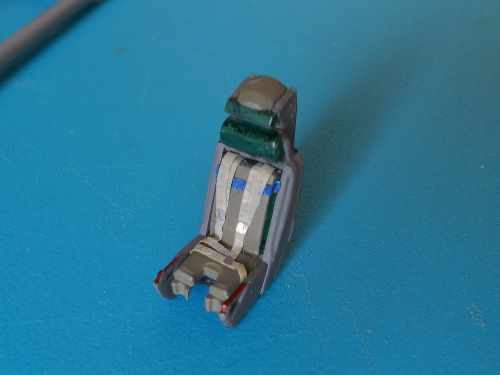
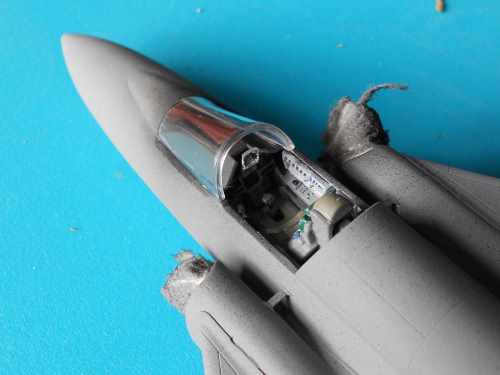
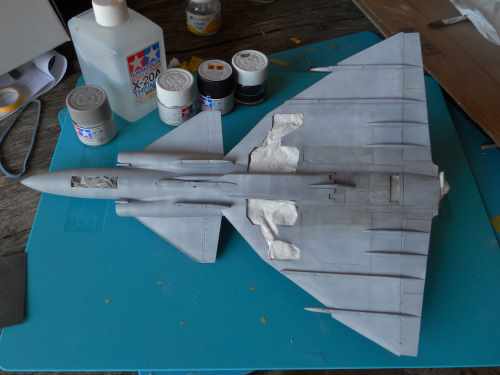
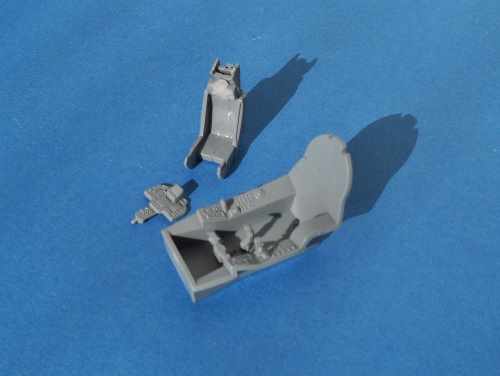
The cockpit goes together pretty well. I dry fitted the tub into the fuselage and fits very snuggly. The seat does look the part; although some filler is needed on the join in the middle of the headrest. The two small control sticks on the left side console look a little large scale wise.
More soon
.