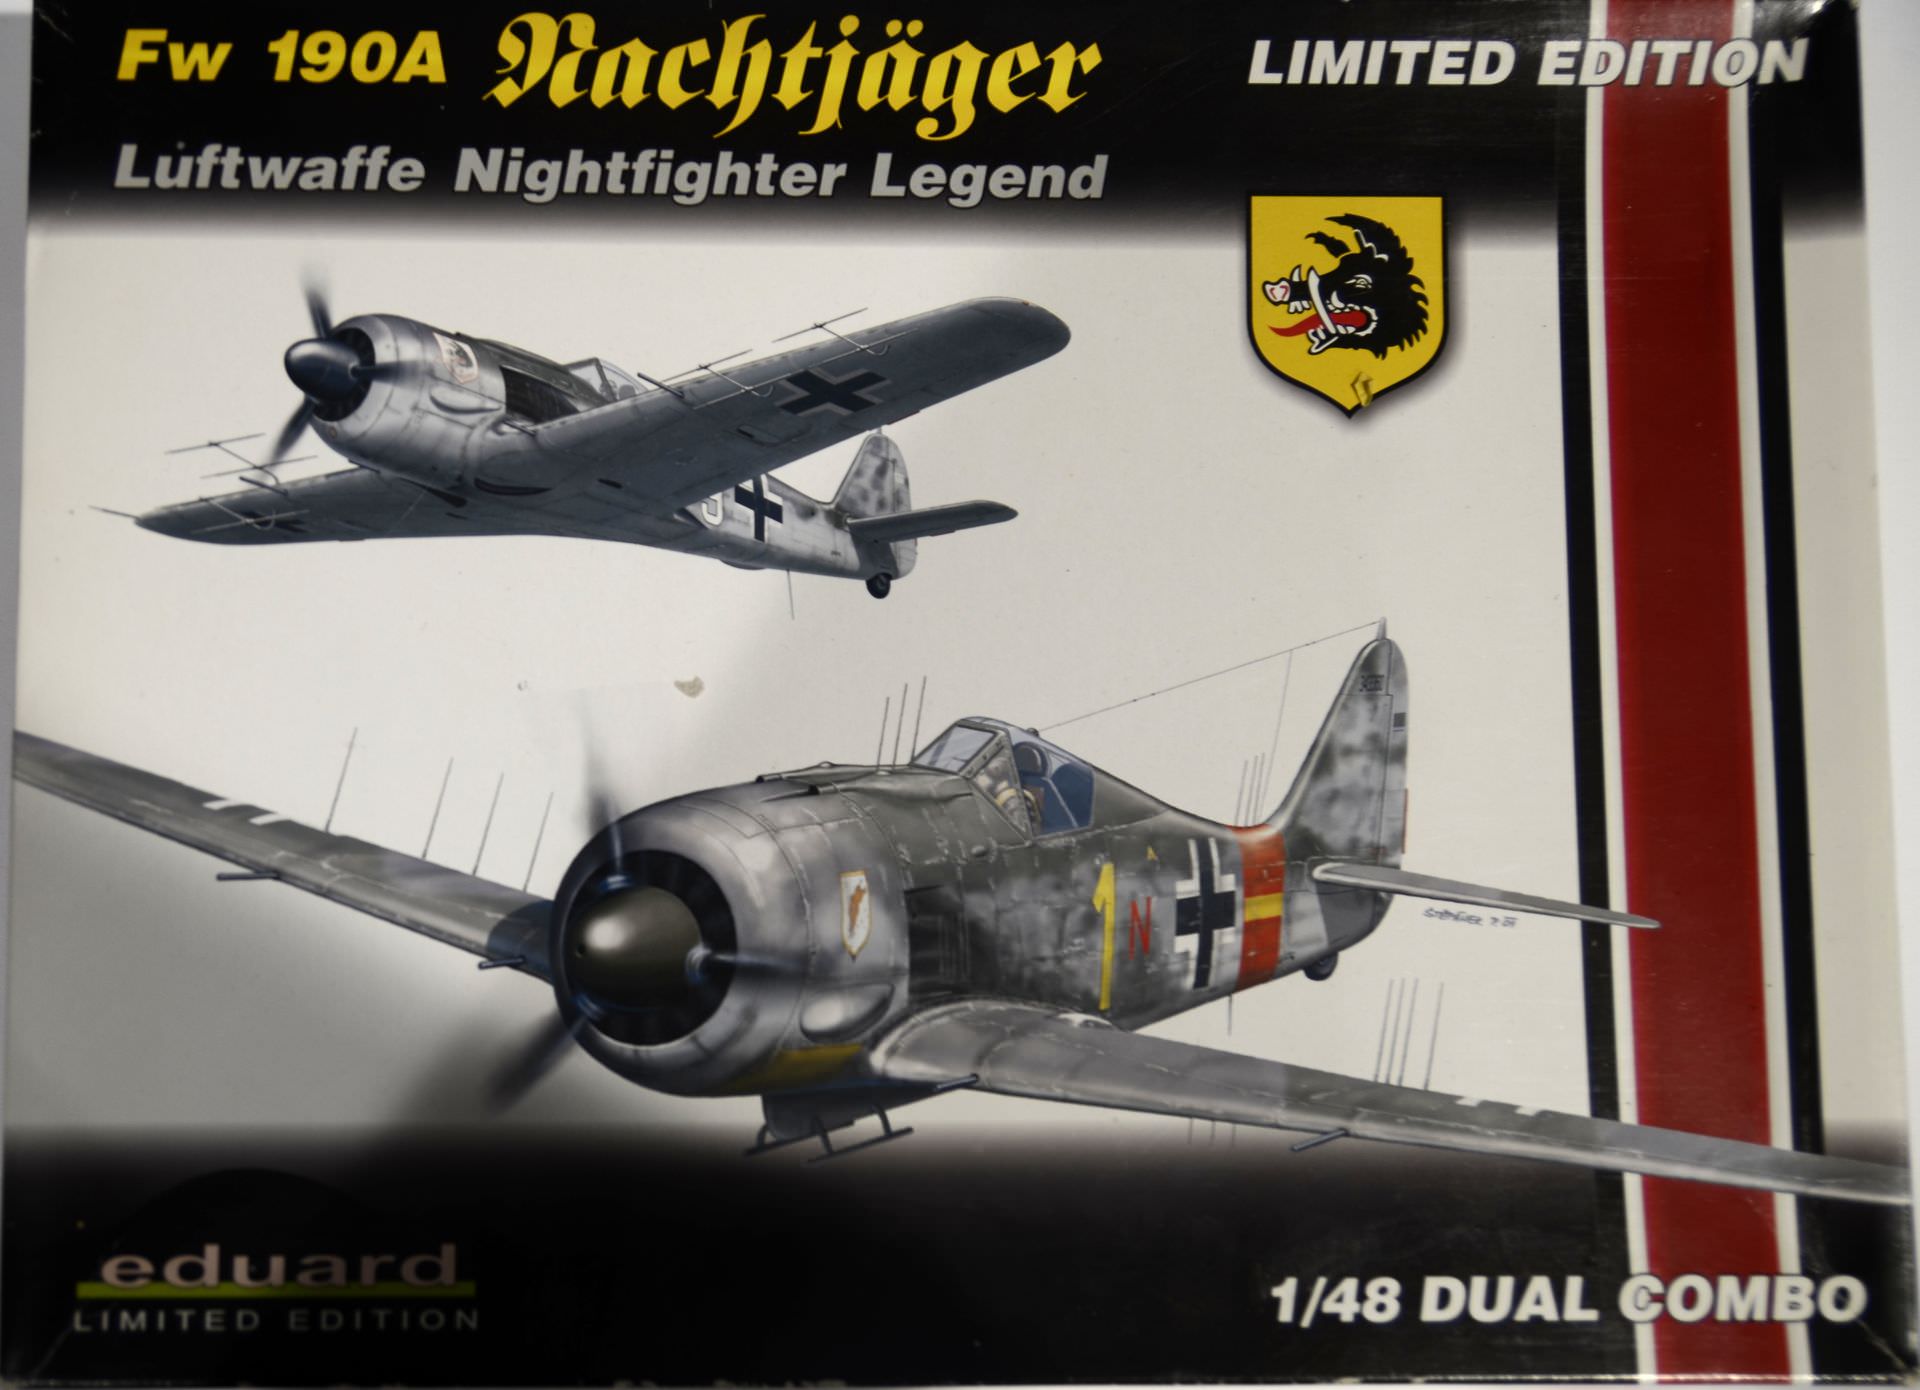
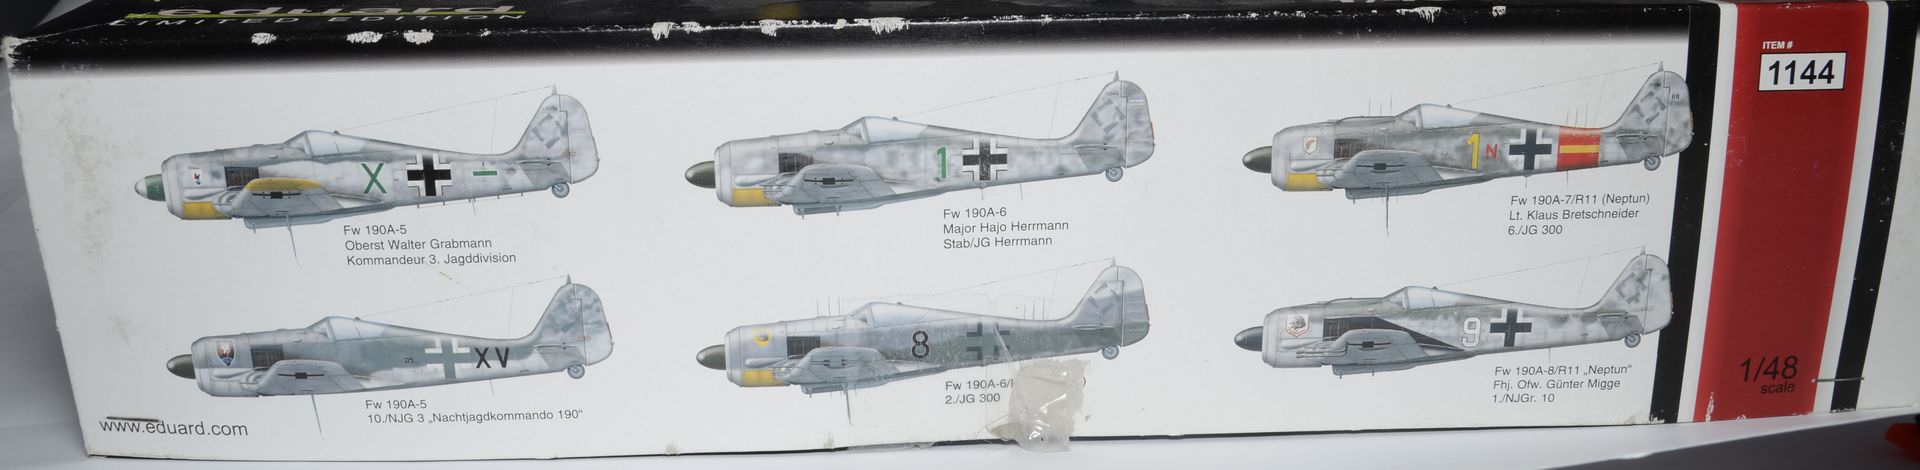
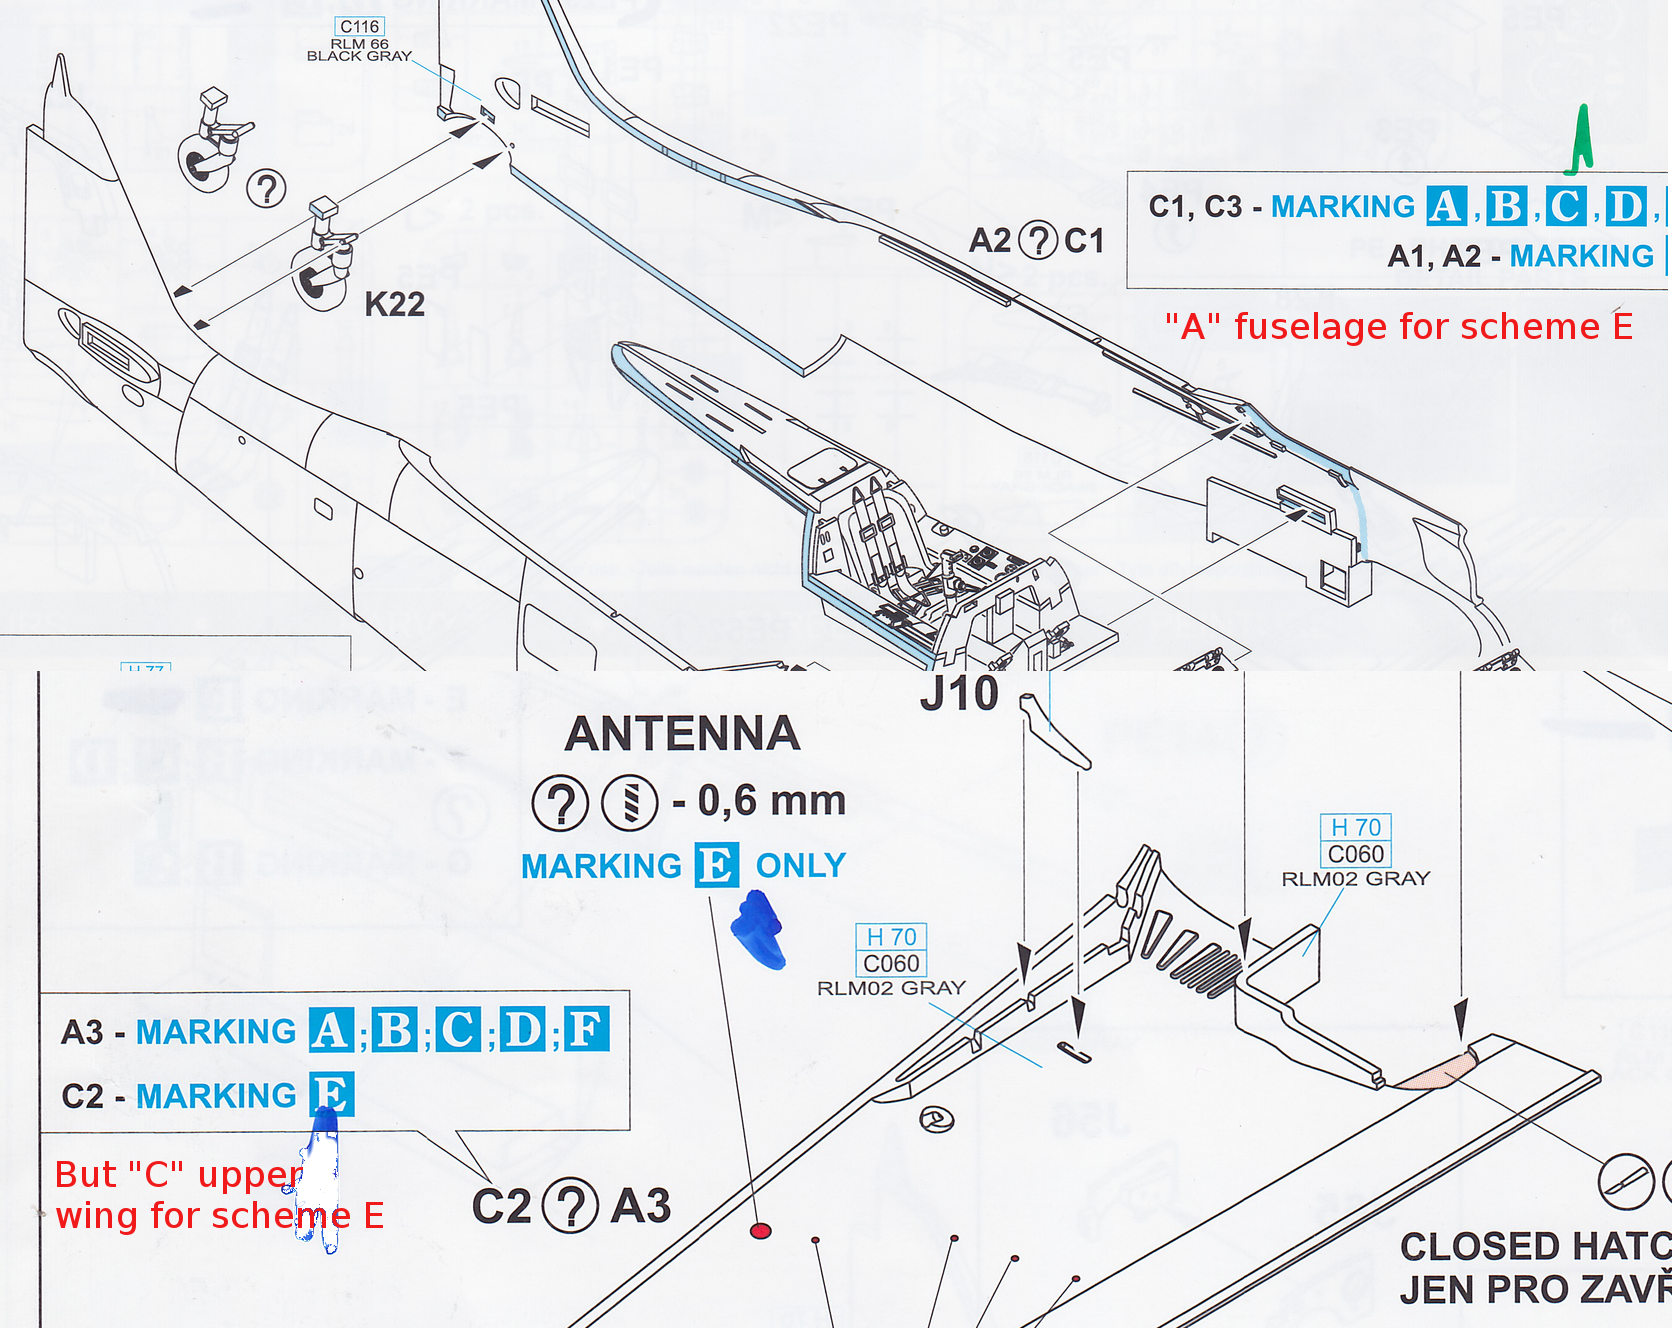
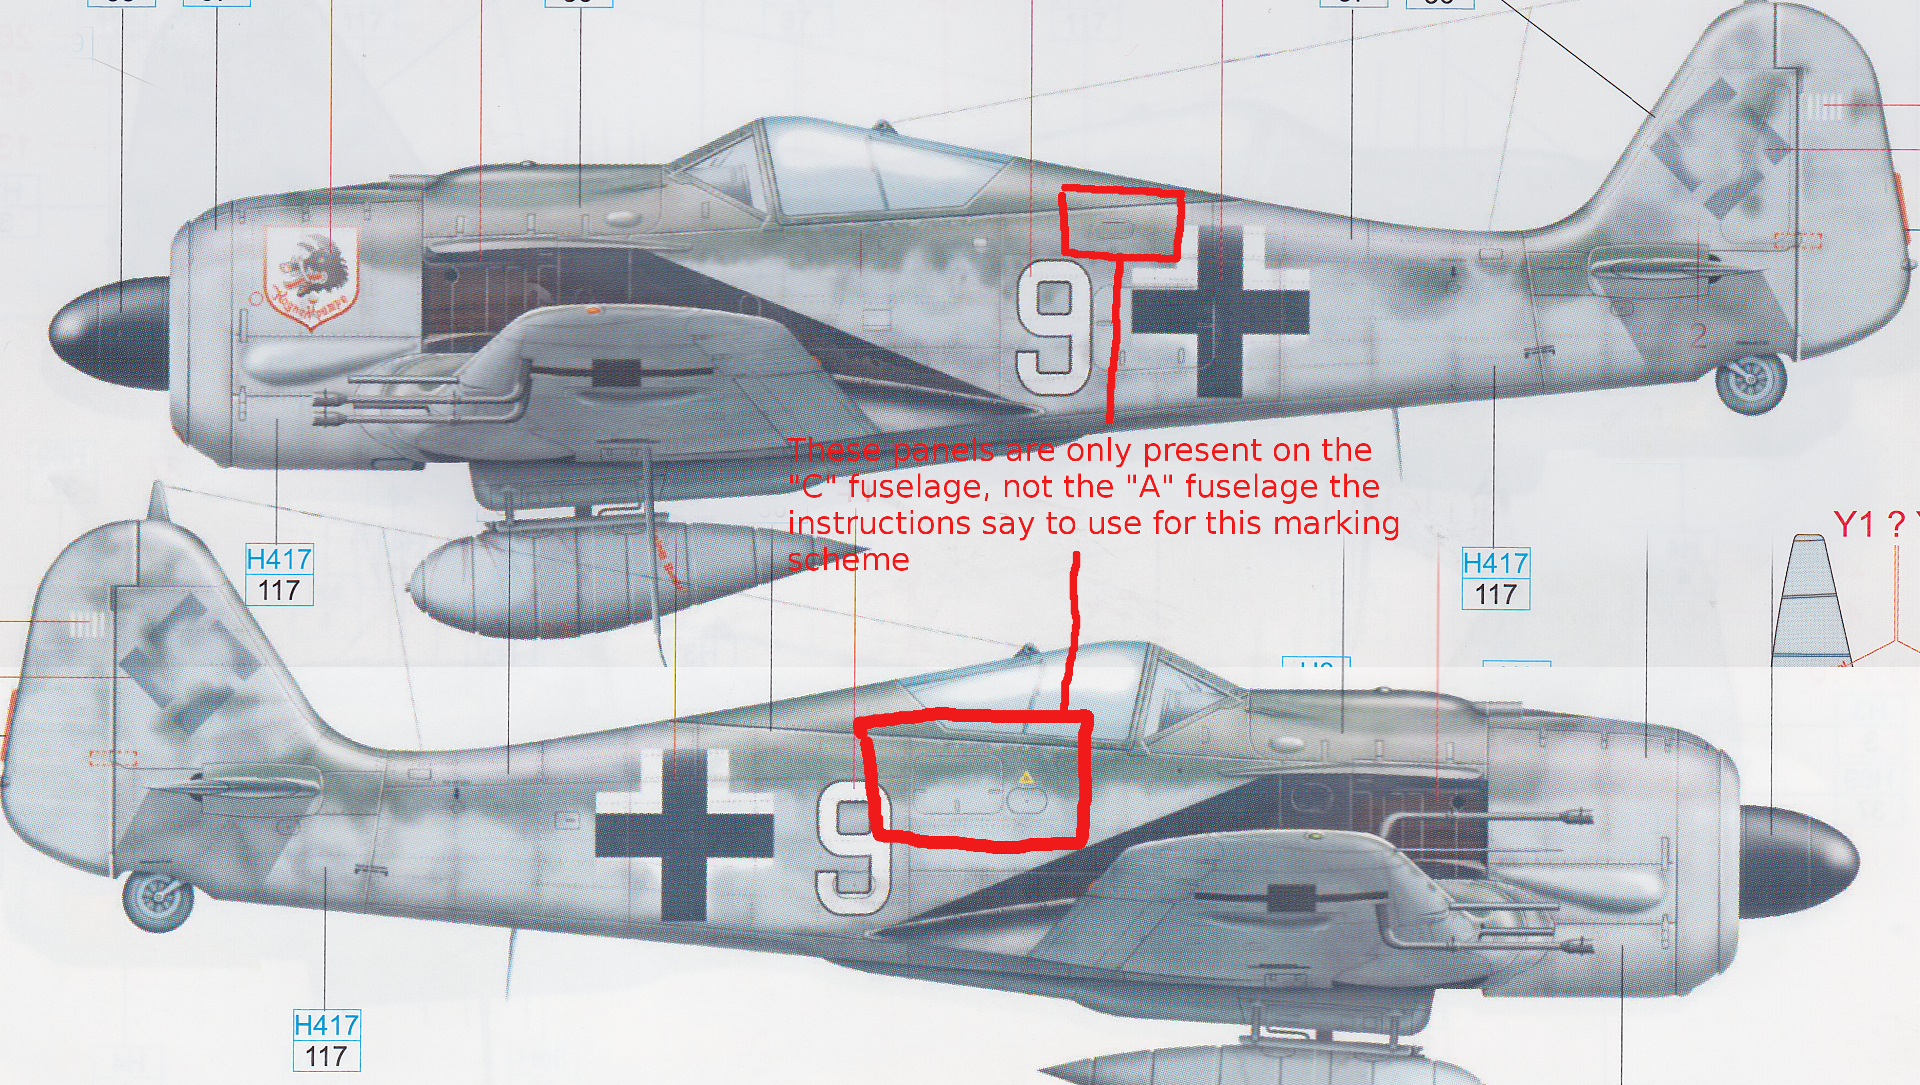
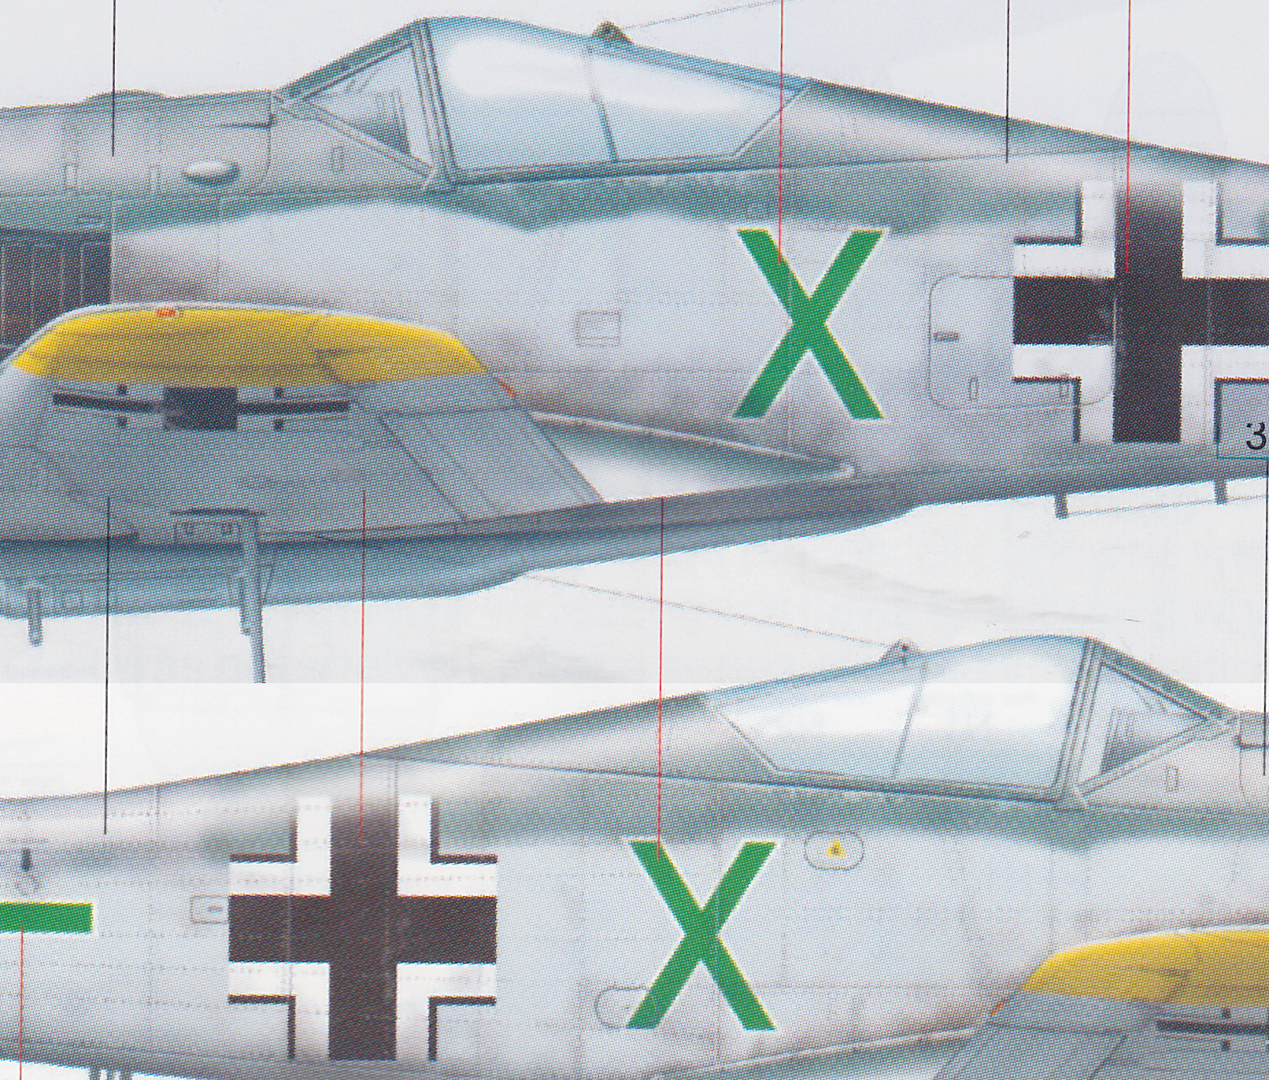
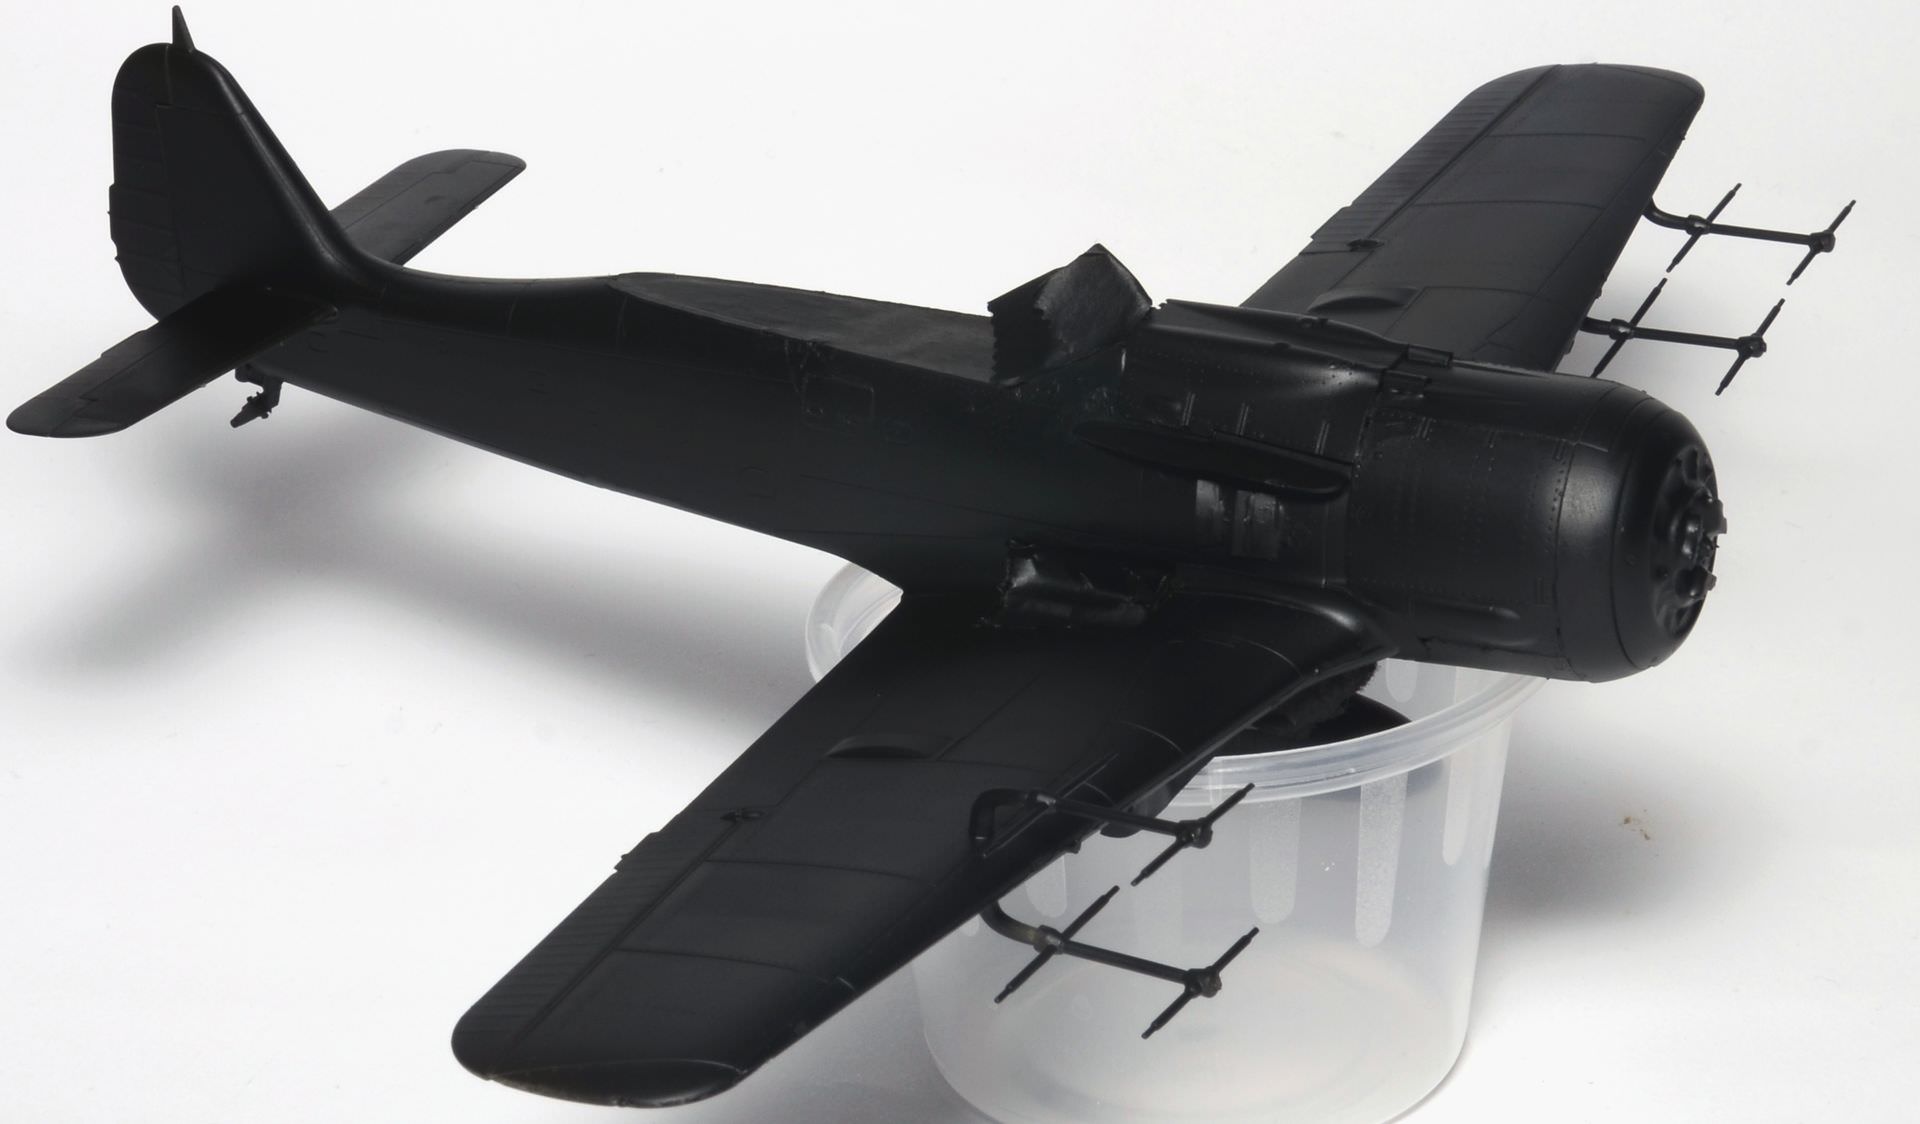
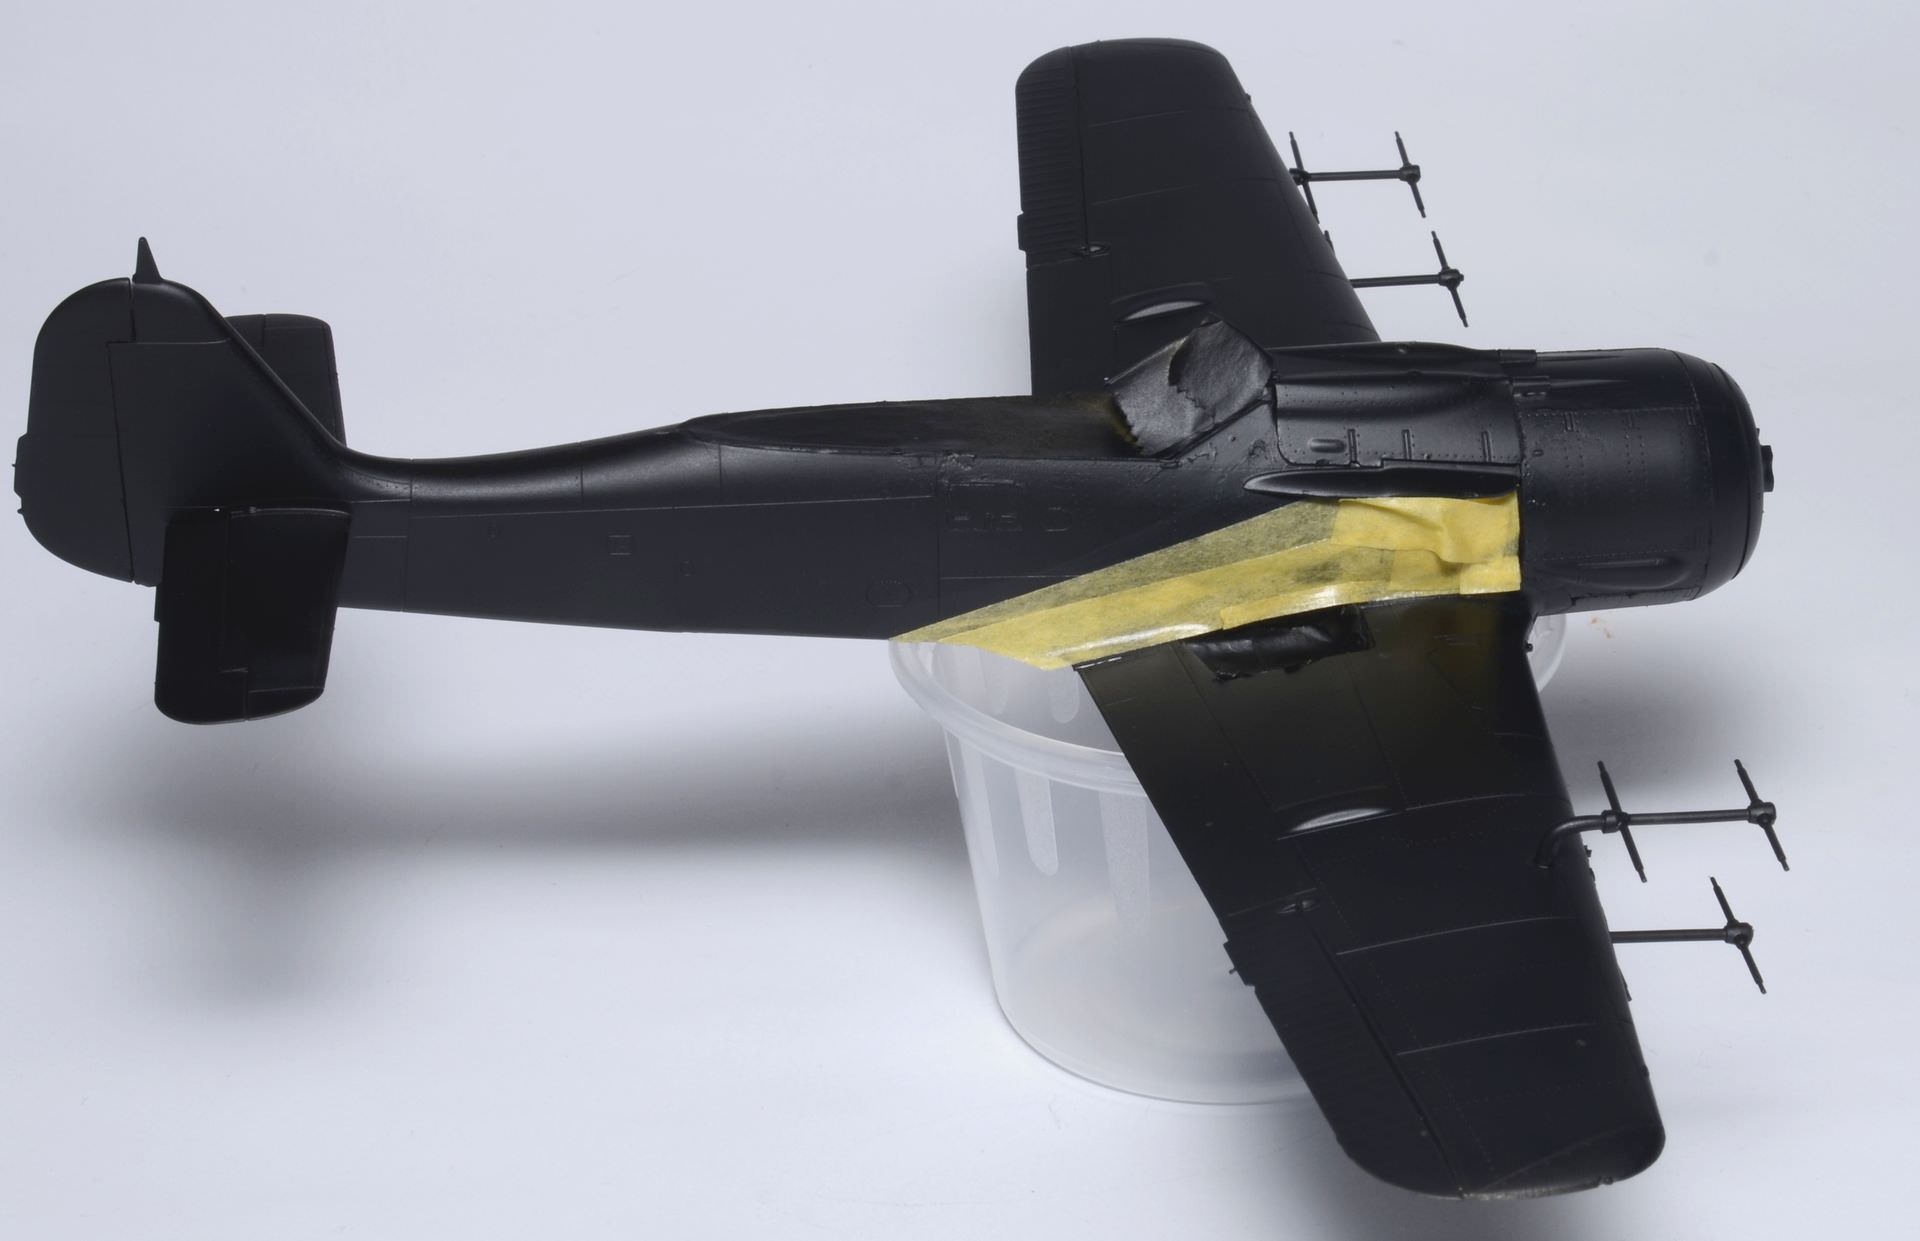
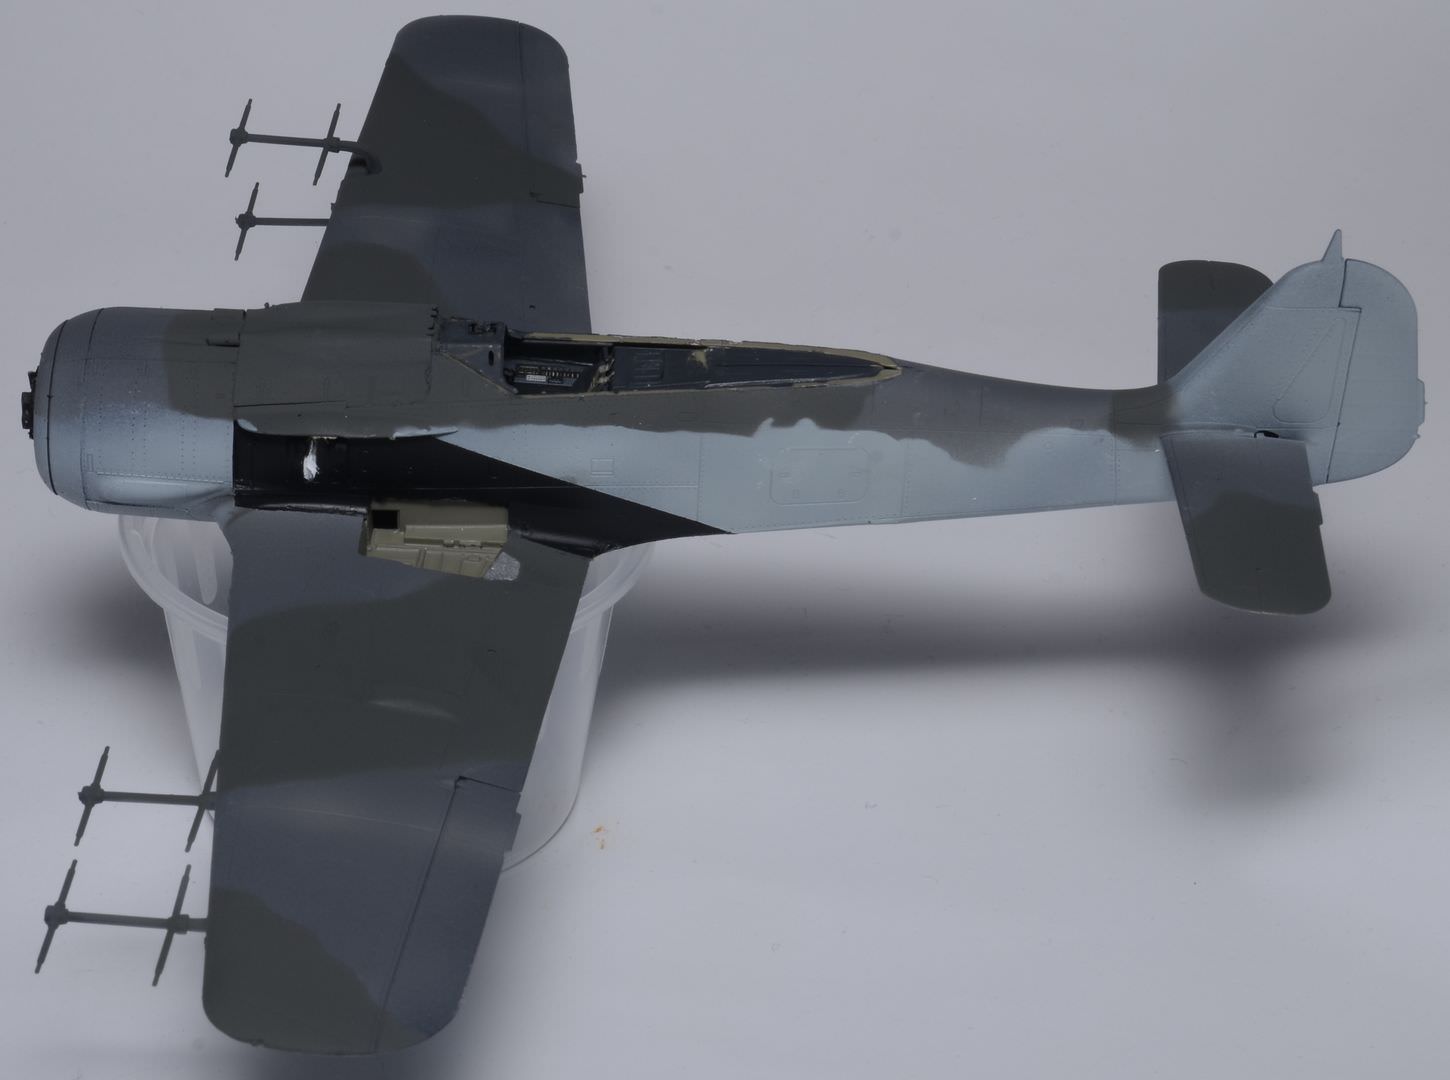
I will be starting with Marking Scheme E as part of the Night Shift Campaign, as it has the most obvious physical differences, being the only option with the prominent wing antenae.
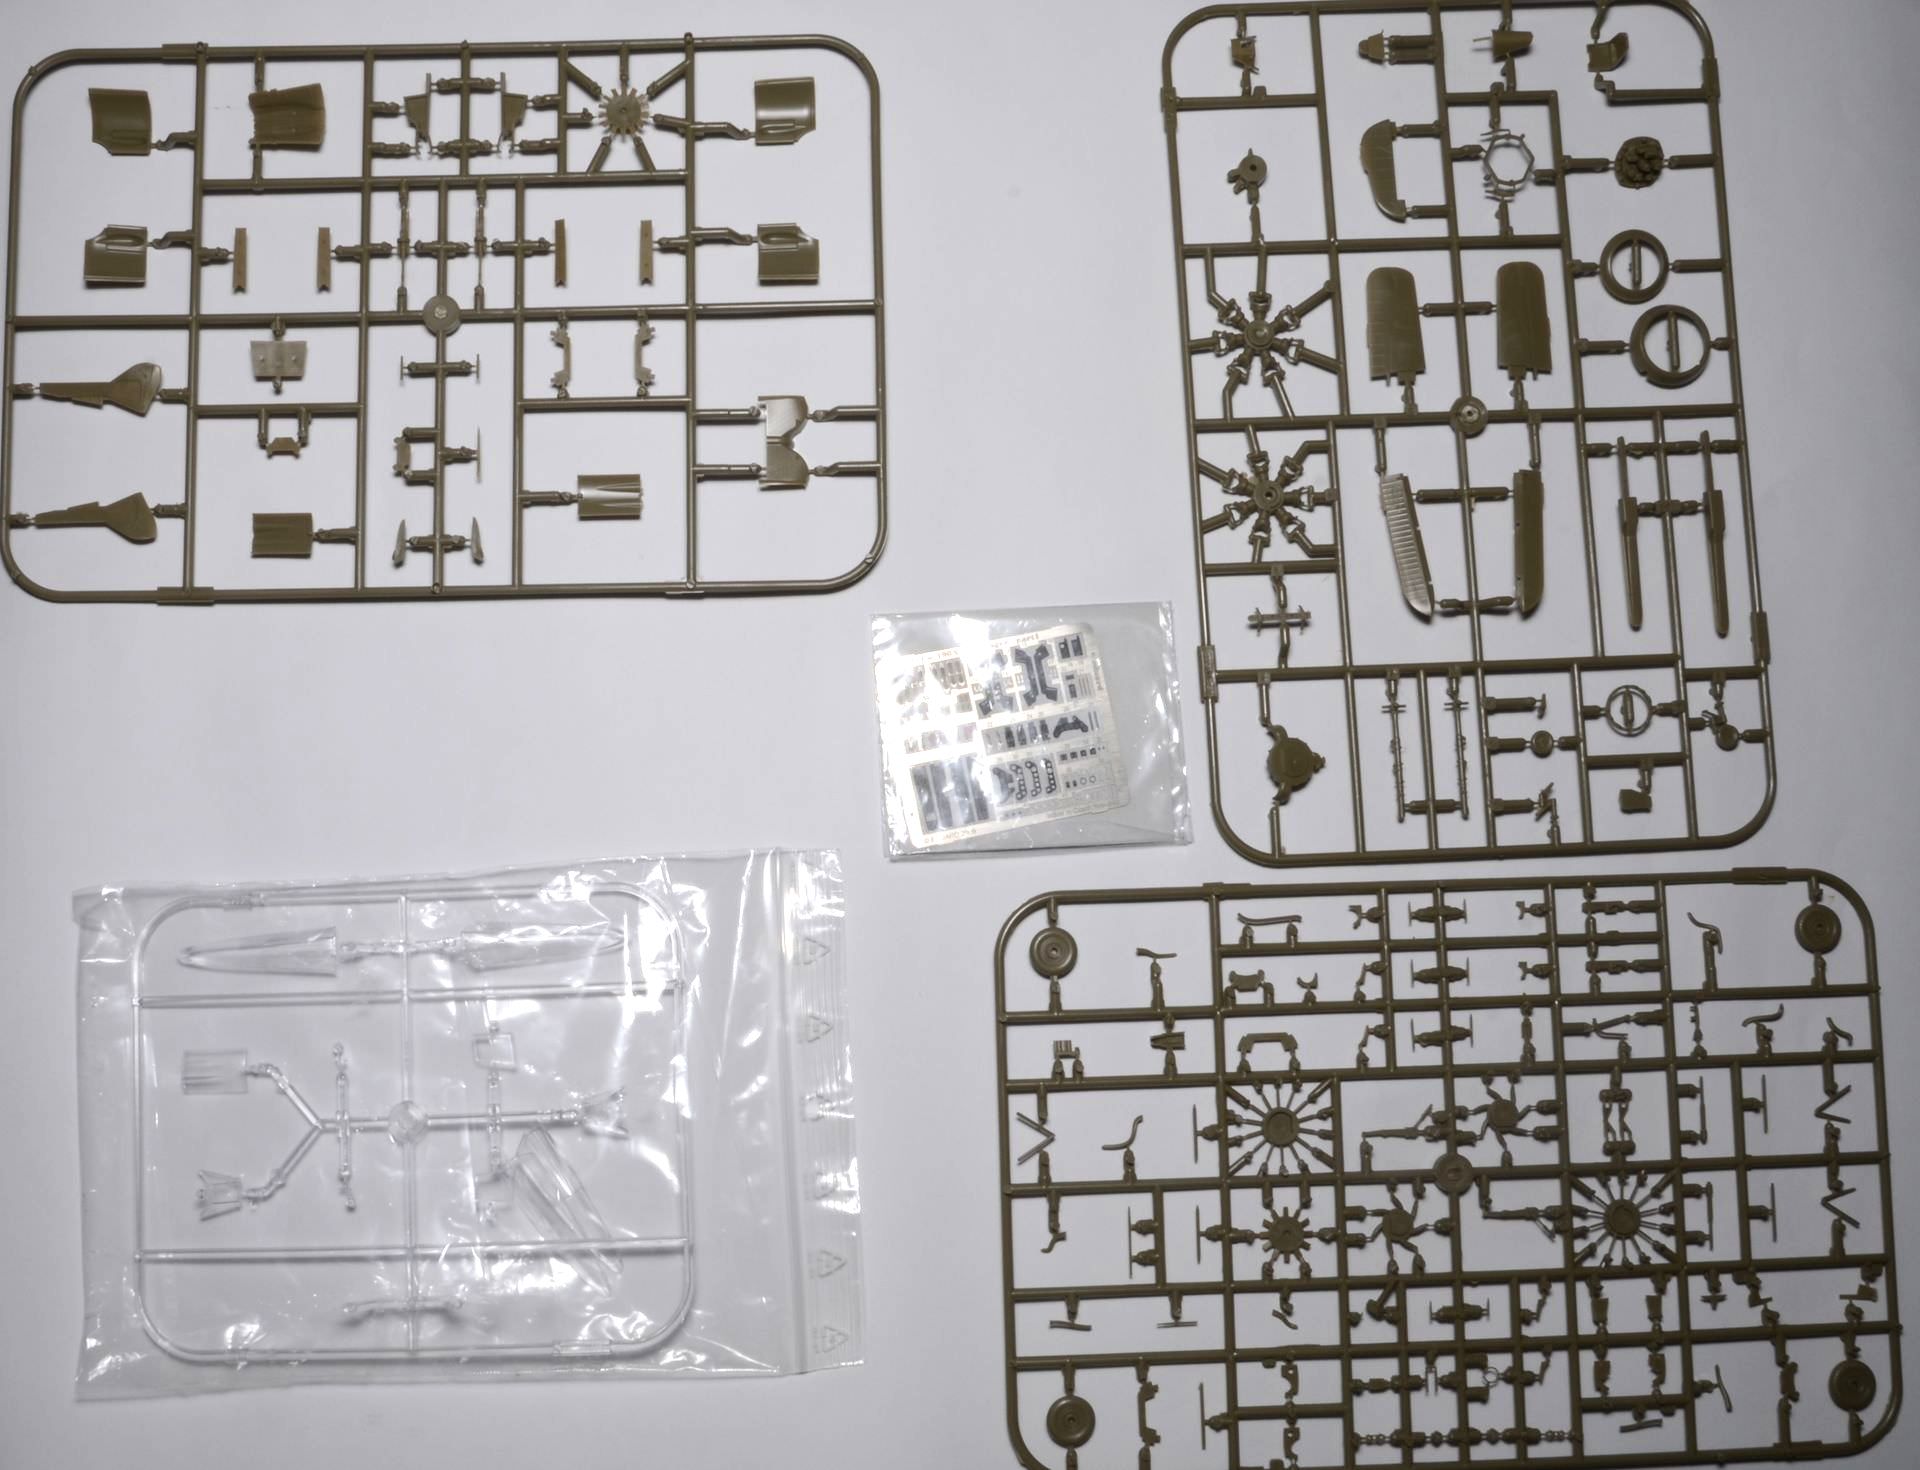
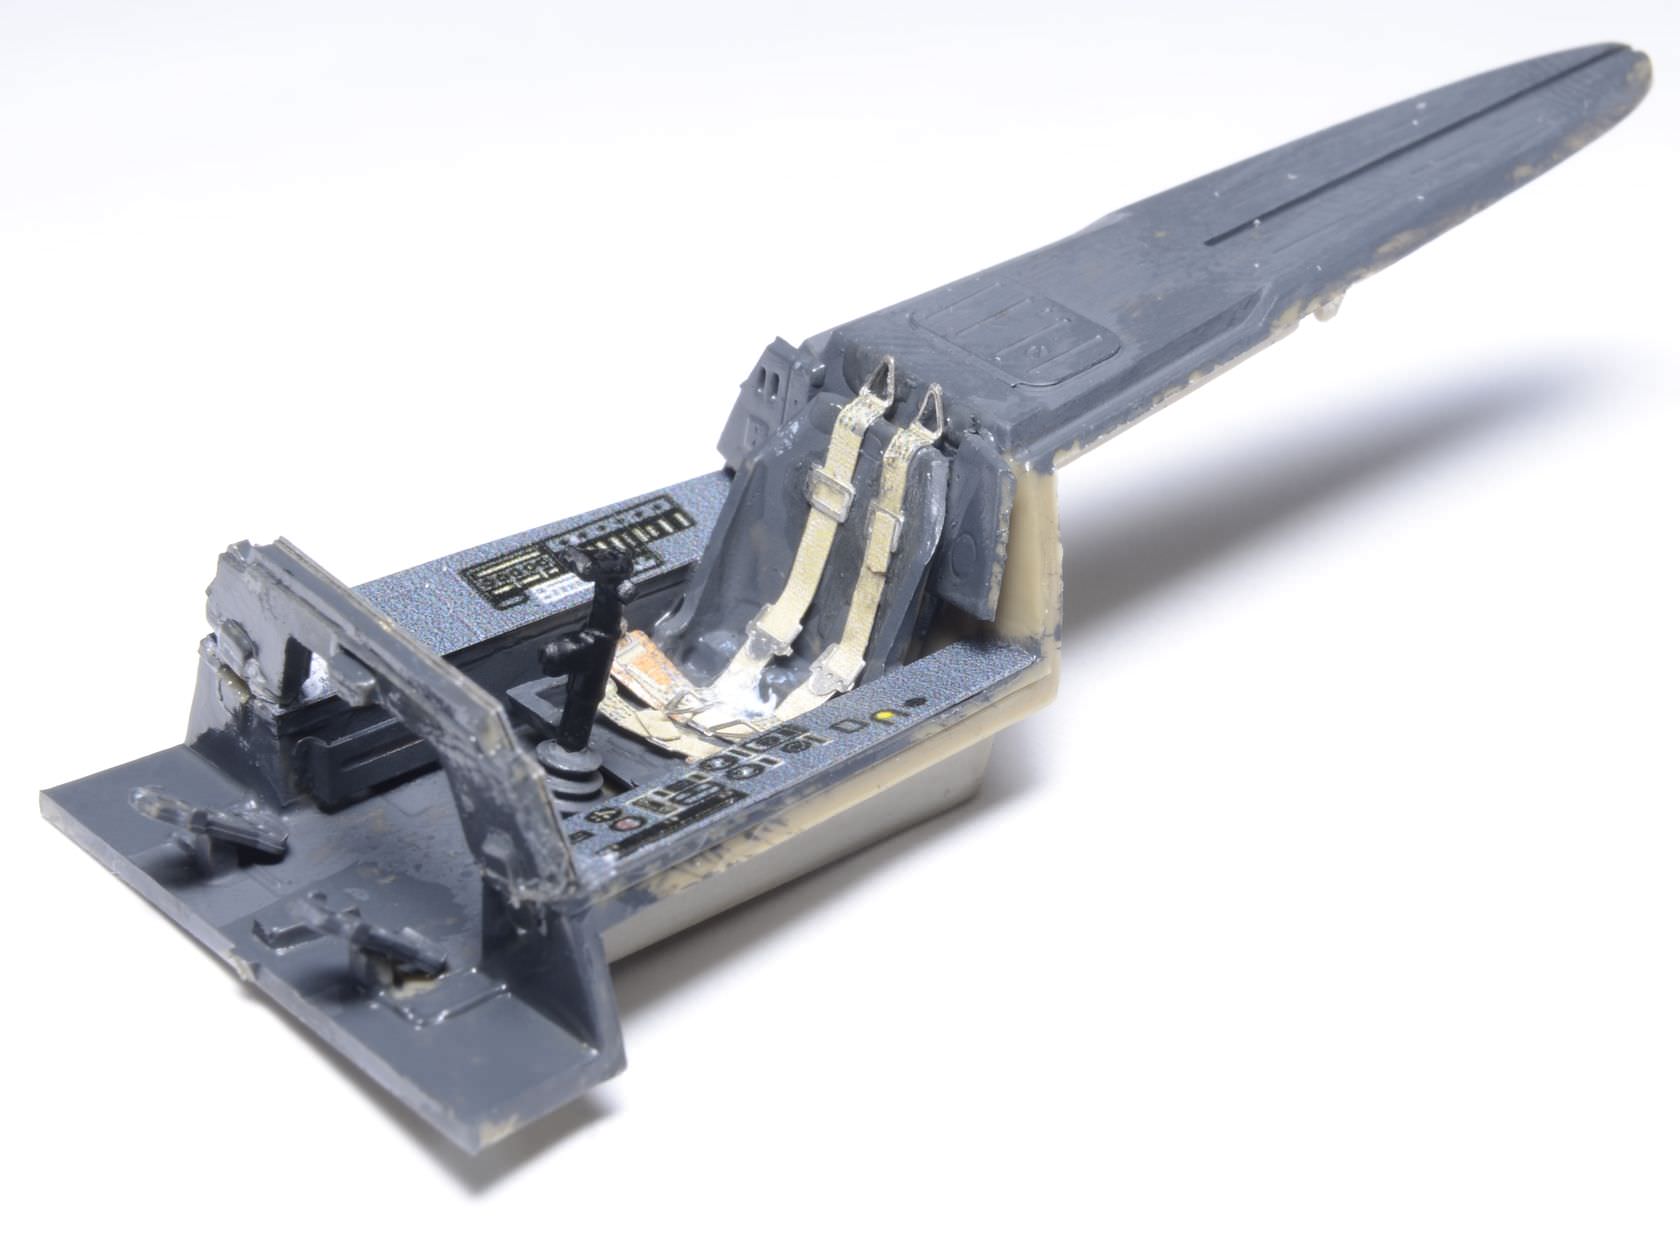
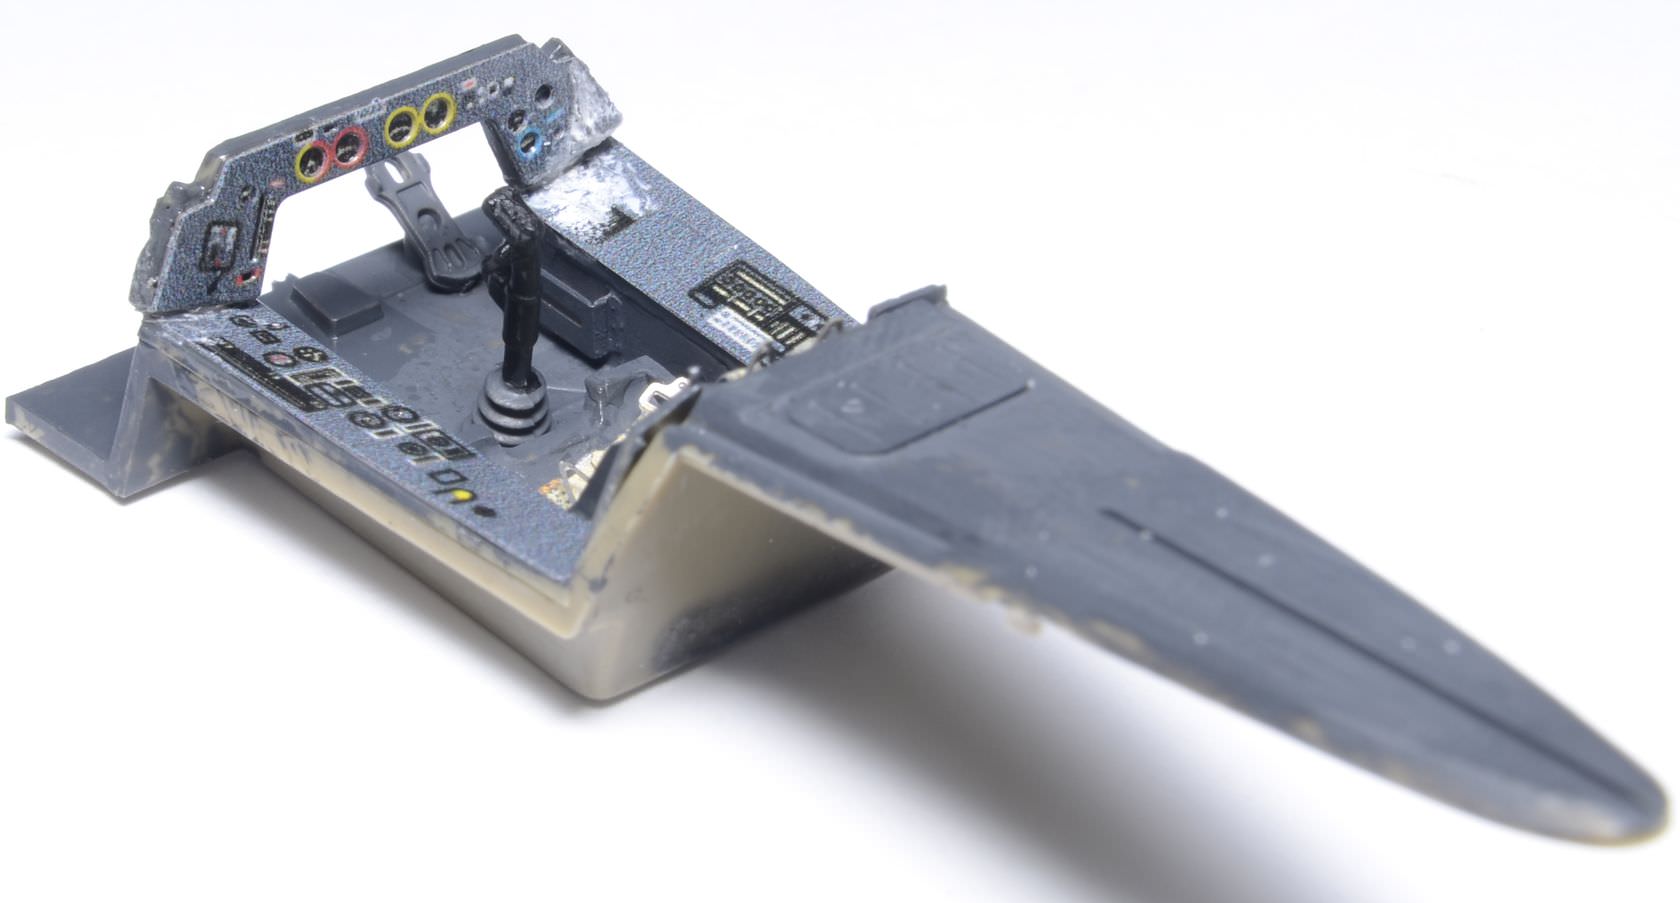
The cockpit went together quickly though I made the mistake of putting the instrument panel in before the side photoetch parts, as they will actually partly fit under the panel
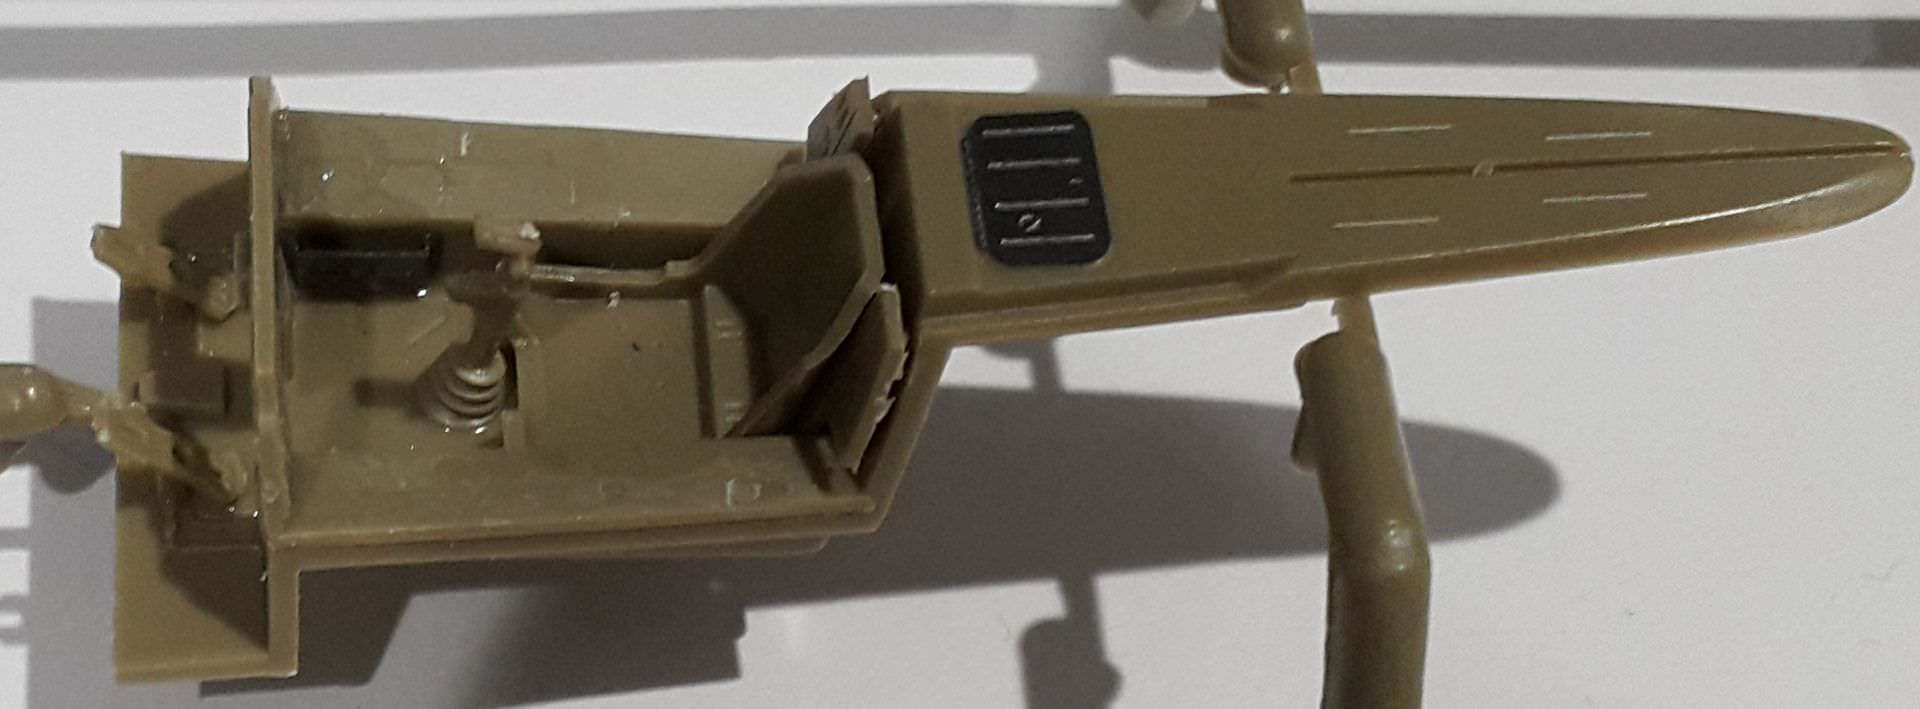
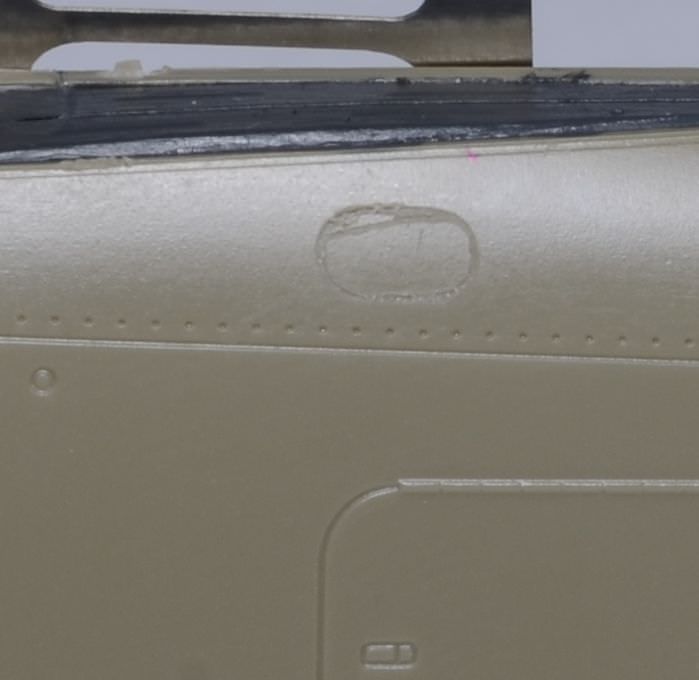
The cocpit itself was easy to assemble and I chouse to use the plastic rudder pedals rathen than the etch to save som faffing about. I did have a slight accident with the superglue on
the right side console.
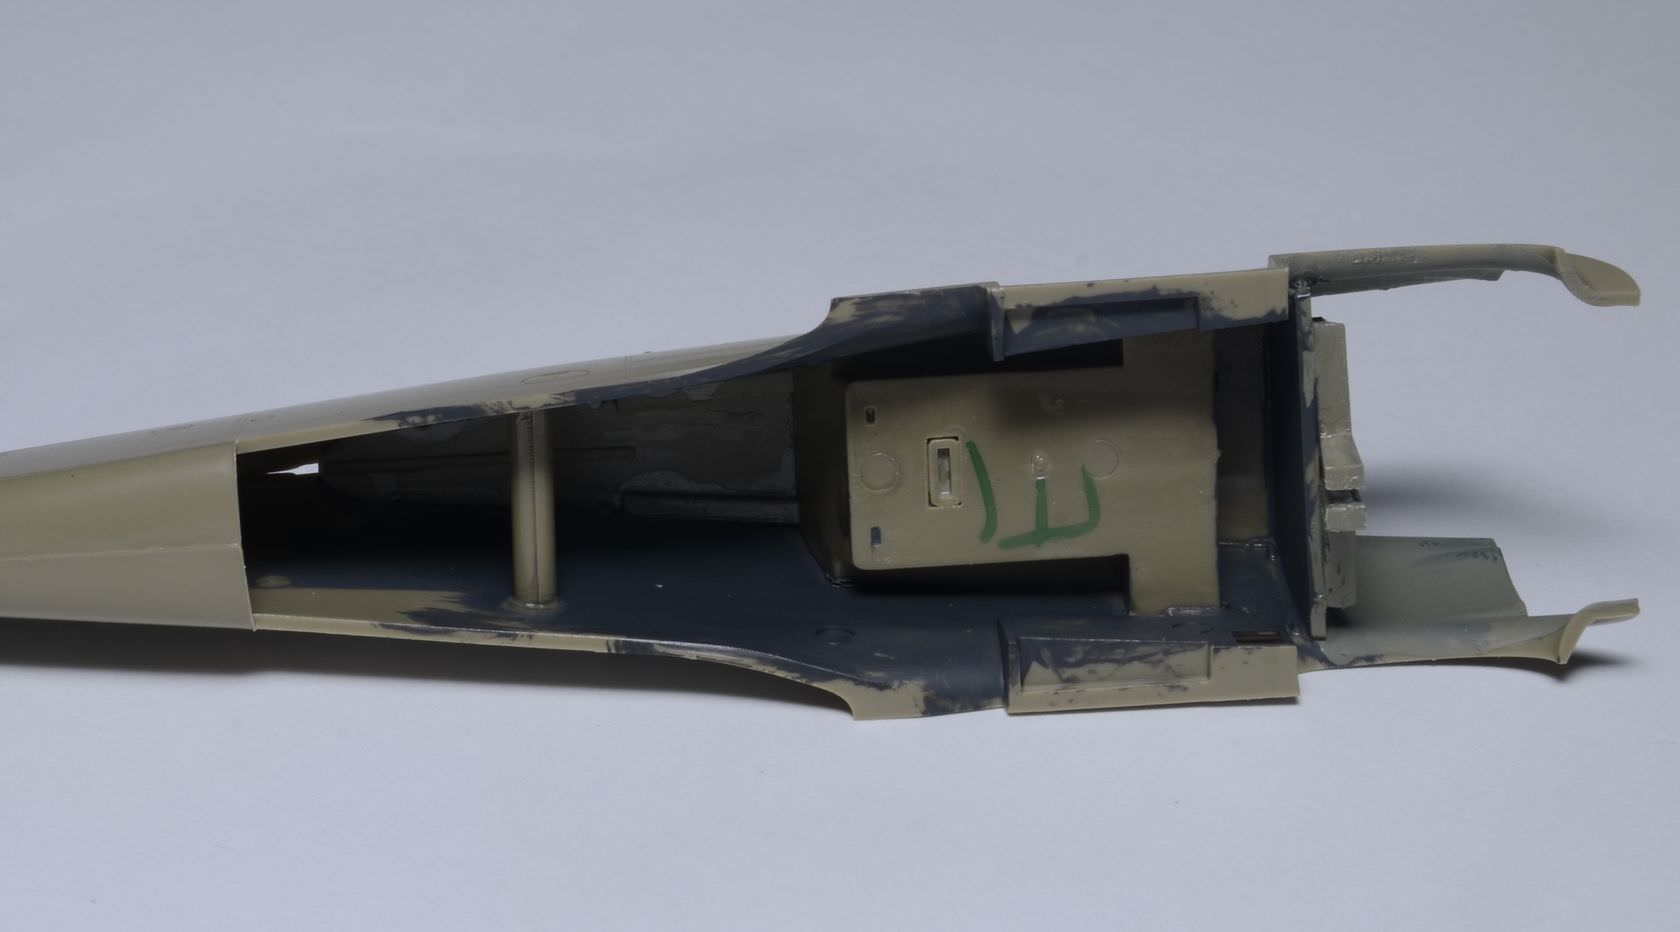
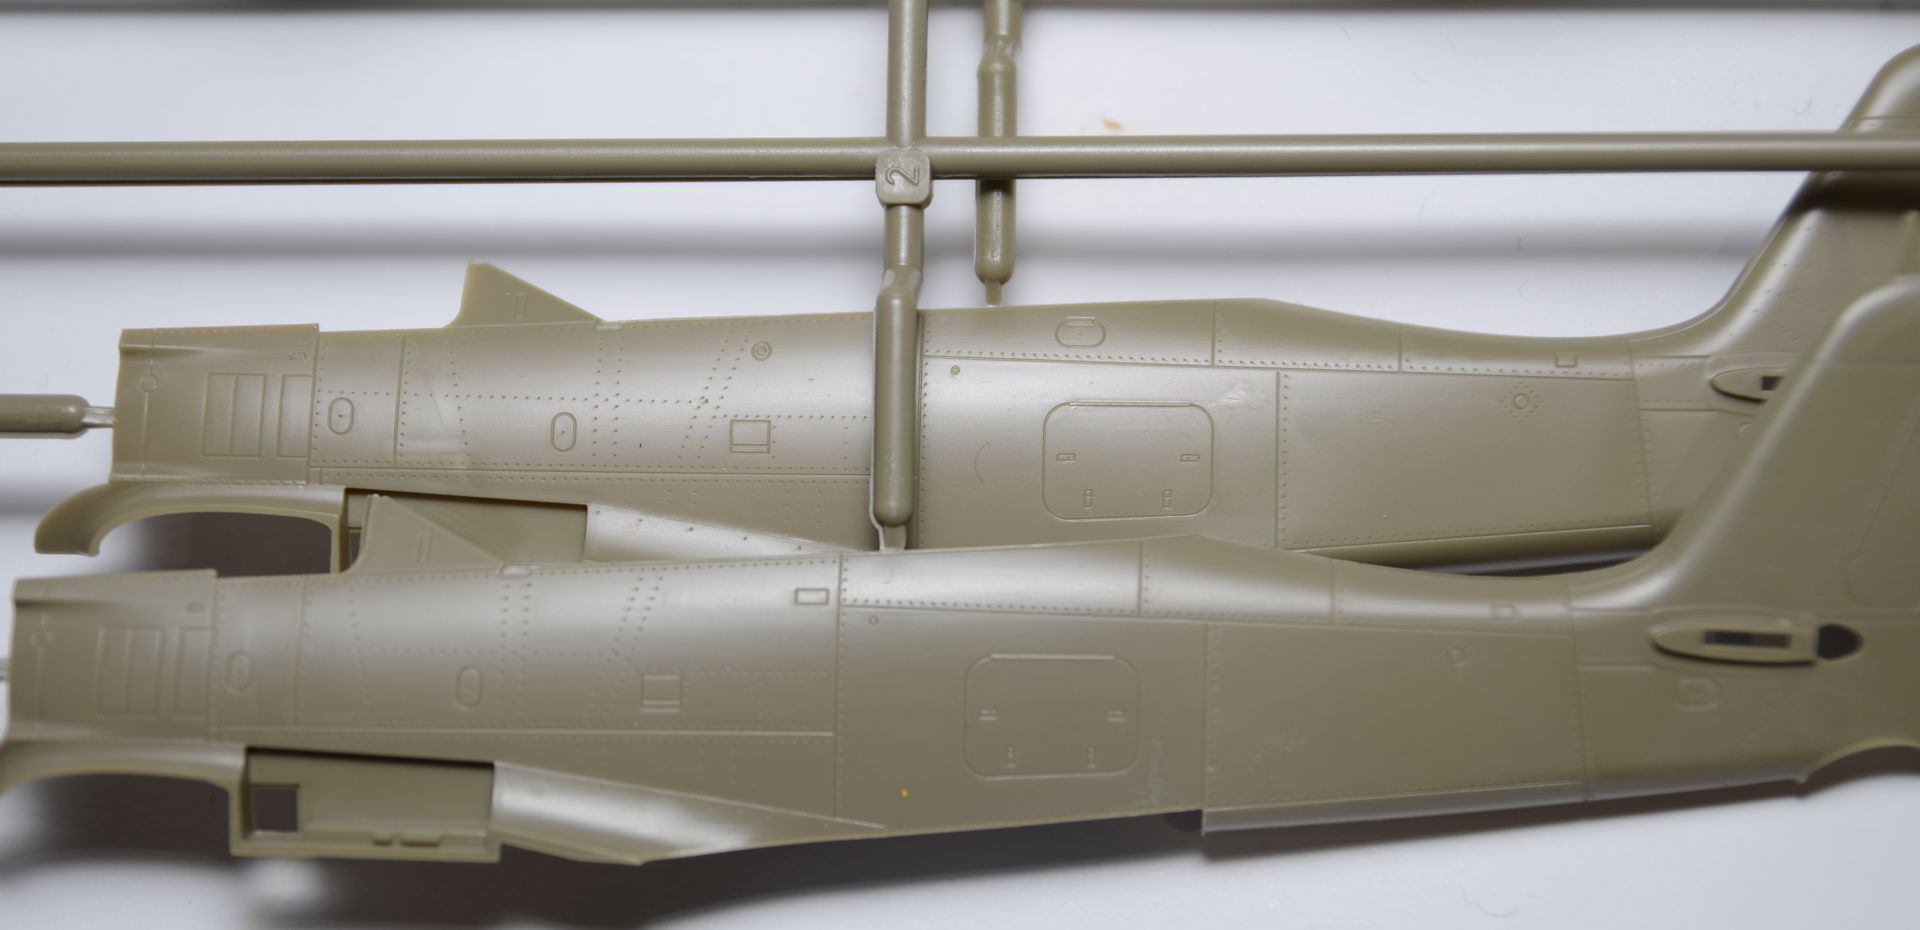
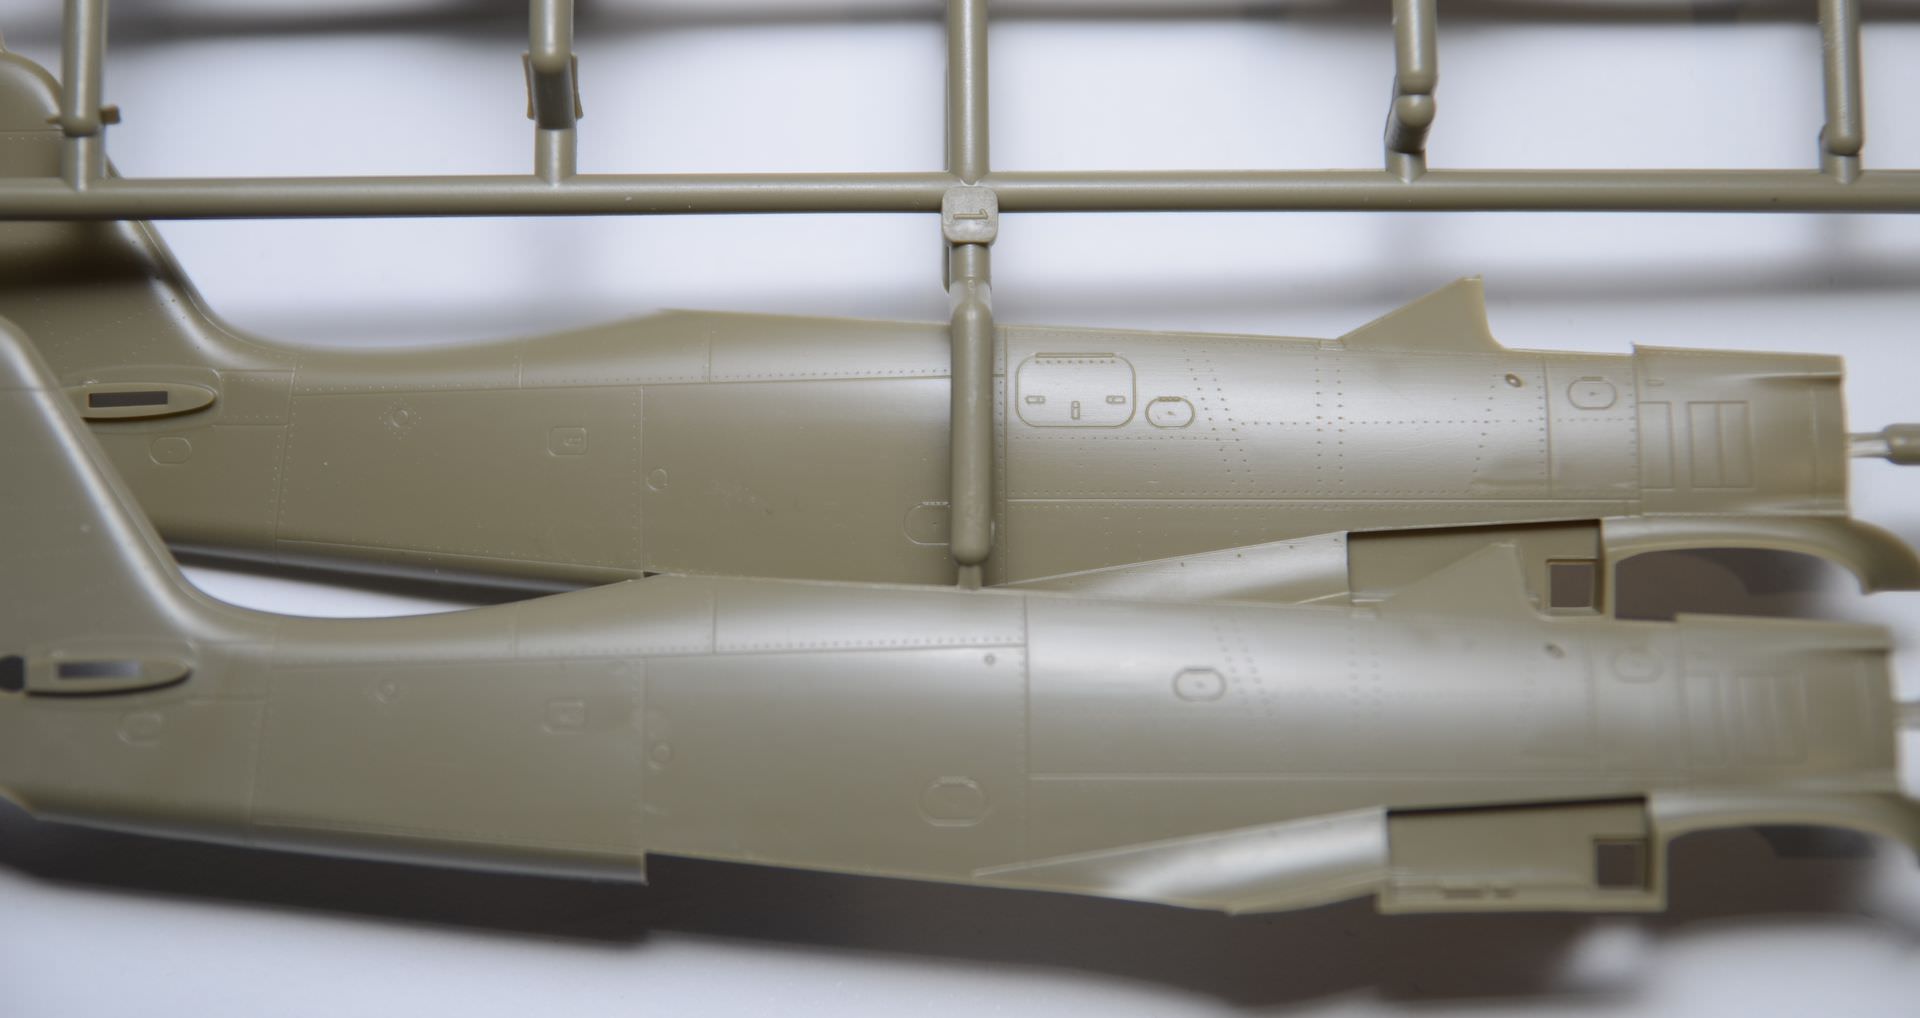
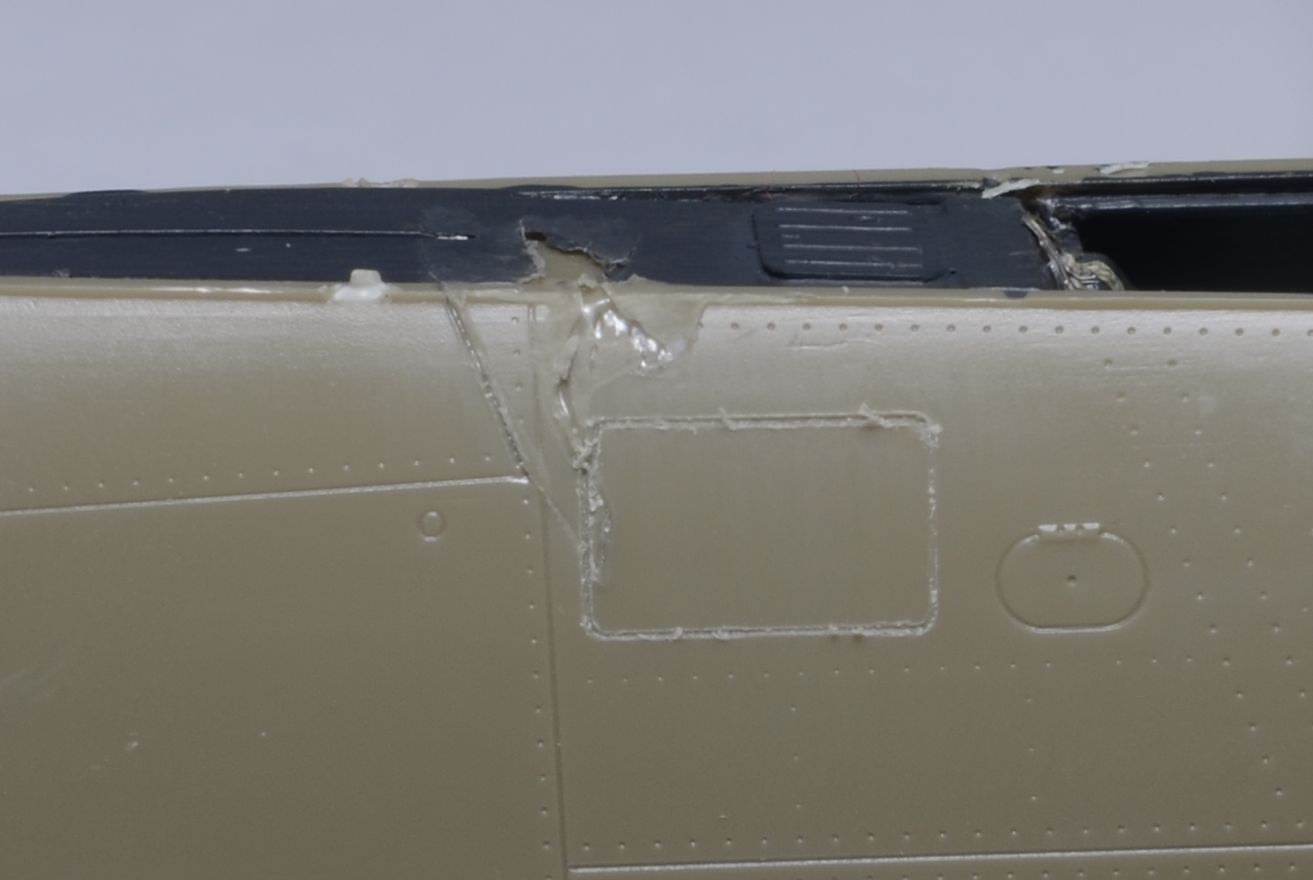
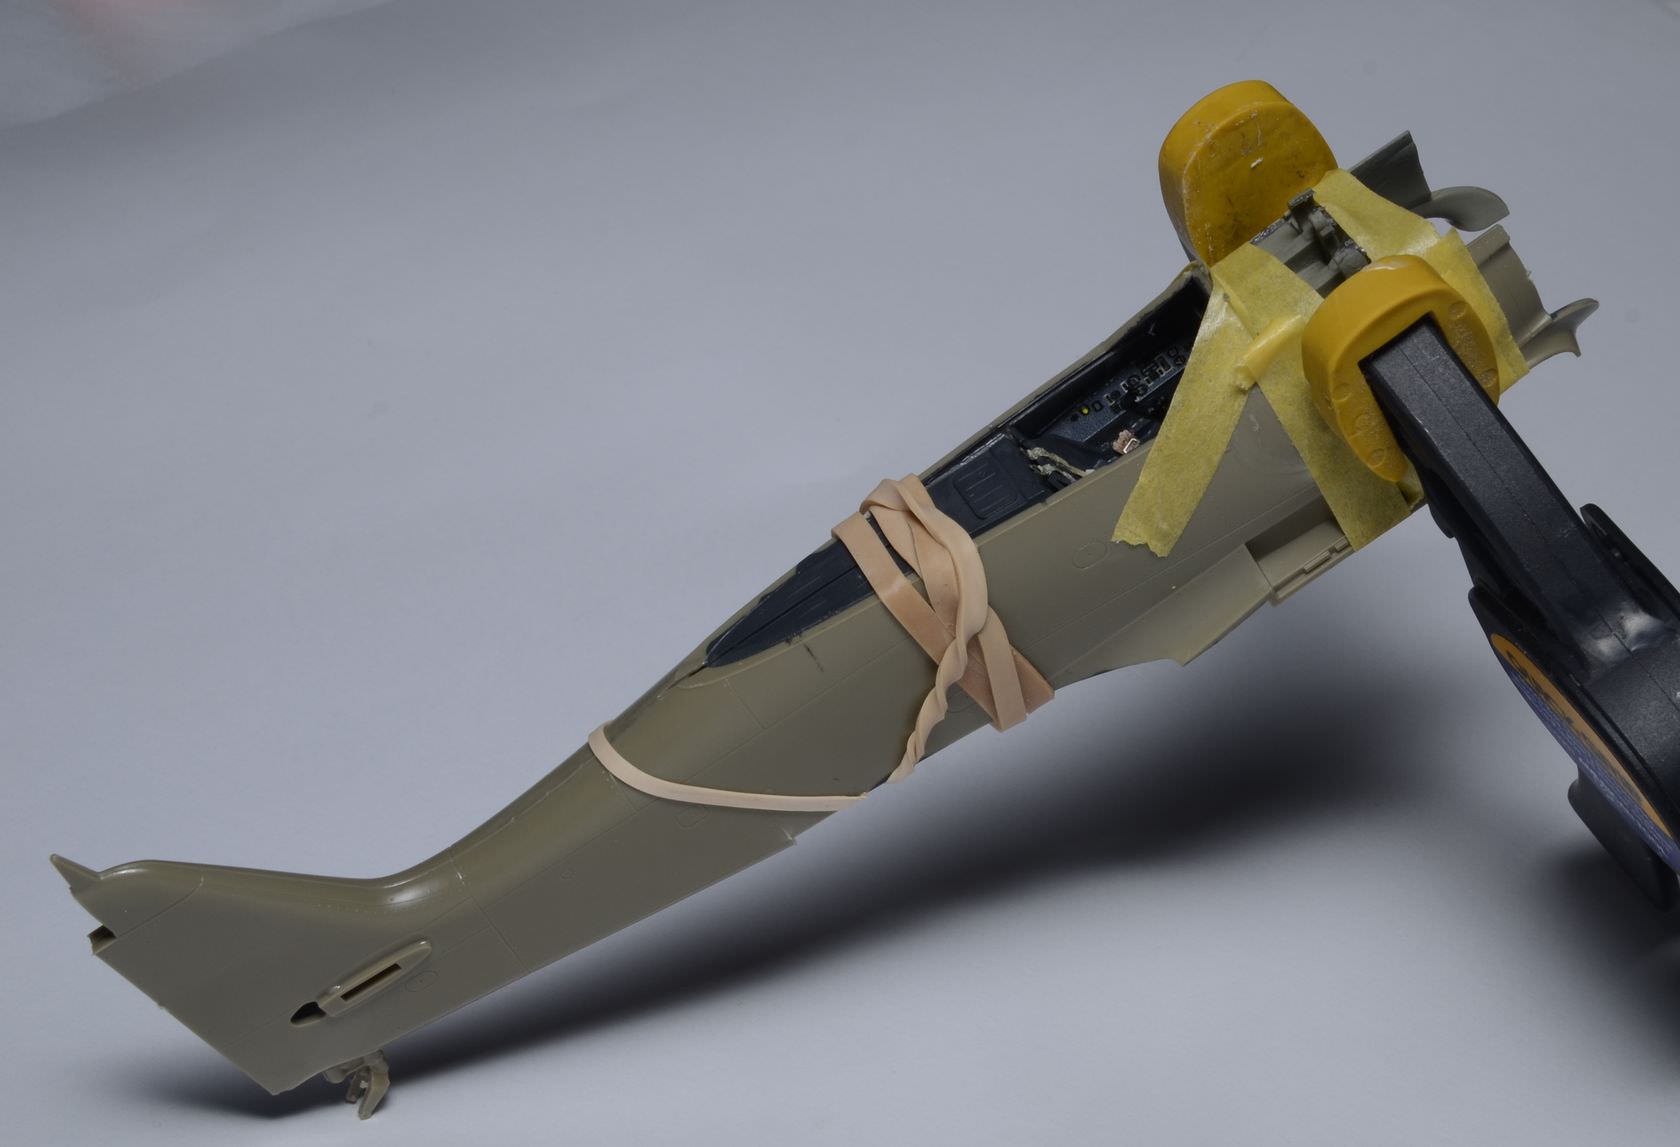
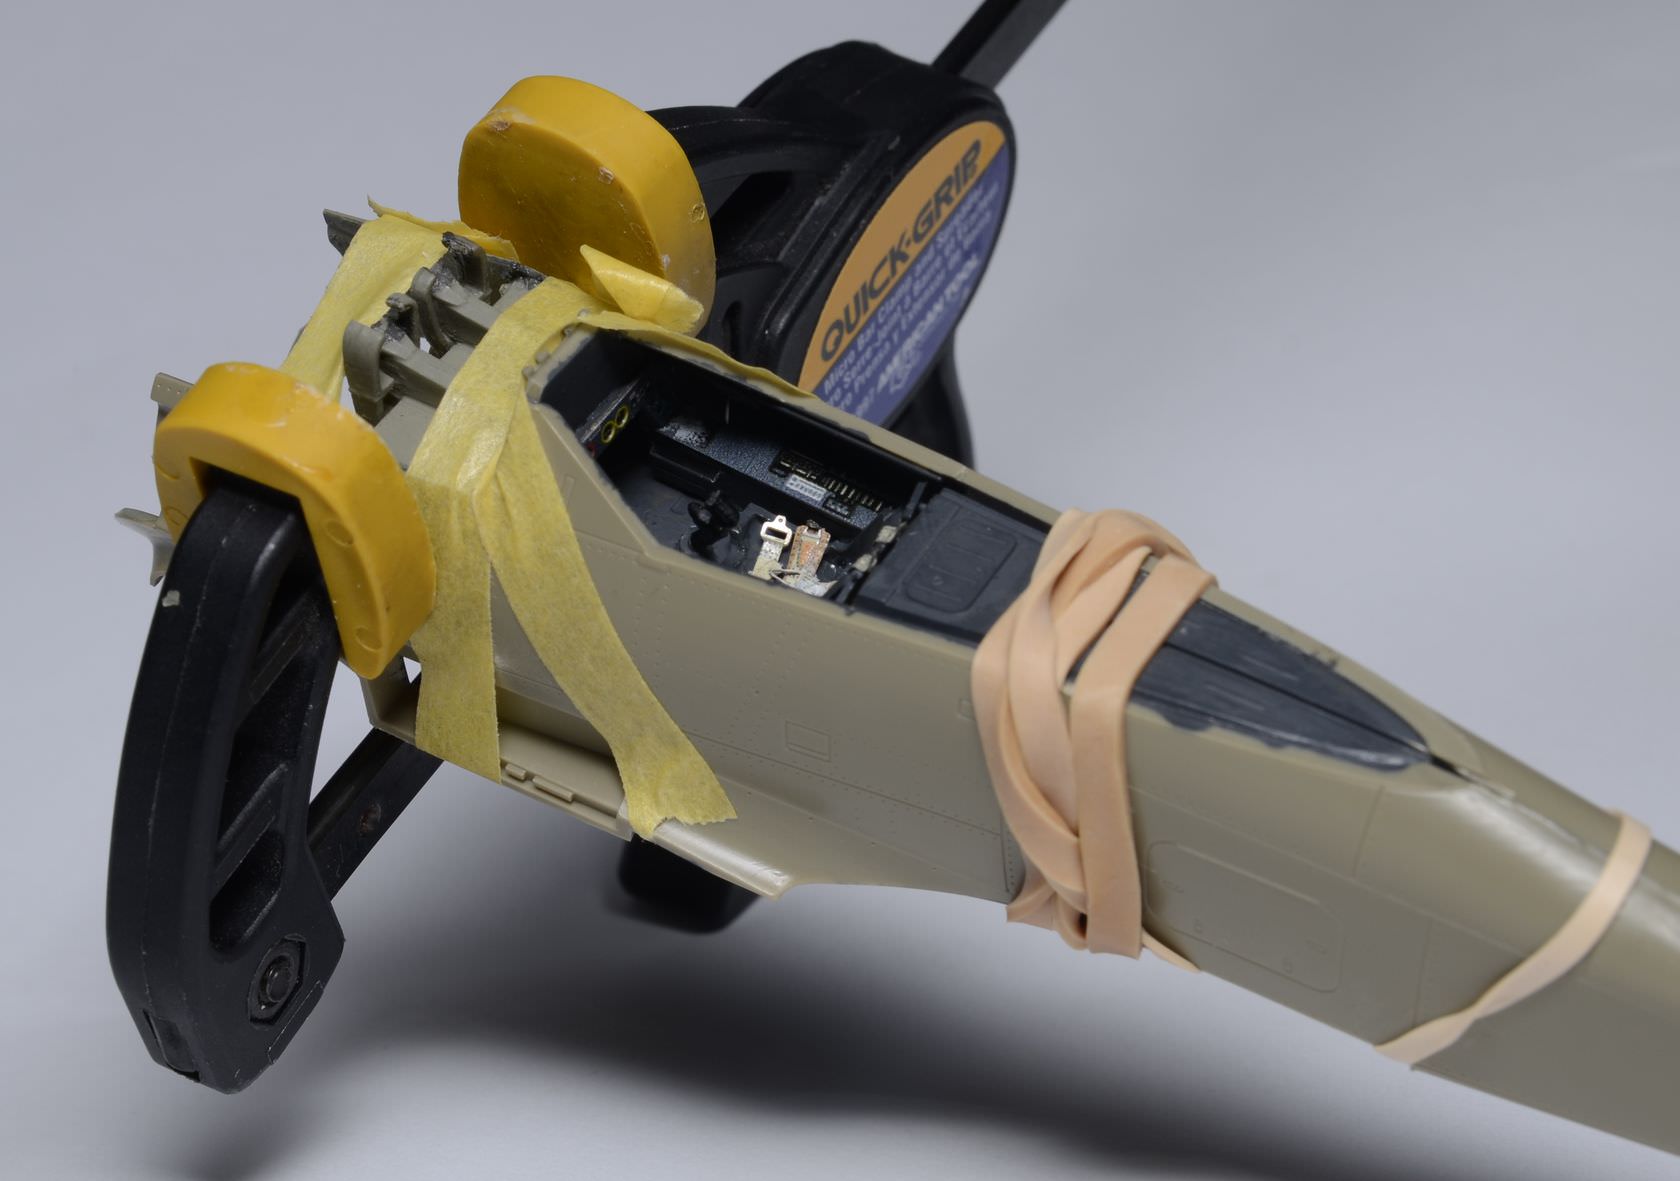
Getting the cocpit ionto the fusealge was troublesome and required initially glueing the tail together, then once that was dry, carefully clamping the cocpit and gun bay parts into
position before wicking tamiya thin cement into the areas around the joins. I reccomend not mounting the guns when the instructions say, but waiting till after the fuelage is together.
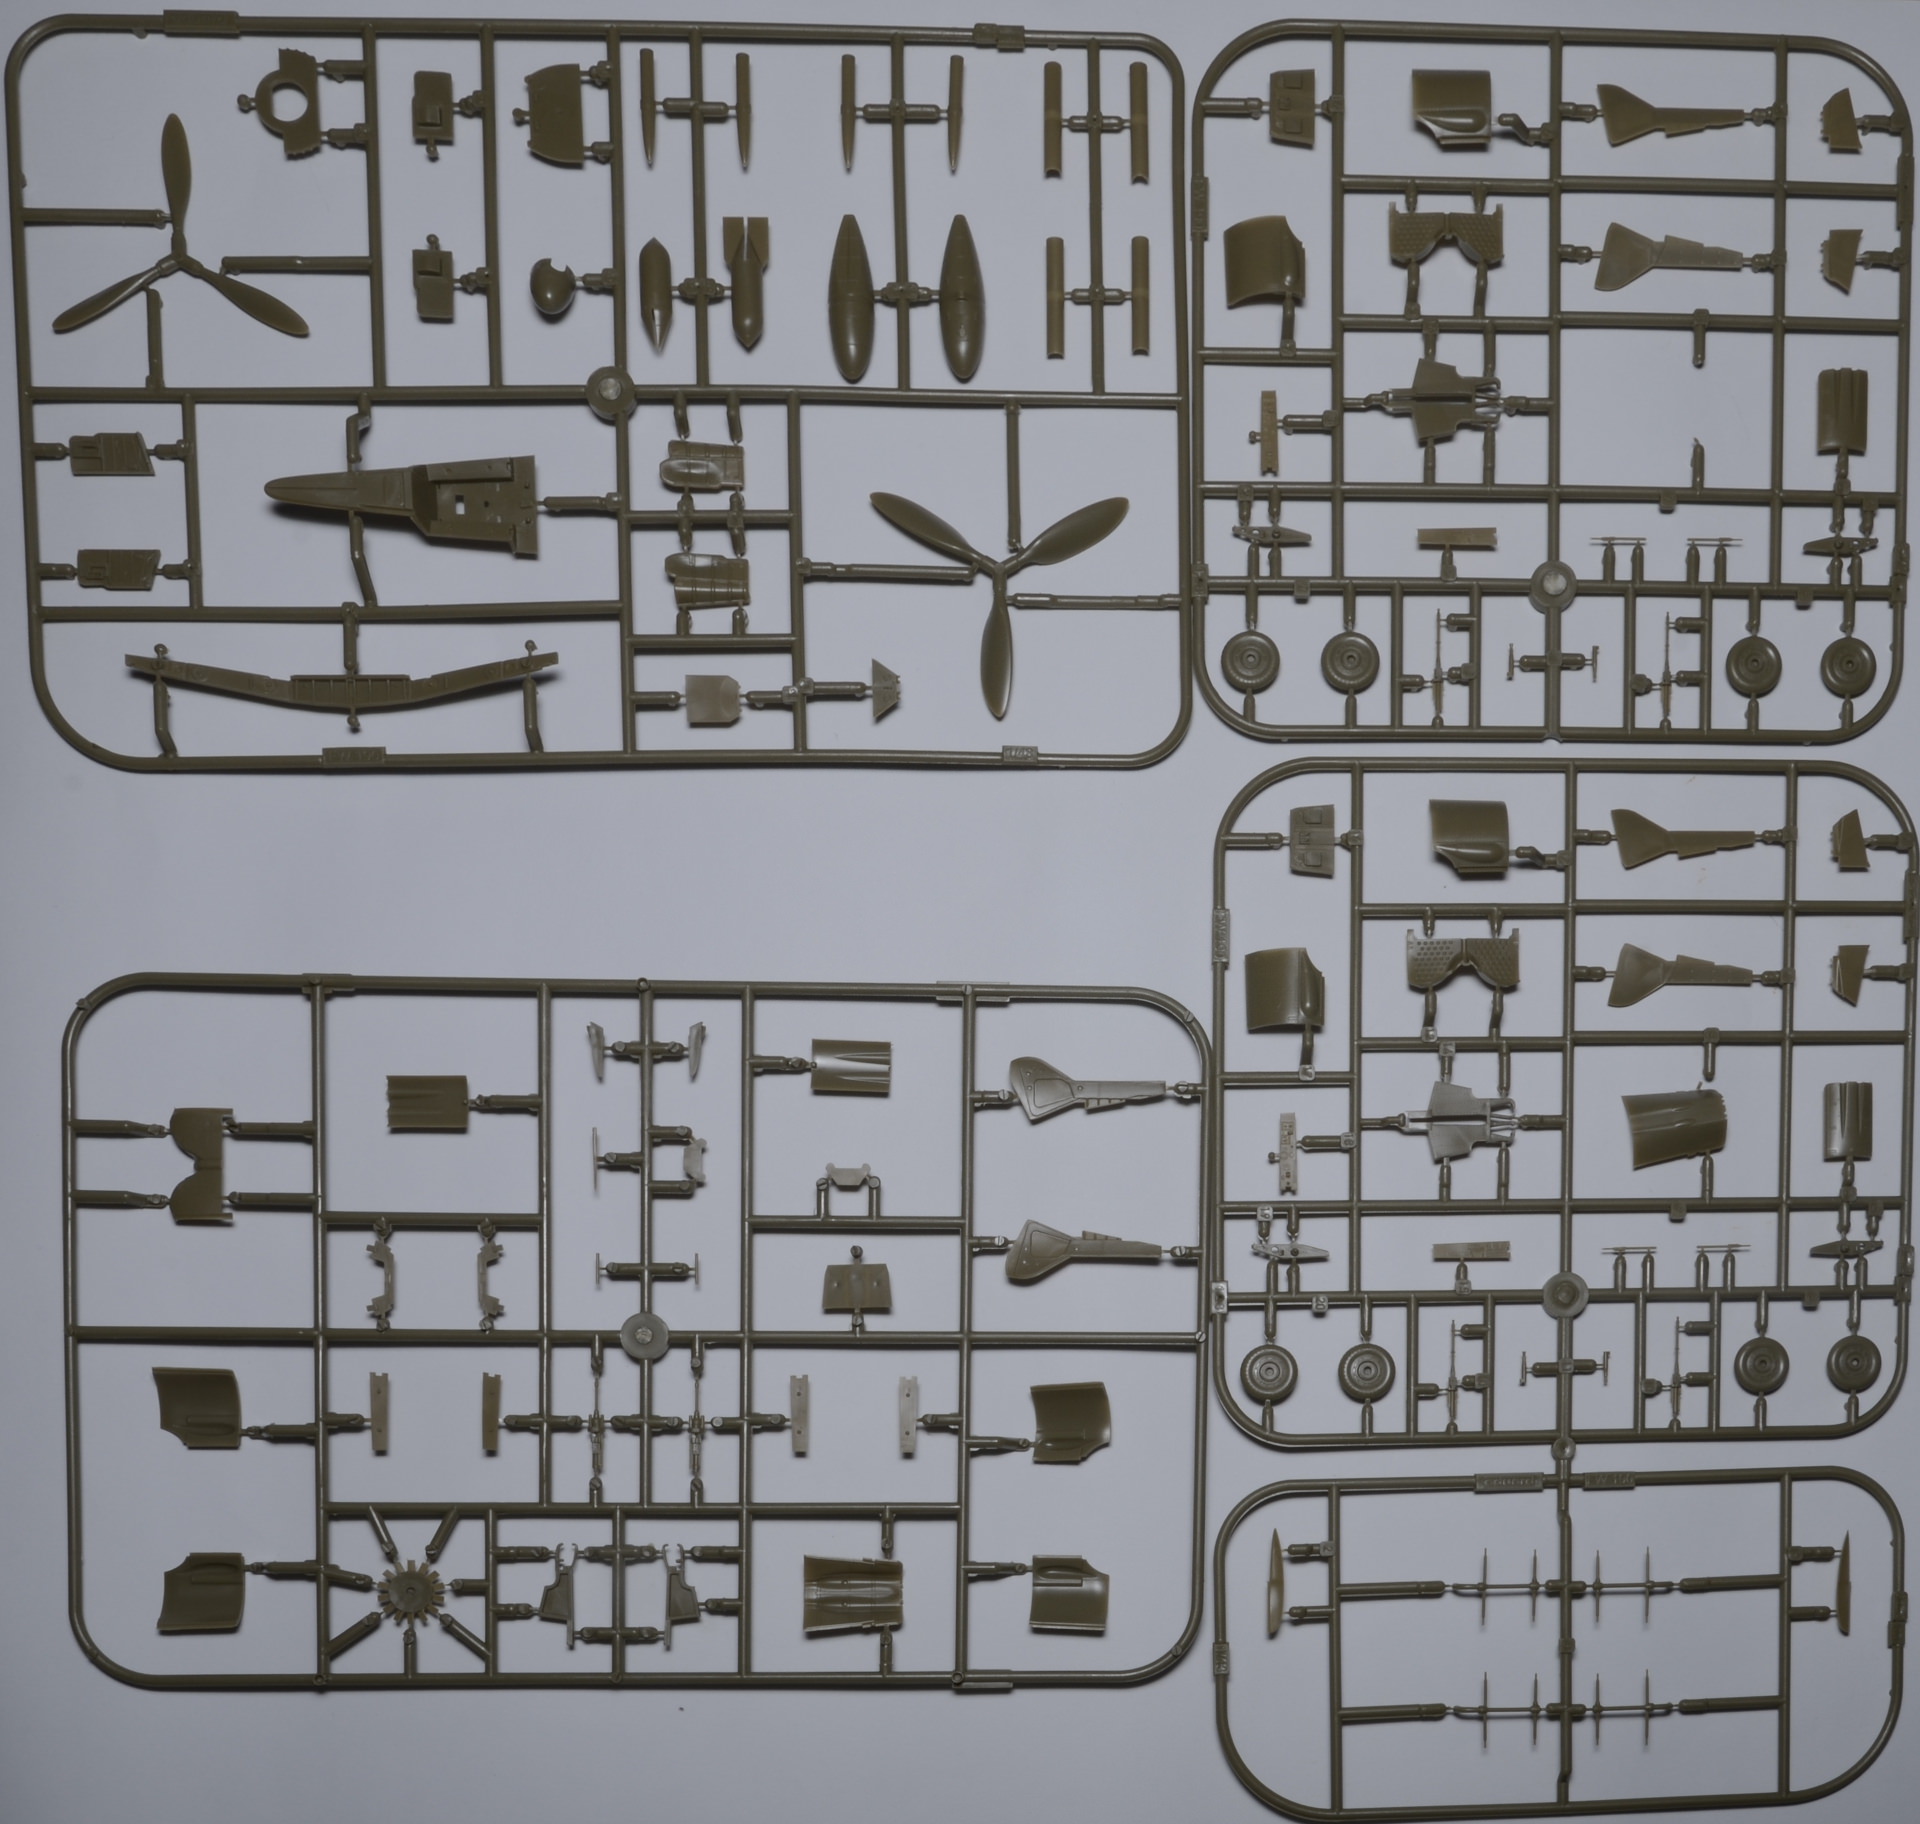
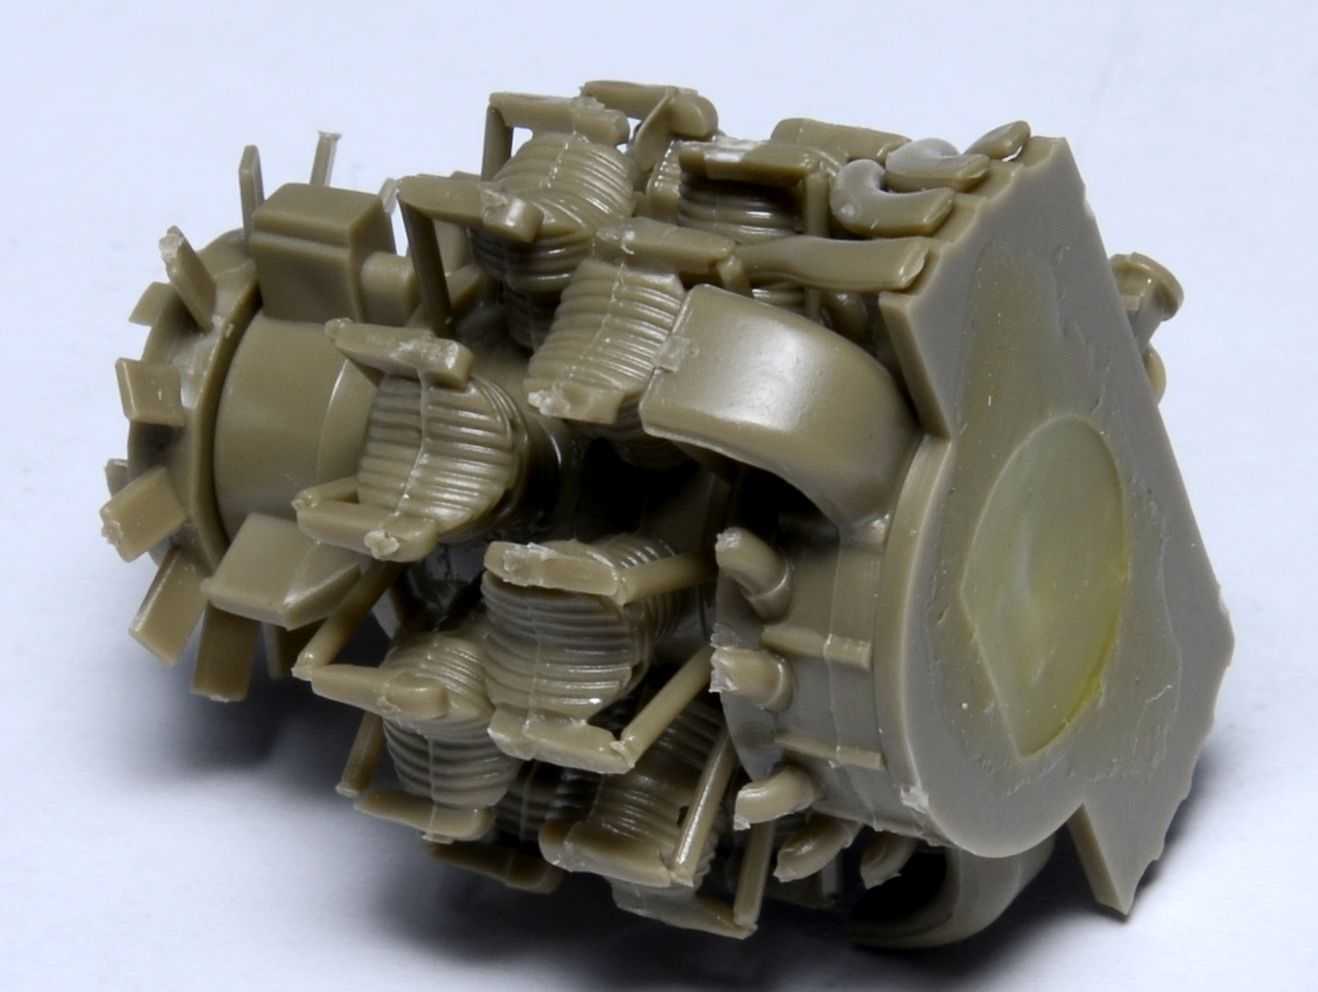
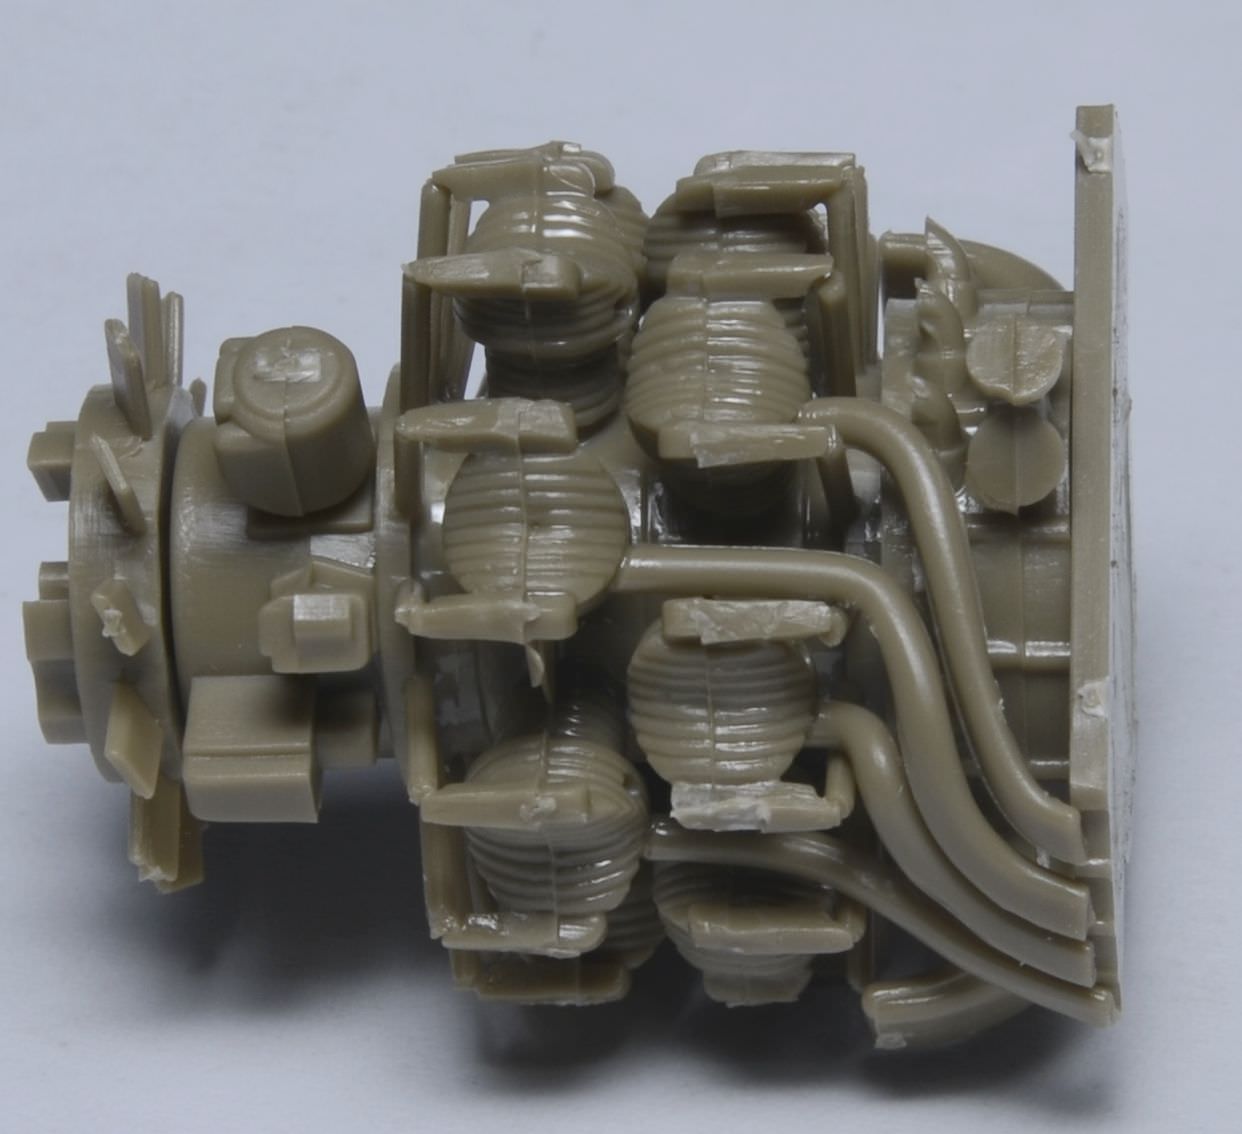
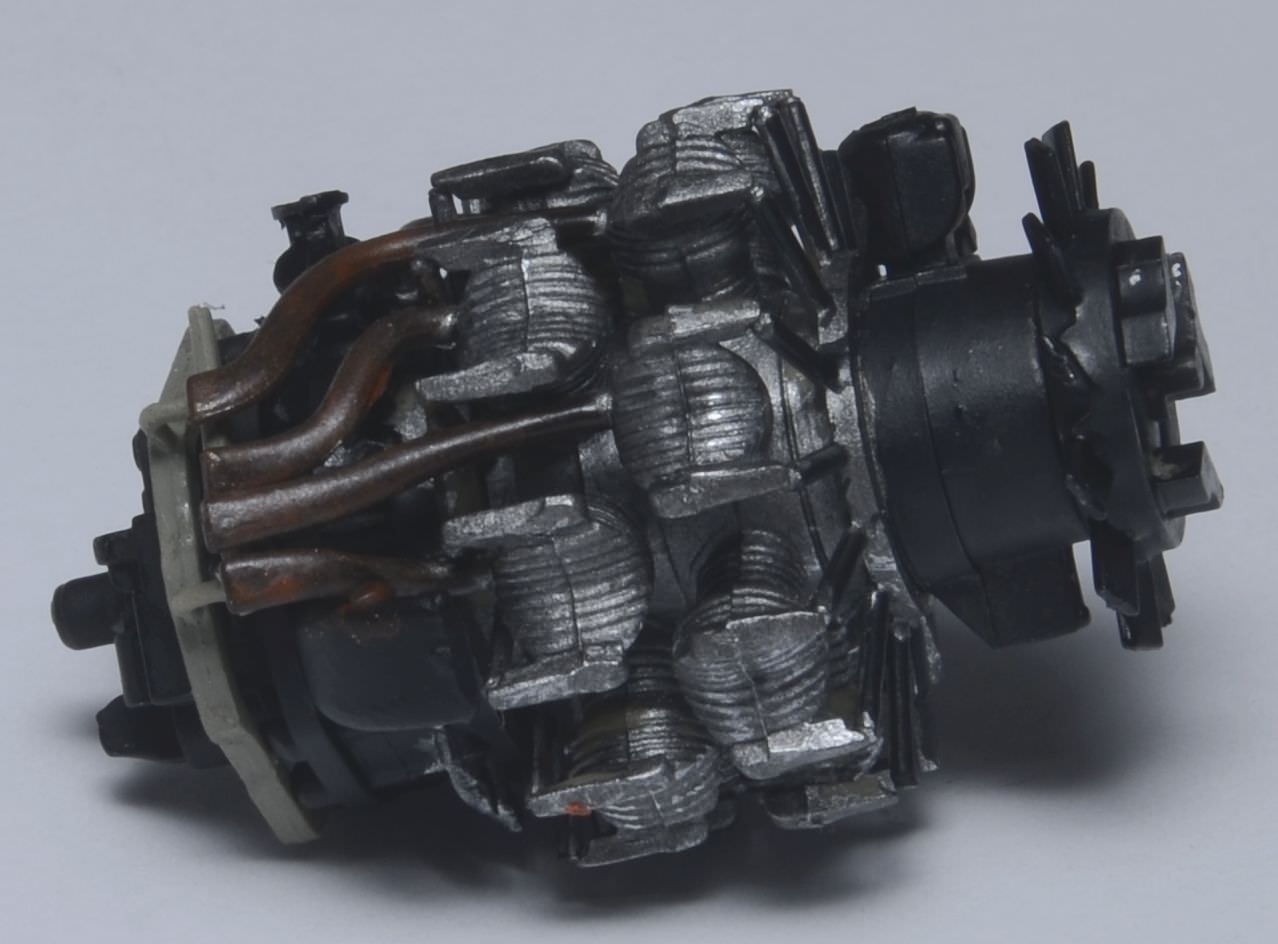
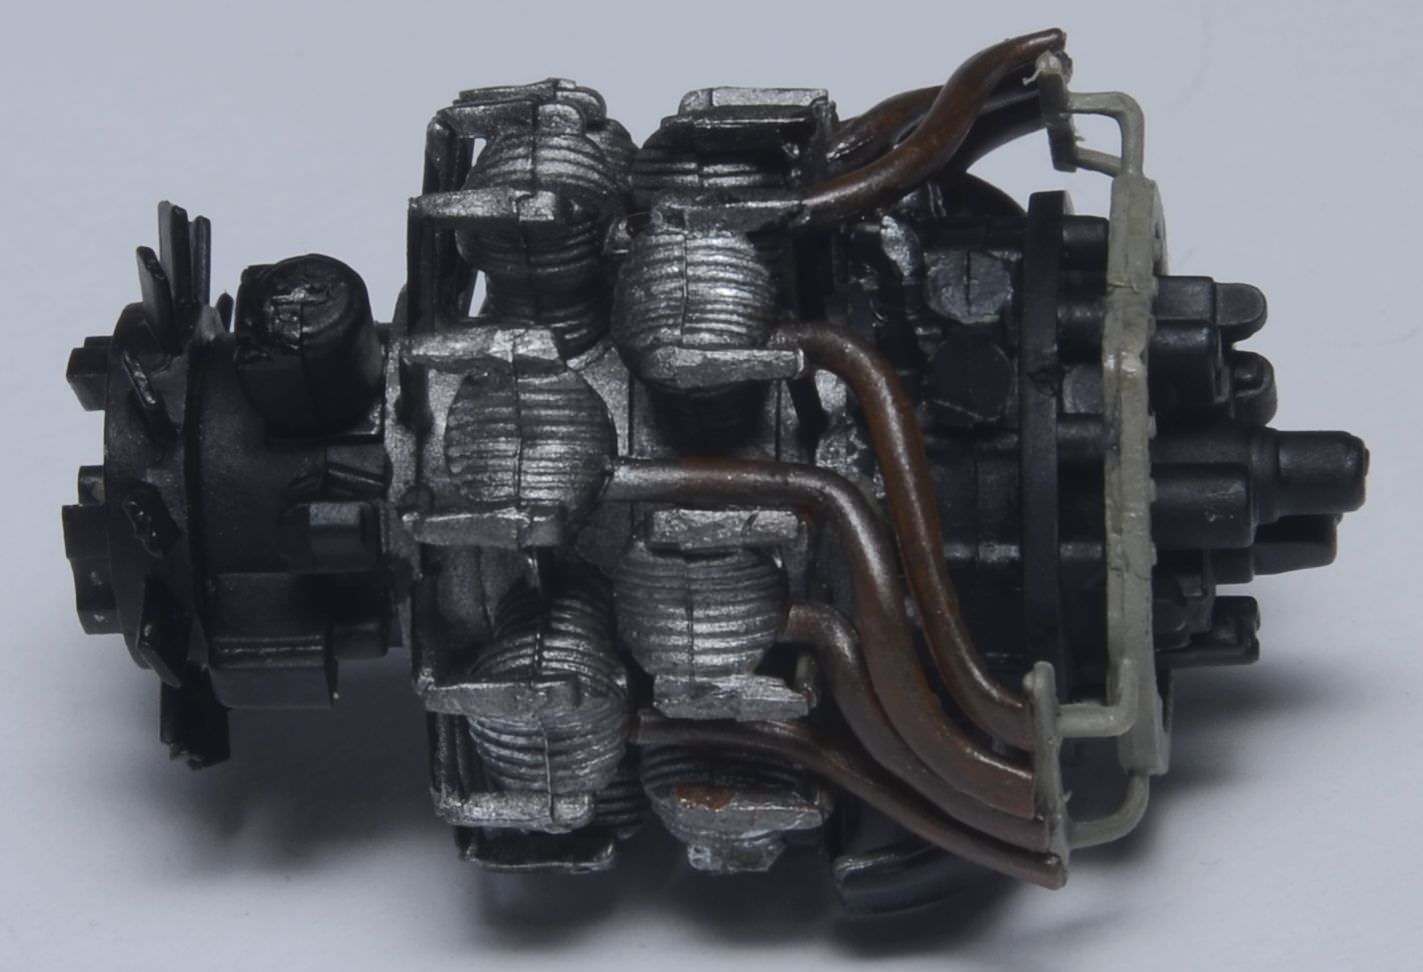
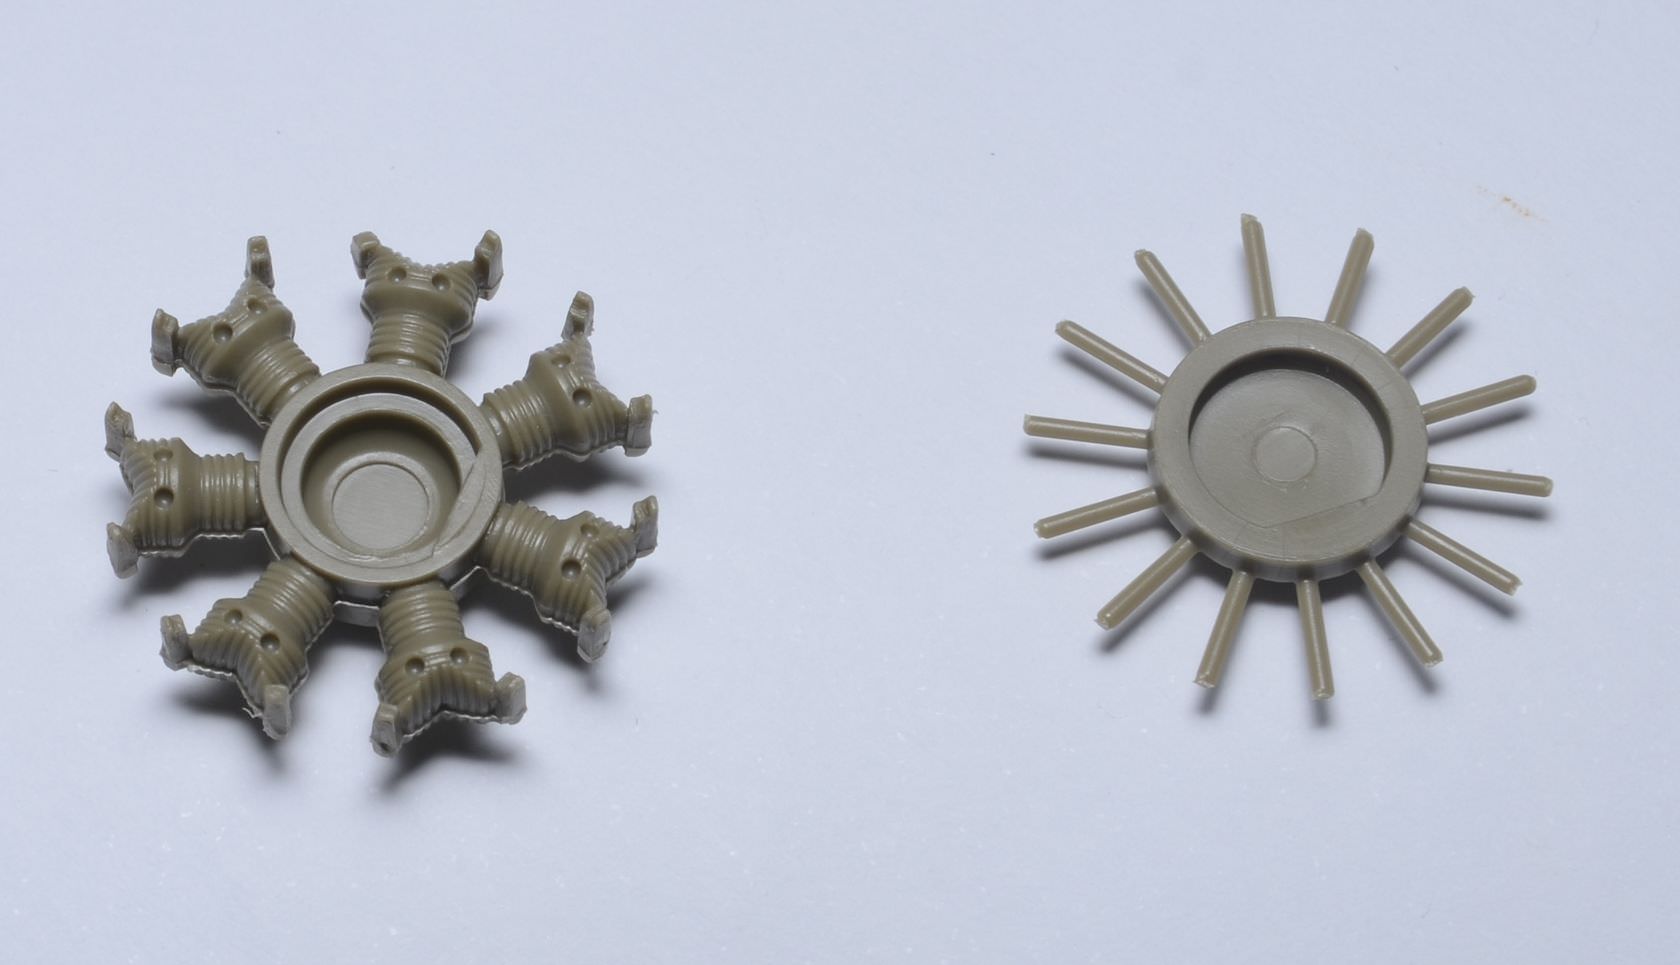
While that was drying I started on the engine which consisists of 20 pieces including 8 exhausts.
Rear cylinders and pushrods...
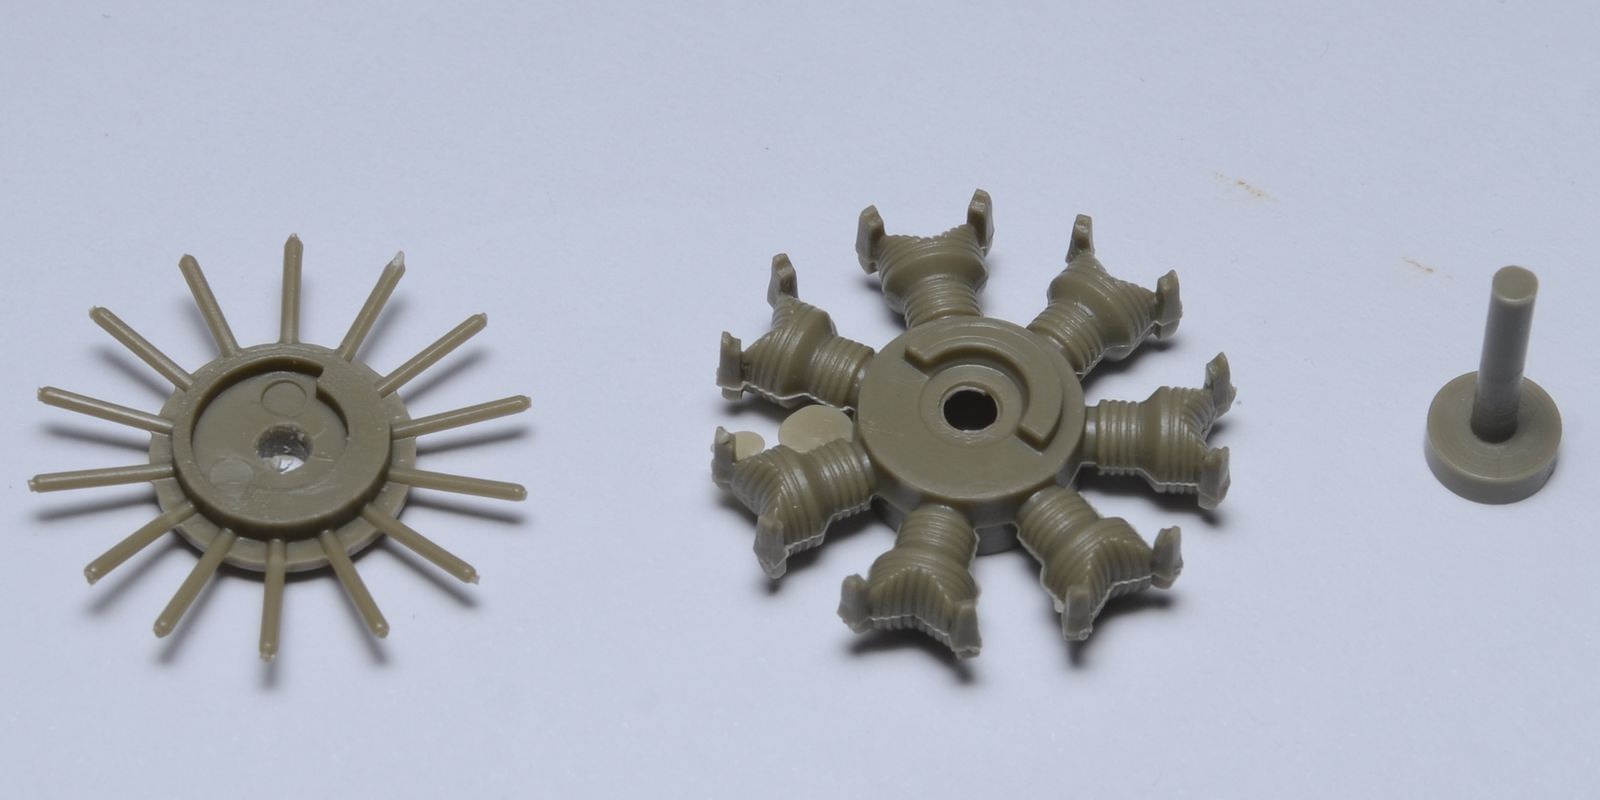
Front cylinders, pushrods, and prop axle...
Intake manifold(?)...
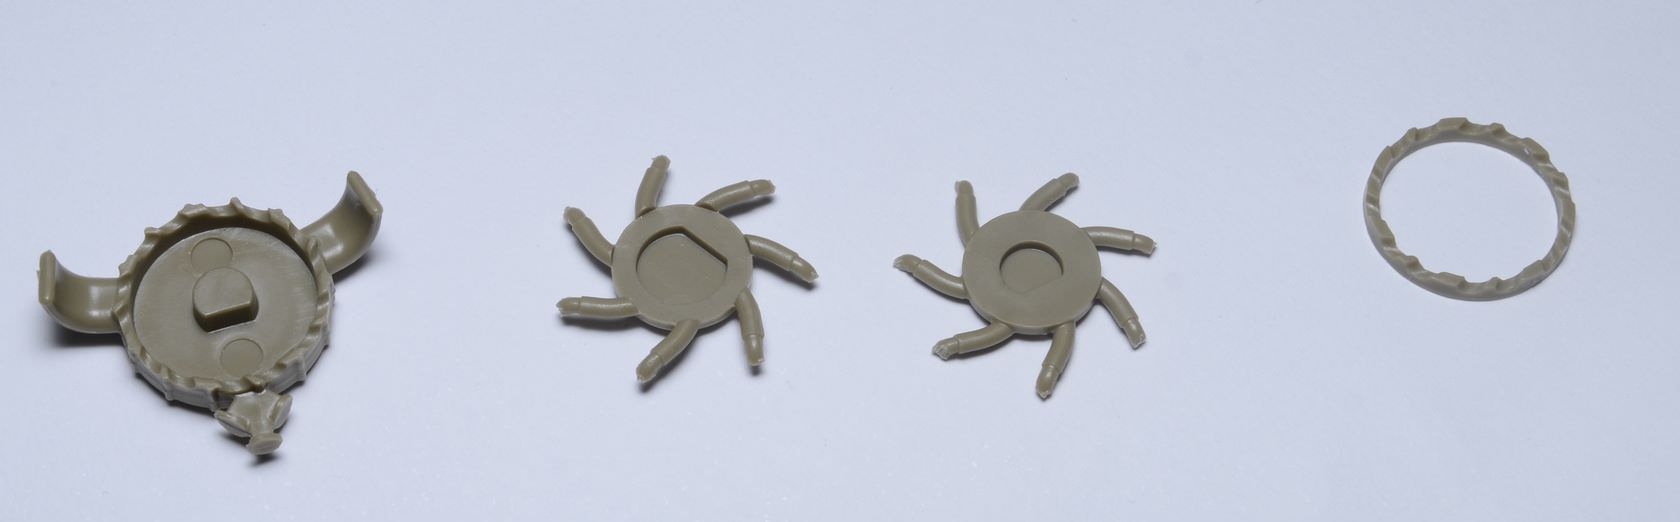
Annoyingly, the instructions show intake pipes going to each cylinder, however there are no parts for them listed in the instructions, and nothing on the sprues that I could identify.
There is also no mention of needing to scratchbuild them.
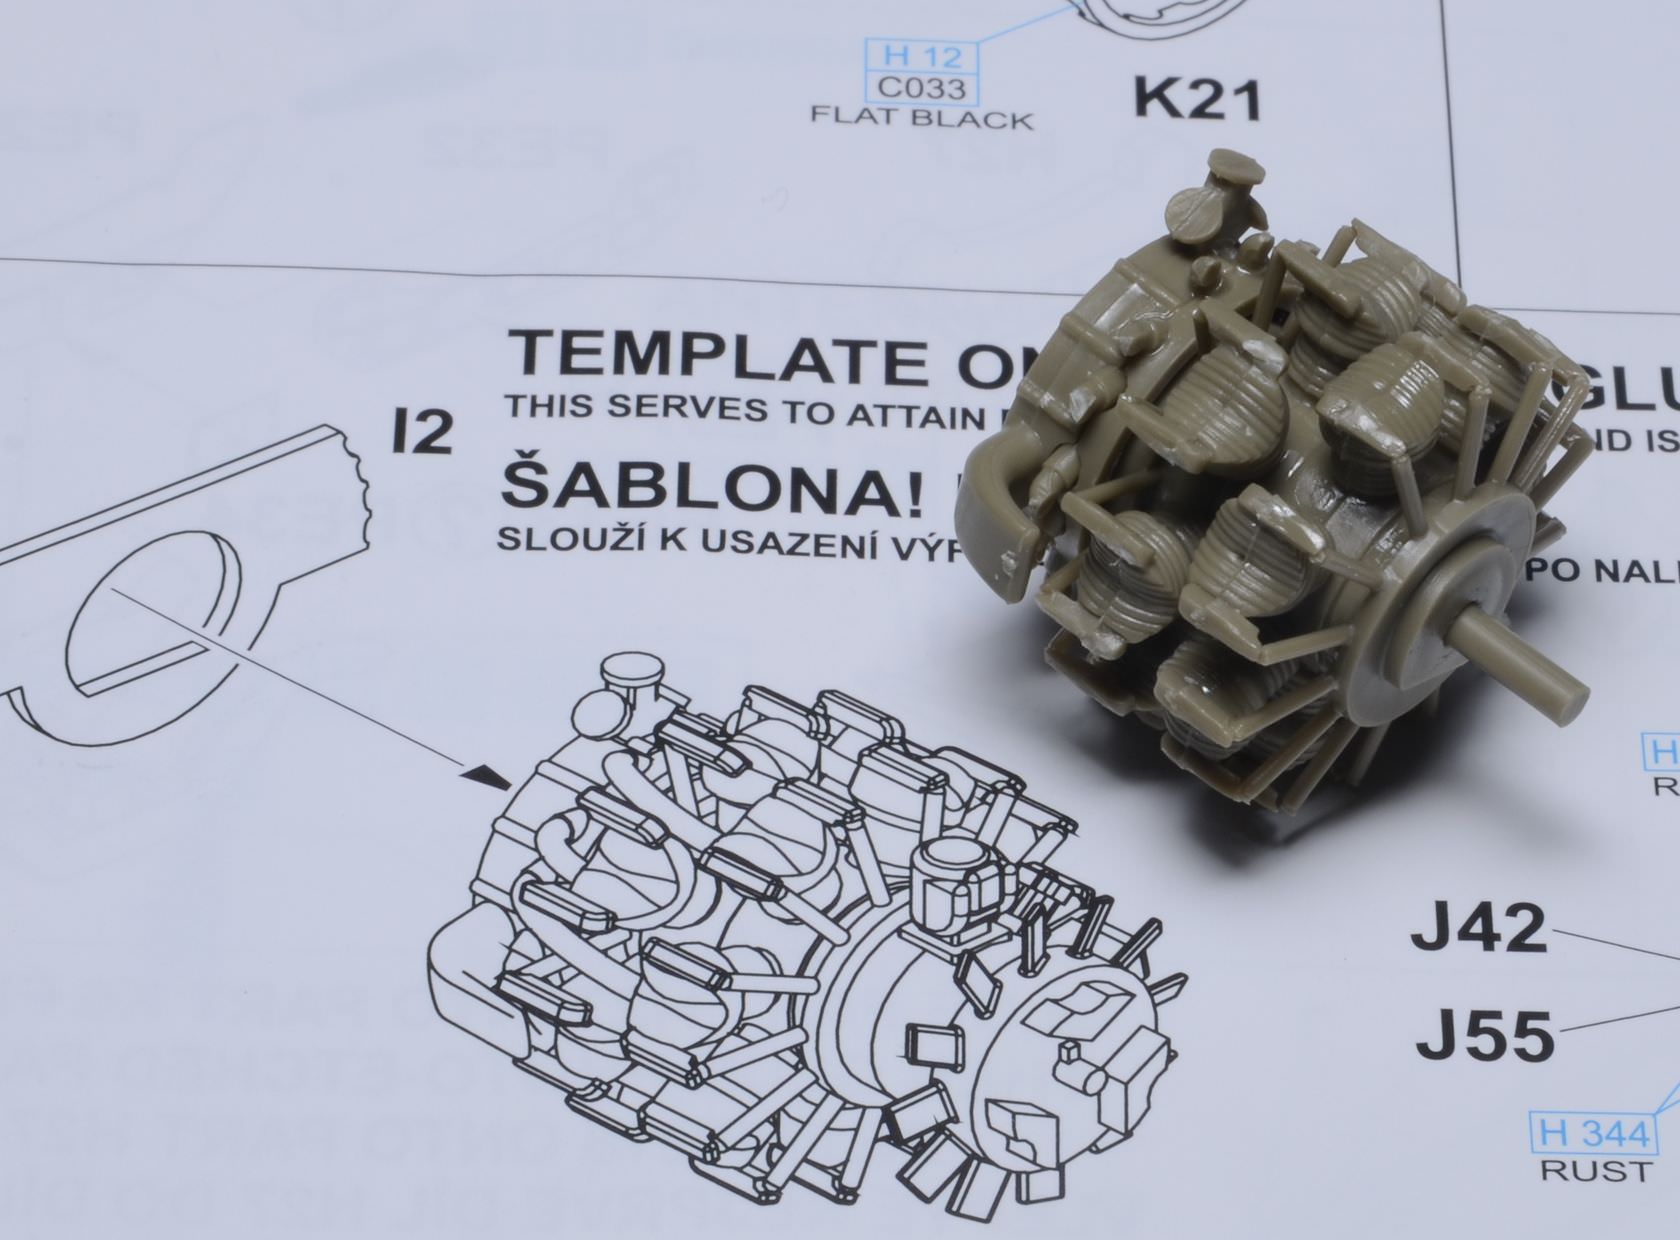
I may add these from some styrene rod if I can find some the right size in my supply box.
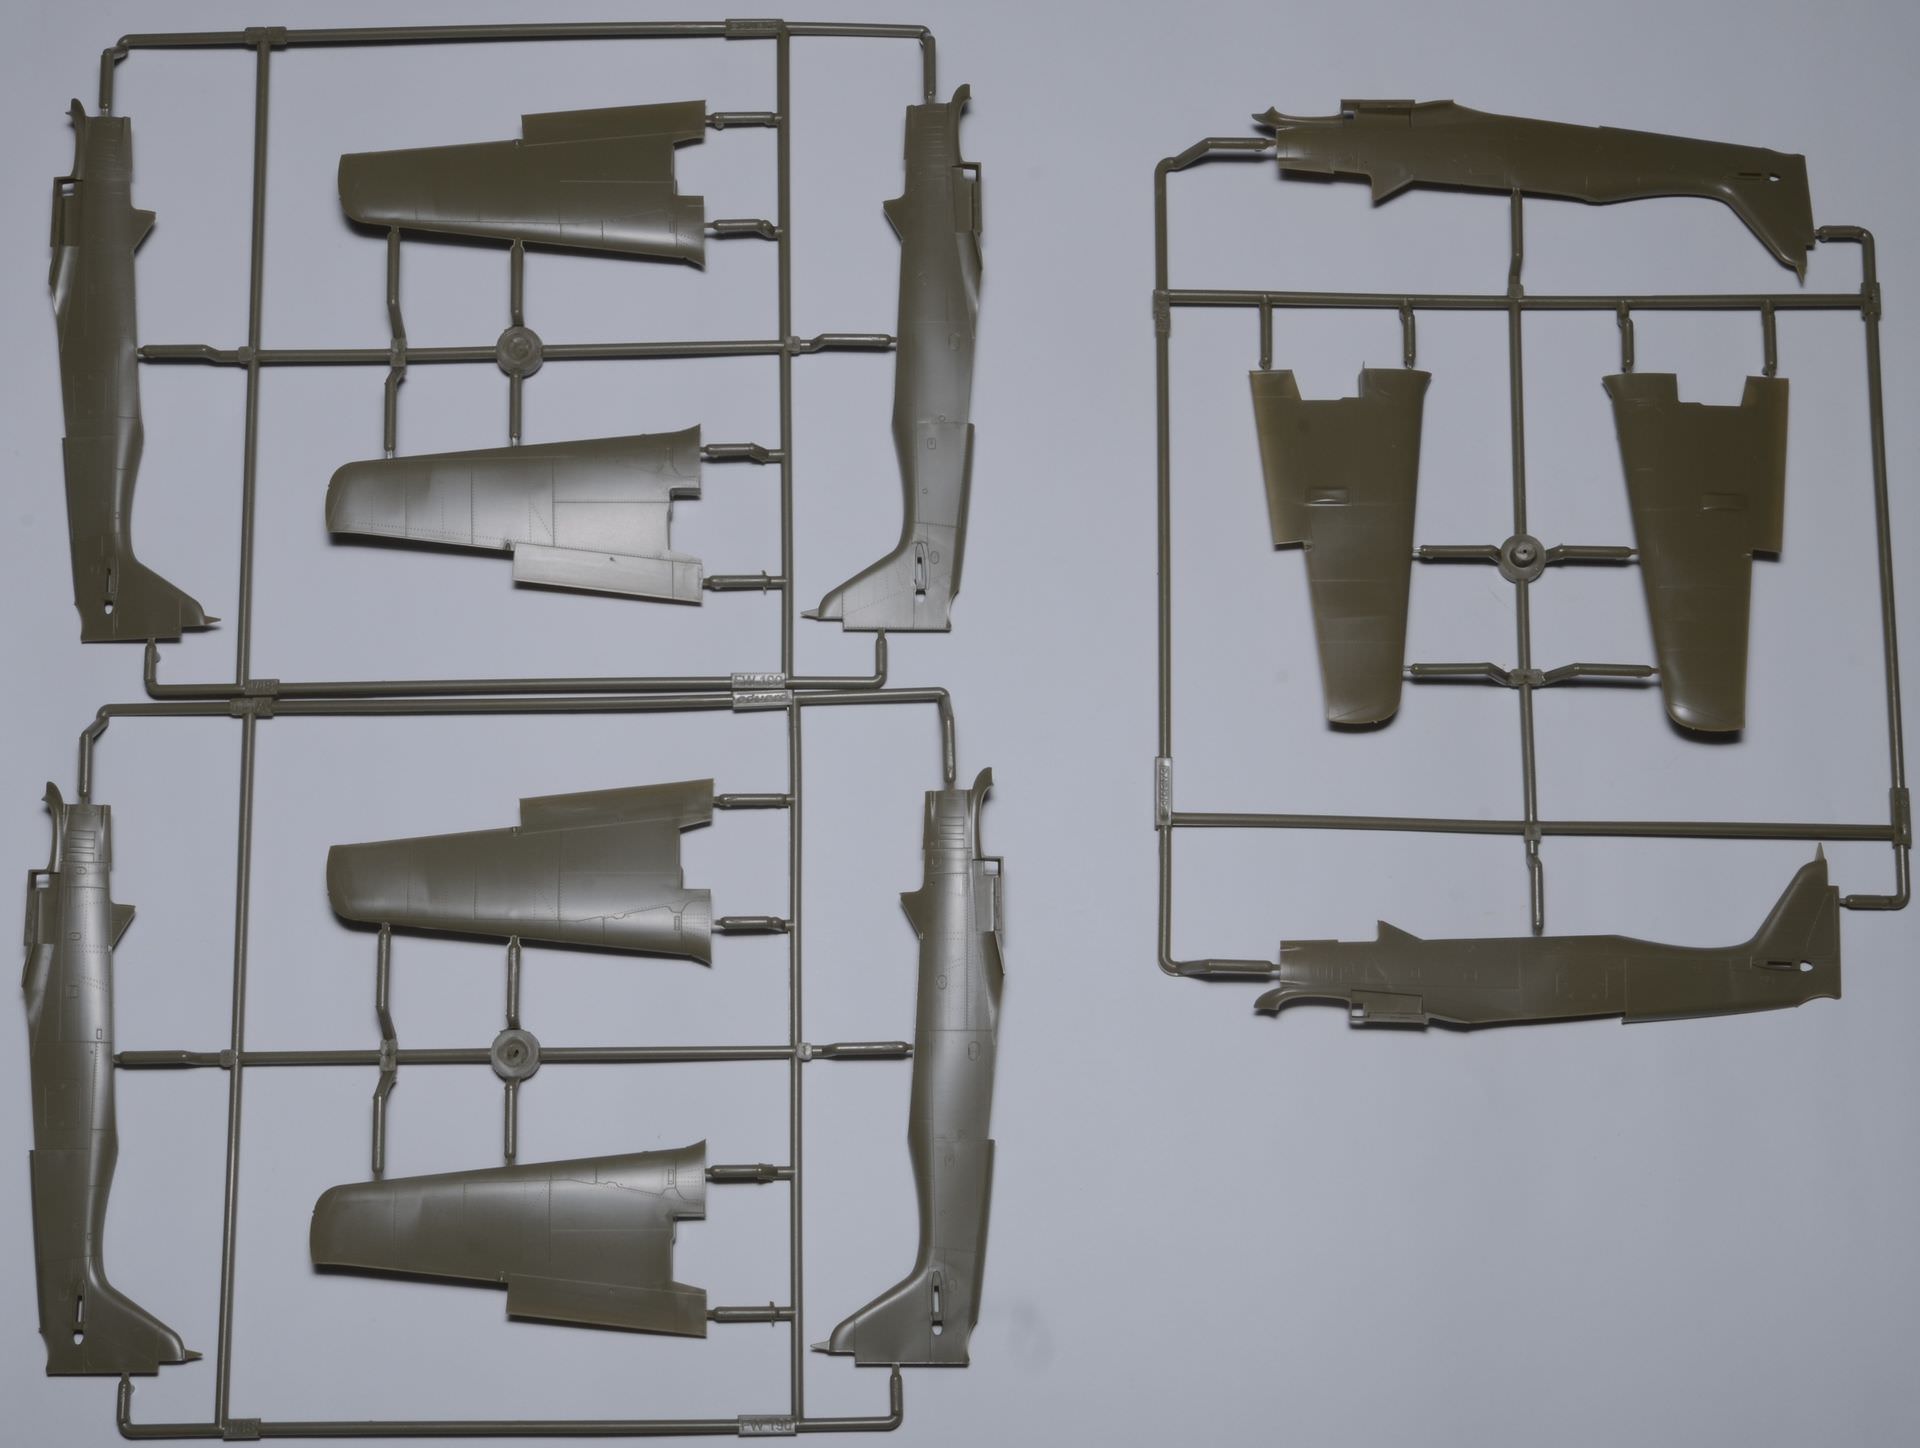
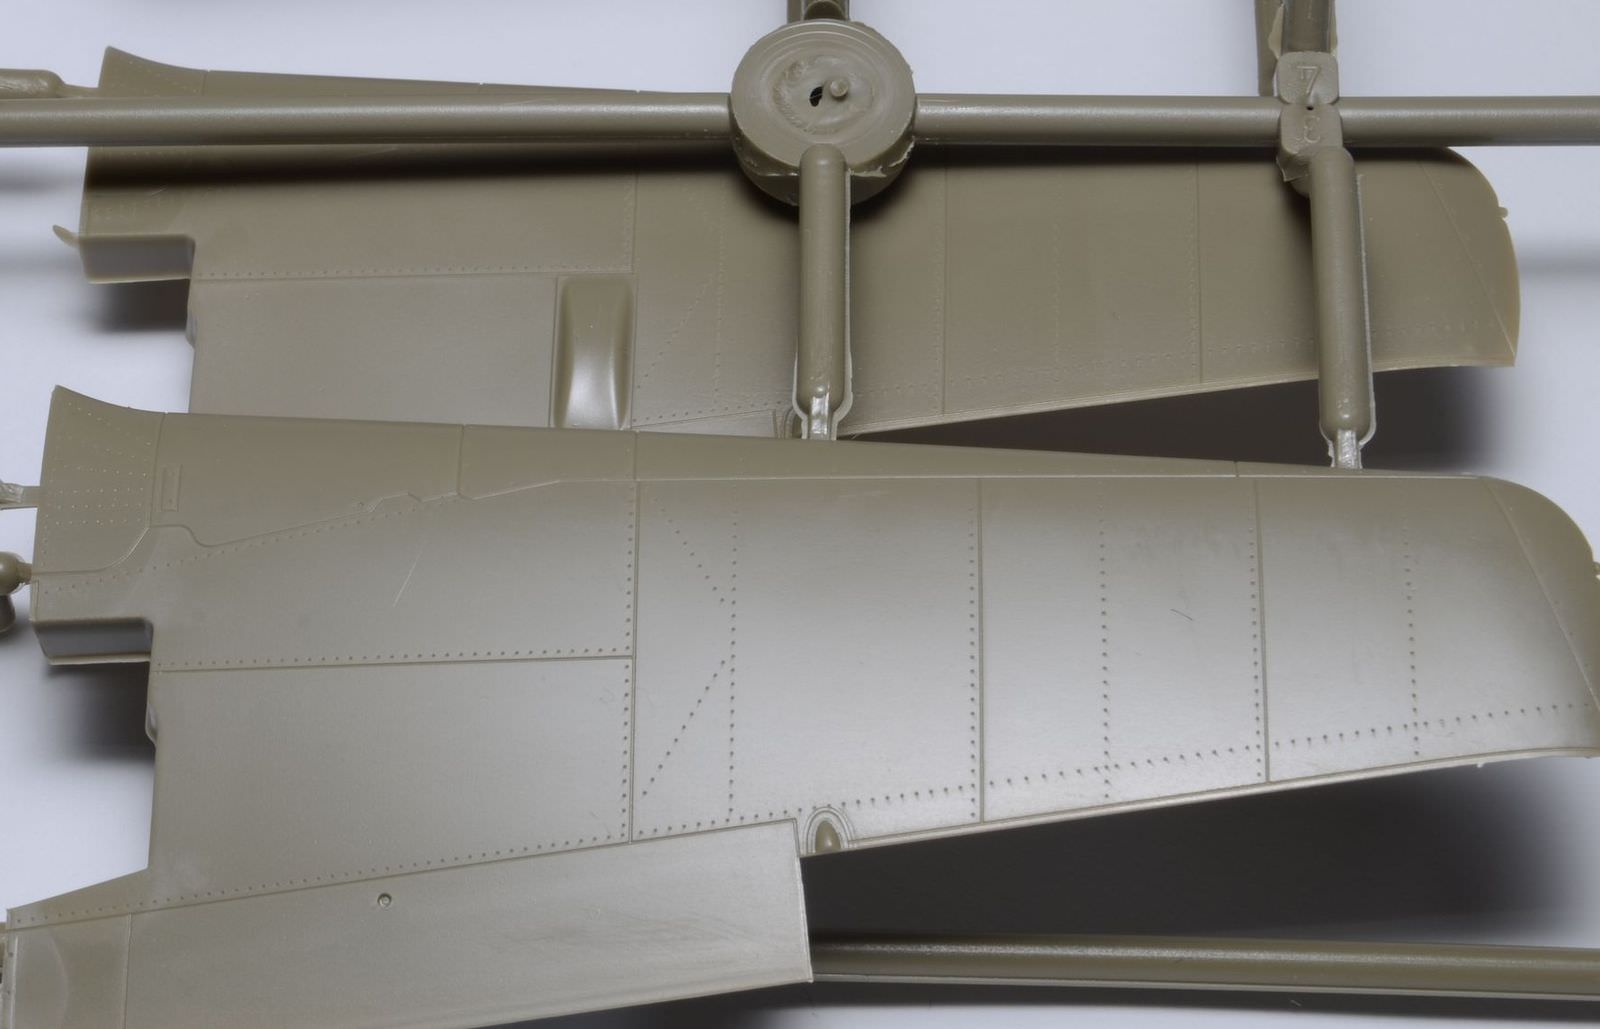
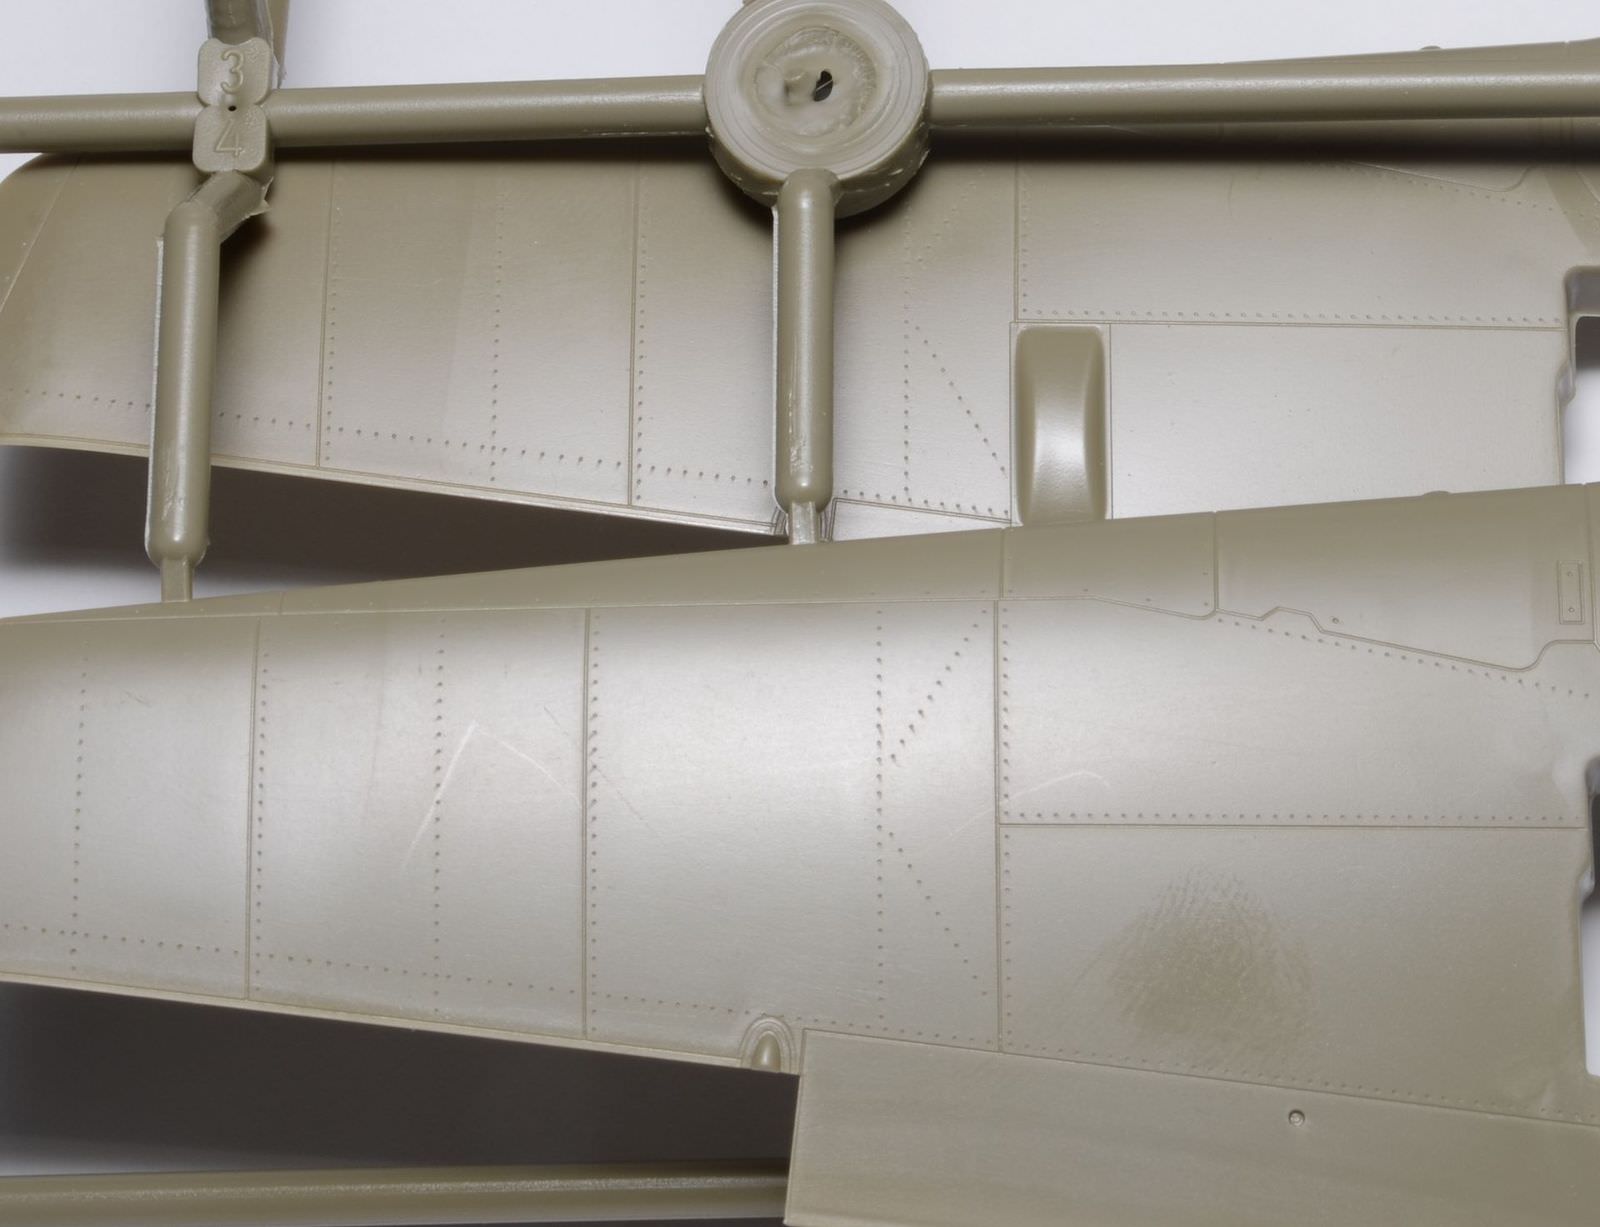
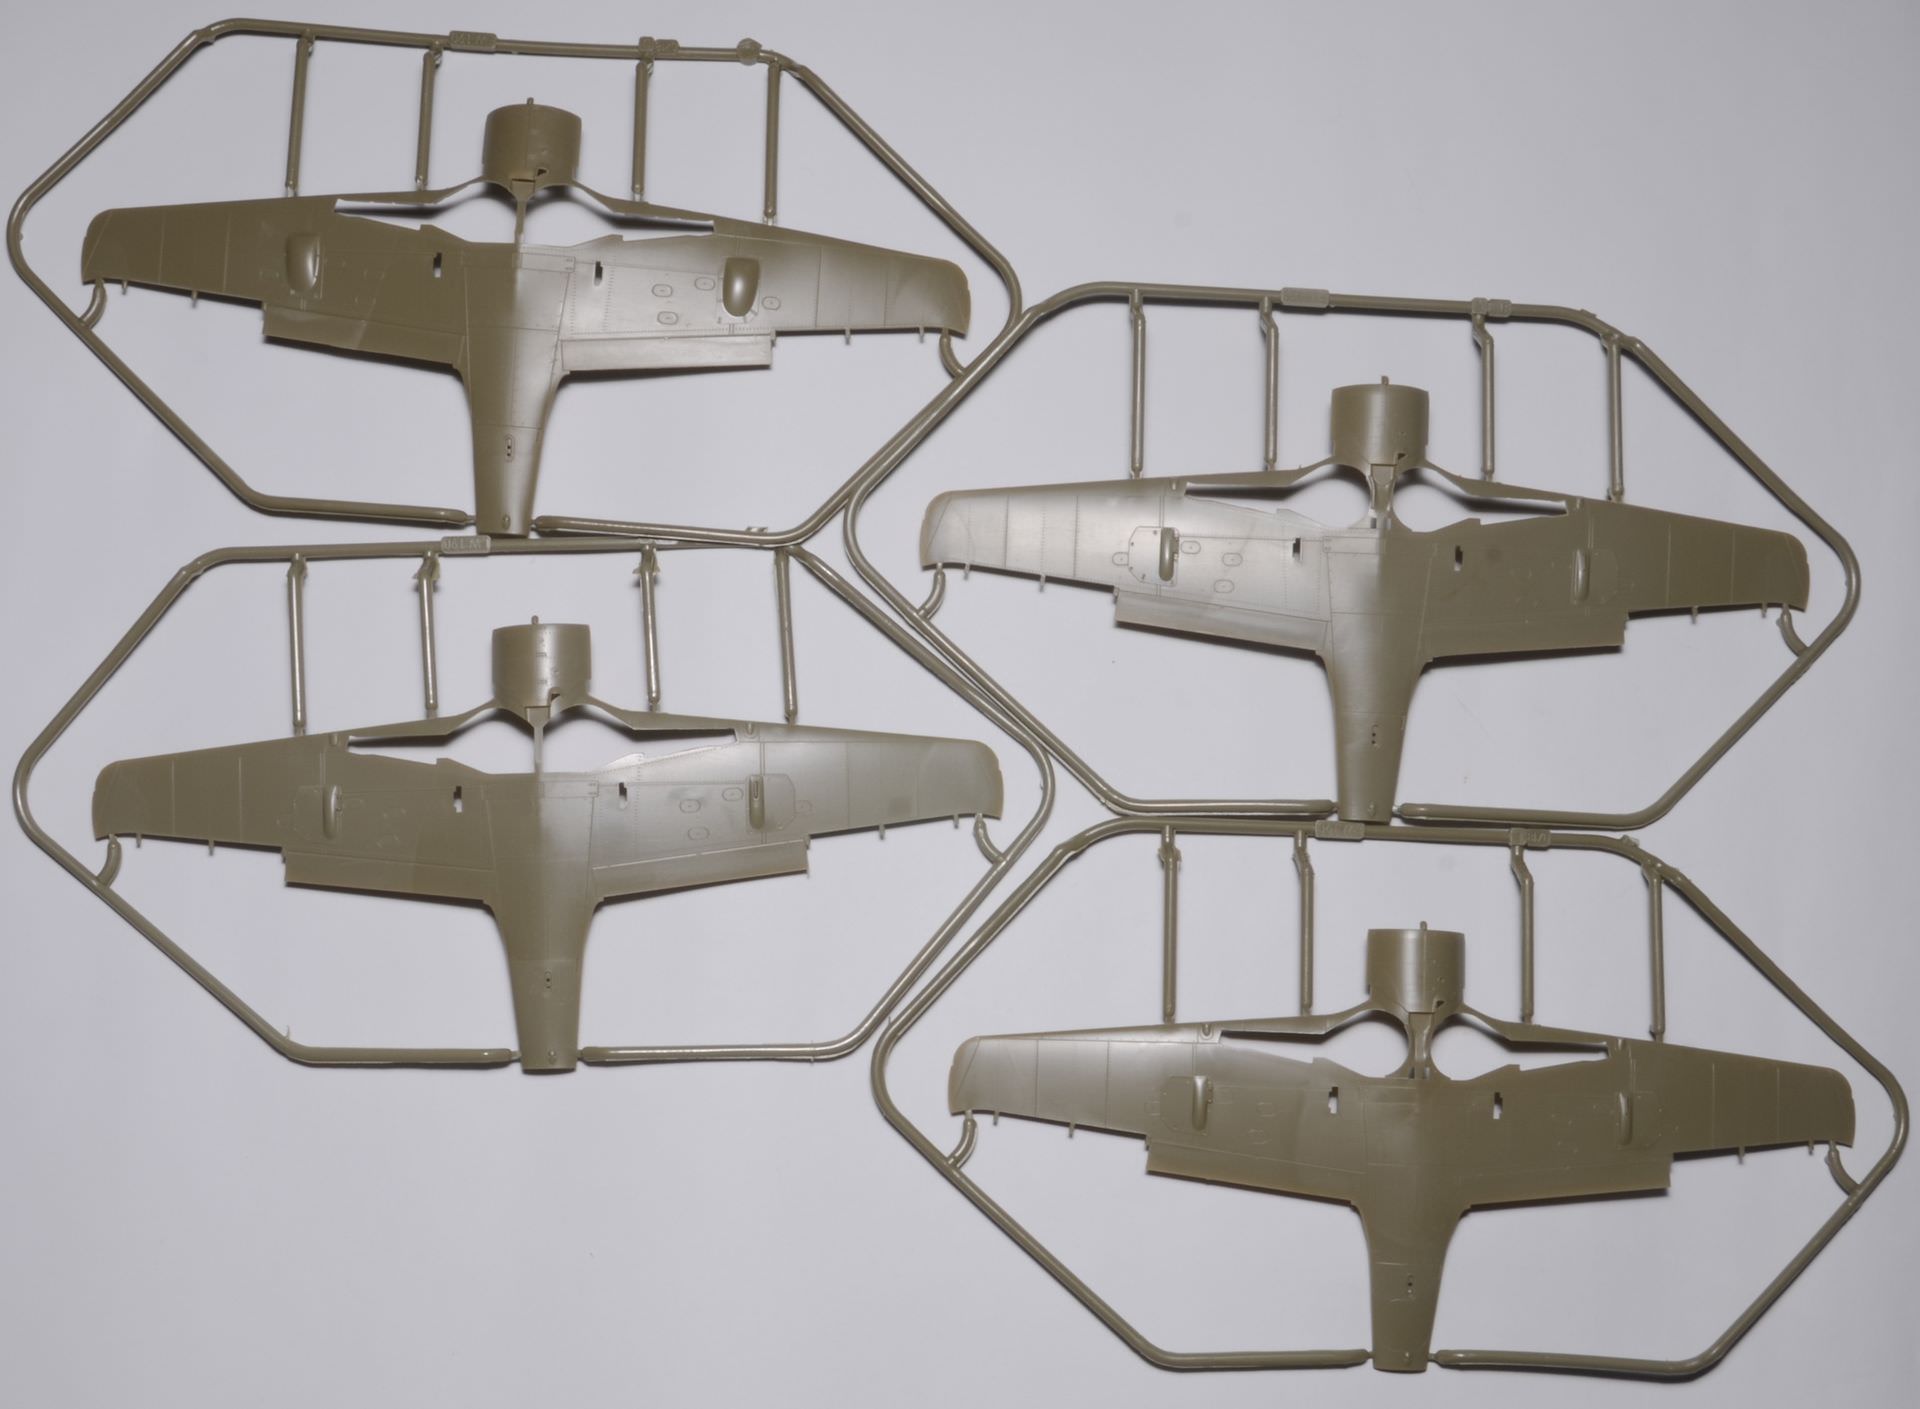
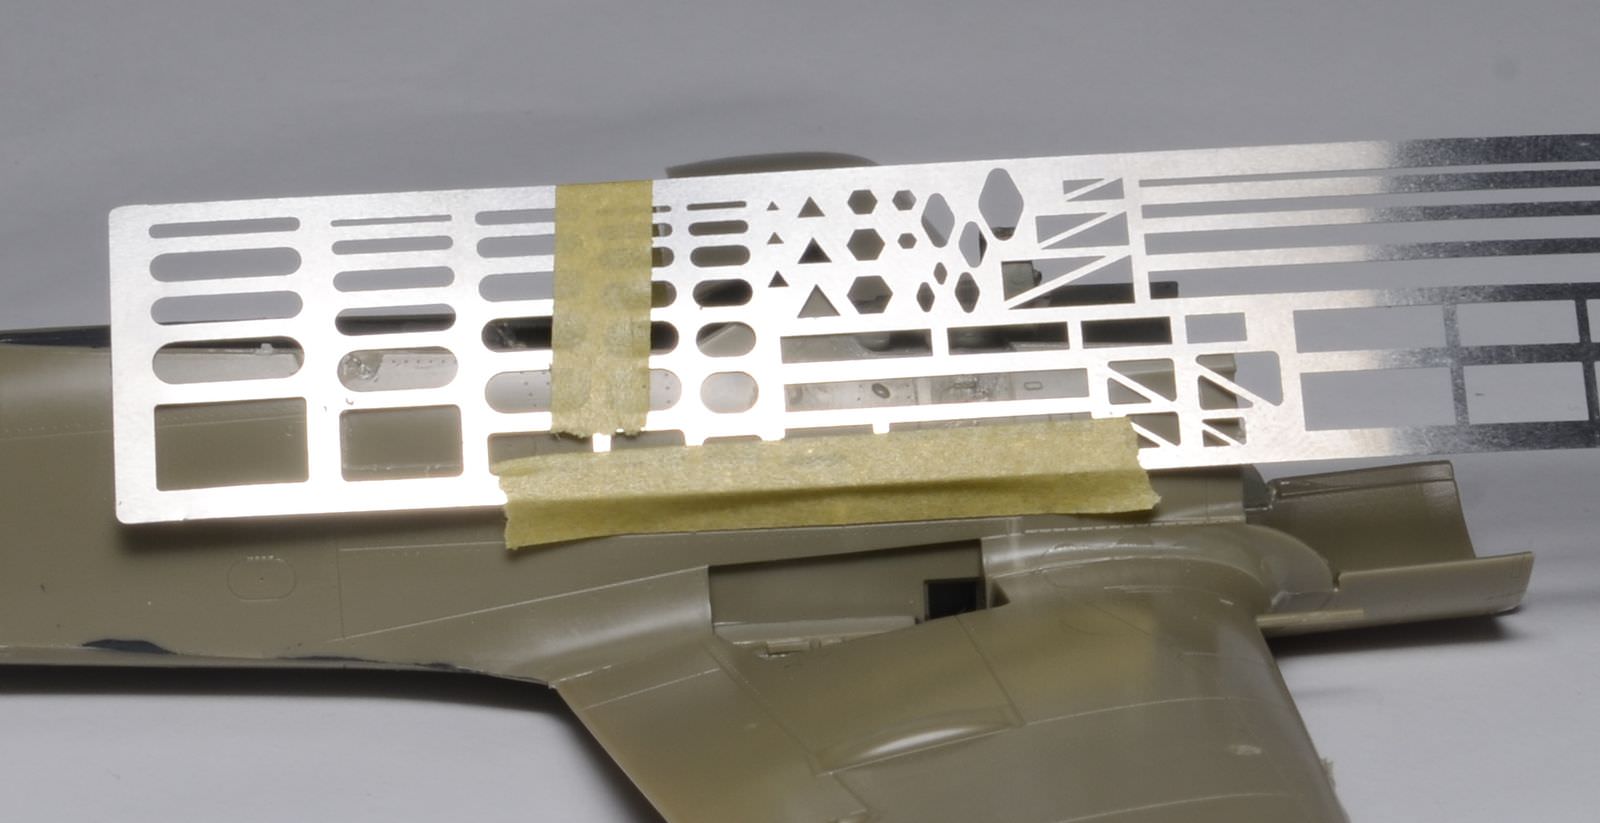
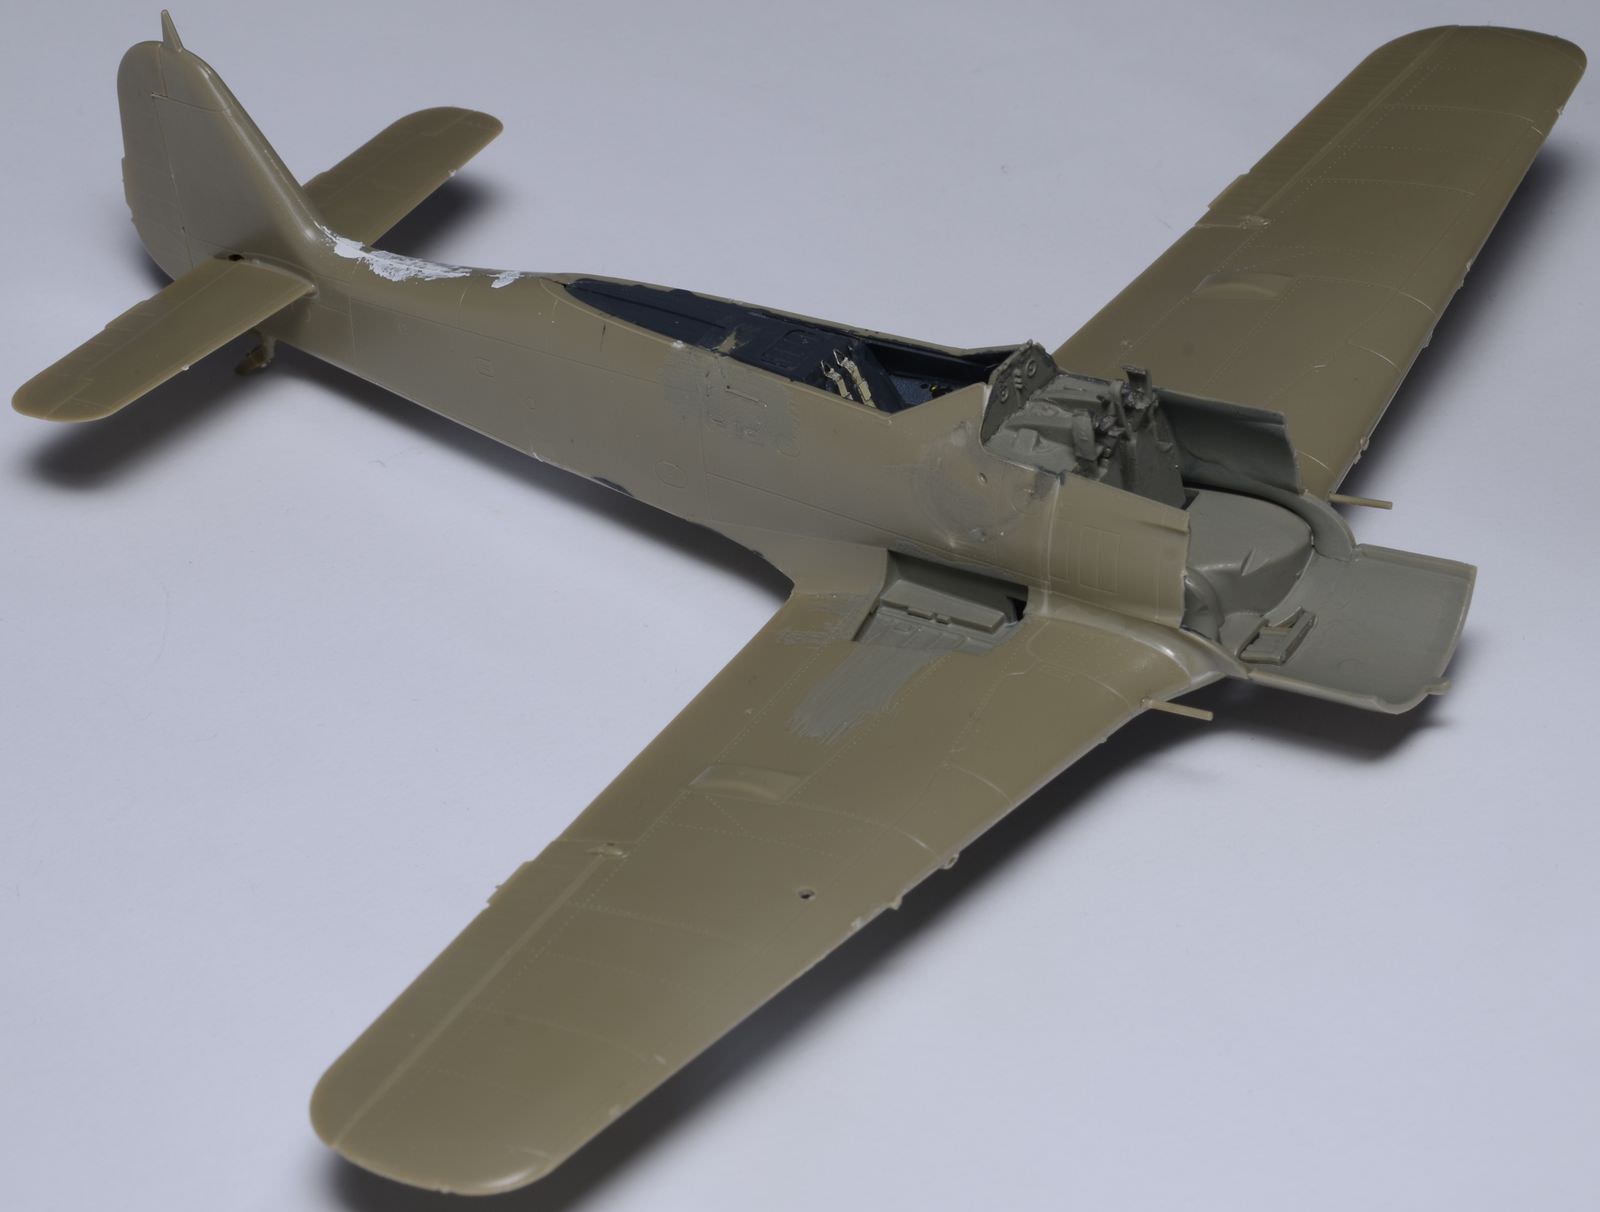
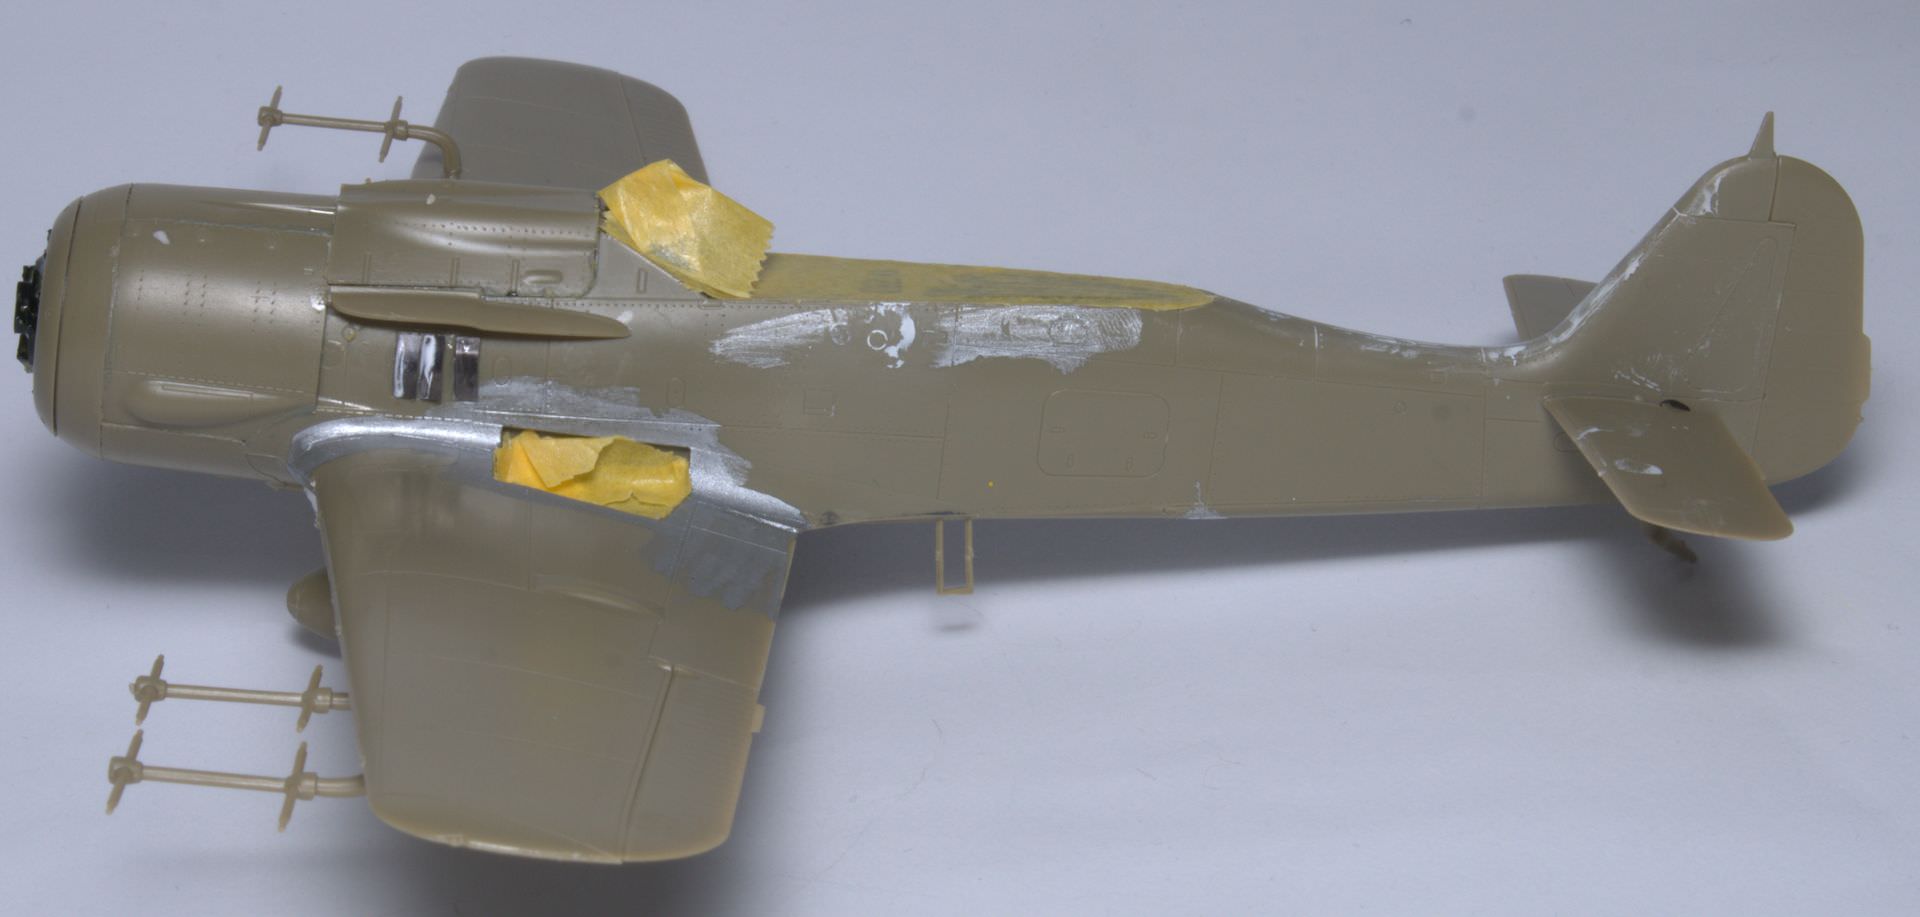
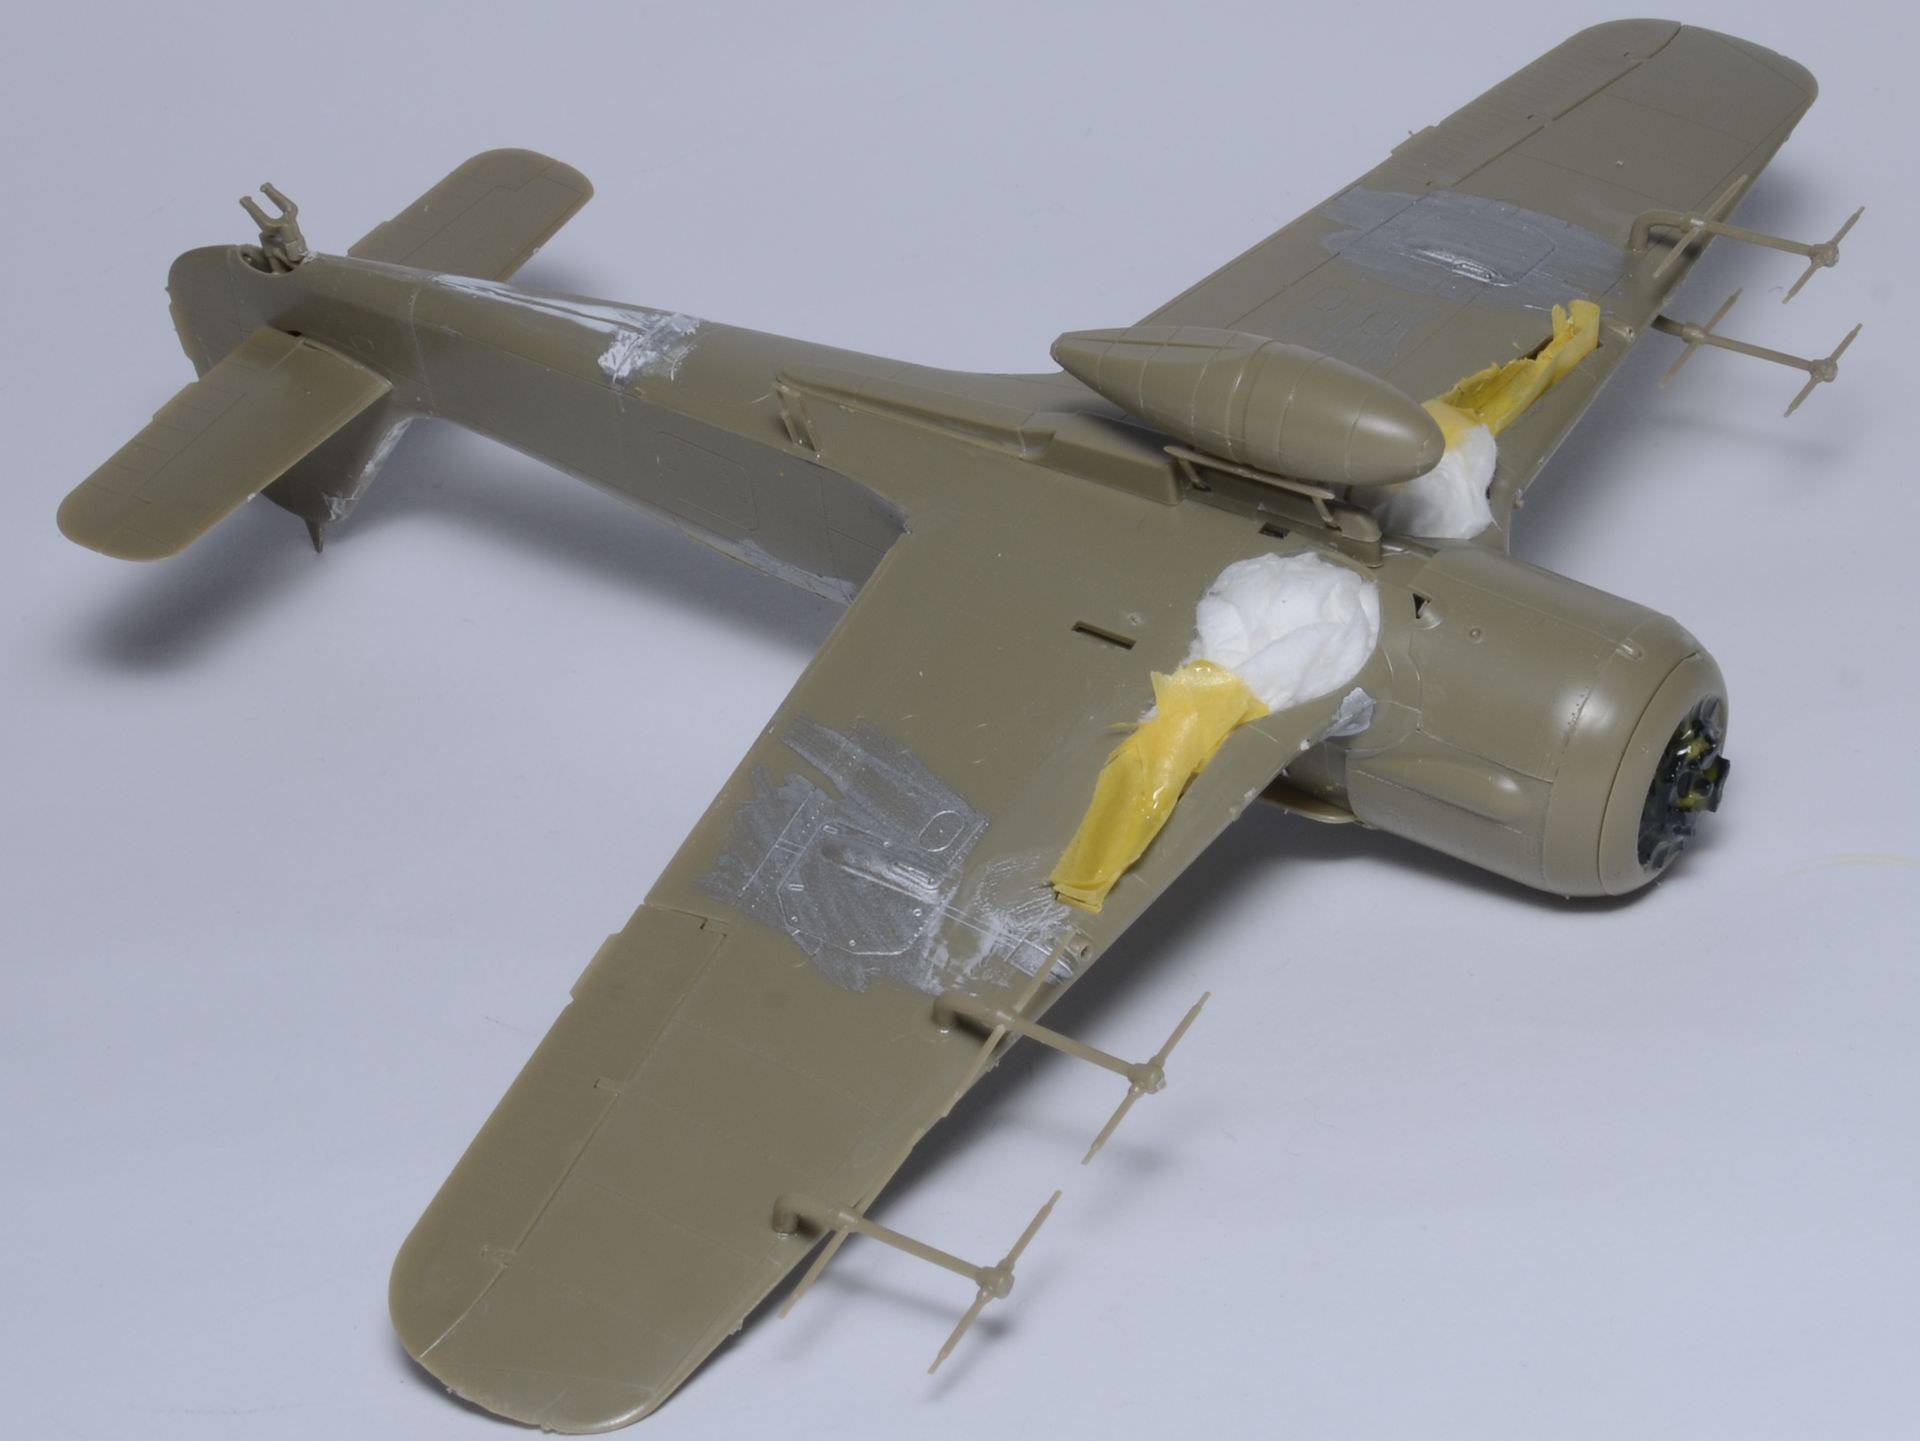
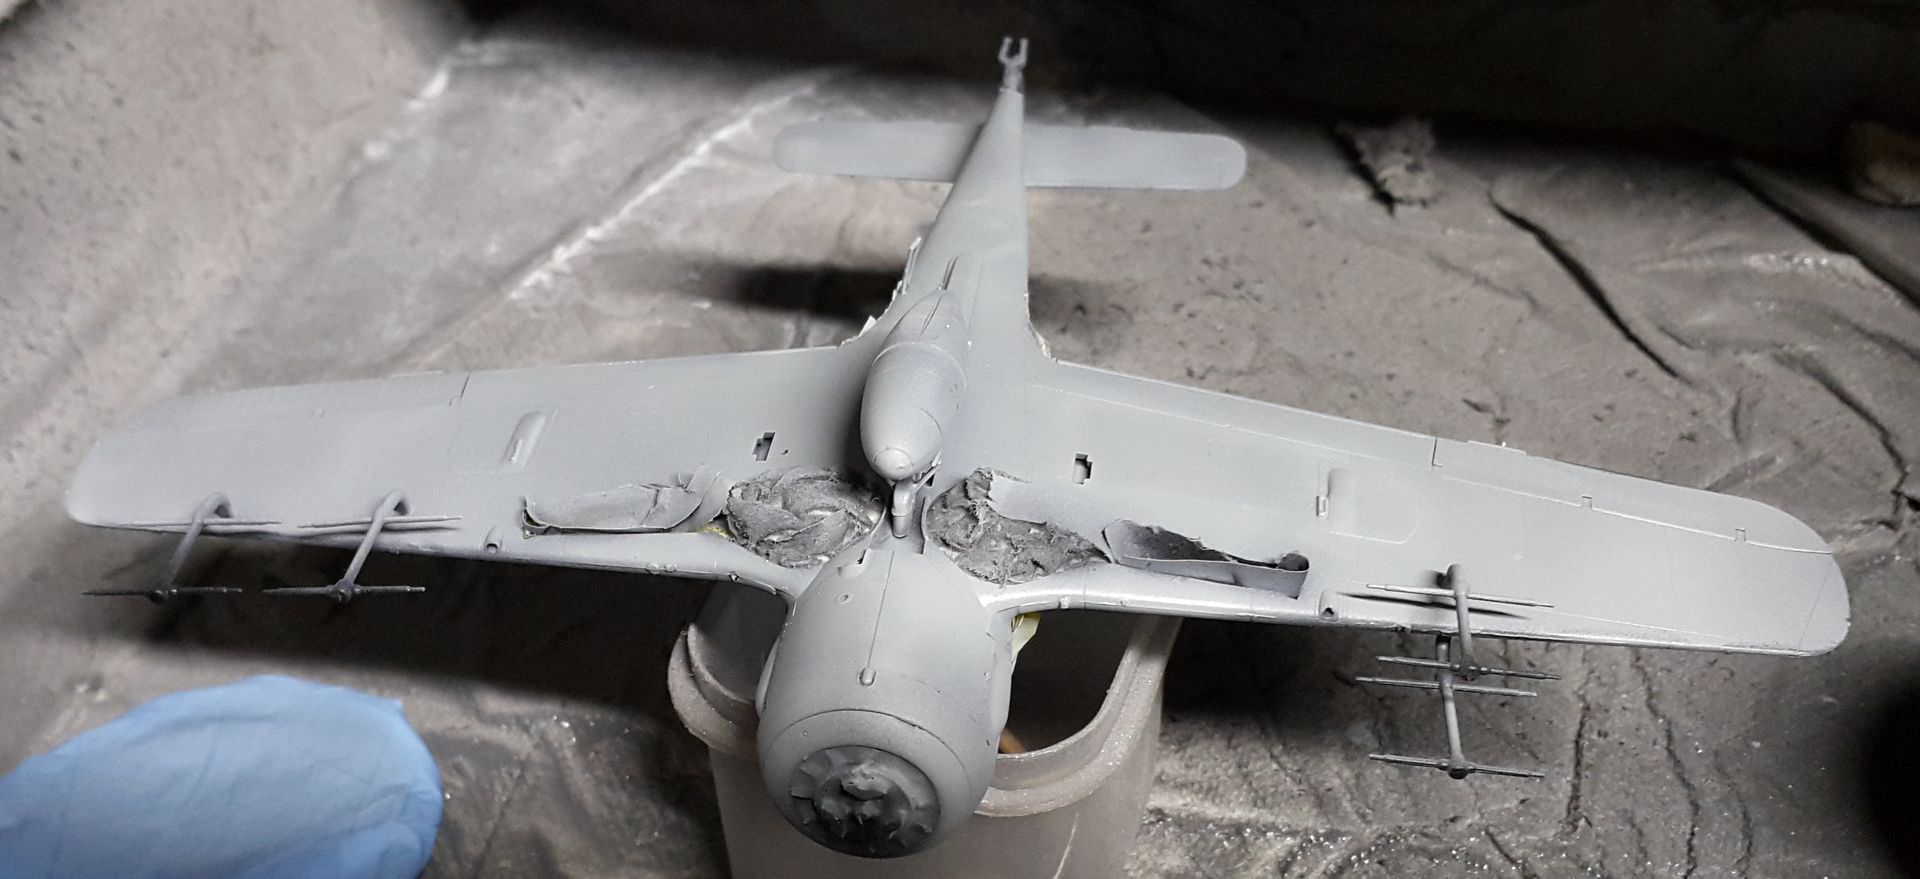
On to the wings.
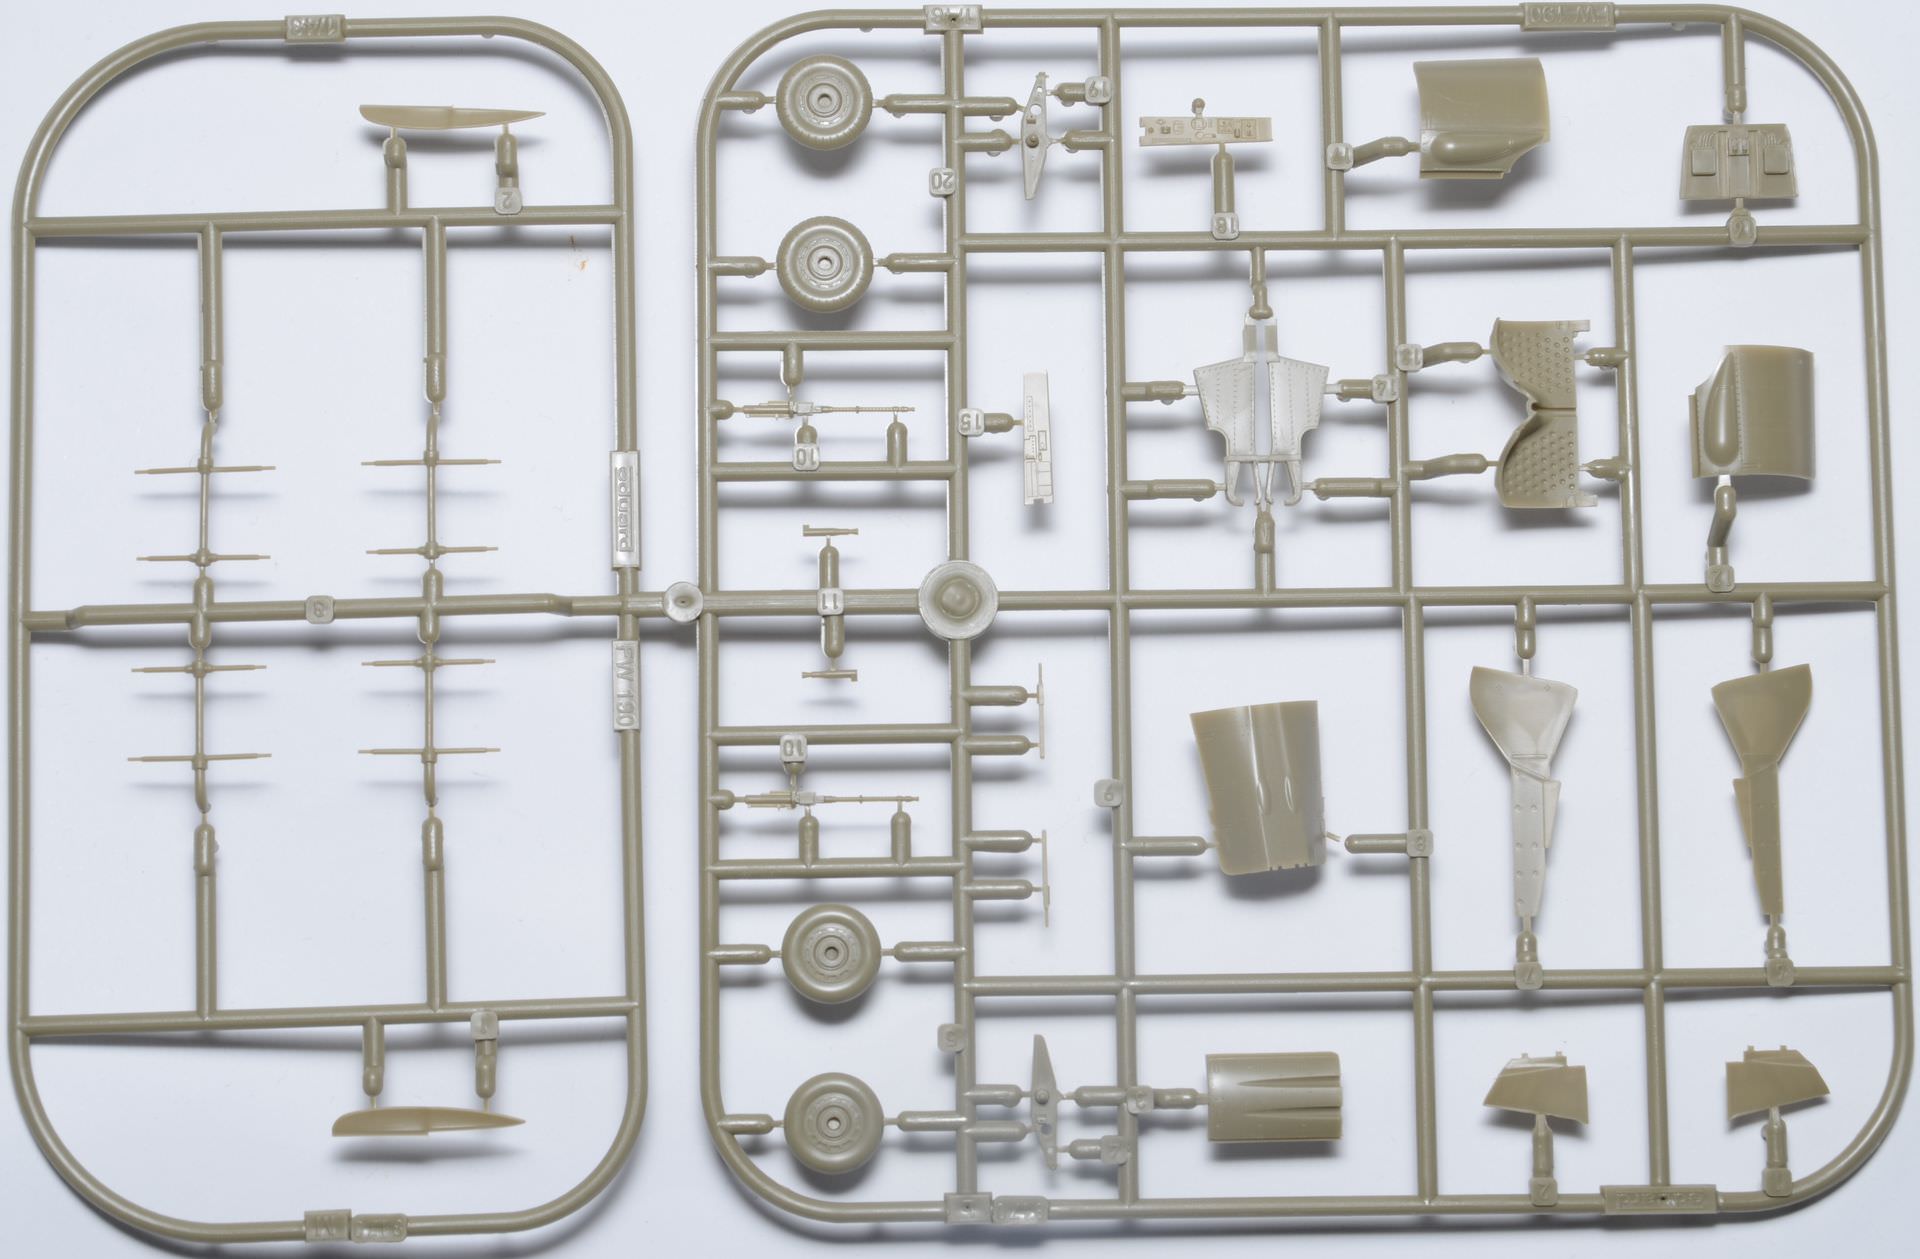
On the lower wing, the gear bay went together fairly smoothly, and there were quite a few holes that can be opened up, so careful checking is needed to open up the right ones depending on chosen scheme.
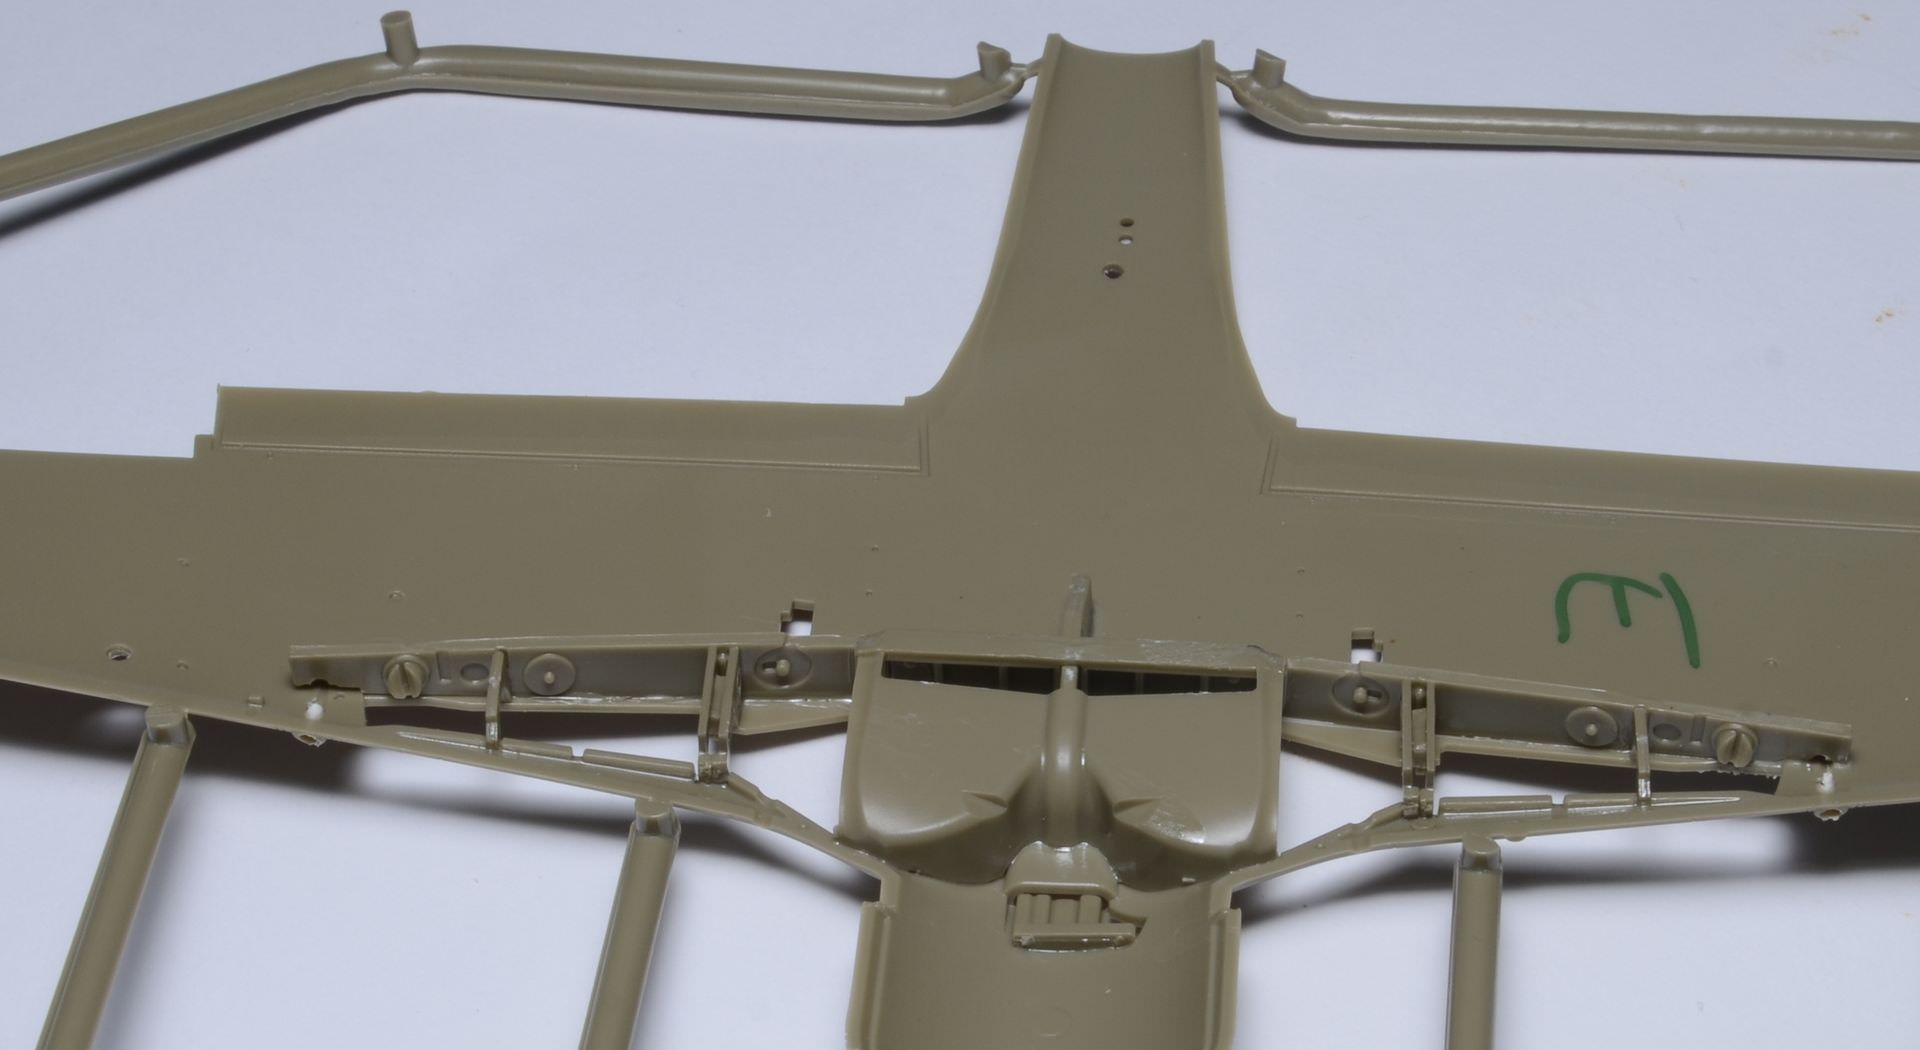
The upper wing also needed some holes drilling, again, check the marking scheme for the correct holes. No drama attaching upper to lower, but care was taken to glue from the tips inward to try and get everything lined up properly.
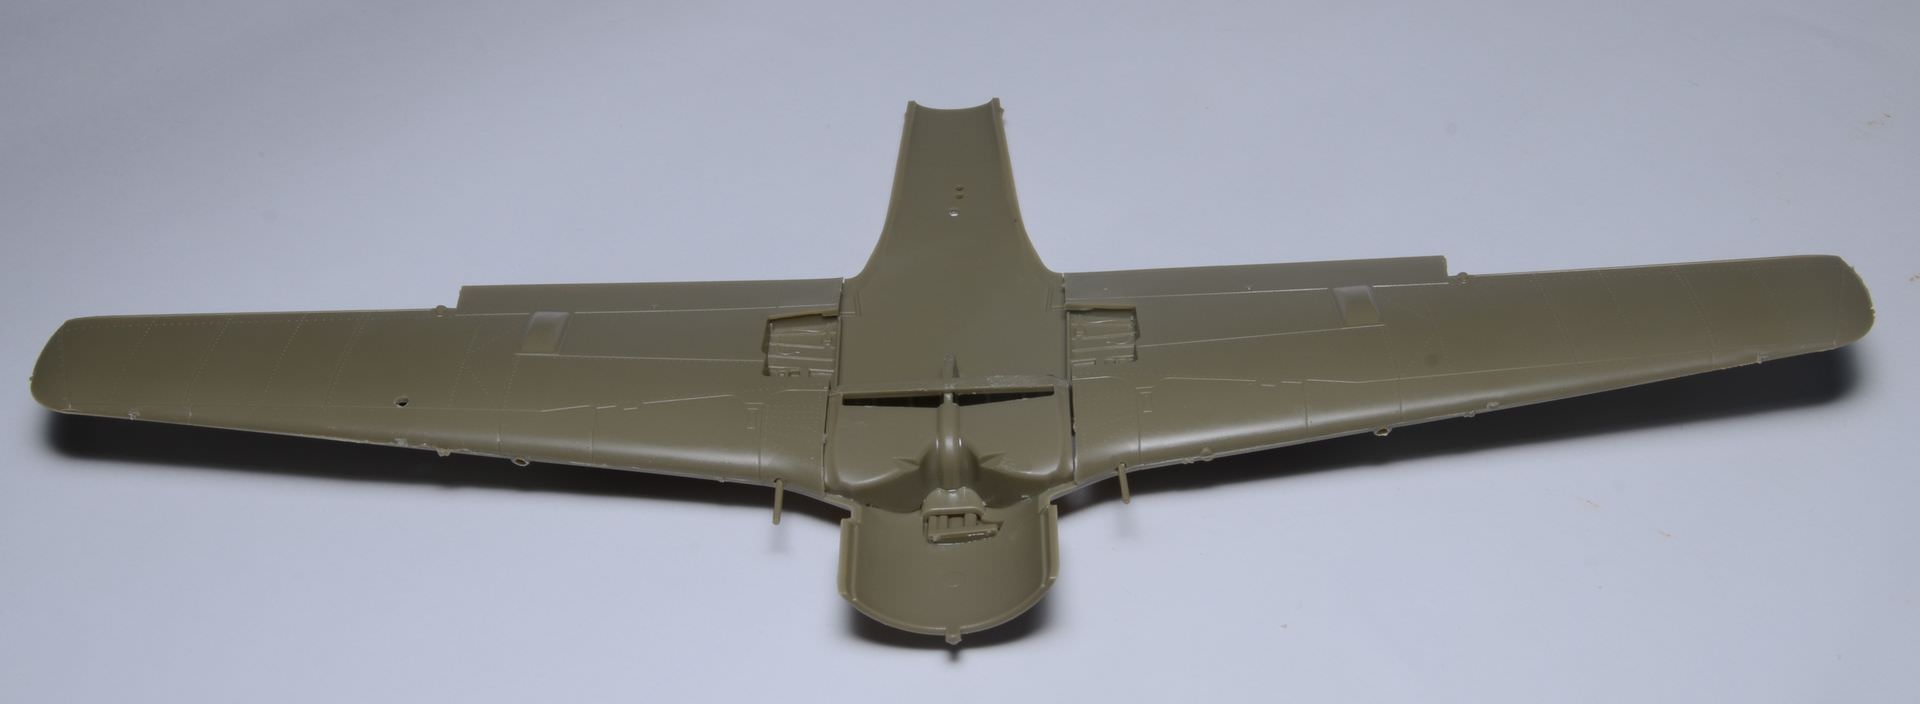
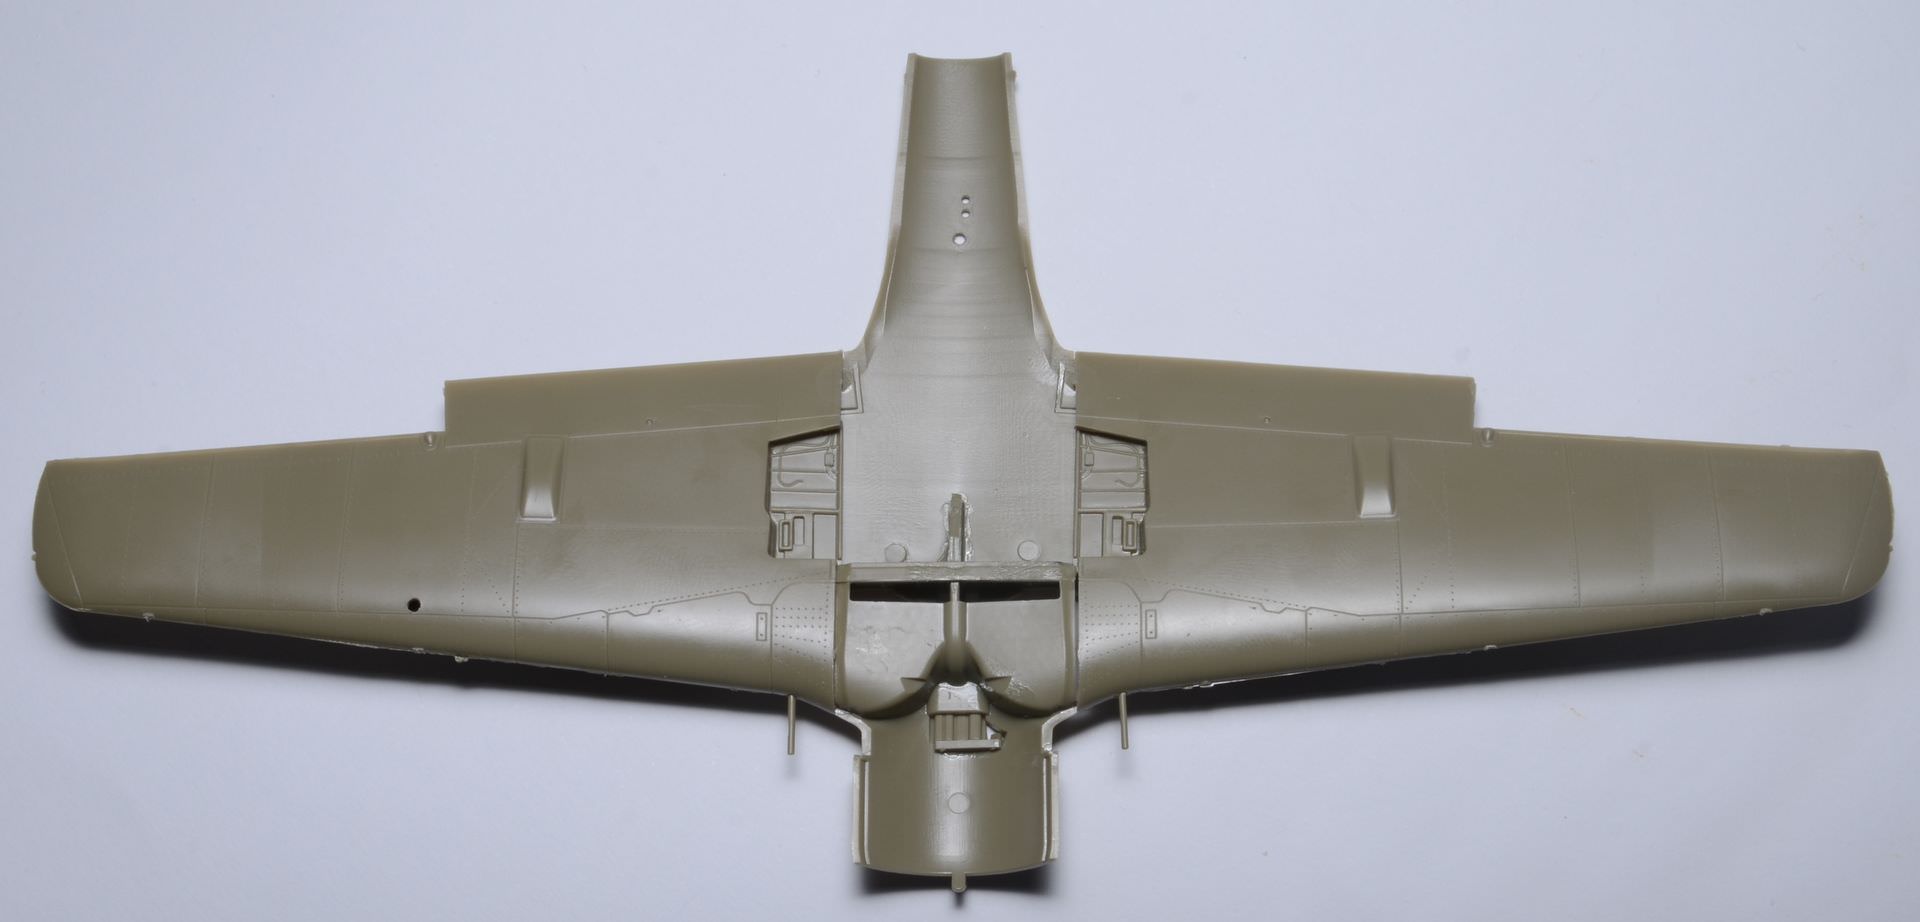
The fuselage was too narrow at the bottom to fit the wing properly so I added a length of sprue and just moved it around to get the right spread before gluing in place