

1⁄35Savoia - Marchetti SM79 Sparviero
5
Comments
Cockpit Glazing
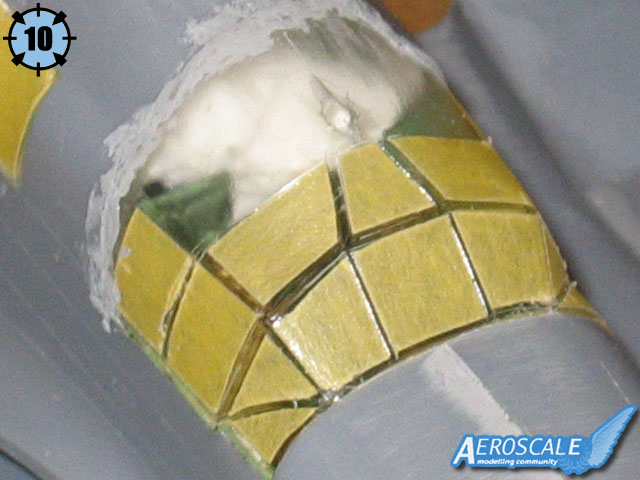
Now I glued the cockpit glazing in place and masked all windows with Tamiya tape. Quite fiddly and time consuming as there are so many small windows on this aircraft! (Picture 10) Personally, I don't like the green masks supplied. They are too stiff to conform to compound surfaces and the adhesive leaves a residue that is hard to remove. I always use Tamiya Tape and a very sharp scalpel instead. It works perfectly!I had to fill and sand the rear join with the fuselage, but not that much. (Picture 11)
Back to the wings
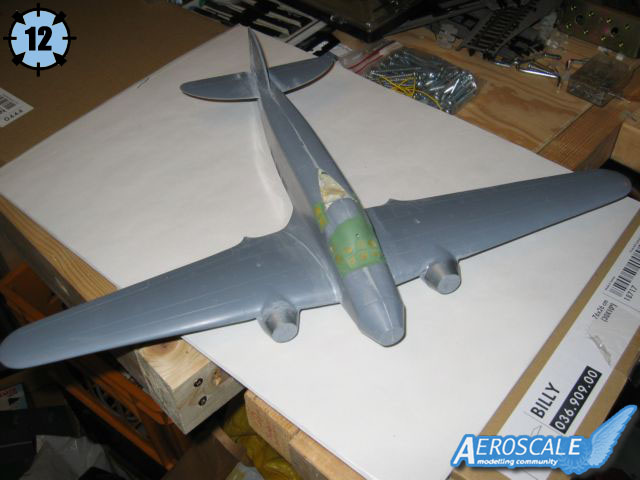
Now I returned to the wing assembly again. I dry fitted and sanded the top wing panels (parts B2/3) to fit the wing root join as good as possible. This way I could get a good join that needed very little filler and sanding! Lastly I glued the lower wing panels in place (after some sanding). I had to do a little reshaping of the rear nacelles/wing joint as the fit here was quite poor on both sides. Now I fitted the lower cowling parts (parts D12/13) and the engine mounts (ptD8/9). Once again I had to fill and sand to get a good fit to the wings and nacelles.Now it was time to mask off all openings, check all seams and prepare for the first coat of primer! (Picture 12)
Engines
One of the most tedious tasks on this kit was to sand off the substantial casting lugs from the engines. The plugs must be removed completely and with great care! I made some small mounting lugs from plasticard and glued them on the inside of the cowlings. All engine parts are handed and only fit in one place to get the panel lines in the correct positions, but there are no locating pins! It's very easy to get the cowling parts mixed up (as I found out!).The intakes (Pt.RP20) sit on top (12.00 O'clock) and the exhausts fit in the marked position on the cowlings. Note that the exhaust configuration is different depending on the marking option (at about 17.00 on centre and port, 17.00 or 19.00 on starboard). Note that you have to install the correct type of exhausts depending on the marking option you choose.
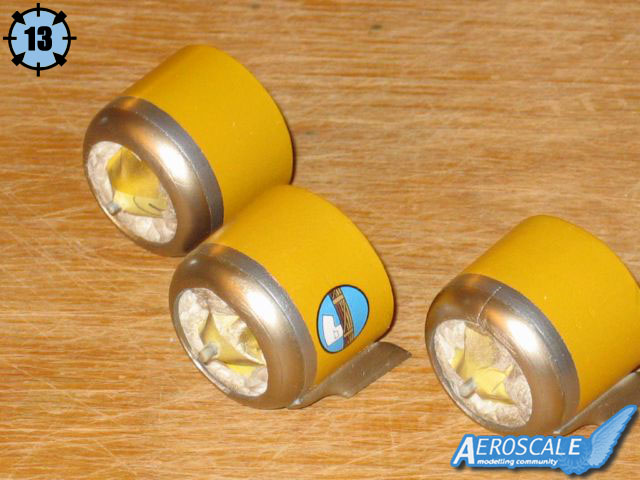
I glued the cowlings together, filled and sanded the seams. My option had yellow cowlings so I painted them H154 Insignia Yellow. For the exhaust rings I used Alclad II Burnt Metal, and for the narrow bands Alclad II Aluminium. Then I gloss coated the cowlings, decaled the front cowling and matt coated them all. Now I finally assembled all the other parts into the cowlings and the engines were done (Picture 13).
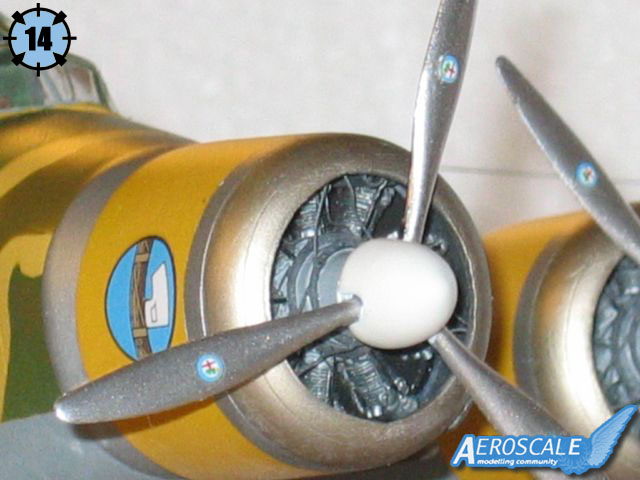
Depending of the version you have a choice between propellers with or without spinners. My version had propellers with white spinners (H130 Insignia White) and silver (H11 Silver) blades with matt black (H33) backing, so that's how I built and painted mine. A nice finishing touch is the small propeller logo-decals (Picture 14).
Painting
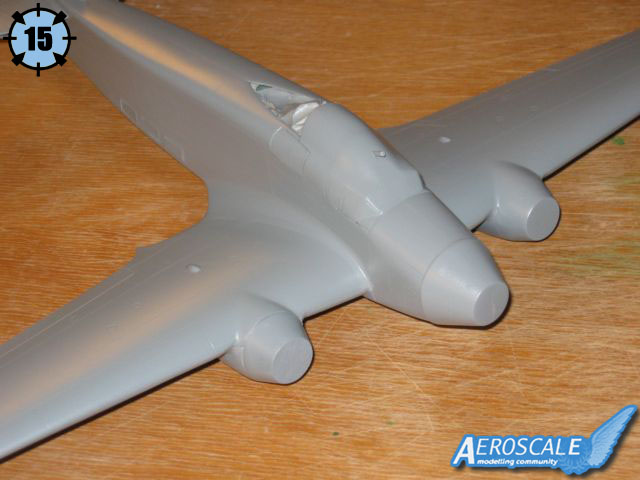
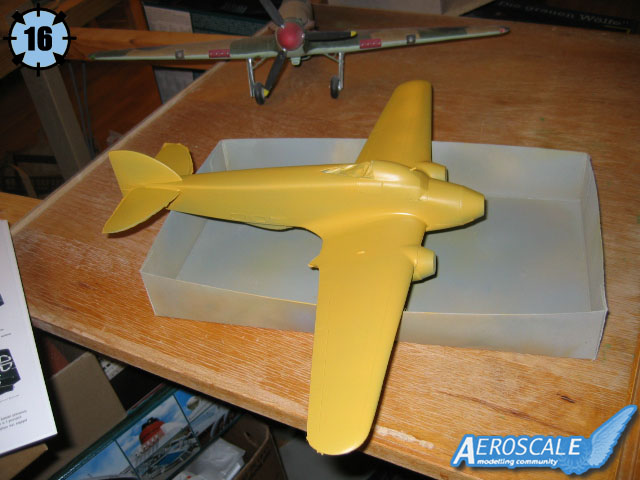
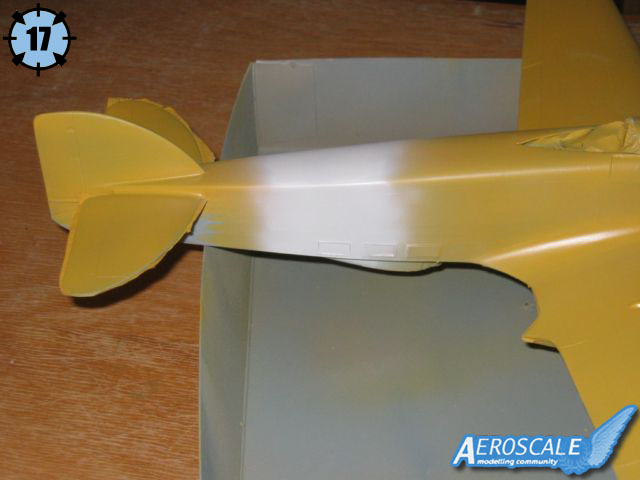
I picked an aircraft from 18th Squadriliga BT, 27th gruppo BT, Castelbenito, Libya 1941 as I just loved the striped cammo. Unusually for an Italian paintjob, this striped cammo scheme is fairly hard edged. I even found a picture of "18-1" on the net, and it proved that it really was quite hard edged. I primed the model with a coat of grey primer used for cars. This primer is easy to use, dries thin and gets rock hard when dry (Picture 15).As I didn't have any Italian colours at home, I decided to order them from White Ensign Models in England. The grey primer I used was a dead match for the Italian underside grey so I left the primer as it was. I painted the top side with Sand Yellow and let the paint cure for a week (Picture 16). Now I realized I had forgotten to paint the white fuselage band! I painted the band-area white and let it dry, masked the band and retouched with sand yellow (Picture 17).
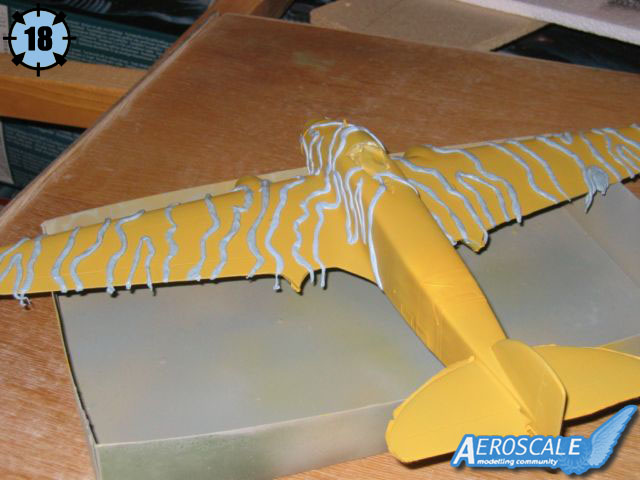
Now comes the fun part, creating the cammo pattern! For that I used the "Blue-tac sausage" method.
I rolled long and thin sausages, 3-4mm thick and 2-3dm long, working the blue-tac between my hands. Then I placed them on the model, trying to replicate the pattern. I worked from the wingtips toward the fuselage, ensuring the stripes were angled and spaced correctly. Then I did the same with the fuselage from front towards the tail. It was hard to get the pattern to match up in the wing/fuselage area, very fiddly (Picture 18).
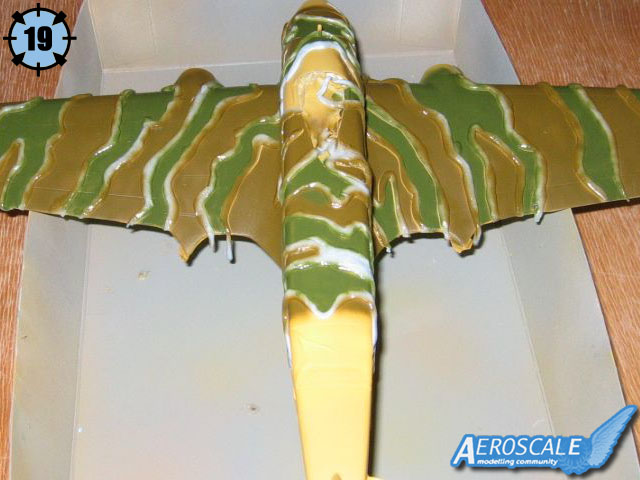
From here it was quite easy, just filling each area with either Dark Green or Red Brown. On the pics you can see that I only painted the wings and fuselage as far as the tail band. I had to have a handle! After a week I repeated the process with the tail (Picture 19).
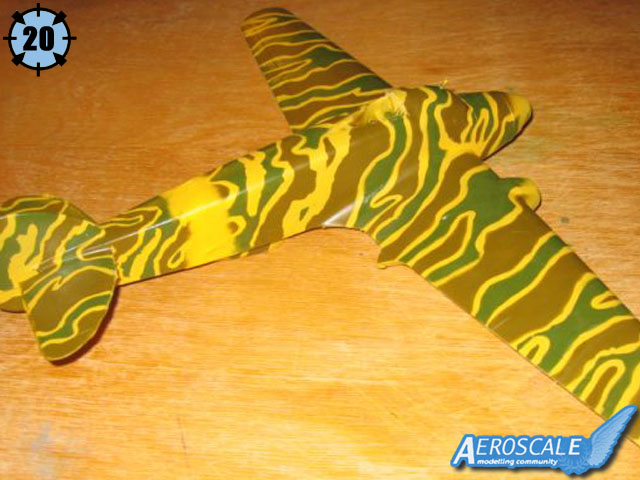
Demasking was fun and the sausages worked perfectly! After some retouching here and there the model was ready for gloss-coating (Picture 20). I used Humbrol Gloss-Coat which gave a nice glossy surface for the decals.

About the Author


Comments
Stefan, wonderful stuff, particularly, as I note, that this is your first feature article, the first of many I hope.
I have the original Classic Airframes kit and your article points out what can be expected and will actually bring the building of my kit forward, so thanks for that too I like the colour sceme and now I'm torn between it and the scheme I have been planning on doing
I am now going to spend 1/2 an hour going over my kit contents, again.
Thanks Stefan
Mal
AUG 26, 2006 - 05:37 PM

Hi Mal!
I have published a review of the Flashback kit. Could you check it out and tell us what is different from the Classic Airframe boxing?
I didn't found a review on the net wich cleary showed the content of a C.A. SM 79 kit.
Jean-Luc
AUG 26, 2006 - 11:43 PM
Yes Jean-Luc I'll take a look, but remind me please, I'm bretty busy right now and I'm likely to forget I f I get the work done to the house, that I am doing this bank holiday week end I'll take a look later today
Mal
AUG 27, 2006 - 01:09 PM

[quote]Stefan, wonderful stuff, particularly, as I note, that this is your first feature article, the first of many I hope.
Hi Mal!
Thanks, it was quite fun to write and if it´s well recieved, i have some ideas for following features!
I have the original Classic Airframes kit and your article points out what can be expected and will actually bring the building of my kit forward, so thanks for that too
Well, no need to to the same mistakes as i did!
Now You´ll have to make up some of your own!
This is not a difficult kit, it only recures a LOT of patience and TLC!
Jean-Luc, thanks for promting me to do the rewiew, and helping me trough!
Greetings!
Stefan E
AUG 27, 2006 - 01:23 PM

Copyright ©2021 by Stefan Ericsson. Images also by copyright holder unless otherwise noted. The views and opinions expressed herein are solely the views and opinions of the authors and/or contributors to this Web site and do not necessarily represent the views and/or opinions of AeroScale, KitMaker Network, or Silver Star Enterrpises. Images also by copyright holder unless otherwise noted. Opinions expressed are those of the author(s) and not necessarily those of AeroScale. All rights reserved. Originally published on: 2006-08-26 00:00:00. Unique Reads: 11652

WEB HOSTING BY


Copyright ©2021 AeroScale and Kitmaker Network, a subsidiary of Silver Star Enterprises
All Rights Reserved. Please read our Conditions of Use and Privacy Policy.
All Rights Reserved. Please read our Conditions of Use and Privacy Policy.