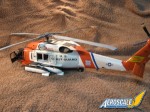
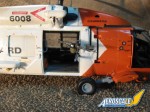
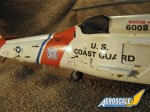
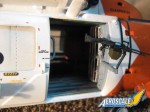
1⁄35MH-60J Jayhawk Conversion
4
Comments
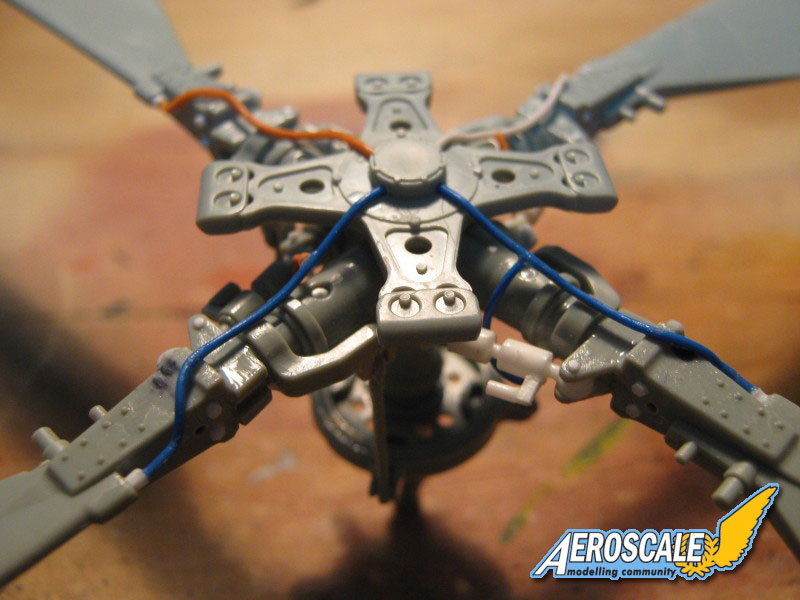
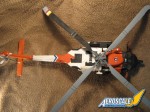
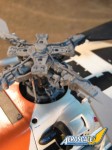
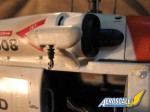
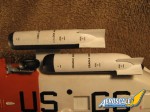
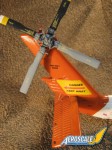
As the fuselage was drying, I started working on the rotors. I modified the rotor blades to have the hinge detail for folding them using pieces of 1/8 rods, cutting the kit mounts down, and drilling bolt holes where required. I also added multiple bolt heads that were missing from hex rod. I added the vibration damper from the lower swash plate to the shaft as well. It was made using sheet, rod, and tube styrene. Lastly, I added the cabling from the hubs on both the main and tail rotor out of thin wire. The blade root ends were also trimmed to an angle to accommodate the folding of the blades. I used a template and measurements from the Fireball Modelworks 1/72 HH-60J conversion directions (scaled up to 1/35) to get the correct angle on the blade roots. Once compete, the rotor blades and hubs were painted Dark Gull Grey, with one main blade and two tail rotor blades painted flat black for some variation. Decals were added to the blades and warning stripes to the tips. The blades and hubs were weathered lightly and they were ready to go.
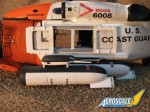
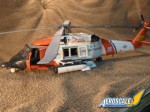
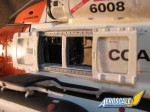
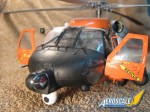
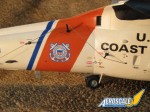
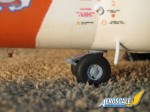
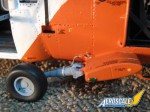
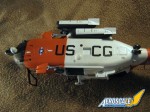
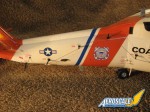
To finish the helicopter, I used a custom set of scaled up decals by Fireball Modelworks from their 1/48th decal set. The decals were finely printed and look great. They went on with no problems and settled right down over a coat of gloss clear. Once dry, the nose and other anti slip areas were coated in a flat overcoat. The rest of the aircraft was covered in gloss coat. I installed the wheels and rotor blades, along with the M240B MG from a Dragon MG set, out the starboard door, and it was complete.
This project was thoroughly enjoyable and I am glad I finally got up the courage to do it. It took me about 3 months of steady work to complete it. Luckily I had some time to work on it, since I built it while deployed to Iraq. It was a great way to unwind after long days of working in the HQ building or zipping around the battlefield in a UH-60 with the general as I did often.
Comments
Well done Gino! Love the hi-viz scheme these machines wear. Excellent build!
"Q"
MAY 17, 2009 - 03:42 AM
Thanks for posting it Rowan. It turned out to be a great-looking article.
MAY 17, 2009 - 11:38 AM
Copyright ©2021 by Gino P. Quintiliani. Images also by copyright holder unless otherwise noted. The views and opinions expressed herein are solely the views and opinions of the authors and/or contributors to this Web site and do not necessarily represent the views and/or opinions of AeroScale, KitMaker Network, or Silver Star Enterrpises. Images also by copyright holder unless otherwise noted. Opinions expressed are those of the author(s) and not necessarily those of AeroScale. All rights reserved. Originally published on: 2009-05-16 00:00:00. Unique Reads: 24300


