

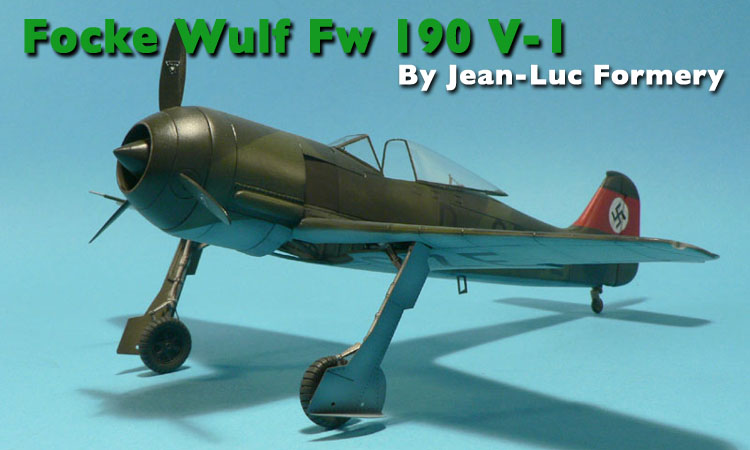
1⁄48Fw 190 V-1
7
Comments
Introduction
After having decided to participate to Aeroscale's "Butcherbird campaign" with a Fw 190 V1 model (as I thought it would be nice to include the first "Würger" to the Group Build), I soon realized in what a difficult project I ran into! The only available kit of the first Fw 190 was (and still is) Legato's 1:48 scale all resin offering. A review of it can be found here. I must be honest and say that I was a little be too optimistic while rating the kit as you will see in this article!Fujimi's kit sacrifice!
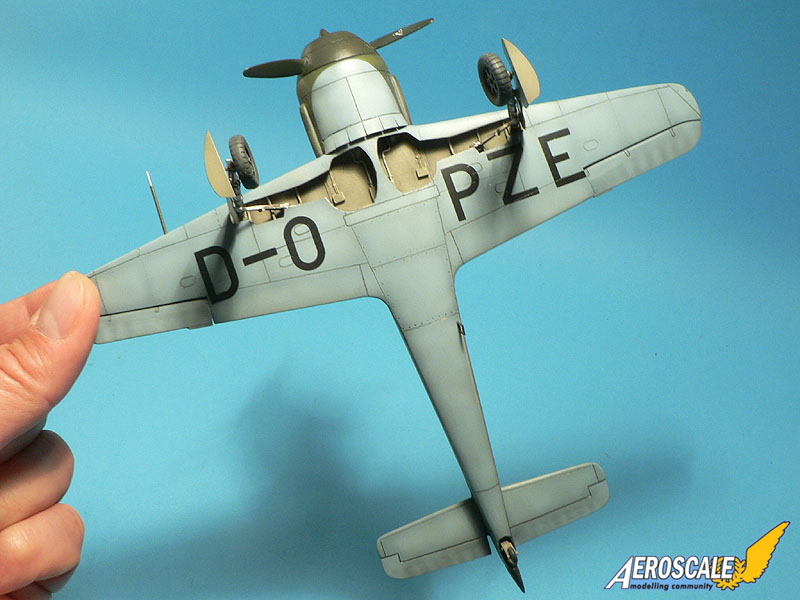
On the first picture you will notice that I've eliminated some parts of the model (on the left):- the wings because they are not symetrical (it's pretty bad on the underwing and the landing gear openings).
- the tailwheel because it is way too big for the prototype aircraft.
- the propeller blades because there are some nasty bubbles at their tips.
... fortunately, the rest of the kit was usable!
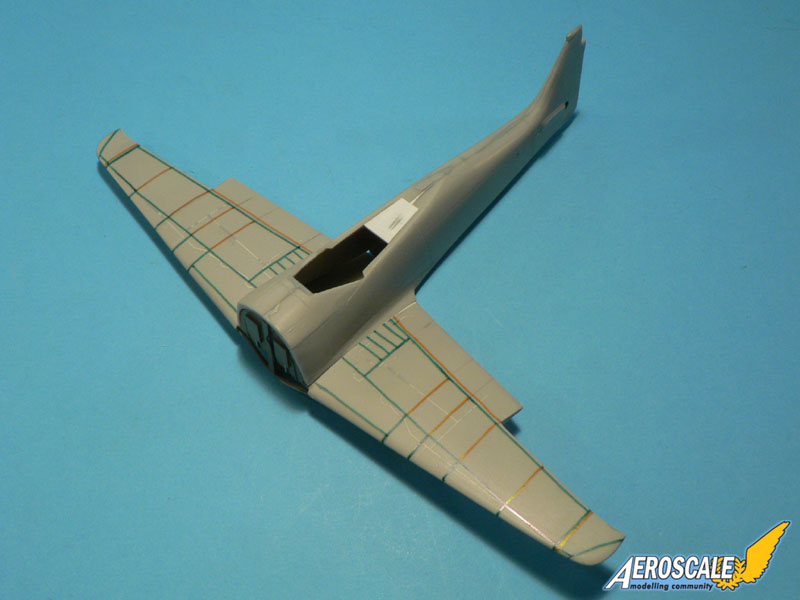
I've decided to make new wings, including the internal structure, out of the parts of a Fujimi Fw 190 A6/9 kit and plasticard. I had to engrave the kit anew. To do this I filled the original panel lines of the Fujimi kit and draw some lines with color felts: green = panel lines, orange = rivet lines. I've used the model's wings as template. The tailwheel as well is from Fujimi as fortunately (in this case) it is undersized for a production aircraft.
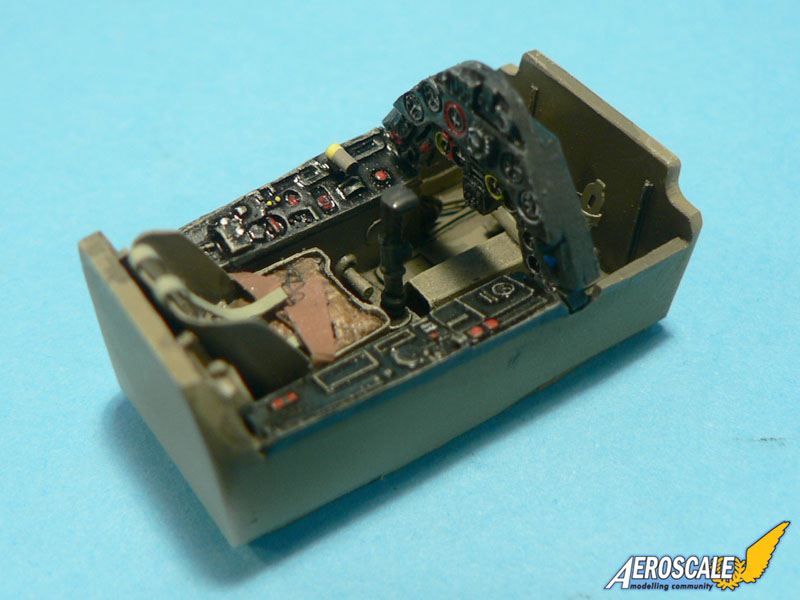
The Legato cockpit is very nice however with detailed resin parts and some PE seatbelts. If the cockpit layout is appropriate for the V1 is open to debate though.
Adventures in putty land
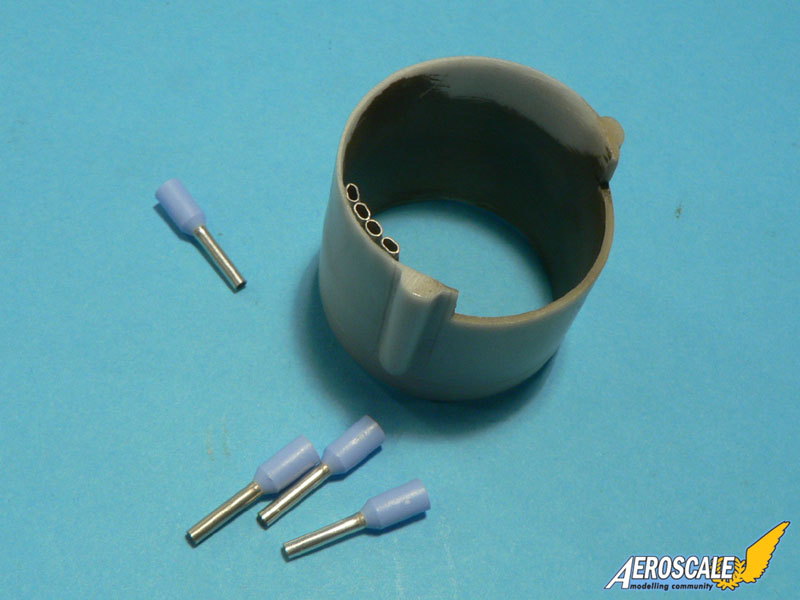
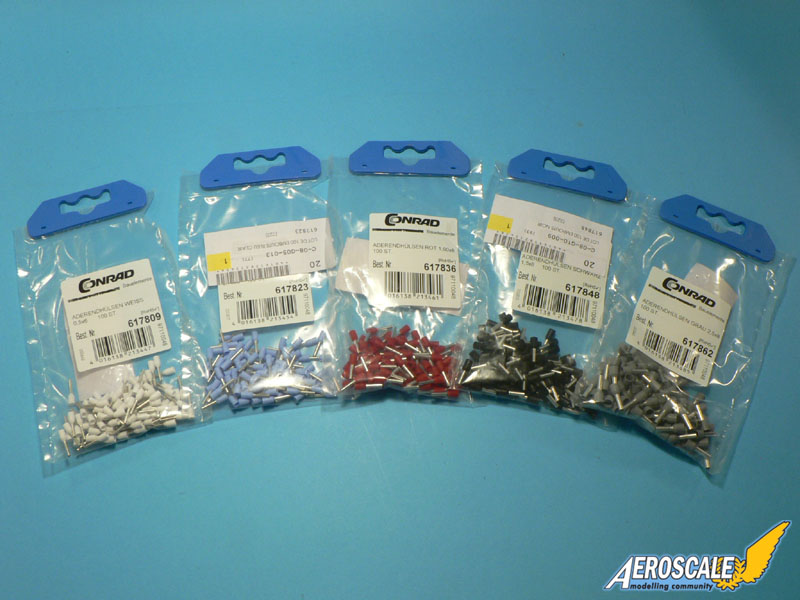
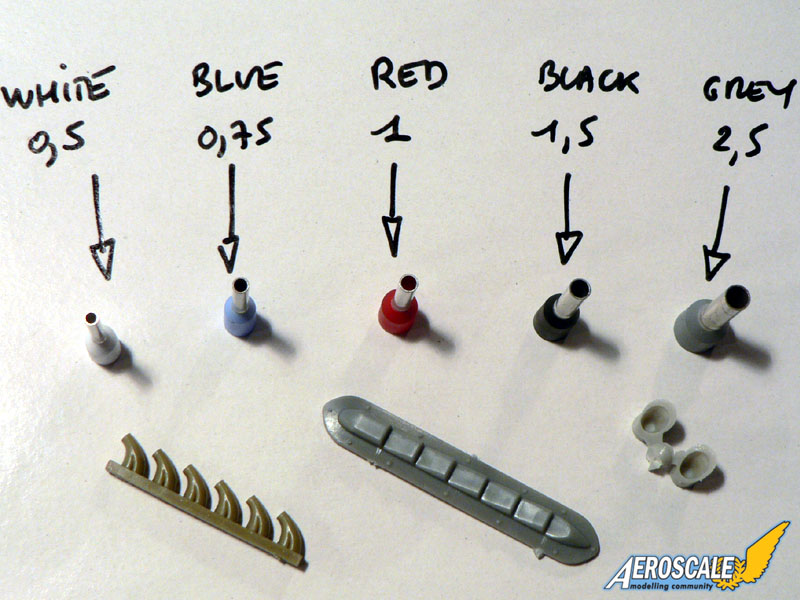
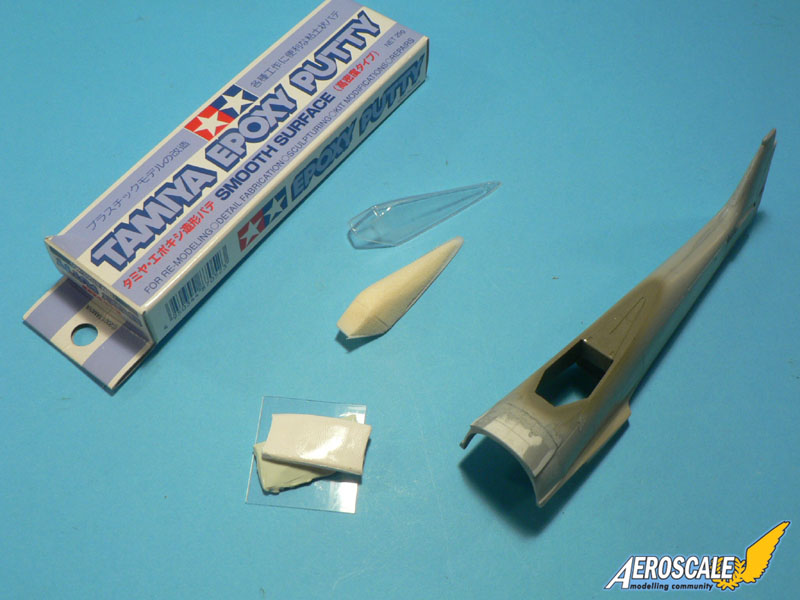
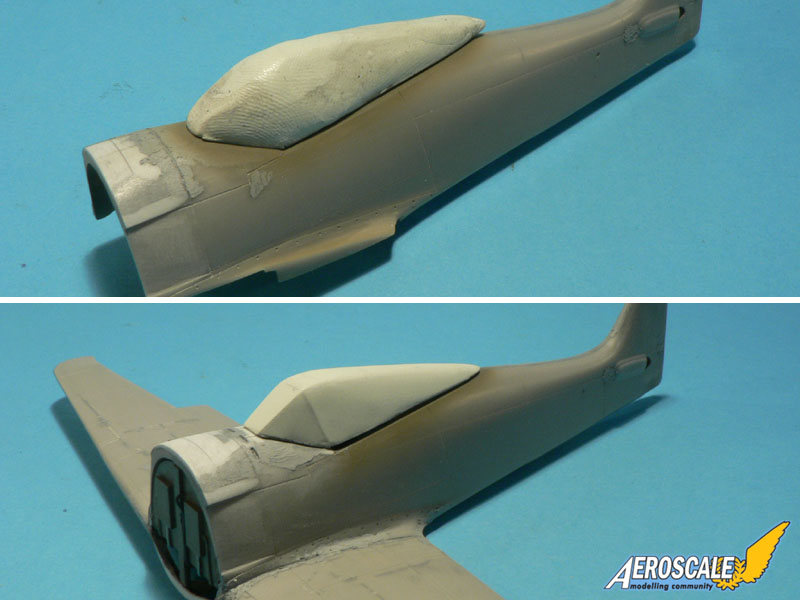
A lot of plasticard and filler have been used to obtain a better fit between the forward fuselage and the round engine cowling. Note also that some work is needed to adjust the opening of the cockpit. I have also decided to do a new canopy because the part of the kit looks a bit suspect to me shapewise. To do so I have enveloped a piece of polystyrene with Tamiya Epoxy Putty. Once hardened, it was then sanded to shape and vacuformed. I use a vacubox made of wood, a vacuum cleaner, a heat gun and transparent sheet of plastic to do this. I have decided not to add the canopy frames as they were very fine on the prototype. They were just painted on later. Usually they are not very crisp when done with the vacu method.To do the exhaust stacks on the side of the fuselage, I used small electrical components (ferrules?) which I've crushed a little bit to make them oval. This stuff is available in various sizes, costs almost nothing and is easy to use. The smaller sizes are perfect for 1:48 scale exhausts of inline engines. The bigger ones are more suitable for single exhausts of radial engines. I have purchased 5 sizes but there are many more. On the accompanying picture I have added some exhaust parts from my spare box so you can compare.
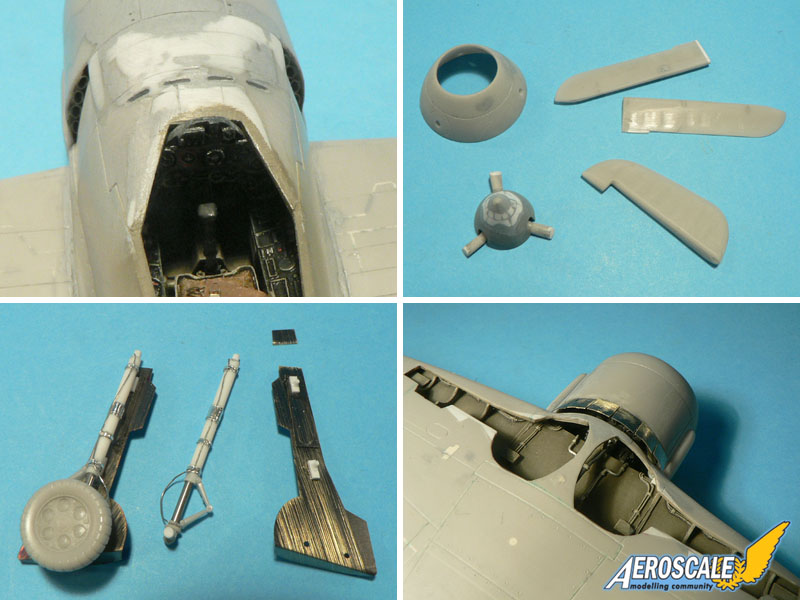
After test fitting the resin engine inside the cowling I realized that not much of it would be visible in the end so I didn't spent too much time on the painting. The rear of the engine will remain visible through the landing gear openings though.
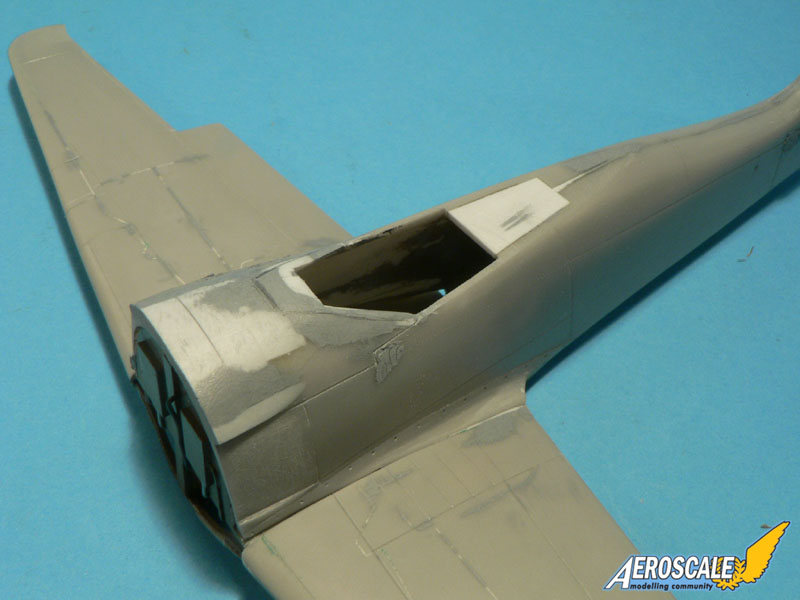
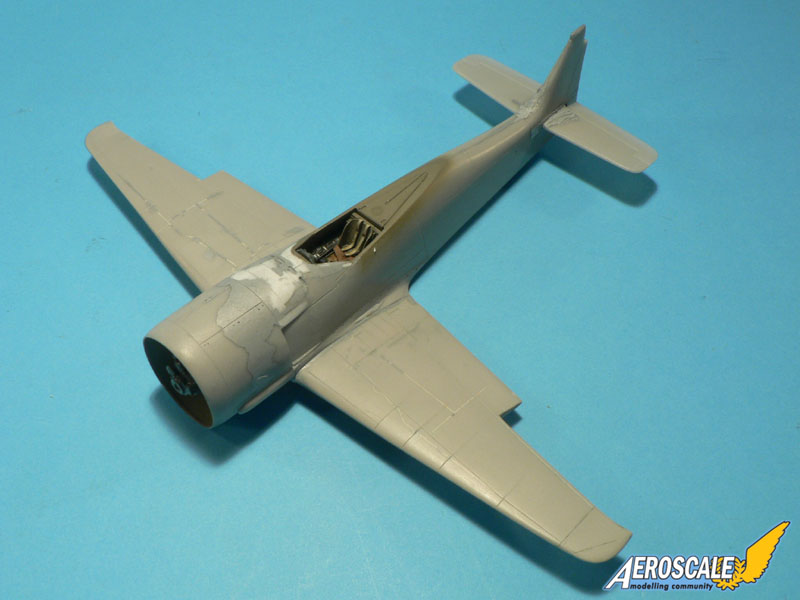
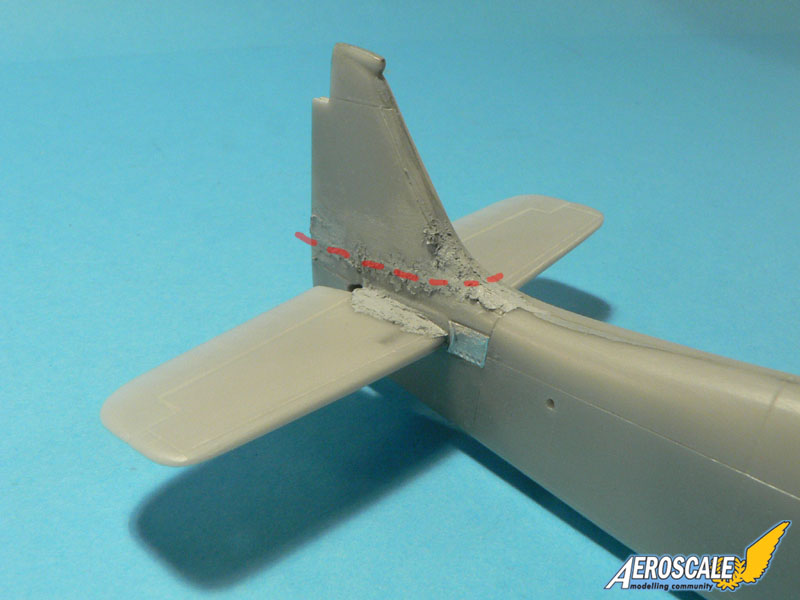
Once the cockpit has been secured inside the fuselage, the wings could be glued in place. Note that I've added four vents that are located just in front of the windscreen. These have been forgotten by Legato. After I've glued the horizontale stabilizers, I noticed that the verticale tailplane was offset! To correct the problem I used the same technique I used for my Fonderie Miniature Hs 126 (not a good reference!): I cut into one side and added some plasticard to get the tailplane right.
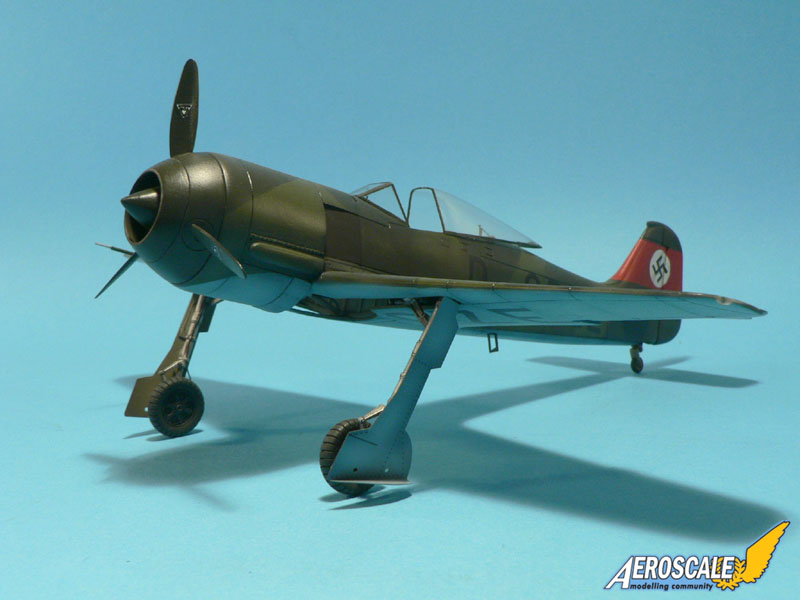
I have then glued the cowling to the airframe (note the exhausts... not too bad aren't they?) and more filler was needed to blend everything together. While the putty was drying, I worked one some smaller pieces (controle surfaces, inner spinner, outer spinner etc...), scratchbuilt new landing gears (the one in the kit are copies from a Tamiya kit and are not suitable for the prototype) and added the PE flaps.
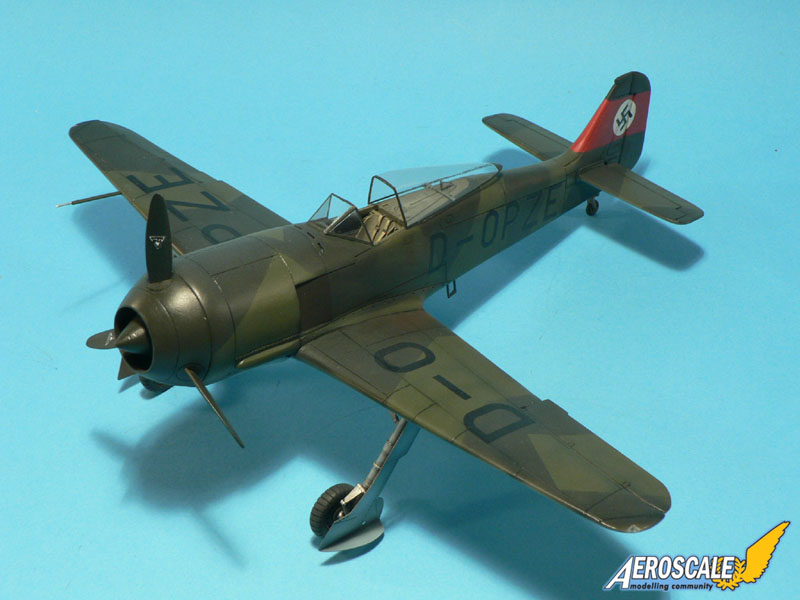
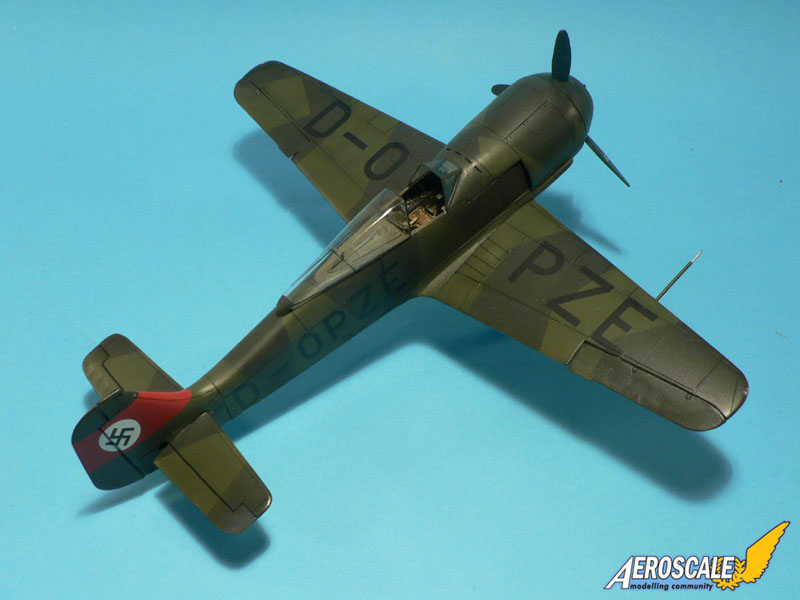
Painting
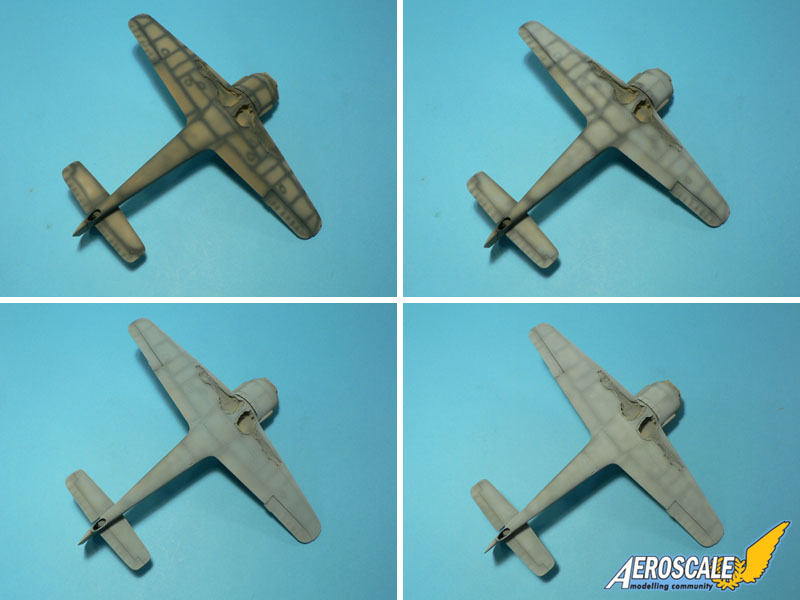
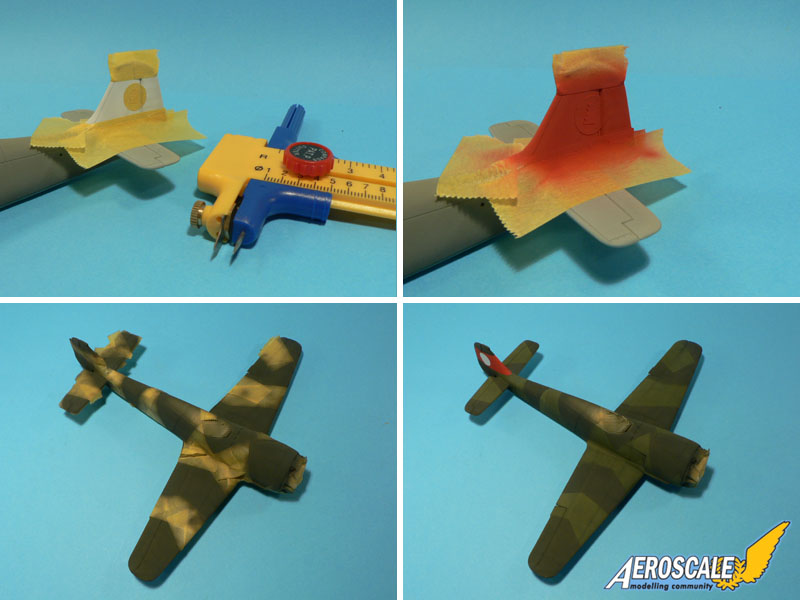
To check for imperfections, I've applied some paint to the surface of the model. The lighter grey patches (see photo) are places I had to fill with Putty. I mainly use Tamiya Putty on my models. I like how it works and never found something better. Once the model was sanded smooth, I've noticed that the surface finish wasn't perfect but unless you take a look in macro mode, I think it's ok.I have painted the underside in RLM 65 light blue. Though it is a prototype, I couldn't resist to pre-shade the model. For the upper colors, I first applied the red band with white dot on the rudder and then the RLM 70/71 camouflage. Here also I did some pre-shading but I've tried to keep it subtle.
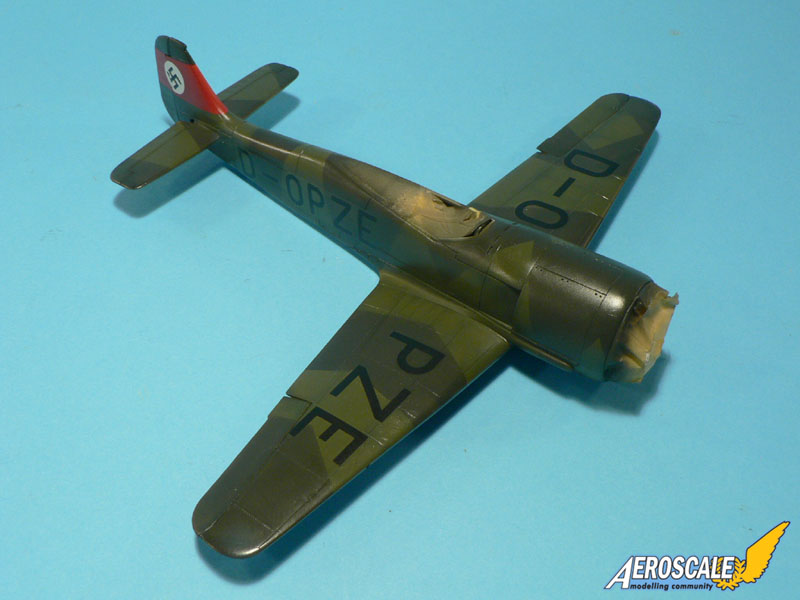
The decals were very fragile but worked well on a coat of future.
Conclusion
What can I say about the Legato Kit. Well, it's not an easy kit and I was over optimistic when I've started this project earlier this year. I have lost my motivation several times during the build and the only positive point is that I have now a Fw 190 prototype in my collection!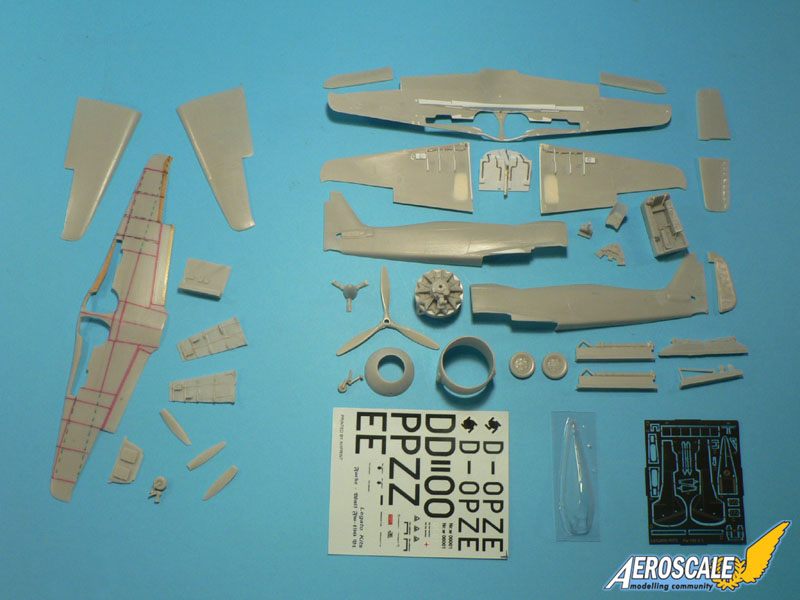


About the Author


FROM: MOSELLE, FRANCE
I'm mainly interested in WW2 aircraft and I build them in 1/48 scale.
Comments
Beautifully done, Jean-Luc! the finished product really makes me want to tackle this kit, despite the dire warnings in your build log.
SEP 19, 2009 - 03:34 AM

Thank you so much, Jean-Luc! I have the kit and was wondering how it would build up- you have done a wonderful job. My set of wings don't seem to be bad enough to replace, but we'll see when we get to it. My copy of the kit does have some annoying surface flaws (scars?), though, that look like cracked molds or something... and of course that odd combination of later production Fw190 parts and proto airframe, as you mention.
BTW< I also purchased a Bf109V13/14 racer conversion set from Floyd Werner at the IPMS-USA Nationals from your masters and am also looking forward to that beautiful conversion as well. Nice to actually have a piece of your work here in hand. The detail on the exhausts is even better than can be seen on screen, and really sold me on the kit.
You are one of my favorite modelers and I always look forward to your reviews and builds, and I save them for future reference- keep it up!
SEP 19, 2009 - 06:43 AM

Jean-Luc,
You've turned it into a real stunner. Great work.
Mark
SEP 19, 2009 - 06:57 AM

That's pretty classy modelling, Jean-Luc...very nice indeed and a pleasure to see in the making. I like your vacform machine!
I'm still getting pretty good results with the simpler crash-moulding technique for canopies and handpainting, but I can identify with a lot of your construction and correction methods. Thanks for posting this because...well, for one thing it's a drop-dead gorgeous model, but secondly, it'll be a damned good pictorial reference I can make use of when I get to build my 1/72 MPM kit of this same aircraft.
There's something really quite satisfying about wringing the best out of what looks like a pretty disappointing kit. Not that I think the MPM kit I have here looks disappointing...far from it...but I haven't started to build it yet. Your photos will be a great help with me getting the best out of mine.
Really nice work, Jean-Luc
Cheers!
Tim.
SEP 19, 2009 - 08:02 AM

Nice work with the new canopy and a very good result overall, it is always a special feeling to finish a kit that isn't exactly shake-and-bake!
I like the FW-190 prototype a lot since it is so different from the rest of the line, I did the MPM kit in 1/72 more than a decade ago.
Magnus
SEP 23, 2009 - 06:44 AM

Hi all,
Thanks for your kind words. I'm glad you like the model.
I'm also happy that it does motivate some to actually tackle the kit. I thought it would be rather the contrary...
Jean-Luc
SEP 23, 2009 - 07:01 PM
Copyright ©2021 by Jean-Luc Formery. Images also by copyright holder unless otherwise noted. The views and opinions expressed herein are solely the views and opinions of the authors and/or contributors to this Web site and do not necessarily represent the views and/or opinions of AeroScale, KitMaker Network, or Silver Star Enterrpises. Images also by copyright holder unless otherwise noted. Opinions expressed are those of the author(s) and not necessarily those of AeroScale. All rights reserved. Originally published on: 2009-09-19 00:00:00. Unique Reads: 13978

WEB HOSTING BY


Copyright ©2021 AeroScale and Kitmaker Network, a subsidiary of Silver Star Enterprises
All Rights Reserved. Please read our Conditions of Use and Privacy Policy.
All Rights Reserved. Please read our Conditions of Use and Privacy Policy.