

1⁄48Macchi M5
4
Comments
Struts
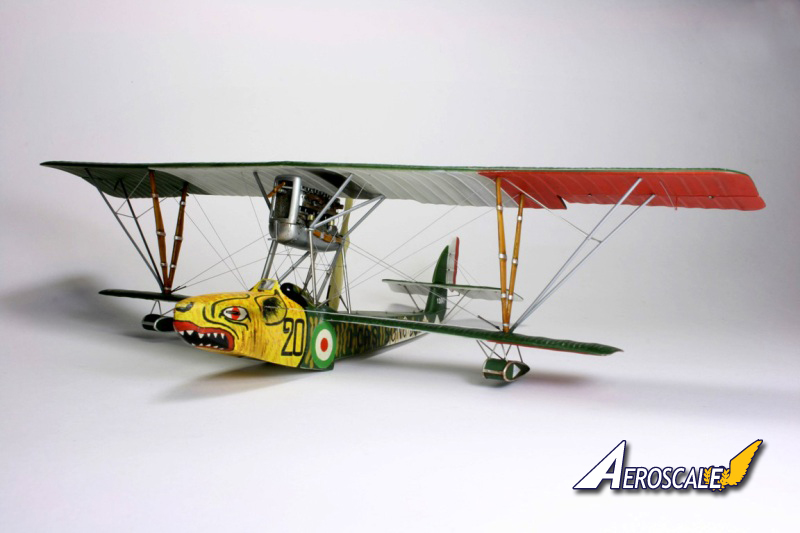
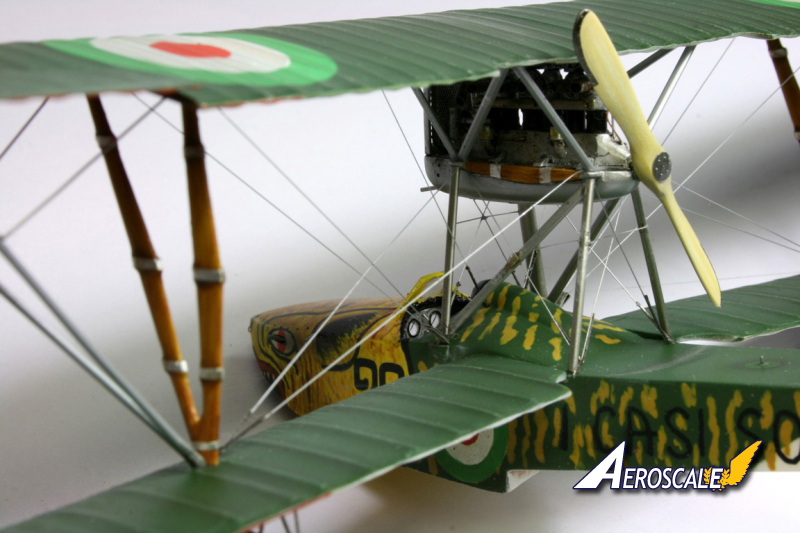
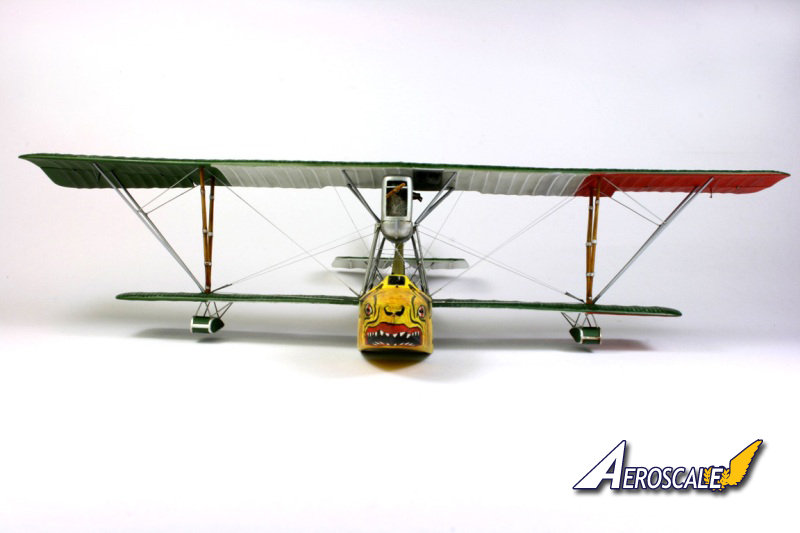
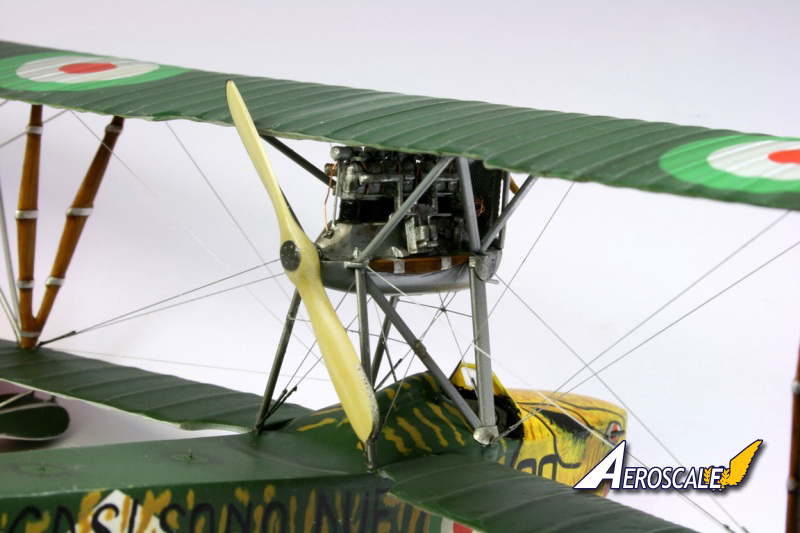
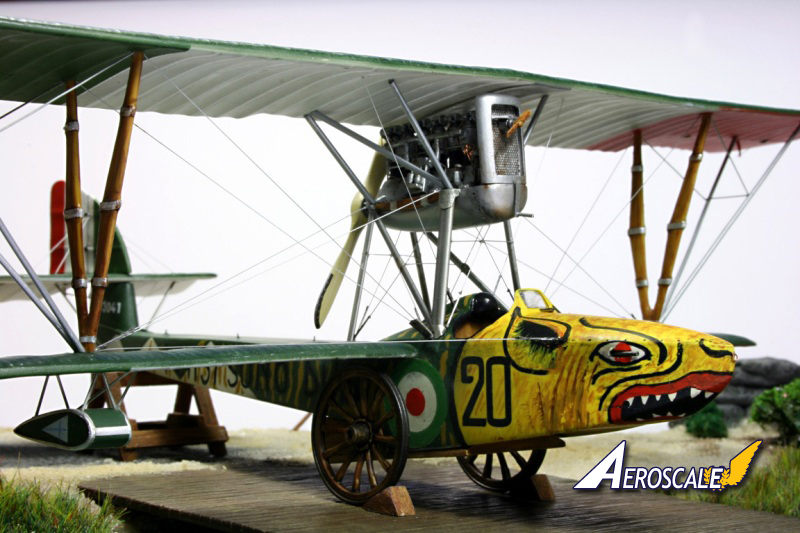
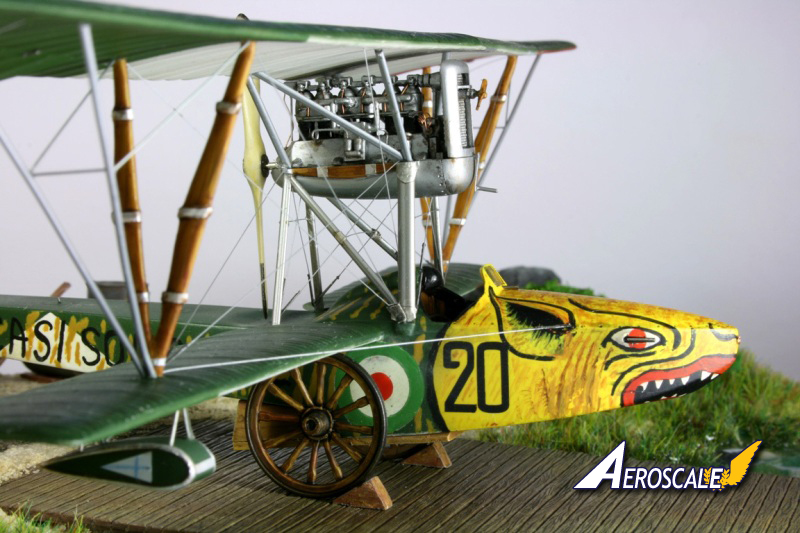
The struts from the model offering are rather thin, what unfortunately makes them useless for applying the heavy upper wing. I used only the V-shaped struts, after elongating them somewhat, and fitting them with metal locating pins. The remaining struts are prepared from syringes, which were cut to length with a grinding disc, and then lightly squeezed in a vice, to feature the typical oval cross-section.
This variant allows for an accurate, but flexible positioning of the sub-assemblies: the fuselage and the wings are first drilled, then equipped with metal pins from cut off wire pieces. Then the hollow syringes are located onto these pins. This assembly can by correctly aligned, and in the end fixed by drops of superglue. The connecting points were then partially covered by alu foil fairings. The whole setup is amazingly stable in the end.
The rigging was realized with silver painted nylon string, which were first stretched on a frame for straightening and better spraying. The spots where the rigging cable would penetrate the wing were drilled through, the string pulled through these holes, and glued on one side. The other side was stretched over night by applying cloth pins to them and letting them hang over night. Next day the stings were glued on the other end, and the locating positions were sanded and sprayed over.
Decals
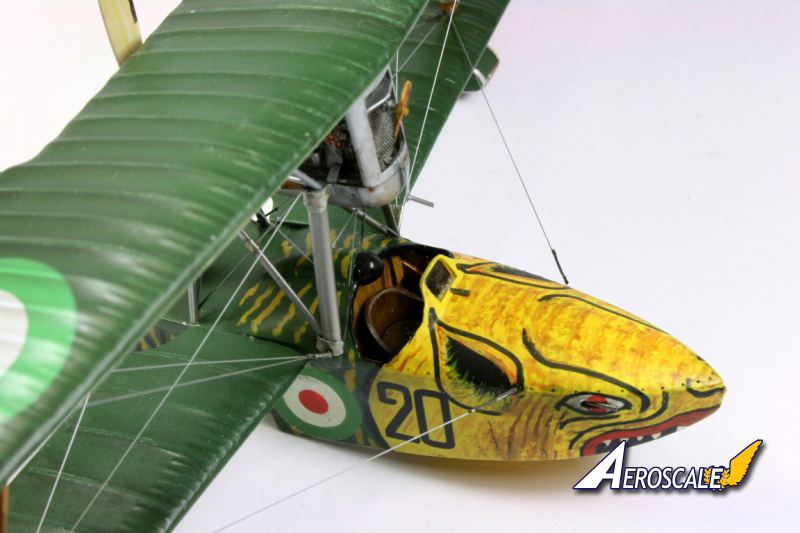
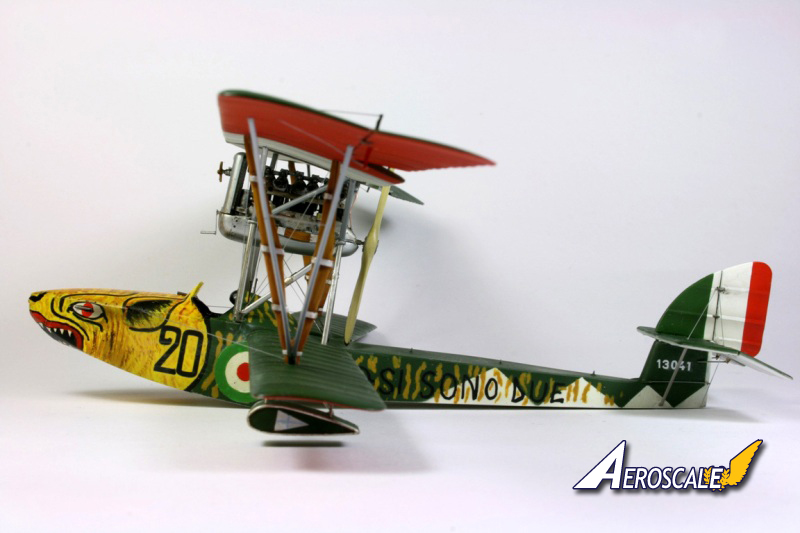
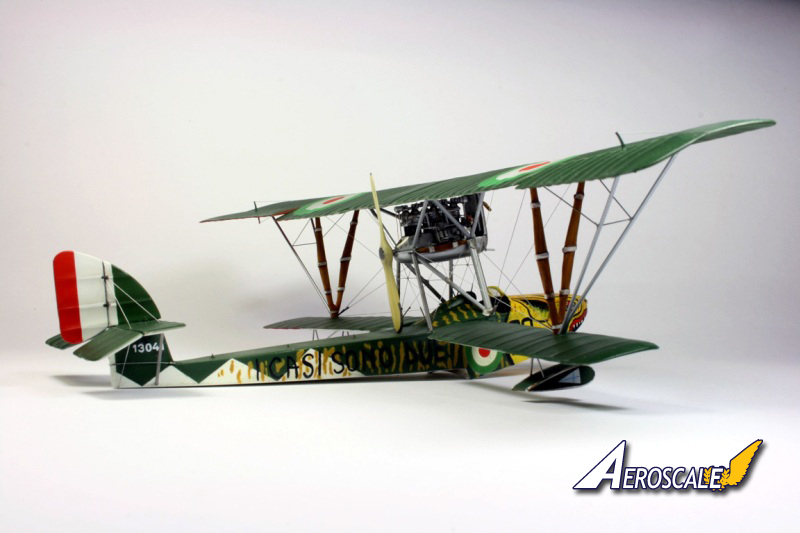
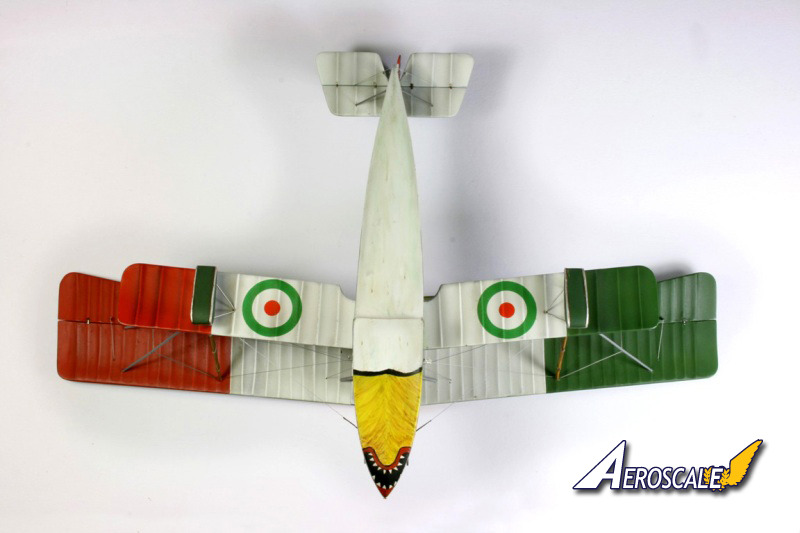
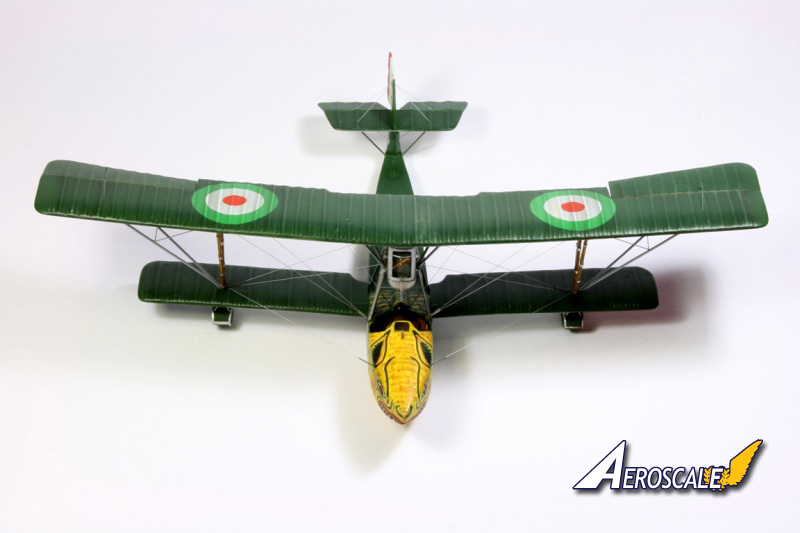
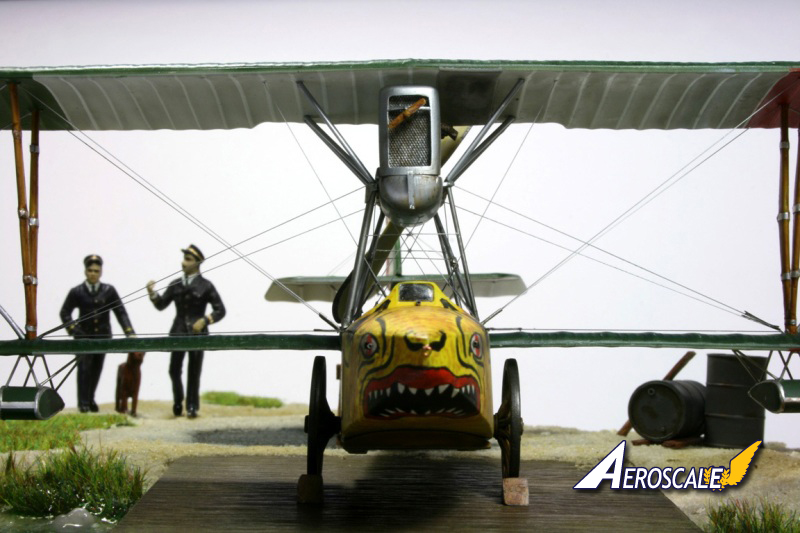
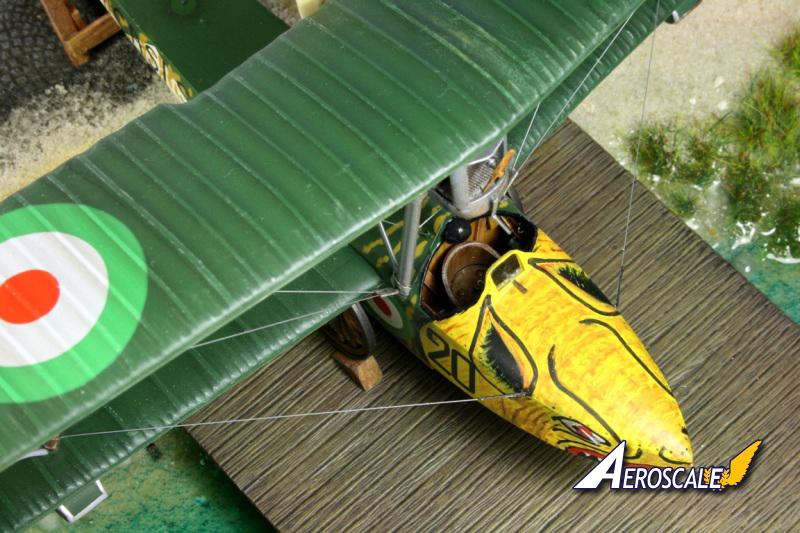
The decals for the front fuselage Italian roundels were unfortunately much too large, so I sprayed them on. The roundels for the wings showed clear grid of the printing dots from the printer they were made on. Unfortunately I realized that first after the decals were already on. Since masking was hardly possible of the poorly attached decals (they cracked already at the initial application) I tried to blend in the grid as good as I could using a fine artist brush.
Even the serial number is missing the first two numbers the decals of this kit are ally a great disappointment.
Weathering
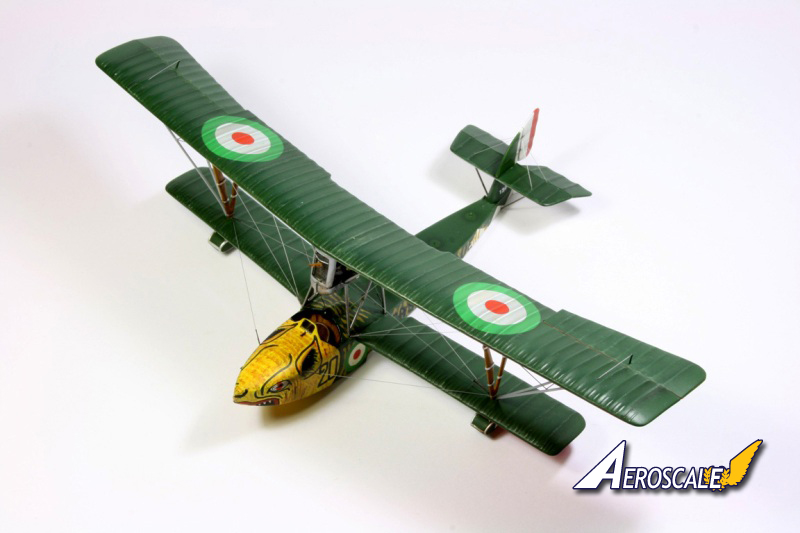
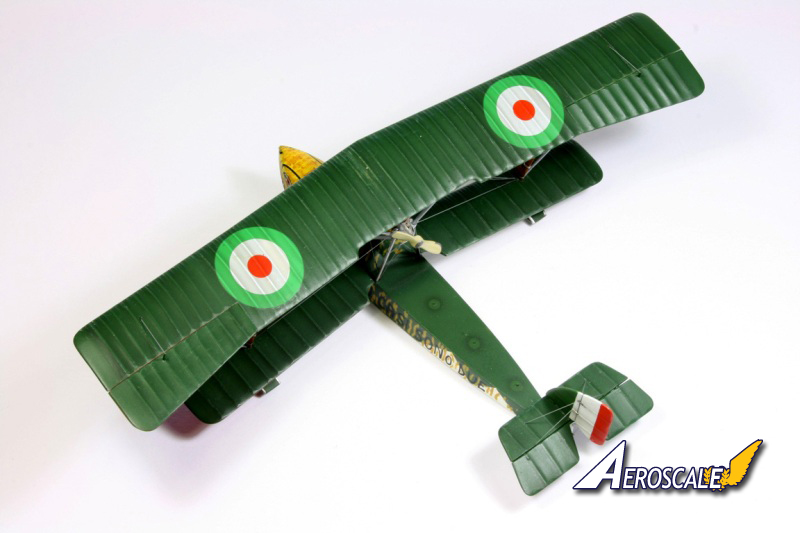
Since the aircraft has hardly any panel lines, the classic black artist oil weathering gives little effect. I was striving for a particular plasticity of the large, and monolithic green upper wing surfaces. This was achieved using thin stripes of Tamiya tape located on top of the ribs, and then carefully sprayed with Tamiya smoke. Then there was a light dry-brushing with a lighter shade using oil paints, and a top seal by XtraColor flat.
Diorama
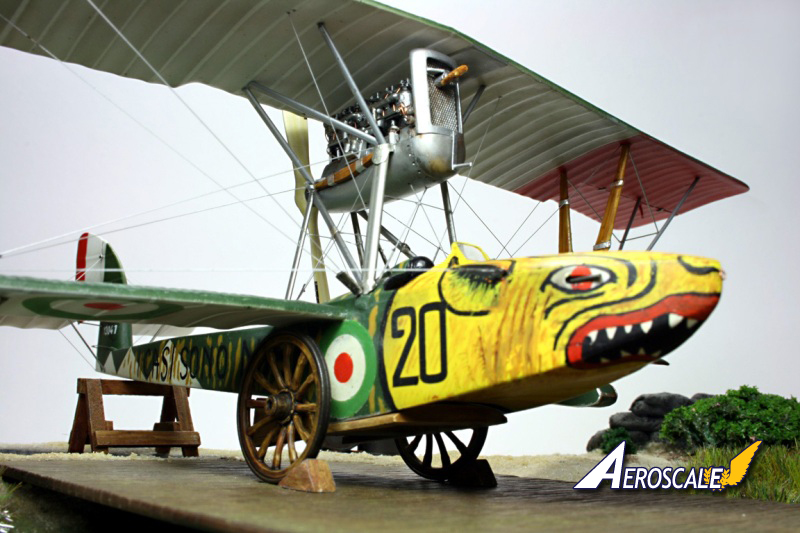
The diorama gave me quite some headache. Initially, the Macchi should be beached, partially still lying in the water tried that first with a diorama based using silicone. This material unfortunately cant be painted. And the surface is not very convincing either something different had to be found
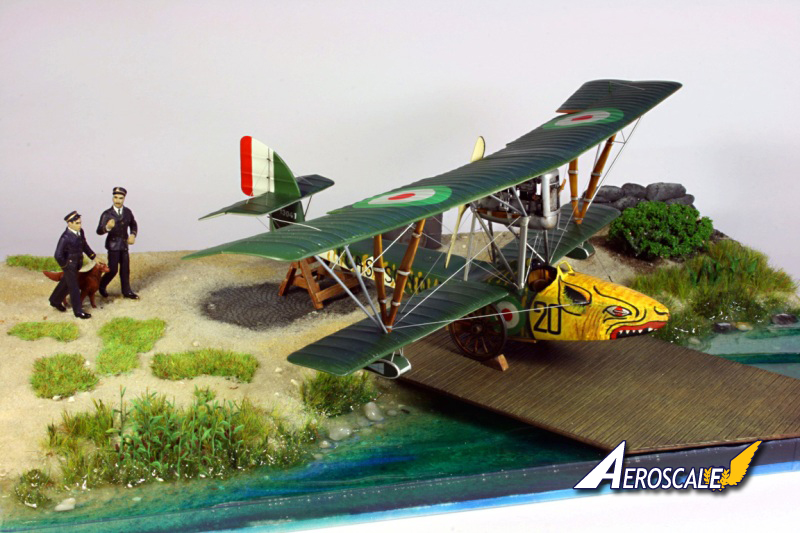
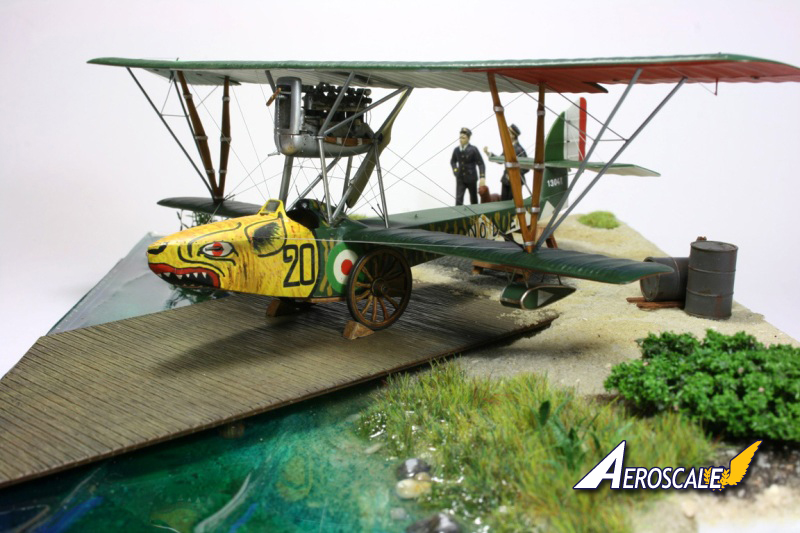
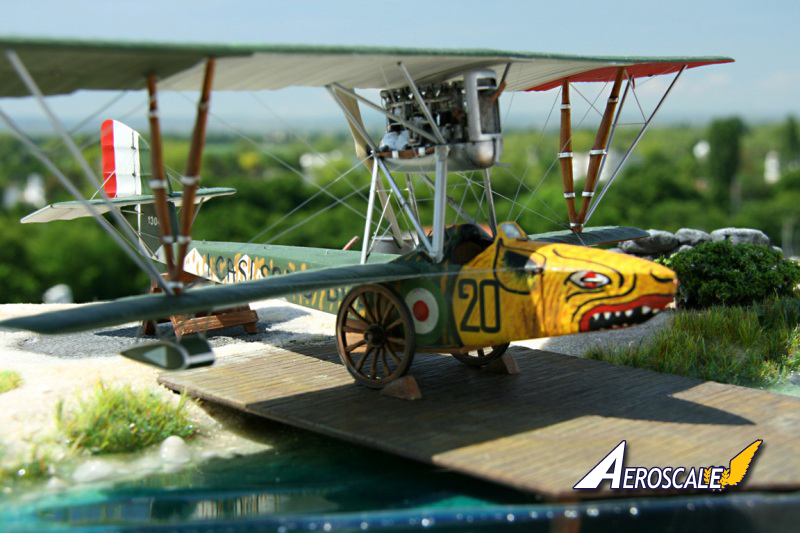
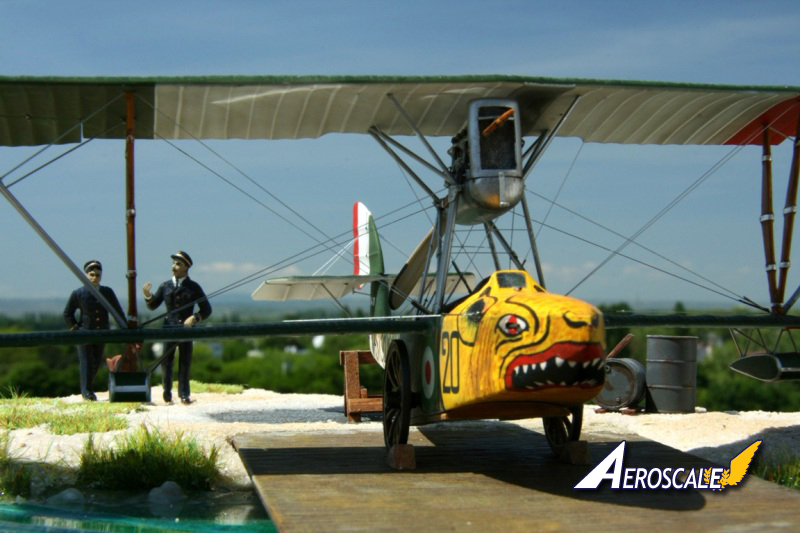
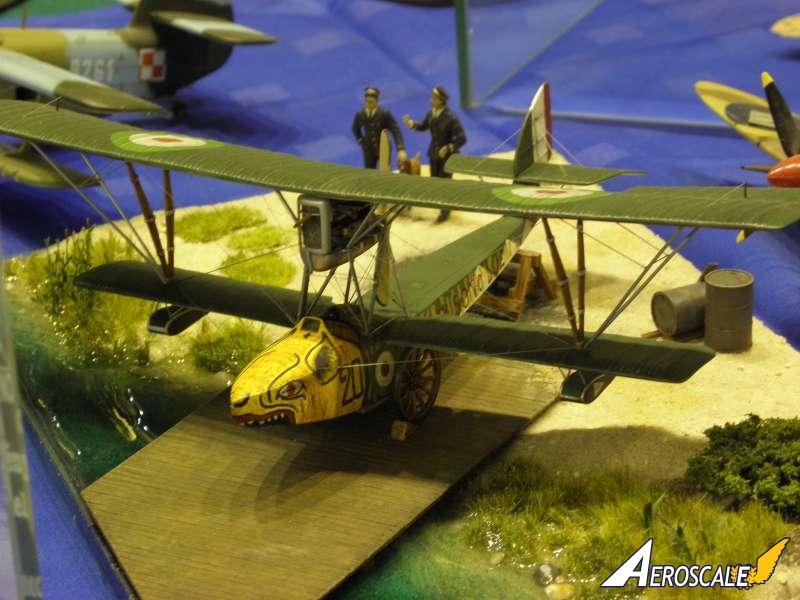
I decided to locate the Macchi on a jetty, as frequently seen on original pictures. The cart and the jack was prepared from bits of a plastic foam plate, the wheels came from a 1:72nd scale artillery from by Italeri.
The water was cast from clear Epoxy resin. The surface turned marvelously smooth, but thats not very realistic. So I've cast waves, and glued them on the smooth surface. The joint is practically invisible after pouring some more epoxy on top.
The greenery came from a grass mat and a set for detailing bodies of water from the model railway supply. San was realized using bird sand and water-thinned white glue.
On top came a bunch of details, and two figures mixed-and-matched from Preiser and ICM sets. These show two offices with a dog, gesticulating the Italian way walking on the beach.
Summary.
All in all, the build of the model including the diorama took about one-and-a-half years. Again and again I was short of quitting the project and dumping it into the trash, when another major screw-up appeared. To calm down, and not lose interest completely, I built some other, simpler models in between. In the end, I was happy to have finalized against all odds and in spite of a very disappointing kit - a model of this very interesting and rare airplane.
The diorama won a silver medal at the German Model Masters in Nürnberg in 2010, and an article was featured in the August issue of the German Modell-Fan magazine.
The struts from the model offering are rather thin, what unfortunately makes them useless for applying the heavy upper wing. I used only the V-shaped struts, after elongating them somewhat, and fitting them with metal locating pins. The remaining struts are prepared from syringes, which were cut to length with a grinding disc, and then lightly squeezed in a vice, to feature the typical oval cross-section.
This variant allows for an accurate, but flexible positioning of the sub-assemblies: the fuselage and the wings are first drilled, then equipped with metal pins from cut off wire pieces. Then the hollow syringes are located onto these pins. This assembly can by correctly aligned, and in the end fixed by drops of superglue. The connecting points were then partially covered by alu foil fairings. The whole setup is amazingly stable in the end.
The rigging was realized with silver painted nylon string, which were first stretched on a frame for straightening and better spraying. The spots where the rigging cable would penetrate the wing were drilled through, the string pulled through these holes, and glued on one side. The other side was stretched over night by applying cloth pins to them and letting them hang over night. Next day the stings were glued on the other end, and the locating positions were sanded and sprayed over.
Decals
The decals for the front fuselage Italian roundels were unfortunately much too large, so I sprayed them on. The roundels for the wings showed clear grid of the printing dots from the printer they were made on. Unfortunately I realized that first after the decals were already on. Since masking was hardly possible of the poorly attached decals (they cracked already at the initial application) I tried to blend in the grid as good as I could using a fine artist brush.
Even the serial number is missing the first two numbers the decals of this kit are ally a great disappointment.
Weathering
Since the aircraft has hardly any panel lines, the classic black artist oil weathering gives little effect. I was striving for a particular plasticity of the large, and monolithic green upper wing surfaces. This was achieved using thin stripes of Tamiya tape located on top of the ribs, and then carefully sprayed with Tamiya smoke. Then there was a light dry-brushing with a lighter shade using oil paints, and a top seal by XtraColor flat.
Diorama
The diorama gave me quite some headache. Initially, the Macchi should be beached, partially still lying in the water tried that first with a diorama based using silicone. This material unfortunately cant be painted. And the surface is not very convincing either something different had to be found
I decided to locate the Macchi on a jetty, as frequently seen on original pictures. The cart and the jack was prepared from bits of a plastic foam plate, the wheels came from a 1:72nd scale artillery from by Italeri.
The water was cast from clear Epoxy resin. The surface turned marvelously smooth, but thats not very realistic. So I've cast waves, and glued them on the smooth surface. The joint is practically invisible after pouring some more epoxy on top.
The greenery came from a grass mat and a set for detailing bodies of water from the model railway supply. San was realized using bird sand and water-thinned white glue.
On top came a bunch of details, and two figures mixed-and-matched from Preiser and ICM sets. These show two offices with a dog, gesticulating the Italian way walking on the beach.
Summary.
All in all, the build of the model including the diorama took about one-and-a-half years. Again and again I was short of quitting the project and dumping it into the trash, when another major screw-up appeared. To calm down, and not lose interest completely, I built some other, simpler models in between. In the end, I was happy to have finalized against all odds and in spite of a very disappointing kit - a model of this very interesting and rare airplane.
The diorama won a silver medal at the German Model Masters in Nürnberg in 2010, and an article was featured in the August issue of the German Modell-Fan magazine.


About the Author


Comments

Very nice build. It was in the recent contest in Poland?
VIII contest, Bytom Feature
MAR 19, 2011 - 12:47 PM

Very nicely done ! I really like how the water turned out , looks so real !
MAR 19, 2011 - 04:27 PM

Well observed
It was on display, on the IPMS Silesia club table, but not in the competition.
MAR 19, 2011 - 10:44 PM
Could you tell us some details about the build? Highs and lows. . .
MAR 20, 2011 - 06:40 AM
Copyright ©2021 by Jaroslaw Kierat . Images also by copyright holder unless otherwise noted. The views and opinions expressed herein are solely the views and opinions of the authors and/or contributors to this Web site and do not necessarily represent the views and/or opinions of AeroScale, KitMaker Network, or Silver Star Enterrpises. Images also by copyright holder unless otherwise noted. Opinions expressed are those of the author(s) and not necessarily those of AeroScale. All rights reserved. Originally published on: 2011-03-18 00:00:00. Unique Reads: 9213

WEB HOSTING BY


Copyright ©2021 AeroScale and Kitmaker Network, a subsidiary of Silver Star Enterprises
All Rights Reserved. Please read our Conditions of Use and Privacy Policy.
All Rights Reserved. Please read our Conditions of Use and Privacy Policy.