

1⁄48Prepare for Heavy Weathering!
7
Comments
diving in...to the kit
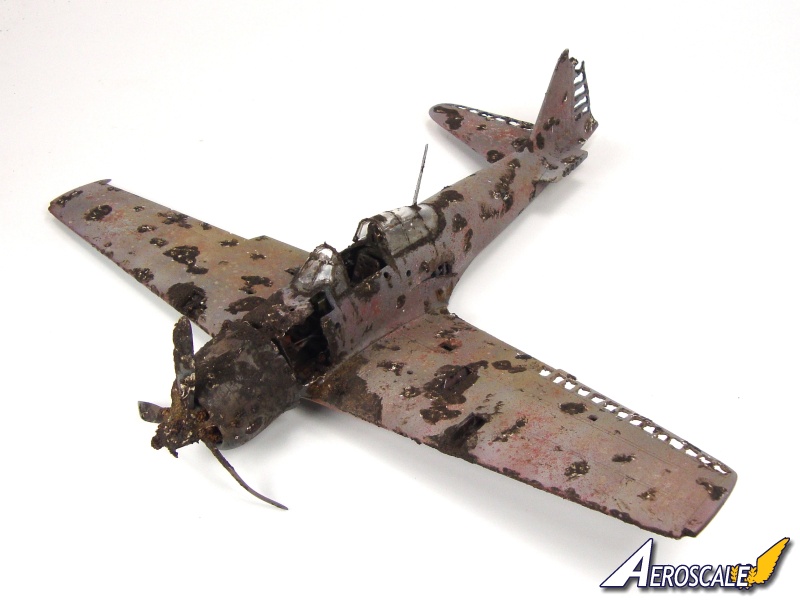
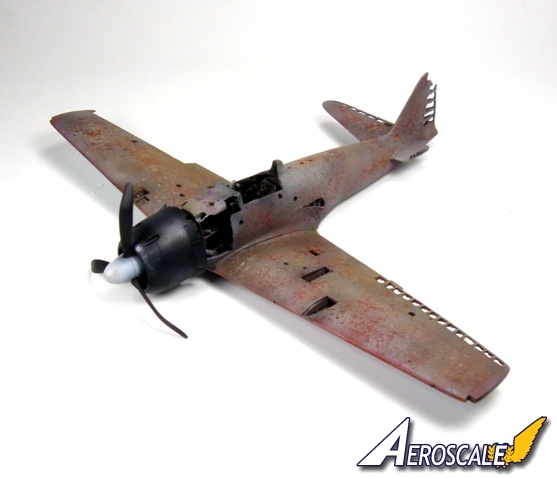
Armed with all these tools it was time to dig into the kit. First thing always is to have some sort of an idea on where you want to take the build. What is it that you want to make? What would you like to have on your shelf in the end? This time it was easy for me. Since I build a lot of knocked out tanks and rusty old cars and trucks why no go after a wrecked plane? It was settled then. Let the building commence. Opening the package I was pleased to see some decent detail to the kit parts.Building anything wrecked, be it a tank car or plane, you almost need to plan the work n reverse. Start with what you want the finished product to look like and work you way backwards. In this case it was the plane in the sand underwater, forgotten, left amongst the waves.
This made the project even easier. If the plane was to be nestled into the sand then the landing gear did not have to be dealt with. This is a bonus for me as I would probably mess something up on them to begin with. Then I would want to add microscopic pieces of wire to them for hydraulic lines and on and on. That is how quick you loose focus and stray into the abyss of hyper-detailing and turning a nice quick build into a mammoth, marathon 2 year project.
Armed with a rotary tool in one hand and a little, lets call it poetic licensing, you dig in. The hardest part with making any wrecked, destroyed rust bucket is the first cut. It is easier to start down this path with a cheap kit. I have attacked a $70 kit with a pair of snips, lighter and my rotary drill before. Unless you are committed, start small and work your way up. The end result is what you are looking for and in this case, a sunken plane.
Think about what would happen to the aircraft when it crashed. Research the object you are working on. The internet is best for this. Note the sections that tear, disintegrate, pop off and break, not only when they crash but what happens to them as they sit and rot.
Before you know it sections come together and begin to start telling the story. You never want to rush to glue sections together. I speak from experience. Painting and weathering is the most fun for me and I just cannot wait to get to this stage. There was many a time have found myself in anguish from just gluing something together that needed more work to it only to pull it back apart to fix the problem.
This is a great project for anyone wanting to try out there hand at making a wreck. The build is quick. Most of this construction was completed in and afternoon. I did not concern myself with thinning panels and adding every little exact detail that this specific plane had on it. The almighty rivet counters might take offence to this, but, this would make me lose focus on the end result and ruin the fun of just building a model!
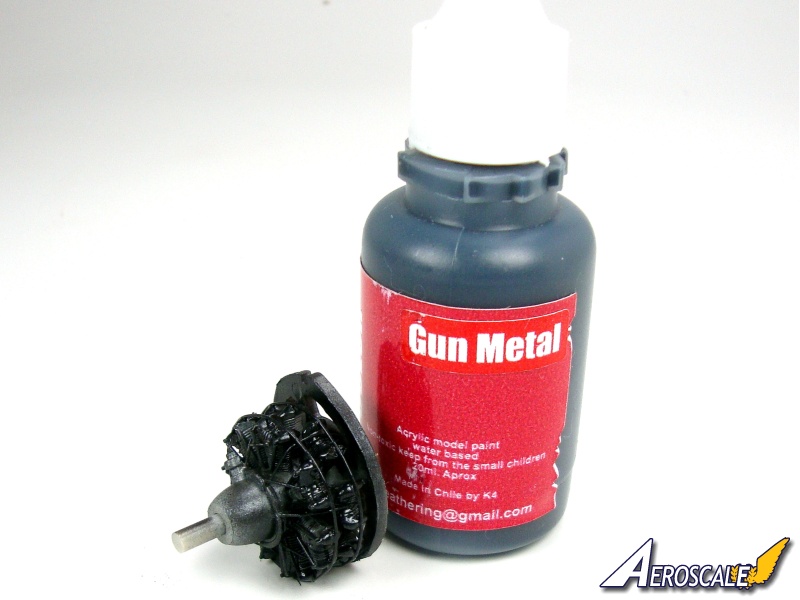
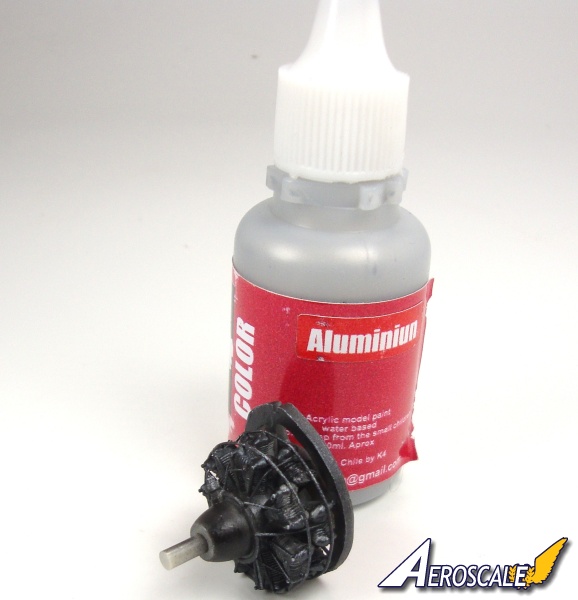
The time has come to unsheathe the almighty airbrush. I shot some paint on to the newly built engine using some Gun Metal color from K4 followed up by a quick dry brushing of aluminum.
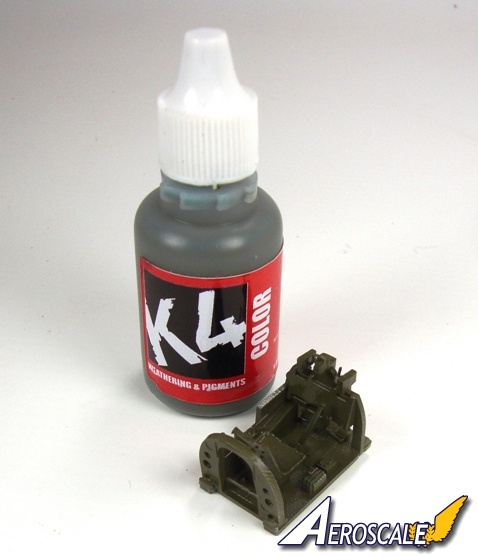
Next up, the cockpit. I laid down some Aluminum color first as a base. Clear coated the office and let dry. I sprayed a quick coat of hairspray and then it was on the paint. I used Olive Green and Olive Drab for the color.
Next, this is where the hairspray came into play. Using Paint Off, a chipping fluid from K4, I dabbed a little on to the painted area. With a soft brush to start, I stippled the corners and edges. Just like magic the paint chips away. For real light chipping I lightly stabbed with a slightly stiffer brush creating tiny little chips. Now it was time to start getting the kit glued together.
finishing and weathering the model
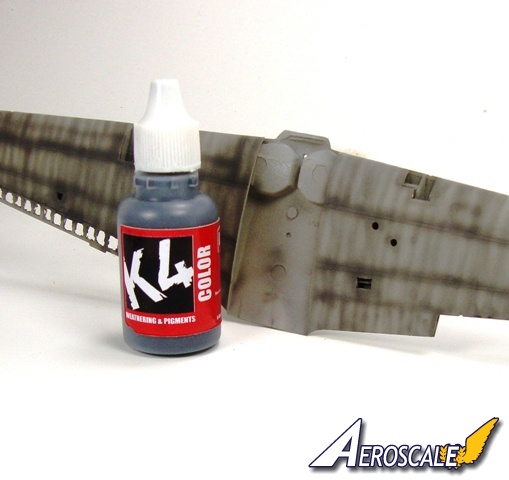
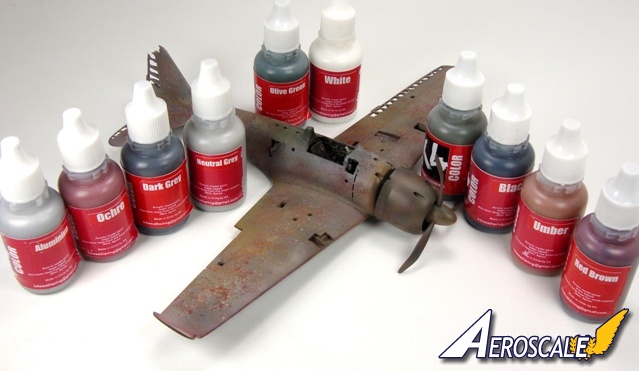
Next came a base mixture of K4 Aluminum and Light Grey was used followed up with Dark Grey to highlight the panel lines somewhat. This will help in giving the aircraft some depth.From my research I noticed that there was a lot of Japanese aircraft with this Red Oxide-like primer on them. This shown through with the wear and tear of the craft and was robust enough to withstand weathering long after the top coats wore off. I chose my base coat to be similar in nature. After applying the base coats. I wanted these to show through when done with the painting. I went with the Salt and Hairspray method.
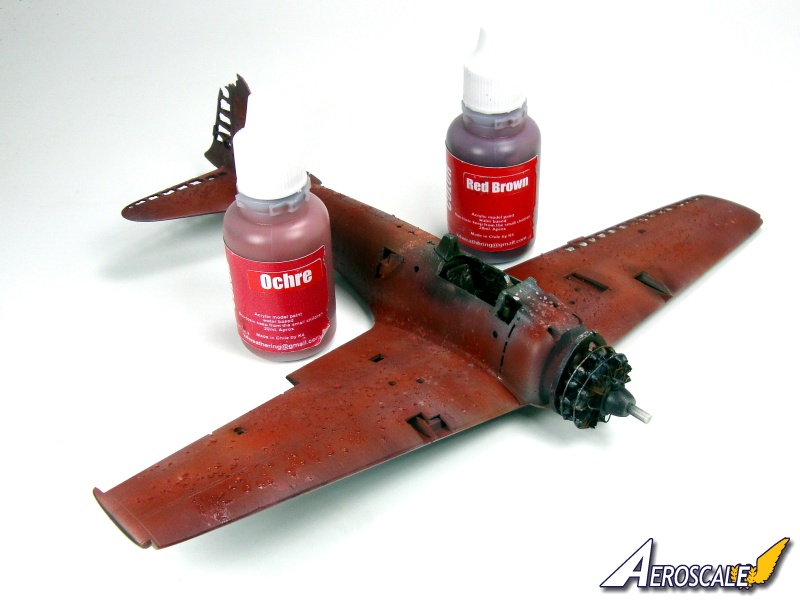
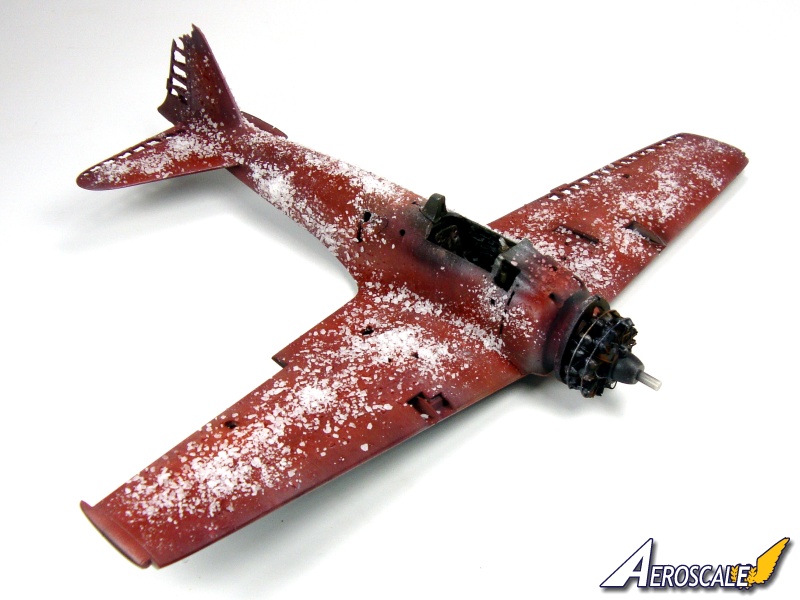
I applied a clear coat matte finish and let dry. I sprayed on a coat of standard hairspray, with three girls in the house this was easy to find, I then added some salt and gave this a quick spray with the hairspray again. Using K4 Red Brown for the shadowing and Ochre to fill in between, I sprayed a secondary base coat. After the salt is chipped away the first base coat should show through nicely.
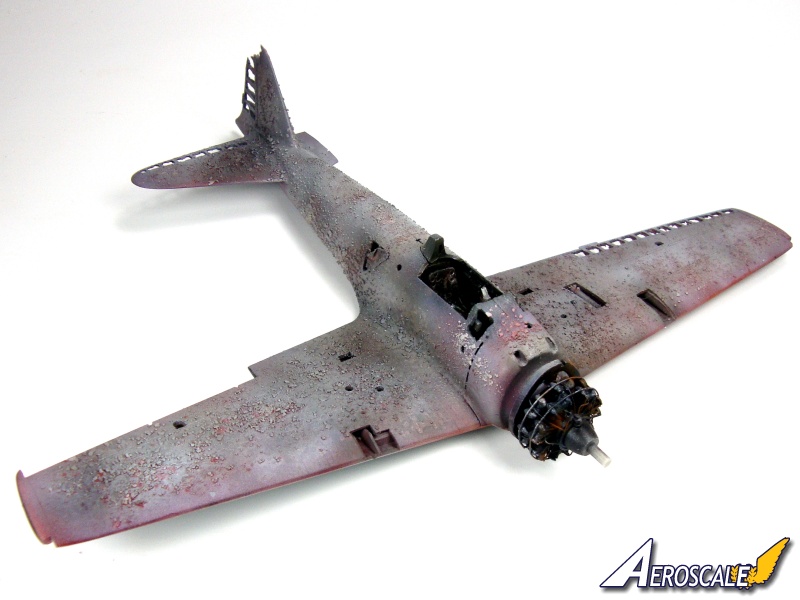
Finally, the remnants of the top coat of paint were added to the plane. The same salt and hairspray technique was added over the red oxide primer, hairspray and salt then I added some Light and Dark Grey with hints of Black. This will layer the paint and increase the depth.
It was time to chip. Using a stiff bristled brush I stippled the surface removing all the salt I had applied. For the hard, stubborn salt pieces, a little warm water and a brush did the trick. Once the body of the model is clear from residue from the salt, it is time to move forward.
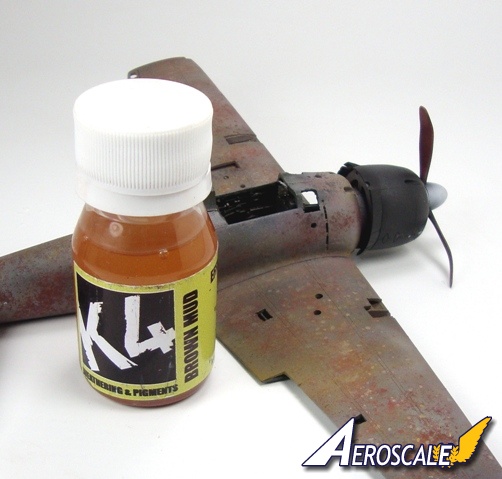
I now added a quick wash using some Brown Mud.
So at this point, I have had a chance to really get to use some of the paint offered up by K4. The coverage is great and the thin with the K4 Thinner well and the same with water. Some paints are thicker in consistency than other but they are all easily thinned out.
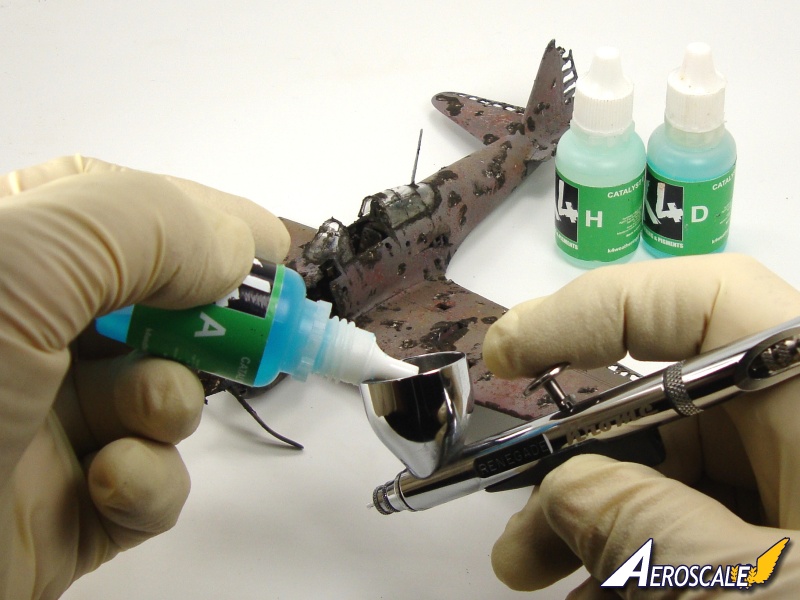
This particular time I am choosing to use a new product, K4s Rust Base and Catalyst System. Another great tool in the weathering department of modeling, The rusting system will build up and enhance the rusted, corroded and extremely weathered section of the model.
First up is the base to this part of the weathering. I am applying Tamiya White Putty to the surface areas of the model. This will build up certain areas to achieve a caked on look found when something just sits around under the water for years.
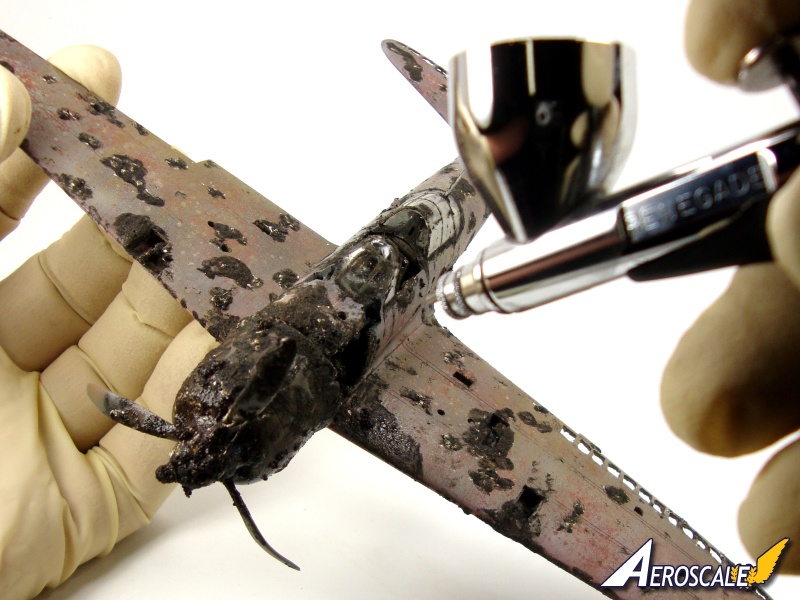
Once dry, it is time to apply the base coat of K4s little rusting system. The Base Black and Base Grey works like a paint allowing you to paint this on in the areas of the project you want to not only add a true rust color but texture as well. There is a gritty substance within the paint that when applied gives this nice texture. Base Grey is just a heavier grit applied to it. Base black works well for 1/72 to 1/25 scale, whereas the Base Grey is more or less designed for larger scales .
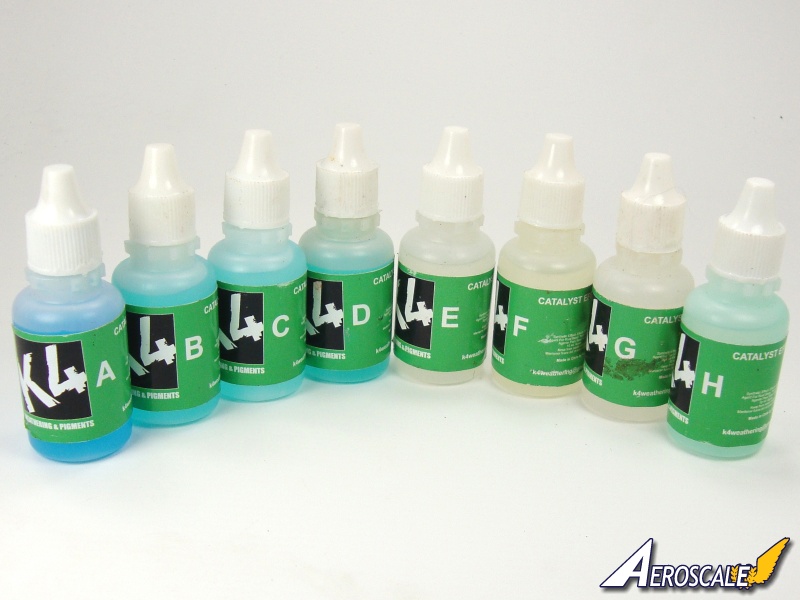
If you wan to reduce the texture amount of the paint, just dilute with any one of the catalyst that K4 supplies.
These catalysts react with the Base coat and voila, you have rust. I chose to use three different catalysts. This will give slightly different tones throughout the areas to be applied.
I made a composite picture using an old tank turret to show the different effects you can achieve with one coat of each catalyst over the rust base.
These catalysts react with only the Rust Base. After the first coat of catalyst is applied and dry, you can apply either more for a more brilliant look or a completely different catalyst to achieve different colors. The overall process does take some patience. The base dries in about 4 to 10 minutes, depending on the environments conditions, and after painting on or airbrushing the catalyst on takes about 24 hours for the results to show fully. When diluting the base with the catalyst some results are seen sooner, but, it is recommended that you wait the full 24 hours before moving on.
Once the base is cured you can move on. There is no need to seal as this coat is extremely hard.


About the Author


FROM: MASSACHUSETTS, UNITED STATES
I am building what I like, when I like and how I like it; having fun doing it. I have been building and finishing models on and off my whole life but the past ten years things really exploded. Just about anything goes when it comes to hitting the bench, but wrecked armor, rusted hulks, ships or ...
Comments


This is great! I'm adding it to my cookbook so I can try it out when I get a chance
AUG 01, 2012 - 01:45 PM

Thank you Jeremy!! Glad you enjoyed this! I will look forward to seeing you have at the destruction!!!
AUG 11, 2012 - 02:20 PM

Nice work! I once was saw a 1/72 Bf109 treated similarly, but the base was set in a cube of resin, colour-graduated to represent sea depth - in that case the North Sea with pale greens and greys. It gave quite an ghostly effect.
DEC 12, 2012 - 09:57 PM
Copyright ©2021 by Todd R. Michalak. Images also by copyright holder unless otherwise noted. The views and opinions expressed herein are solely the views and opinions of the authors and/or contributors to this Web site and do not necessarily represent the views and/or opinions of AeroScale, KitMaker Network, or Silver Star Enterrpises. Images also by copyright holder unless otherwise noted. Opinions expressed are those of the author(s) and not necessarily those of AeroScale. All rights reserved. Originally published on: 2012-07-12 00:00:00. Unique Reads: 44934

WEB HOSTING BY


Copyright ©2021 AeroScale and Kitmaker Network, a subsidiary of Silver Star Enterprises
All Rights Reserved. Please read our Conditions of Use and Privacy Policy.
All Rights Reserved. Please read our Conditions of Use and Privacy Policy.