

1⁄48Prepare for Heavy Weathering!
7
Comments
building the sea floor
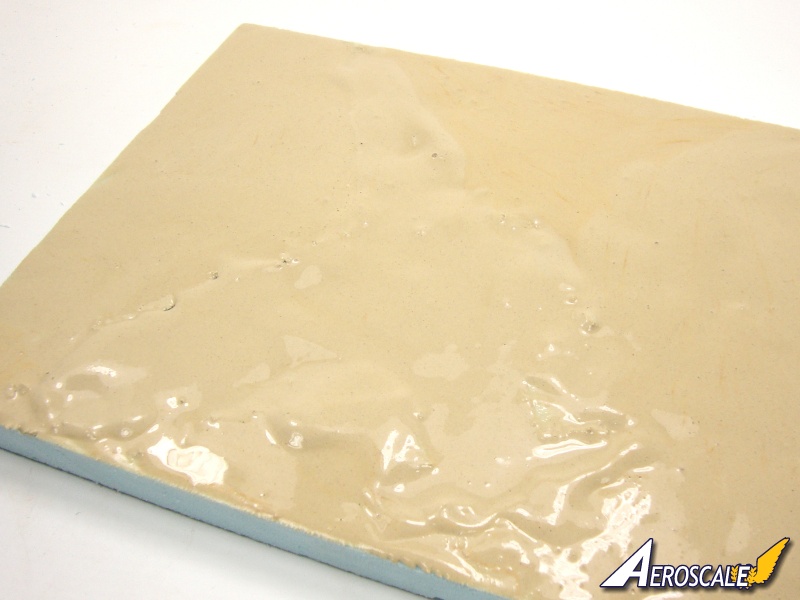
While the model is drying, it is a great time to start on the sea floor base. I start with a section of foam board cut to the size of the display is wish to represent. For this base, I hollow out the profile of the aircraft as the model will sit low in the base as it is sunken into the sand.Next I apply a plaster and pigment mix to the surface. This will give me the sandy appearance to the sea floor.
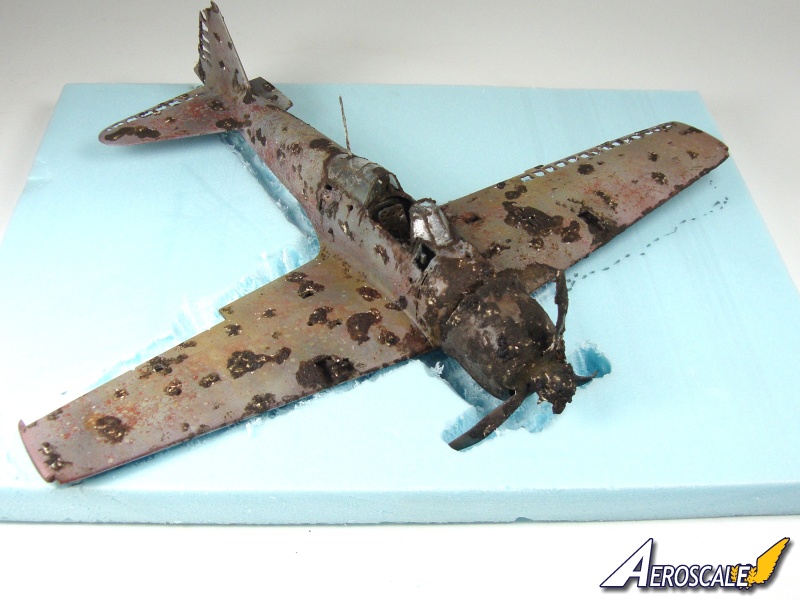
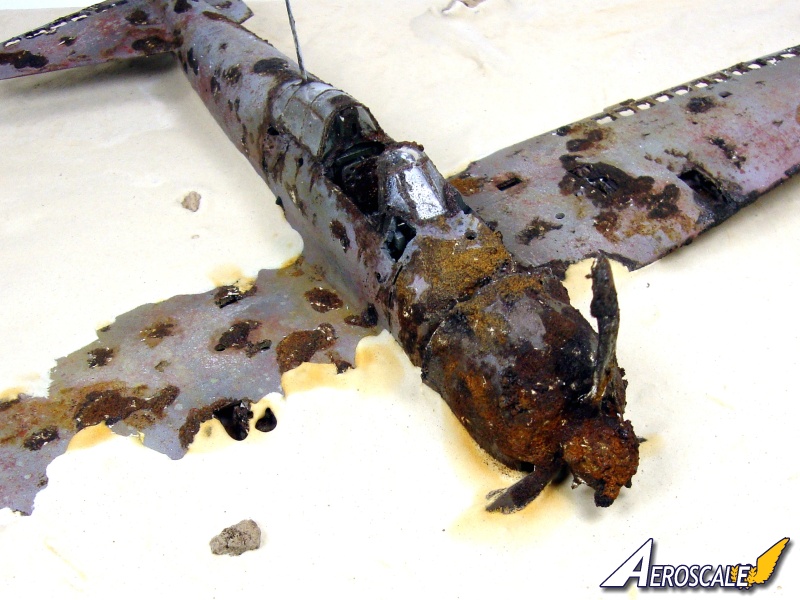
With the plaster set in place, I decided to set the model directly into the wet mix. This will attach the model to the base and allow me to fill in the gaps around the plane now eliminating one step after the base dries. Here you can see the model in its new home and the newly painted K4 rust base.
Here you can see the K4 rust base just about cured the next morning. The real rust tones are beginning to show now.
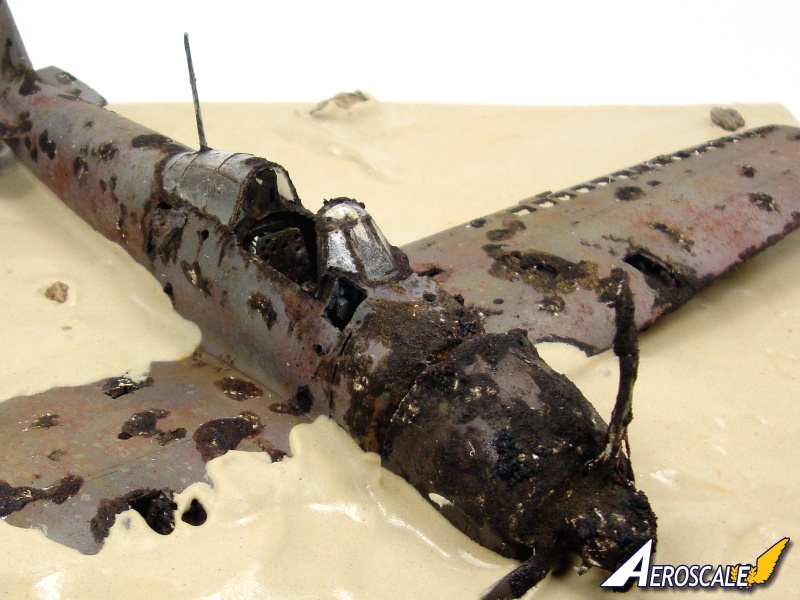
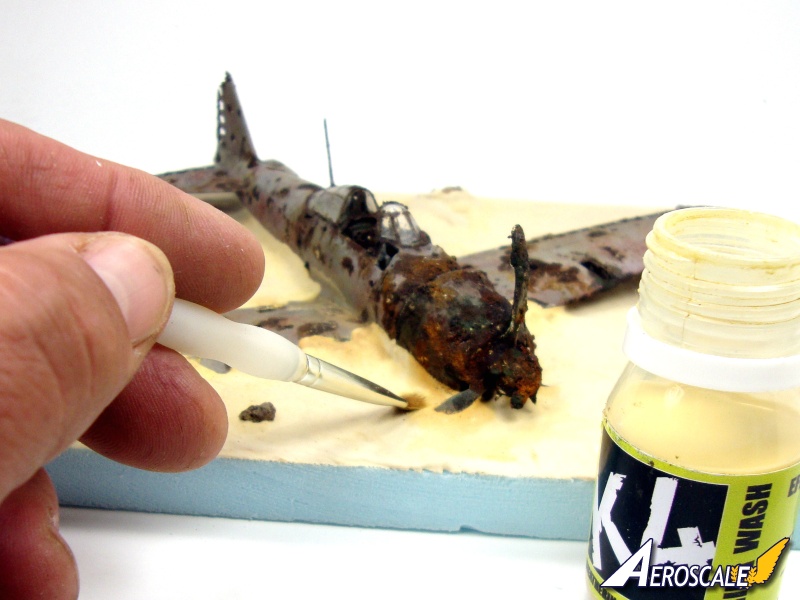
After the rust is cured, I started working on shifting colors on the sea bottom. First was the application of Afrika Wash from K4. This added some darker tones around rocks I added and the plane itself.
I added some ground cover. Not much, as the location of the wreck is constantly changing with the movement of the tides.
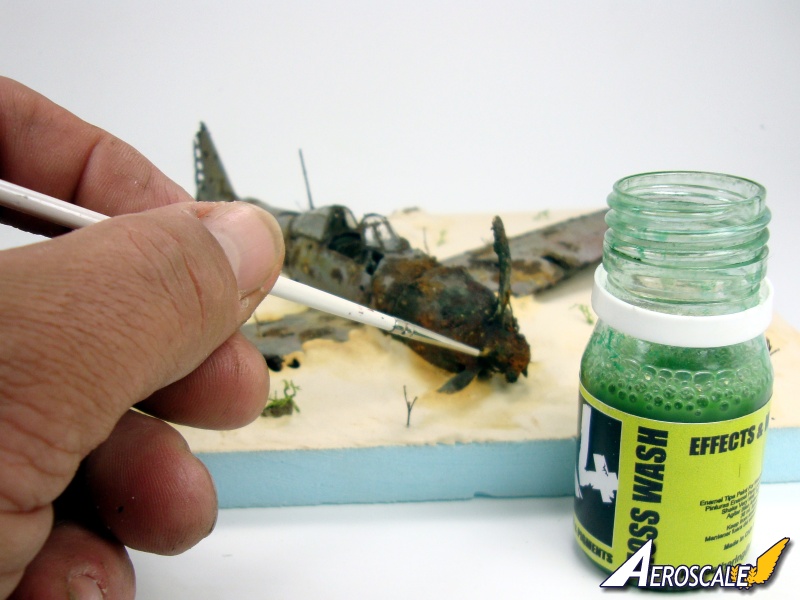
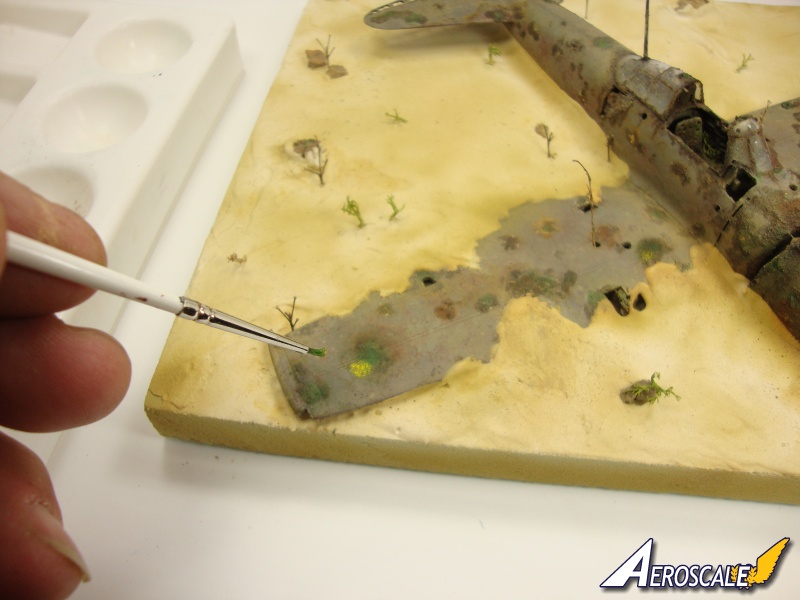
Now came the time to enhance the coral growth on the sections of the plane. First up was the application of Green Moss Wash.
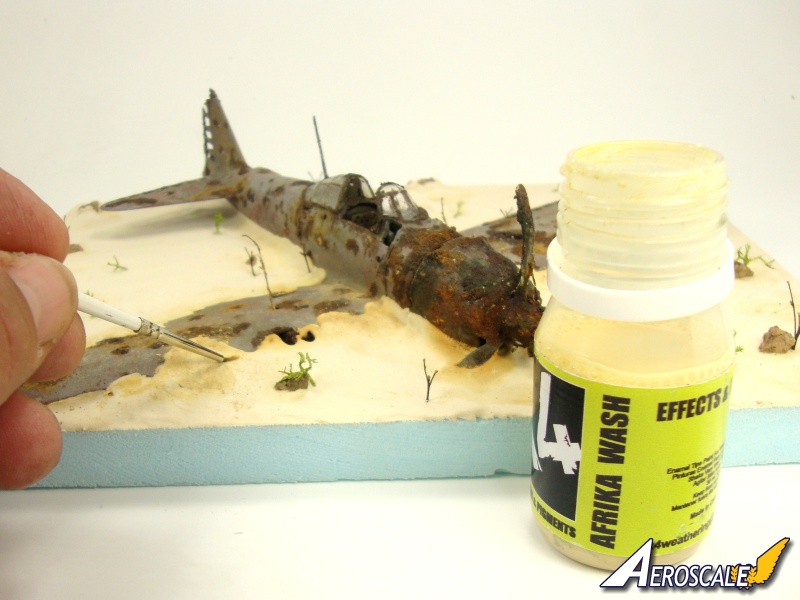
Then came another wash of Afrika Wash, this time applied to not only the ground section but adding a light coat to the model to bridge the two connected in the watery resting place.
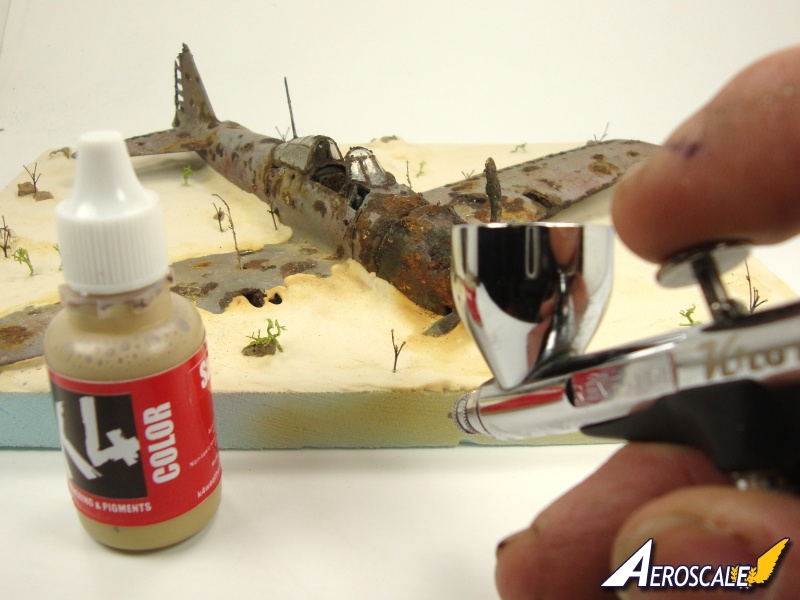
Onto some more painting. With Sand and Dark Sand from K4s Color line, I finished off the perimeter of the base and began building up layers of tonal shifting to the entire platform.
finishing the weathering
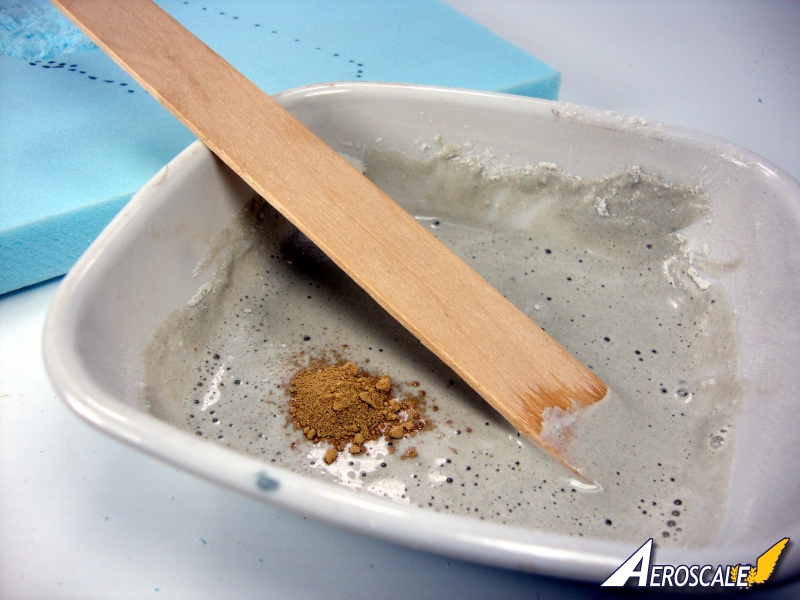
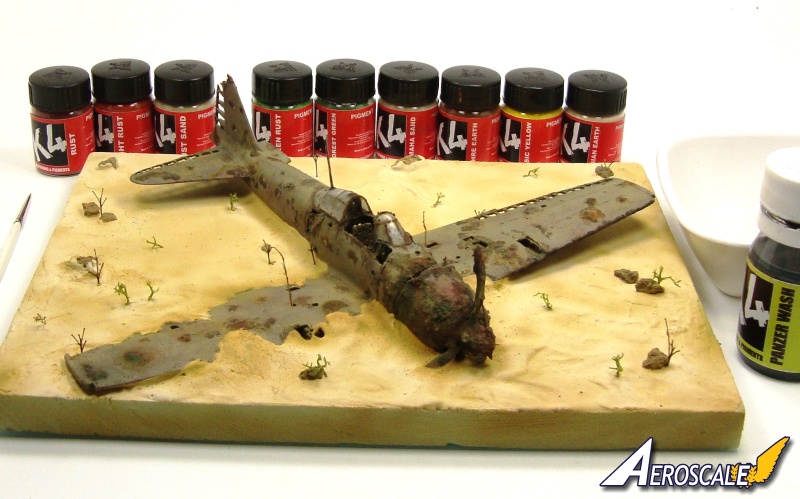
Again, we move forward. I grabbed a wide selection of K4 Pigments to perform the next step, weathering the plane.K4 has a huge selection of pigment that are all hand made. These are great to work with. Very little is needed for achieving outstanding results of weathering. They mix well with water, alcohol and oil based thinners.
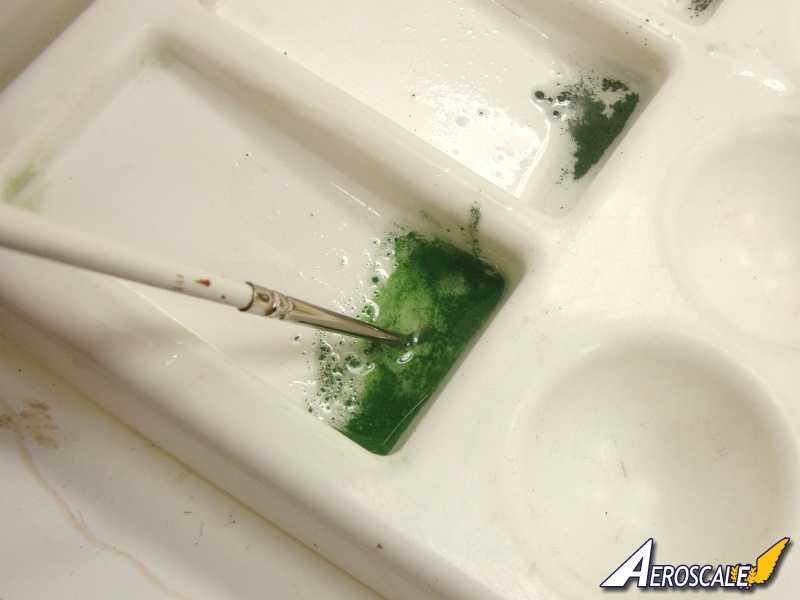
Starting with a quick light wash of Panzer Wash I then chose a selection of green pigments I placed a small dash in a mixing palette, added some white spirits and mixed.
Next I applied the mixes somewhat randomly to the simulated coral section giving some decent color movement to the piece.
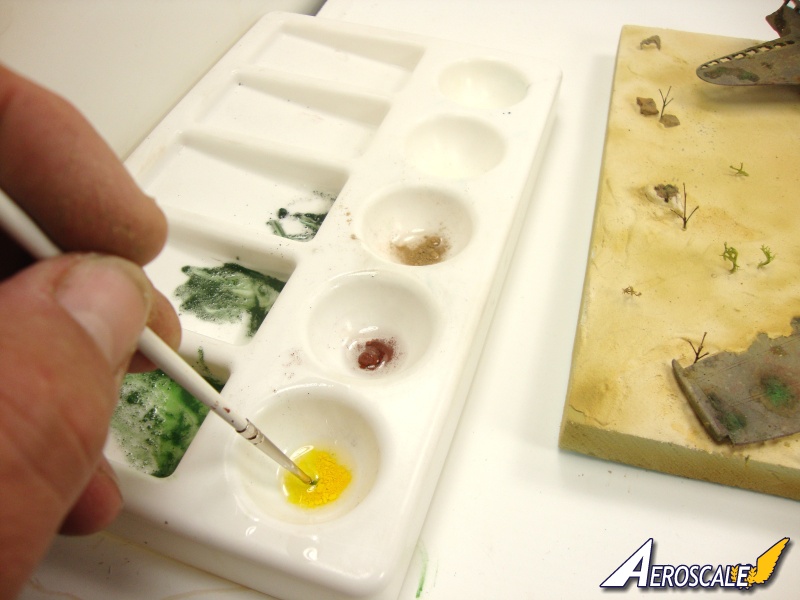
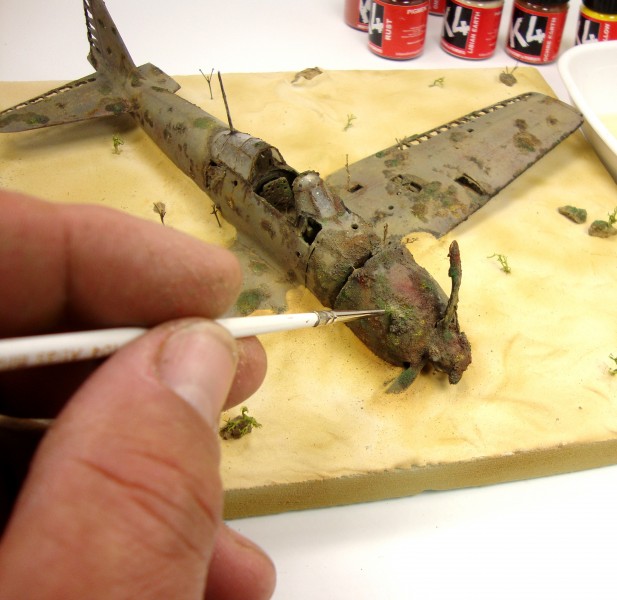
Selecting 3 more pigments, I mixed the same and applied in and around the areas where the green pigments were placed.
If areas look heavy and blotchy once you have applied them, just take some thinner and with a lightly damp, clean brush give the area a light wash and the colors should blend nicely.
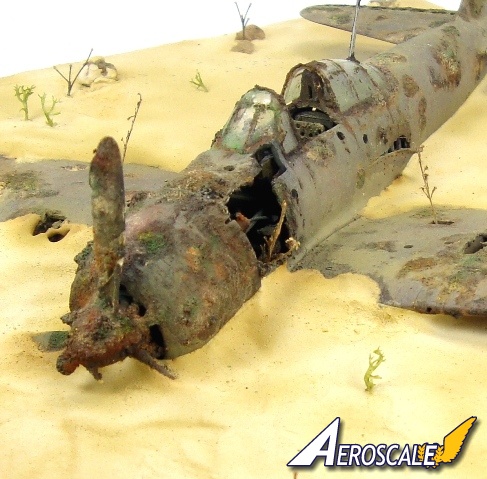
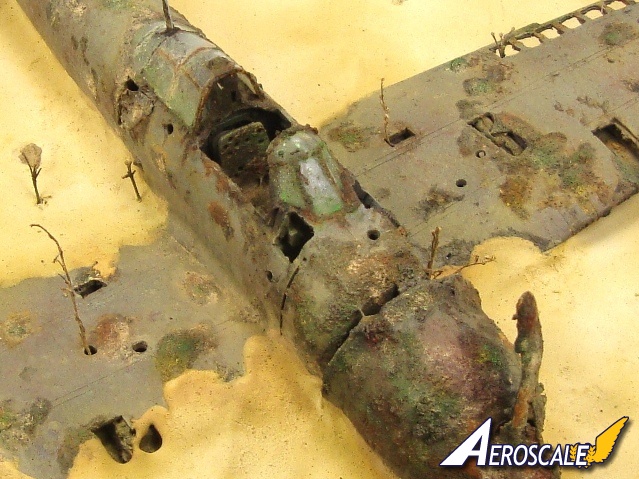
One final look over and there is a completed piece.
conclusion
An there you have it, a forgotten relic that has been consumed by the sea. Building the Tamiya Zero along with being able to use a wide variety selected from the great line of products developed by K4 has been a real pleasure. I look forward to the next build and trying even more. Special thanks to Richard from K4 for supplying all the paint and weathering products used for this build.K4 is only just emerging on the modeling scene but I feel they are obtaining a strong foothold on the great modeling market. They are bringing yet another solution to painting and wreathing of models. Offering a full line of acrylic paints, washes and effect as well as pigments, decal solutions and paint chipping fluid, K4 is the new kids on the block will soon be playing along side the big boys and I think there to stay! K4 Offering a wide selection of paint, washes, effects, pigments and more. Pros Appealing logo and overall product showing and a massive selection of pigments covering the coloring spectrum. The pigments are hand made and more concentrated than most, allowing excellent coverage mixing with either water or solvents. A refreshing variety of colors of acrylic paints and sealing coats with specific genre based coloring set in the future. The paints need no primer, paint and go. K4 has a wide range of washes and effects for just about every occasion. Cons At the moment, local availability which should change as they grow in the market. A few of the paints can be a little thick when dispensed into the airbrush and need to be thinned. The pigment jars are a bit small. Their concentrated nature, however, more than makes up for this.


About the Author


FROM: MASSACHUSETTS, UNITED STATES
I am building what I like, when I like and how I like it; having fun doing it. I have been building and finishing models on and off my whole life but the past ten years things really exploded. Just about anything goes when it comes to hitting the bench, but wrecked armor, rusted hulks, ships or ...
Comments


This is great! I'm adding it to my cookbook so I can try it out when I get a chance
AUG 01, 2012 - 01:45 PM

Thank you Jeremy!! Glad you enjoyed this! I will look forward to seeing you have at the destruction!!!
AUG 11, 2012 - 02:20 PM

Nice work! I once was saw a 1/72 Bf109 treated similarly, but the base was set in a cube of resin, colour-graduated to represent sea depth - in that case the North Sea with pale greens and greys. It gave quite an ghostly effect.
DEC 12, 2012 - 09:57 PM
Copyright ©2021 by Todd R. Michalak. Images also by copyright holder unless otherwise noted. The views and opinions expressed herein are solely the views and opinions of the authors and/or contributors to this Web site and do not necessarily represent the views and/or opinions of AeroScale, KitMaker Network, or Silver Star Enterrpises. Images also by copyright holder unless otherwise noted. Opinions expressed are those of the author(s) and not necessarily those of AeroScale. All rights reserved. Originally published on: 2012-07-12 00:00:00. Unique Reads: 44934

WEB HOSTING BY


Copyright ©2021 AeroScale and Kitmaker Network, a subsidiary of Silver Star Enterprises
All Rights Reserved. Please read our Conditions of Use and Privacy Policy.
All Rights Reserved. Please read our Conditions of Use and Privacy Policy.