

1⁄32Tamiya 1/32 Vought F4U-1A Corsair
Filler Not Required
Construction on the whole, was a delight to behold and Tamiya have been thoughtful enough that the majority of parts attach along panel lines. Fit is so precise, your filler can spend a well-earned break in the not required drawer. Thanks to the comprehensive instruction sheet, any important decisions regarding assembly options are clearly pointed out. In fact, the option to have the wings folded or extended has resulted in the instruction booklet forking into two separate routes. I chose to have the wings extended, even though the wing-fold detail is exquisite, but I just felt that once again, the wings in an upright position distract from the cockpit and break up what is one of the more striking aircraft shapes of the war.
As I mentioned before, the engine is a kit unto itself with detail so crisp be it the finely moulded cylinder cooling fins, or the no way this is going to work (yet it does)exhaust system there really is no need for a resin replacement. The one and only way I feel this sub- assembly would benefit from extra detailing is the addition of an ignition harness and even then, only if you decide to show the engine panels removed.What Lurks Beneath
The undercarriage is a sumptuous affair resplendent with moulded brake lines resigning your lead wire to spend some quality time with your filler. In the past, Tamiya have offered the modeller the choice to show the wheels lowered or with a quick turn of a screw, position them retracted, but such is the complex nature of the F4Us landing gear that this was never going to be an option. No biggee.
It is however, with the under parts that exists one of my two gripes with this kit. In this instance, its the rubber tyres. Beautiful they may be with their diamond tread pattern, but removing the seam line that runs the length of the circumference and cuts across the tread is nigh on impossible. I did eventually manage to eradicate this unyielding flash on the outer surface, but the remnants that lurk within the tread will remain there for eternity. My solution was simply to pack the tread full of compacted sand and mud. Sorted.
A feature I wish more manufacturers would integrate into their larger scale kits is for the canopy parts to incorporate some of the adjacent fuselage. They could do this by simply extending it to the closest convenient panel line, thus eradicating any ill-fitting curves and removing once and for all, the danger of smearing the canopy with glue or scratching it with close-proximity sanding. Any potentially hazardous activity can be dealt with a safe distance away. Tamiya have done just that with the windscreen section including the entire panel forward of it. Ironically, such was the fit, mine is still sans glue!
 The glorious engine details.
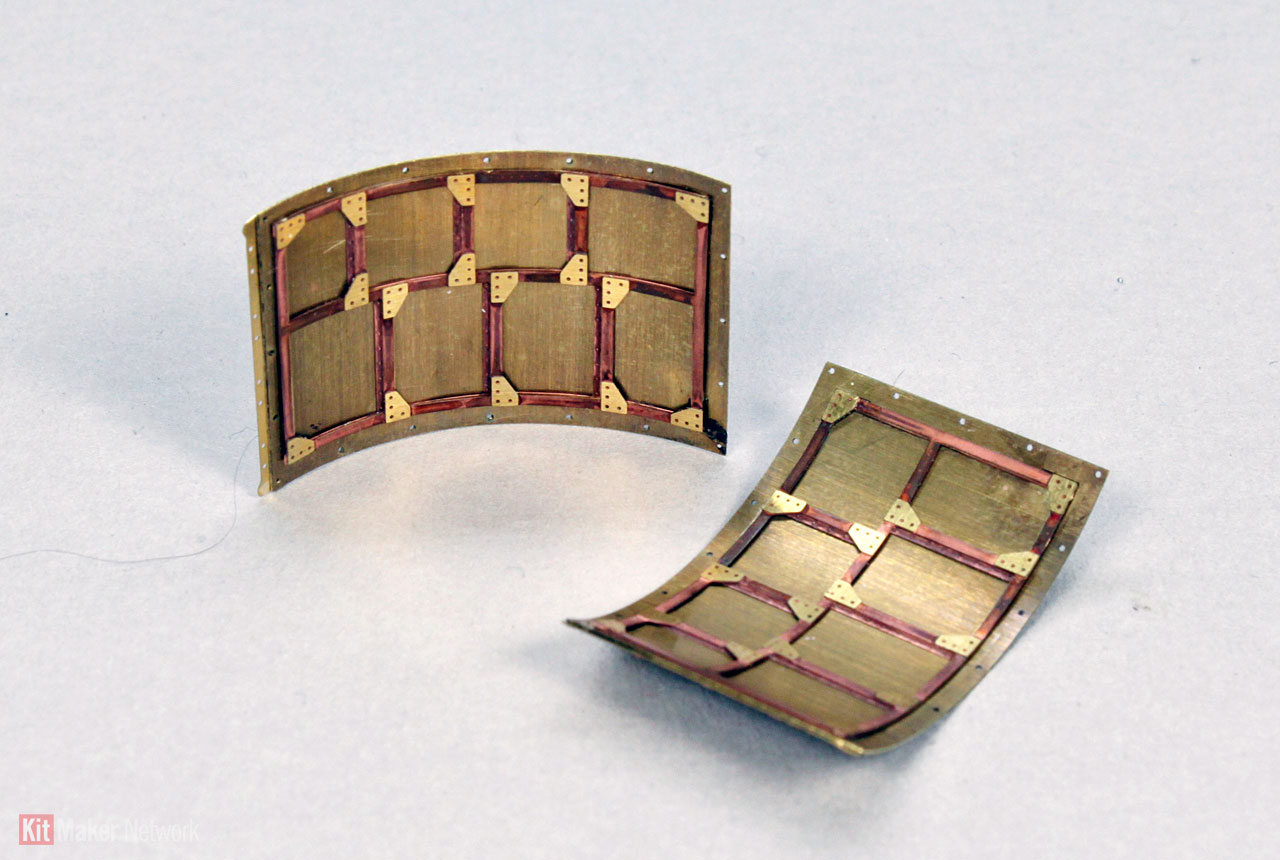
 The brass and p/e engine covers.
 The complex landing gear.
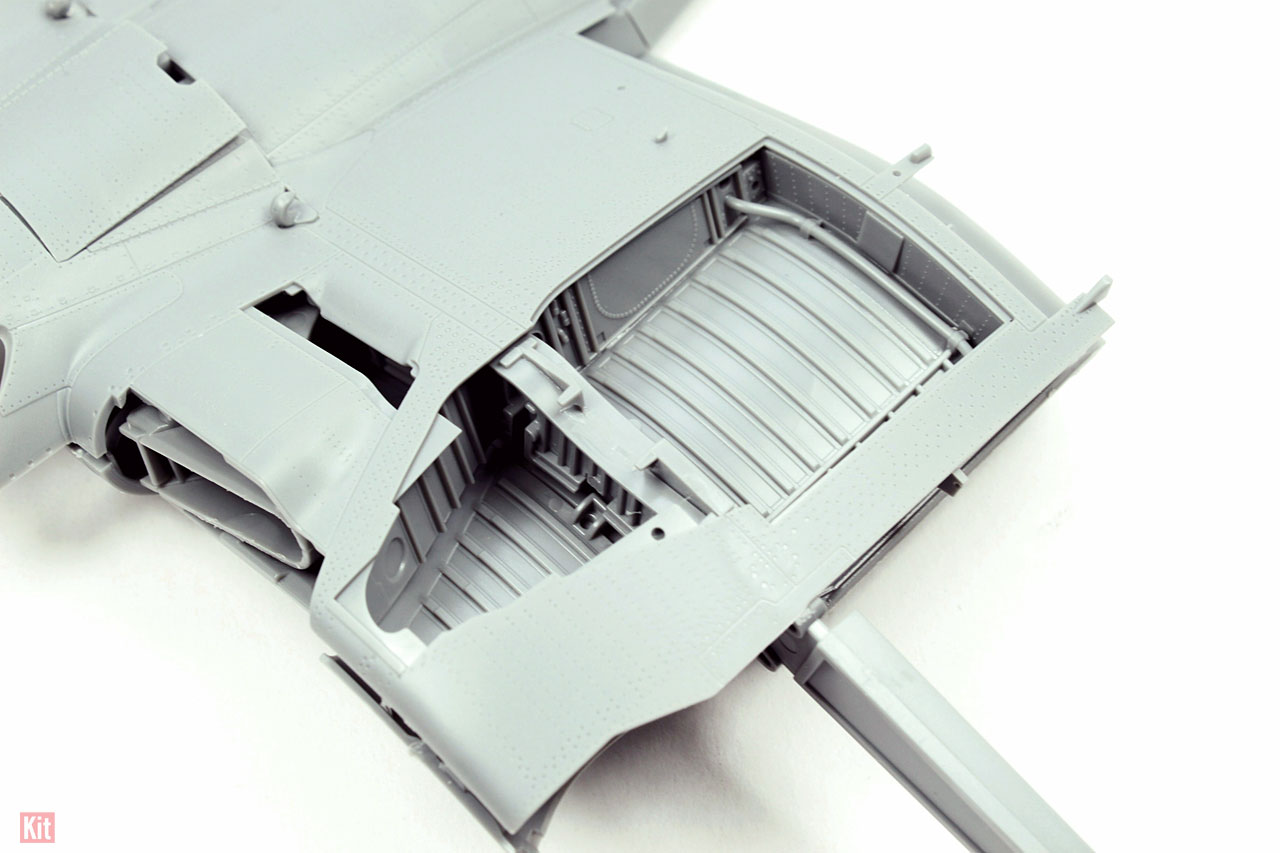
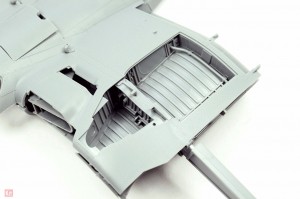 Landing gear compartment.


About the Author


Comments


All Rights Reserved. Please read our Conditions of Use and Privacy Policy.