

1⁄32Tamiya 1/32 Vought F4U-1A Corsair
From Plastic to Sun Scorched Metal
To me, it is obvious Tamiya have done their homework and have exhaustively researched the subject to bring you the best F4U in this or any other scale. I would be quite confident in stating that every rivet is present and correct, but since I dont count that sort of thing, Ill take Tamiyas word for it. This, coupled with beautifully reproduced panel lines, provides the modeller with the opportunity to create an authentically weathered masterpiece and the Pacific Theatre was just the place!
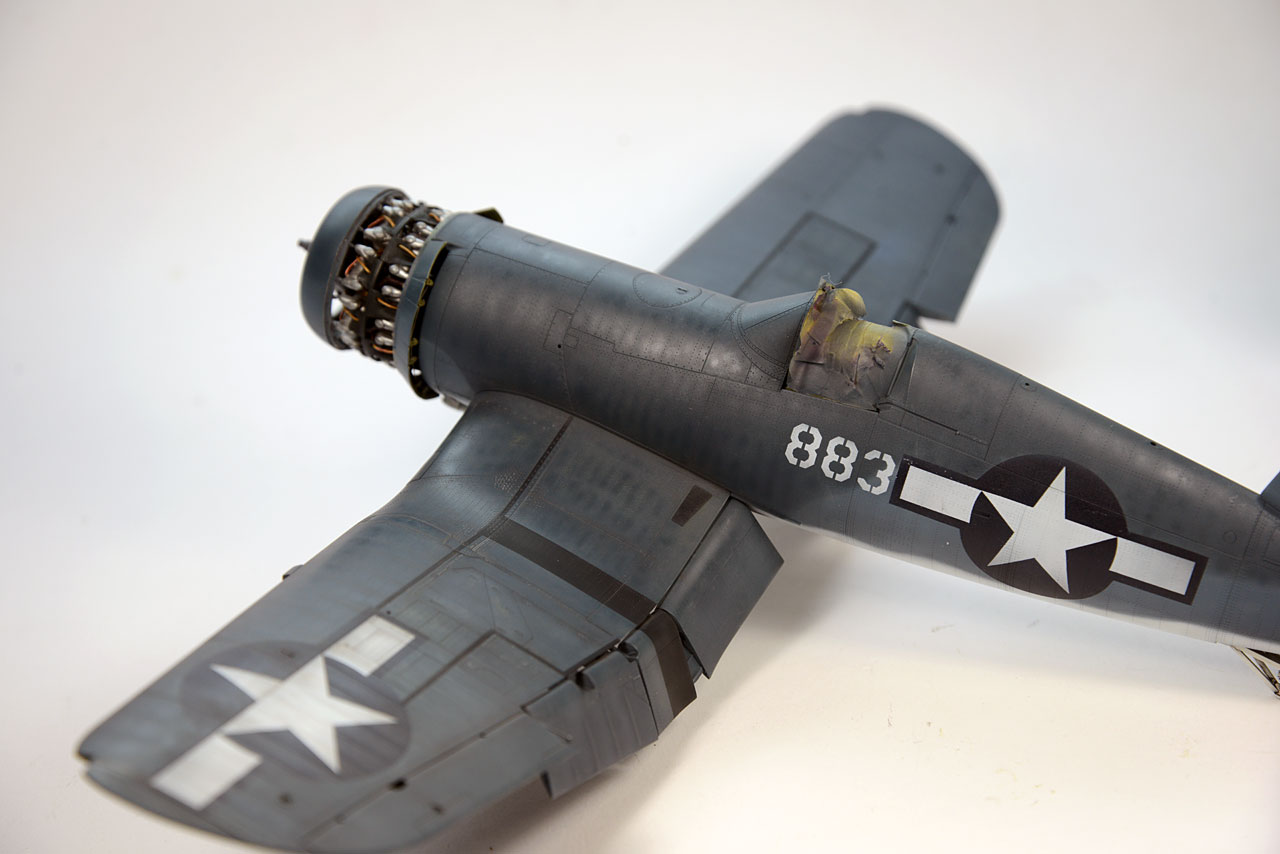
There are many examples of Corsair kits that have received heavy chipping, but my research also showed a considerable number of actual aircraft where the paint was still largely intact but faded and stained due to a combination of human and natural influences. This was to be my choice scoured and sun-bleached.
During the fading process I employ, something happened that led me to a method of creating a stressed skin look that, until the release of the Airfix 1/24 Typhoon, has been absent for the aircraft modeller. Unless you were prepared to undertake some major surgery, it was a look that was best left alone.
It occurred when I was rubbing back the Navy Blue over the gun bay panels. I had been a little too enthusiastic and the primer began to peek through. Now because I had originally added a few drops of white to the blue base coat, when I touched-up straight from the bottle, I was left with a little oval of darker - and thanks to Gunzes insistence on making most of their range gloss or semi-gloss - shinier paint. The result was that it took on an almost 3D appearance, as though bulged slightly in the centre of the panel. I promptly repeated this over the entire airframe. Its a subtle effect, one that often requires the light to be reflected in just the right way, but in my mind, it adds greatly to the realism factor in way that conventional weathering techniques do not. In fact, it caused me to hold back a little on the weathering, so that this effect could be more visible.
The Devil is in the Decals
The painting stage brings me to my second gripe. Its not aimed at this kit in particular, but every Tamiya kit and it is of course, the decals. In perfect register they may be with accurate colour and tone, its their thickness that is and has been the bugbear of many a modeller. Where possible, I aim to achieve a realistic finish on the actual surface of the paint itself, not a coat of varnish. At 1/32, this is readily achievable. How your paint reflects light is half the battle in replicating the look of real thing. The kit may be constructed to accurately represent its real word counterpart, but a paint finish will be scaled at 1:1 in that a square inch of the kit will reflect light in the same way as a square inch of the actual aircraft. Imagine then, taking a 32 inch square section of the aircraft and positioning it a relative distance away so that when viewed next to your kit section, it was the same size. You would see that it has a totally different reflective index and it is this that I am trying to replicate on my paint finish.
Unfortunately, it is something that a combination of paint and decal will not allow, hence why I chose to use the Maketar paint mask set for the insignia and serials thus allowing the same reflective quality to be endowed upon them as the surrounding paint. I have also omitted the stencil data as each little decal would have taken on the appearance of a placard rather than a painted-on finish. Most folks dont notice this until you point it out to them.
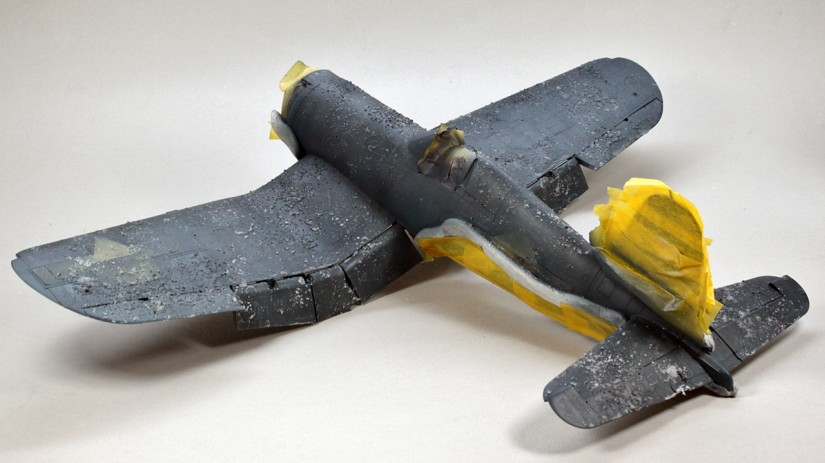
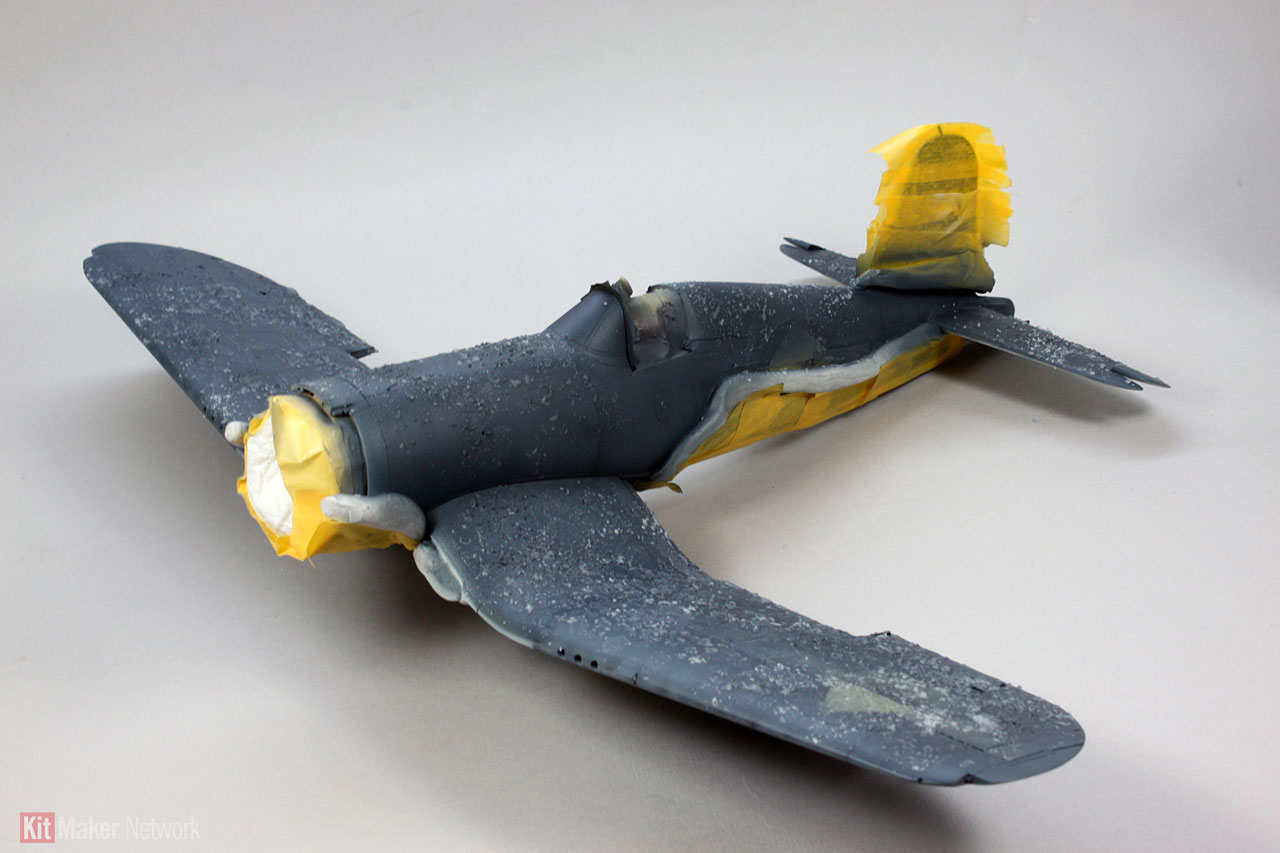
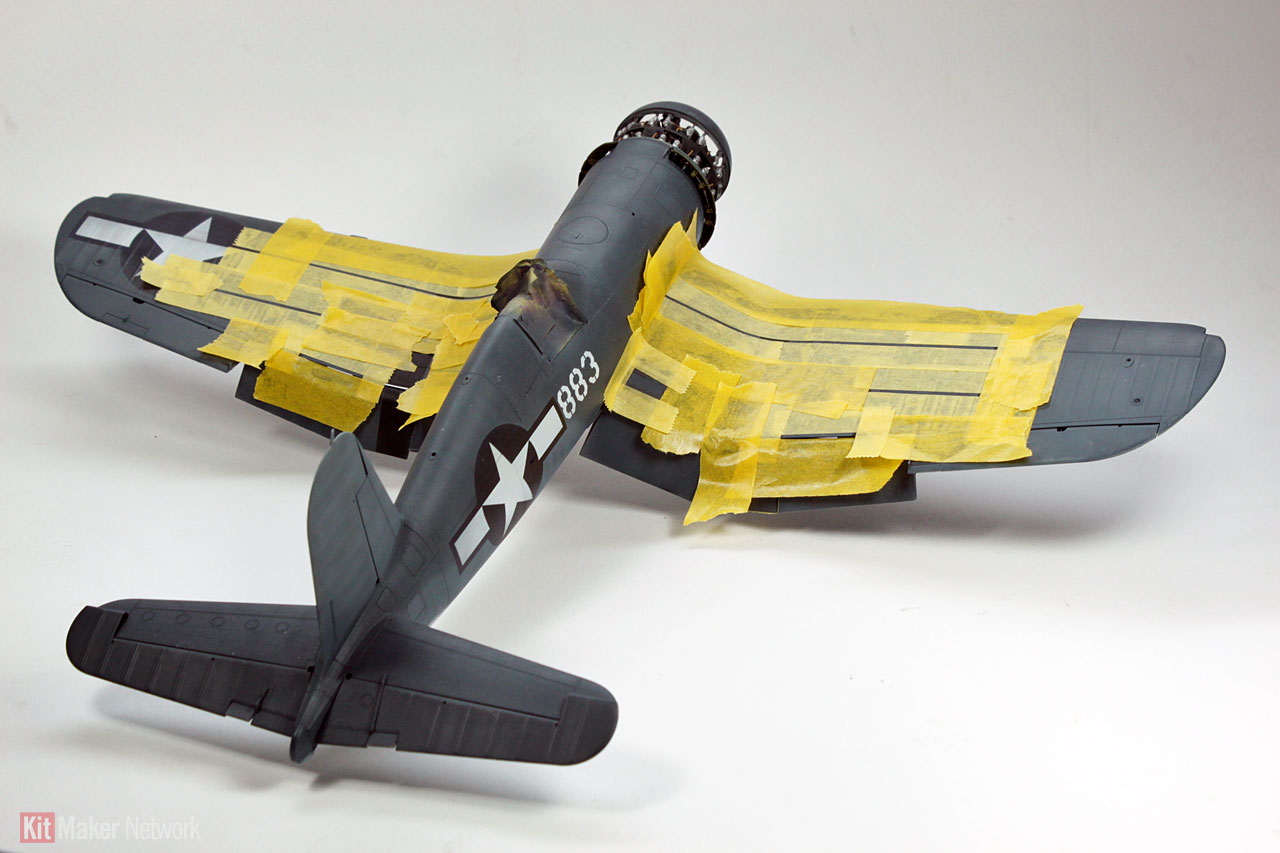
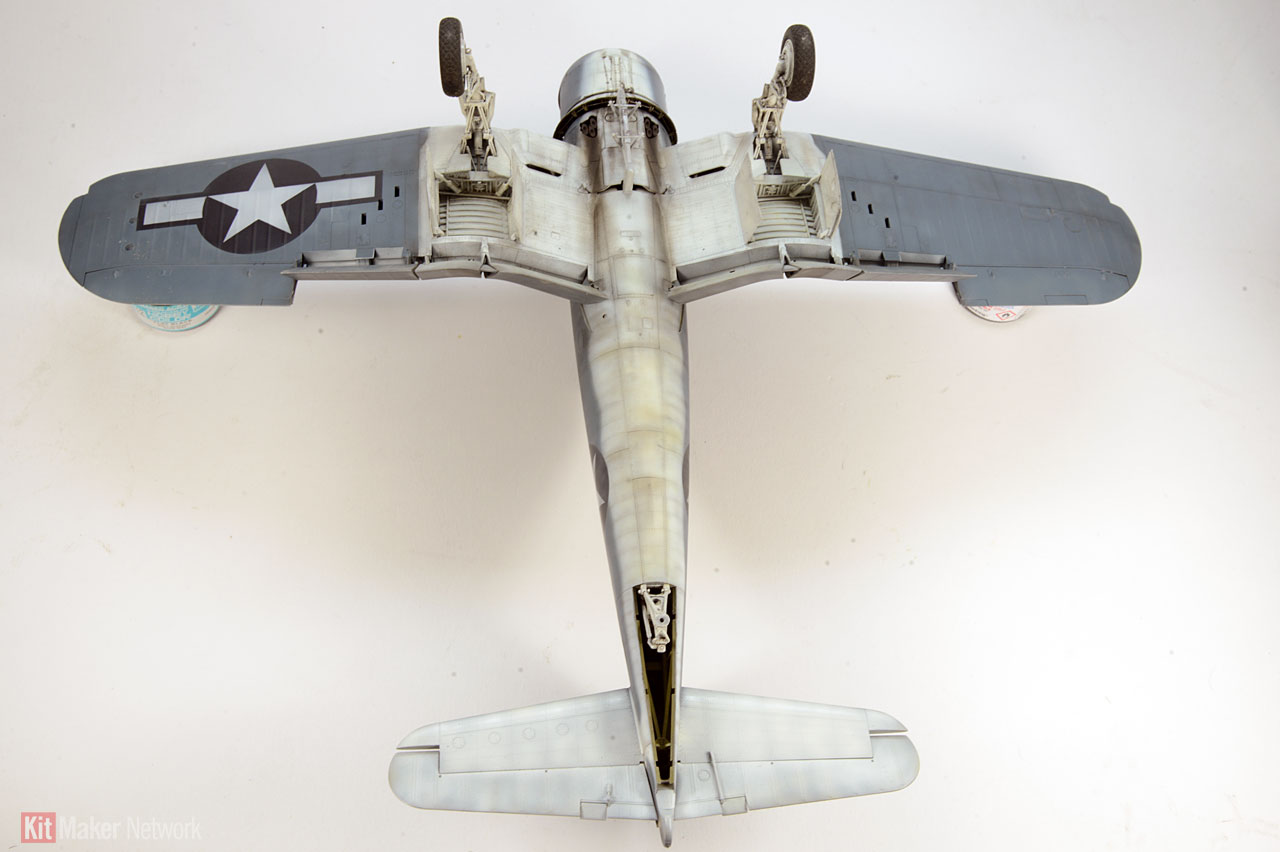
 Salt being use for tonal effects.
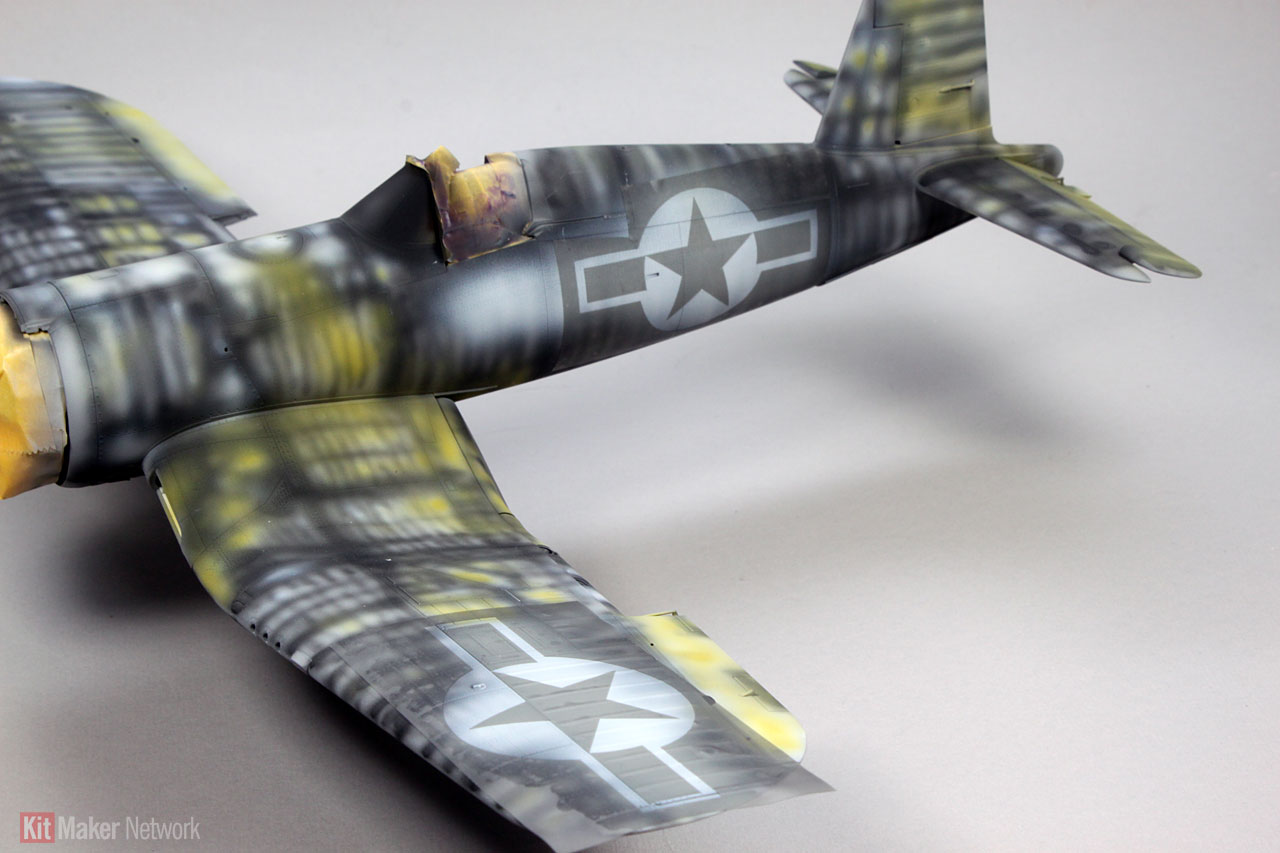
 Masking the wings.
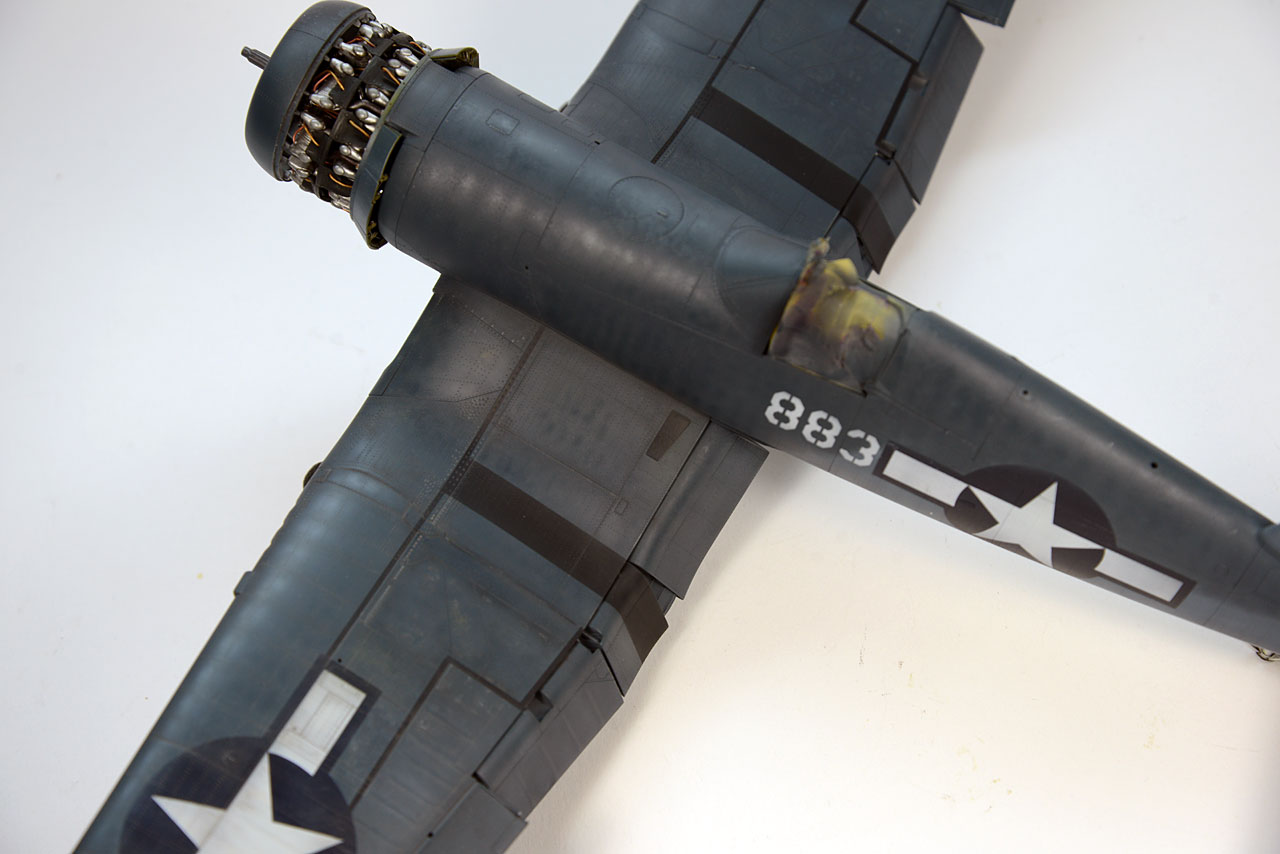
 Painting the stenciled areas.
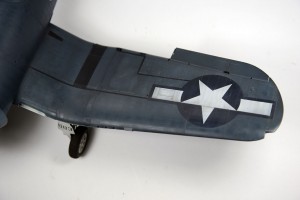 The wing markings.
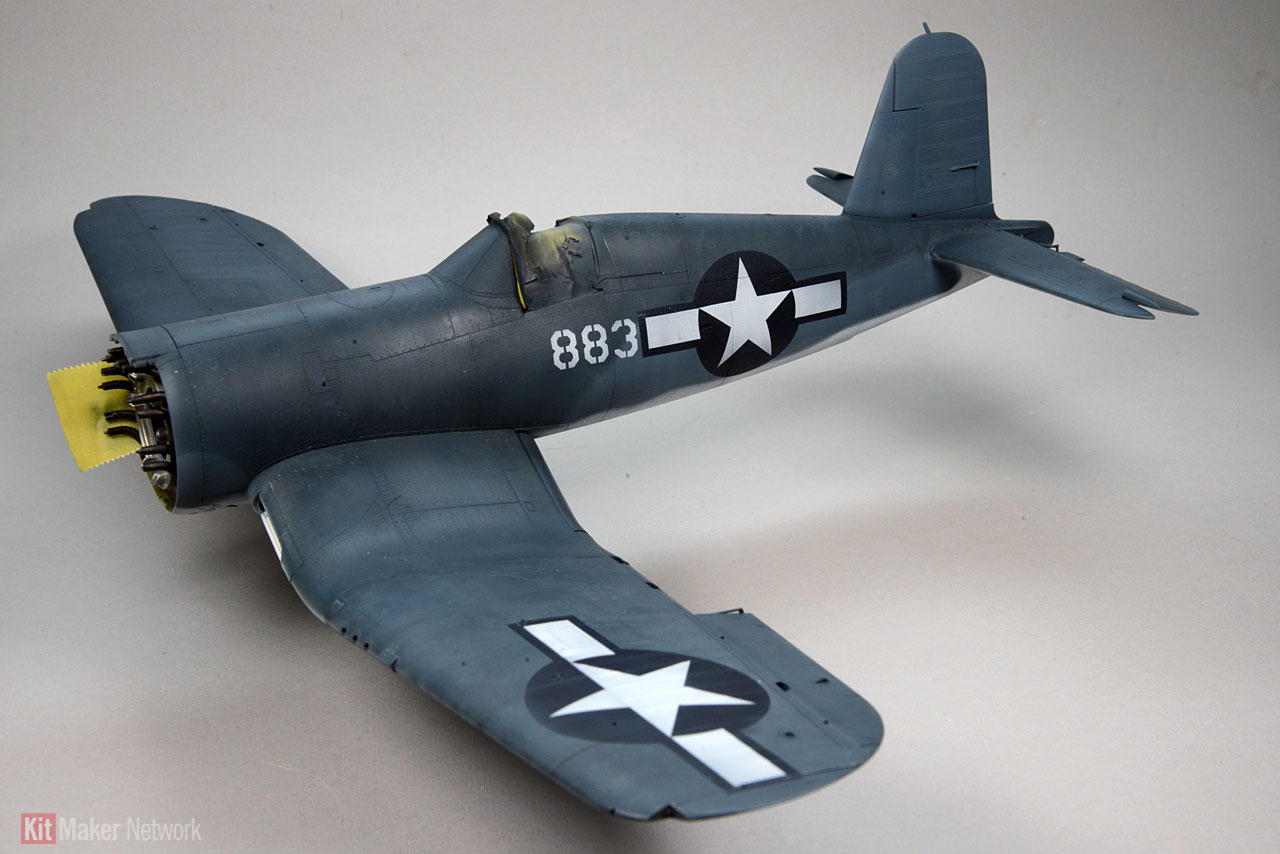
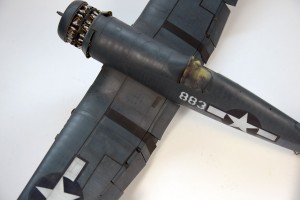 Marked and ready for final touches.

About the Author


Comments


All Rights Reserved. Please read our Conditions of Use and Privacy Policy.