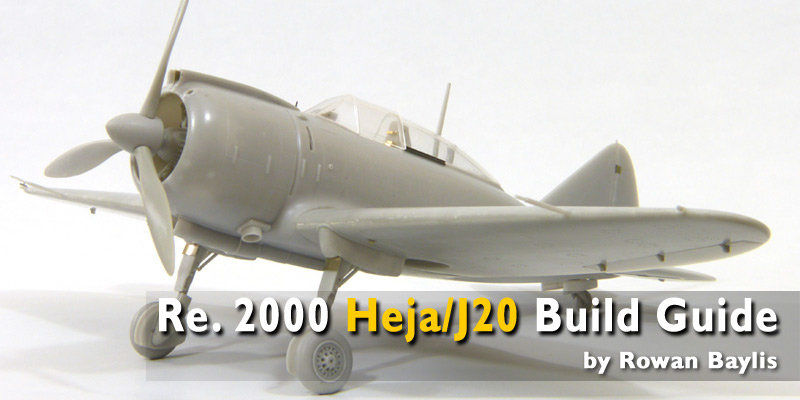
1⁄32Re. 2000 Heja/J20 Build Guide
Earlier this year I was offered something of a dream opportunity – to build a pre-production example of a kit for a manufacturer as their on-line build guide. The added proviso was that it would be a no-filler and no-paint build – something I’d not done since I was about 5 or 6 years old – and the extra twist was that it was an all-resin limited-run kit.
What to do? Well, say “Yes” obviously! So, here is Silver Wings’ 1:32 Reggiane Re.2000 Heja/J20, straight from the box. There are a few things I’d have done differently if building for myself, but I found it a hugely enjoyable build. The only frustration?… I so wanted to paint it at each stage! I guess I’ll just have to build another one day.
So, what follows is a step-by-step guide to the kit as I tackled it (not always in the order shown in the provisional instructions), reproduced with the kind permission of Silver Wings. You can find the full guide on the Silver Wings’ website, along with details on how to order the kit.
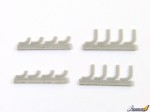
As with any kit, short run or mainstream, the first job should be to check that all the parts are present and correct. The resin parts aren't numbered, so I found the simplest way was to work through the instructions step-by-step, visually identifying each piece and grouping them in small containers ready for each sub-assembly. Doing this also helps you become familiar with how the kit is designed and spot potential snags.
One point I noticed was that the test kit shown here included a pair of exhaust outlets which aren't shown in the instructions. Upon inquiring, Silver Wings informed me that they were originally cast integrally with the fuselage, but that they have since been included as separate pieces for a better effect.
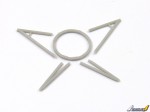
The kit contains two photo-etched frets. The parts on the larger fret are numbered to match the instructions, whereas the parts on the smaller brass fret are not, and are simply indicated on the diagrams with the symbol “PE”.
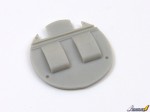
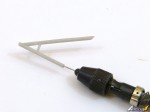
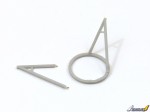
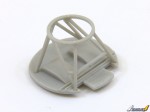
The engine mount is something of a cat's cradle to assemble. It's not overly complex, but is easy to build out of "true", so found it helpful to drill small holes and add wire pins to allow me to dry-fit it all together, using the firewall as a jig. Once I was happy that everything lined up correctly, I glued the joints. When it's complete, it's a surprisingly sturdy construction, functioning just like the original to support the engine.
The instructions indicate attaching the engine to its mount at this stage and this, in turn, to the firewall. I preferred to glue the mount to the firewall and left out the engine until I’d completed the cockpit.
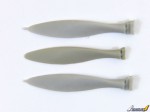
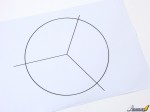
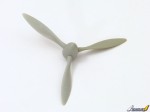
The instructions show adding the propeller now, but I left it until the end to avoid damage. The blades only have very short locating pins that can easily be lost in the process of removing the parts from their casting block, so I replaced them with styrene rod. To ensure the blades are set at the correct angles, I used a graphics programme to print a simple template with lines radiating at 120 degree from the centre of a circle. You could go one stage further and place small angled blocks on the lines to make sure each blade has identical pitch, but I was content to do it by eye.
What to do? Well, say “Yes” obviously! So, here is Silver Wings’ 1:32 Reggiane Re.2000 Heja/J20, straight from the box. There are a few things I’d have done differently if building for myself, but I found it a hugely enjoyable build. The only frustration?… I so wanted to paint it at each stage! I guess I’ll just have to build another one day.
So, what follows is a step-by-step guide to the kit as I tackled it (not always in the order shown in the provisional instructions), reproduced with the kind permission of Silver Wings. You can find the full guide on the Silver Wings’ website, along with details on how to order the kit.
Introduction
The subject of this build is an early test shot, so it should be noted that there may be small revisions in the course of the kit's production. The clear parts shown are not to full production standard. The purpose of the build is to test both the fit of parts and the assembly sequence shown in the instructions. At some points I will suggest changes to the sequence to reflect my own preferred way of working, but I recommend that you study the instructions carefully, because there is scope to tackle some areas in a number of ways. Obviously, you may want to modify the sequence further to take painting into account, something that's beyond the scope of this article.As with any kit, short run or mainstream, the first job should be to check that all the parts are present and correct. The resin parts aren't numbered, so I found the simplest way was to work through the instructions step-by-step, visually identifying each piece and grouping them in small containers ready for each sub-assembly. Doing this also helps you become familiar with how the kit is designed and spot potential snags.
One point I noticed was that the test kit shown here included a pair of exhaust outlets which aren't shown in the instructions. Upon inquiring, Silver Wings informed me that they were originally cast integrally with the fuselage, but that they have since been included as separate pieces for a better effect.
The kit contains two photo-etched frets. The parts on the larger fret are numbered to match the instructions, whereas the parts on the smaller brass fret are not, and are simply indicated on the diagrams with the symbol “PE”.
The Engine & Propeller
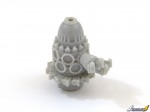
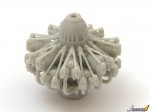
Construction begins with the engine, which is very nicely detailed with separate cylinders and intake pipes. You may choose to replace the pushrods with wire or plastic rod. If you use the resin parts, I recommend leaving a little bit of the casting plinth that you can reshape and trim down to ensure a precise fit.The engine mount is something of a cat's cradle to assemble. It's not overly complex, but is easy to build out of "true", so found it helpful to drill small holes and add wire pins to allow me to dry-fit it all together, using the firewall as a jig. Once I was happy that everything lined up correctly, I glued the joints. When it's complete, it's a surprisingly sturdy construction, functioning just like the original to support the engine.
The instructions indicate attaching the engine to its mount at this stage and this, in turn, to the firewall. I preferred to glue the mount to the firewall and left out the engine until I’d completed the cockpit.
The instructions show adding the propeller now, but I left it until the end to avoid damage. The blades only have very short locating pins that can easily be lost in the process of removing the parts from their casting block, so I replaced them with styrene rod. To ensure the blades are set at the correct angles, I used a graphics programme to print a simple template with lines radiating at 120 degree from the centre of a circle. You could go one stage further and place small angled blocks on the lines to make sure each blade has identical pitch, but I was content to do it by eye.
Copyright ©2021 by Rowan Baylis. Images also by copyright holder unless otherwise noted. The views and opinions expressed herein are solely the views and opinions of the authors and/or contributors to this Web site and do not necessarily represent the views and/or opinions of AeroScale, KitMaker Network, or Silver Star Enterrpises. Images also by copyright holder unless otherwise noted. Opinions expressed are those of the author(s) and not necessarily those of AeroScale. All rights reserved. Originally published on: 2018-10-10 00:00:00. Unique Reads: 14684


