

1⁄35MH-60G Pave Hawk
12
Comments
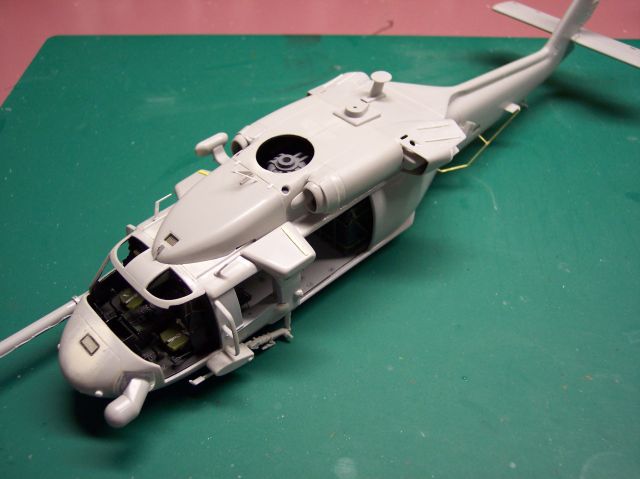
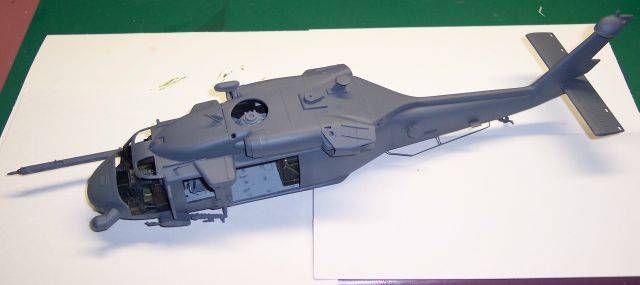
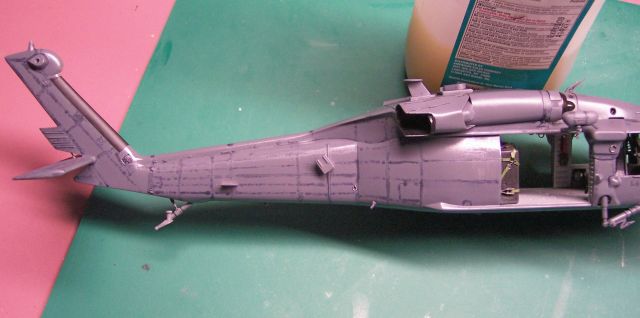
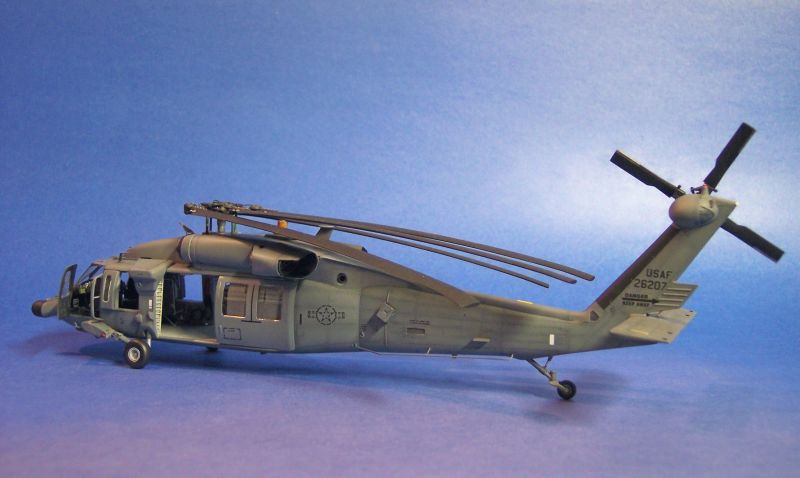
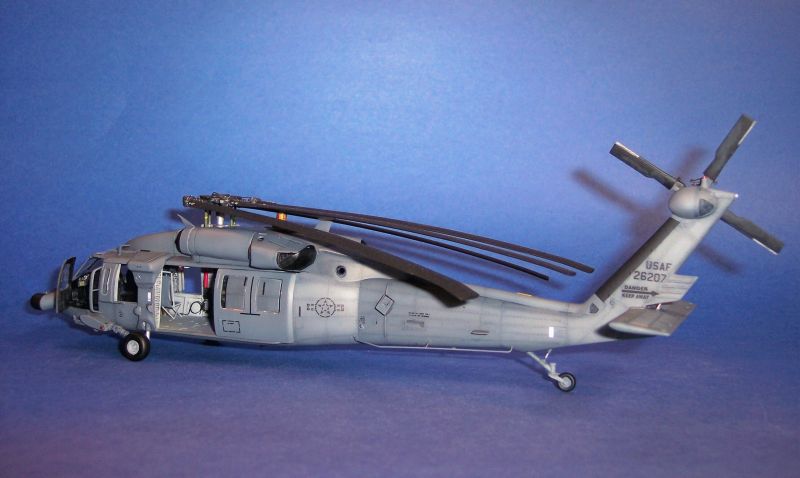
Exterior Painting
With major assemby completed, the model was ready for paint. First it was brushed of and then wiped down with rubbing alcohol, (figure 17 & 18). I decided to paint in Model Masters Gunship Gray - that’s the new color the G’s are now adopting, (figure 19). After the paint dried, three coats of Future floor wax was applied. The floor wax works great to weather when using oils. For the wash, I used Winton’s Paynes Gray. It’s a dark gray in color and I find that it works well when weathering Aircraft in gray colors, (figure 20).After a three hour wait I’ll use a number 0 brush to remove and blend the oil wash. I find that using the 0 brush makes it easier to push the paint around the raised detail. Also by waiting the three hours you don’t need to use thinners to remove the oils. Now let it set for 24 hours and apply two more light coats of the Future floor wax, and let it set another 24 hours to dry. After that it was time to put on the decals, then I lighten up the base coat of Gunship Gray by adding a drop or two of white and then thinned it down with the rubbing alcohol, 10% paint to 90% thinner. Turning the compressor down to 10psi, I airbrushed along some of the raised areas and in most of the centers of the panels. I then sprayed on two coats of Testors dull coat.
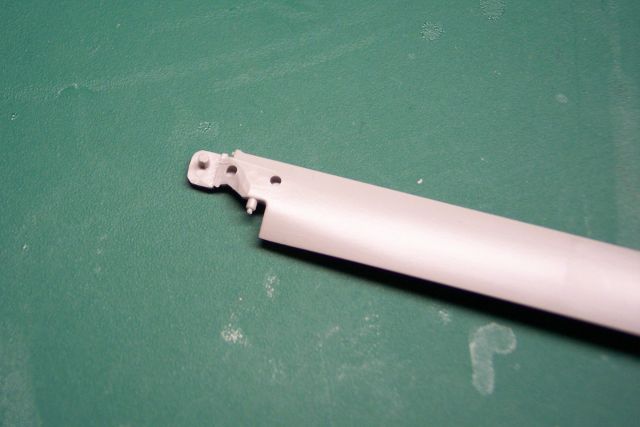
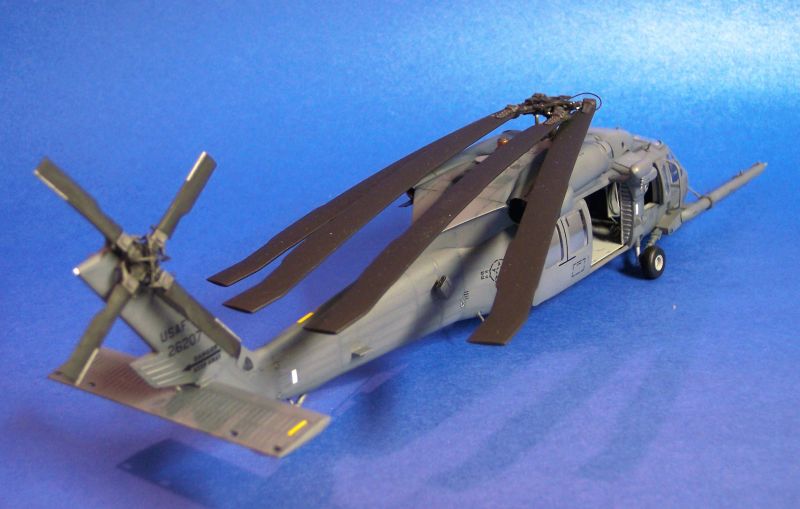
Main Rotors
Now moving on to the main rotor mast, head and blades in steps 13 and 14. Here you have the option of displaying your Pave Hawk with the blades open or in a folded position. I found that in it’s folded position the blades don’t fully fold inward, (figure 21). To bring them a little tighter, lay out the parts as I did and you’ll see where the blades hit against the mast head. Shave down the blades using your hobby knife and dry fit from time to time taking a little off at a time, (figure 22). You don’t want to go overboard, you just want to take off enough so that the blades tuck under each other, (figure 23).The main and tail rotors were painted with Model Masters Metalizers, aluminum, gun metal, burnt iron, titanium and stainless steel. The blades were paint in Model Masters flat black. Tamiyas NATO black was dry brushed on along with a few blotch marks.
Conclusion
All of the photo etch pieces went together well and had no problems during the build using them. The kit's overall fit wasn’t that bad itself - with some putty and some sanding it turned out pretty good… then you get to the glass. Most of the pieces went in ok, and I say ‘ok’ loosely. I had two pieces that were undersized and wished I dry fitted the glass in before I stated the build. This would have given me the chance to add in stretched sprue for a tighter fit around the openings.From the information I gathered, the Italeri Pave Hawk is the better choice in 1/48th. Along with their interior photo etch set, Eduard also has an exterior set in photo etch, item no.# 48 471.


About the Author


Comments

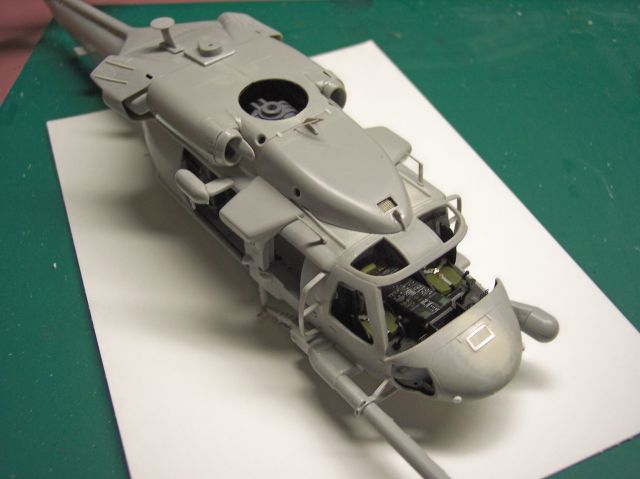
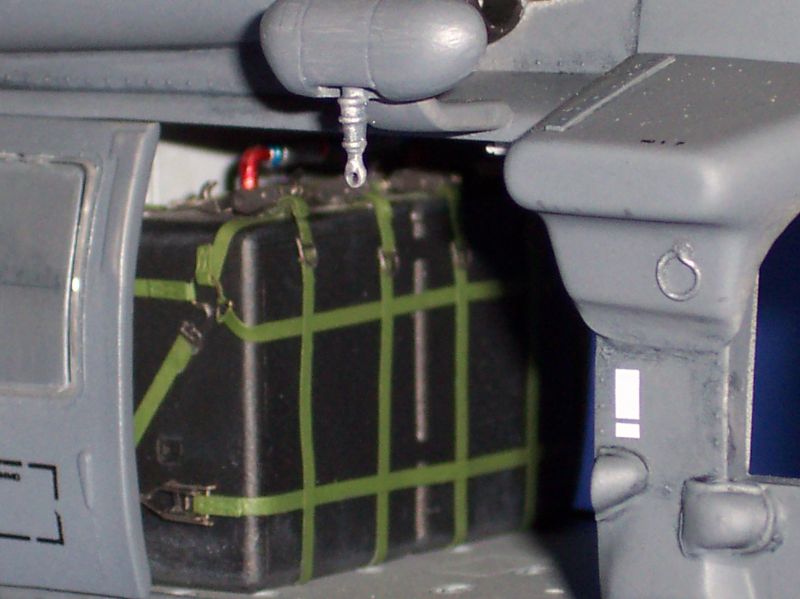
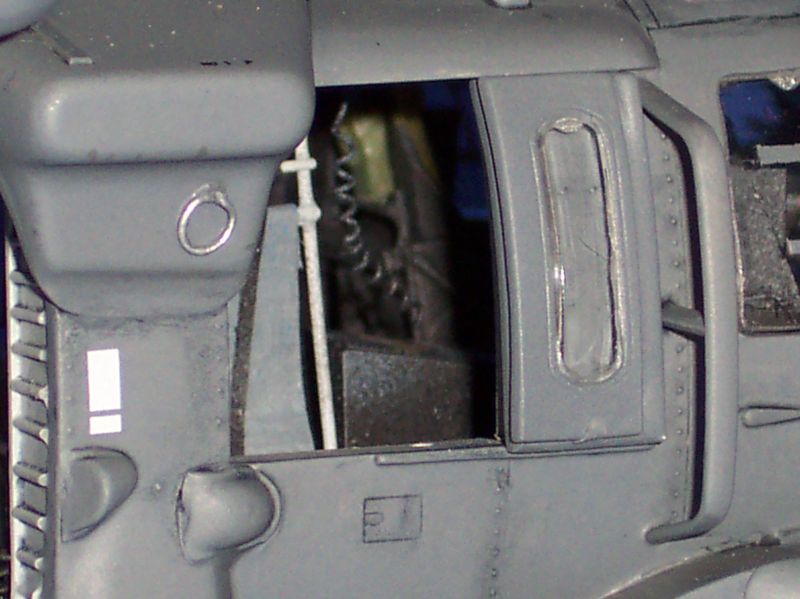
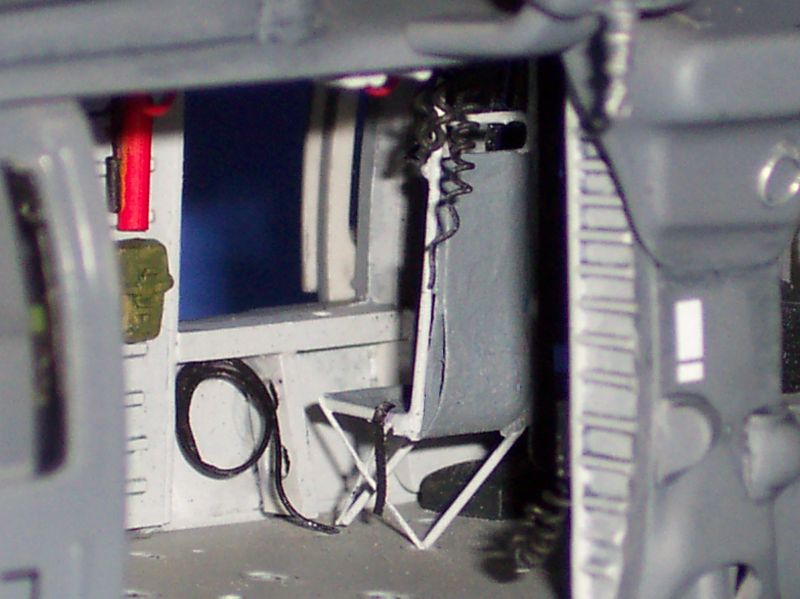
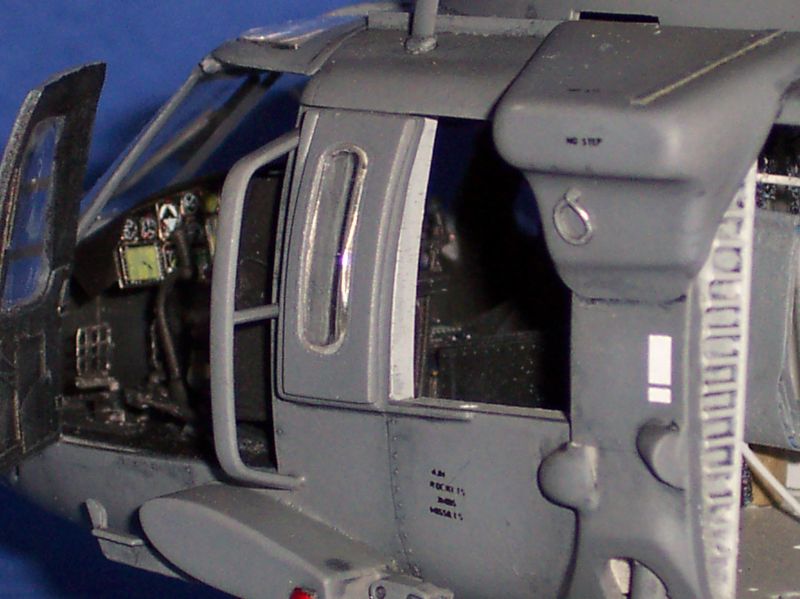
on the HH 60 the model shows the center consoul extends into the cabin area
is that the way its supose to be
i know on the UH-60 L it stops even with the storage boxes ont the back of the pilots seat
MAY 14, 2006 - 09:29 PM

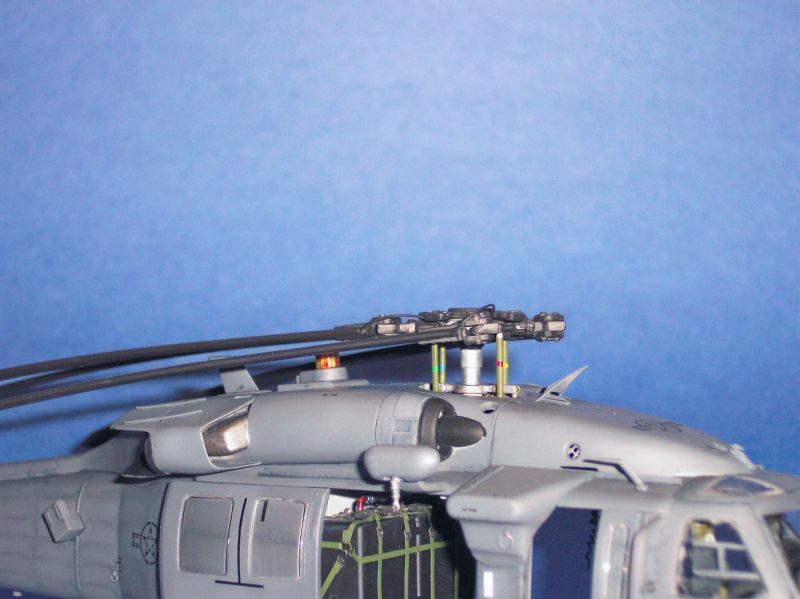
Yes, that is where the controls for the extra radios, chaff/flare launchers, and some other mission/type specific equipment for the MH/HH models are housed. You can see the extended console below.
 Here is an HH-60G full walk-around as well.
Here is an HH-60G full walk-around as well.MAY 14, 2006 - 09:36 PM

Joe, congrats man on the fine build and excellent well written article. Almost makes me want to give choppers a try! cheers Kevin
MAY 15, 2006 - 12:26 AM

Gee.... Joe, that's a very nice article.....
Thanks for writing it.
MAY 15, 2006 - 04:27 AM

Hi Joe!
Great feature and awesome model! The interior detail is as always top class!
Jean-Luc
MAY 15, 2006 - 10:09 AM


great build and all, but, just so you know, the pitot tubes are on backwards.
JUN 30, 2006 - 12:34 AM

Nice build Joe but the only thing that bothers me , is that you would hardly ever see a USAF 60 with the blades folded. The blades have to be
manually folded. The reason I know I'm a ex H-3 / H-53 / MH-60G crew
chief. In fact retired.
JUL 14, 2006 - 05:49 AM

Thanks all for the complements, it was a great little kit to build. I have plans on doing a few more now that Mike Grant has a new decal sheet out on the 60B series.
Paul thanks
not sure why that happened, must have been one of those late night oversights. Hey we all make mistakes and over look something from time to time. I was able to remove them with out damage and place them in the right direction.
Hey Don,
Thanks
.here is a sentence out of a MH-60G Pave Hawk book, Im sure with out doubt they are, in fact most of the pics Ive seen were just as you said. See I was inspired by (2) photos of a Pave Hawk rolling out of a C-5 Galaxy, but mostly I like to folds back the blades on the Helicopters to save space on the shelves. Im also working on a 1/35 Pave Hawk which is about 20% started, I plan to fold her up as well.
JUL 14, 2006 - 09:41 AM
Copyright ©2021 by Joe Szczygielski. Images also by copyright holder unless otherwise noted. The views and opinions expressed herein are solely the views and opinions of the authors and/or contributors to this Web site and do not necessarily represent the views and/or opinions of AeroScale, KitMaker Network, or Silver Star Enterrpises. Images also by copyright holder unless otherwise noted. Opinions expressed are those of the author(s) and not necessarily those of AeroScale. All rights reserved. Originally published on: 2006-05-15 00:00:00. Unique Reads: 23839

WEB HOSTING BY


Copyright ©2021 AeroScale and Kitmaker Network, a subsidiary of Silver Star Enterprises
All Rights Reserved. Please read our Conditions of Use and Privacy Policy.
All Rights Reserved. Please read our Conditions of Use and Privacy Policy.