Hi again
I made a start yesterday. The cockpit parts are going together very nicely:
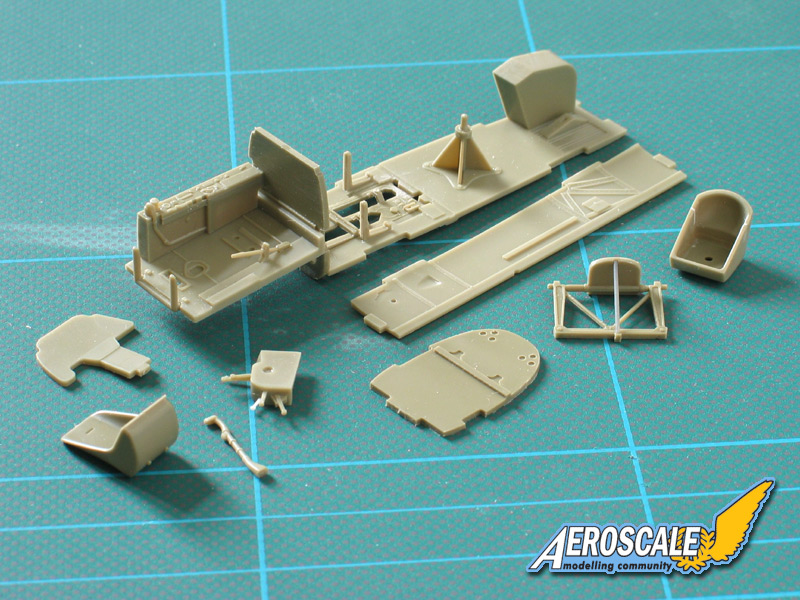
Eagle-eyed viewers will spot a couple of non-kit items in there - a throttle lever and the support for the folding centre-seat. The reason's simple - the carpet monster ate the original throttle lever!

and it was just easier and quicker to replace the support with a length of plastic rod than mess about cleaning off the sprue attachment and mould line from the kit item.
On the point of the throttle levers - it's something of a surprise that Eduard have supplied them as styrene, rather than their usual etched, parts. They are really tiny and need careful clean-up - as witnessed by me managing to lose one within minutes of starting the build!

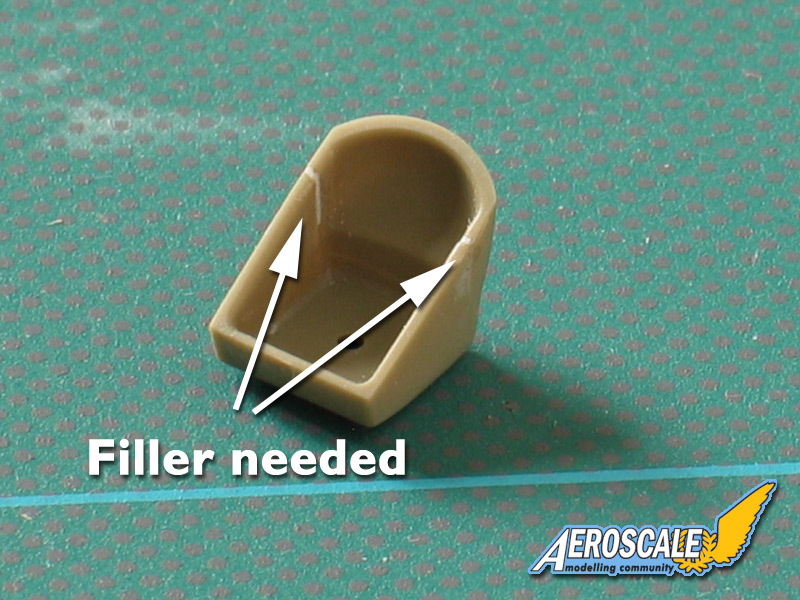
The gunner's seat is made up of 2 parts to capture its distinctive shape. It needs a touch of filler to get a smooth inner surface.
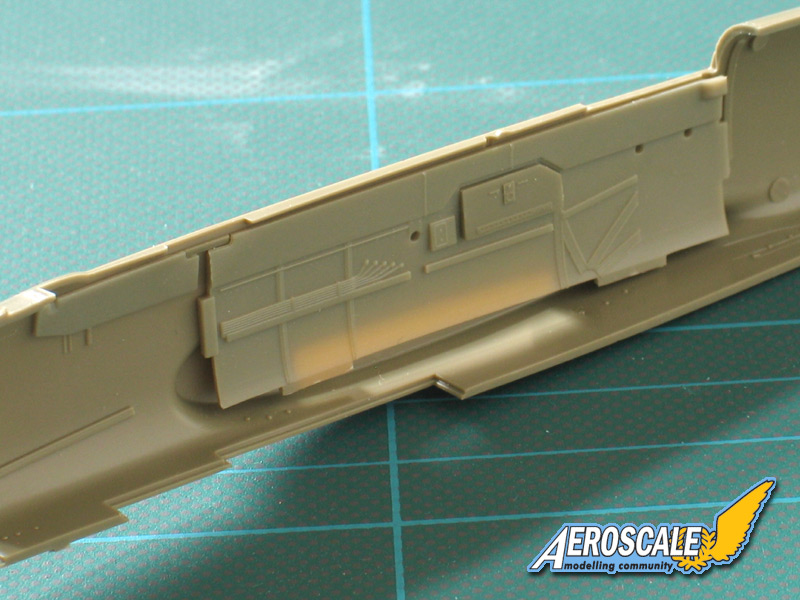
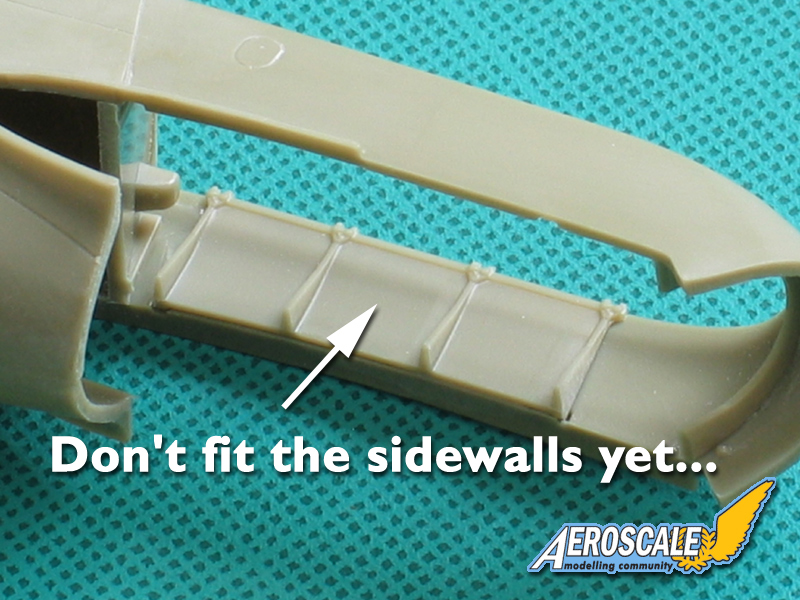
I normally like to attach sidewalls to the fuselage, rather than build a full cockpit tub, so I've broken away from Eduard's recommended sequence here.
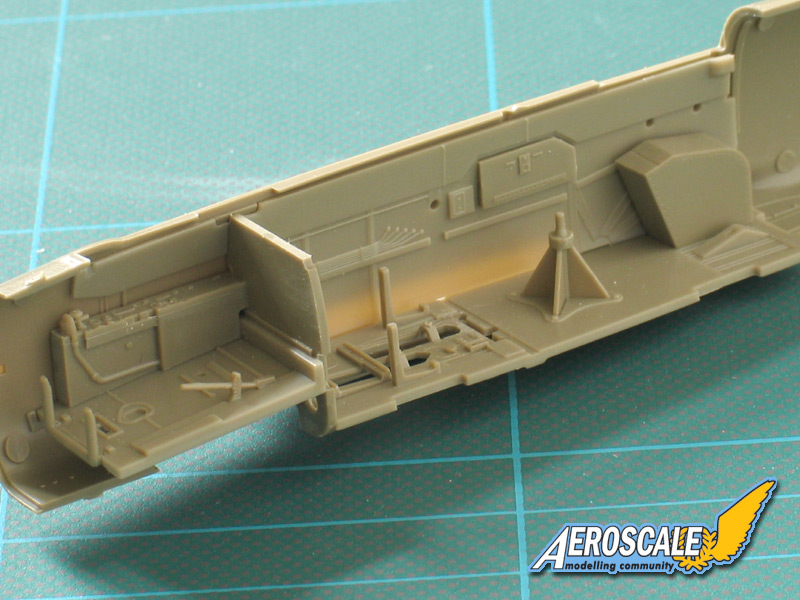
As you can see, this works fine for the starboard sidewall, but
don't do it with the port side - I tried and it left a noticeable gap at the base, so I'll follow the instructions for that.
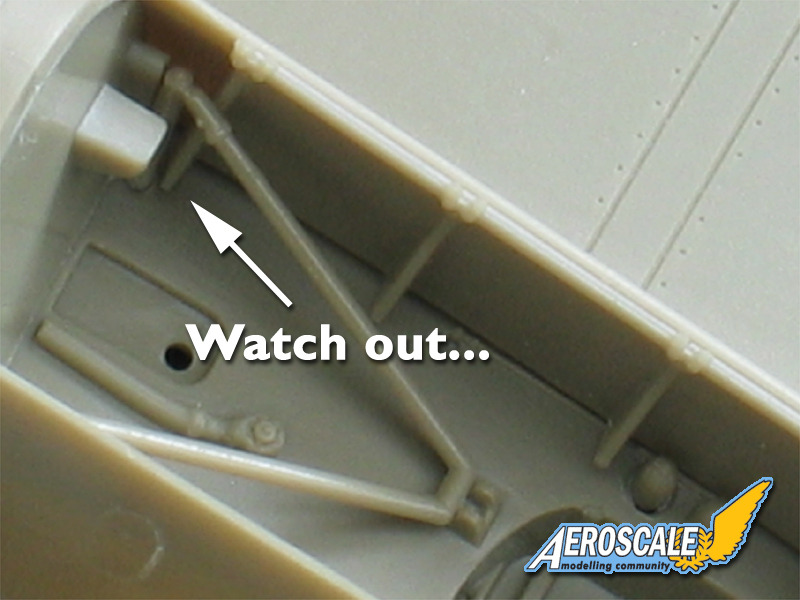
Moving away from the cockpit, I've found a couple of points to watch out for:
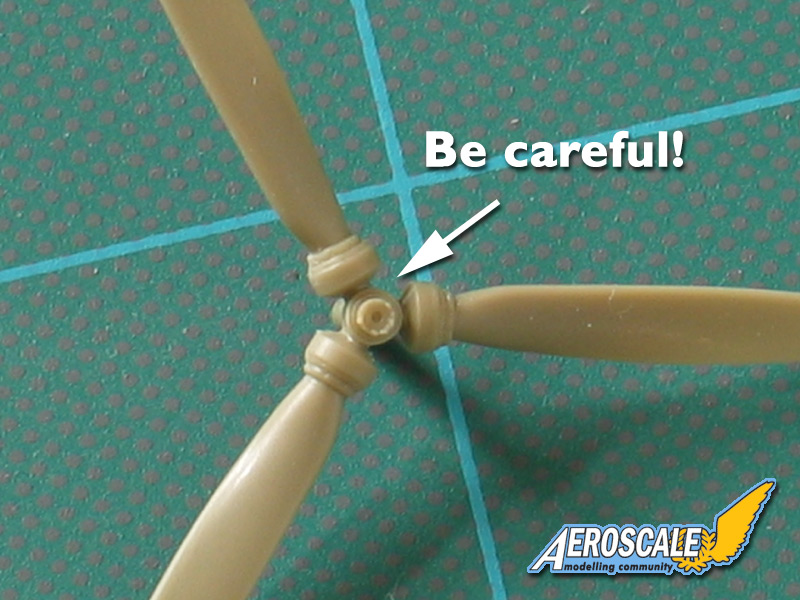
The propellers have quite thin roots to each blade - and also quite thick sprue attachments - so treat them with a little extra care.
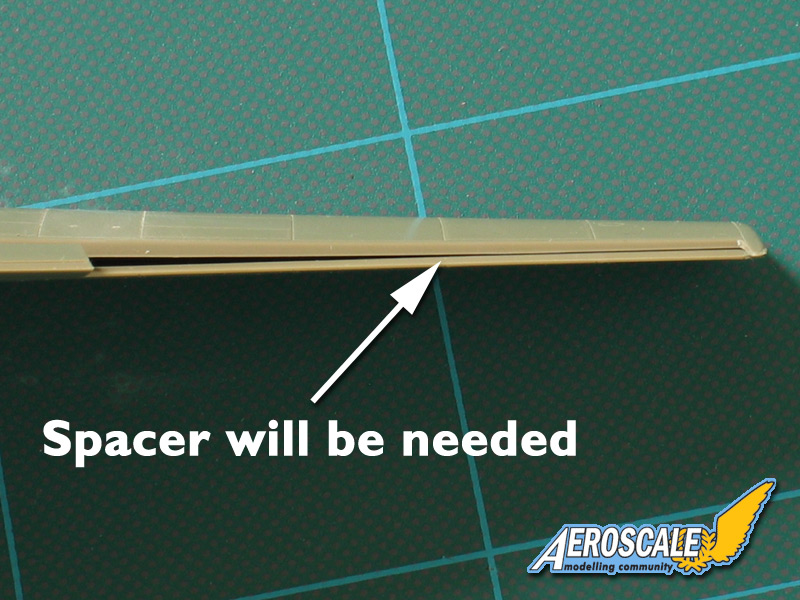
As I noted in the Review, the wing halves are slightly warped, with a tendency to splay apart. The plastic is quite flexible, so it was no problem to clamp them with clothes pegs while they dried overnight - and the result is a nice pair of perfectly straight wings. But checking them this morning, the points where the ailerons attach will need a small spacer added to maintain the thickness.

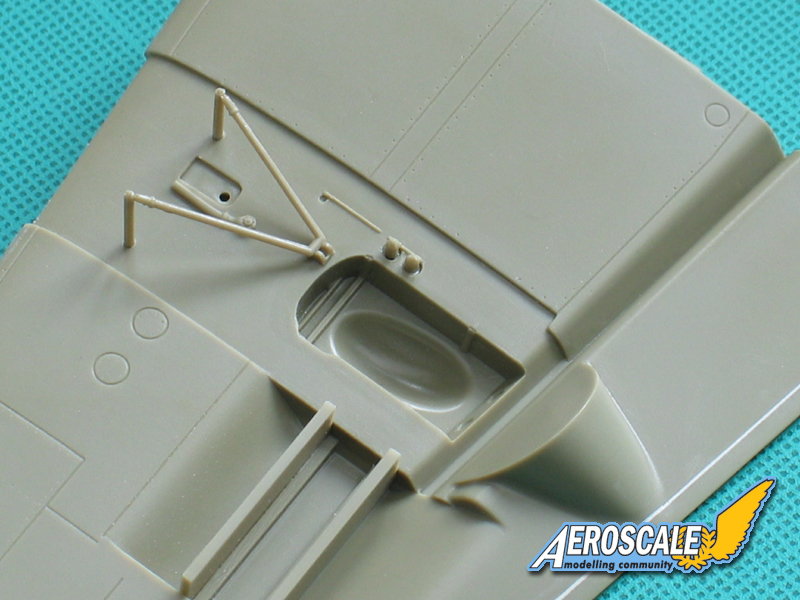
And while on the subject of the wings - don't forget to add the undercarriage attachments before closing the wing halves. These pins fit from the inside and will be vulnerable to damage until the nacelles are fitted.
There's a bit more to do, and then I can start to think about painting. John Snyder of White Ensign Models has very kindly supplied a set of superb Luftwaffe ColourCoats enamels, so I'll be using them throughout the build - look out for a full Review soon.

All the best
Rowan