Long time since I posted something on the Aeroscale. But here Im going wild again.
Having started up the mighty Trumpeter P-47 build this week do I have some days of my work. Lots of gluing before the paintjob, something I like to doe.
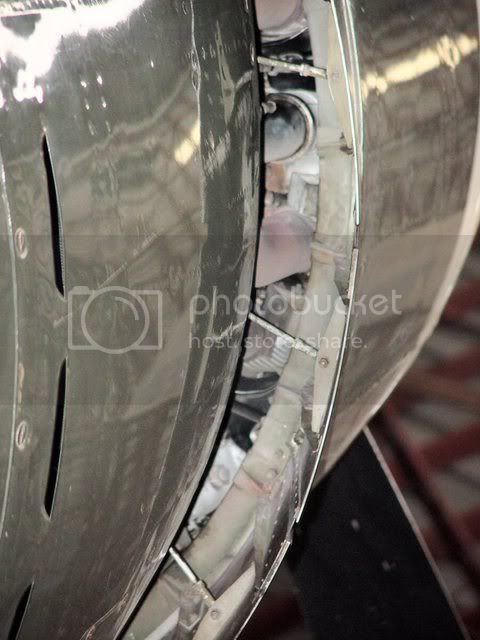
There is a ton of pipes, duct inside the fuselage, little scary if it don´t fit the inside, I glued everything up and test fitted, Yes its a sanding job to fix before it goes together. Not that muck but to avoid big seams to fill Im wanting a tight fit on the halves.
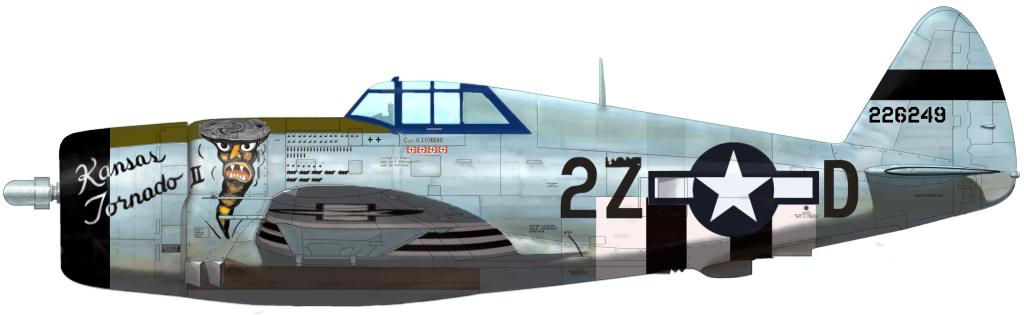
Because Im not going to open this one up, yes its a crime with all these nice things inside. Im just like the P-47 as it is. Ask anybody modeller and they can tell you hove the gunbay looks like anyway.


Im used oilpaint on outside of the interior then put the fuselage together, The paint was giving me an idea were to sand.

The red arrows gives you were to sand.
Next job thats been started is the office. Trumpeter gives us modellers a nice cockpit, but you can always put in something more


Stuff like Waldrons placard set will go in and some more wires and handles.
For this one I ask Ms Pandora for some help, And she vacuumed a new seat for me

The first session in the paint box is finished. Some more paints will go in but thats next


Lars q