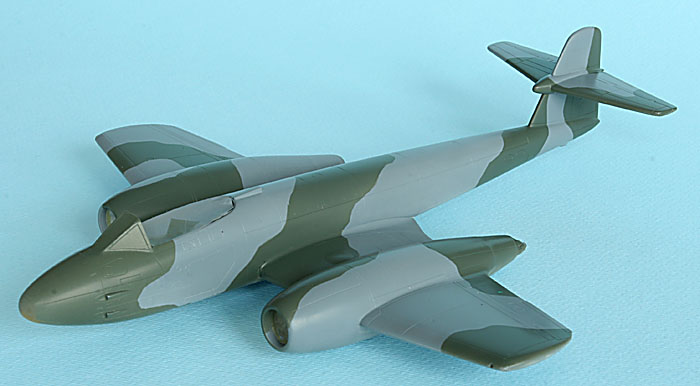
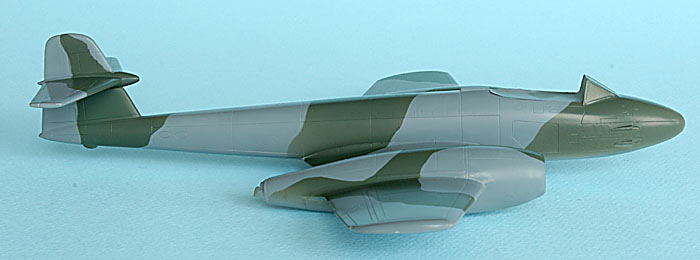
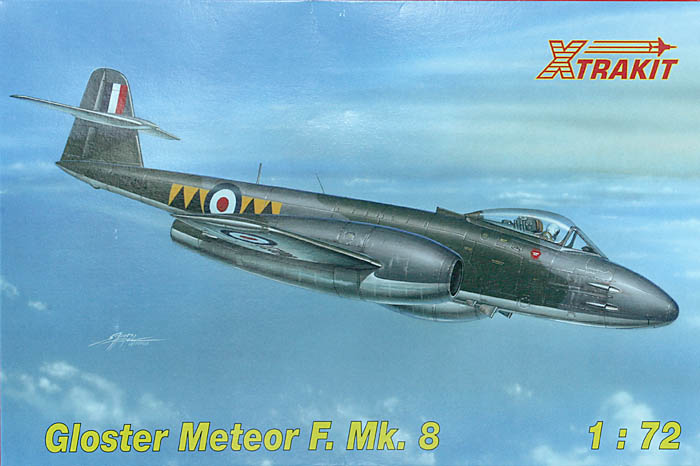
I will use the excellent (at least it looks like that and it has got raving reviews elsewhere on the Internet) Xtrakit 1/72 Meteor F.8. As for decals, I havent decided yet. I have very few (and conflicting) references to which the Xtradecal sheet I bought just adds to the confusion.
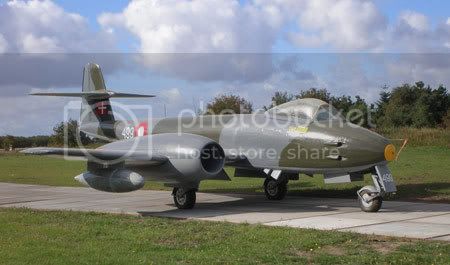
I visited Stauning in Denmark two weeks ago and they have a nice looking Meteor on display. Theirs is a late model F.8 with full-blown canopy and large engine intakes. Lower surfaces are grey but that doesnt need to mean anything since this is a restoration. It also has a rounded typeface for the numerals.
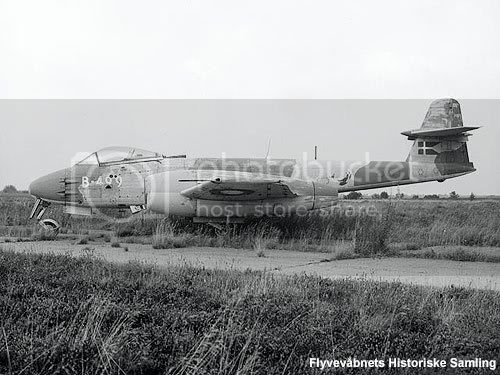
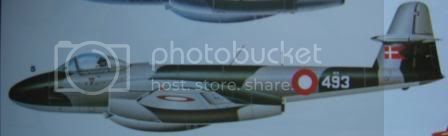
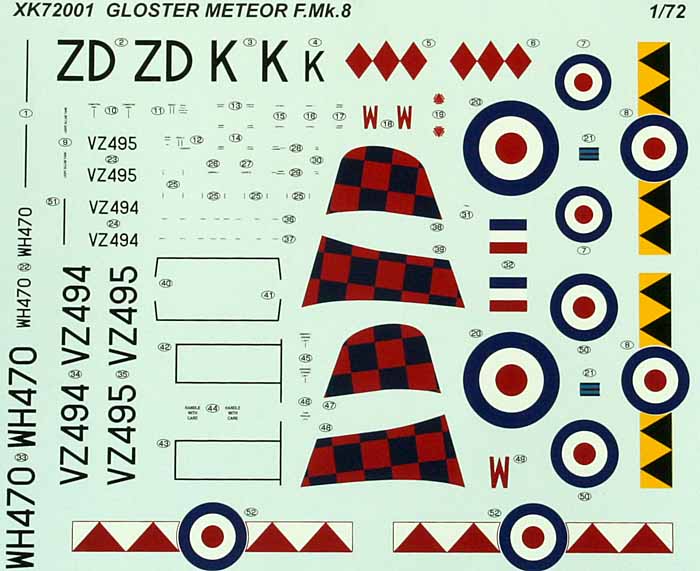
Looking at the very few photos I have of Danish Meteors these show aircraft with the earlier kind of canopy (smaller Perspex area with sheet metal at the rear), small air intakes and a more square kind of numerals. Could this possibly be some kind of delivery scheme? And if so, were the aircraft rebuilt during their relatively short service time with new canopies (very possible) and larger intakes (less likely I think). Xtradecal suggests lower surfaces in high speed silver in the profile view and PRU blue in the plan view...
Anyone around who can bring some order to the above confusion? Jesper, youre from Denmark? (Remember, I would never dream of saying that the paint scheme is boring)?
I will blog this build and I aim for a finishing date not later than mid October in order to meet the C-4 Open date. I will try to make at least one update a week but this depends a bit on my family, my work schedule and my travelling schedule!
On to the model.
Nice box art!
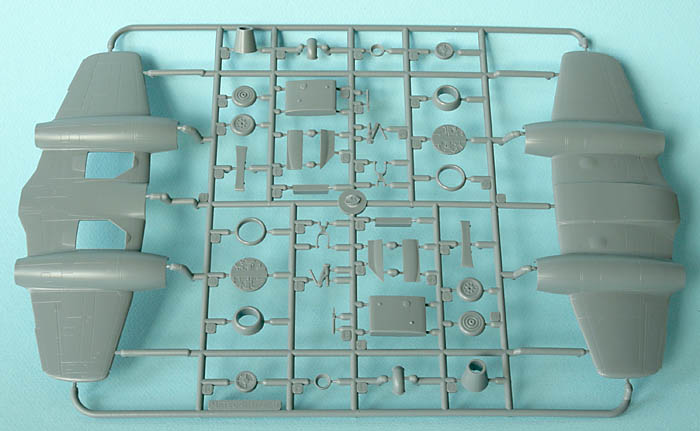
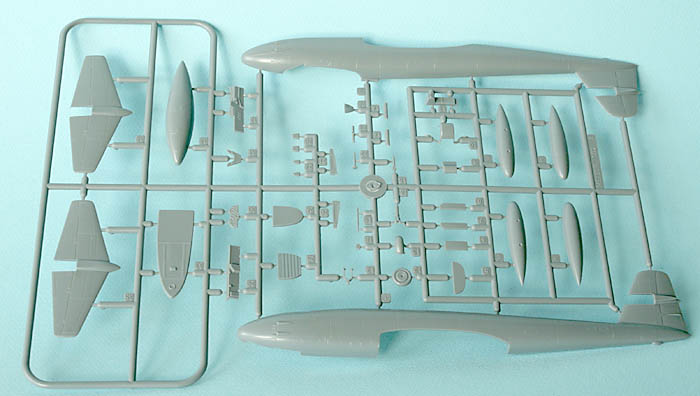
And what's in the box then?
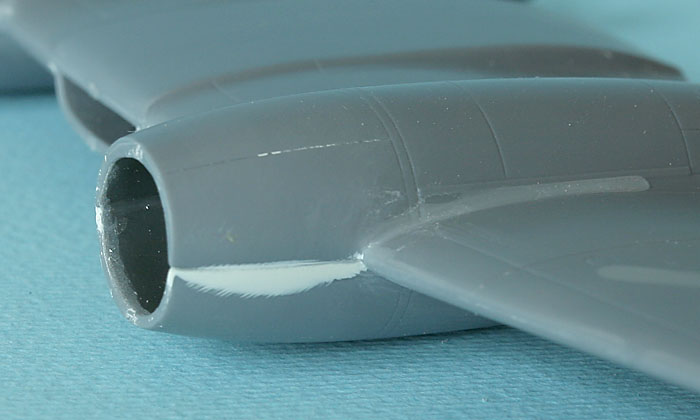
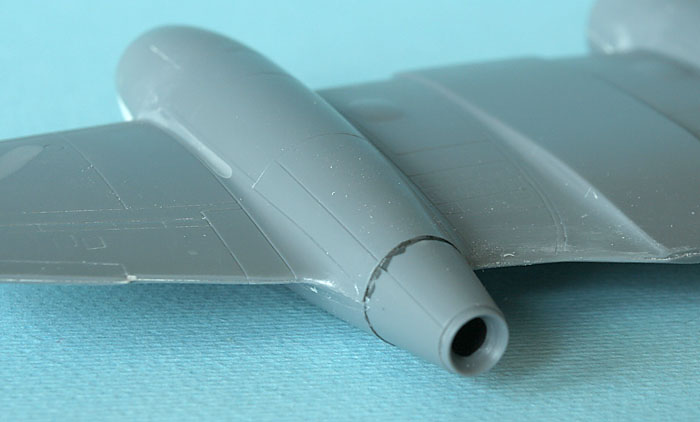
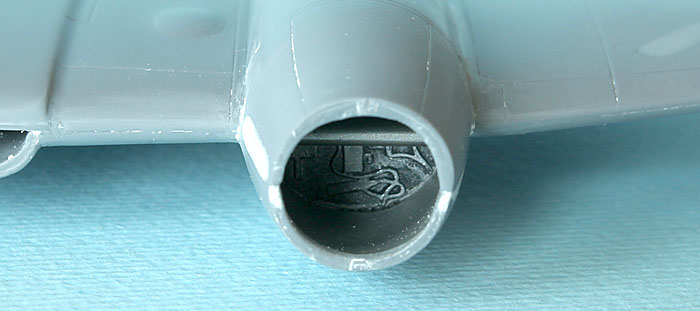
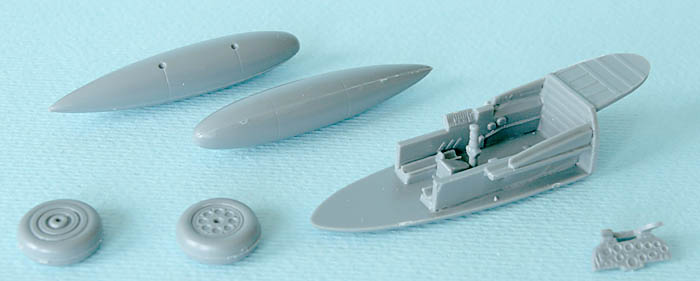
Two well moulded grey sprues.
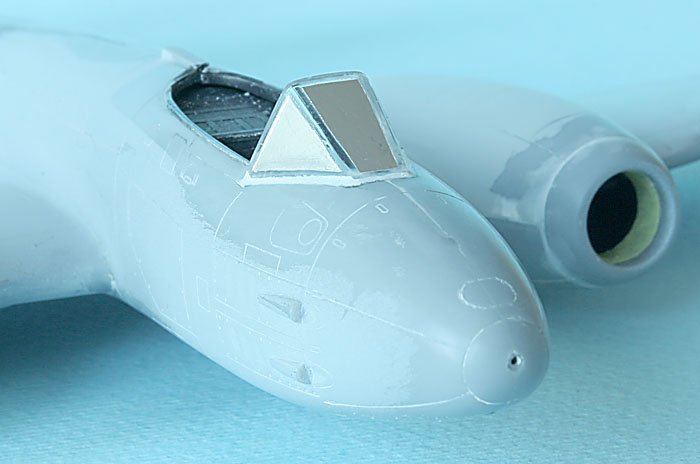
One clear sprue with early and late canopies.

A well printed decal sheet
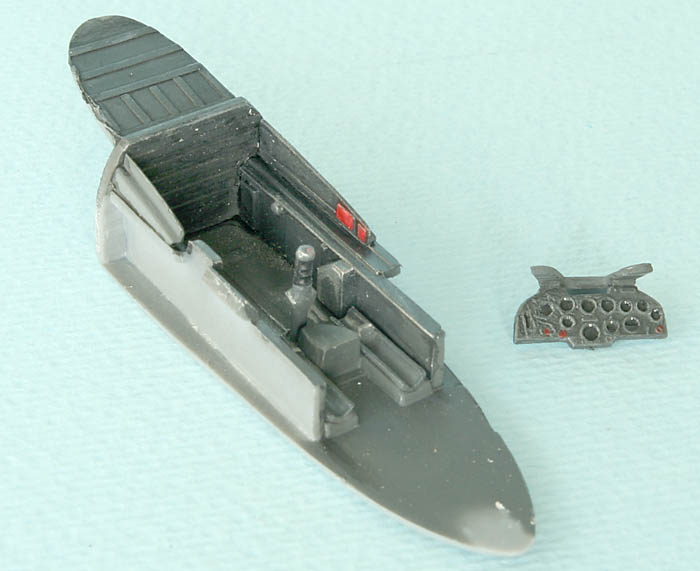
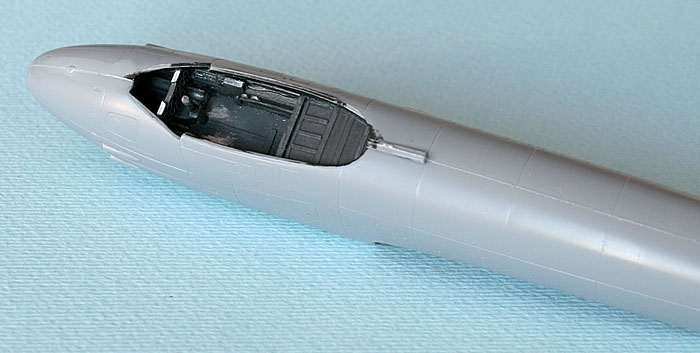
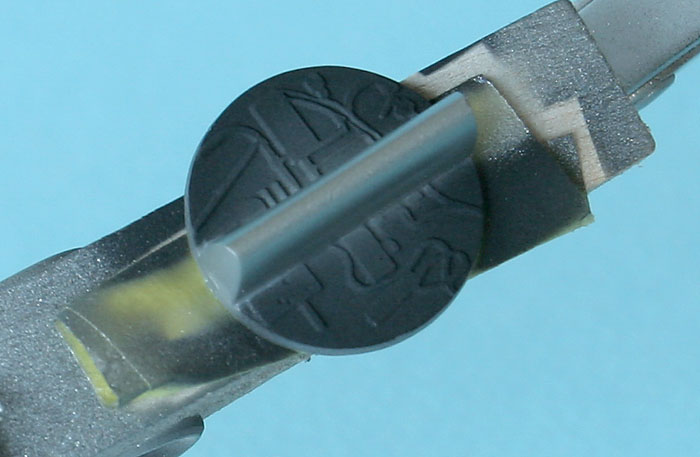
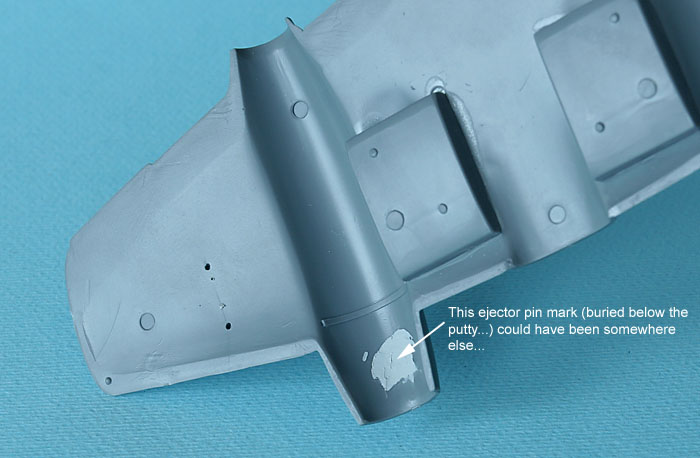
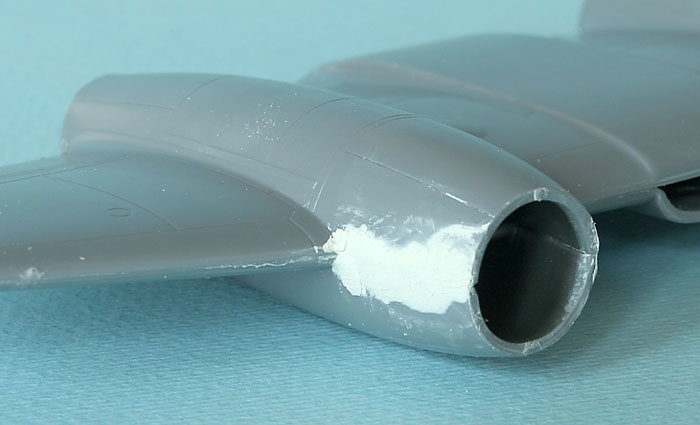
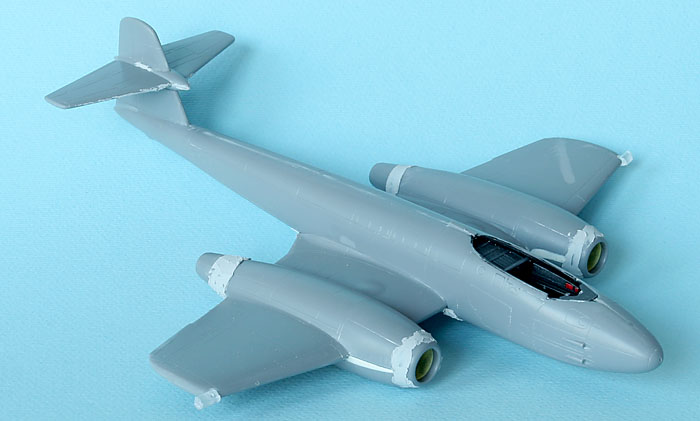
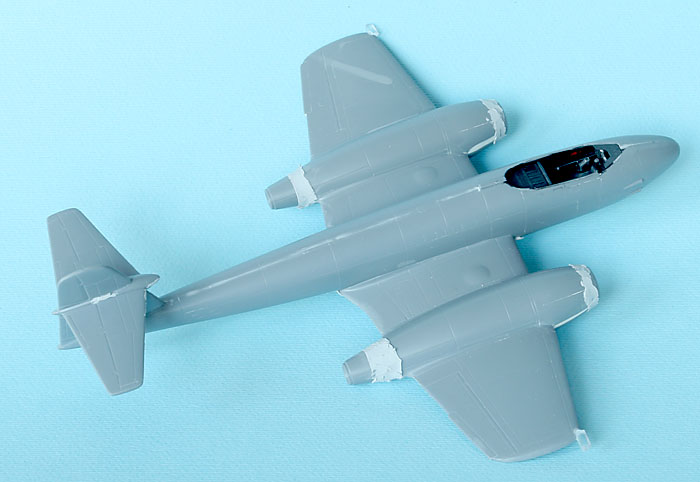
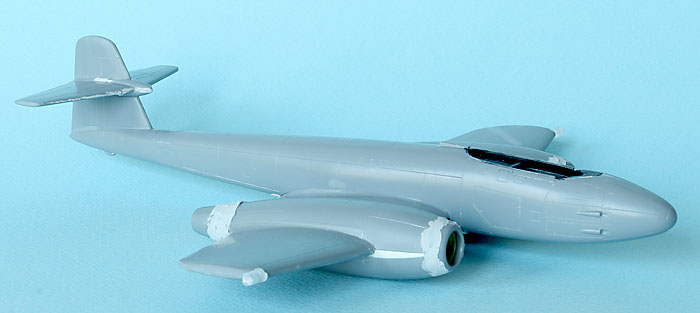
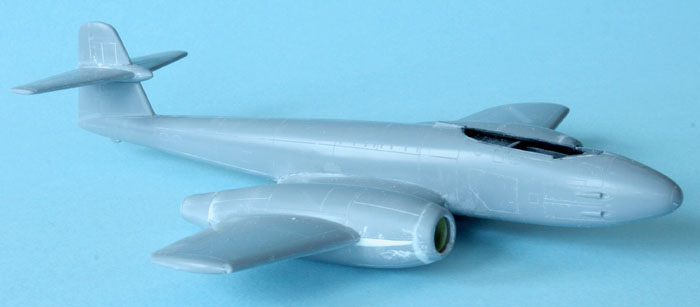
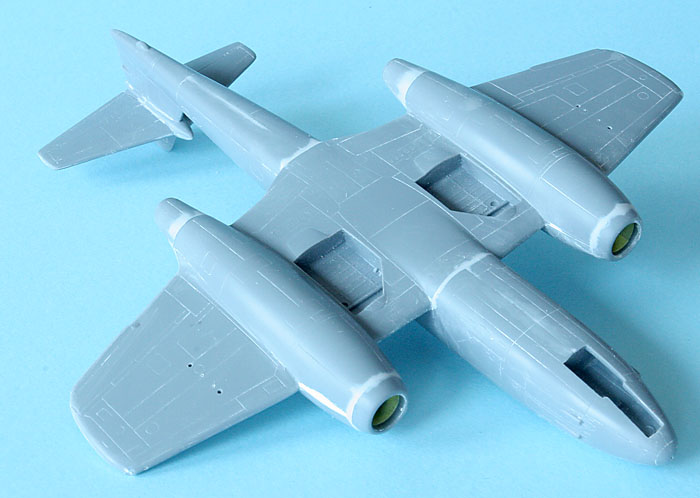
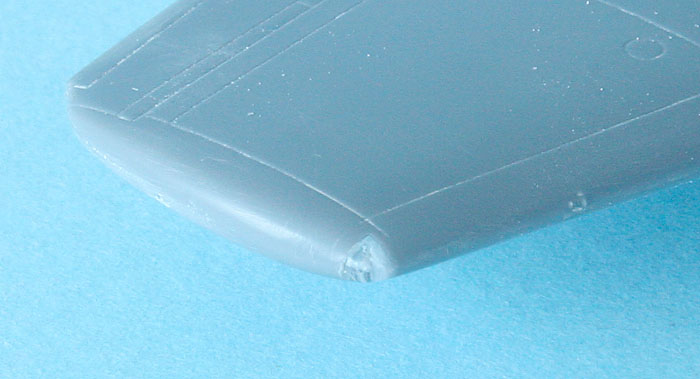
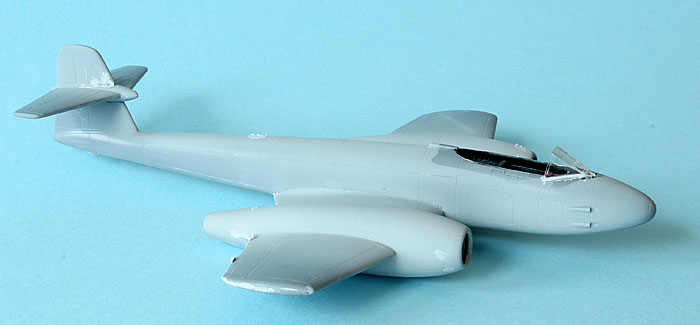
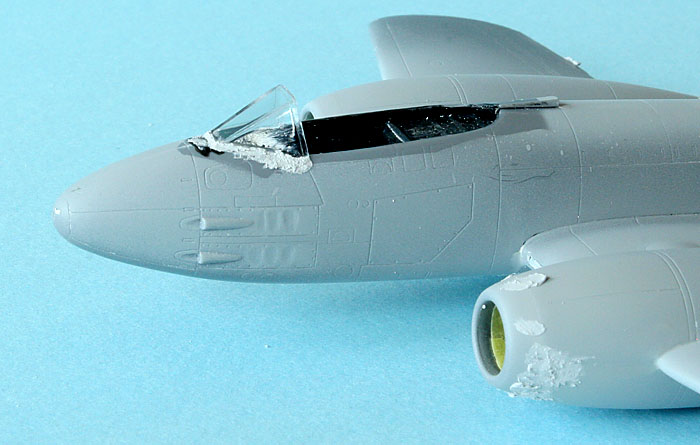
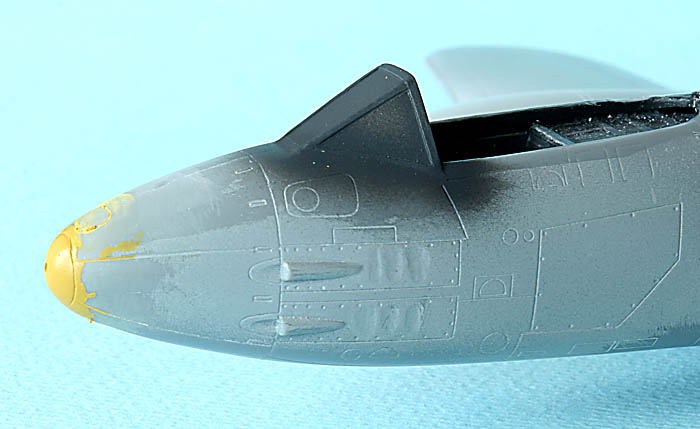
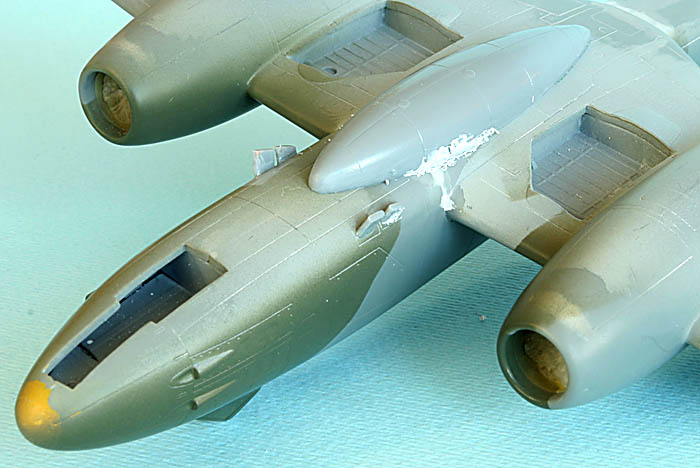
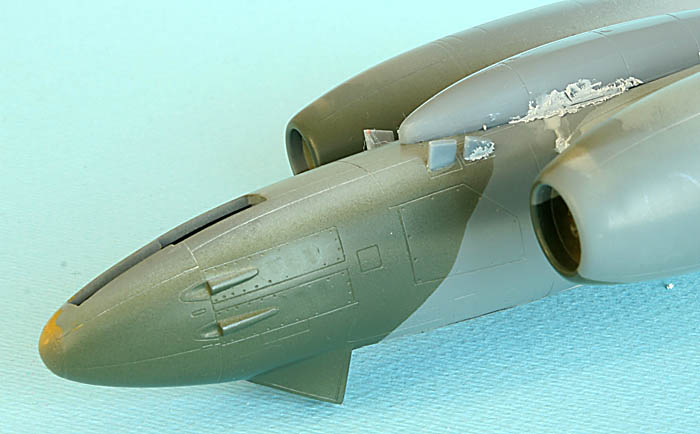
The build has already started with a few subassemblies. There is no resin or photo etch in this kit and I dont really think there is an immediate need for it. The styrene parts are sharp and well defined and the cockpit will surely look the part when painted.
See you soon!
Magnus