Remember the Revell 1:72 Hurricane I was about to build for FUMS last year, but gave up on the idea after discovering that quite a few modifications were needed to make it a true mk.I?
Well, here it is again. With no campaign deadlines looming ahead, I've been making slowish but steady progress on this one along my current main builds. I've been posting these pics on a Finnish modeling site, but I thought it won't do any harm to show them here as well.
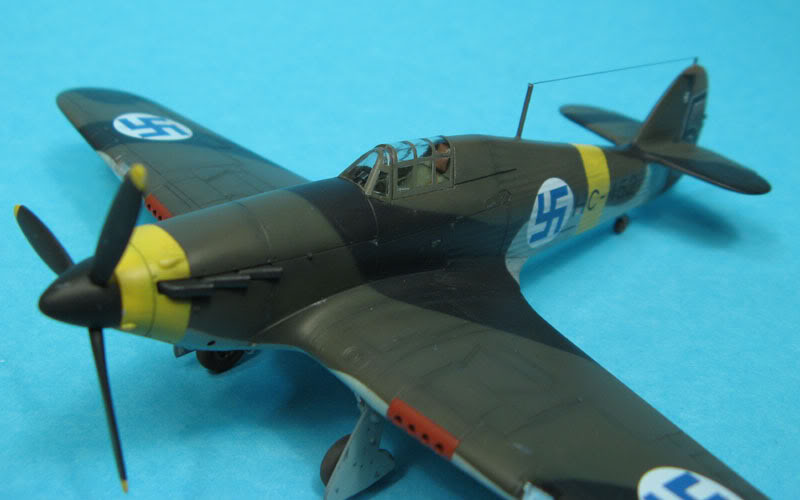
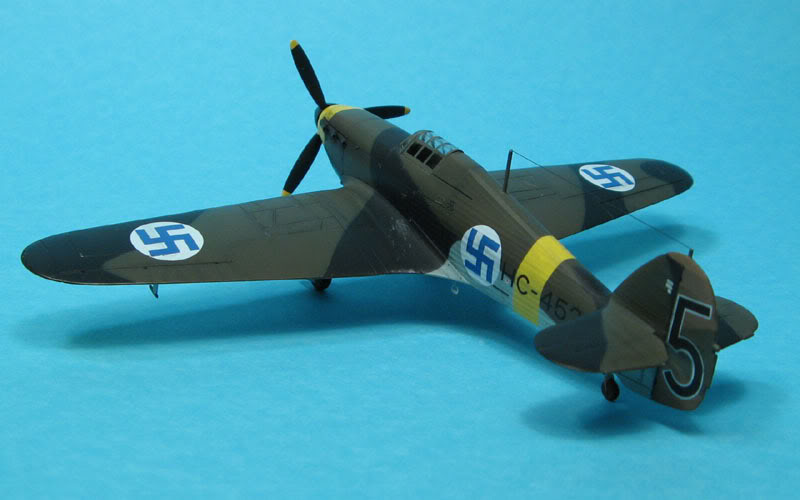
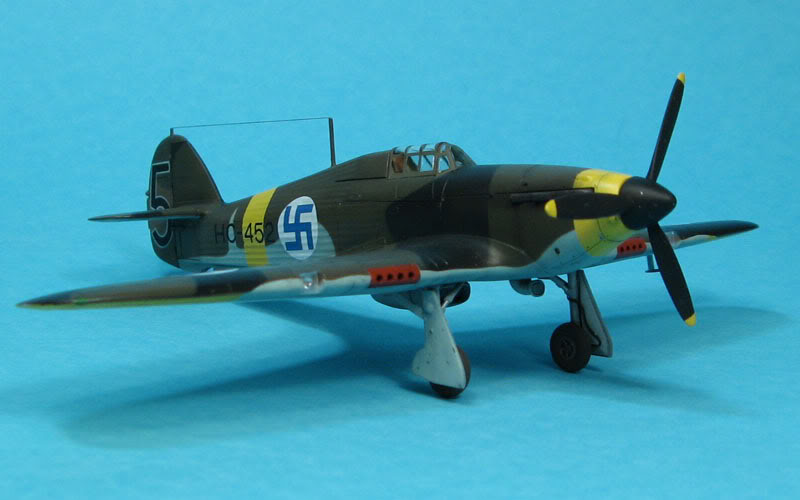
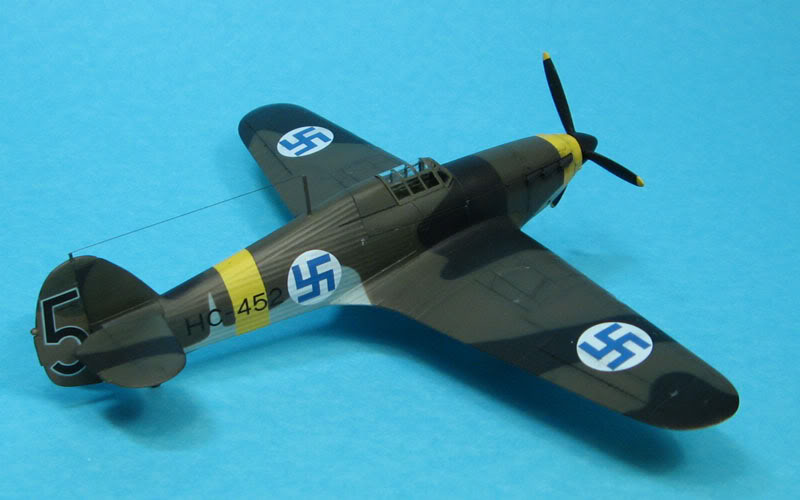
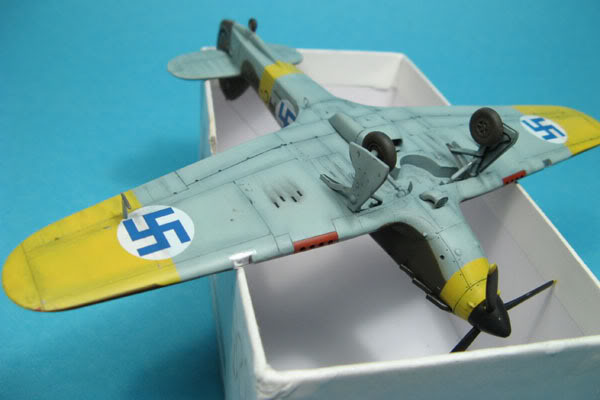
As I mentioned in the FUMS campaign thread, this Revell kit, though marketed as a mk.IIB (and with correct Finnish markings, which is always nice), isn't really that out of the box. In fact, it's actually a mk.I with more mg's in the wings and a mk.II spinner and props. The fuselage is still of the shorter mk.I type.
To make it a proper mk.I, I had to make numerous modifications. Replacing the spinner & props and removing the outer two machine guns from each wing being the most significant.
So, this is what has happened so far.
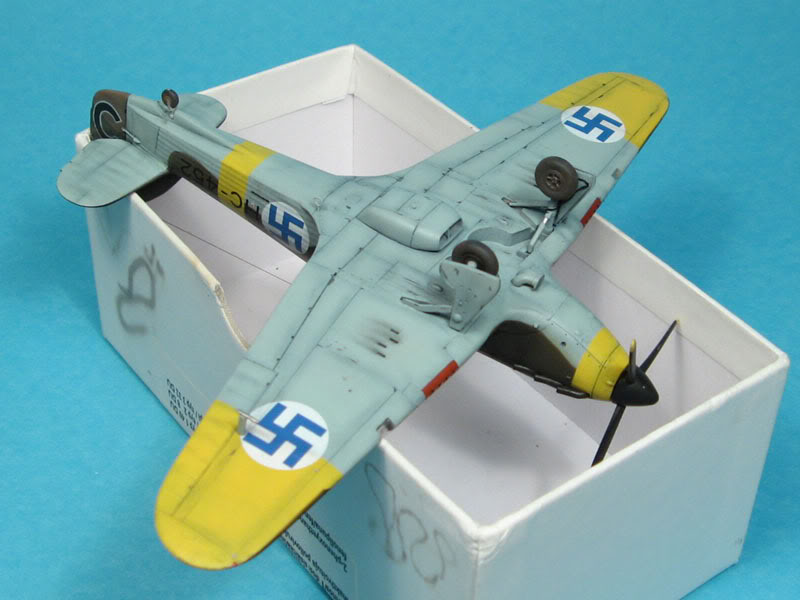
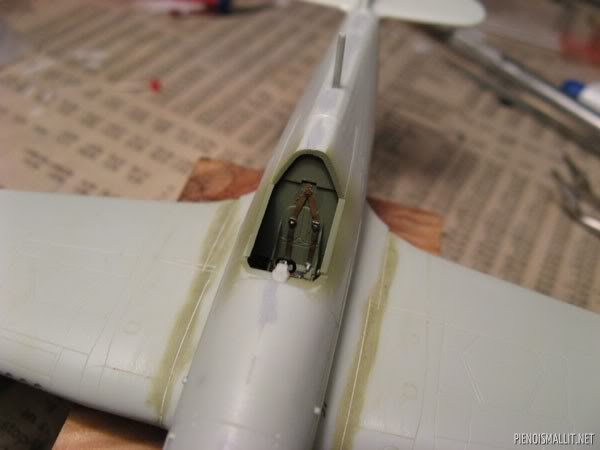
This is where I started again. The only new thing in this pic is the milliput used to smooth out the wing-to-fuselage seam, which wasn't the best possible. The lost panel lines where scribed on later. The interior is almost compeletely replaced with PE parts that came with the extratech set I used on this model. In fact, the only styrene parts in the office is the original instrument panel behind the acetate film & PE assembly and the headrest that isn't glued on yet. (this I recently made from styrene sheet, as cutting up and sanding a piece to shape was way much easier than separating the original headrest from the plastic cockpit back wall)
Moving to the wings, modifying them from B to A type was as simple as filling out the excess machine gun openings, access hatches and shell ejector chutes. Fortunately one fellow modeler on the Finnish site reminded me to fill the access hatches on top of the wings too, otherwise I would have probably noticed it too late (or not at all, as I had done this on my first Hurricane as well...).
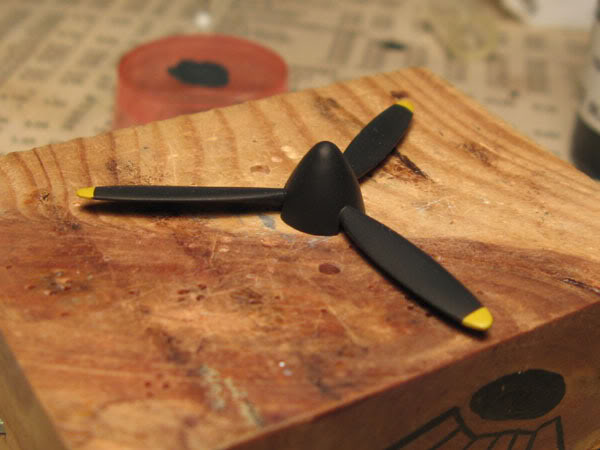
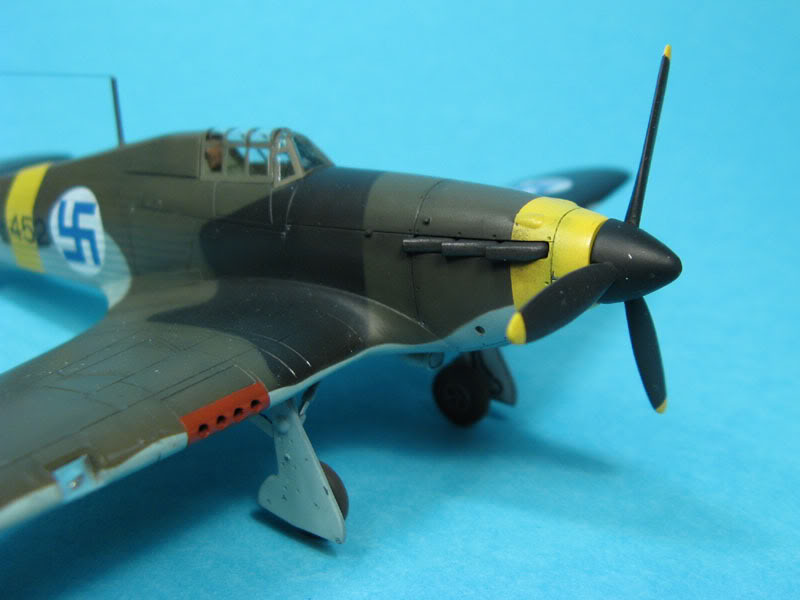
The prop and spinner were next, and this spot needed the most effort so far. I had the original propeller already glued to the spinner, so I dug into my spare parts box(es). The only suitable part I found was a spinner from a LaGG-3 kit. No extra props lying around. I had to take the kit-supplied prop into use. Since the spinner is glued around the prop, I had no choice but to saw and cut the spinner apart to free the propeller, pretty much destroying the part in the progress. Not a big loss though, since the long and pointed mk.II spinner wouldn't have been of use anyway.
Once freed, the propeller blades were sanded down to a shape better resembling a mk.I prop.
The spinner required more modifying. First, the openings for the prop were enlarged, then the cannon barrel opening in the tip was plugged with styrene rod, leaving a length sticking out, to help putty attach better. The tip was then formed with milliput, and sanded to shape. Those green traces are squadron green putty.


While test fitting the unmodified LaGG spinner, I discovered that the diameter of the spinner was a little smaller than the nose. This difference I fixed by gluing thin styrene sheet to both the nose of the aircraft and the bottom of the spinner and then sanding until they fit together nicely. (notice the white styrene in the lower pic of the spinner)
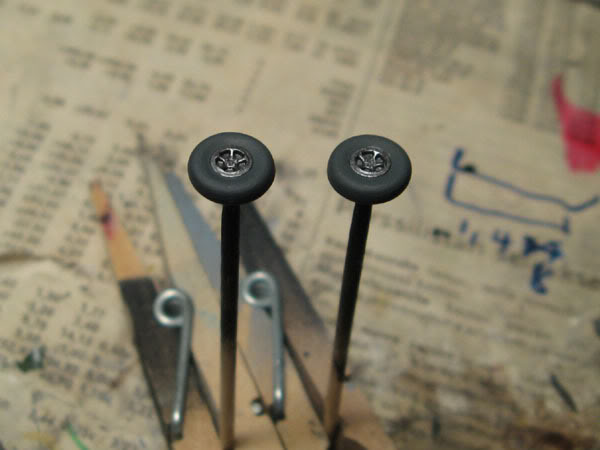
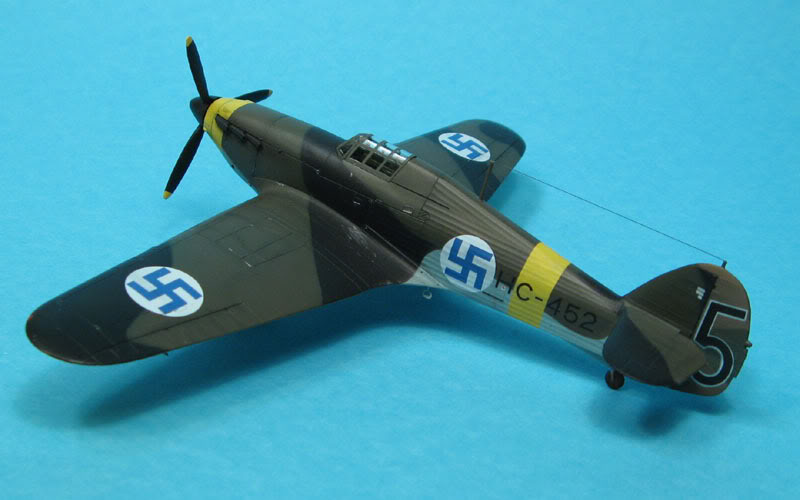
One of the inaccuracies in the Revell kit were the wheels. With four spokes, they won't do. What I needed was wheels like this:
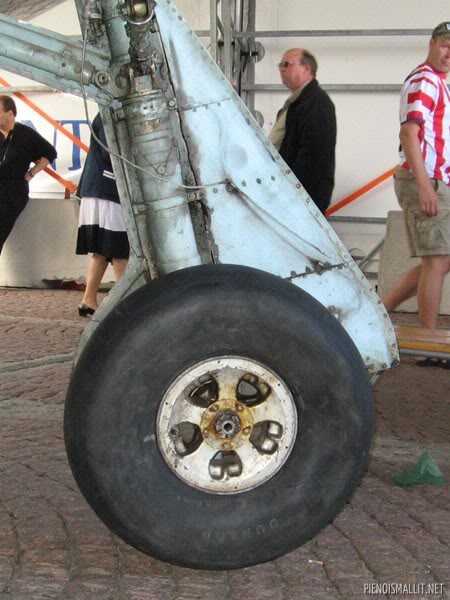
So I went and bought a Revell Spitfire mk.V to donate suitable five-spoked wheels. (there go my efforts to shrink the stash...
 )
)
The new wheel is being test fitted here. Actually, they fitted better than the original ones. But that benefit was partly lost because the wheels mount to the landing gear at a slight angle, unless modified. So I sanded the landing gear axels in order to get the wheel sit perpendicular to the ground.
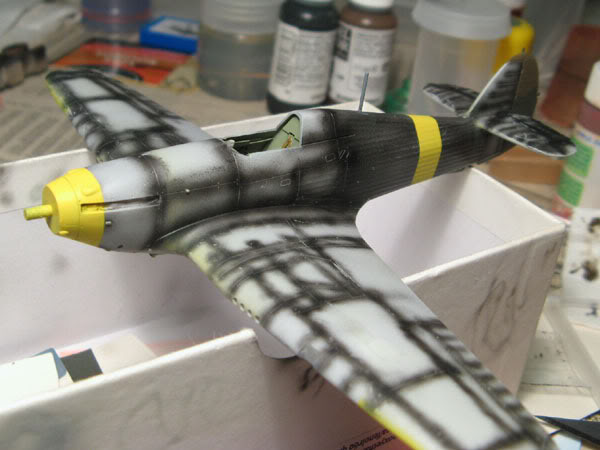
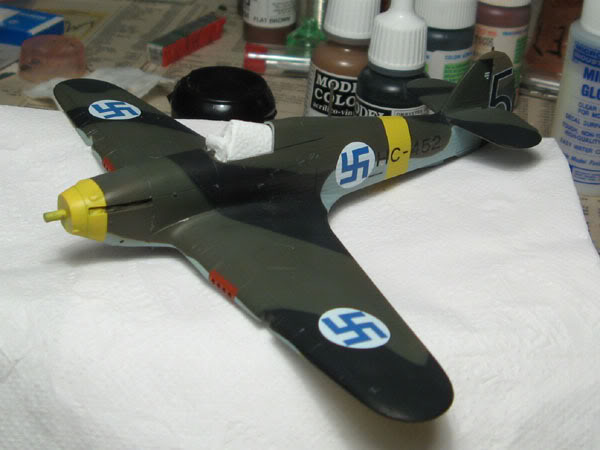
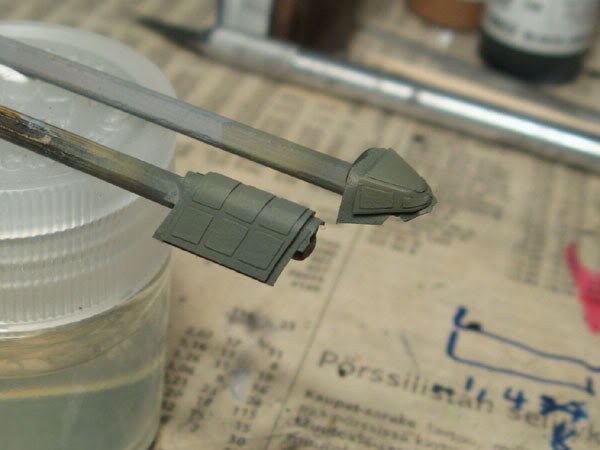
I had to compromise with the exhausts a little. The kit came with both flared and tubular exhausts, but neither were 100% right. I decided that the tubular ones were just fine after cutting down the tubes a little and drilling them out.

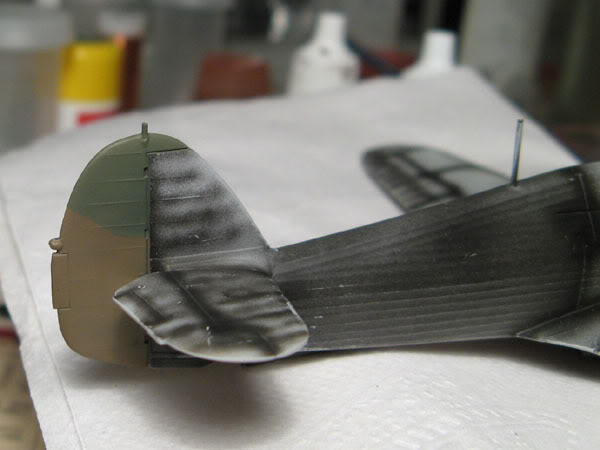
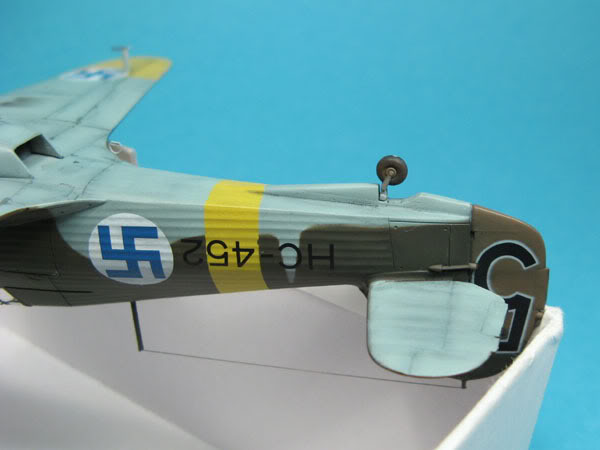
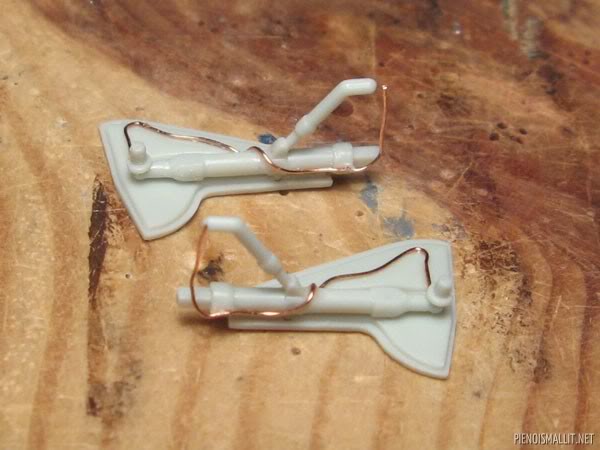
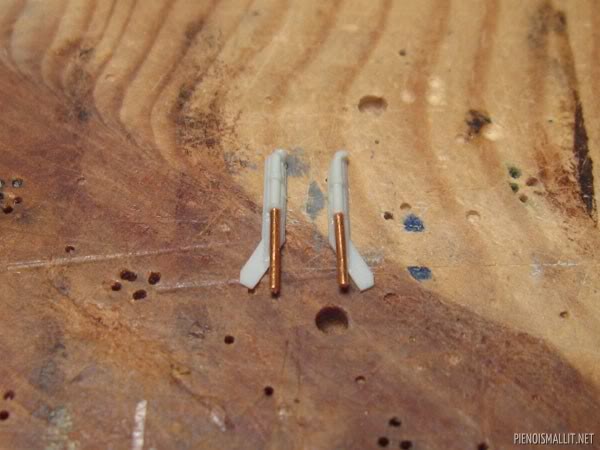
The tailwheel was mount was different, so it was modified and recieced a copper wire pin for a rigid joint to the fuselage. The recess for the tailwheel in the fuselage was also slightly cut and sanded to get a better mk.I look to it.

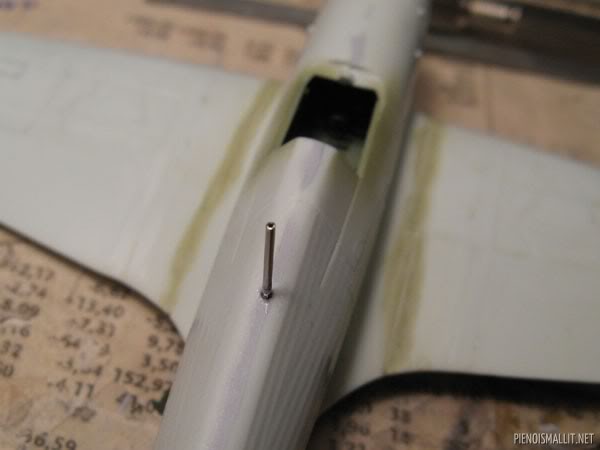
I was already thinking that I might actually end up with the kit's moulded-on radio mast intact. Until I accidentally knocked it a little too hard while handling the model. Well, that was a good excuse to make a more accurate mast from a needle.
Movind down to the landing gear, there wasn't much to do. The mandatory brake lines were added to the main landing gear using copper wire.
Somehow, the smaller support struts lacked the part that goes to the wheel well. Not only was it inaccurate, it also made it harder to position correctly while gluing them on later. So, in came copper wire.
While looking at my reference photos, I noticed the landing gear doors lacked one small rivet. This dealt with two squash-moulded rivets.

The last additions before priming were a piece of brass wire inserted in front of the radiator.
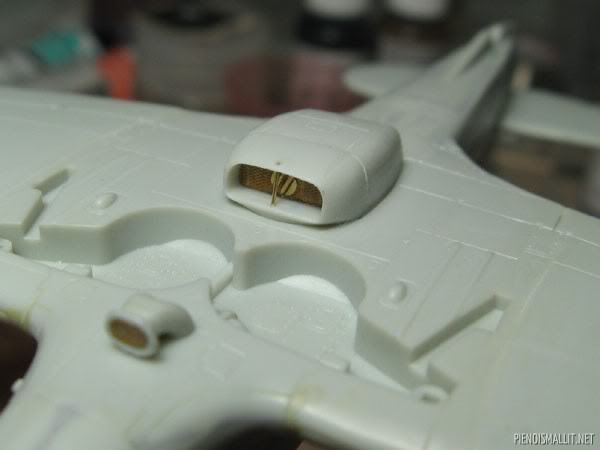
(I chose to drill a hole and insert the wire "through the roof" instead of trying to cut a lenght that would fit in)
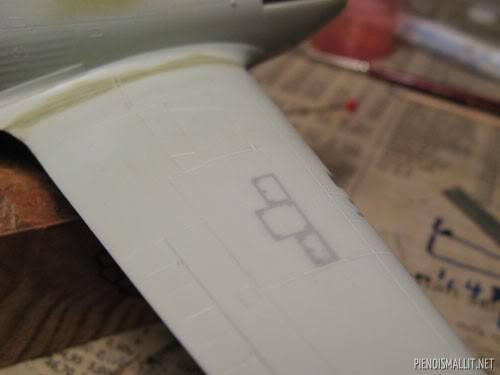
The kit was missing a "ski box" hatch in the fuselage, so I scribed one.
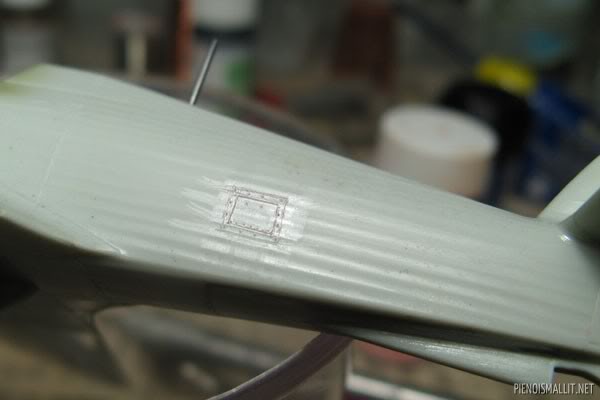
The isn't 100% accurate, but definately better than nothing.
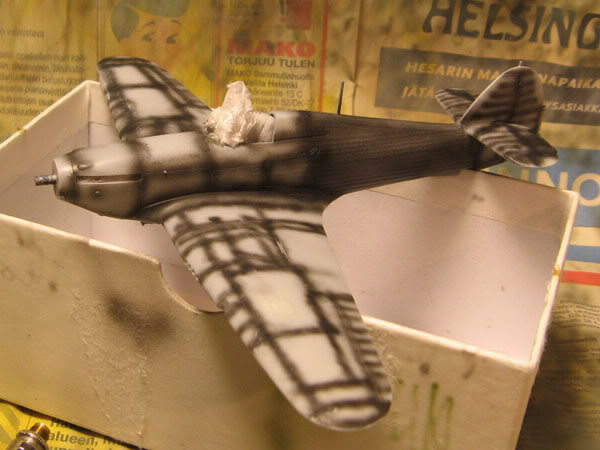
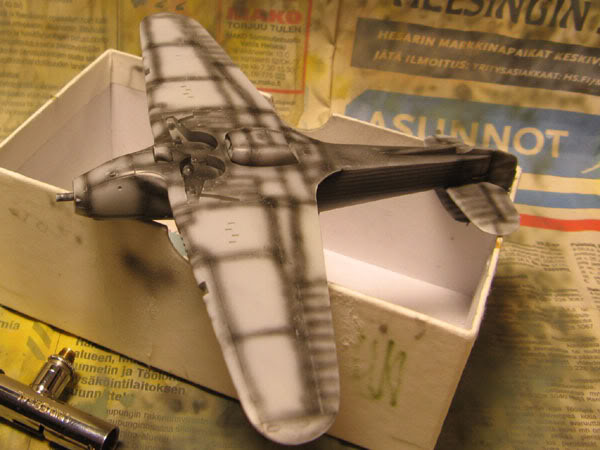
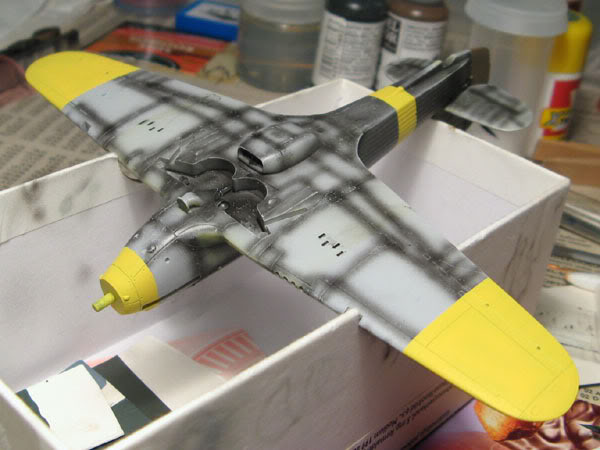
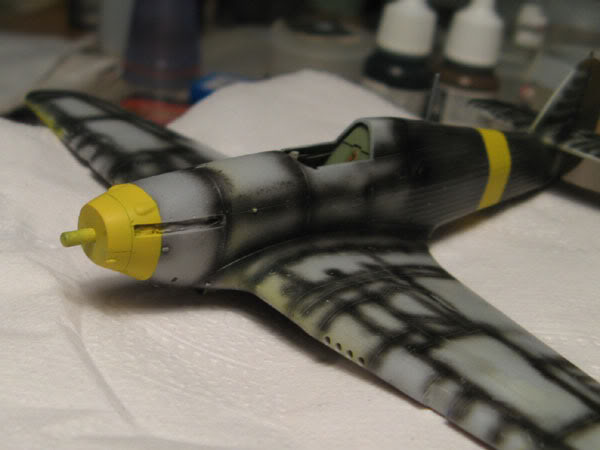
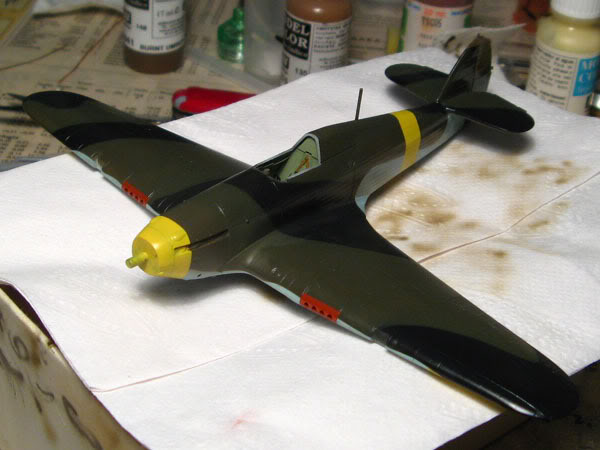
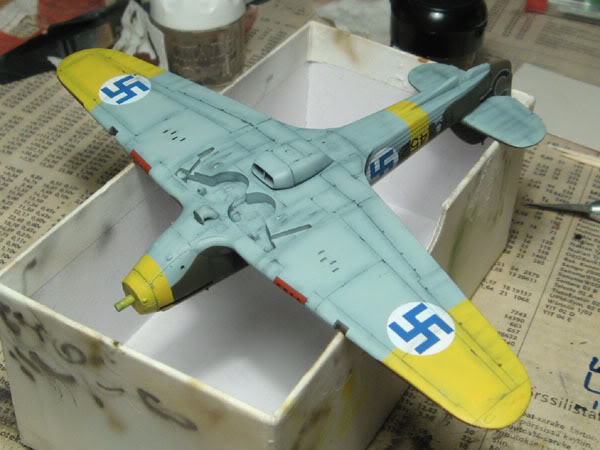
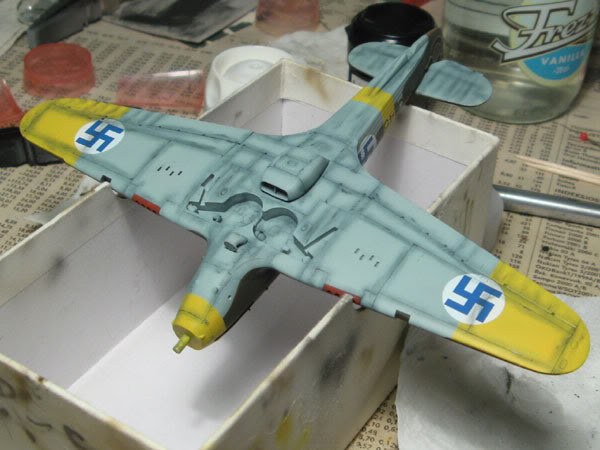
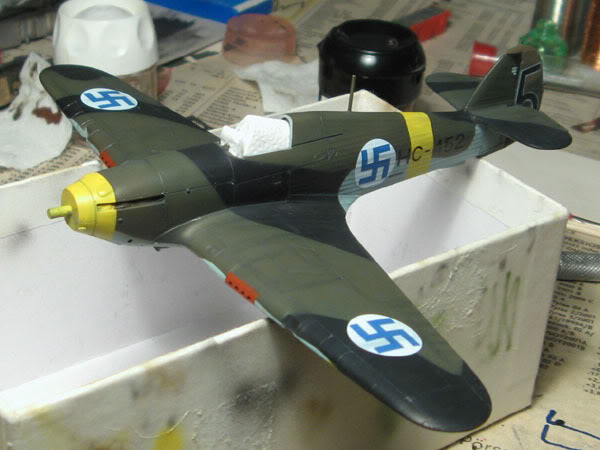
..And to end this monstrously long summary, "happened so far" post, here's the airframe, after a coat of mr. surfacer 1000, from a spray can.

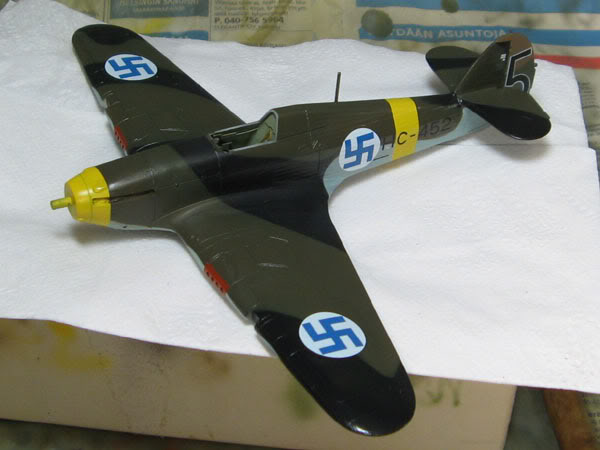
I hope you didn't fall asleep. I promise the following posts will be shorter as that last pic shows the model how it is now.