Portugal
Joined: December 09, 2007
KitMaker: 168 posts
AeroScale: 159 posts
Posted: Thursday, May 22, 2008 - 11:13 AM UTC
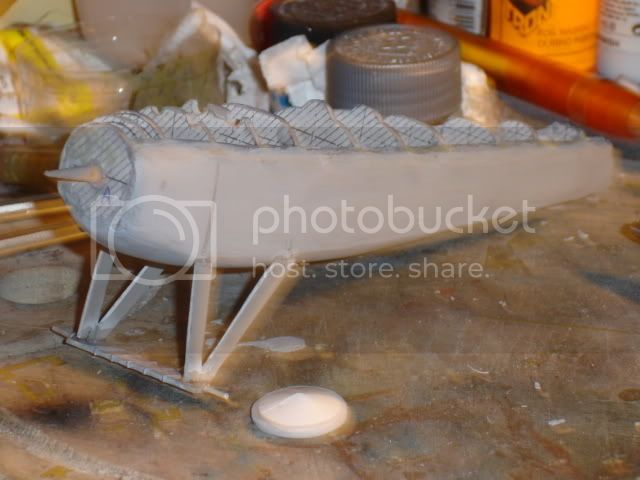
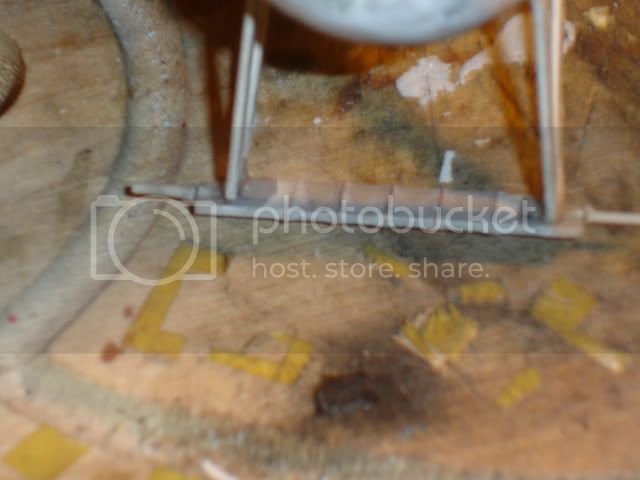
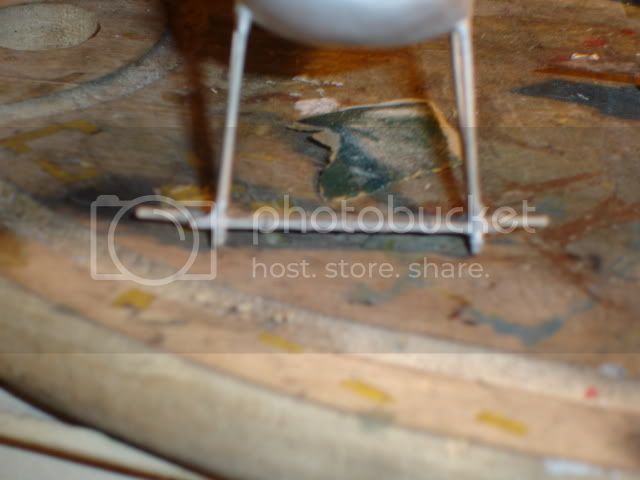
well here is my next project still in the begining...
what started has a 1/48 scale plane quickly turned out in a 1/24 plane...lets hope i can do this, its for a group build in a portuguese forum of scale modeling.
the big one next to the little kid
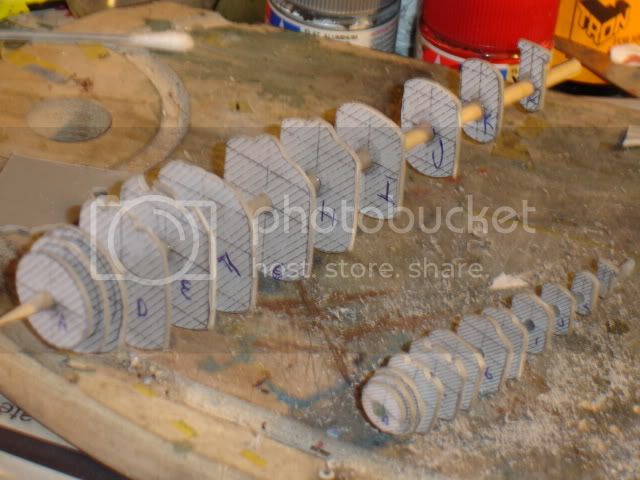
next stage, not going to close it because i'll work on the cockpit first
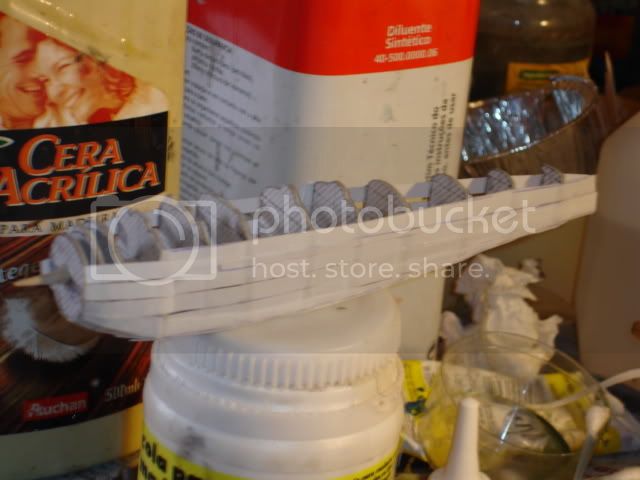
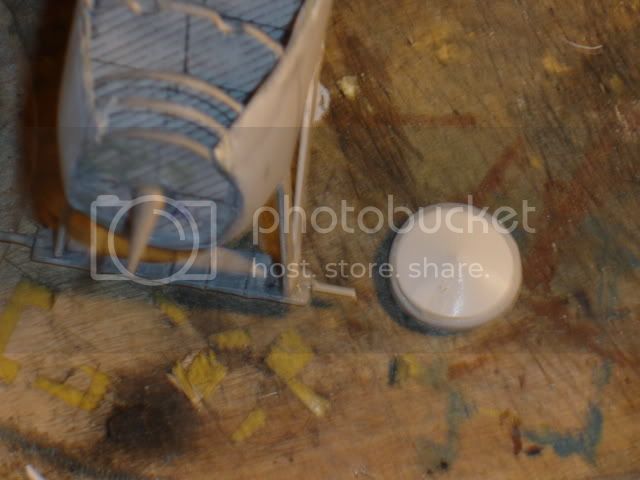
some putty
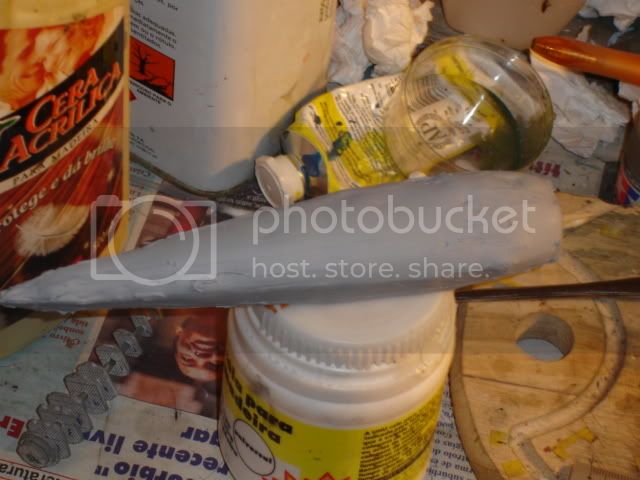
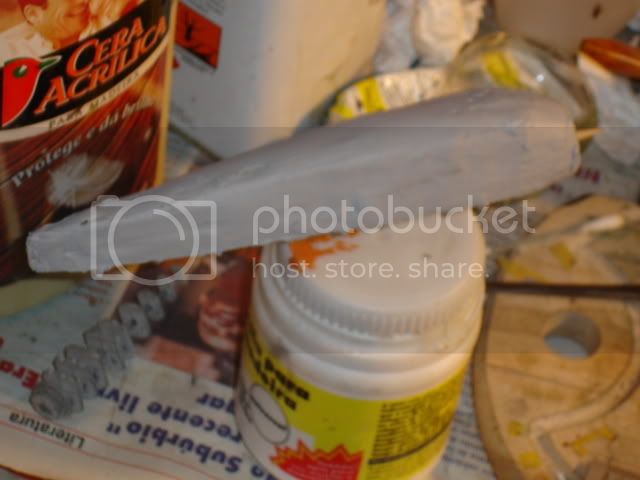
and melted sprue to level it ,and now im waiting to sand it so i can make the final leveling of the structure
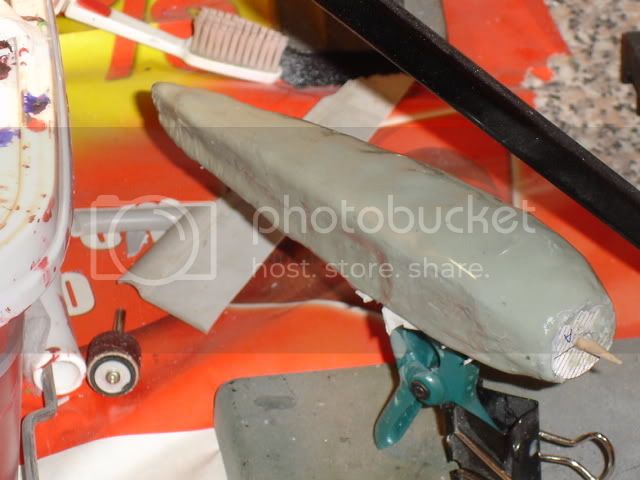
its still in the beginning but wanted to share it with you so you can help me
Portugal
Joined: December 09, 2007
KitMaker: 168 posts
AeroScale: 159 posts
Posted: Monday, May 26, 2008 - 02:27 PM UTC
the work its slow because of the waiting time between layers ... but now the lower part of the fuselage its leveled now next stage, making the photoetched to the cockpit then will close the fuselage
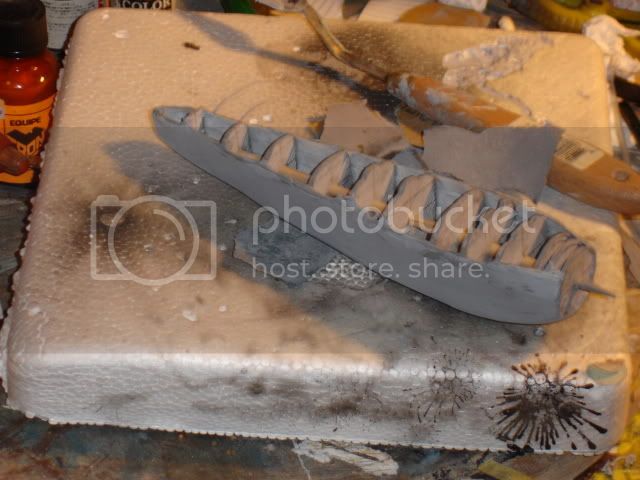
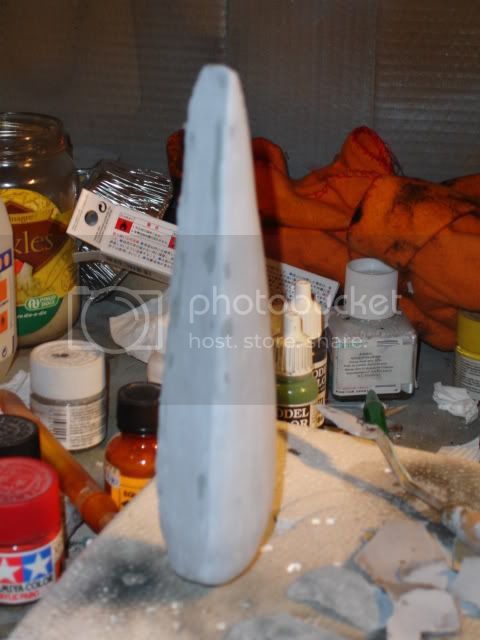
Portugal
Joined: December 09, 2007
KitMaker: 168 posts
AeroScale: 159 posts
Posted: Tuesday, May 27, 2008 - 04:24 AM UTC
Colorado, United States
Joined: January 25, 2004
KitMaker: 11,669 posts
AeroScale: 11,011 posts
Posted: Tuesday, May 27, 2008 - 10:54 AM UTC
Old school modeling. Most impressive. Model On!
". . .The most important thing is to know why you build and then get the most that you can out of building." via D.D.
Portugal
Joined: December 09, 2007
KitMaker: 168 posts
AeroScale: 159 posts
Posted: Tuesday, May 27, 2008 - 11:04 AM UTC
Quoted Text
Old school modeling. Most impressive. Model On!
thank you stephen, it maybe old school but its all new to me, its the first time i'm doing a scratch project so i'm trying everything it comes to my head, lets hope i can do a good scratch model
Alberta, Canada
Joined: January 19, 2008
KitMaker: 6,743 posts
AeroScale: 6,151 posts
Posted: Tuesday, May 27, 2008 - 03:53 PM UTC
Portugal
Joined: December 09, 2007
KitMaker: 168 posts
AeroScale: 159 posts
Posted: Wednesday, May 28, 2008 - 02:39 PM UTC
ty u all...
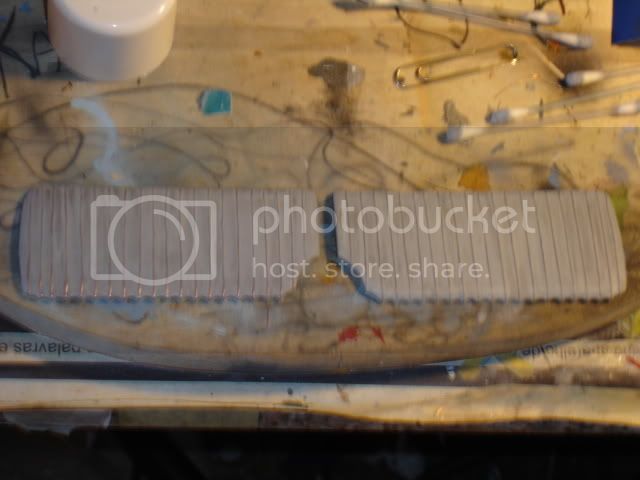
some pogress finished one of the lower wings...7 hours 2 do it...i guess this will take a while to fly
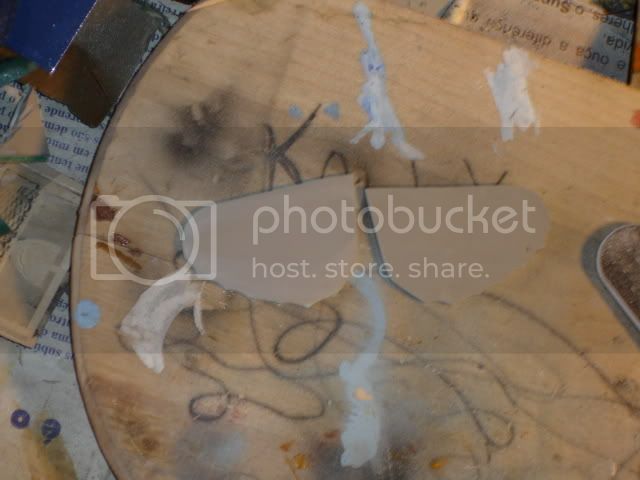
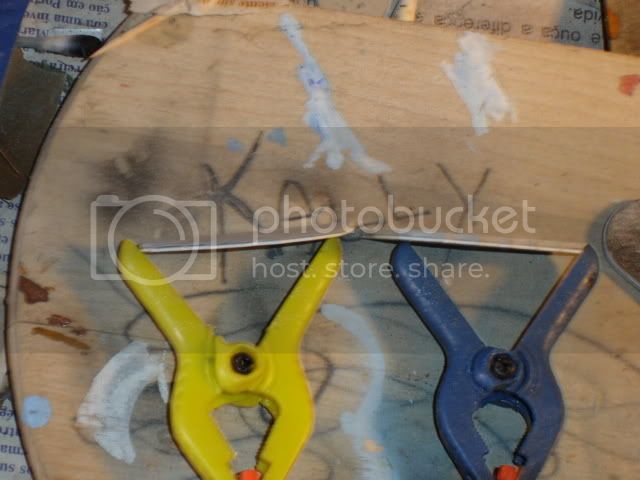
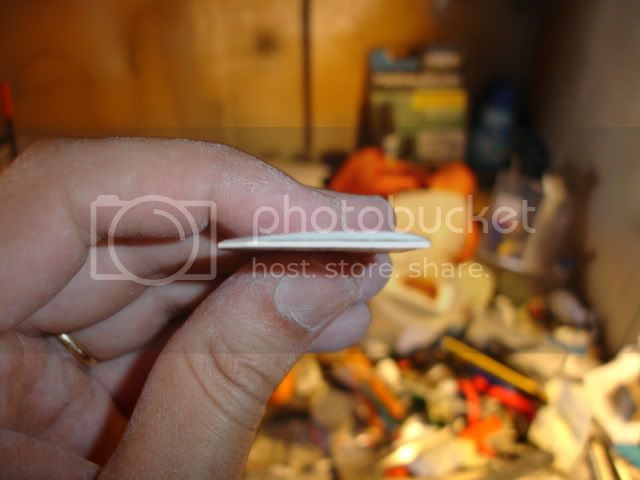
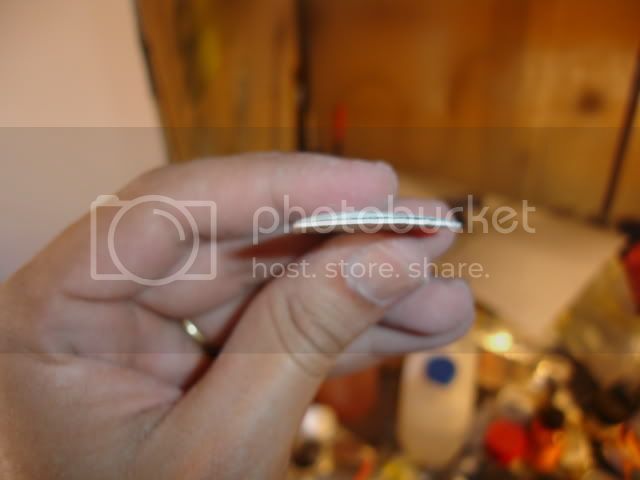
gluing 2 parts of plastic to get 3MM .
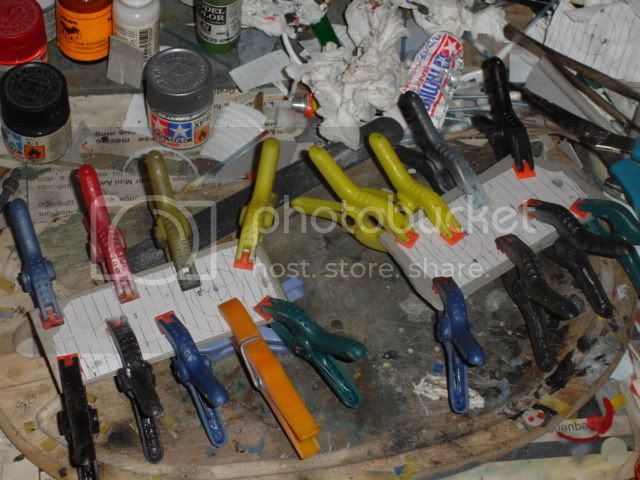
after 24h glueing , i've saw it give some hot air to the plastic with an hairdryer and bend it to the shape i desired, than sand it and ....the result
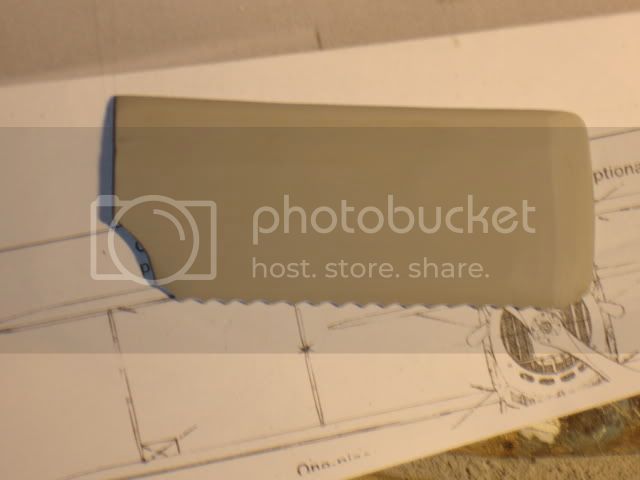
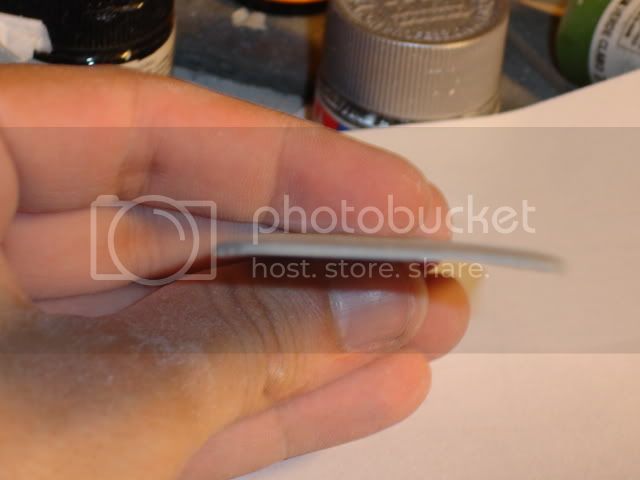
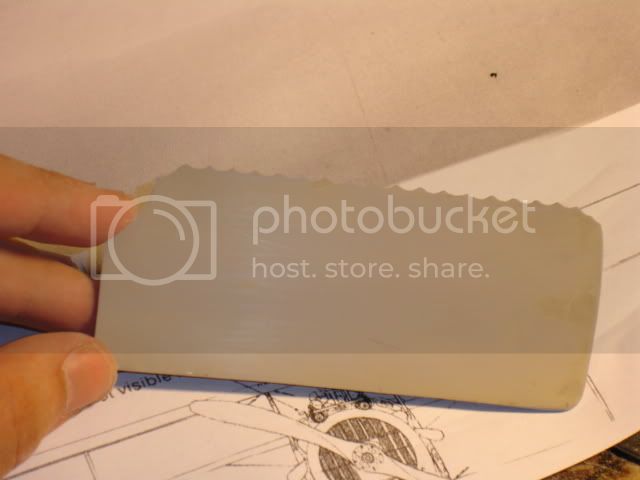
then attached this to the wing, looks better
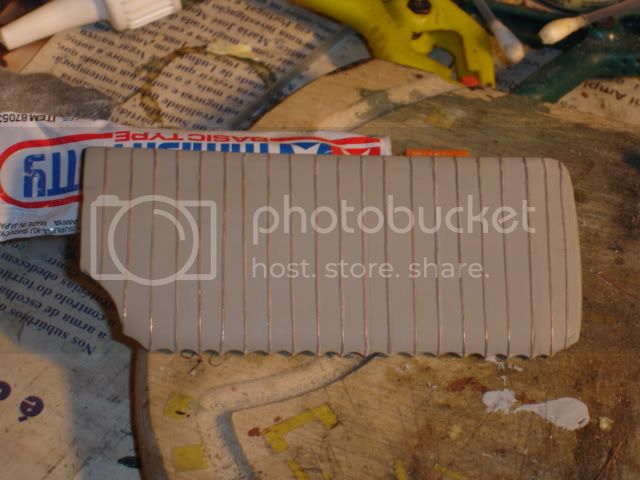
and applied putty to it
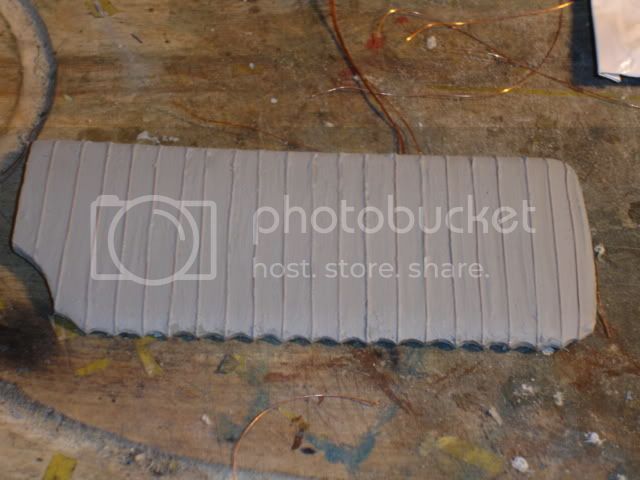
sand it and the final result
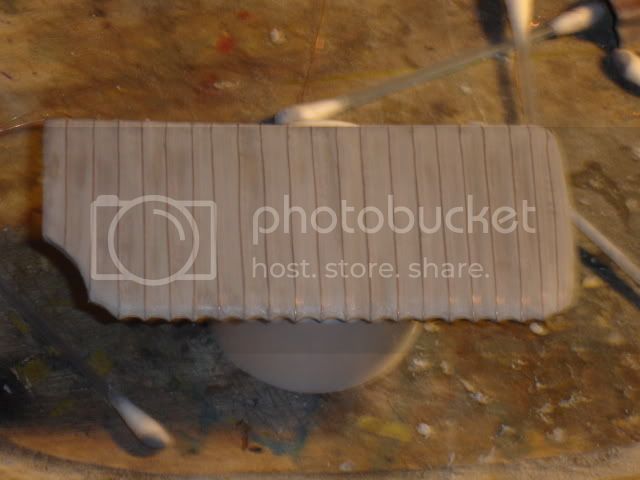
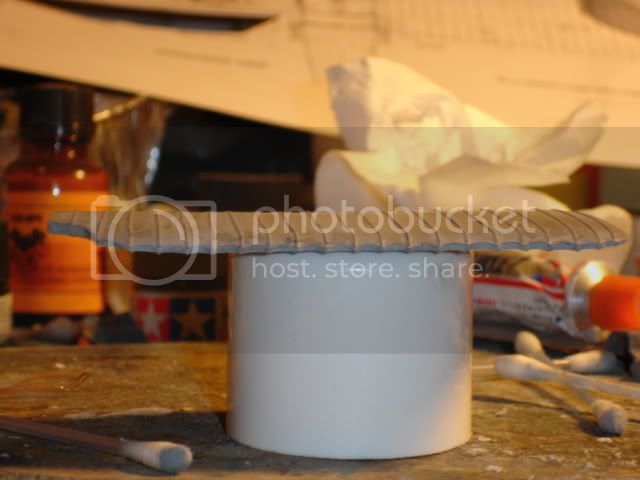
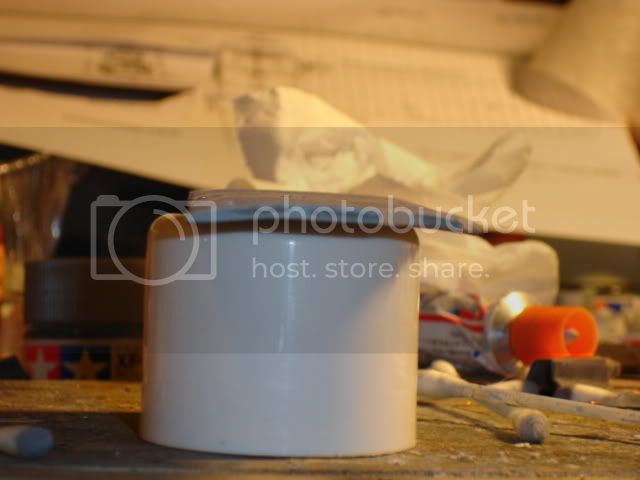
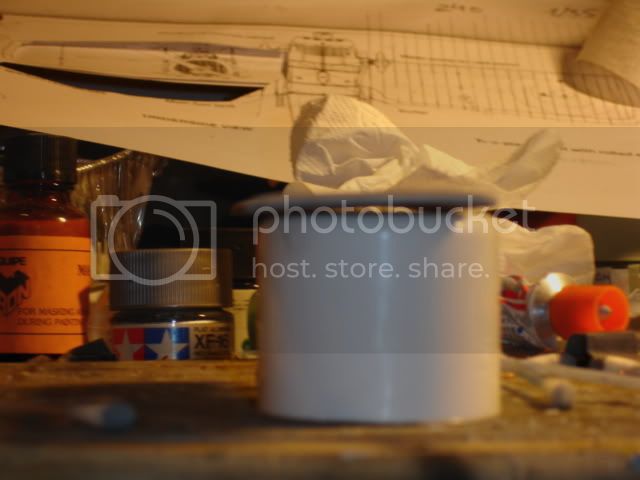
well only 3 more to go

Alberta, Canada
Joined: January 19, 2008
KitMaker: 6,743 posts
AeroScale: 6,151 posts
Posted: Wednesday, May 28, 2008 - 02:52 PM UTC
What was the thickness of plastic did you use for the wings? I'm only asking do to that you could have scored the rib detail on the under side of the plastic on both pieces before gluing the halfs together . Or was the plastic to thick for that . Other then that a neet way of doing the wings . The shape looks great !

Portugal
Joined: December 09, 2007
KitMaker: 168 posts
AeroScale: 159 posts
Posted: Wednesday, May 28, 2008 - 02:59 PM UTC
the plastic was 1,5 MM but this was the easiest way of doing it because the wing has a strange shape.....its thick in the middle and very strainght at the ends....so i just had to sand, and sand, and sand, well after this one i can do a surf board for me...
Alberta, Canada
Joined: January 19, 2008
KitMaker: 6,743 posts
AeroScale: 6,151 posts
Posted: Wednesday, May 28, 2008 - 06:20 PM UTC
Yes that is thick plastic to use , so that metod would have work . I know lots about sanding and sanding and sanding ..........that's how I did my wings on my airco dh-2 with masking tape as the rib taping .Keep up the great work , your model is looking fine .
Portugal
Joined: December 09, 2007
KitMaker: 168 posts
AeroScale: 159 posts
Posted: Thursday, June 12, 2008 - 06:47 AM UTC
Alberta, Canada
Joined: January 19, 2008
KitMaker: 6,743 posts
AeroScale: 6,151 posts
Posted: Thursday, June 12, 2008 - 06:12 PM UTC
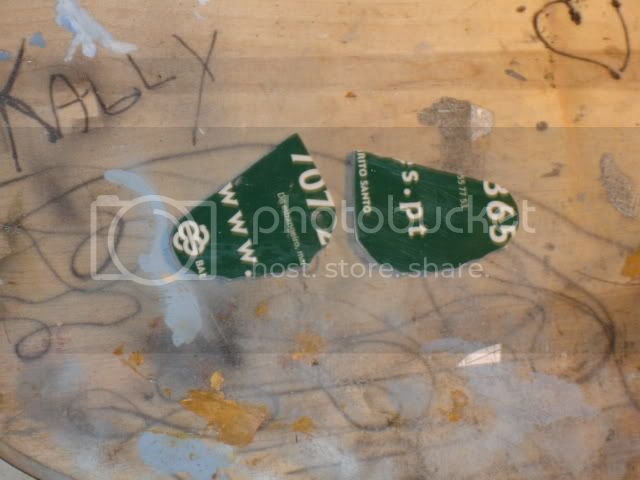
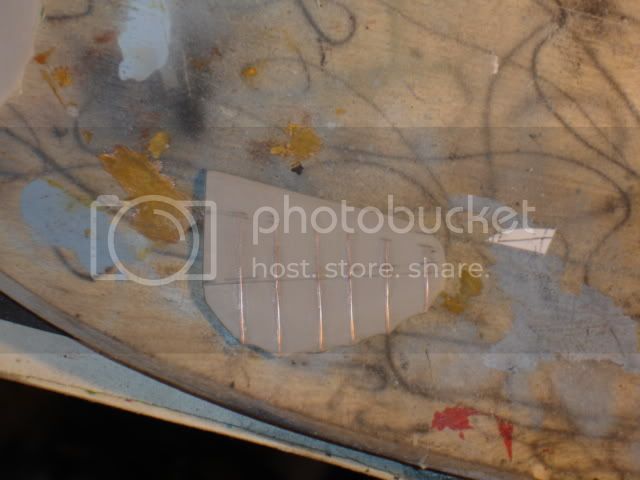
Was that a phone card you used ? Thats one neet idea . I'll have to remember that one .

Portugal
Joined: December 09, 2007
KitMaker: 168 posts
AeroScale: 159 posts
Posted: Thursday, June 12, 2008 - 11:12 PM UTC
Quoted Text
Was that a phone card you used ? Thats one neet idea . I'll have to remember that one . 
well more or less it was a old bank card but you can use a phone card too, its a good sourc of plastic to do scratch work
Portugal
Joined: December 09, 2007
KitMaker: 168 posts
AeroScale: 159 posts
Posted: Friday, June 13, 2008 - 02:57 PM UTC
actual stage...all 4 wings finished
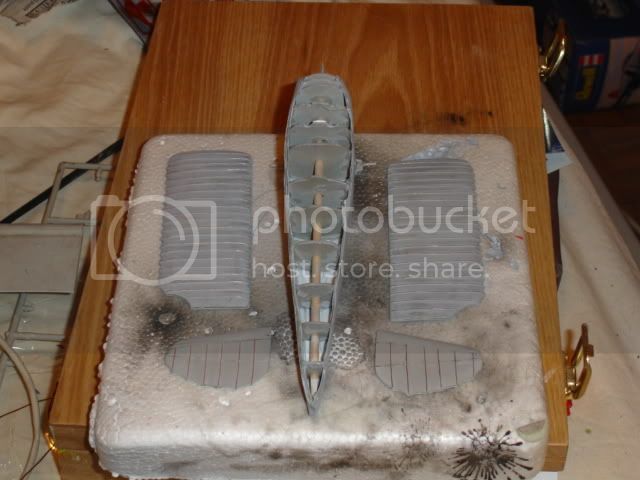
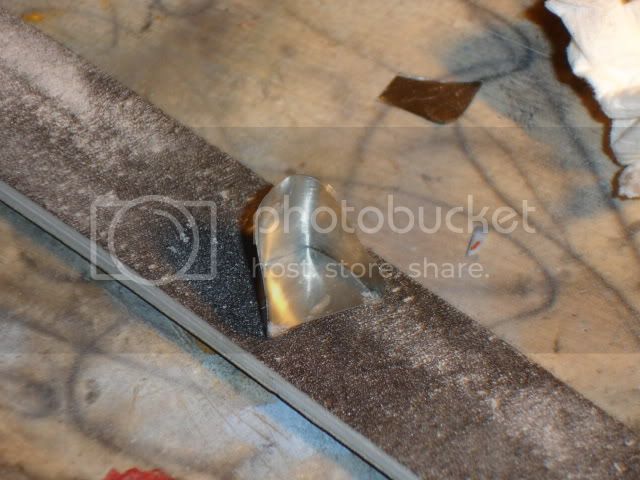
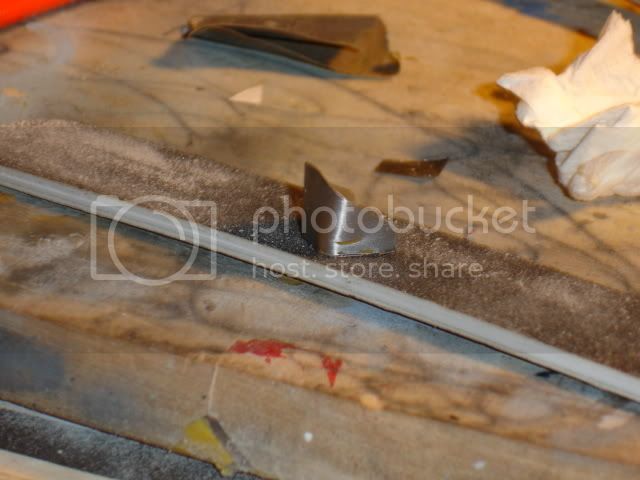
and recicled a can beer(from a football match or soccer if you prefer) into a seat...
Portugal
Joined: December 09, 2007
KitMaker: 168 posts
AeroScale: 159 posts
Posted: Saturday, June 14, 2008 - 03:58 PM UTC
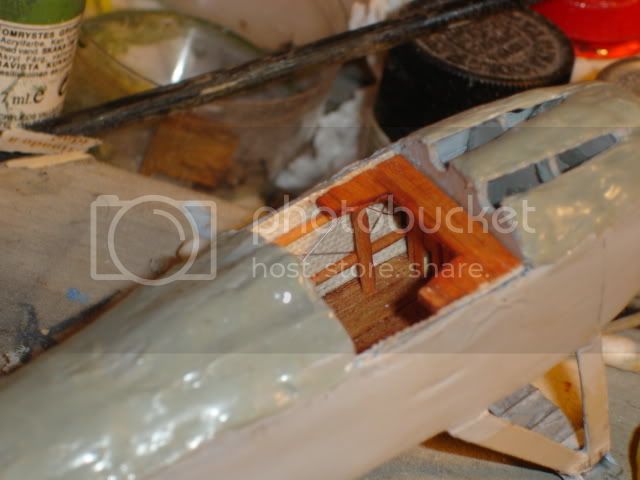
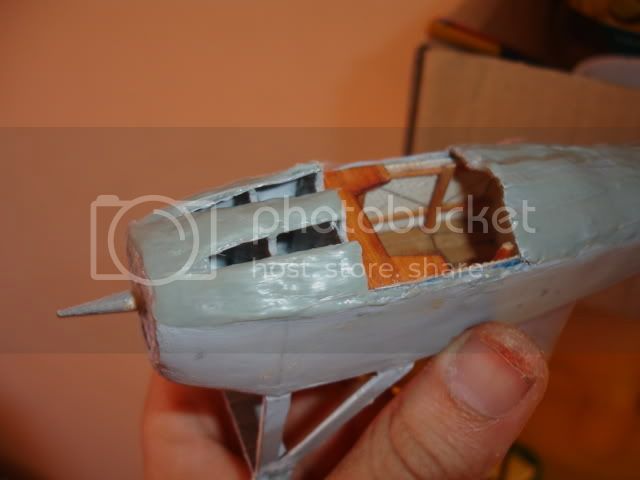
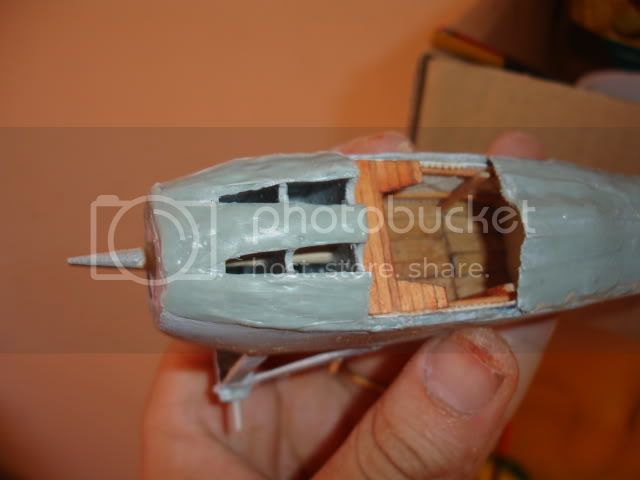
after seeing that you could see the upper side of the cockpit interior i changed my approach in how to close the upper body of the plane,
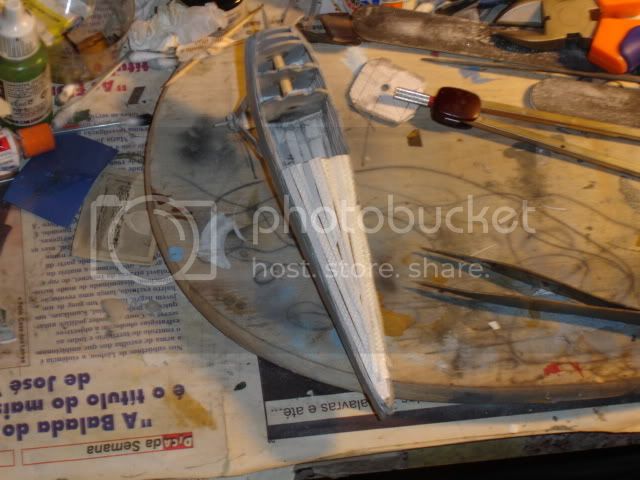
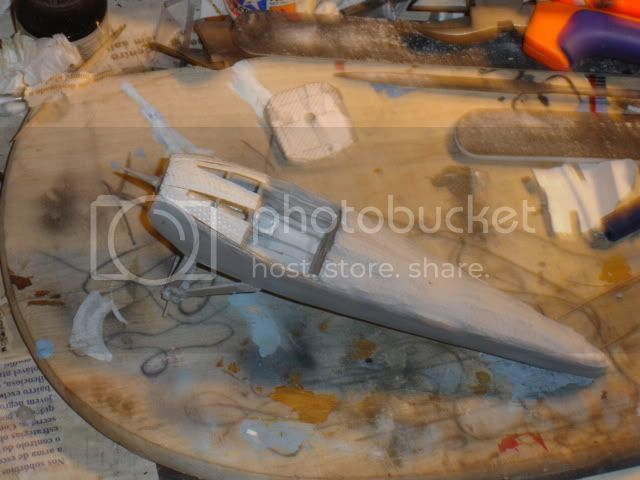
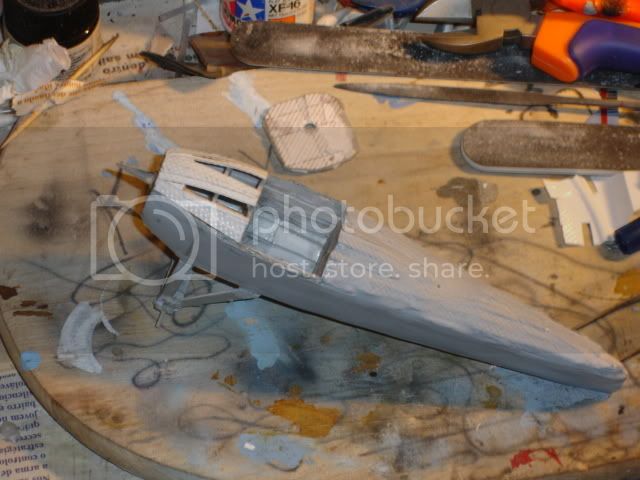
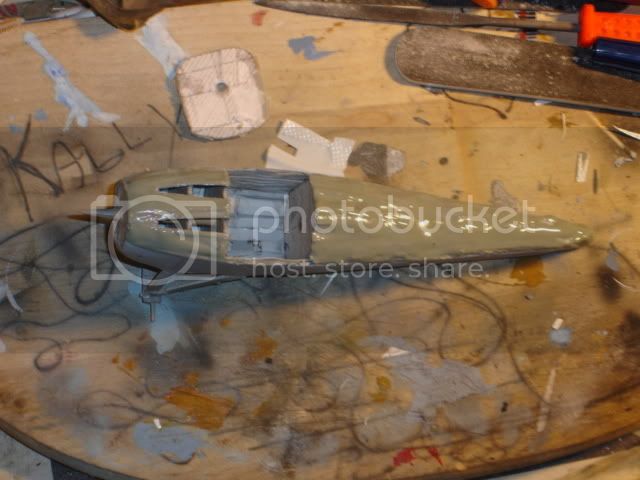
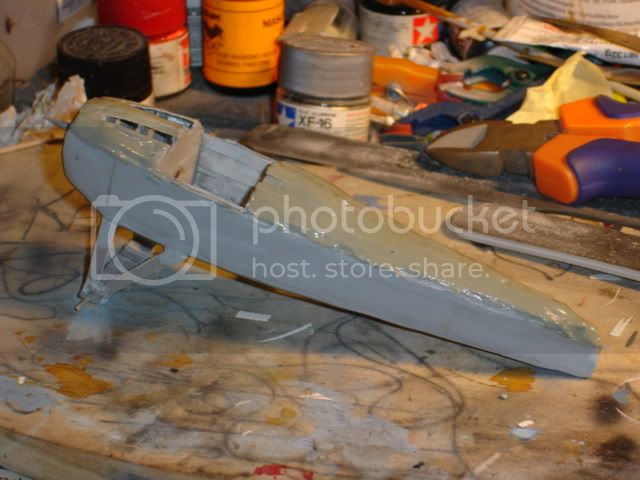
doenst looks good but thats how it should look after some melted sprue applyed
has you can see i didnt closed the machine guns spot neither the cockpit spot....because i'll build a single piece to close the cockpit later so i can paint the interior before i apply it

(problem solved)
Portugal
Joined: December 09, 2007
KitMaker: 168 posts
AeroScale: 159 posts
Posted: Sunday, June 15, 2008 - 06:19 AM UTC
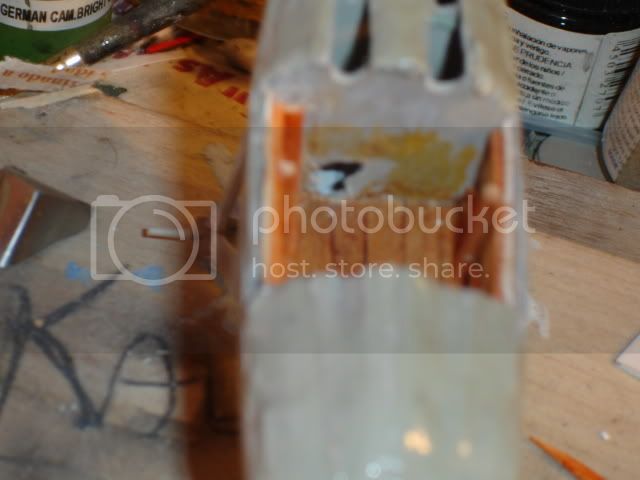
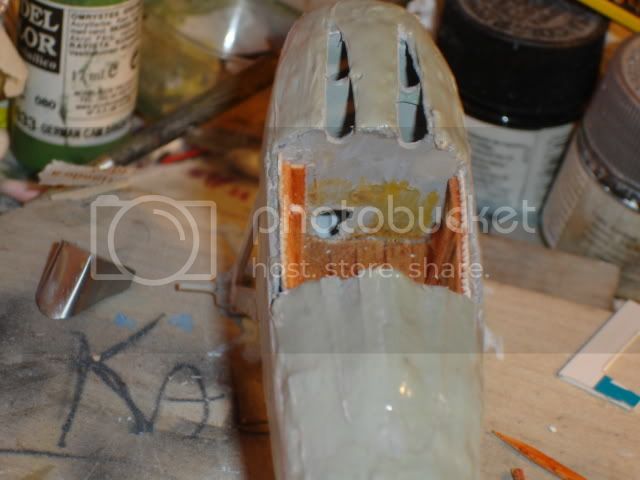
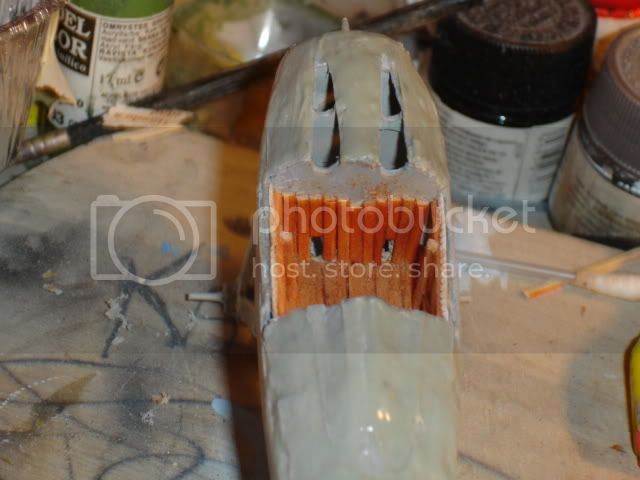
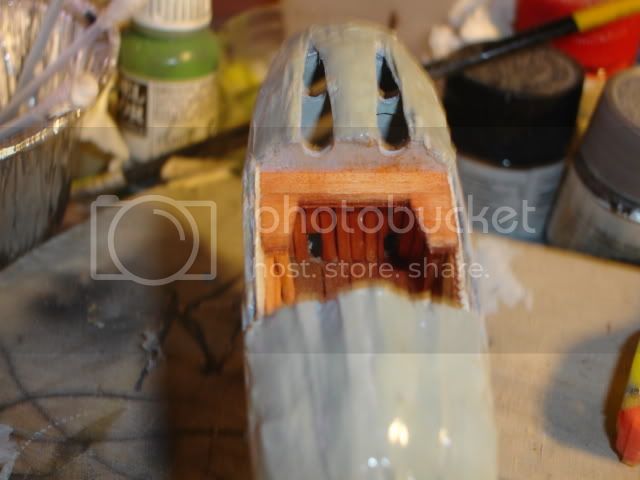
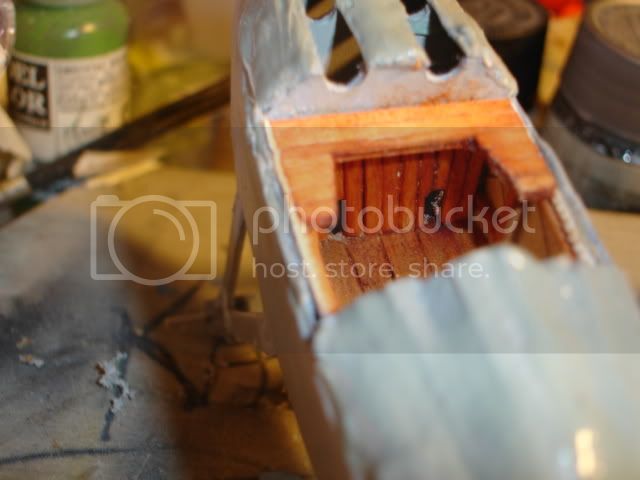
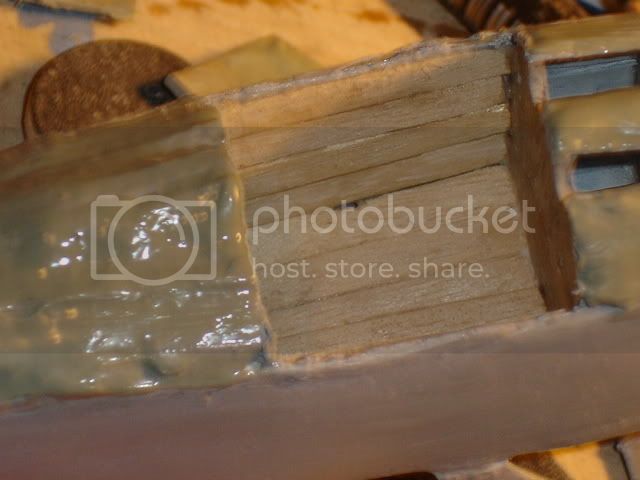
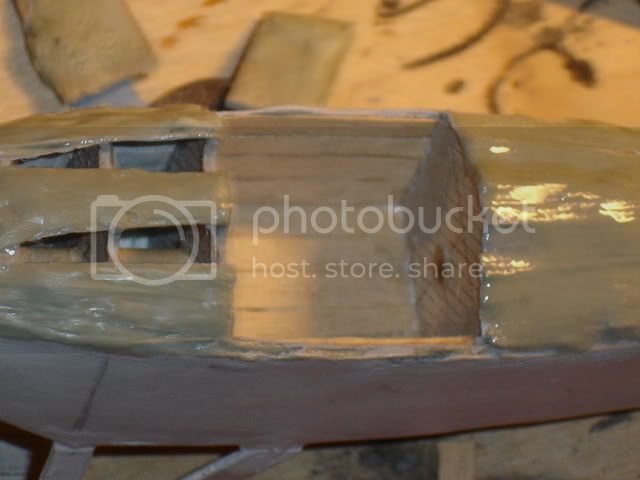
start working on the cockpit interior, taken out the plasticard and to level the interior i put wood in it, i'm going to darken it and varnish it with wood varnish
Alberta, Canada
Joined: January 19, 2008
KitMaker: 6,743 posts
AeroScale: 6,151 posts
Posted: Sunday, June 15, 2008 - 06:36 AM UTC
for your melted plastic , do you use liquid glue with plastic mix in ? I've tried this using testors but found it takes a very long time to dry . I'm really enjoying your work
Cheers


Portugal
Joined: December 09, 2007
KitMaker: 168 posts
AeroScale: 159 posts
Posted: Sunday, June 15, 2008 - 10:33 AM UTC
i use sintetic thinner but it takes 2 or 3 days to dry

...but i'm not in a hurry

thank you for the comments
Colorado, United States
Joined: January 25, 2004
KitMaker: 11,669 posts
AeroScale: 11,011 posts
Posted: Sunday, June 15, 2008 - 02:10 PM UTC
As I follow your build I am wondering. The cockpit of the Spad XIII does have wood fixtures, skeletal ribs, supports and flooring. But the side walls are linen and metal cowling panels. I note you removed the plastic walls and added wood planking? In this scale these items will most certainly be visible can you tell us where you are going with the interior applications?
". . .The most important thing is to know why you build and then get the most that you can out of building." via D.D.
Portugal
Joined: December 09, 2007
KitMaker: 168 posts
AeroScale: 159 posts
Posted: Sunday, June 15, 2008 - 02:34 PM UTC
Quoted Text
As I follow your build I am wondering. The cockpit of the Spad XIII does have wood fixtures, skeletal ribs, supports and flooring. But the side walls are linen and metal cowling panels. I note you removed the plastic walls and added wood planking? In this scale these items will most certainly be visible can you tell us where you are going with the interior applications?
well if thats true i'm going to remove it then and add some linen to the wall thank you. (i had seen that i was doing wrong butwasnt sure but now i'll correct it)
Colorado, United States
Joined: January 25, 2004
KitMaker: 11,669 posts
AeroScale: 11,011 posts
Posted: Sunday, June 15, 2008 - 02:46 PM UTC
Greetings
Let me offer this bit of fun . Some of the images may help.
Click here. If I can be of any further help just let me know. Model On!

". . .The most important thing is to know why you build and then get the most that you can out of building." via D.D.
Portugal
Joined: December 09, 2007
KitMaker: 168 posts
AeroScale: 159 posts
Posted: Monday, June 16, 2008 - 11:41 AM UTC
jackflash can you say to me what is the color of the interior lining?
Portugal
Joined: December 09, 2007
KitMaker: 168 posts
AeroScale: 159 posts
Posted: Monday, June 16, 2008 - 03:05 PM UTC
well following jackflash comment ( thank you for that one jack) i tried to correct the interior, taking out the wood walls and applying some linen to it...well its not 100% ok, but now it looks better and more correctc, i think.
But in the process i almost broke the all thing out, because i had to take out another piece of the initial structure from the inside of the plane to extend the wood floor.
A have to remind myself this is my first attempt in scratch and my first one WWI plane...so i have to close my eyes to some imperfections.
I Hope you like the improvements made.
One more think its 1/35 and not 1/24 scale has i thinked it was.
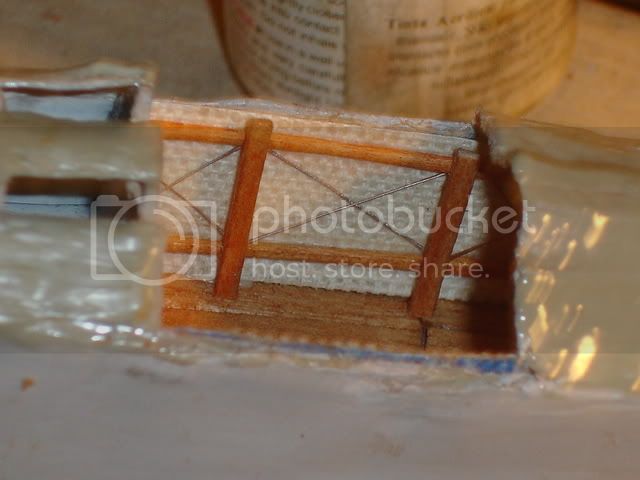
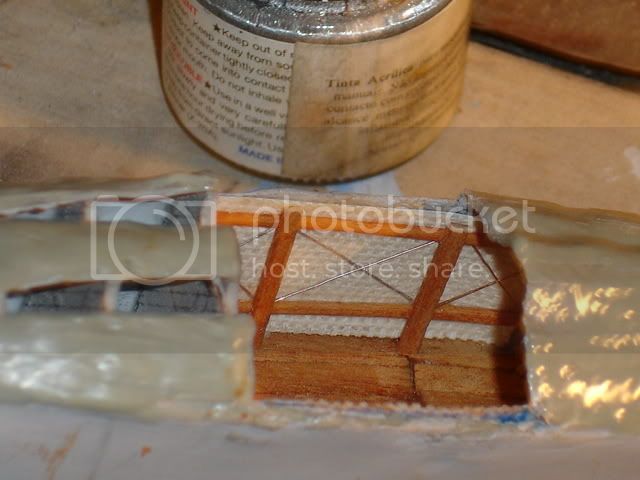
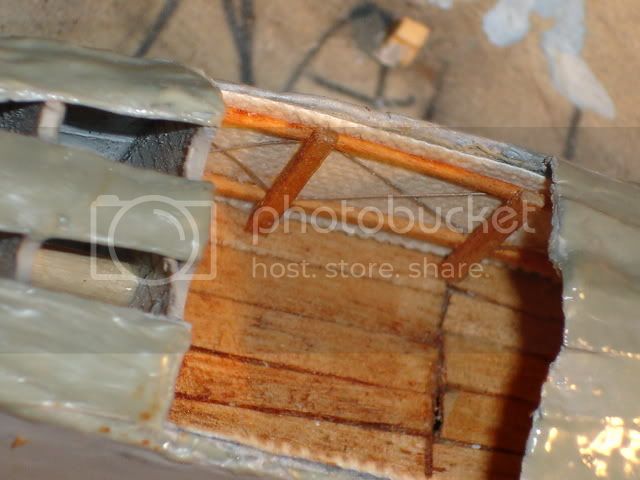
once more thank you jack
Colorado, United States
Joined: January 25, 2004
KitMaker: 11,669 posts
AeroScale: 11,011 posts
Posted: Monday, June 16, 2008 - 08:47 PM UTC
Greetings ricardo,
No worries! Glad I could help.

I changed the topic title to reflect it is a 1/35 build.
". . .The most important thing is to know why you build and then get the most that you can out of building." via D.D.
Portugal
Joined: December 09, 2007
KitMaker: 168 posts
AeroScale: 159 posts
Posted: Tuesday, June 17, 2008 - 01:38 AM UTC


