_GOTOBOTTOM
Early Aviation
Discuss World War I and the early years of aviation thru 1934.
1/32 Hansa Brandenburg W 29 - 100% Scratch
legendasboy
_VISITCOMMUNITY
Portugal
Joined: December 09, 2007
KitMaker: 168 posts
AeroScale: 159 posts
Posted: Sunday, September 21, 2008 - 11:32 AM UTC
The plane


History

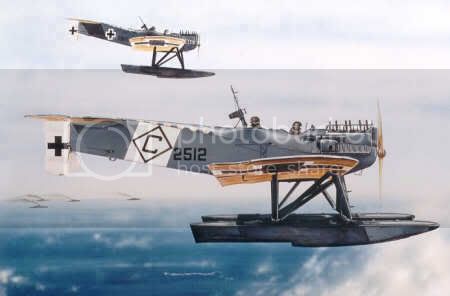
The Hansa-Brandenburg W-29 was designed by the end of 1917 by Ernst Heinkel as successor of the successfull Hansa-Brandenburg W-12.
The German navy demanded a faster aircraft with larger fire power to resist the Felixstowe flying boats. The W.29 was a two seat monoplane.
The first production series of six aircraft, numbers 2201 - 2206, was ordered in december 1917. Delivery was in spring 1918.
These six aircraft were equipped with a Benz Bz.lIIb. engine rated 185-195 hp. Remarkeable were the six exhausts, pointing upwards at port side of the plane. Also the engine cowling has air intakes.

July 4 the first fight between four W.29s and three Felixstowes occured. Alle Felixstowes were shot down and there were no Germans losses.
The W-29 was armed with two fixed forward firin, sychronized Spandau machine guns plus one movable Parabellum machien gun for the observer.
The fuselage resembled its precendent the hansa-Brandenburg W.12. Also the floats were almost the same. The wings was of a wooden constrution coveren with doped linen.


This will be my next project to start this week .
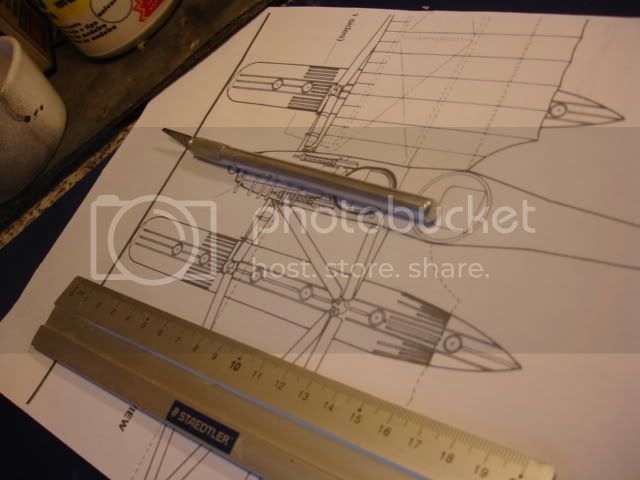
Just have to print the profiles in a plotter because my regular printer doesnt support it.
Any help on this one will be great.
Hope you like the plane, and also hope everything works fine in the end.
I'll post some photos when i start the work on the plane.
thegirl
_VISITCOMMUNITY
Alberta, Canada
Joined: January 19, 2008
KitMaker: 6,743 posts
AeroScale: 6,151 posts
Posted: Sunday, September 21, 2008 - 12:41 PM UTC
Wow , I'm looking forward to this one Ric ! I do have some info and scale drawings if that will help you out . I can scan them and send it to you .
legendasboy
_VISITCOMMUNITY
Portugal
Joined: December 09, 2007
KitMaker: 168 posts
AeroScale: 159 posts
Posted: Sunday, September 21, 2008 - 01:00 PM UTC
yes any help would be great.
legendasboy
_VISITCOMMUNITY
Portugal
Joined: December 09, 2007
KitMaker: 168 posts
AeroScale: 159 posts
Posted: Wednesday, September 24, 2008 - 12:05 PM UTC
can anyone tell me the number of the Finescale Modeler where they explain how to paint the lozenge cam with airbrush. that would give me a great help on this one
MerlinV
_VISITCOMMUNITY
Victoria, Australia
Joined: November 26, 2006
KitMaker: 608 posts
AeroScale: 602 posts
Posted: Wednesday, September 24, 2008 - 03:32 PM UTC
Have a look at this thread over on the Aerodrome. It may help.

http://www.theaerodrome.com/forum/models/35666-aviatik-berg-d1-paint.html

Cheers,

Hugh
jaypee
_VISITCOMMUNITY
Scotland, United Kingdom
Joined: February 07, 2008
KitMaker: 1,699 posts
AeroScale: 1,384 posts
Posted: Thursday, September 25, 2008 - 01:39 AM UTC
All the best of luck ricardo. Your last scratch was great, I love the beer mats and razor blades approach.
legendasboy
_VISITCOMMUNITY
Portugal
Joined: December 09, 2007
KitMaker: 168 posts
AeroScale: 159 posts
Posted: Thursday, September 25, 2008 - 12:41 PM UTC
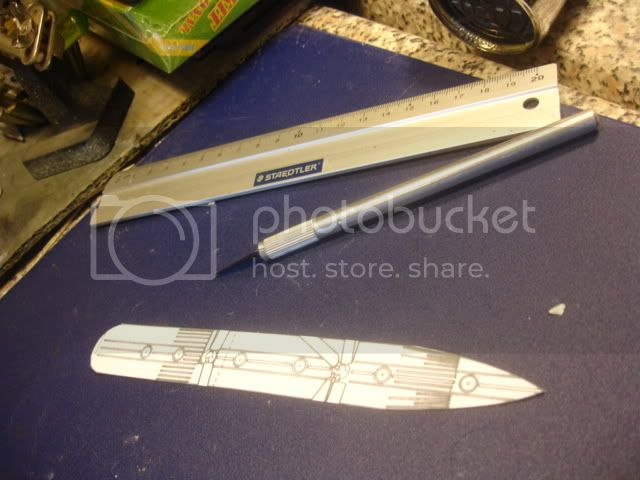
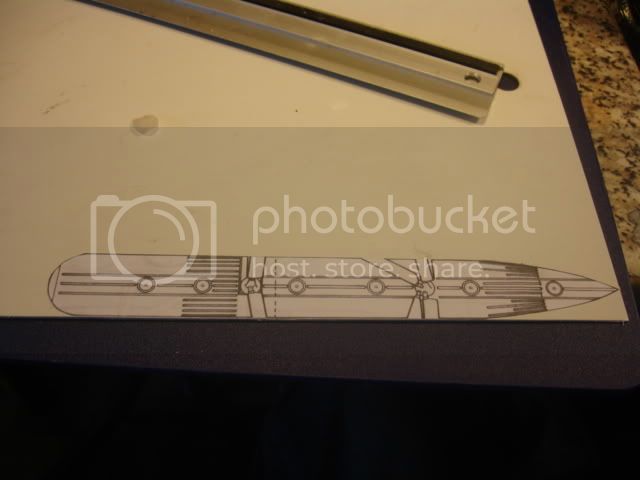
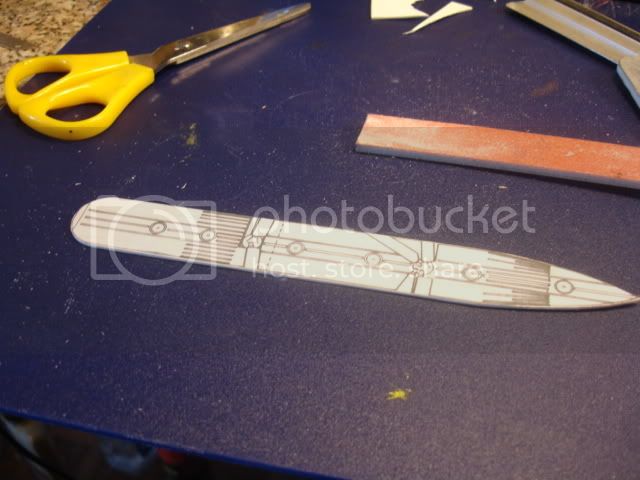
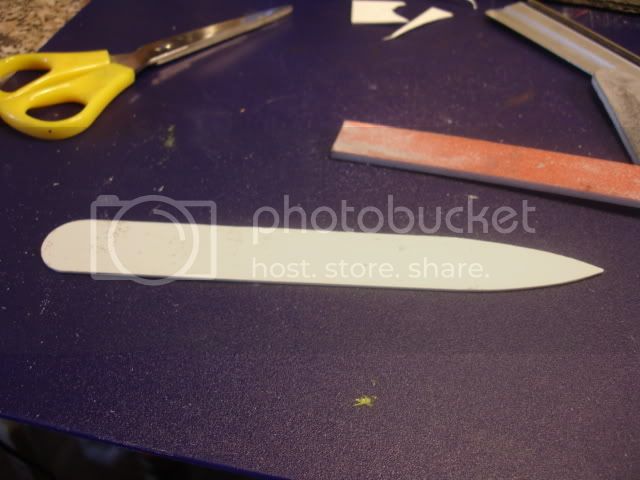
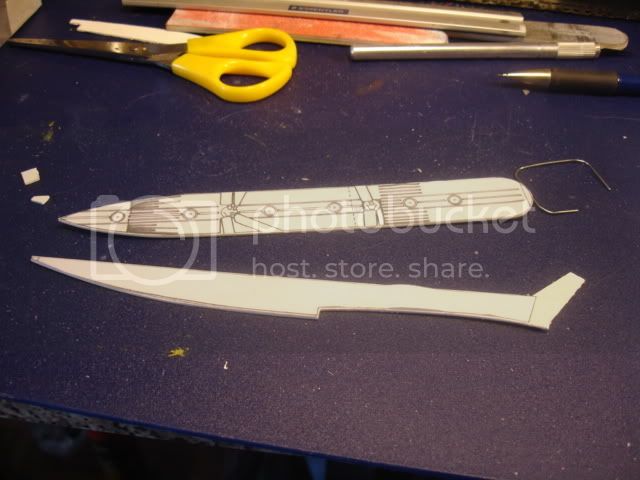
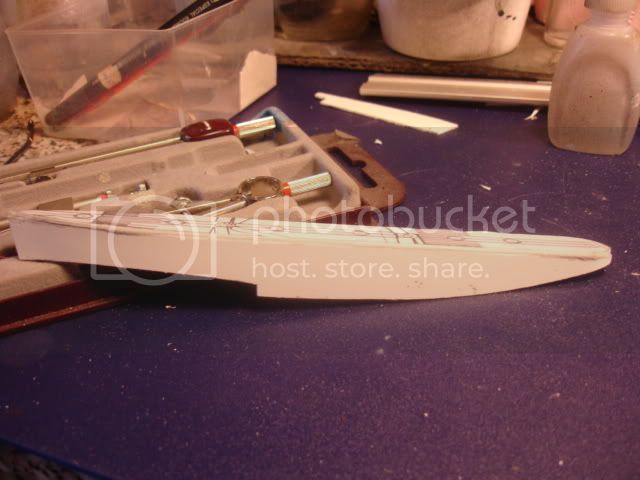
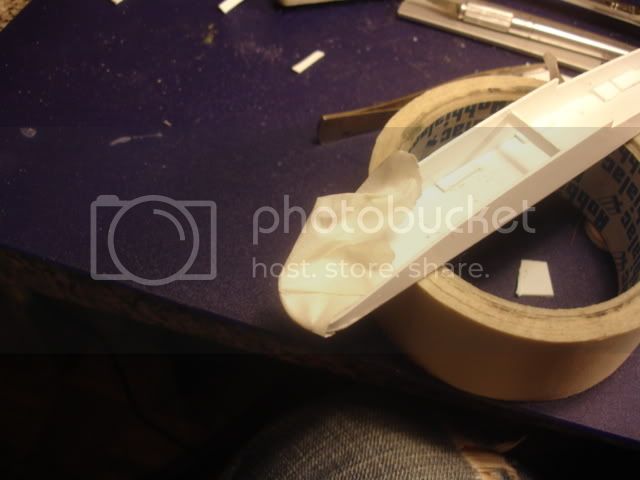
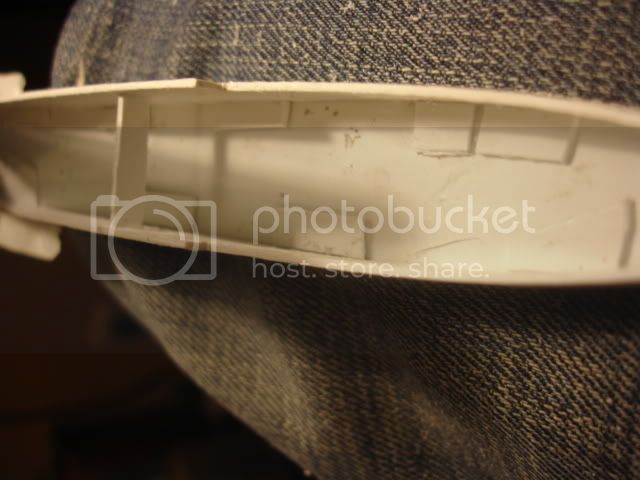
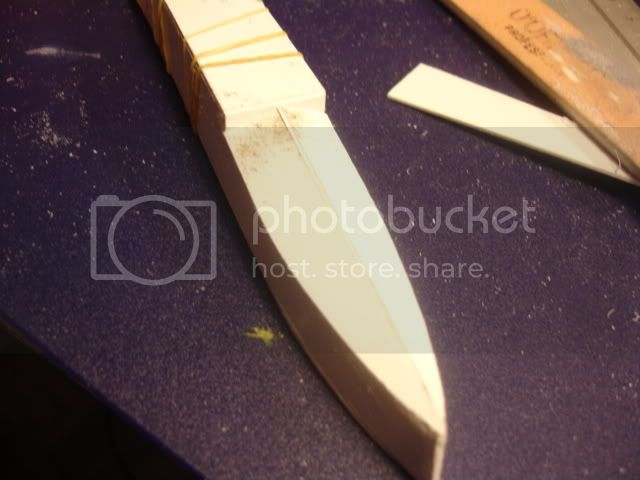
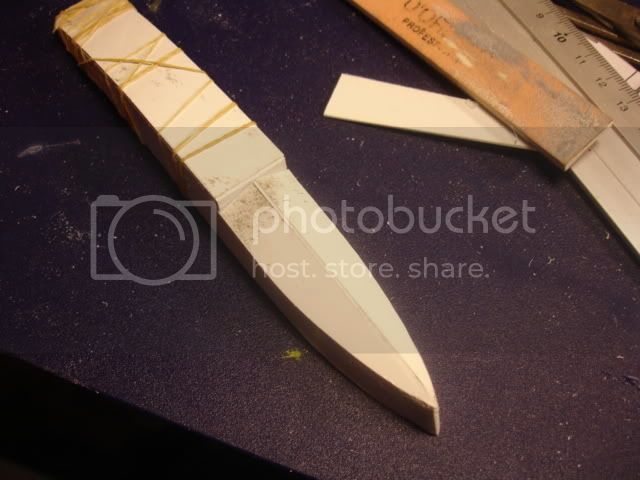
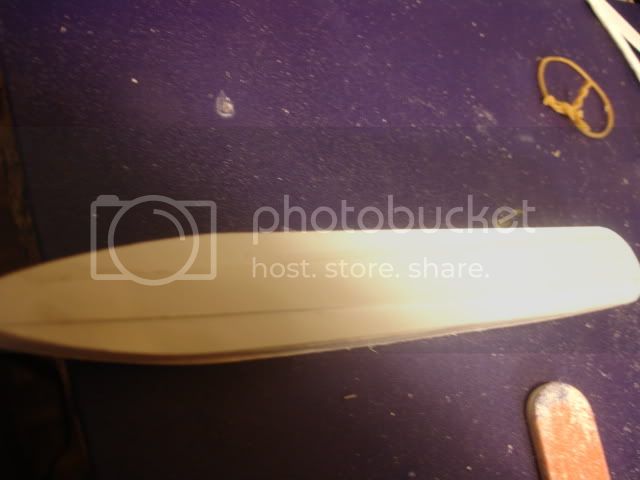
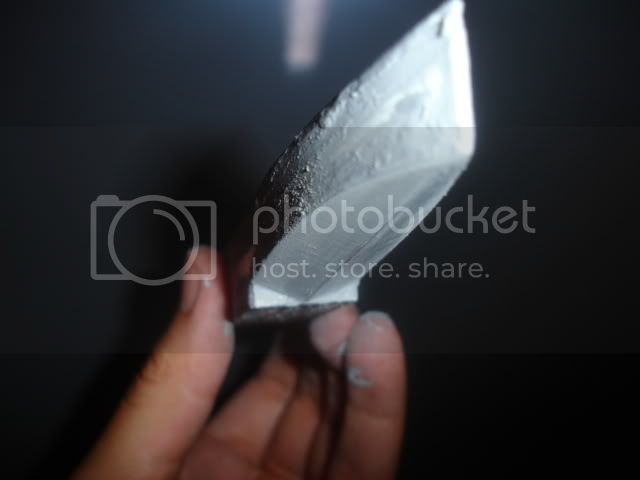
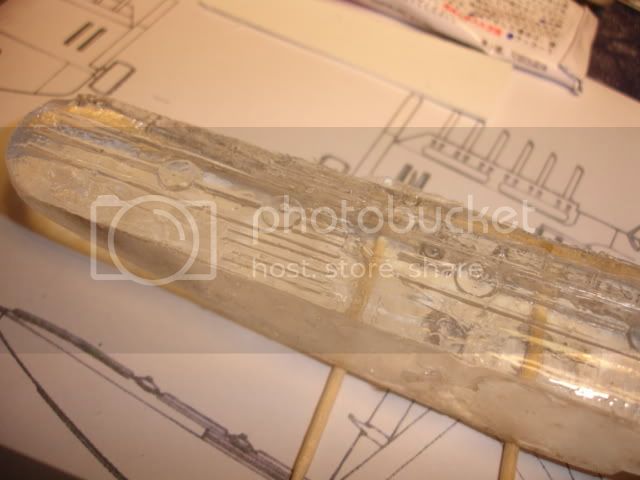
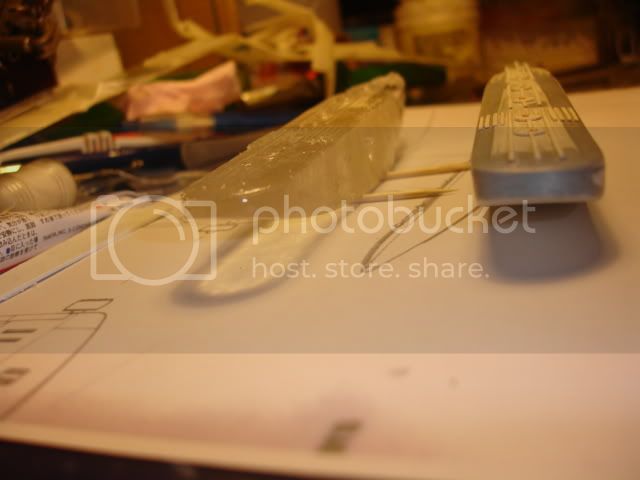
here are the begining of the work, started with the (dont know the name of this but i guess its a) floater...

I will only do one then i'll clone it with some resin to make an exact copy.

still some work to do but its a start


i've done some planes tinier than this floater


thegirl
_VISITCOMMUNITY
Alberta, Canada
Joined: January 19, 2008
KitMaker: 6,743 posts
AeroScale: 6,151 posts
Posted: Thursday, September 25, 2008 - 04:43 PM UTC
Hey that's awesome Ric , this is going to be one huge aircraft when finished . The one 48 scale is impressive . This will out beat that ! Looking forward on seeing more .
legendasboy
_VISITCOMMUNITY
Portugal
Joined: December 09, 2007
KitMaker: 168 posts
AeroScale: 159 posts
Posted: Thursday, September 25, 2008 - 10:20 PM UTC

Quoted Text

Hey that's awesome Ric , this is going to be one huge aircraft when finished . The one 48 scale is impressive . This will out beat that ! Looking forward on seeing more .


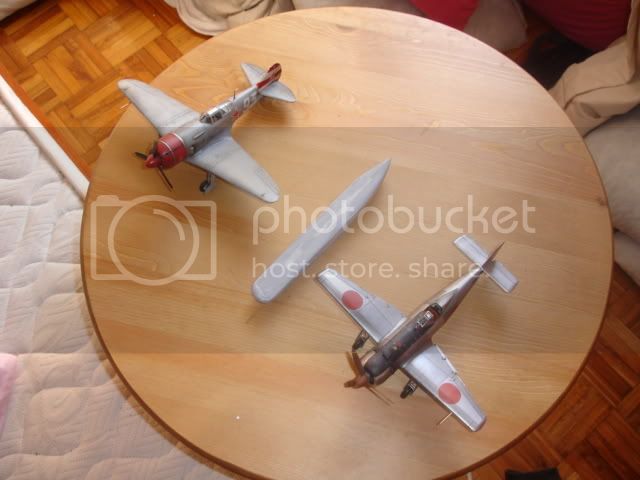
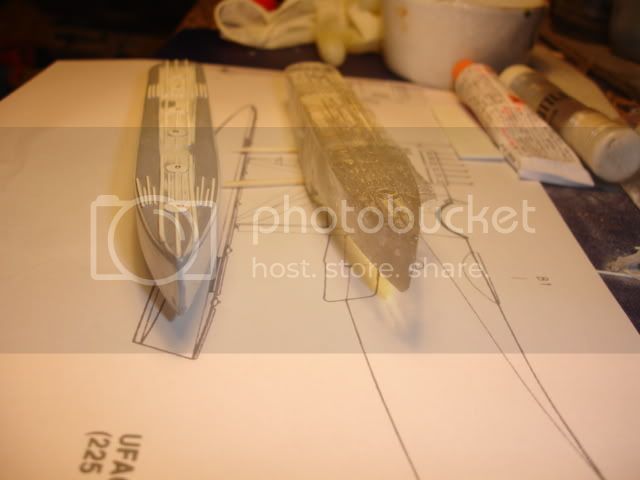
yes i guess it will be huge here is the floater near to 2 1/48 planes


guitarlute101
_VISITCOMMUNITY
West Virginia, United States
Joined: December 18, 2006
KitMaker: 1,121 posts
AeroScale: 1,063 posts
Posted: Thursday, September 25, 2008 - 11:26 PM UTC

Excellent work, Ricardo. Looking forward to more.

Mark
legendasboy
_VISITCOMMUNITY
Portugal
Joined: December 09, 2007
KitMaker: 168 posts
AeroScale: 159 posts
Posted: Friday, September 26, 2008 - 12:38 PM UTC
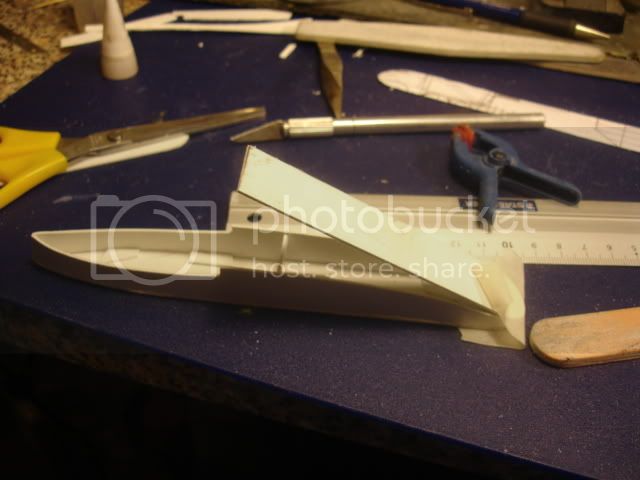
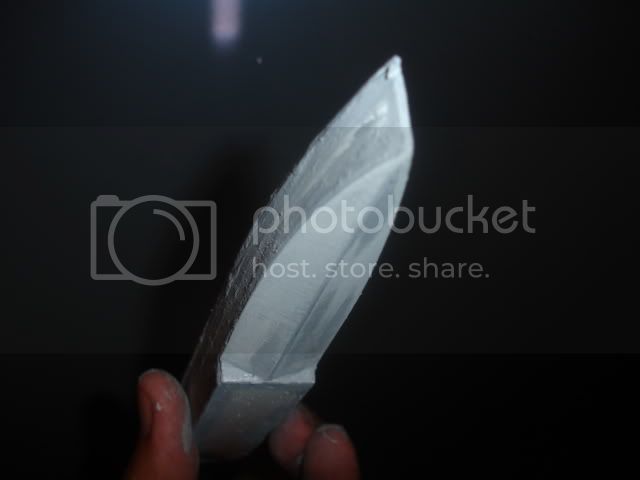
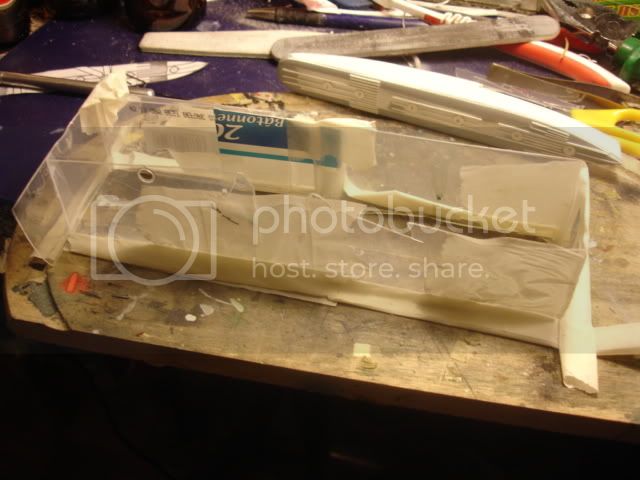
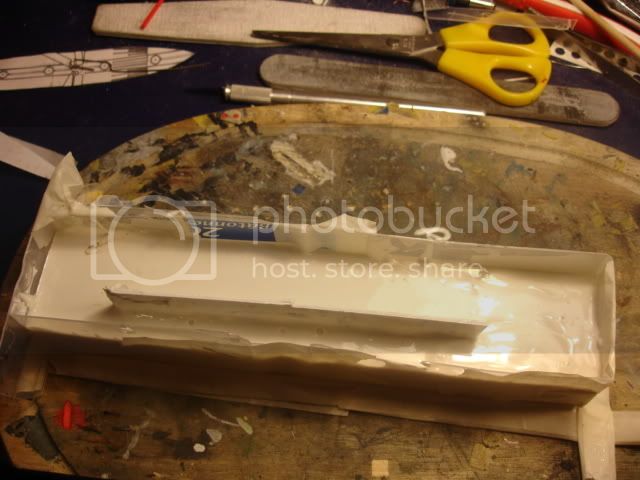
more work done

floater done


casting silicon mold


legendasboy
_VISITCOMMUNITY
Portugal
Joined: December 09, 2007
KitMaker: 168 posts
AeroScale: 159 posts
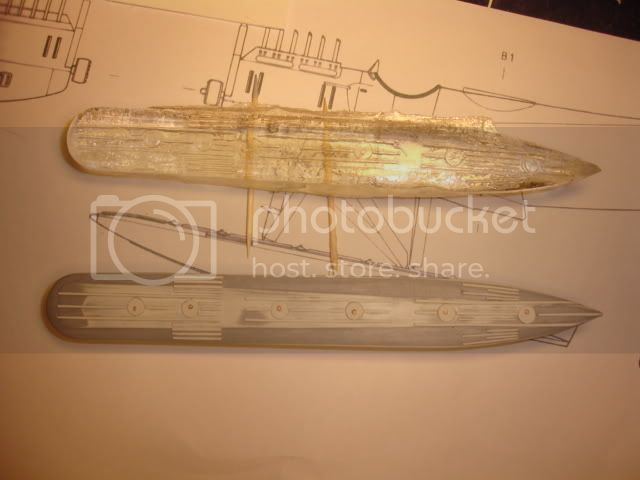
Posted: Saturday, September 27, 2008 - 08:05 AM UTC
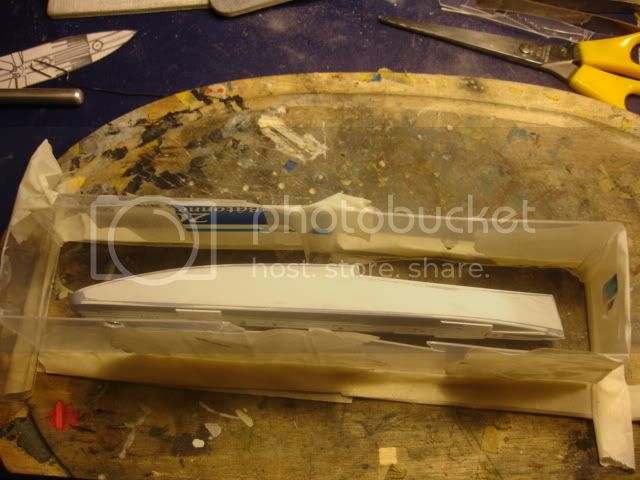
copy made, just have to cerrect some imperfections with some putty


MerlinV
_VISITCOMMUNITY
Victoria, Australia
Joined: November 26, 2006
KitMaker: 608 posts
AeroScale: 602 posts
Posted: Saturday, September 27, 2008 - 11:28 AM UTC
Very Cool!

I like it already.

Yuo might find this interesting as a reference.

http://modelforum.upce.cz/forum/viewtopic.php?f=71&t=25675

Cheers,

Hugh
legendasboy
_VISITCOMMUNITY
Portugal
Joined: December 09, 2007
KitMaker: 168 posts
AeroScale: 159 posts
Posted: Saturday, September 27, 2008 - 01:05 PM UTC
thank you hugh.

always nice 2 have more references...

gona try to do my best on this one (going to be a very slow built)
JackFlash
_VISITCOMMUNITY
Colorado, United States
Joined: January 25, 2004
KitMaker: 11,669 posts
AeroScale: 11,011 posts
Posted: Saturday, September 27, 2008 - 03:00 PM UTC
Most impressive Riccardo! I really like the ideas you are showing us. The 1/32 scale will give you a monster when she is done. Wow!
legendasboy
_VISITCOMMUNITY
Portugal
Joined: December 09, 2007
KitMaker: 168 posts
AeroScale: 159 posts
Posted: Wednesday, October 01, 2008 - 12:41 PM UTC
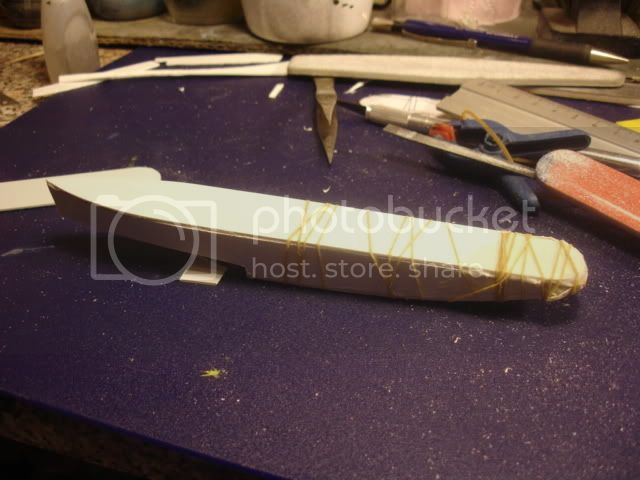
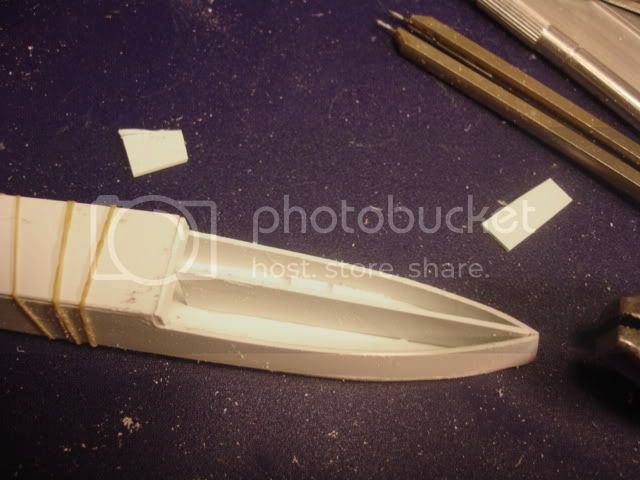
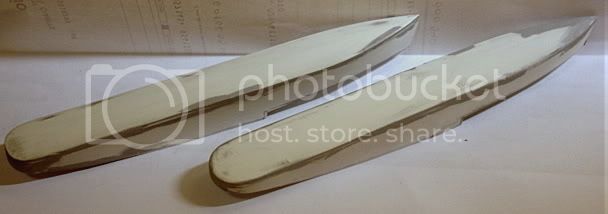
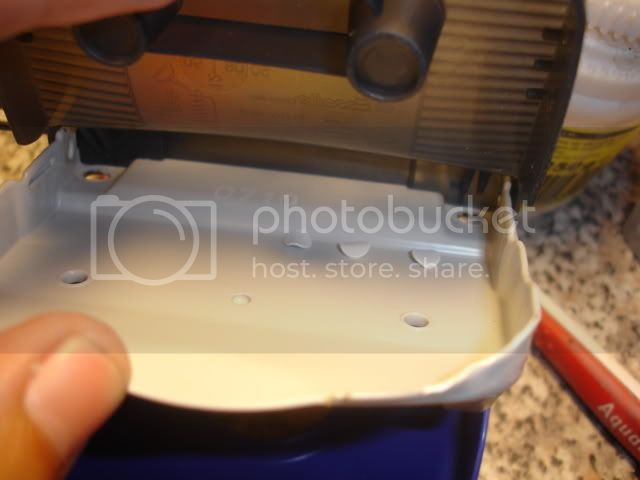
well had to remake the 2 floaters.

1 because the putty shrinked and had to build a cover to give it a rounded look on top and the second one because the resin shrinked

waiting the putty to dry to see if anything else to correct before i had the bits on top.


and the real nightmare begins

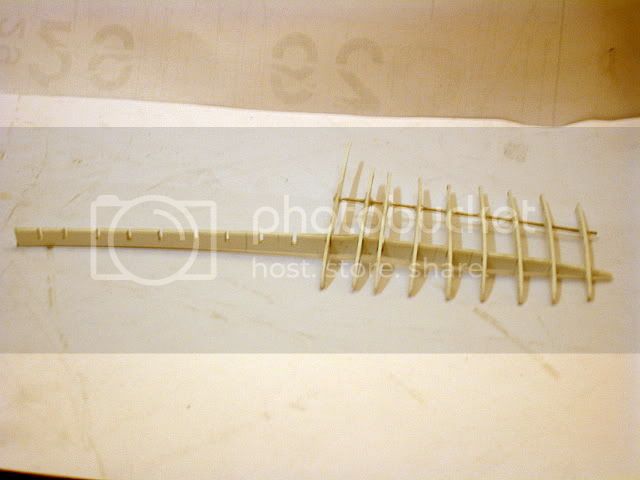
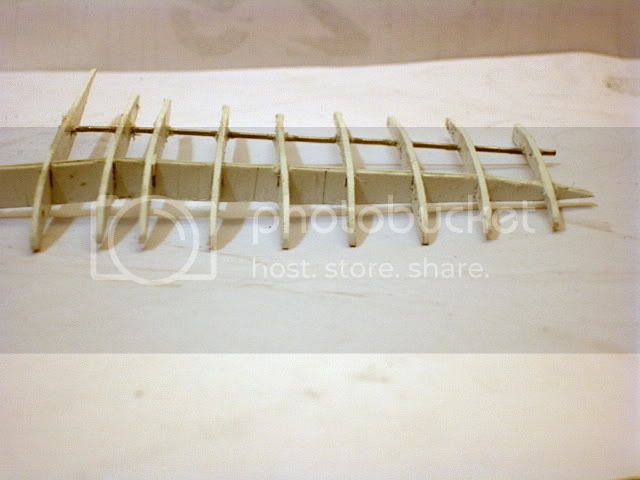
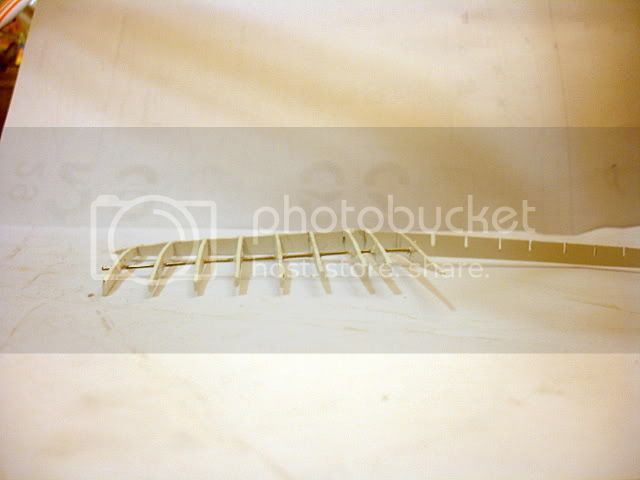
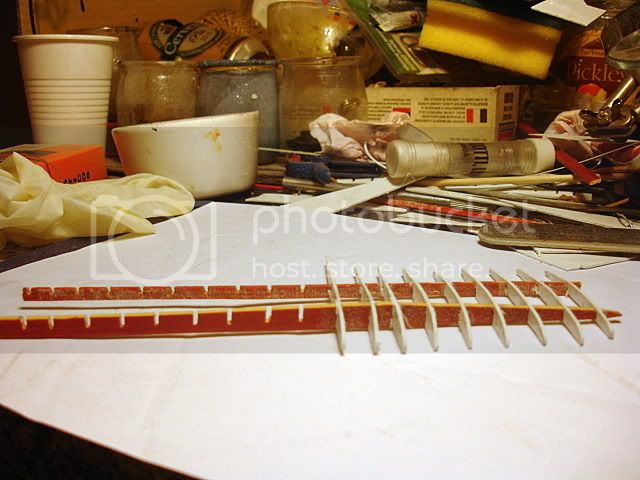
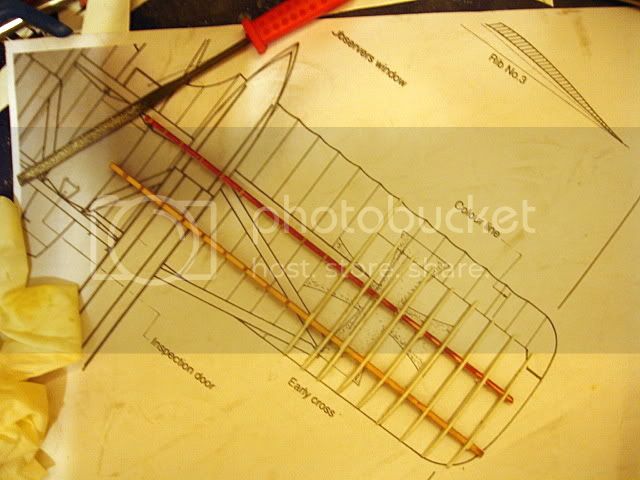
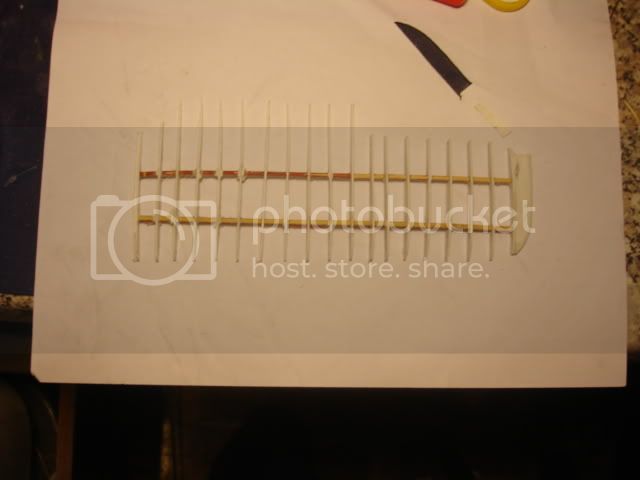
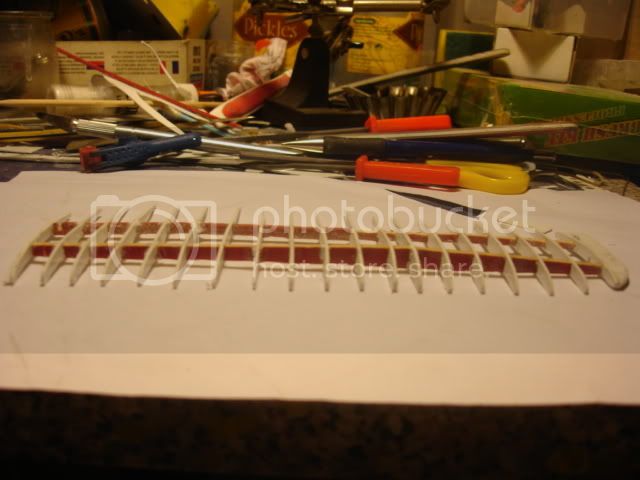
the wings on this one are made in strange angles so i'm doing my best, i wish i colud have access to all the ribs drawings i only have one and i trying my luck on the others.

started building the inner struct so i can cover it giving it the strange angle look.


doing my best but its a strange bird
MerlinV
_VISITCOMMUNITY
Victoria, Australia
Joined: November 26, 2006
KitMaker: 608 posts
AeroScale: 602 posts
Posted: Wednesday, October 01, 2008 - 04:16 PM UTC
Hi Ricardo,
I do not understand what you are doing with the Wing Dihedral. As far as I can tell from all the drawinsg I have at hand, the dihedral is constant from Wing Mounting to Wing Tip.

Cheers,

Hugh
thegirl
_VISITCOMMUNITY
Alberta, Canada
Joined: January 19, 2008
KitMaker: 6,743 posts
AeroScale: 6,151 posts
Posted: Wednesday, October 01, 2008 - 04:30 PM UTC
Hi Ric . I'm looking at the scale drawings , same ones that I sent you and Hugh is correct .
It's constant .

I really like the float next to the 48 planes , this will be huge ! Awesome !
legendasboy
_VISITCOMMUNITY
Portugal
Joined: December 09, 2007
KitMaker: 168 posts
AeroScale: 159 posts
Posted: Friday, October 03, 2008 - 12:19 AM UTC
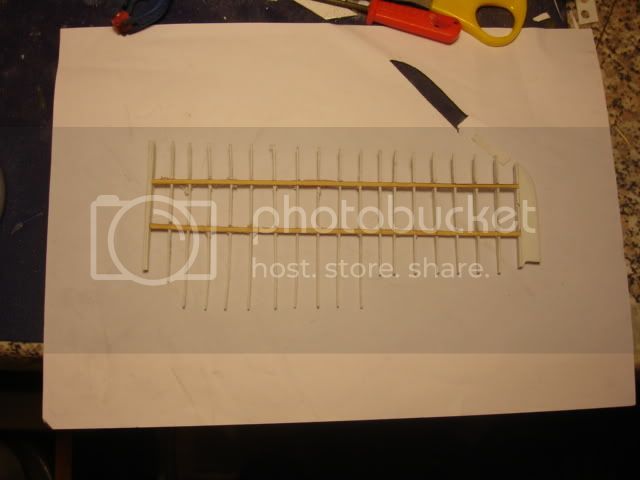
well i had started a new one befor i saw your messages, but still i was seeing drawings again and dont know because of the wing shape on the bottom if its so constant or if what we see being constant its the edge of the wing


now its like this but i maybe have to change it again because of what i said before i'll do some drawings and post it here then
legendasboy
_VISITCOMMUNITY
Portugal
Joined: December 09, 2007
KitMaker: 168 posts
AeroScale: 159 posts
Posted: Friday, October 03, 2008 - 07:27 AM UTC
one is done


MerlinV
_VISITCOMMUNITY
Victoria, Australia
Joined: November 26, 2006
KitMaker: 608 posts
AeroScale: 602 posts
Posted: Friday, October 03, 2008 - 02:16 PM UTC
Hi Ricardo,

Although I greatly admire your tenacity and problem solving skills, I think it might be time that someone introduced you to the "Harry Woodman" Solid Core Wing Costruction Method...
I think it would be idealy suited to this aircraft.

Get your self two pices of 1mm (40 thou) Styrene sheet and cut them to the profile of the wing.
Laminate these two pieces while clamping the whole lot over the top of a curved surface in order that when the glue is dry, the Airfoil is maintained on the underside of the assembly.

Now, get some course sand paper and sand the leding and trailing edges to the required profile. You now have a solid core for your wing.
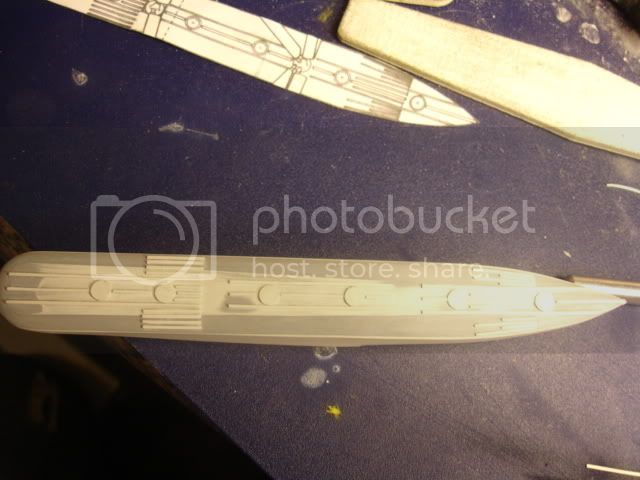
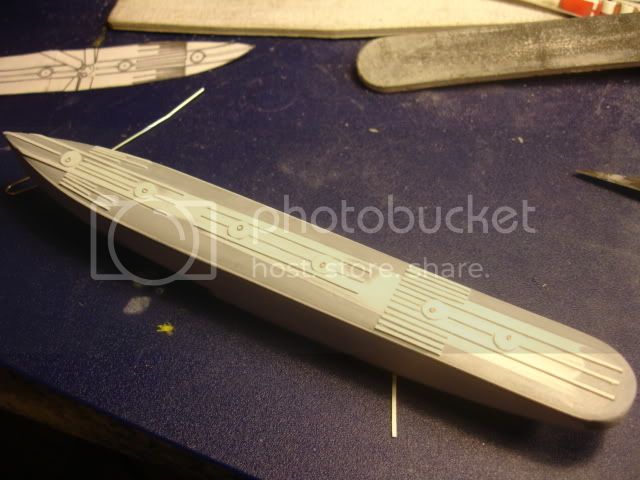
Cut a piece of 5 though styrene sheet twice the width of the wing (there are other matrials that are better for this, but they are very hard to obtain) and cut to the profile of the wing allowing about 3 mm excess anong the trailing edge. Fold this piece along the leading edge (Be careful not to fold so acutely that you crack the styrene). Now score the rib positions on the inside face of what wil and up being the Top of the wing skinning wiht a ball point pen.
This will give you your sagged fabric effect.

Now attach the skin to the underside of the wing core using double sided tape. Apply liquid styrene glue to the trailing edge.

Once this is done and hte glue is dry, sand the excess away to a knife edge and fold the top half of the skinning down over the top of the core and attach once again using double sided.
Apply glue as per the previous step along the trailing egde and again sand/cut away the excess skinning.

All that will remain now is to clean up the wng tips... and since your core and skin are of the same material, this is very easily done.

I must try this my slef one day...

Cheers,

Hugh

I know a link, or some diagrams would help, but I seem to have missplaced my favourites link to the web site that has Harrys book scannned... any one else have it?
legendasboy
_VISITCOMMUNITY
Portugal
Joined: December 09, 2007
KitMaker: 168 posts
AeroScale: 159 posts
Posted: Saturday, October 04, 2008 - 05:55 AM UTC
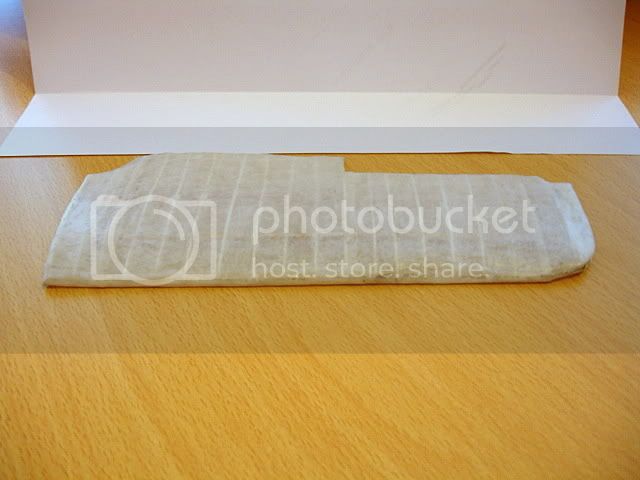
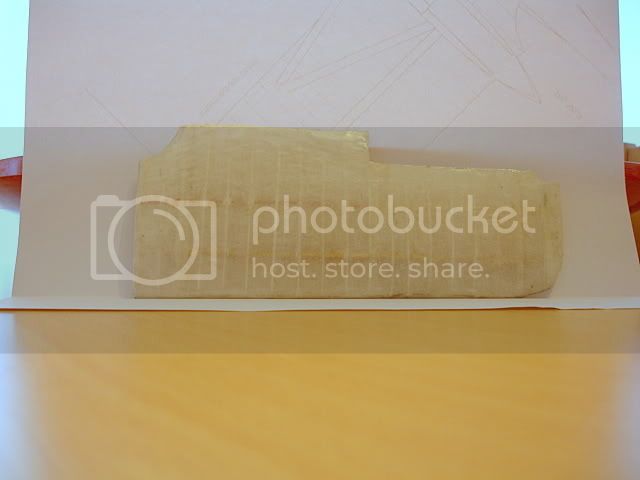
trying a new method...just a try ( we learn from our mistakes)


MerlinV
_VISITCOMMUNITY
Victoria, Australia
Joined: November 26, 2006
KitMaker: 608 posts
AeroScale: 602 posts
Posted: Saturday, October 04, 2008 - 11:12 AM UTC
One word.

WOW!

My only worry would be the fragility of the assembly when handling later on in the build.

WOW!

Cheers,

Hugh
thegirl
_VISITCOMMUNITY
Alberta, Canada
Joined: January 19, 2008
KitMaker: 6,743 posts
AeroScale: 6,151 posts
Posted: Saturday, October 04, 2008 - 12:39 PM UTC
Awesome Ric ! The wings are starting to take shape nicely .
What did you use for the covering , looks like tissue paper of some short ?
legendasboy
_VISITCOMMUNITY
Portugal
Joined: December 09, 2007
KitMaker: 168 posts
AeroScale: 159 posts
Posted: Saturday, October 04, 2008 - 01:42 PM UTC
terry i did use (dont know how its called in english) vegetal paper, its a kind of transparent paper used to copy things and to harden it i used a varnish for metals (its a technic used in simple rc plane built)...it was very strong hugh but i didnt like the finish, because of some badly shaped ribs...so i'm making a new approch a solid wing, my only fear its the weight.

for now without the sanding its 120 grams so i hope i can put it in 70, 60 .


lots of sanding work approching.

the wing made of paper it was not a waste of time because now i know how the wing should look, so off we go.
 _GOTOTOP