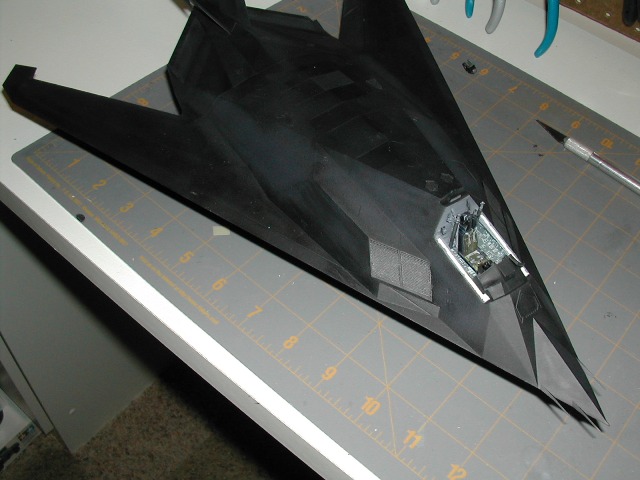
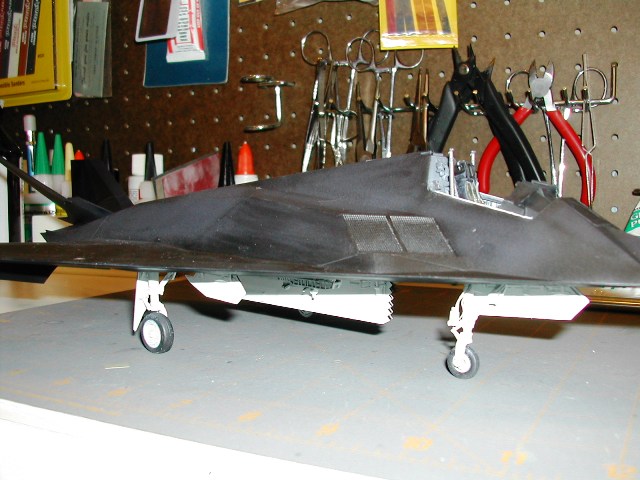
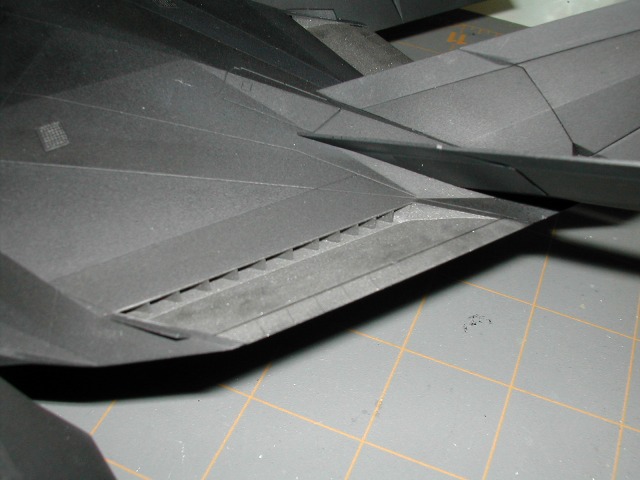
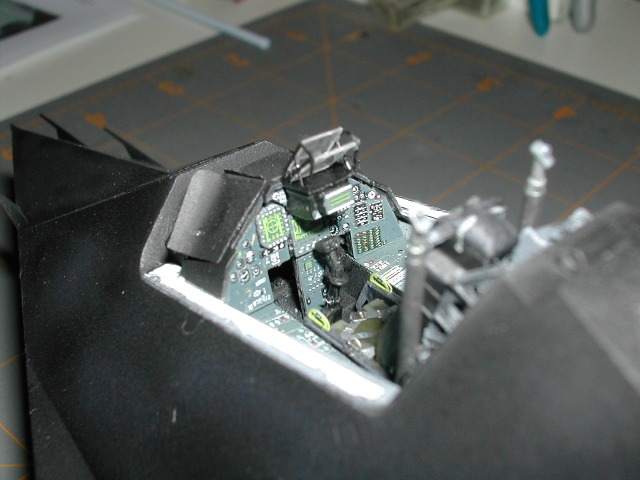
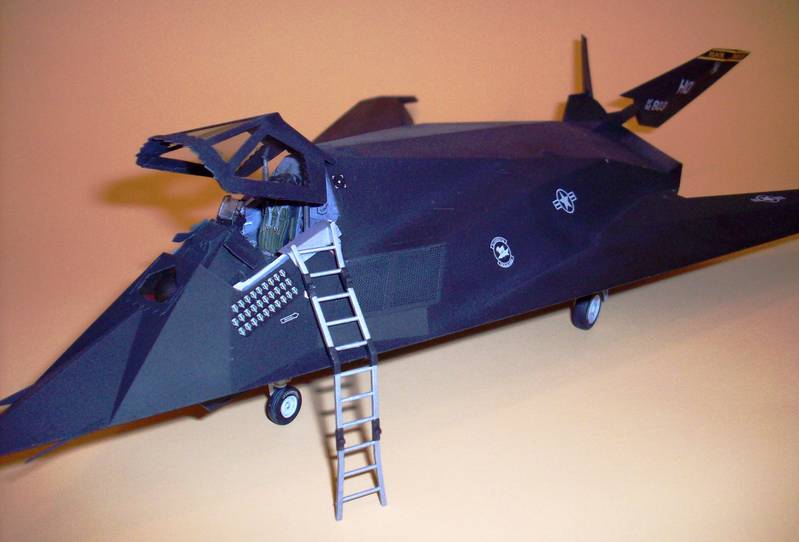
Well lets get going Brent, I've been waiting to see how the cockpit and struts turn out Looking great so far!
Happy Modeling,
Joe
Modern (1975-today)
Discuss the modern aircraft age from 1975 thru today.
Hosted by Jim Starkweather
Tamiya 1/48 F-117 Nighthawk
mother
New York, United States
Joined: January 29, 2004
KitMaker: 3,836 posts
AeroScale: 1,036 posts
Joined: January 29, 2004
KitMaker: 3,836 posts
AeroScale: 1,036 posts
Posted: Monday, September 07, 2009 - 10:13 AM UTC
Rattler
Texas, United States
Joined: November 23, 2002
KitMaker: 512 posts
AeroScale: 104 posts
Joined: November 23, 2002
KitMaker: 512 posts
AeroScale: 104 posts
Posted: Monday, September 07, 2009 - 03:44 PM UTC
it's all goood brother grunt.... I know how it can be sometimes, glad to see your back an cracking out some more on this bird, I greatly appreciate that scan !!!
maybe while things are setting up on the 1151 I can tuck in some decaling on My bird... and then the vivid orange bmw
Posted: Monday, September 07, 2009 - 04:20 PM UTC
Rattler,
Decal instructions have been emailed. Let me know if you need anything else.
Rattler
Texas, United States
Joined: November 23, 2002
KitMaker: 512 posts
AeroScale: 104 posts
Joined: November 23, 2002
KitMaker: 512 posts
AeroScale: 104 posts
Posted: Monday, September 07, 2009 - 07:59 PM UTC
rgr that,
Much Much appreicated Brent.. now get back to working on that bird of yours lol ...
an tell the NG to bugger off so you can get some serious plastic time an quality glue sniffing in
Much Much appreicated Brent.. now get back to working on that bird of yours lol ...
an tell the NG to bugger off so you can get some serious plastic time an quality glue sniffing in
Posted: Monday, October 12, 2009 - 06:59 PM UTC
UPDATE 12 OCT 2009
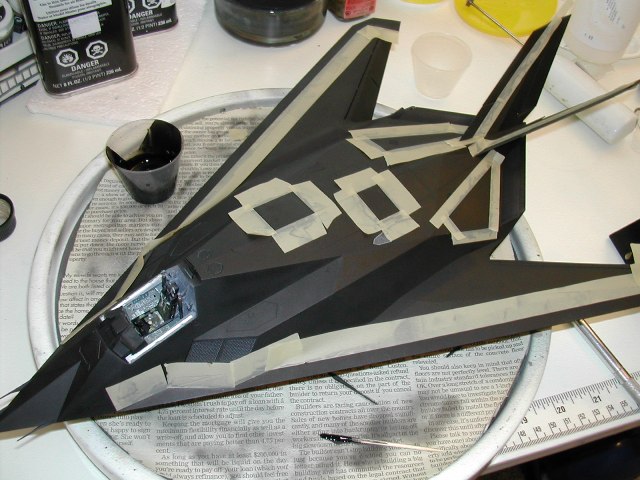
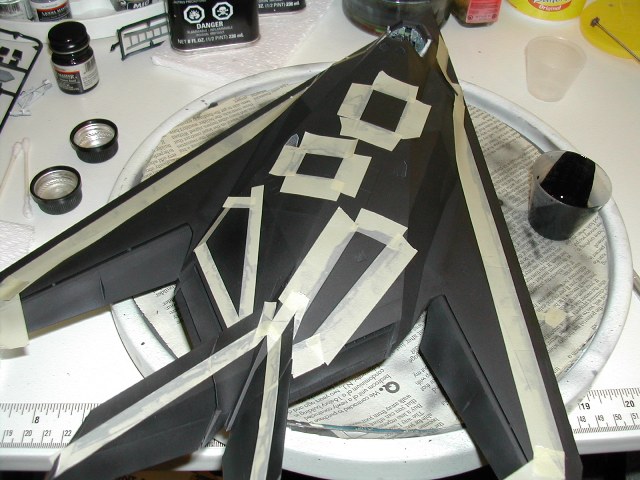
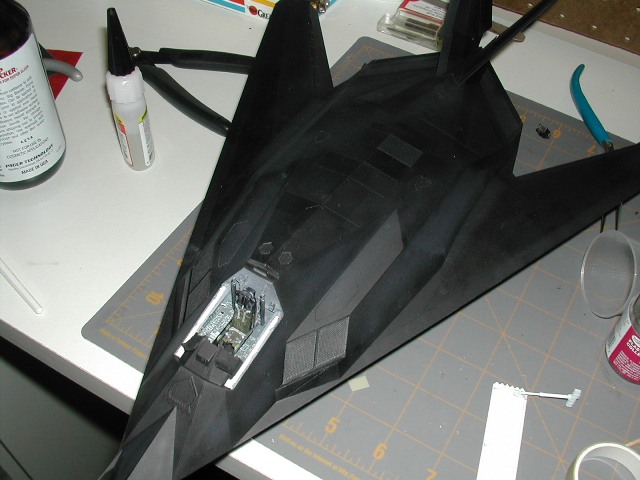
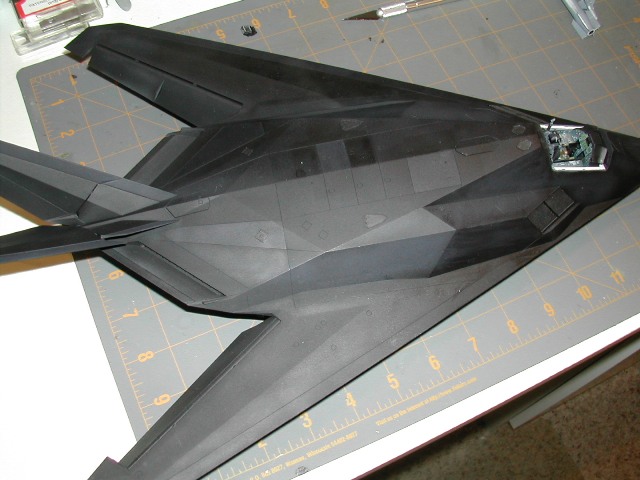
Worked on the bird a bit today. Shot some more black in an effort to produce some shade variance in the panels. The results were so-so and pretty much are lost in the camera flash.
drabslab
European Union
Joined: September 28, 2004
KitMaker: 2,186 posts
AeroScale: 1,587 posts
Joined: September 28, 2004
KitMaker: 2,186 posts
AeroScale: 1,587 posts
Posted: Monday, October 12, 2009 - 09:45 PM UTC
Quoted Text
UPDATE 12 OCT 2009
Worked on the bird a bit today. Shot some more black in an effort to produce some shade variance in the panels. The results were so-so and pretty much are lost in the camera flash.
I had exactly the same problem when building mine (but I built it out of the box)
If I remember well then I have futured the plane, then futured it again in spots with some flat base added to the future.
You should not overdo this. Extreme attention was payed to a spotless surface on the real thing because this was vital for stealth.
Posted: Monday, October 19, 2009 - 03:16 PM UTC
UPDATE 19 OCT 2009
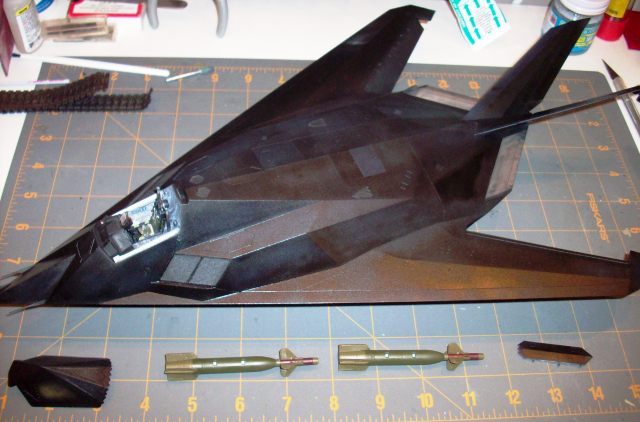
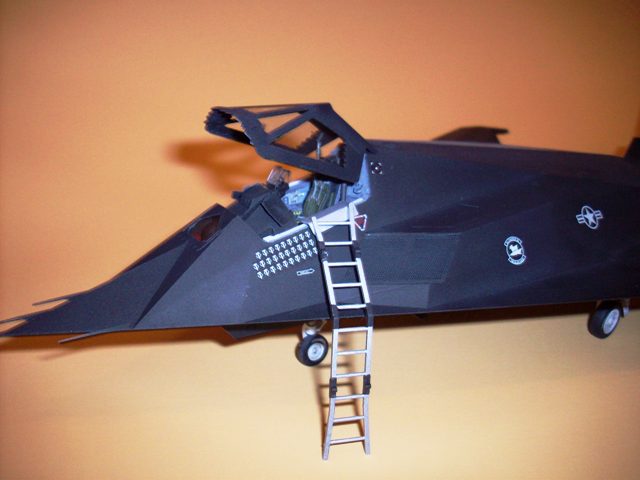
I installed the HUD last night and airbrushed the titanium for the exhaust shields. The exhaust shields will receive some additional discoloring at a later time.
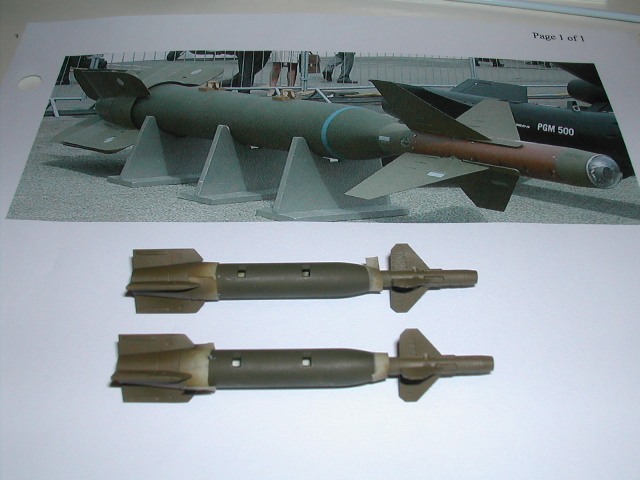
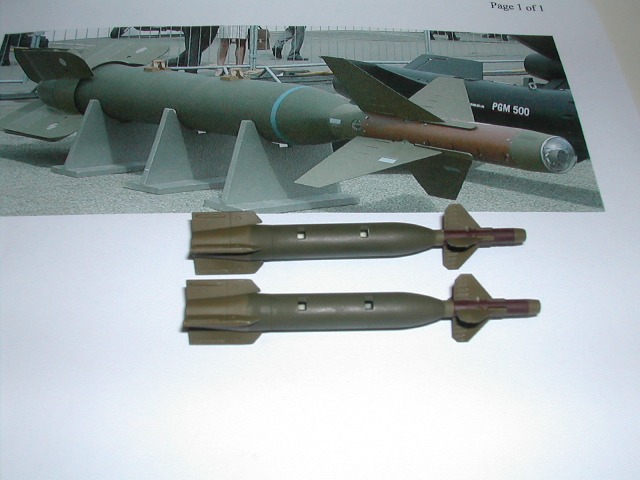
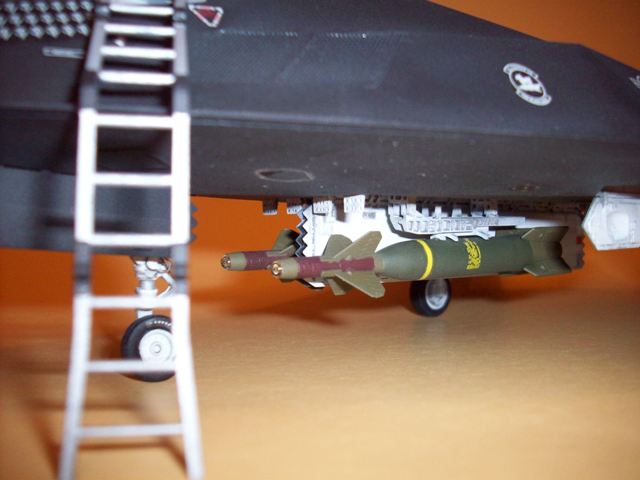
I have also begun work on the GBU-27's. They are still masked off. Once the paint dries, I will remove the masking and do some additional shade variation on the bomb body itself.
Before spraying, Tamiya's Hull Red looked like a good color for the red shade on the nose guidance unit. But, once it was shot and dried, it looks too dark. I think I will leave it as is though. I'm ready to get this bird done.
The bomb in the photo is actually a GBU-24 but it was the best reference photo I could find.
Posted: Sunday, November 01, 2009 - 05:15 PM UTC
Well...I've got the Future sprayed on. I'm at a stand still until my Two-Bobs Kosovo Bandit decals show up.
This post was removed.
Dirkpitt289
New Jersey, United States
Joined: May 24, 2008
KitMaker: 346 posts
AeroScale: 307 posts
Joined: May 24, 2008
KitMaker: 346 posts
AeroScale: 307 posts
Posted: Sunday, December 27, 2009 - 12:26 PM UTC
I love the F-117 but was never tempted to build one till now. I saw someone build one of these somewhere and it had a big skunk works logo on the underside. It looked very cool. Maybe I can find one in 1/72 someday. I can't wait to see how you finish this one off.
NickZour
Attica, Greece / Ελλάδα
Joined: May 01, 2008
KitMaker: 1,437 posts
AeroScale: 1,241 posts
Joined: May 01, 2008
KitMaker: 1,437 posts
AeroScale: 1,241 posts
Posted: Monday, December 28, 2009 - 07:02 PM UTC
I love the F-117 too
You're doing great, keep going
Cheers Nick
You're doing great, keep going
Cheers Nick
Gorizont
Sachsen, Germany
Joined: November 28, 2007
KitMaker: 1,462 posts
AeroScale: 27 posts
Joined: November 28, 2007
KitMaker: 1,462 posts
AeroScale: 27 posts
Posted: Wednesday, December 30, 2009 - 07:37 AM UTC
Great looking black beauty!
I wished, my model built at that time would have looked so good.
greetings...
Soeren
I wished, my model built at that time would have looked so good.
greetings...
Soeren
Posted: Sunday, January 03, 2010 - 08:38 AM UTC
Well, here I am with another update. What a frustrating ride I've been on. Since my last update I've run into several problems with the build.
First issue was, a friend of mine told me that if I didn't brush on Future, my decals will not blend in to the sprayed future background. Not having used future before, and this guy having won every major modelling contest, I took his word. So, I brushed on some future. What happened just baffeled me. It turned parts of my model a greyish white color. Long story short, I had to respray the entire model flat black again.
Second major issue was that I accidentally caught one of my PE intake screens and rolled it back about half-way. It was a chore to fix that.
I have had a few other minor bumps in the road as well.
My current status is.....I gloss coated, decaled and put on the second coat of gloss today. Tomorrow I will spray the flat coat. Here is a picture as the F-117 currently appears. There is a lot of reflection off of it from my camera flash.
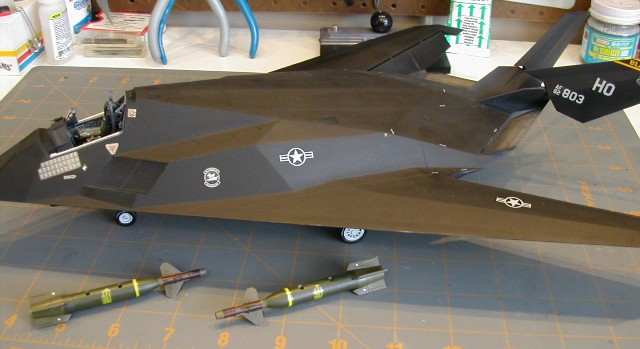
My intent is to finish her tomorrow.....FINALLY!
Keeperofsouls2099
Florida, United States
Joined: January 14, 2009
KitMaker: 2,798 posts
AeroScale: 2,443 posts
Joined: January 14, 2009
KitMaker: 2,798 posts
AeroScale: 2,443 posts
Posted: Wednesday, January 06, 2010 - 03:45 AM UTC
wow impressive detail on the cockpit and bombs good work!
Build On,
Justin
Build On,
Justin
Posted: Sunday, January 17, 2010 - 04:29 PM UTC
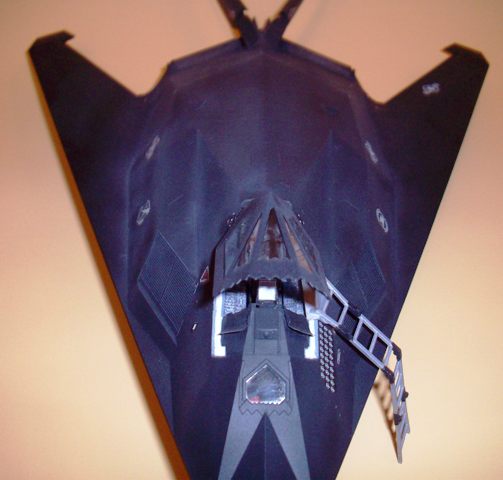
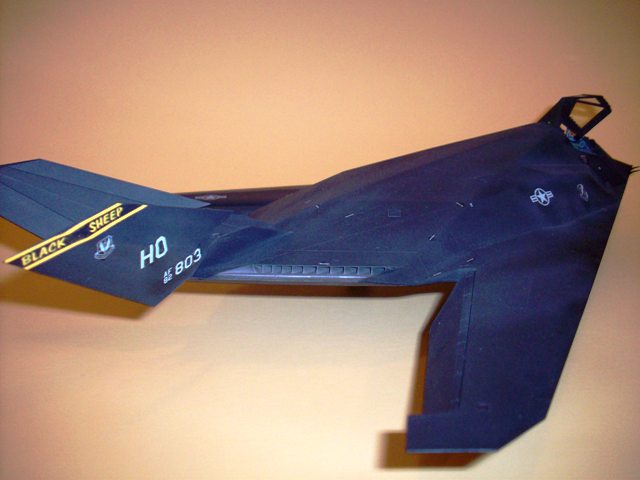
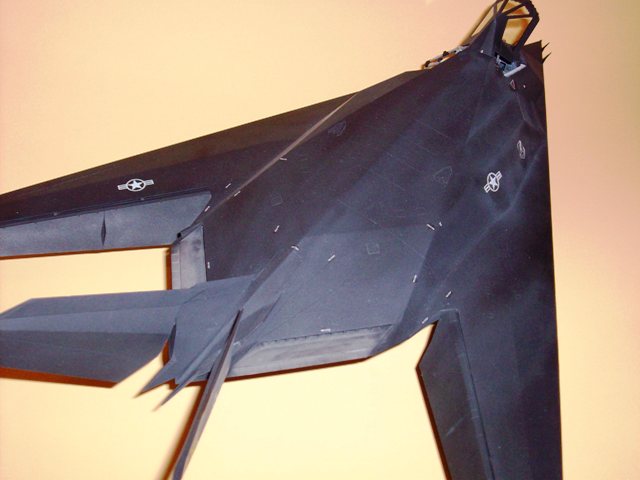
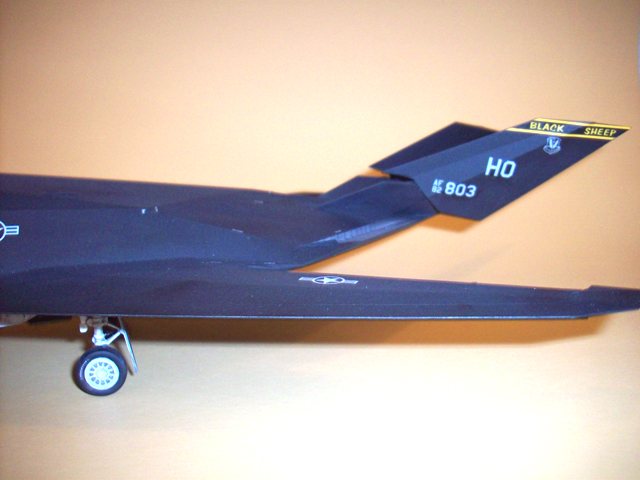
Well, this is it! I'm calling it done!!!
Here are some quick, late pictures. I will take some better ones tomorrow when I have full,natural lighting.
Gorizont
Sachsen, Germany
Joined: November 28, 2007
KitMaker: 1,462 posts
AeroScale: 27 posts
Joined: November 28, 2007
KitMaker: 1,462 posts
AeroScale: 27 posts
Posted: Monday, February 01, 2010 - 07:38 AM UTC
This is a good looking "black sheep"!
Nice to see something on the net.
My model, which I´ve built some years ago, had no bombs and was not finished.
greetings...
Soeren
Nice to see something on the net.
My model, which I´ve built some years ago, had no bombs and was not finished.
greetings...
Soeren
james84
Roma, Italy
Joined: January 28, 2006
KitMaker: 1,368 posts
AeroScale: 377 posts
Joined: January 28, 2006
KitMaker: 1,368 posts
AeroScale: 377 posts
Posted: Monday, February 01, 2010 - 08:12 AM UTC
Excellent!
hkopper
Florida, United States
Joined: March 01, 2008
KitMaker: 529 posts
AeroScale: 340 posts
Joined: March 01, 2008
KitMaker: 529 posts
AeroScale: 340 posts
Posted: Monday, February 01, 2010 - 01:13 PM UTC
Nice finish and excellent save!
Hermann.
Hermann.
Posted: Monday, February 01, 2010 - 01:53 PM UTC
Nice work! I've had problems with the furure behaving badly when I've applied Decal softener, but never on the brush on stage.