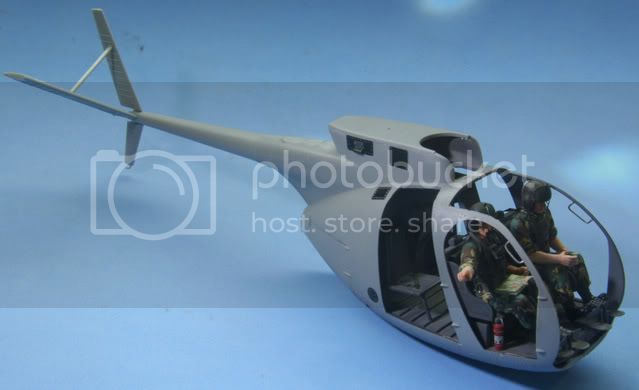
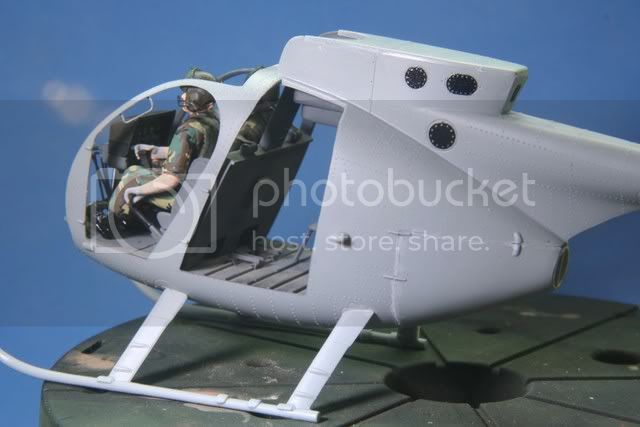
After years of service in Air Assault and Artillery, I thought my first try at a heilo would be the OH-6 or Loach or Egg, whatever you prefer.
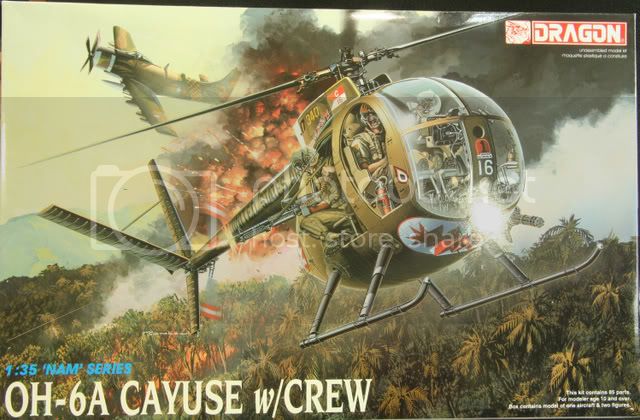
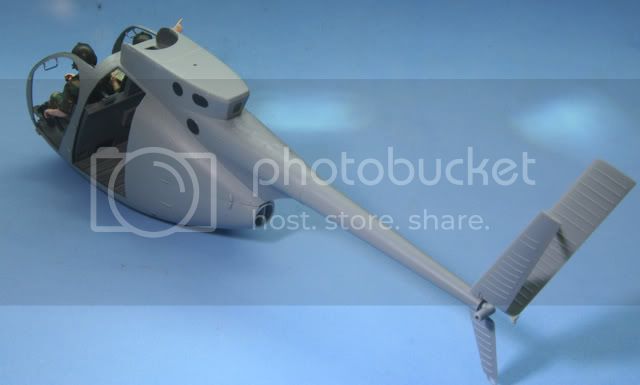
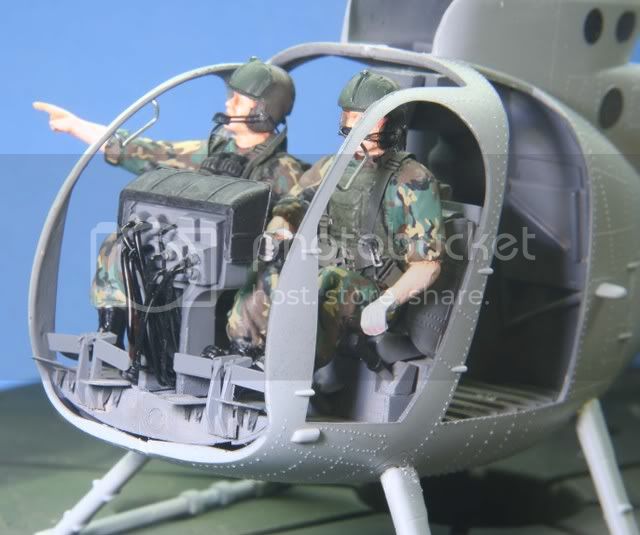
I will finish the OH-6 in a mid 80s look on an aerial artillery observation mission. Besides the kit itself I will be working with the Eduard PE set and some resin cast extras for the cockpit, plus the usual sods & ends scratch details.
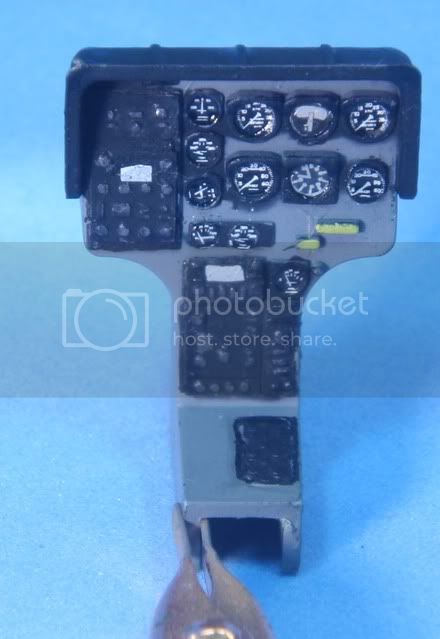
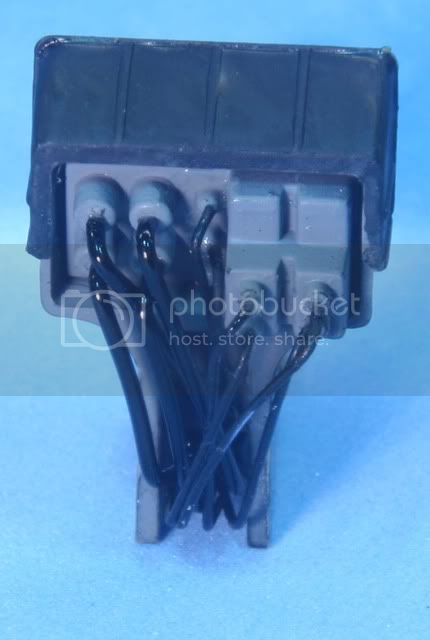
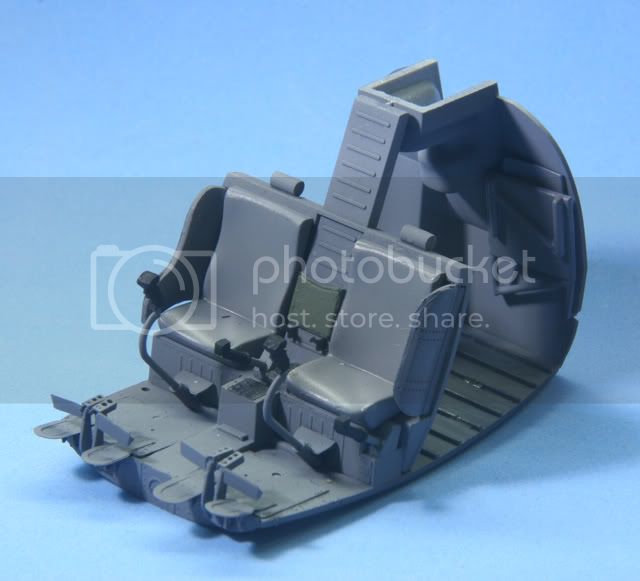
Here is the cockpit generally assembled from the first two steps of the instructions along with Eduard PE added. In general the fit was good but had to fill some part holes in the rear cabin as I will not be using the mini gun. After assembly the cockpit was given a primer of Tamiya Black and then a coat of Tamiya Gull Grey (XF54). The control stick was painted with Tamiya Black and the document holder with Vallejo Dark Green.
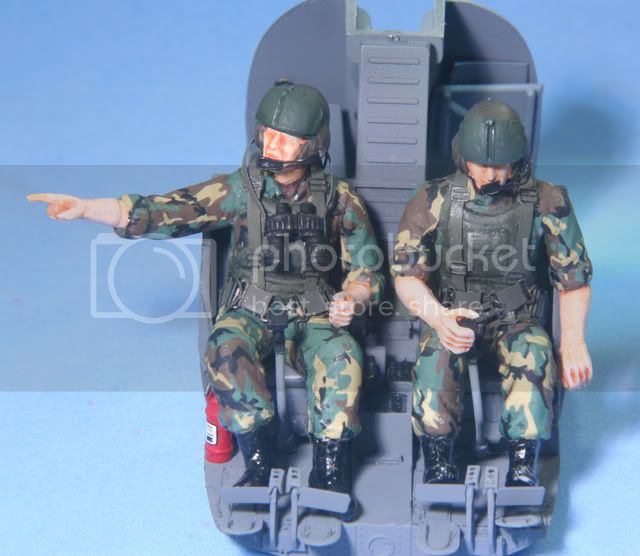
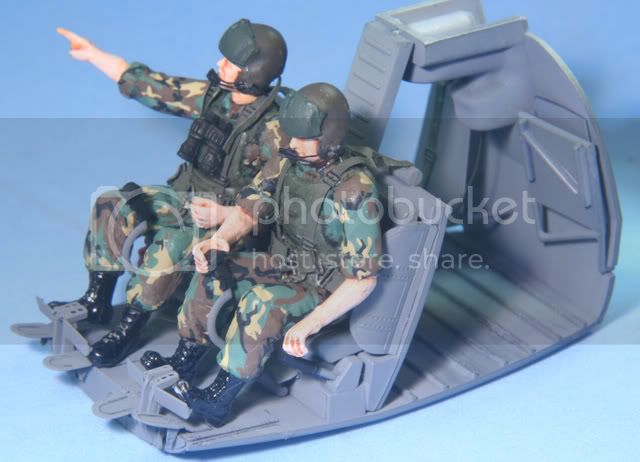
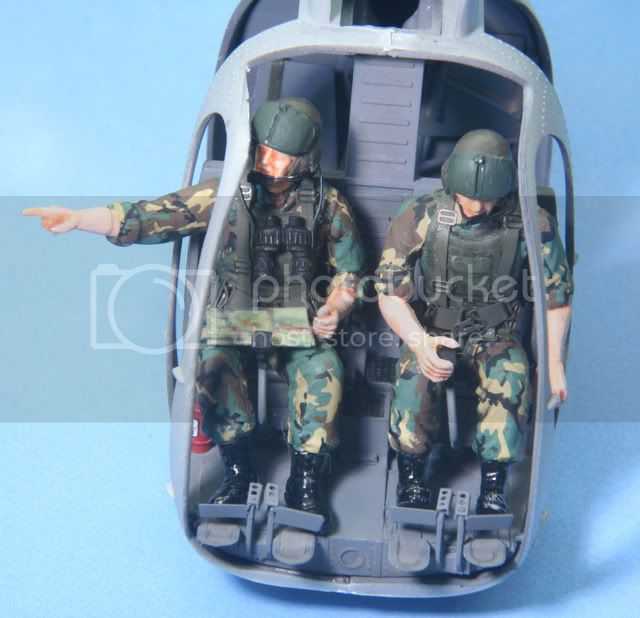
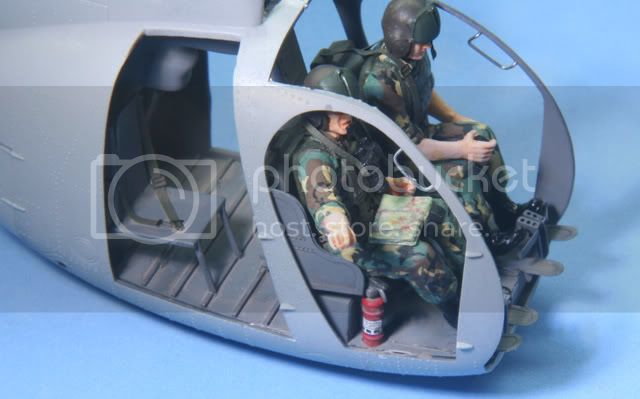
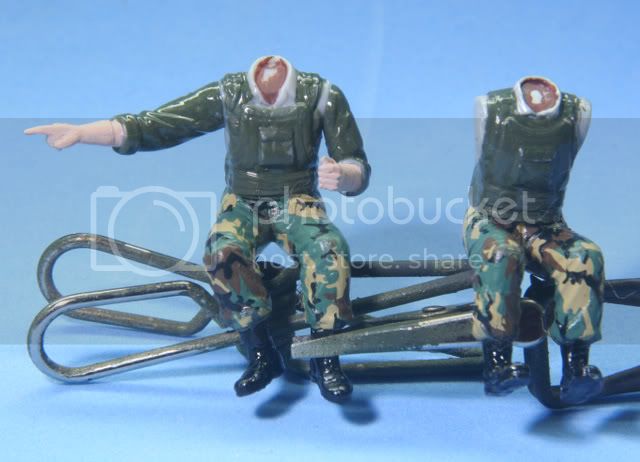
I have begun the assembly of the figures. The kit only included the pilot and gunner and had to swap the gunner with the co-pilot/observer from the Dragon figure kit. I have worked the figures from the bottom up and the uniforms will be the BDU style using Shinsengumi decals. The figures were first painted with Vallejo Dark Green, except the boots, which were painted Black. They were then coated with future to allow the decals to set down. The picture shows the pants completed with the decals.
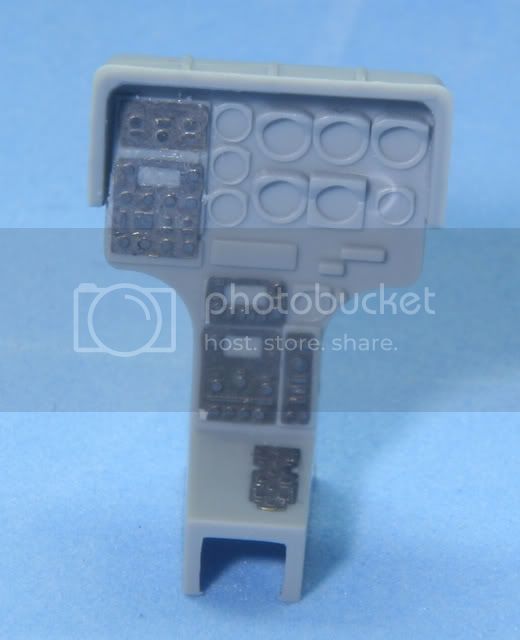
While waiting for some parts to set I have added the PH parts to upgrade the control panel
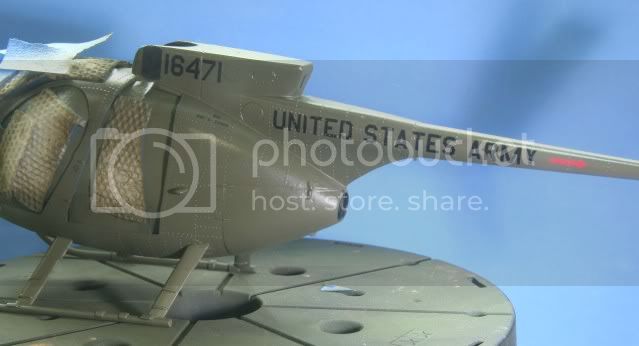
Thats where I am at for now. All comments are welcome, thanks for looking.
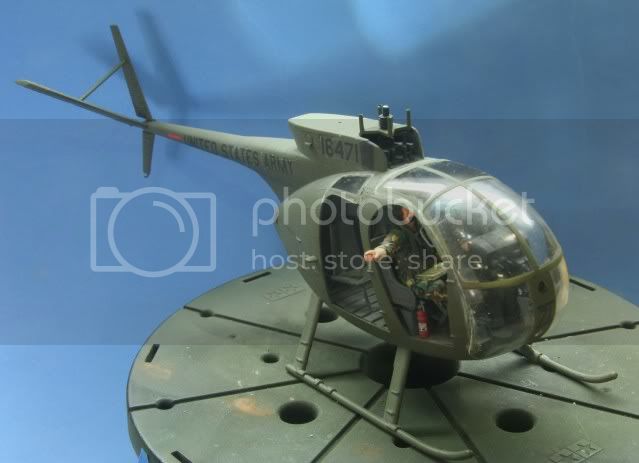
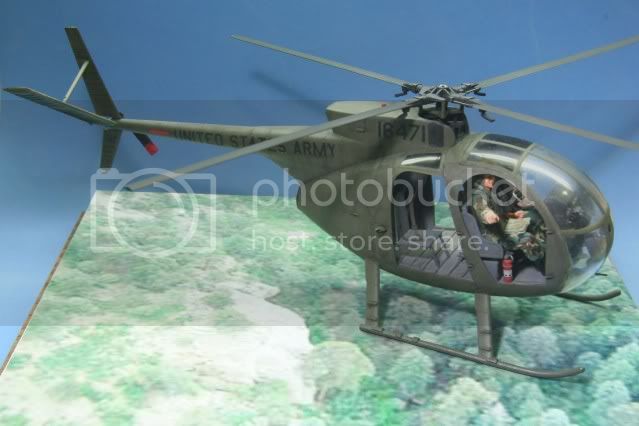
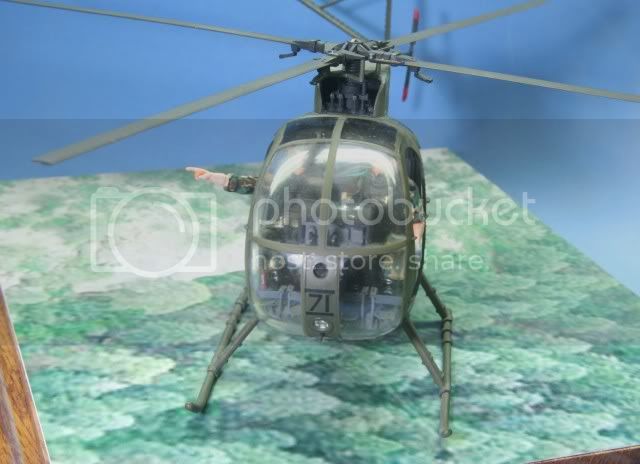
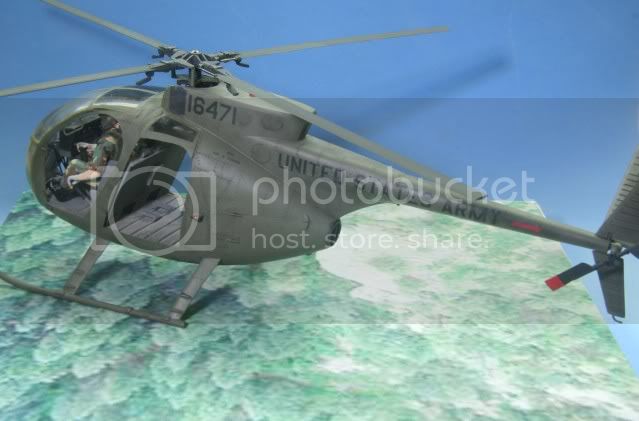
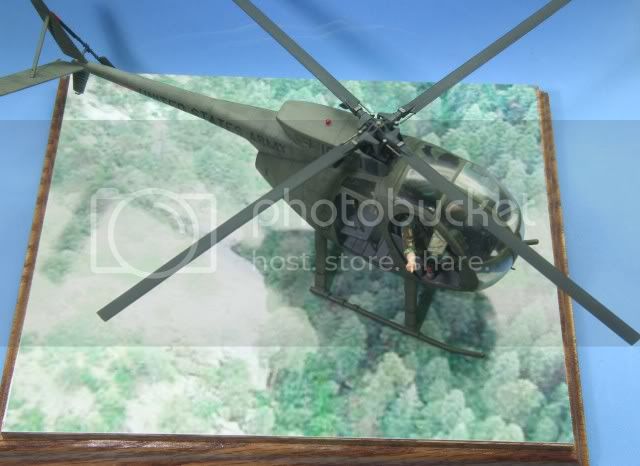
Rounds Complete!!