i spread some pictures of this build through other posts, but I decided it would be better to post them all together.
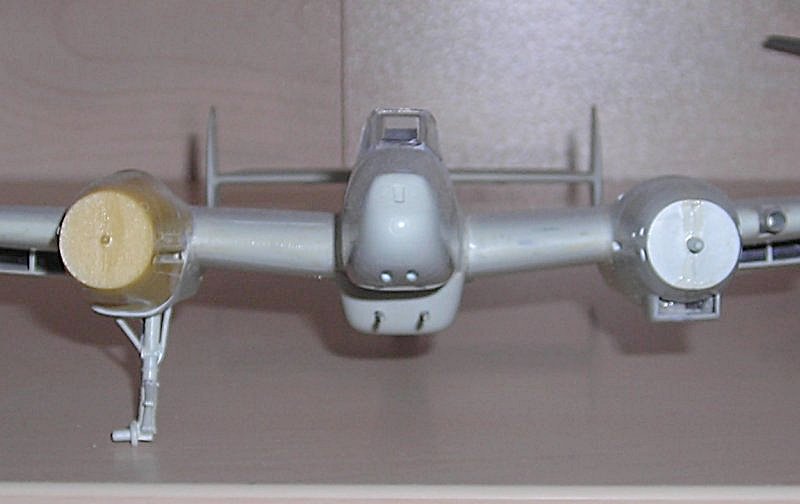
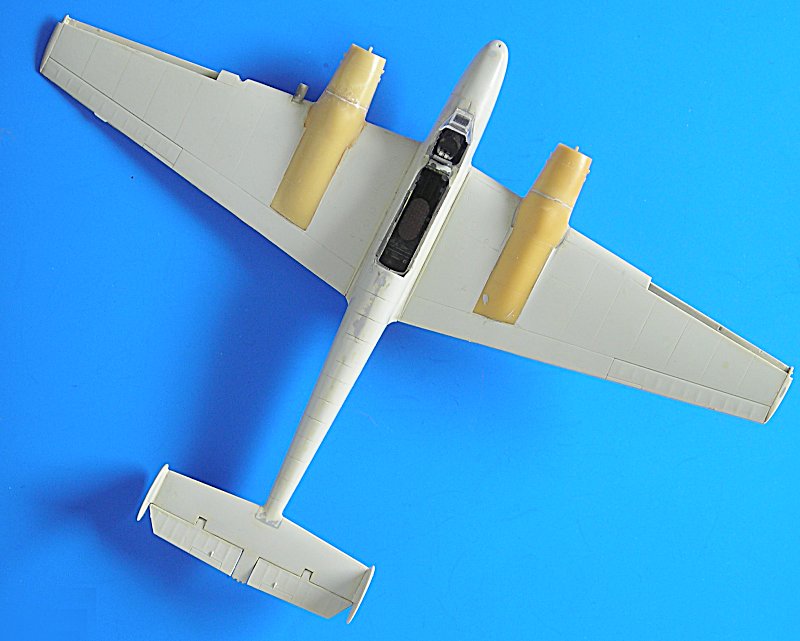
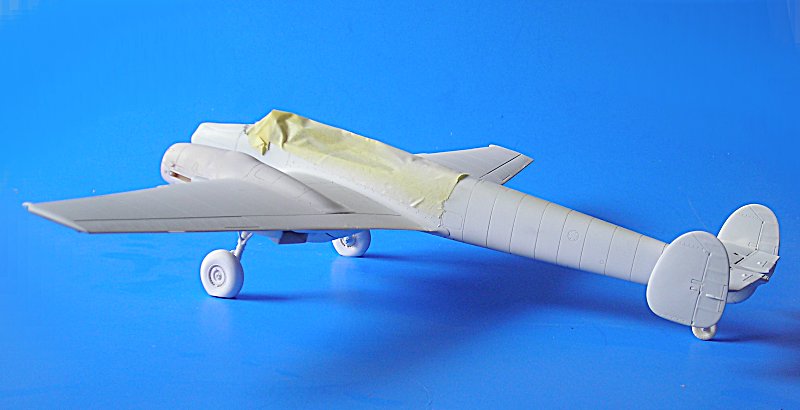
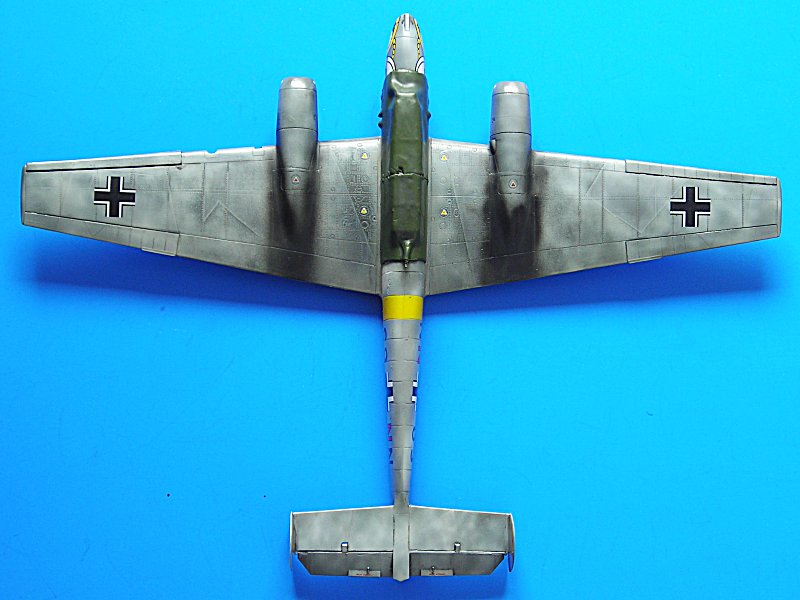
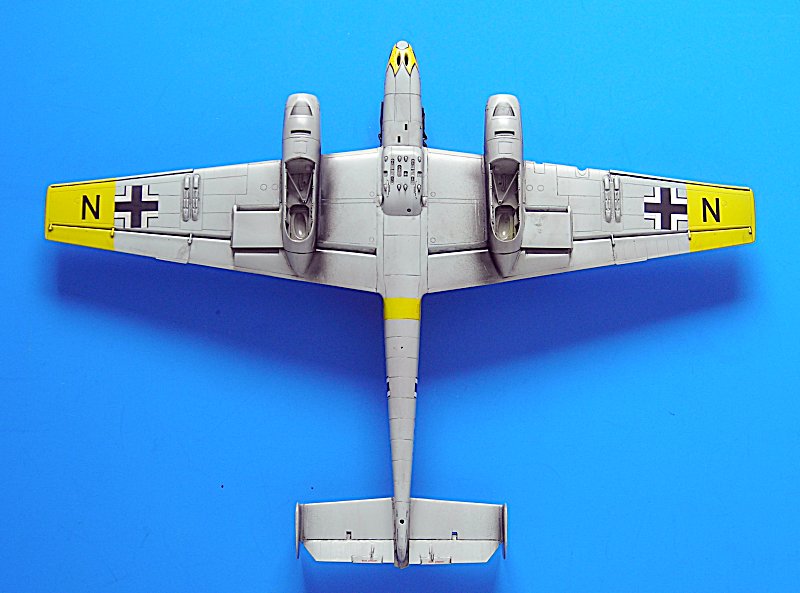
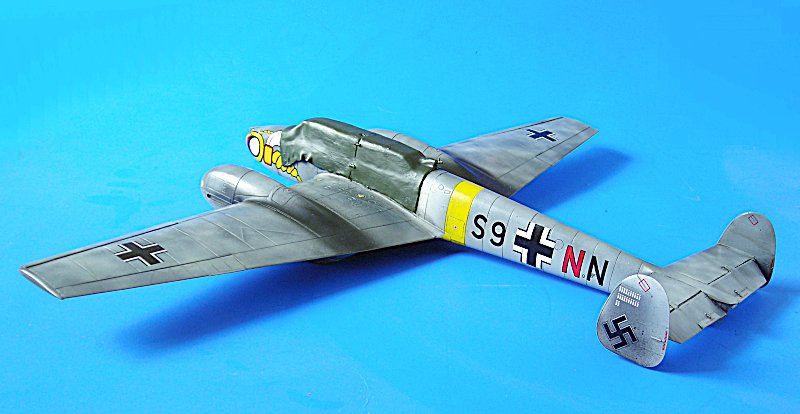
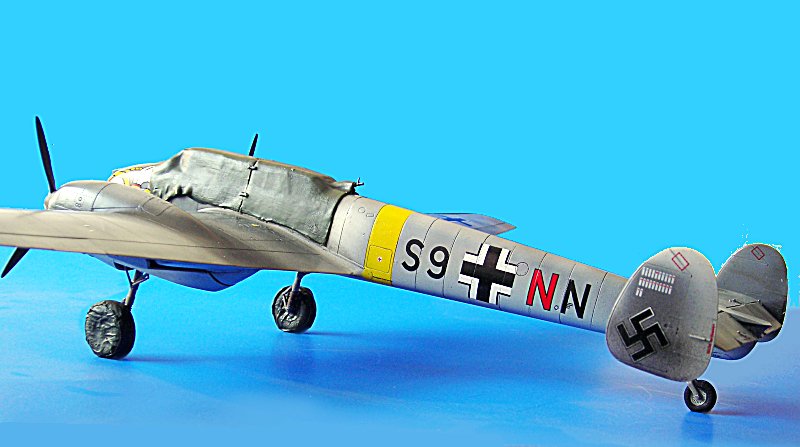
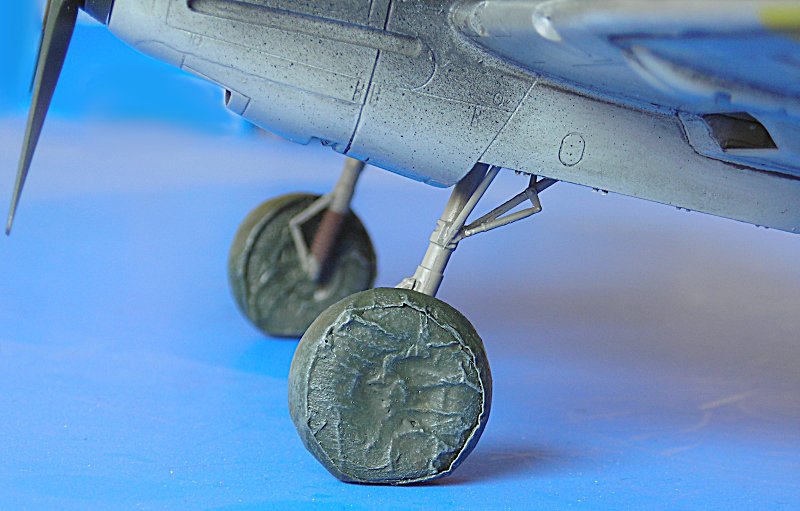
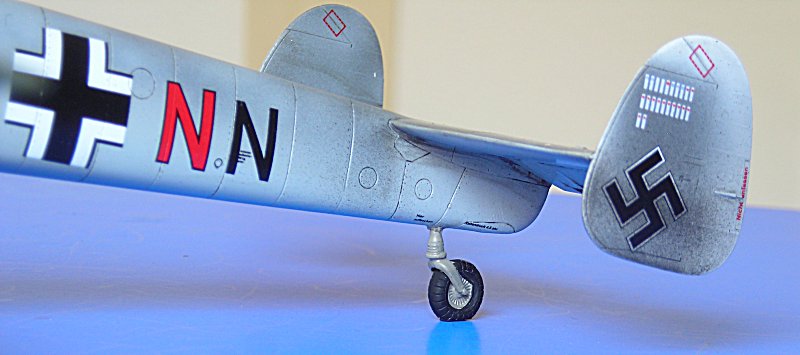
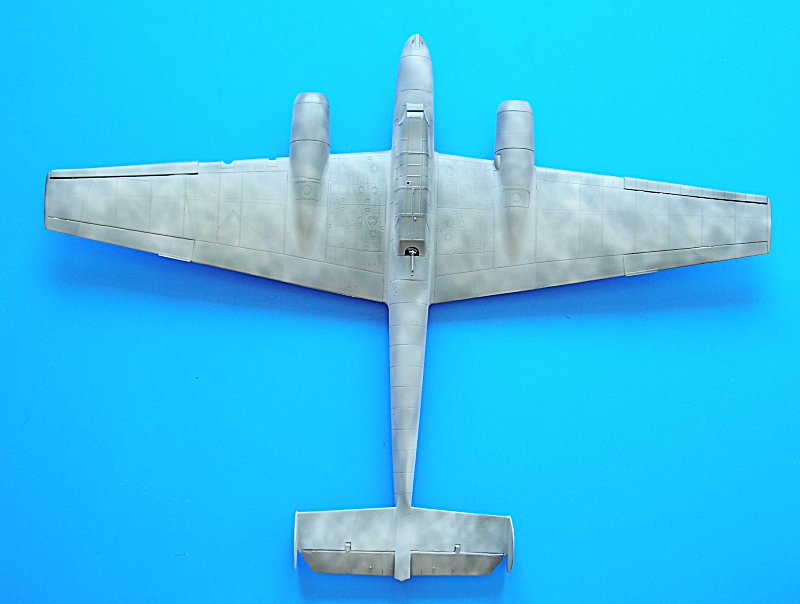
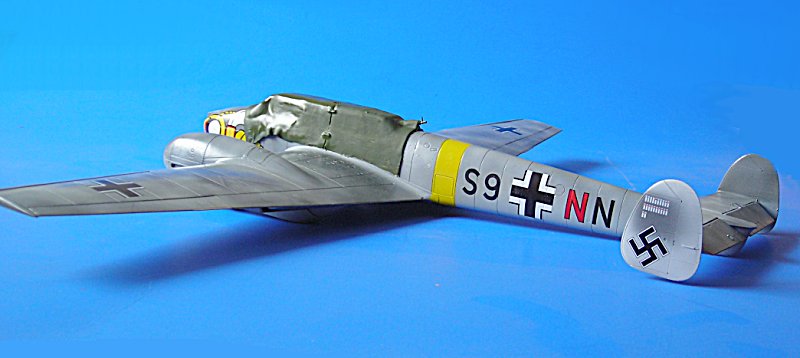
I cut out the elevators and LE slats, no interior ... it is intensionally done this way! The canvas is magic sculp and freshly painted in the last pix. I shortly thought about covers for the engines and nose weapons too, but I prefer to show some parts of the model. Just ordered the wheels with bad weather covers from mastercasters yesterday.
I have read quite often about fit issues. Honestly, these are well known nowadays and can be avoided with a little provident thinking.
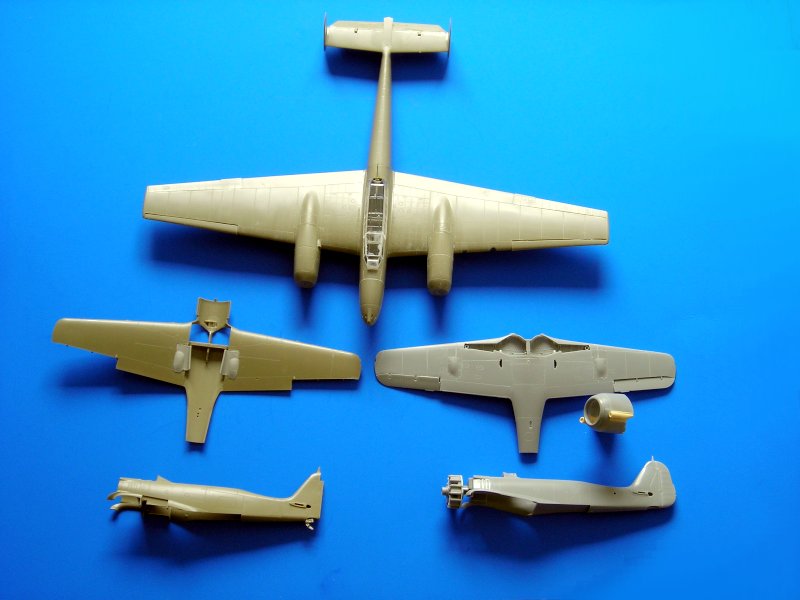
Wing to fuselage: Eduard constructed the wing parts in a way that they build an angle and are not flat towards the fuselage. Brett Green has developed a good method that I used on both my 110s so far. Use your Dremel (or other motor tool) with a grinder and mill a chamfer in the fuselage parts where the wing meets the fuselage .. works like a charm, no filler needed!
Nose: take your time and dryfit often. it is a bit tricky, but I needed only a little filler here
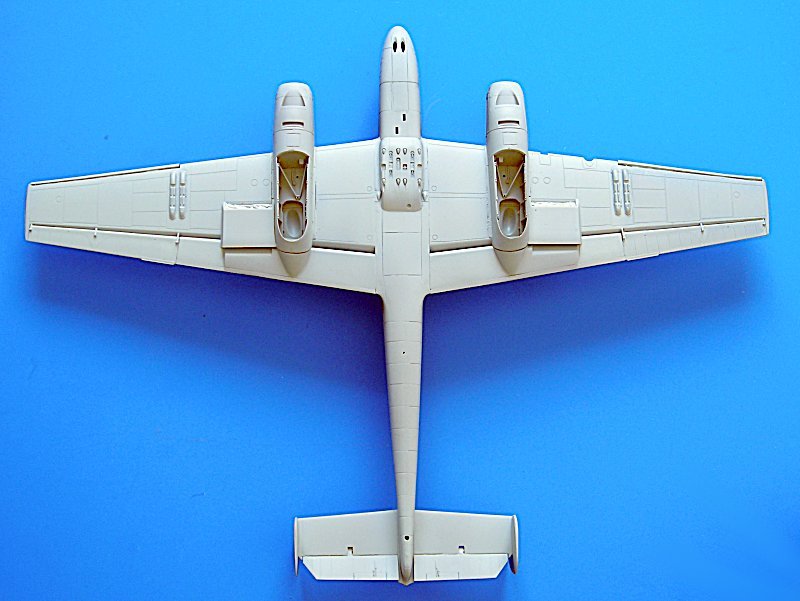
Engine nacelles. clamp the wing and the nacelle so that there is only a minimal (ideally no) step .. I used 2 part epoxy for gluing ..no (!) filler needed
At my working speed there might be still a few moons until this is finished, but so far so good (at least IMO)


as always comments are welcome ...
all the best
Steffen
P.S: I could not find my pix of the early building stages, but that was not much different than these